
Running a piece of fabric through your printer adds a wonderful new medium to your crafting arsenal and it couldn’t be easier! The trick is freezer paper which you should be able to find in any grocery store in the aisle by the aluminum foil and wax paper. Freezer paper is a thick paper that is waxy on one side. Don’t just get wax paper; freezer paper is much thicker. It isn’t too expensive and there is a lot of it in a box; it will last you forever and can be used for many different craft projects. 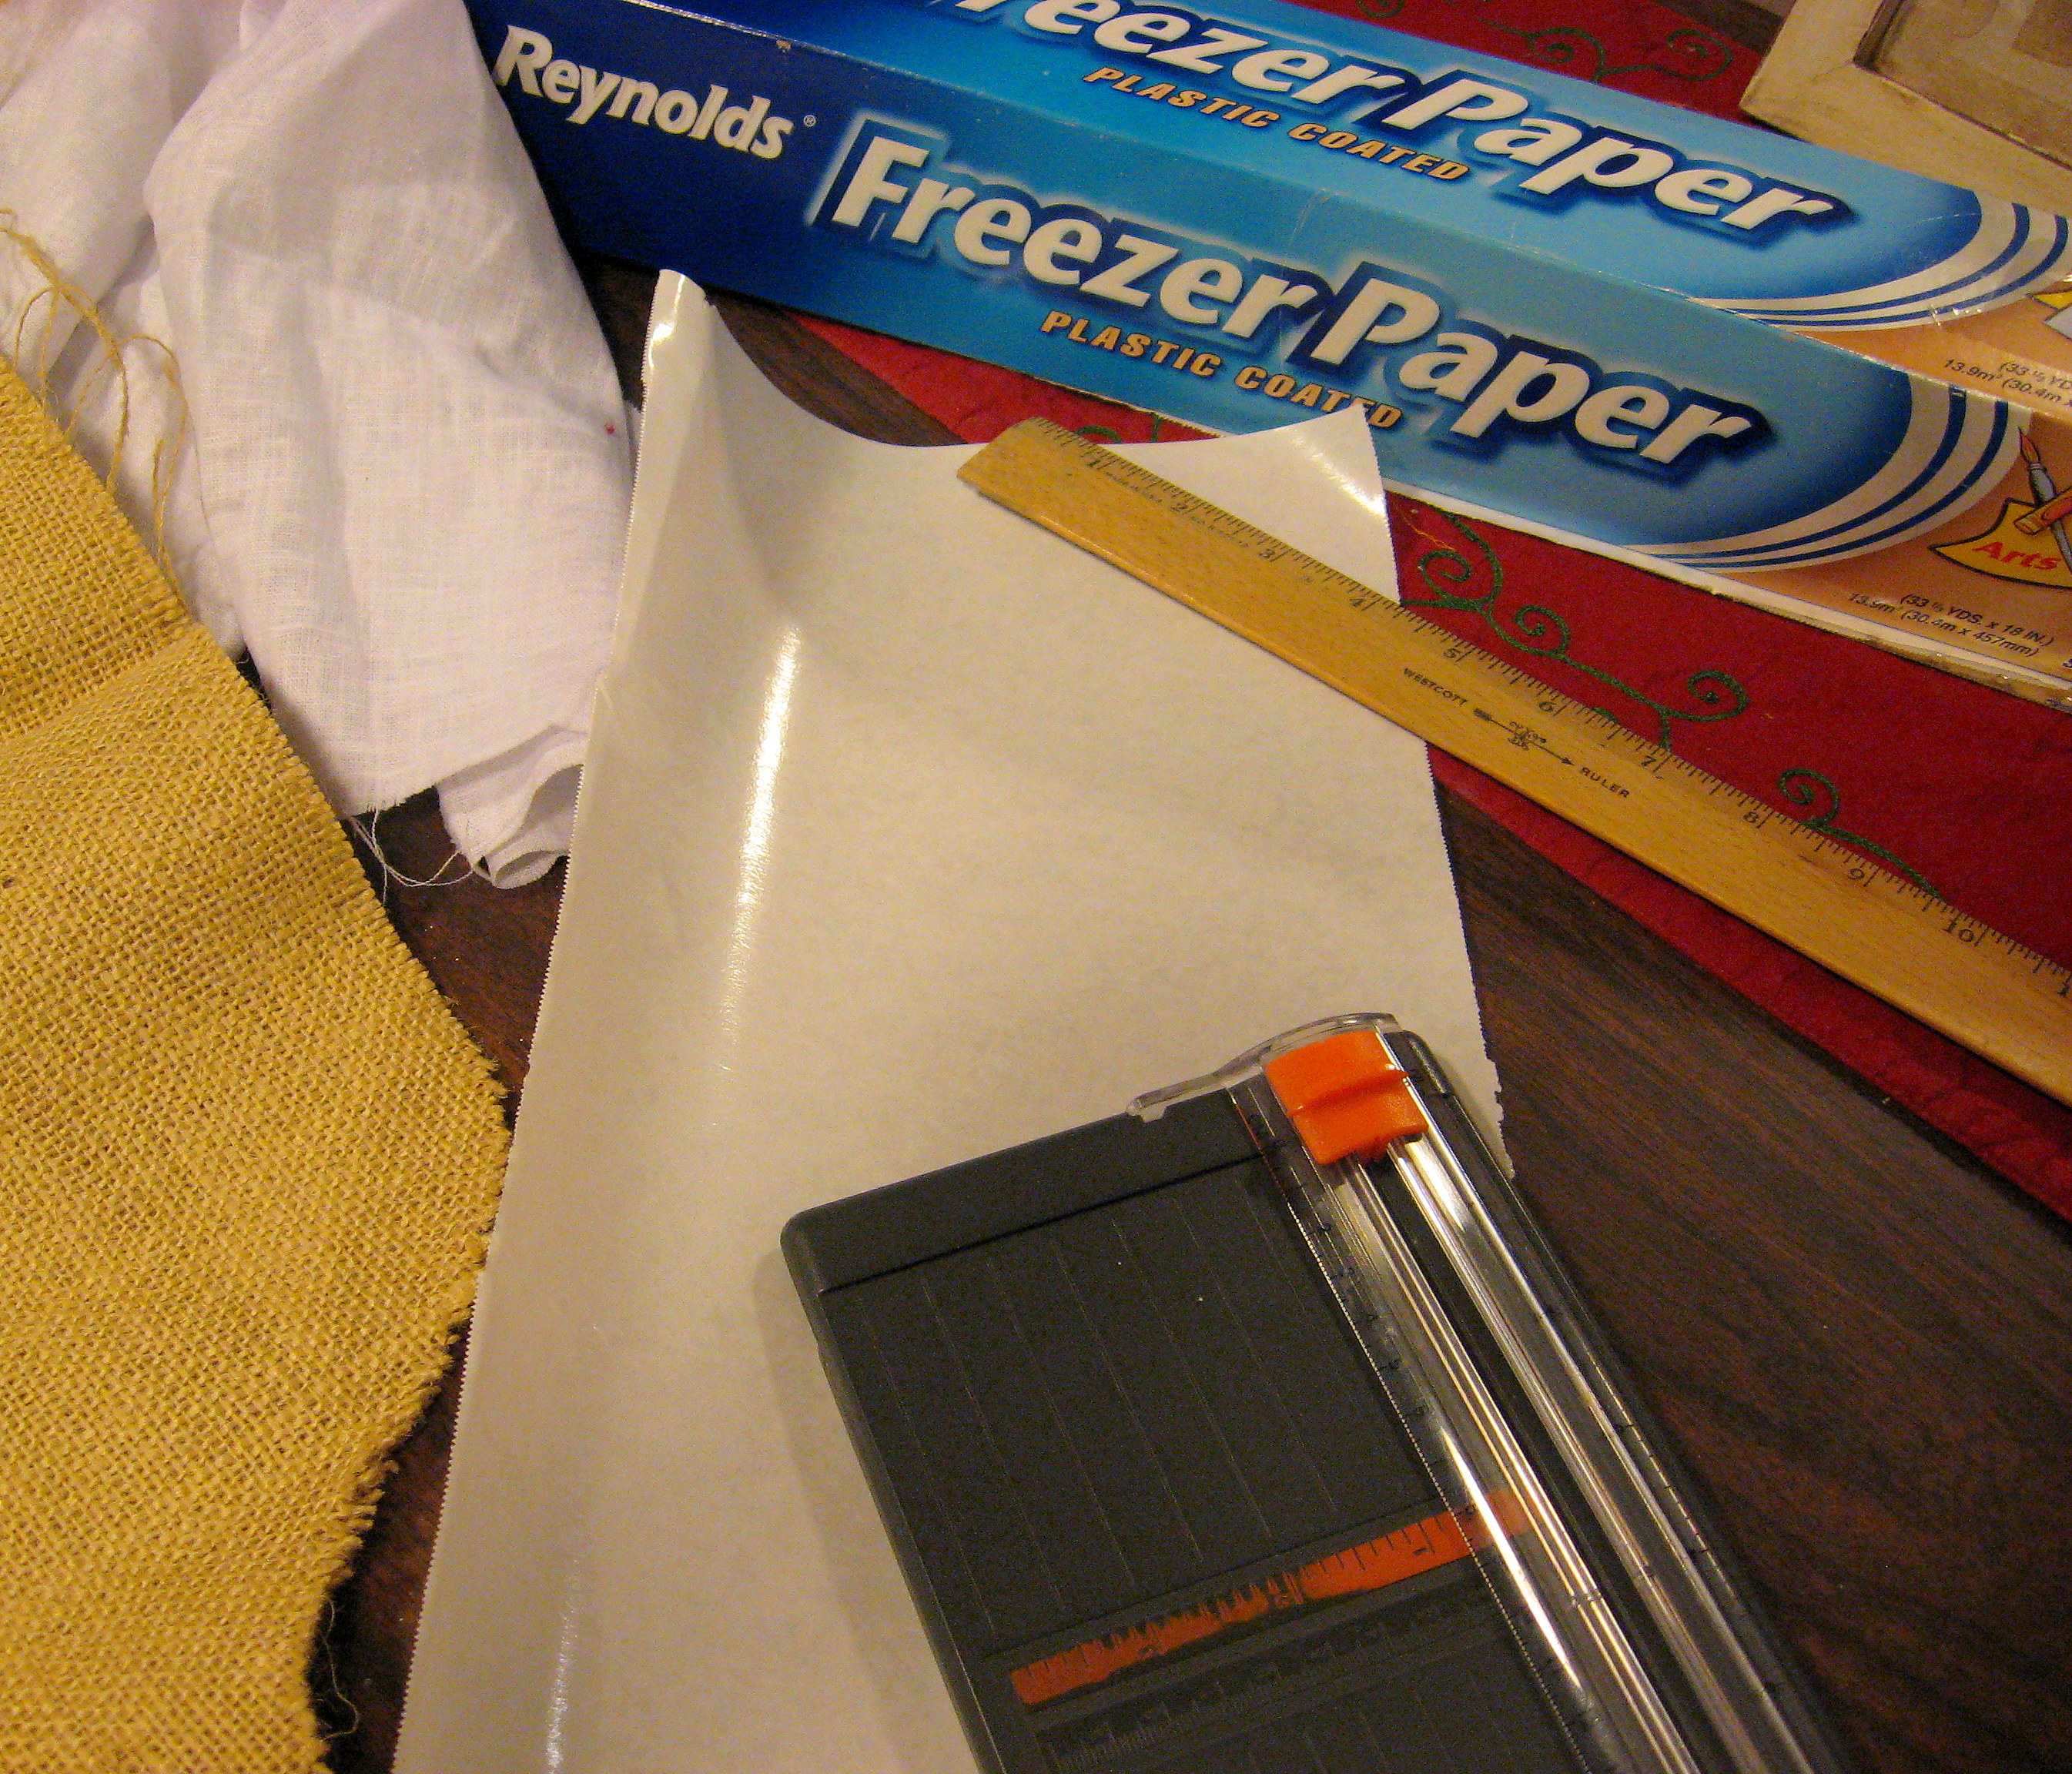
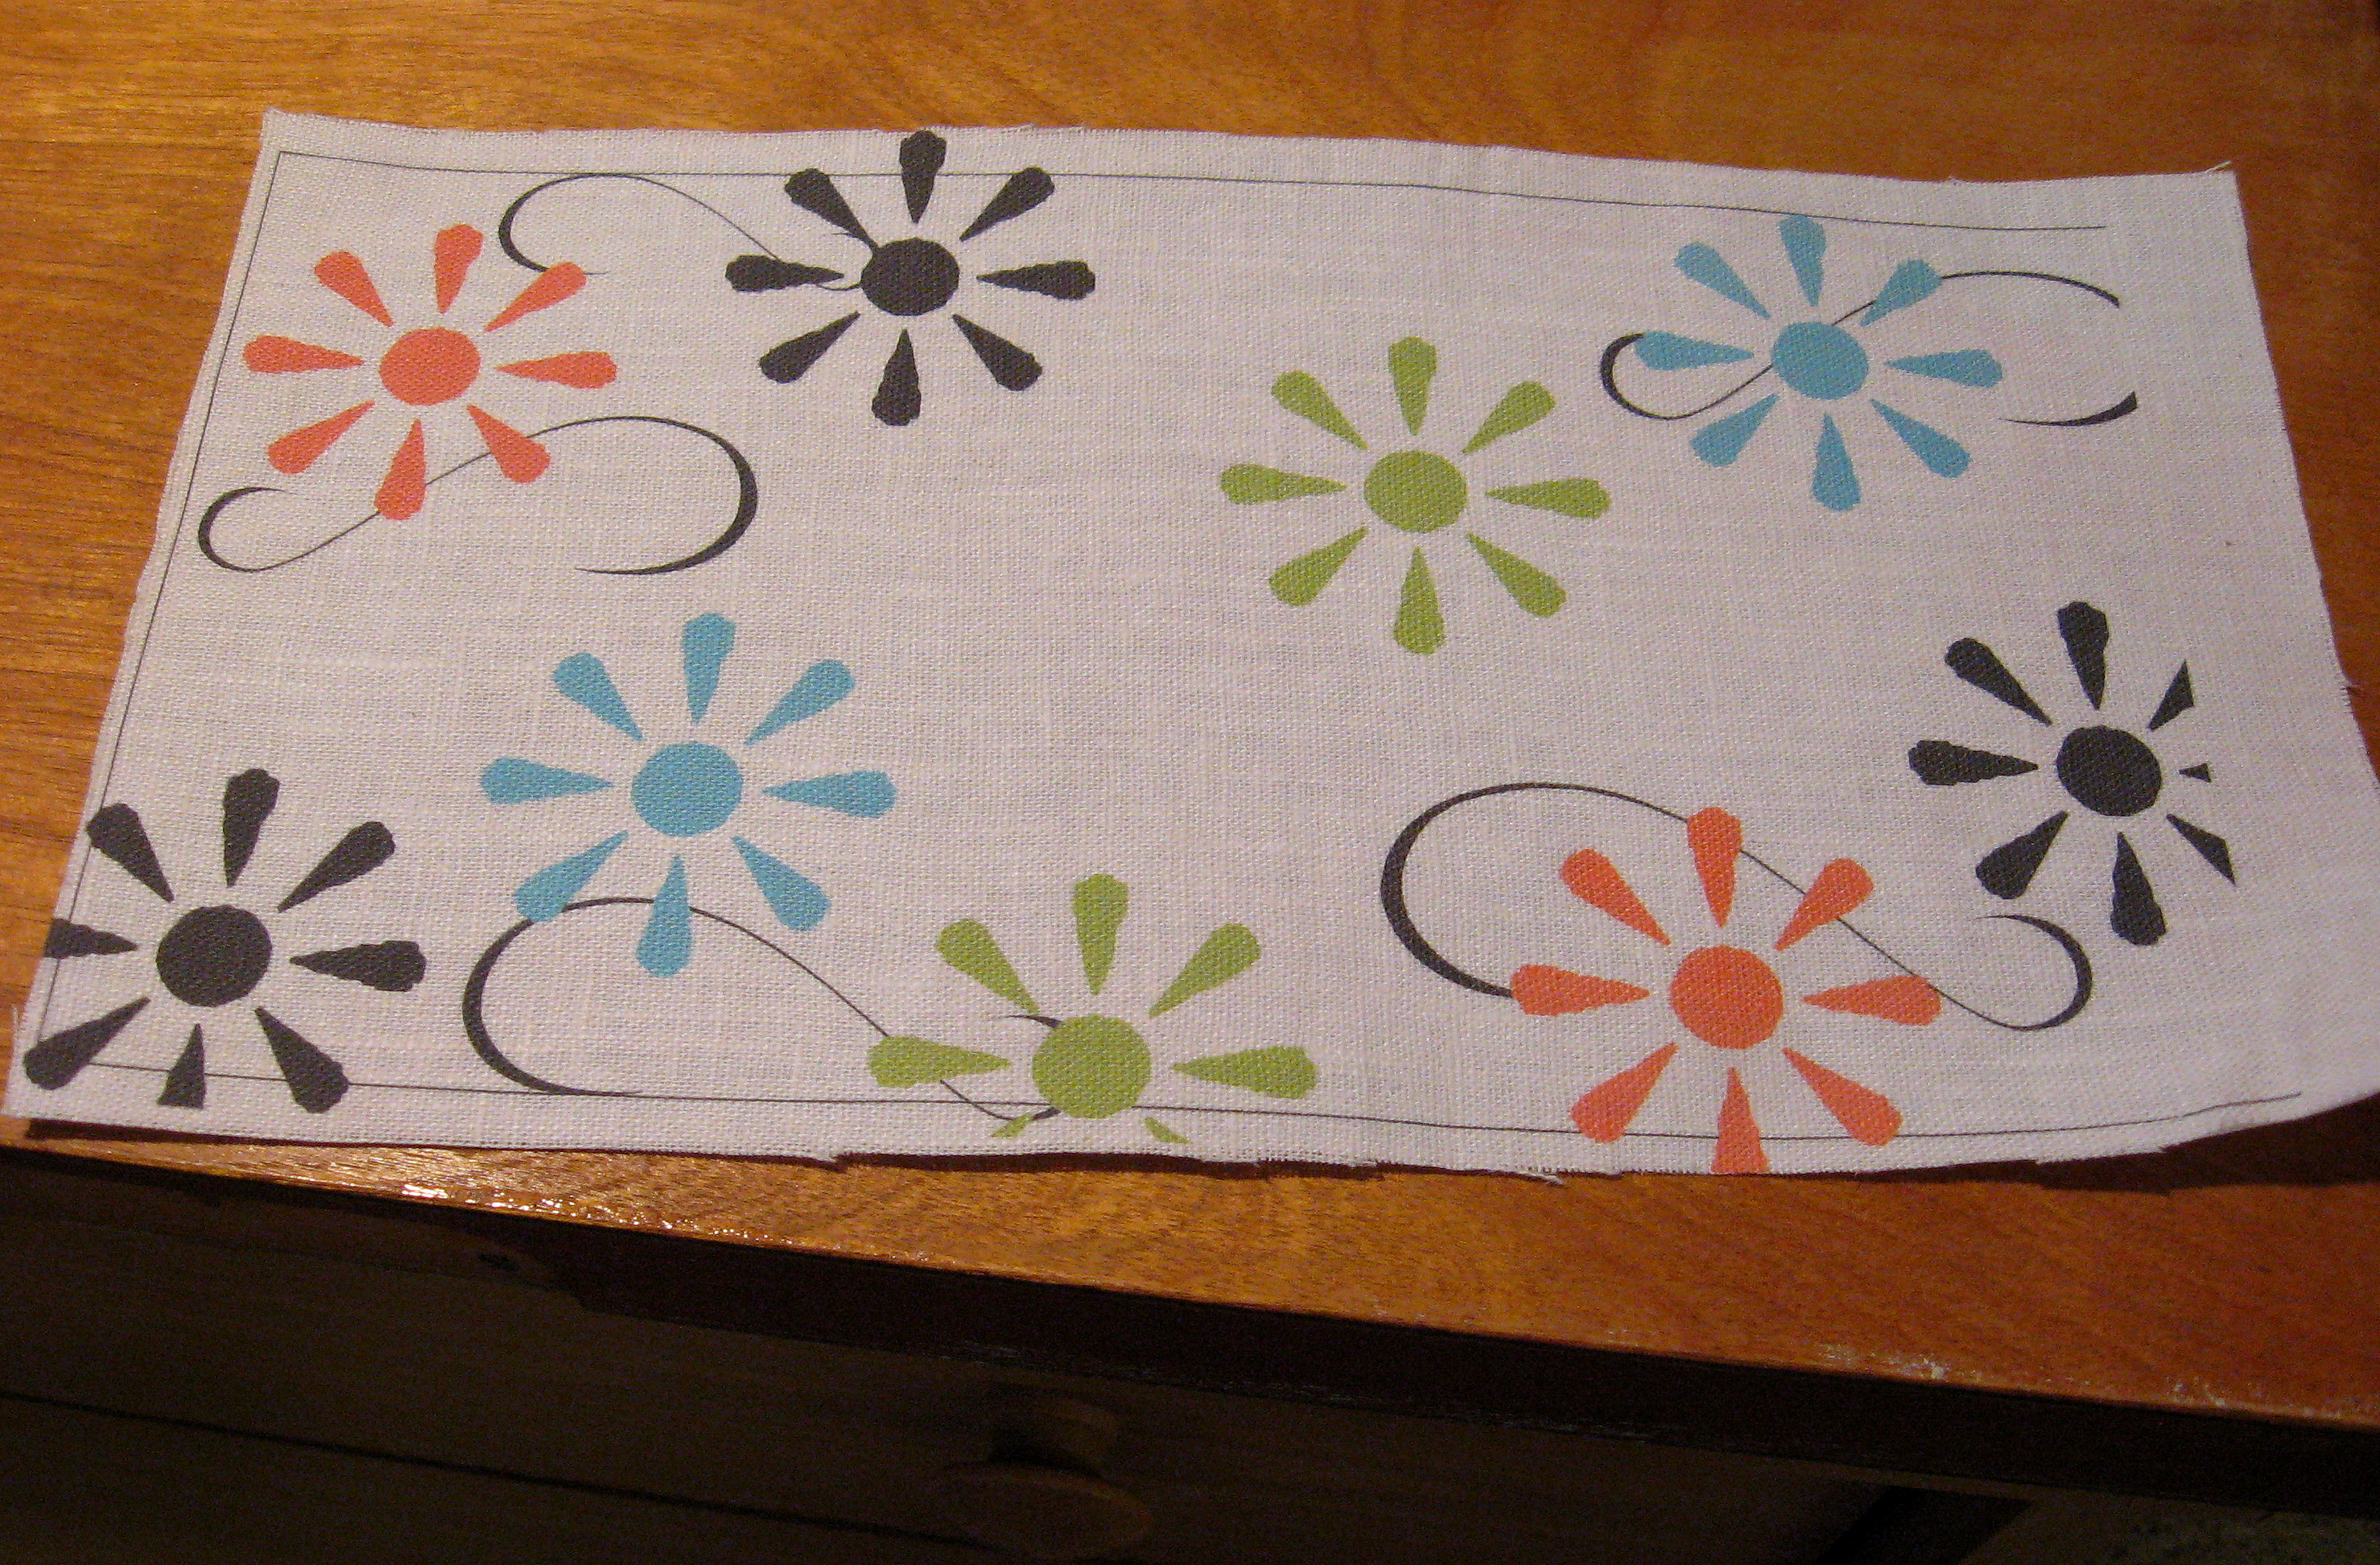
Decide on the finished size of your piece. Open up a Word document and change the size of the paper to be just slightly larger than what you want your finished design to be. For example, for this project, I needed the finished design to be 5 1/2″ X 10 1/2″, so I changed my paper size to be 6″ X 11″. If it helps, you can even draw a shape in your document that is the finished size for your project. (You can see that I did this in the picture of the finished fabric below; the printed rectangle you see is the finished size that I need and served as a template to guide the finished design.) Now add your words, clip art, images, etc and arrange them inside that shape; once your design is how you like it then just delete the shape, or leave it and let it print like I did. The rectangle then becomes the cut line for my finished project.
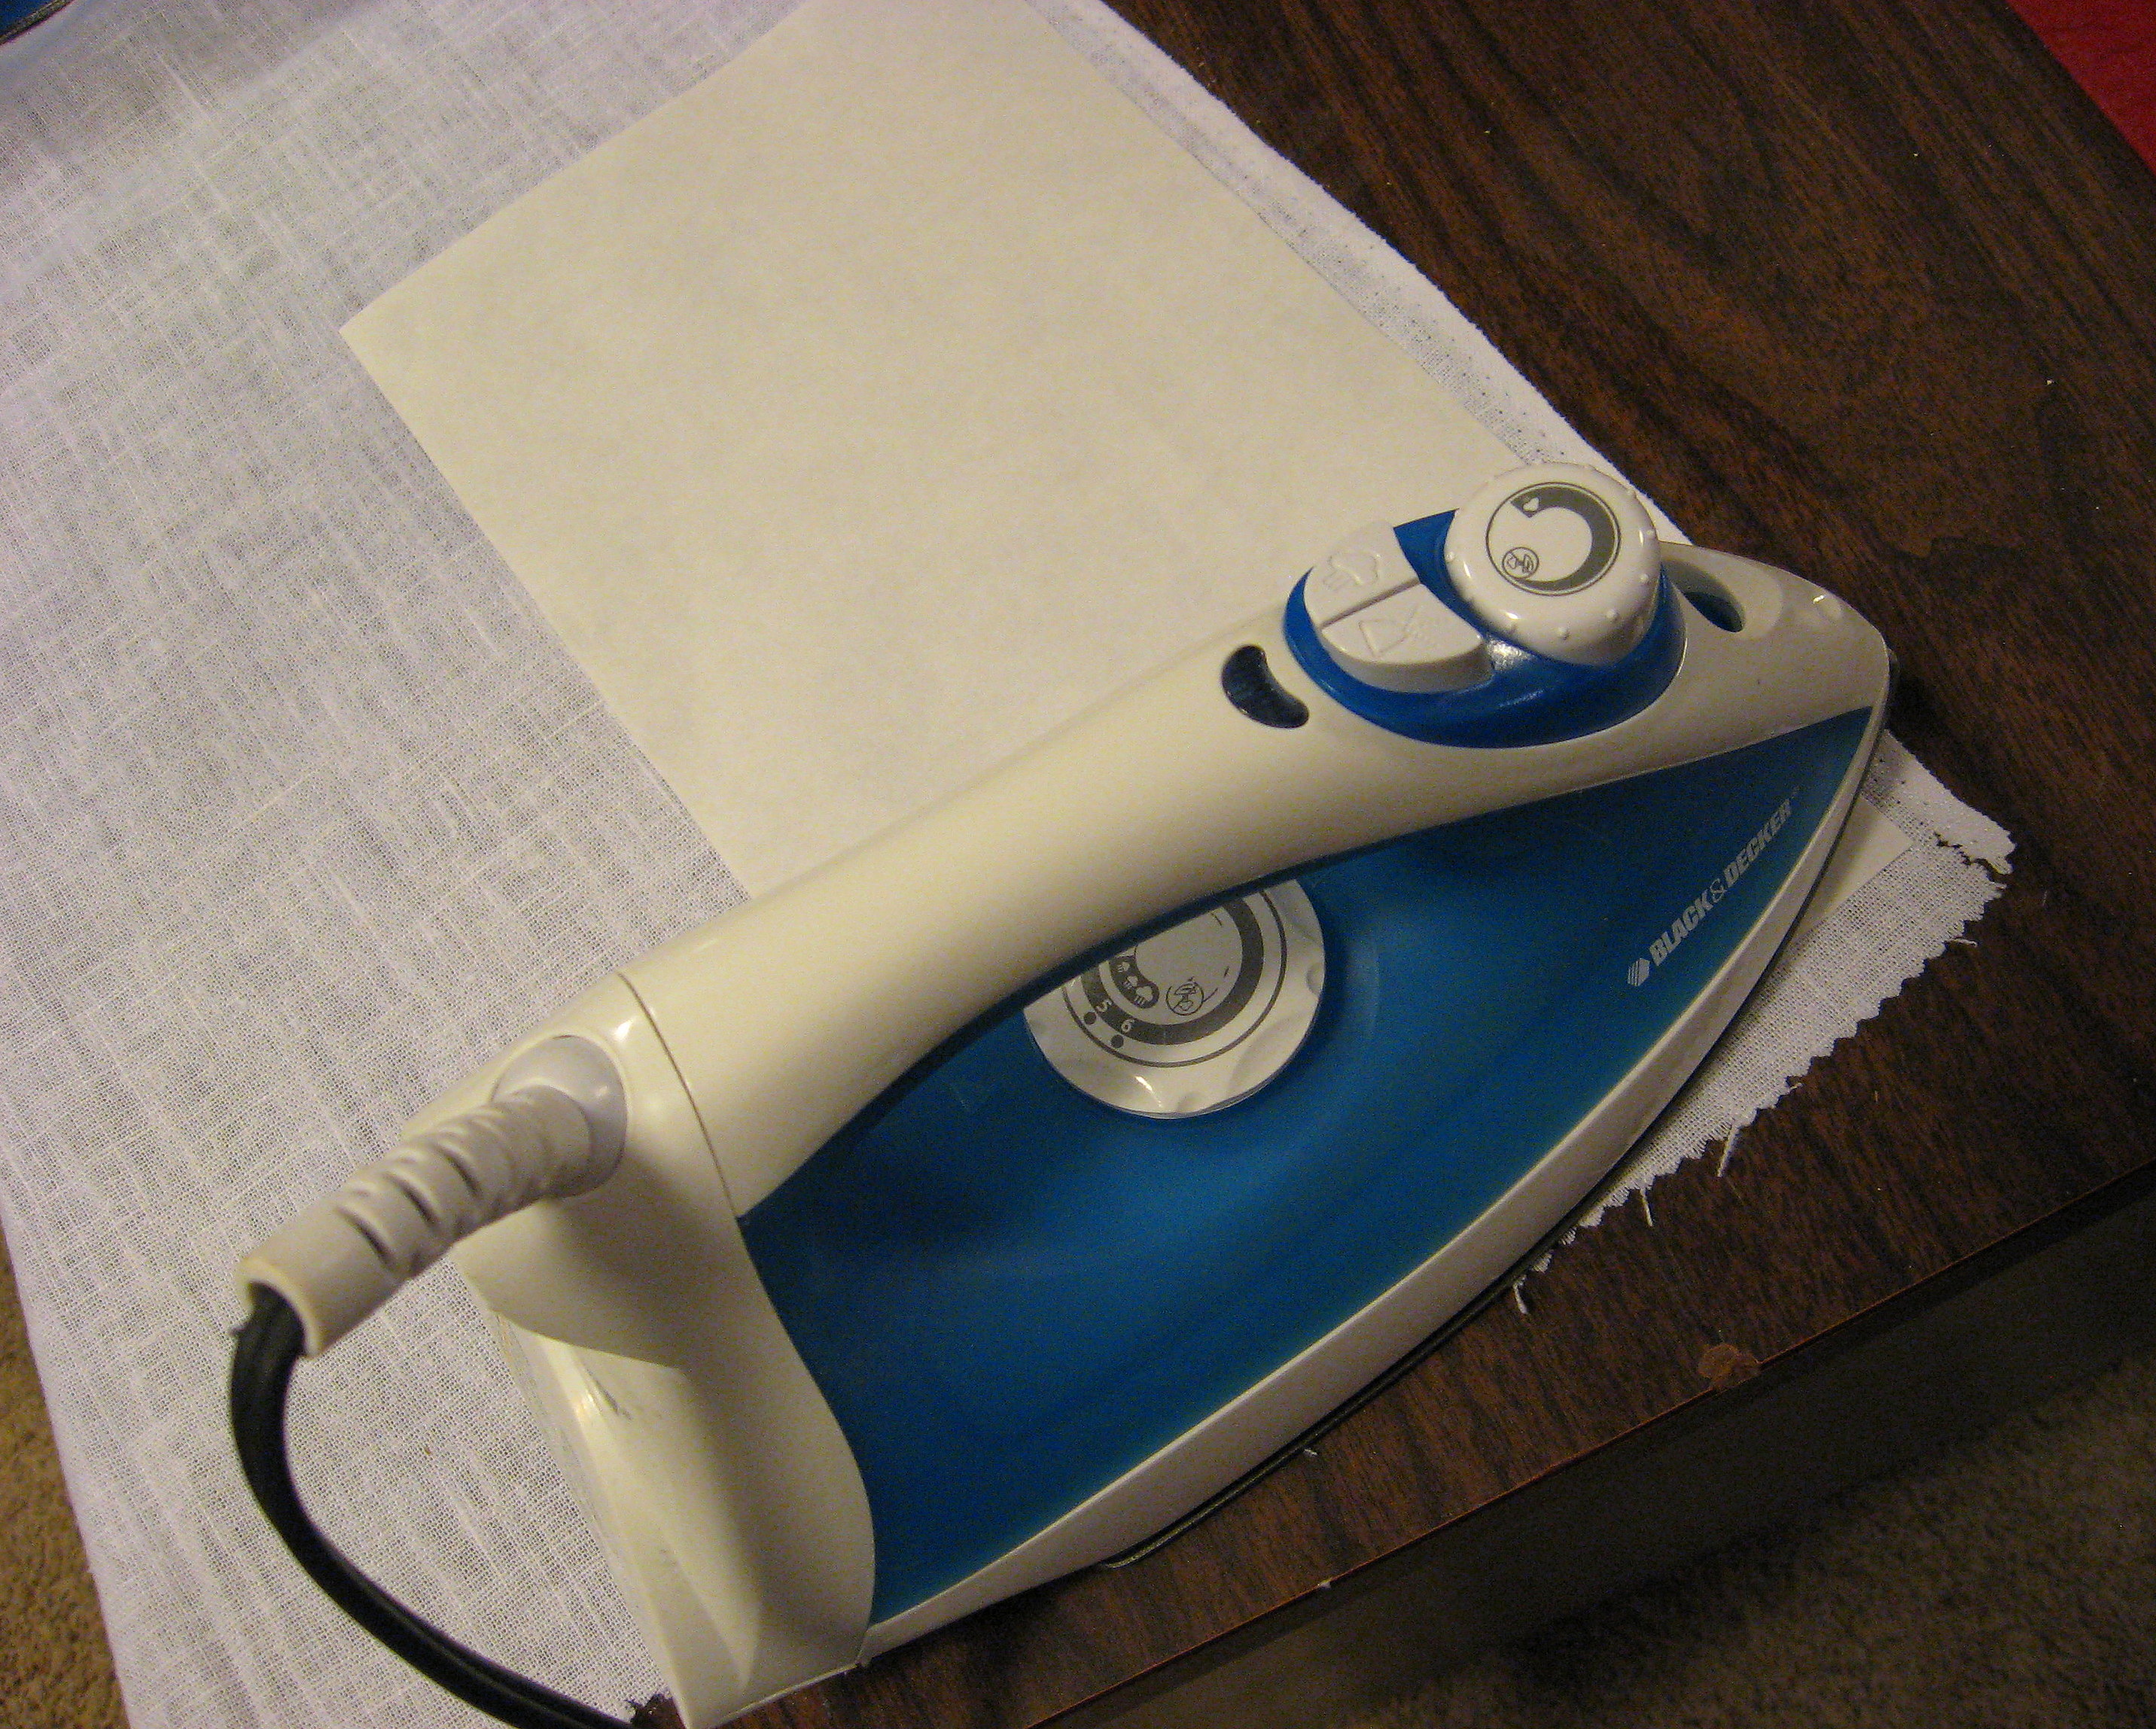
Now, using a paper cutter, or a ruler and scissors, cut a piece of the freezer paper to the size that you set your page to be in your document (so for me, 6 X 11). Place the paper, waxy side down, on the BACK of your fabric. Set your iron at a temperature appropriate for you fabric and NO STEAM. Run the iron evenly and slowly over the freezer paper until it is well adhered to the fabric.
Let it cool a minute, then cut the fabric out following the edge of the freezer paper. 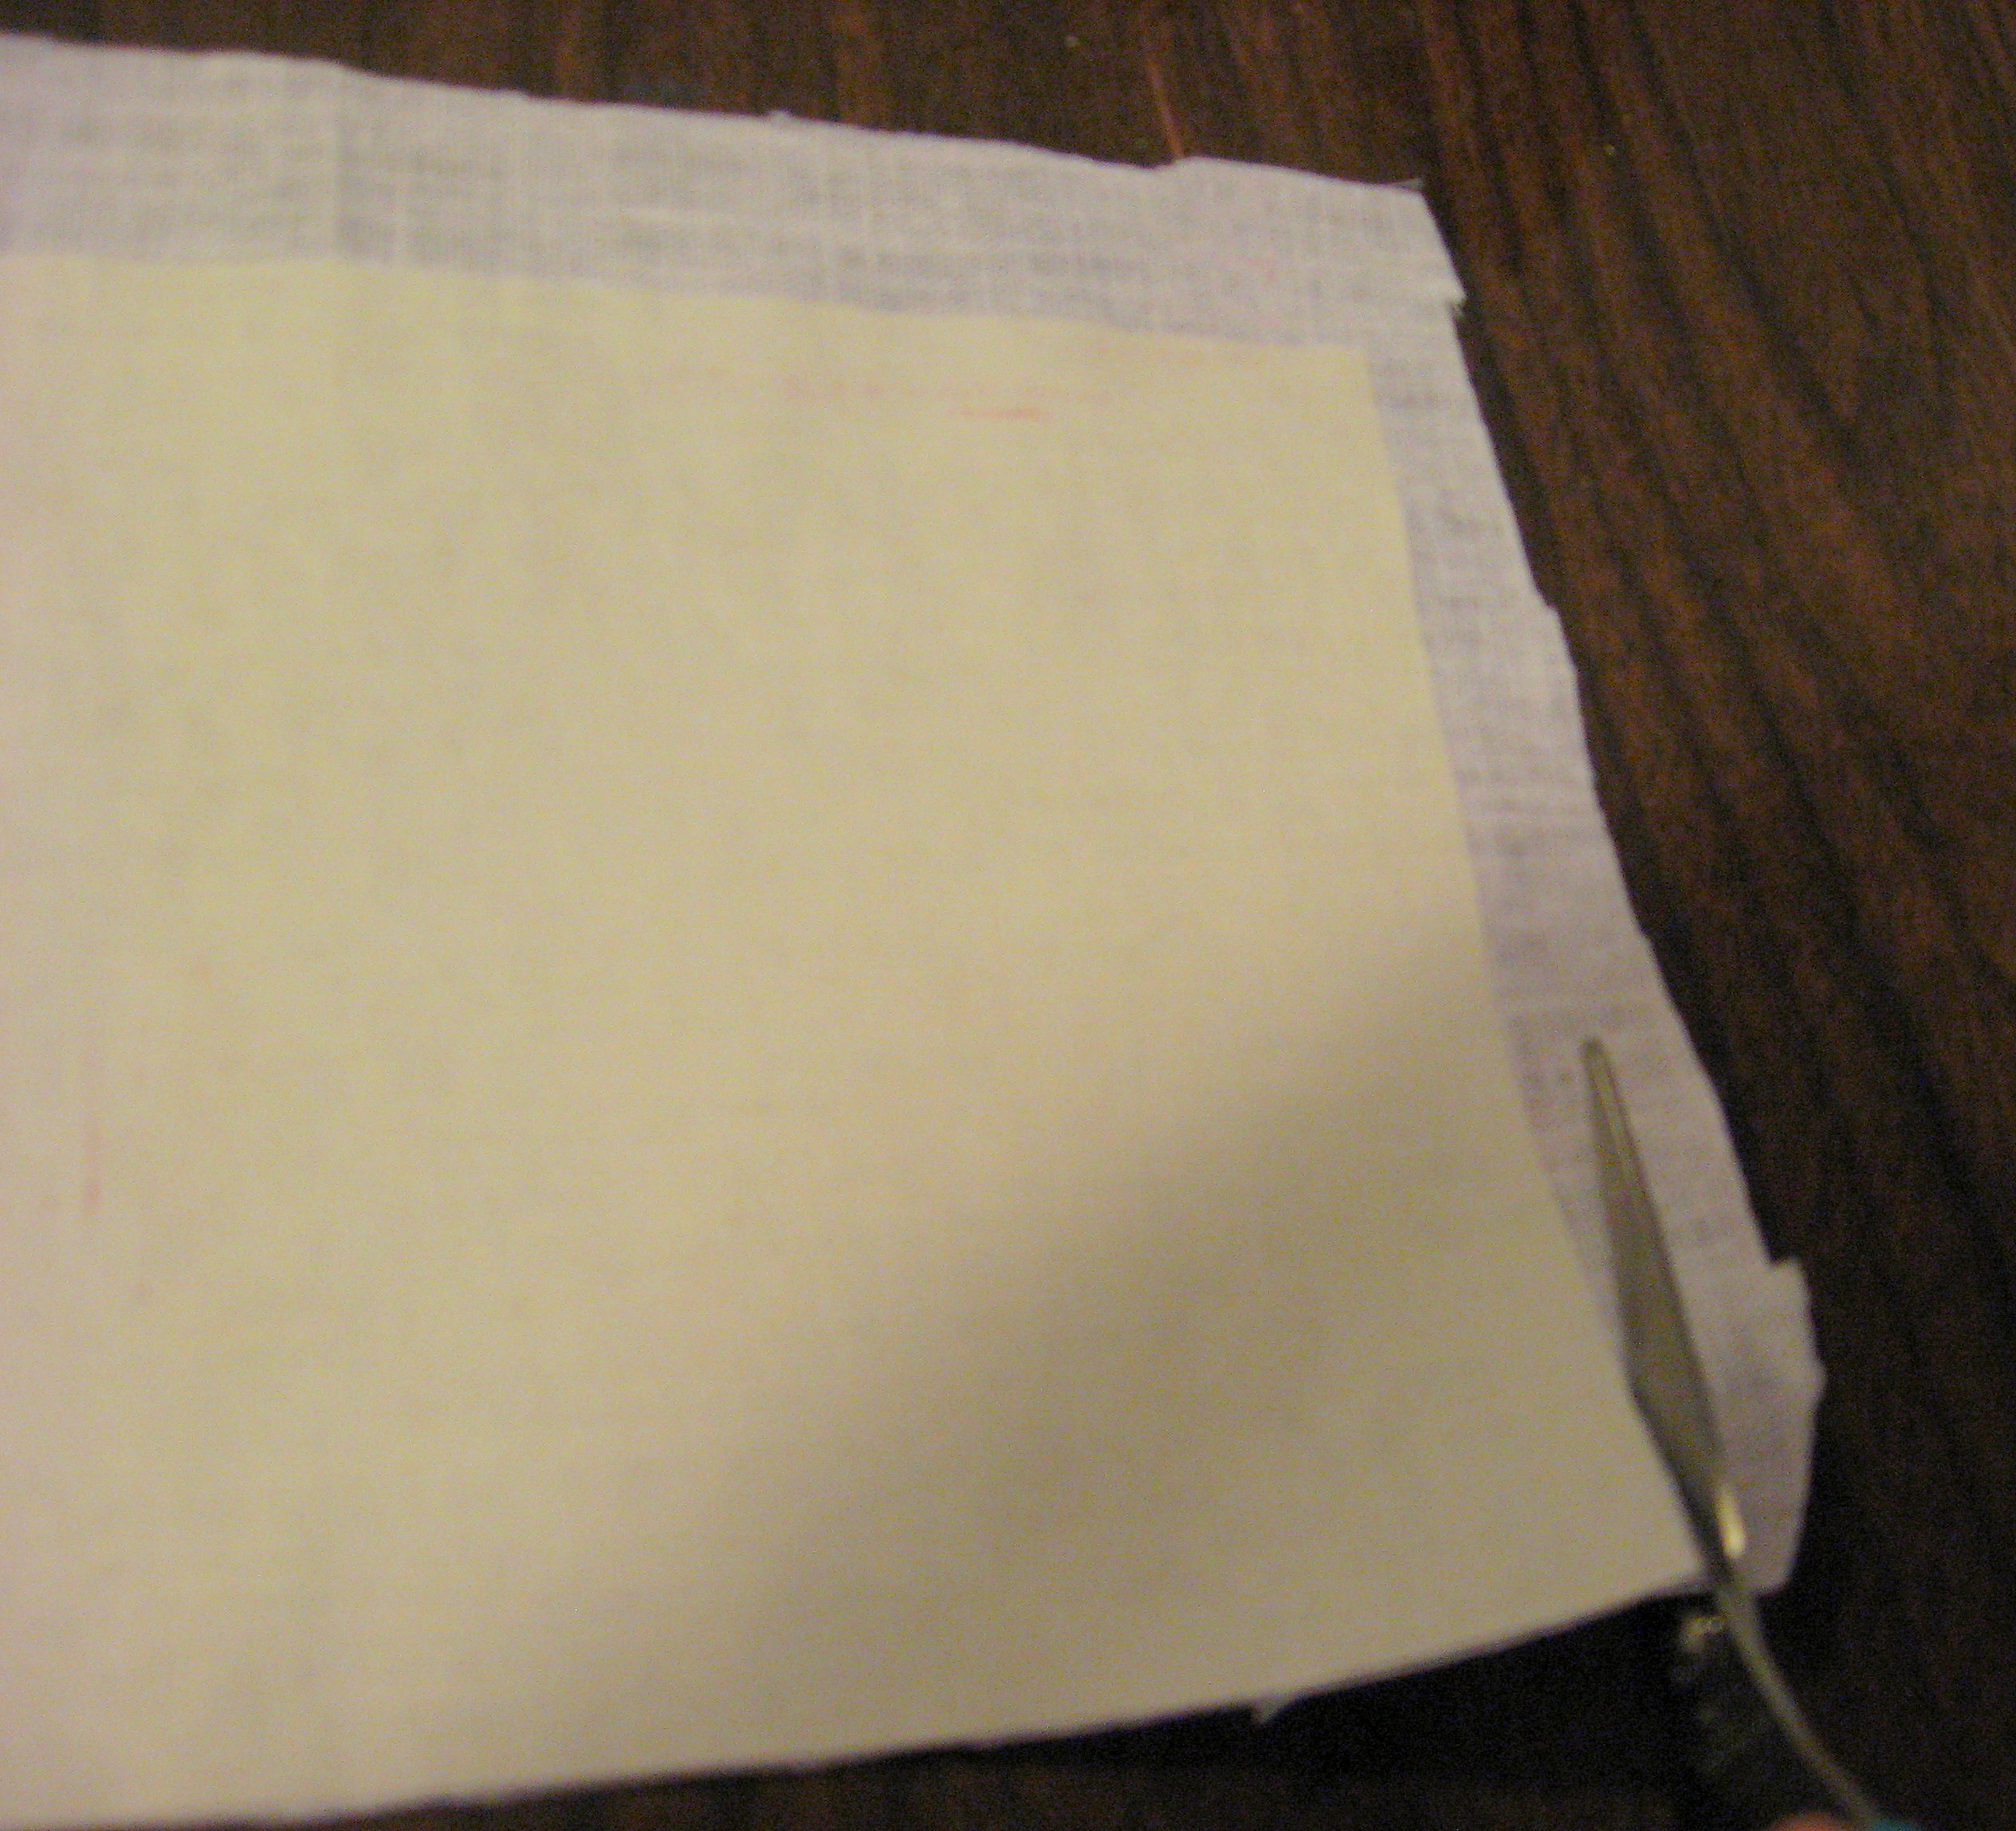
When it’s all cut out, iron it one more time to make sure it is good and stuck. Let it cool completely before you handle it.
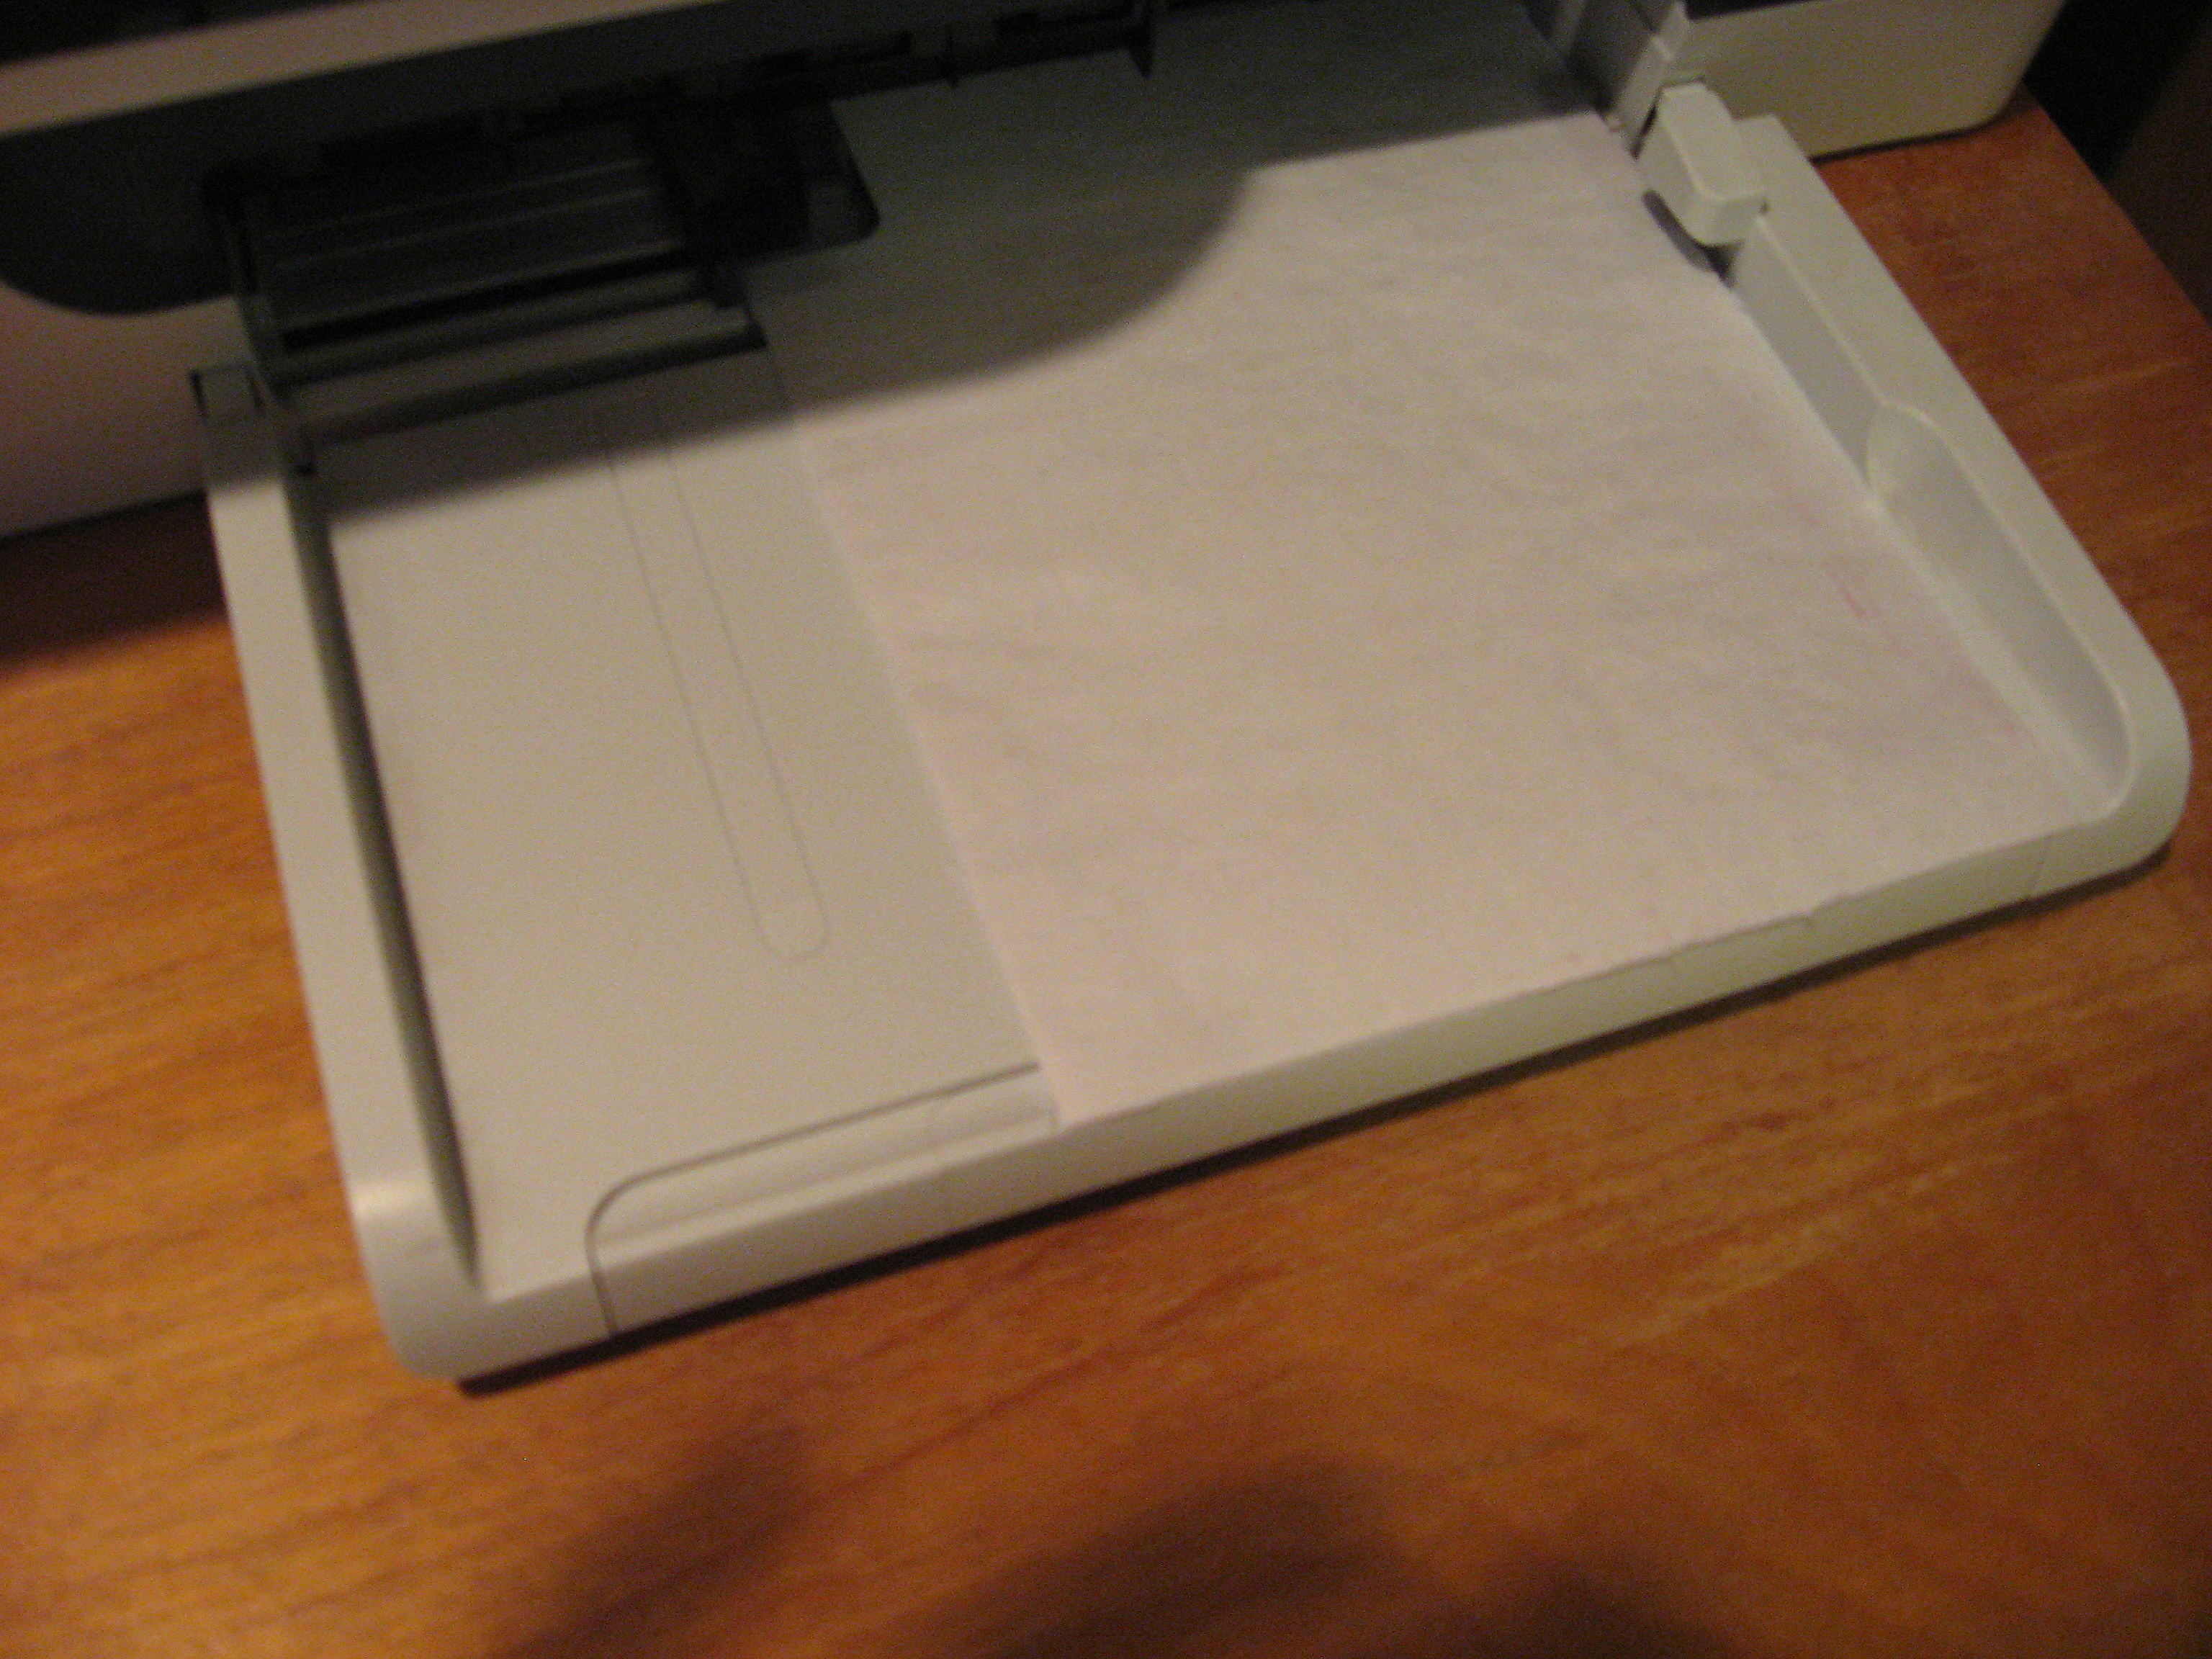
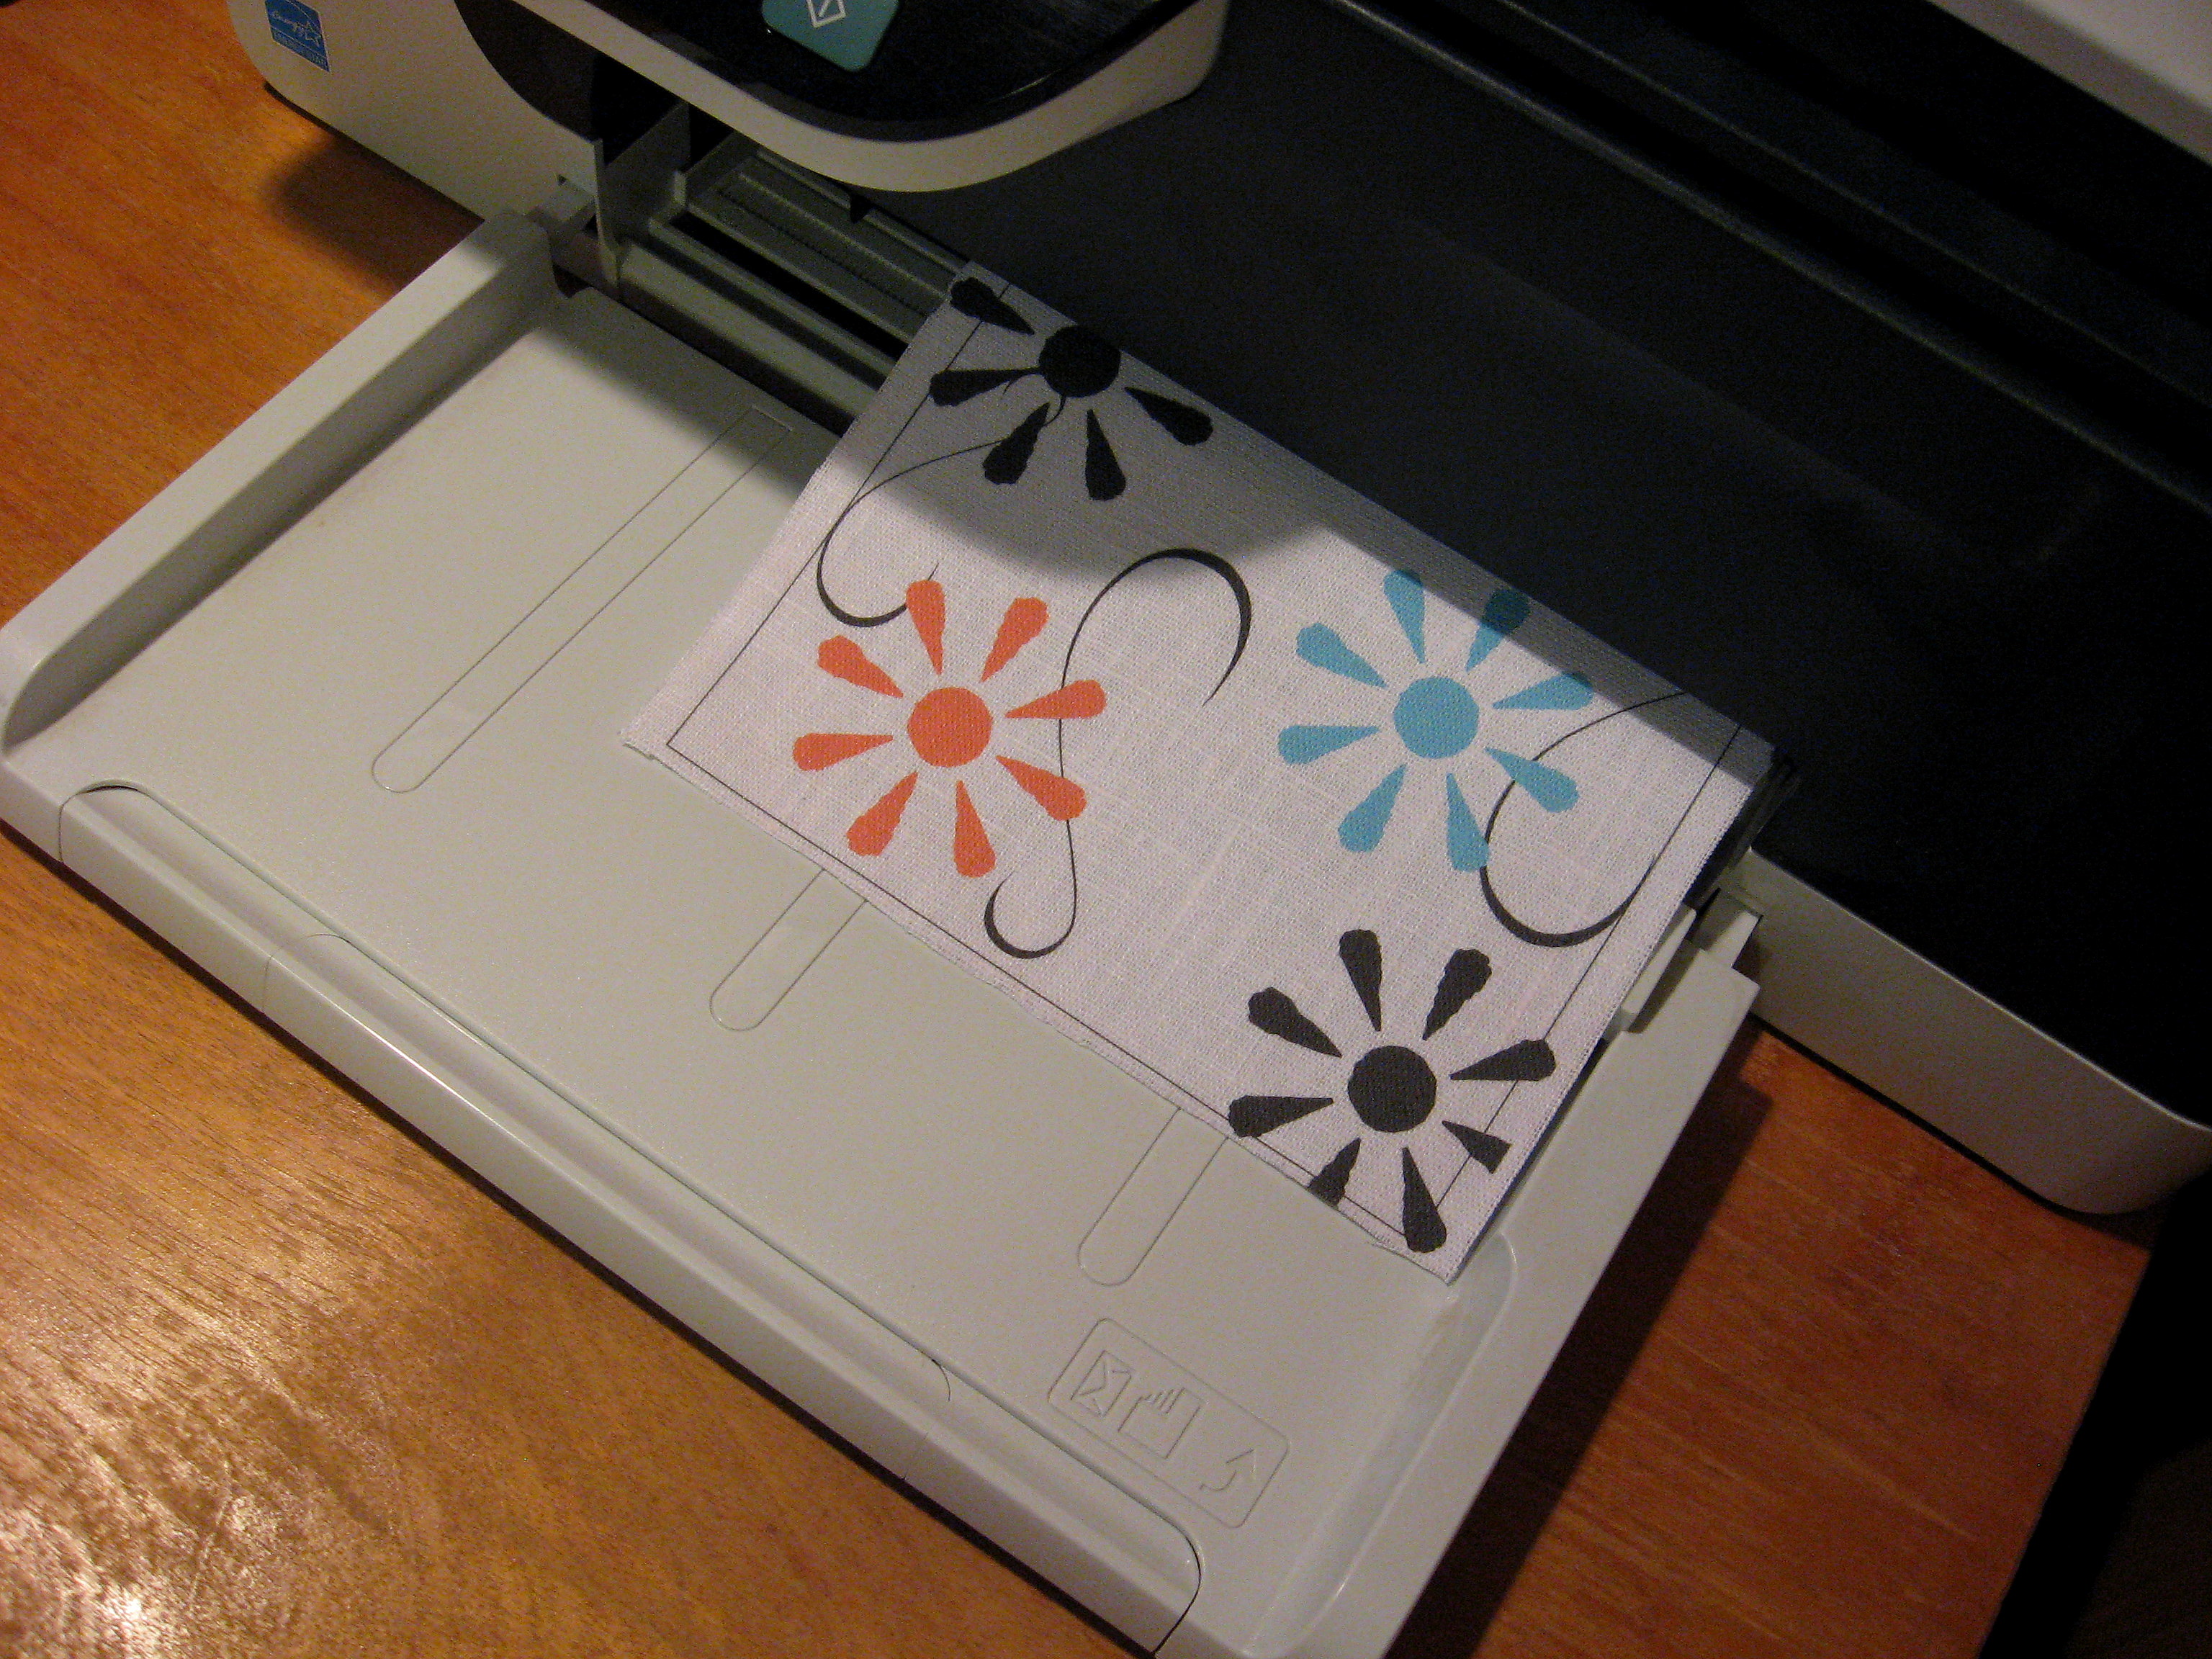
Now you have a piece of paper/fabric that will be sturdy enough to go through your printer. Feed it into your printer just like you would a piece of paper, loading it so that the image will print on the fabric. Most printers have a diagram that shows you which way to put it in, but if you’ve never done this on your printer, I recommend doing a test print on a piece of paper first to make sure you’ve got it right (not that I speak from experience or anything…)
Now print and be amazed!
Pull the freezer paper off the back of the fabric, and your custom-designed fabric is ready to use in your project.
Stay tuned to see what I’m going to do with this one!
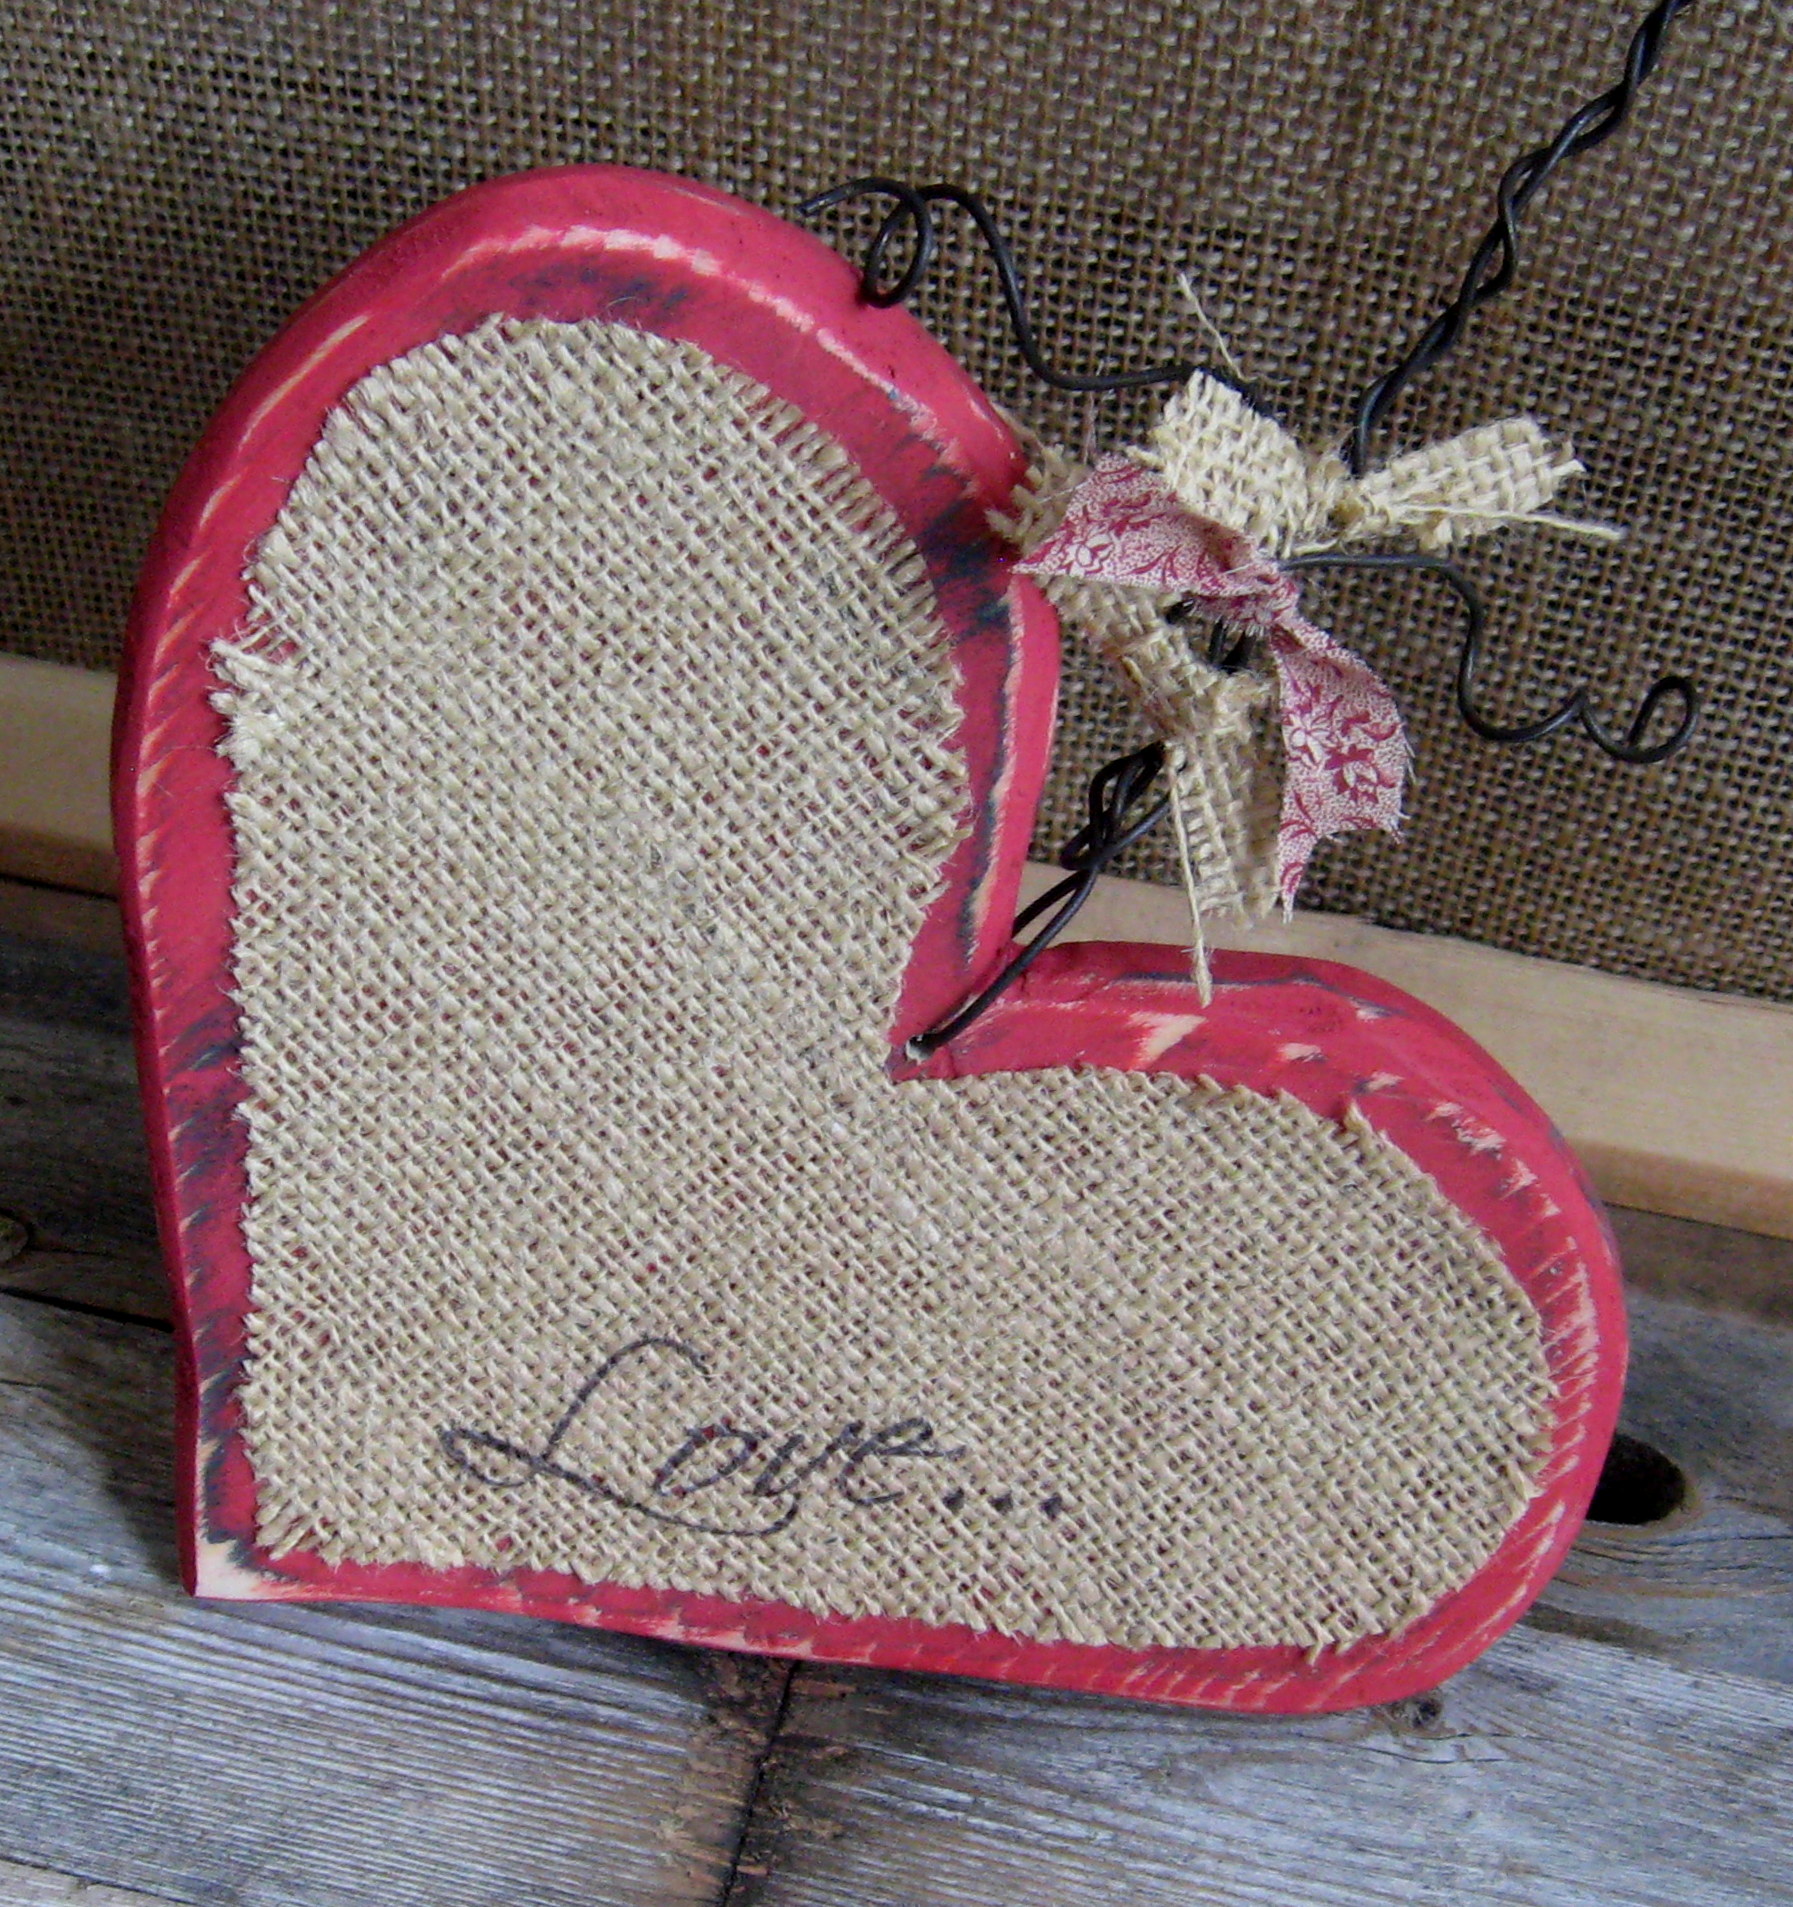
Here’s another finished project where I printed on burlap and then just spray glued it onto a wood shape.
What will you do with your printed fabric?
amy_ks
What great idea! I hope I can find these directions when I want to try it!
Michellyn
I’m guessing it’s not machine washable though, right? Can you use this technique in both laser and inkjet printers?
shazbraz
I have no idea if it is machine washable or not; I’ve never used it on anything that I would try to wash, but I don’t think that I would try it.
I’ve also only ever tried it on my own inkjet printer, but I’m sure it would work in either.
ameliaharris99
That is AWESOME!!! 🙂