Just in case you missed this article on making a Jenga photo block keychain the first time we shared it a couple of years ago, we are republishing it. After Sharon wrote this blog originally, we got an awesome response. This is one of the PYP Best Blogs!
I was helping someone move recently and we found a handful of homeless Jenga blocks in the bottom of a closet. I rescued them back out from the garbage; I knew I could find something fun to do with them! This project was basically free, as I had all of the supplies on hand already, but if you need to purchase anything, it shouldn’t be much at all.
You’ll need a Jenga block or similar sized piece of wood, some scrapbook paper (paper will work better than cardstock), a little paint, a small eye screw, a drill and some Mod Podge.
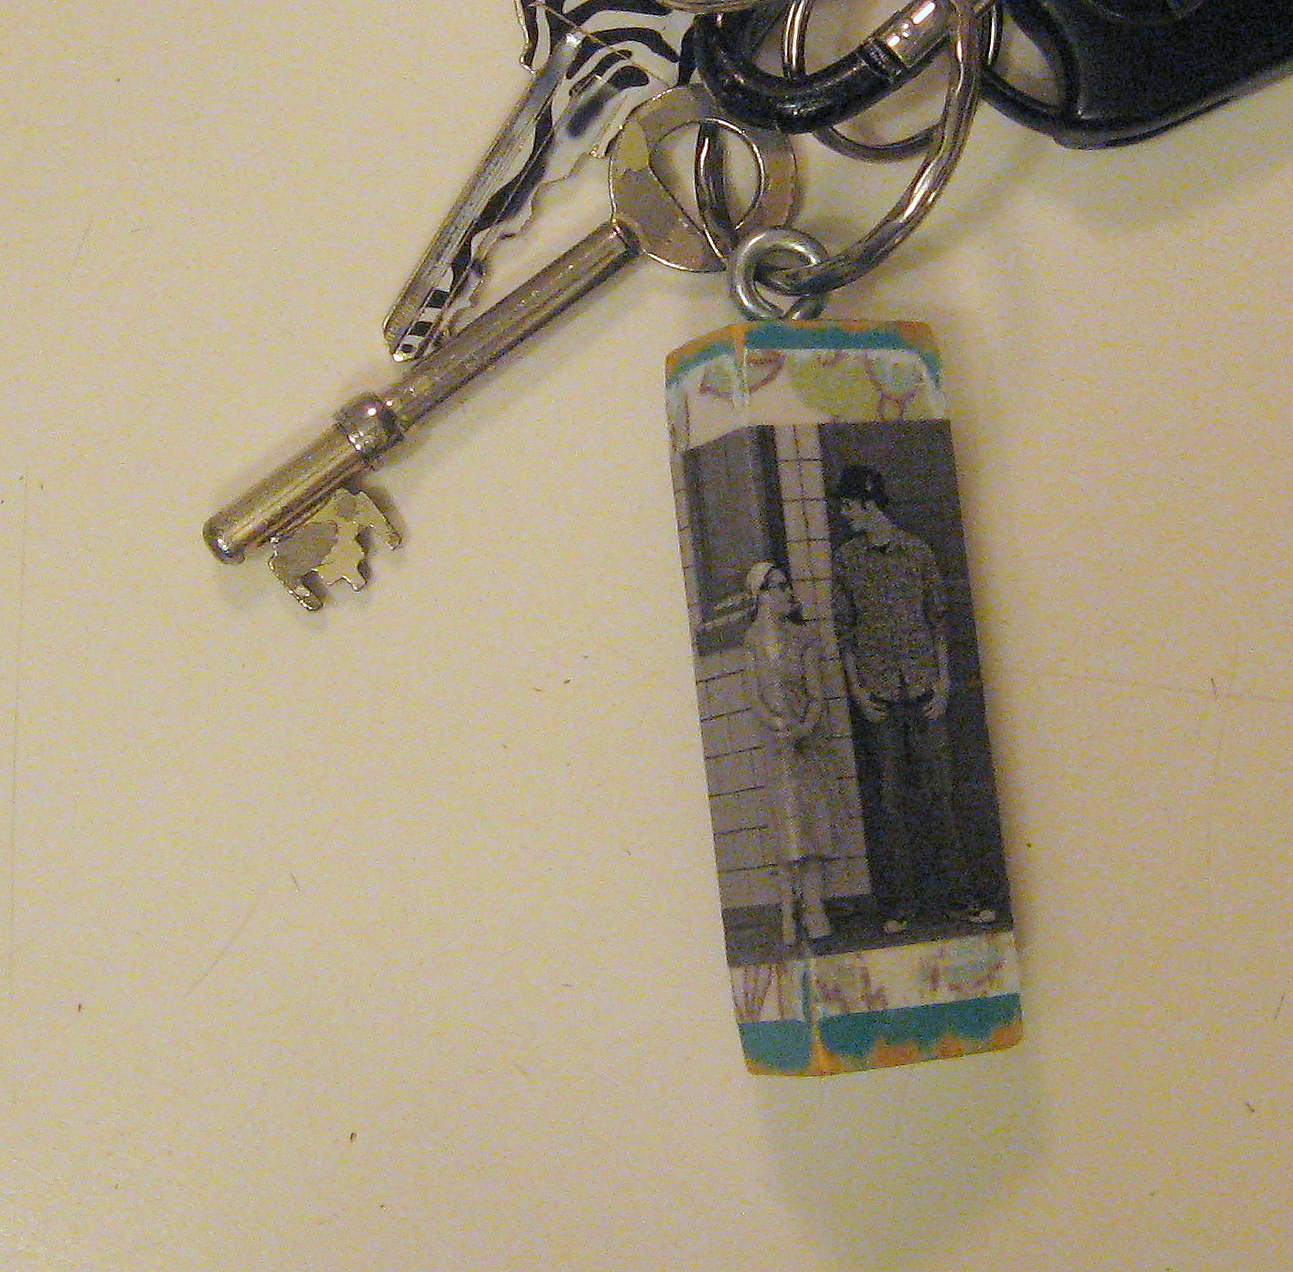
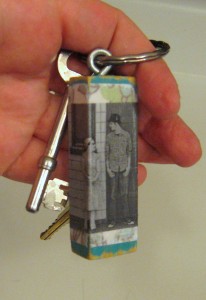
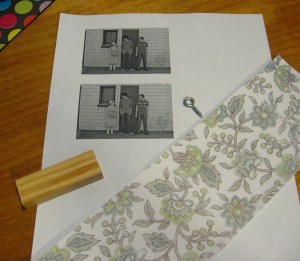
You’ll also need a photo of your choice printed with a laser printer. If you print it on an inkjet printer, the Mod Podge will likely smear the ink in the photo, although if that is your only option, I have had luck with spraying the photo with a clear craft sealer and letting it dry well, then use the Mod Podge on top. Use the Jenga piece to decide about how big you want your photo to be and just print it on plain white paper.
*You only need one photo. I printed 2 in case I made a mistake!
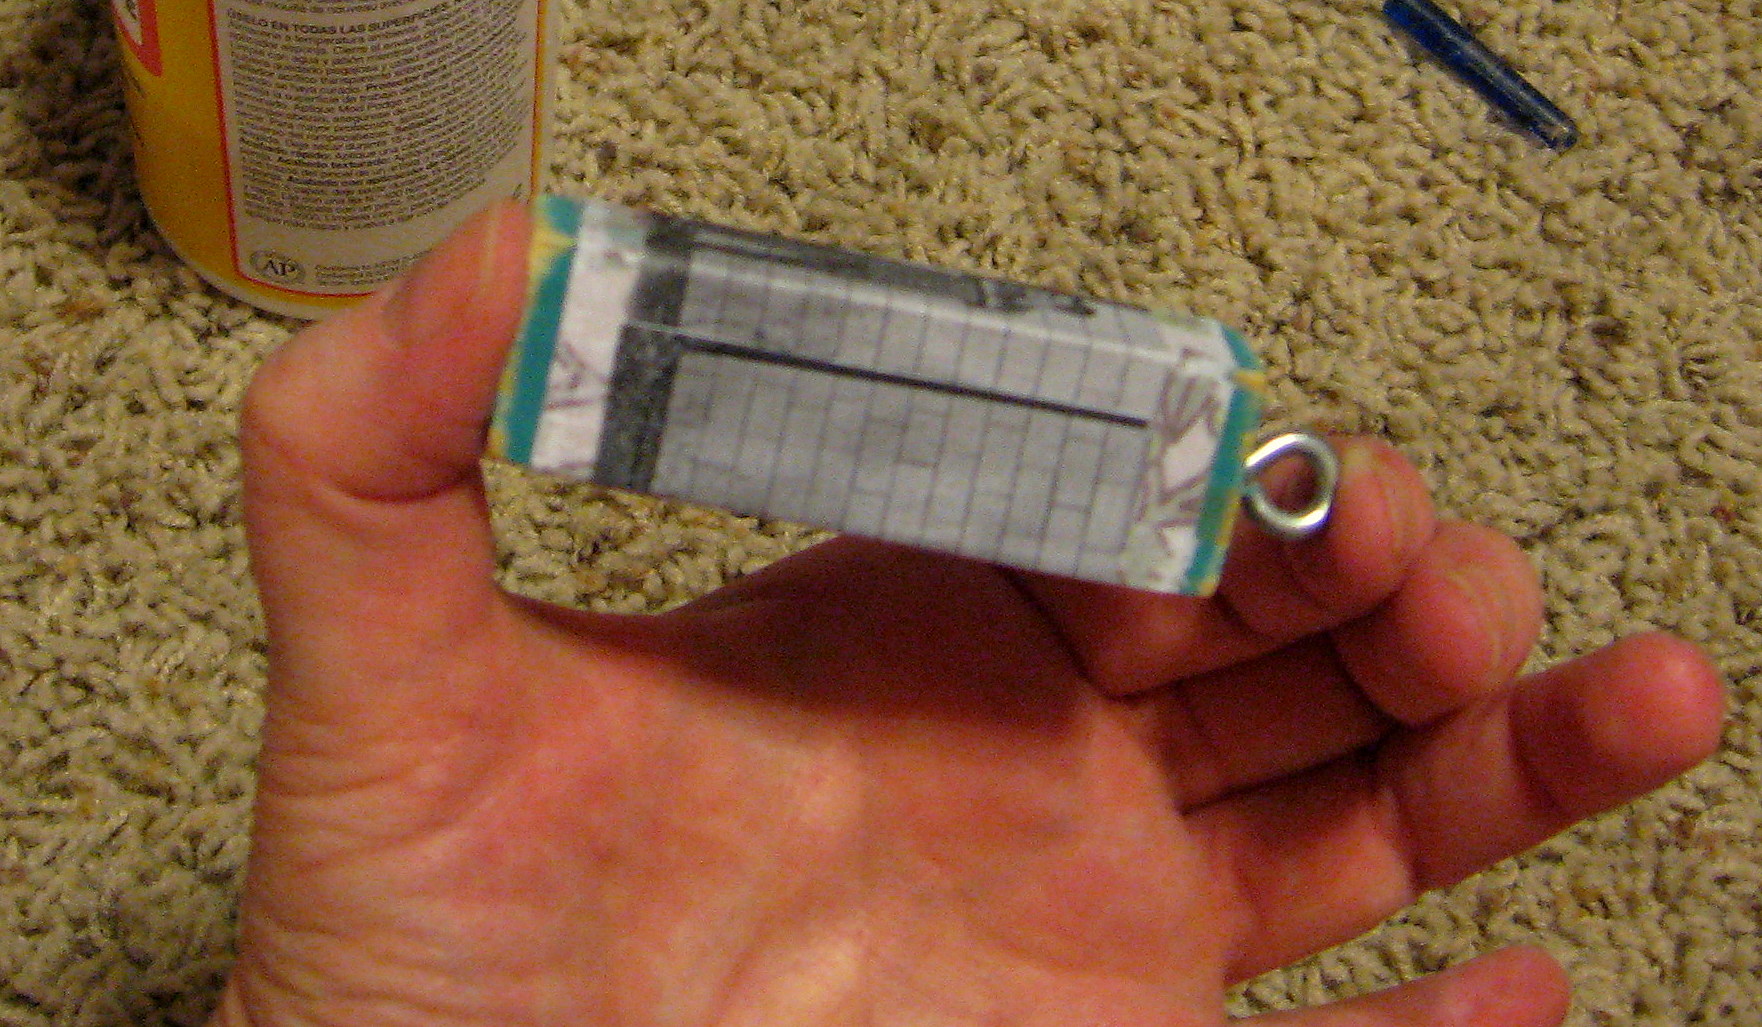
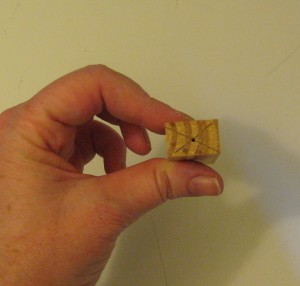
Draw an X on one end of the Jenga block and drill a small hole where the lines meet. This is where you will screw in the eye screw later.
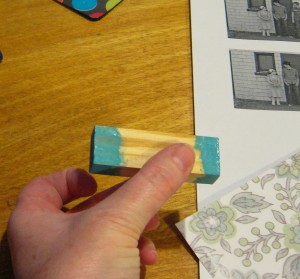
Now paint the ends of the Jenga block in the color of your choice. You only have to paint the ends because the middle will be covered with paper.
Once the paint is dry, it is time to Mod Podge on the scrapbook paper.
Cut a small piece of paper to the right height (just eyeball what looks good to you – it is up to you how much of the painted wood shows underneath!) and long enough to wrap around the Jenga block and just slightly overlap in the back.
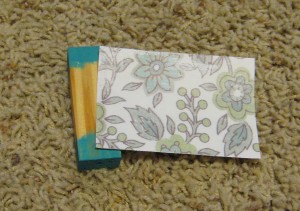
I found that it was easiest to Mod Podge the paper down one side at a time; it was pretty easy and gave me a nice crisp finish. Apply Mod Podge to one side of the Jenga block with a paintbrush and line the paper up so it is even with the edge of the Jenga block. Rub the paper with your fingers until it adheres and starts to dry, then move on to the next side, folding the paper tightly around the corners.

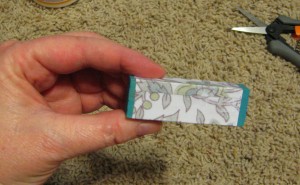
Once that’s dry, you can scuff up the paint and paper a little with some sandpaper if you like that look – or just leave it if you don’t! Now is a good time to put in the eye screw, as it gives you something to hold on to in the remaining steps.