
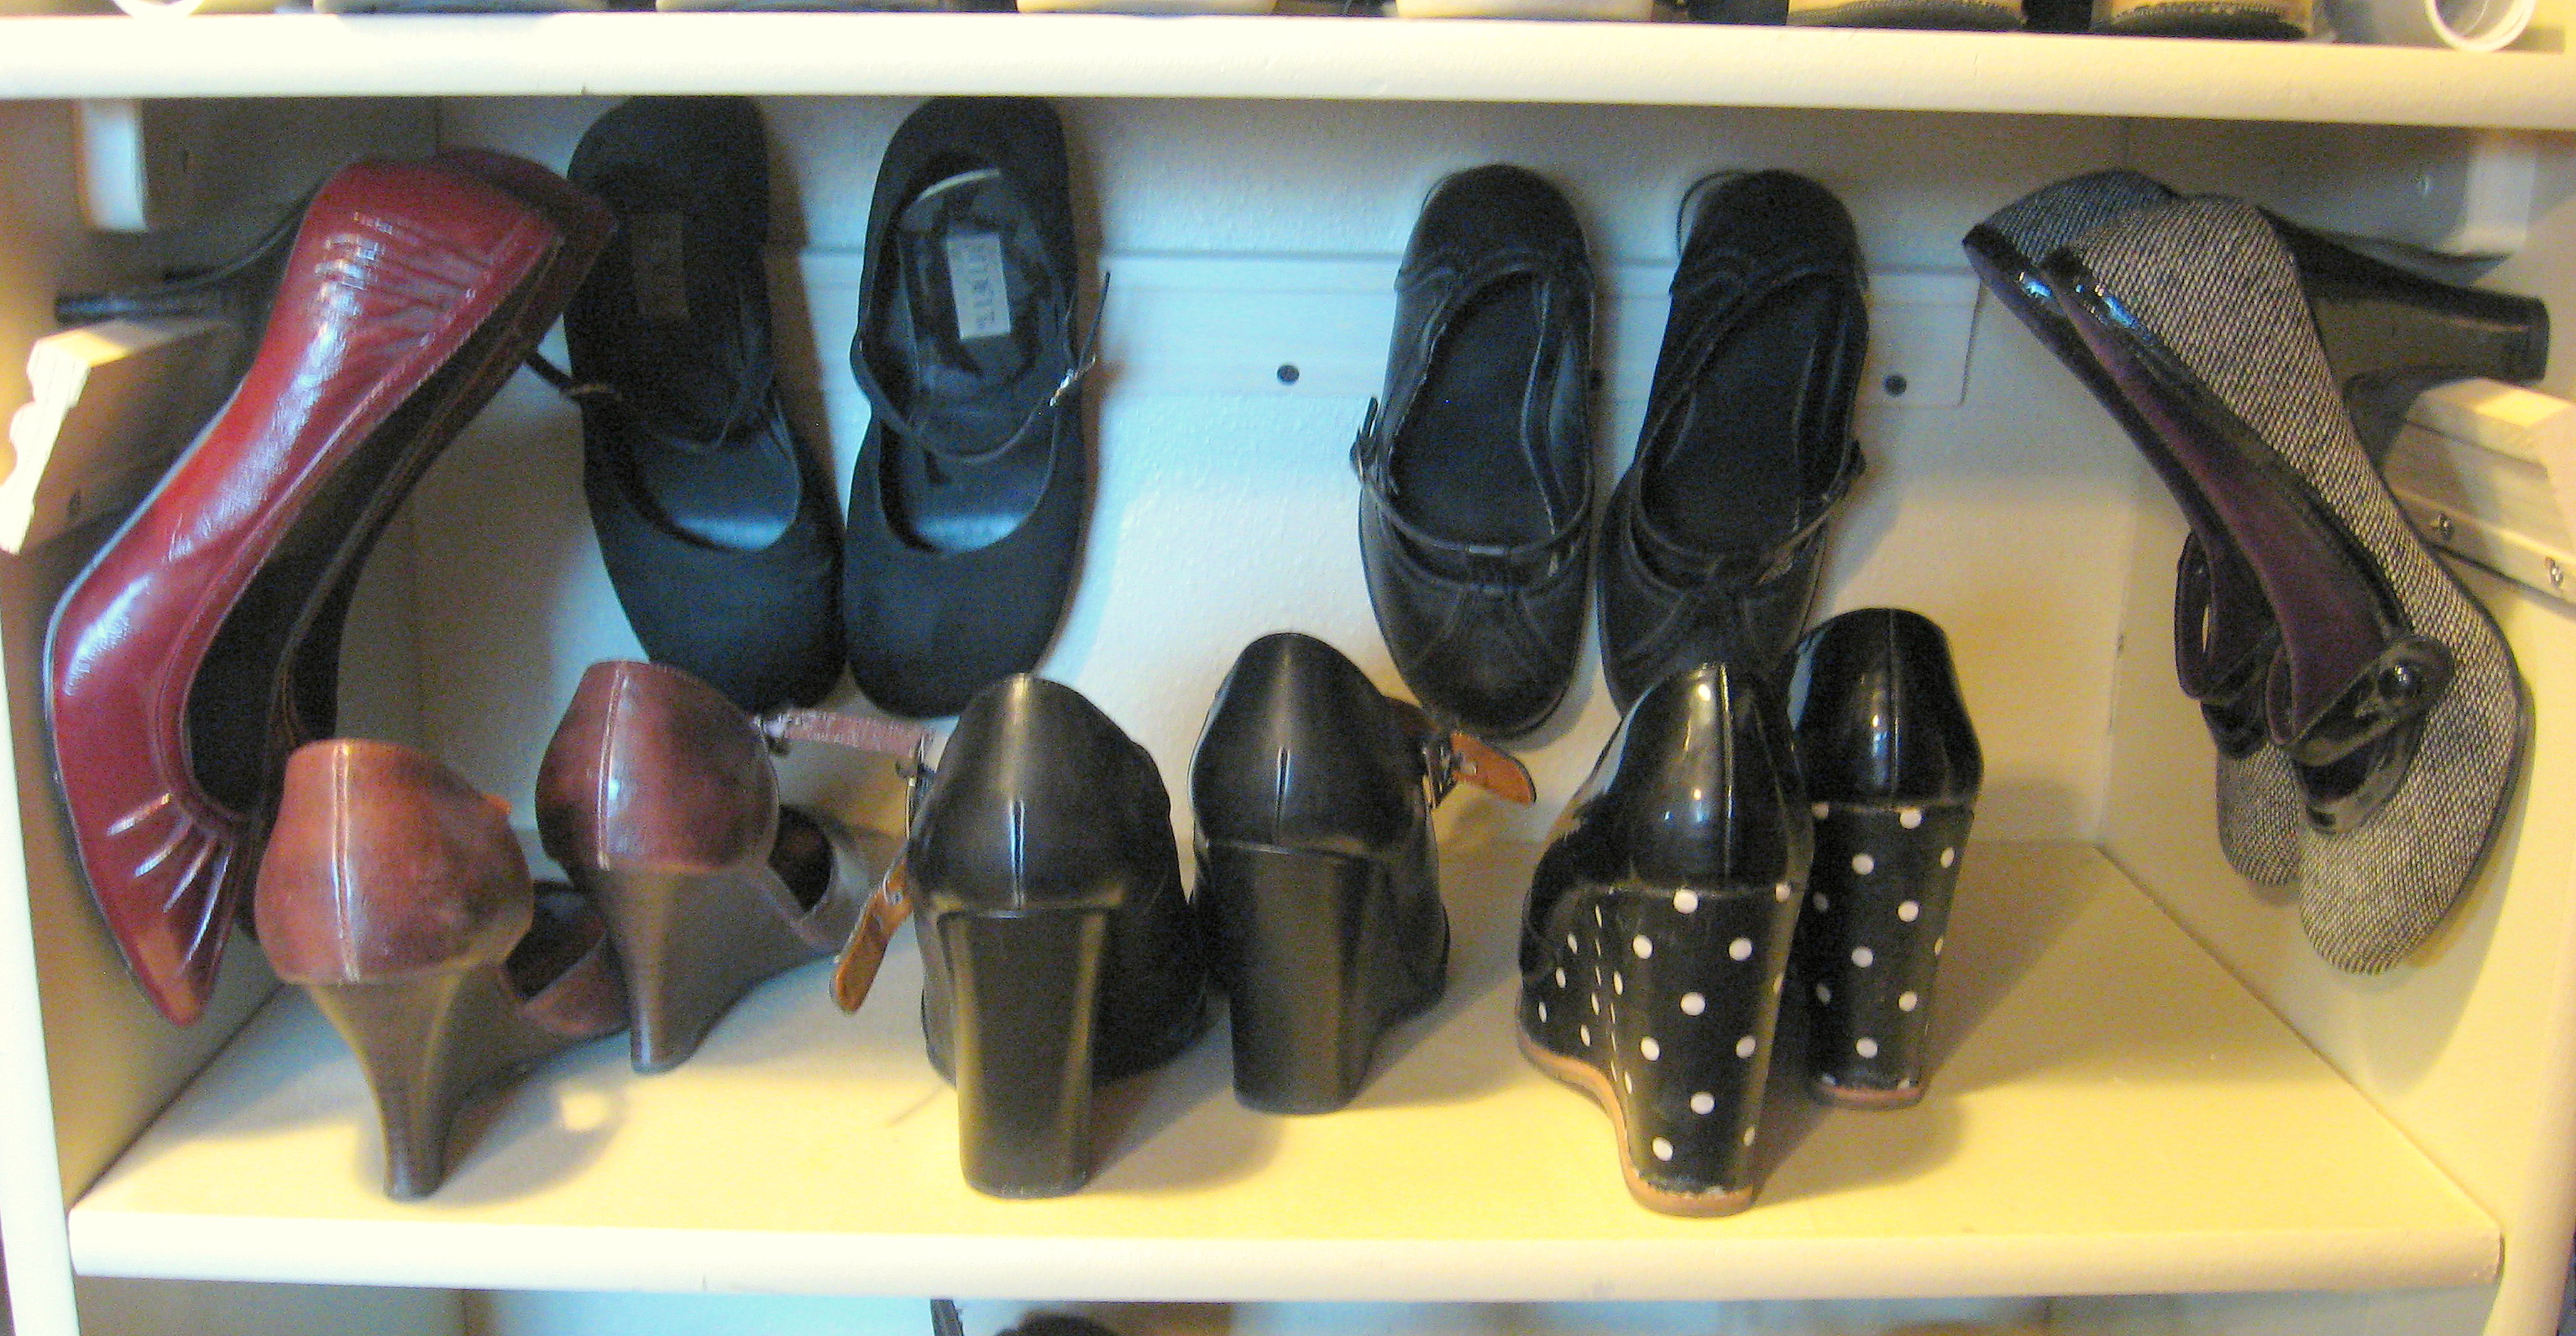
No matter how many times I straighten them up, my shoes always look like this again within a week:
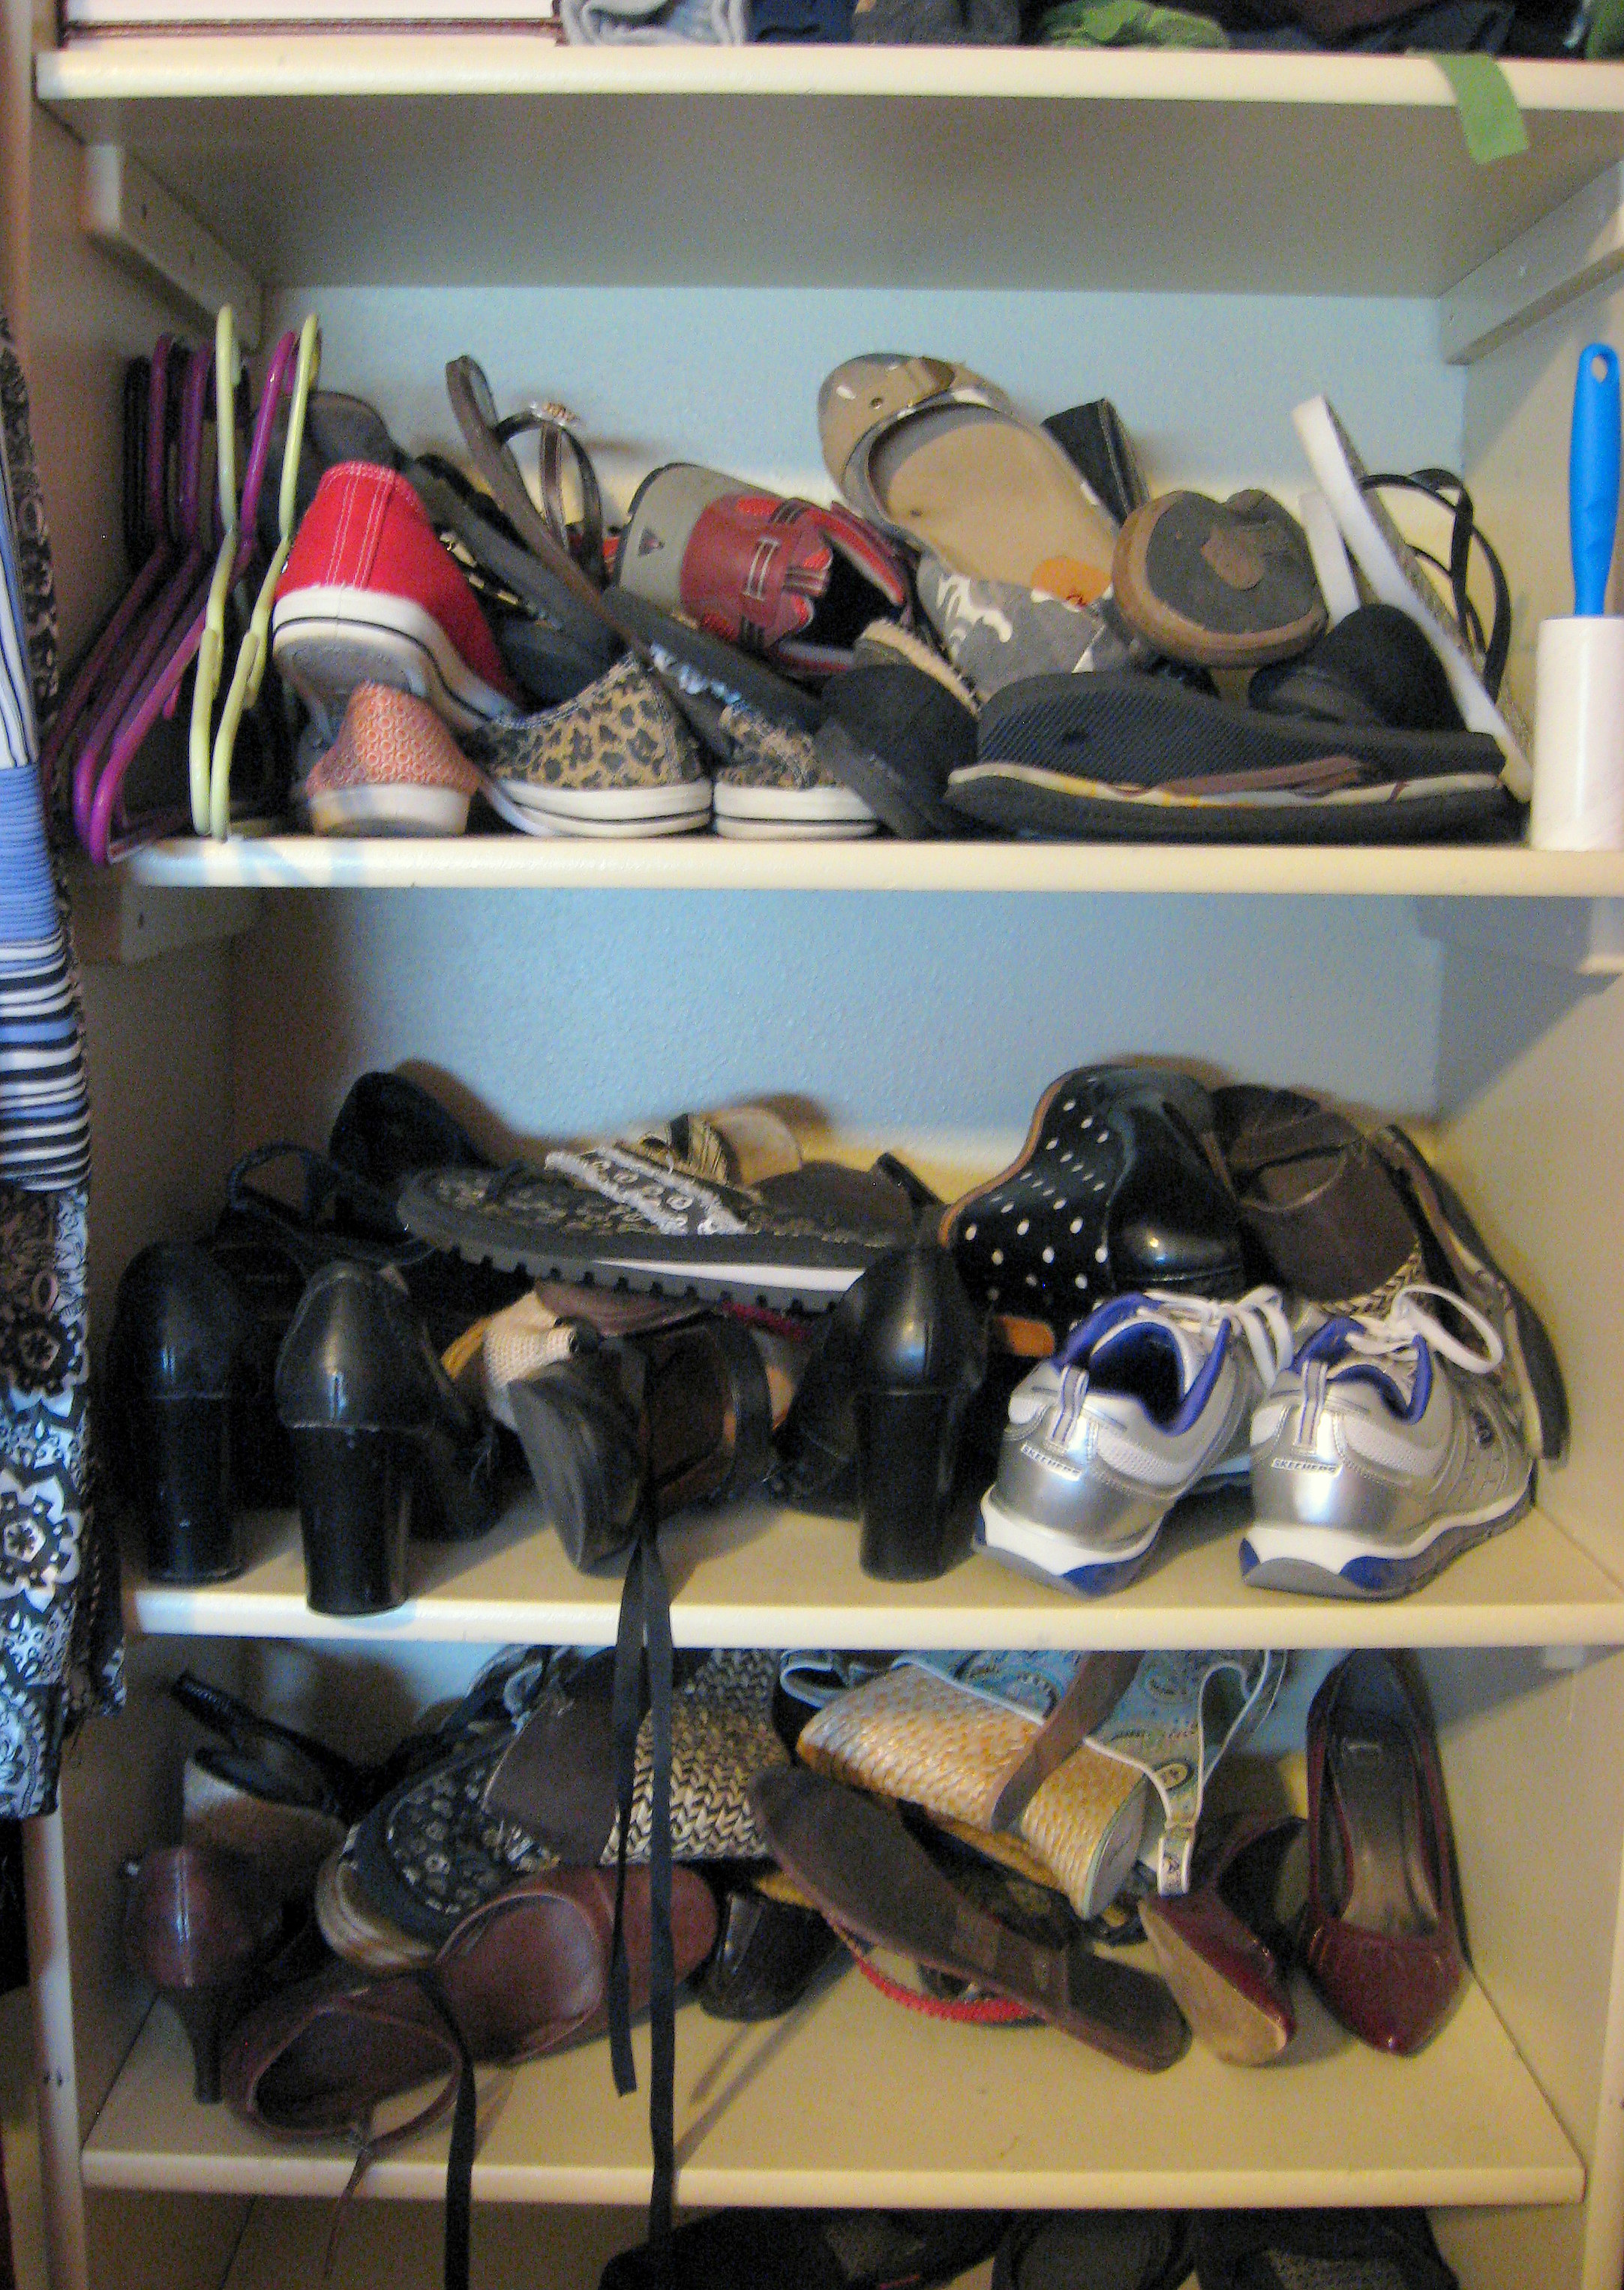
Not so good. As I was pulling out all my summer shoes and stowing away the boots this week, I thought, “I have got to do something about this!” There are many different DIY shoe storage solutions around the internet, and I decided to put together several different ones to make a custom system that fits my needs in my closet. I’m going to walk you through what I did and you can take the parts of it that fit your situation.
There are many ways to dress up the ideas here and make them look pretty if you are blessed to have that kind of closet. I don’t. My closet is tiny and is only cute when the curtain that covers it is closed, so I was going for 2 things with this project: high function, no cost. I didn’t spend a penny; I just used things I already had around the house, but if you do end up having to purchase the materials, none of them were expensive.
I ended up dividing my shoes into 3 different parts: dressier heels, flip flops and flats, and other.
Let’s start with the heels.
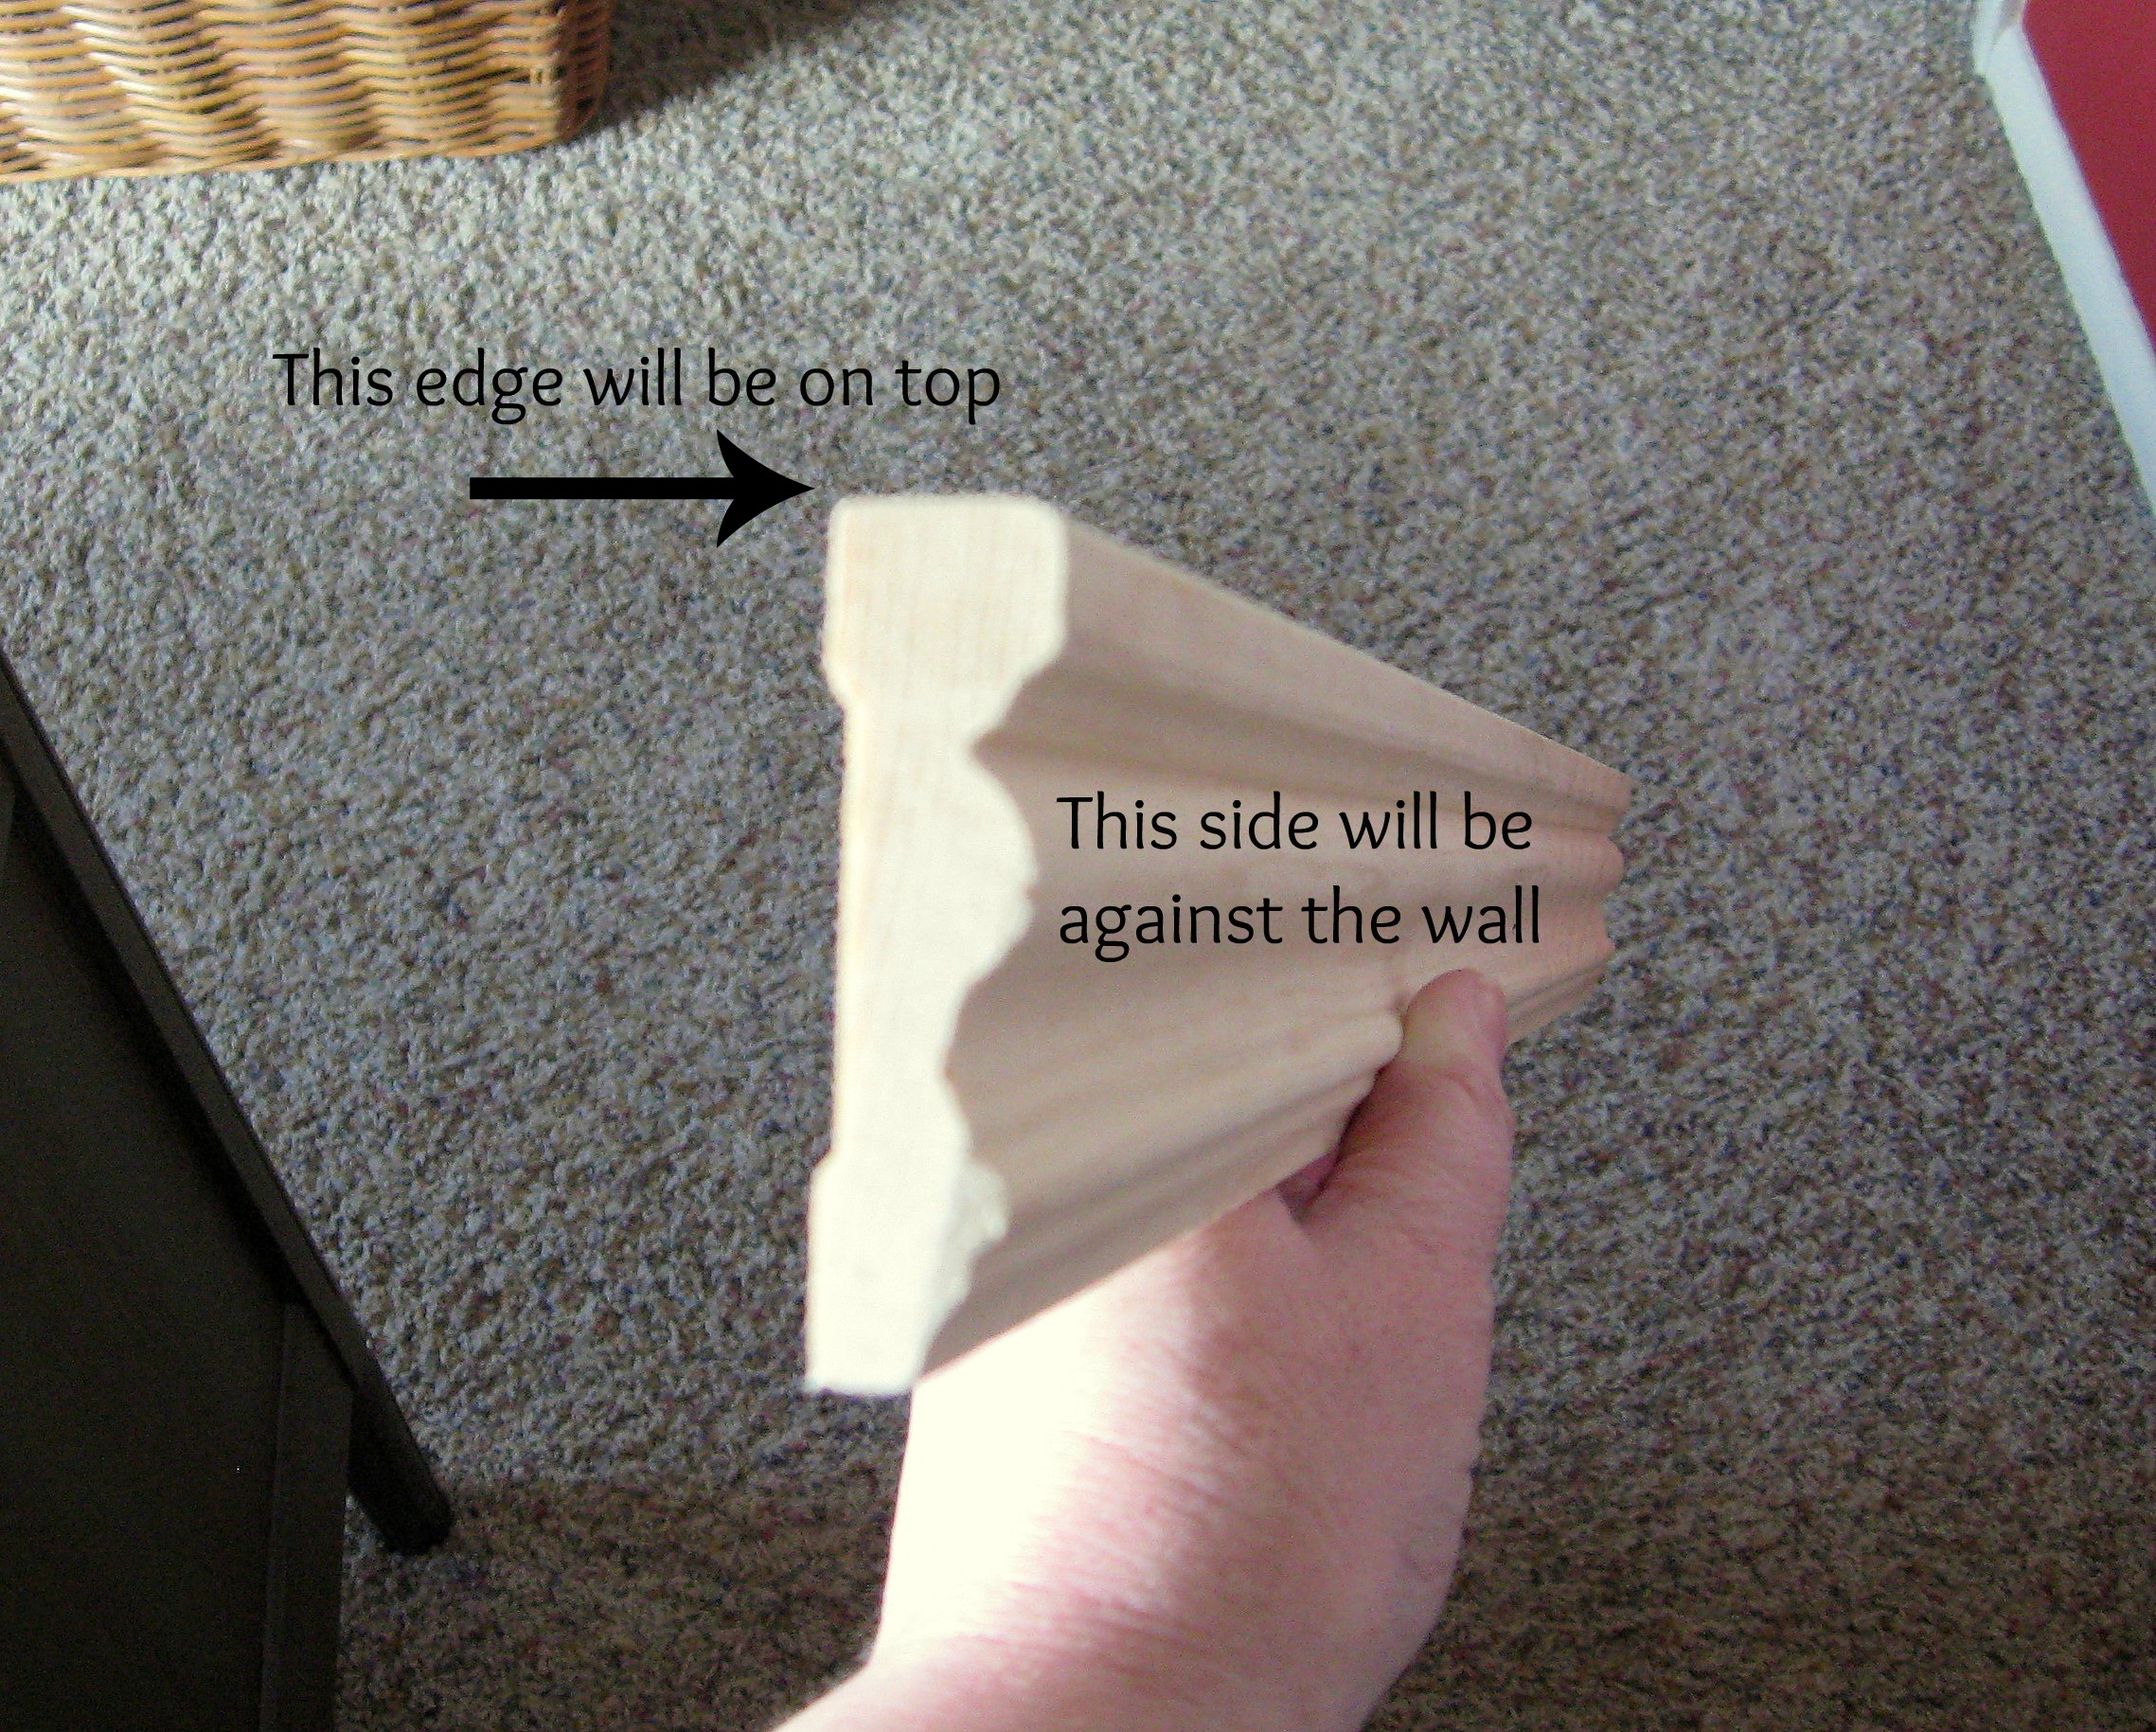
Actual crown moulding would work great for this, but since I didn’t want to spend any money, I headed out to the scrap wood pile to see what I could find. I found this moulding and I had my son hold it up against the wall for me – upside down with the wide flat part up- while I tried hanging my shoes on it to see if they would stay. They did, but I thought that they stayed on better when I also turned it backwards, with the right side facing the wall, so that it was sitting at an angle.
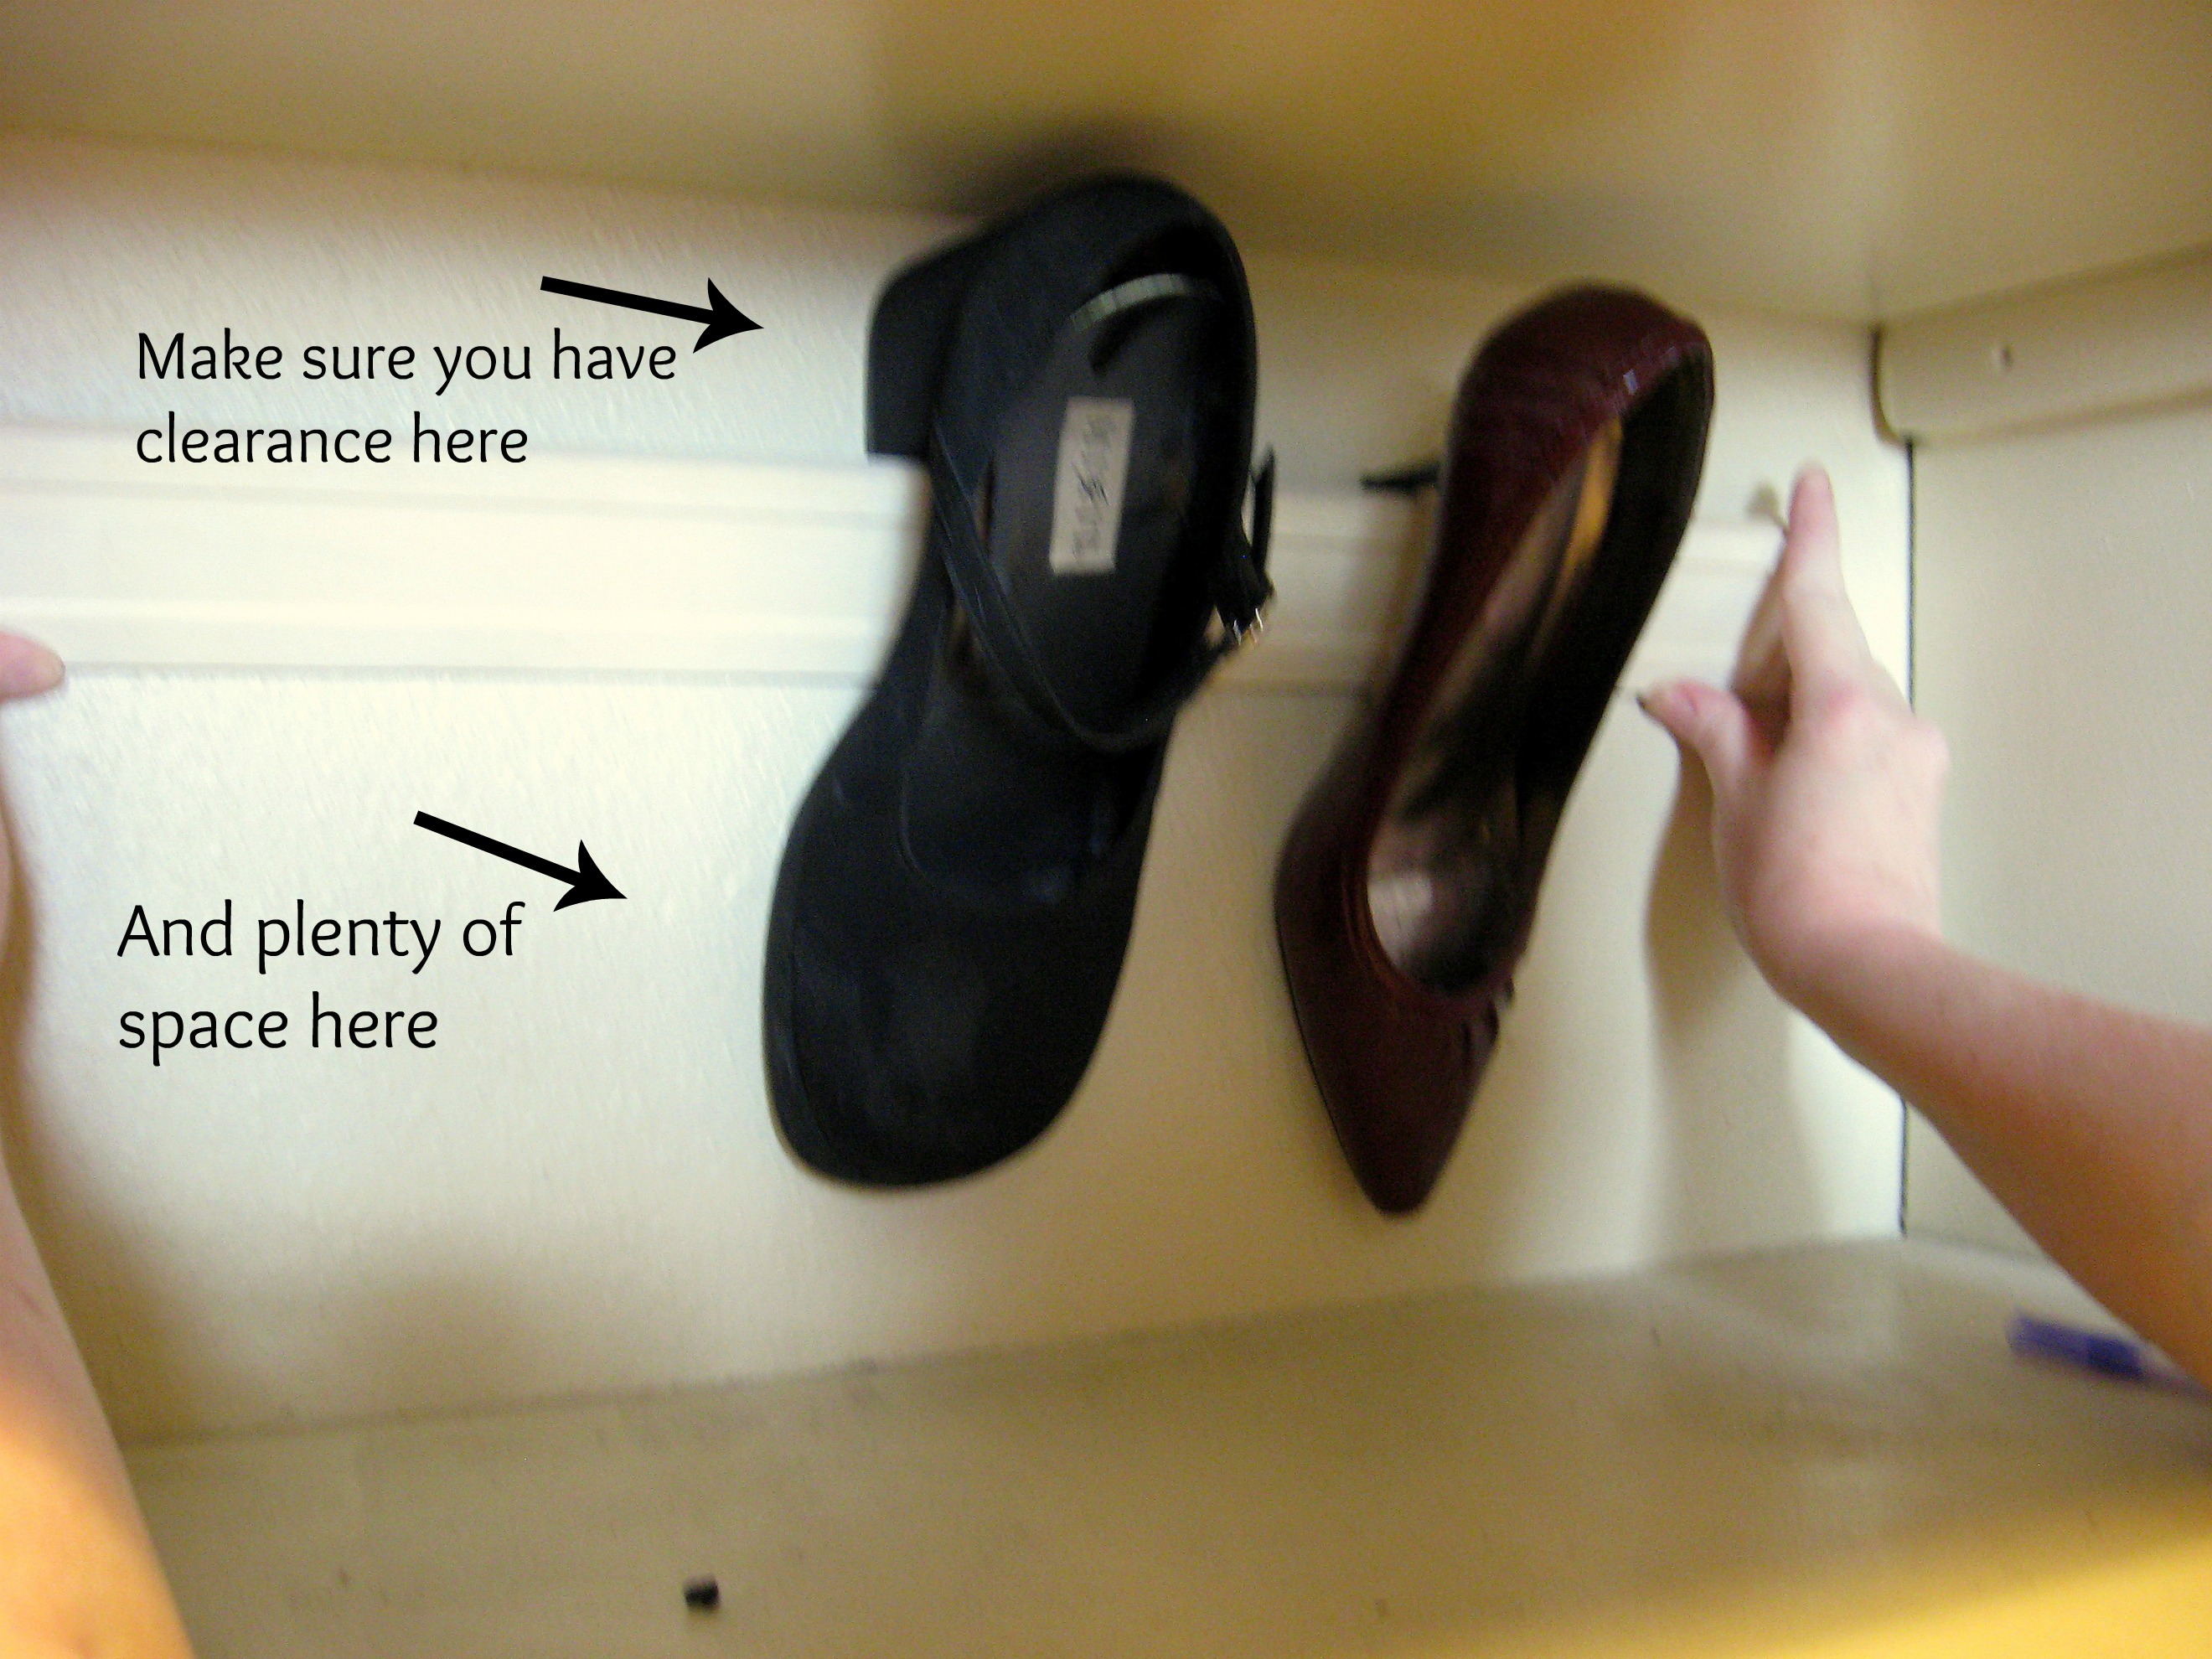
Cut the moulding to the length you need, then have someone hold it in place for you while you determine where on the wall you want to put it. Hang a couple of shoes off of it, and make sure you like the placement, leaving plenty of clearance for the shoes both above and below.
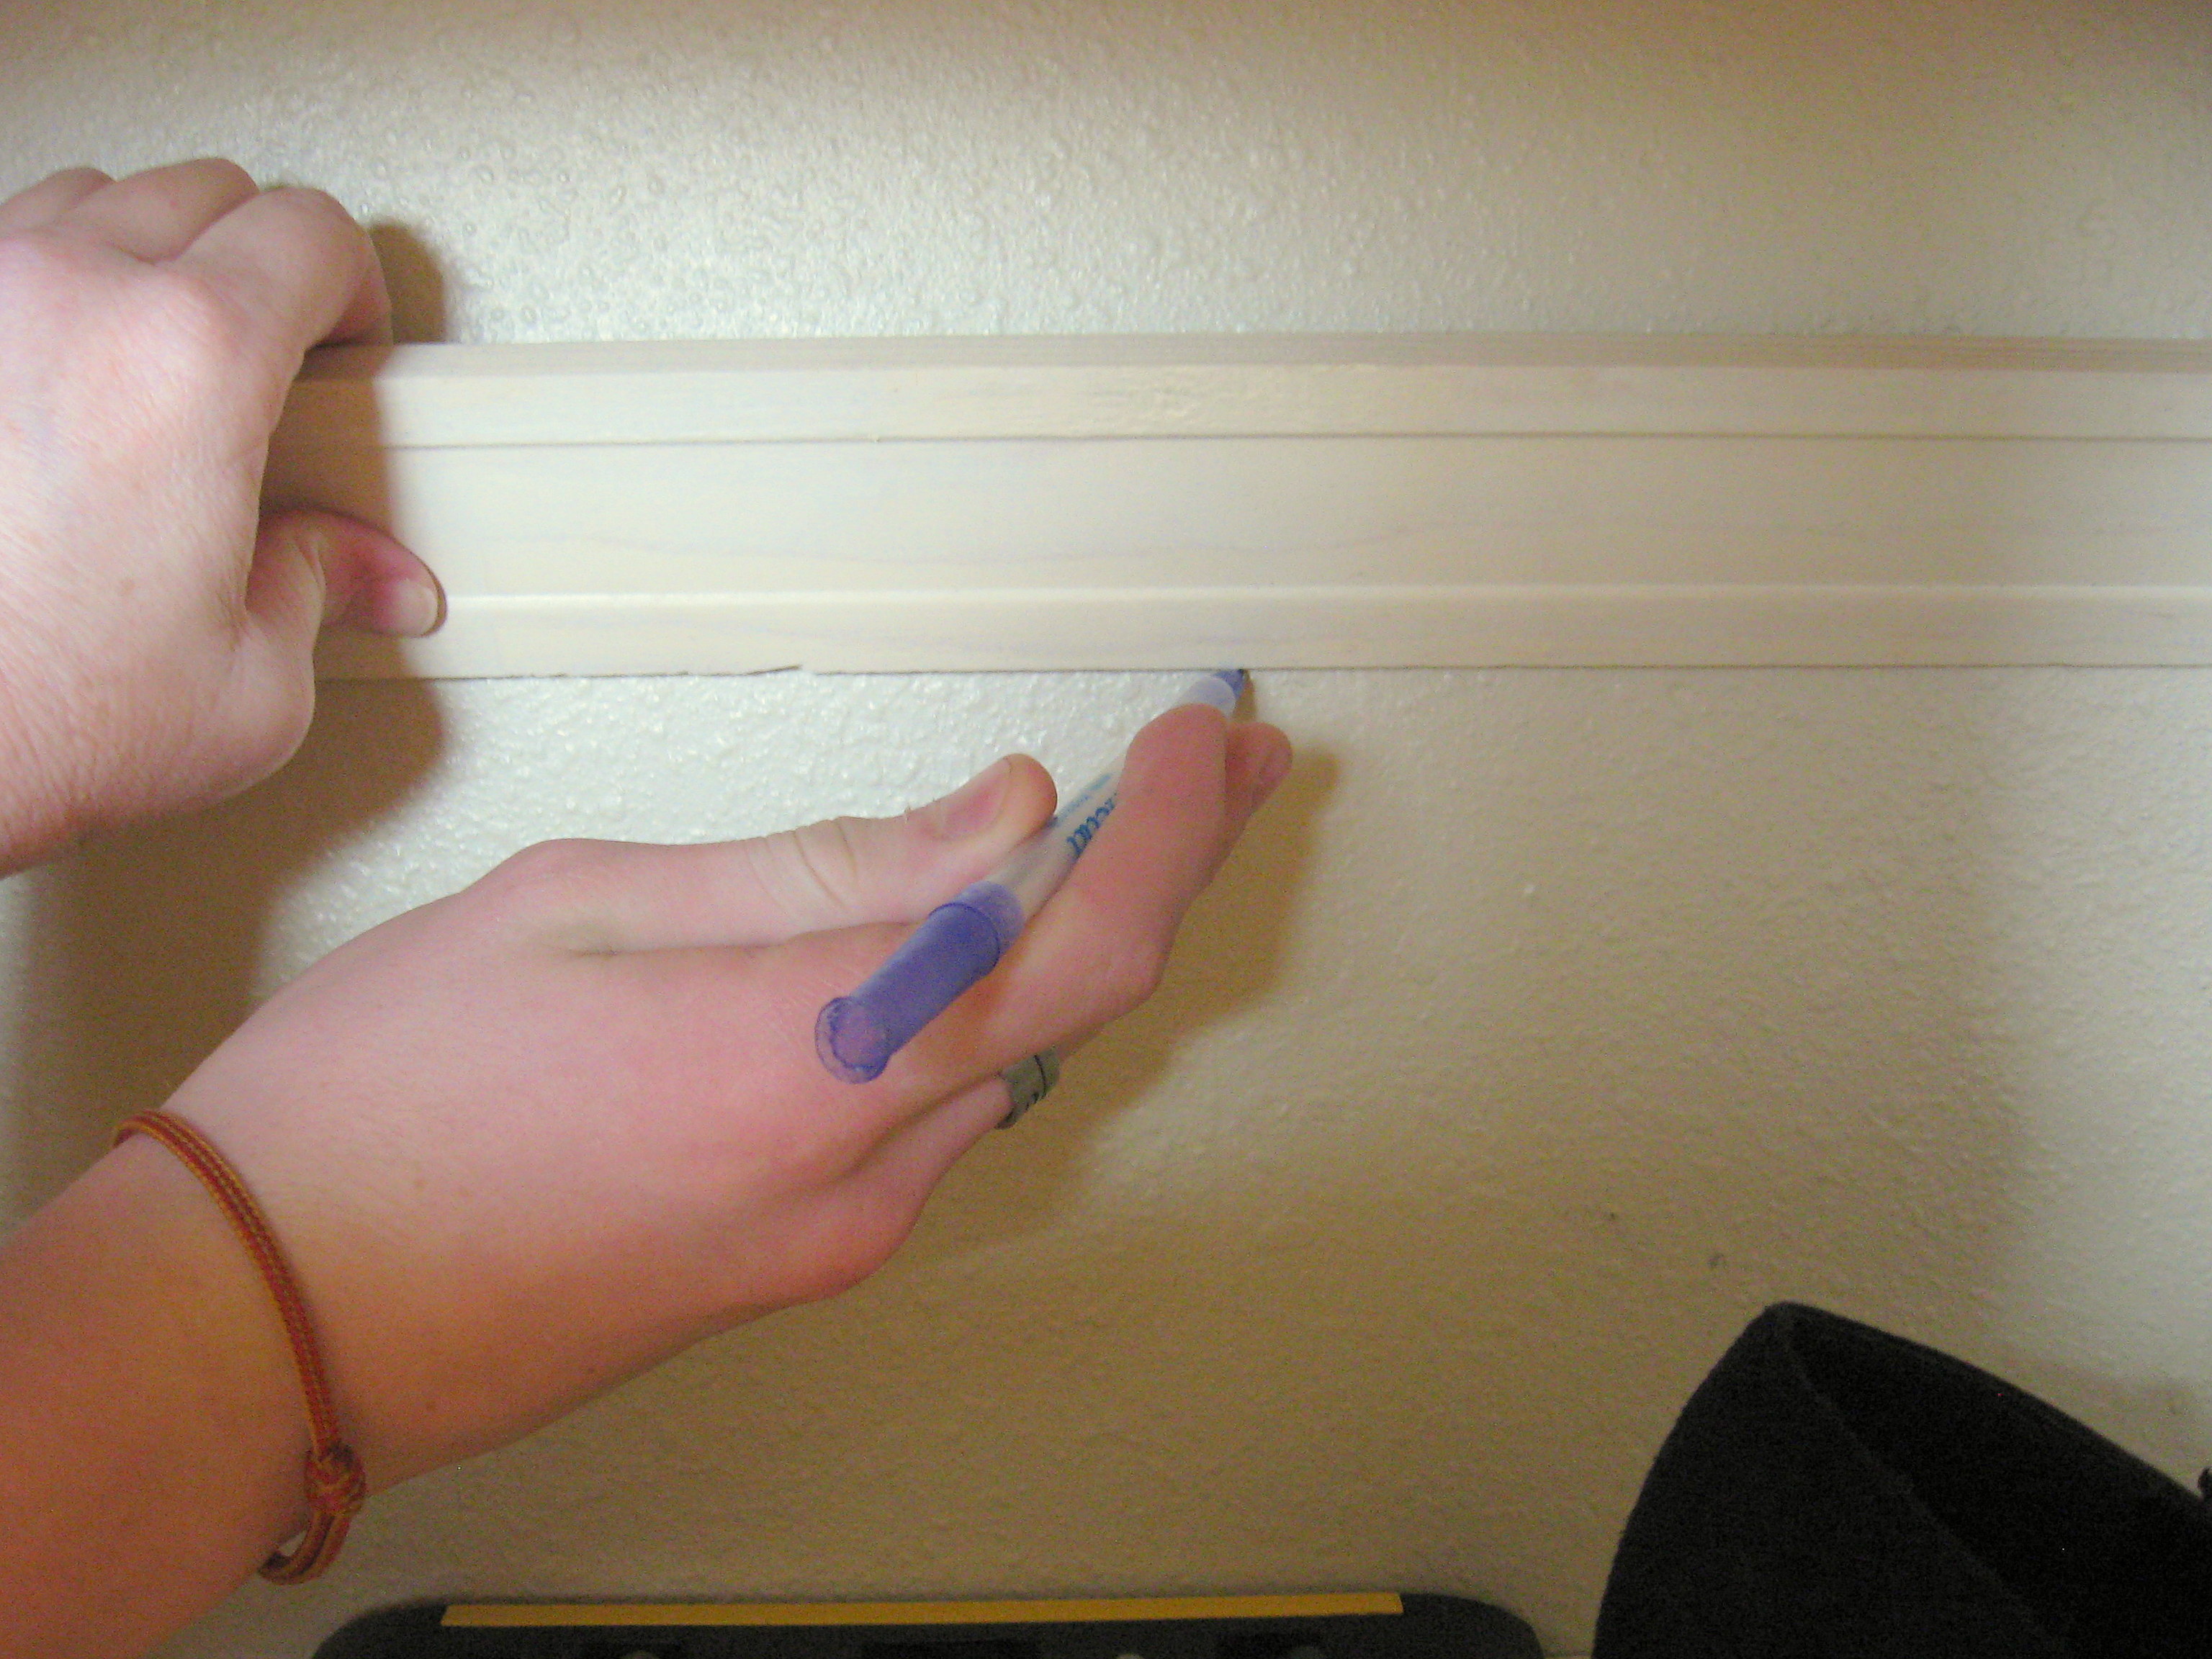
Once you like where it is, use a level to make sure it is straight,
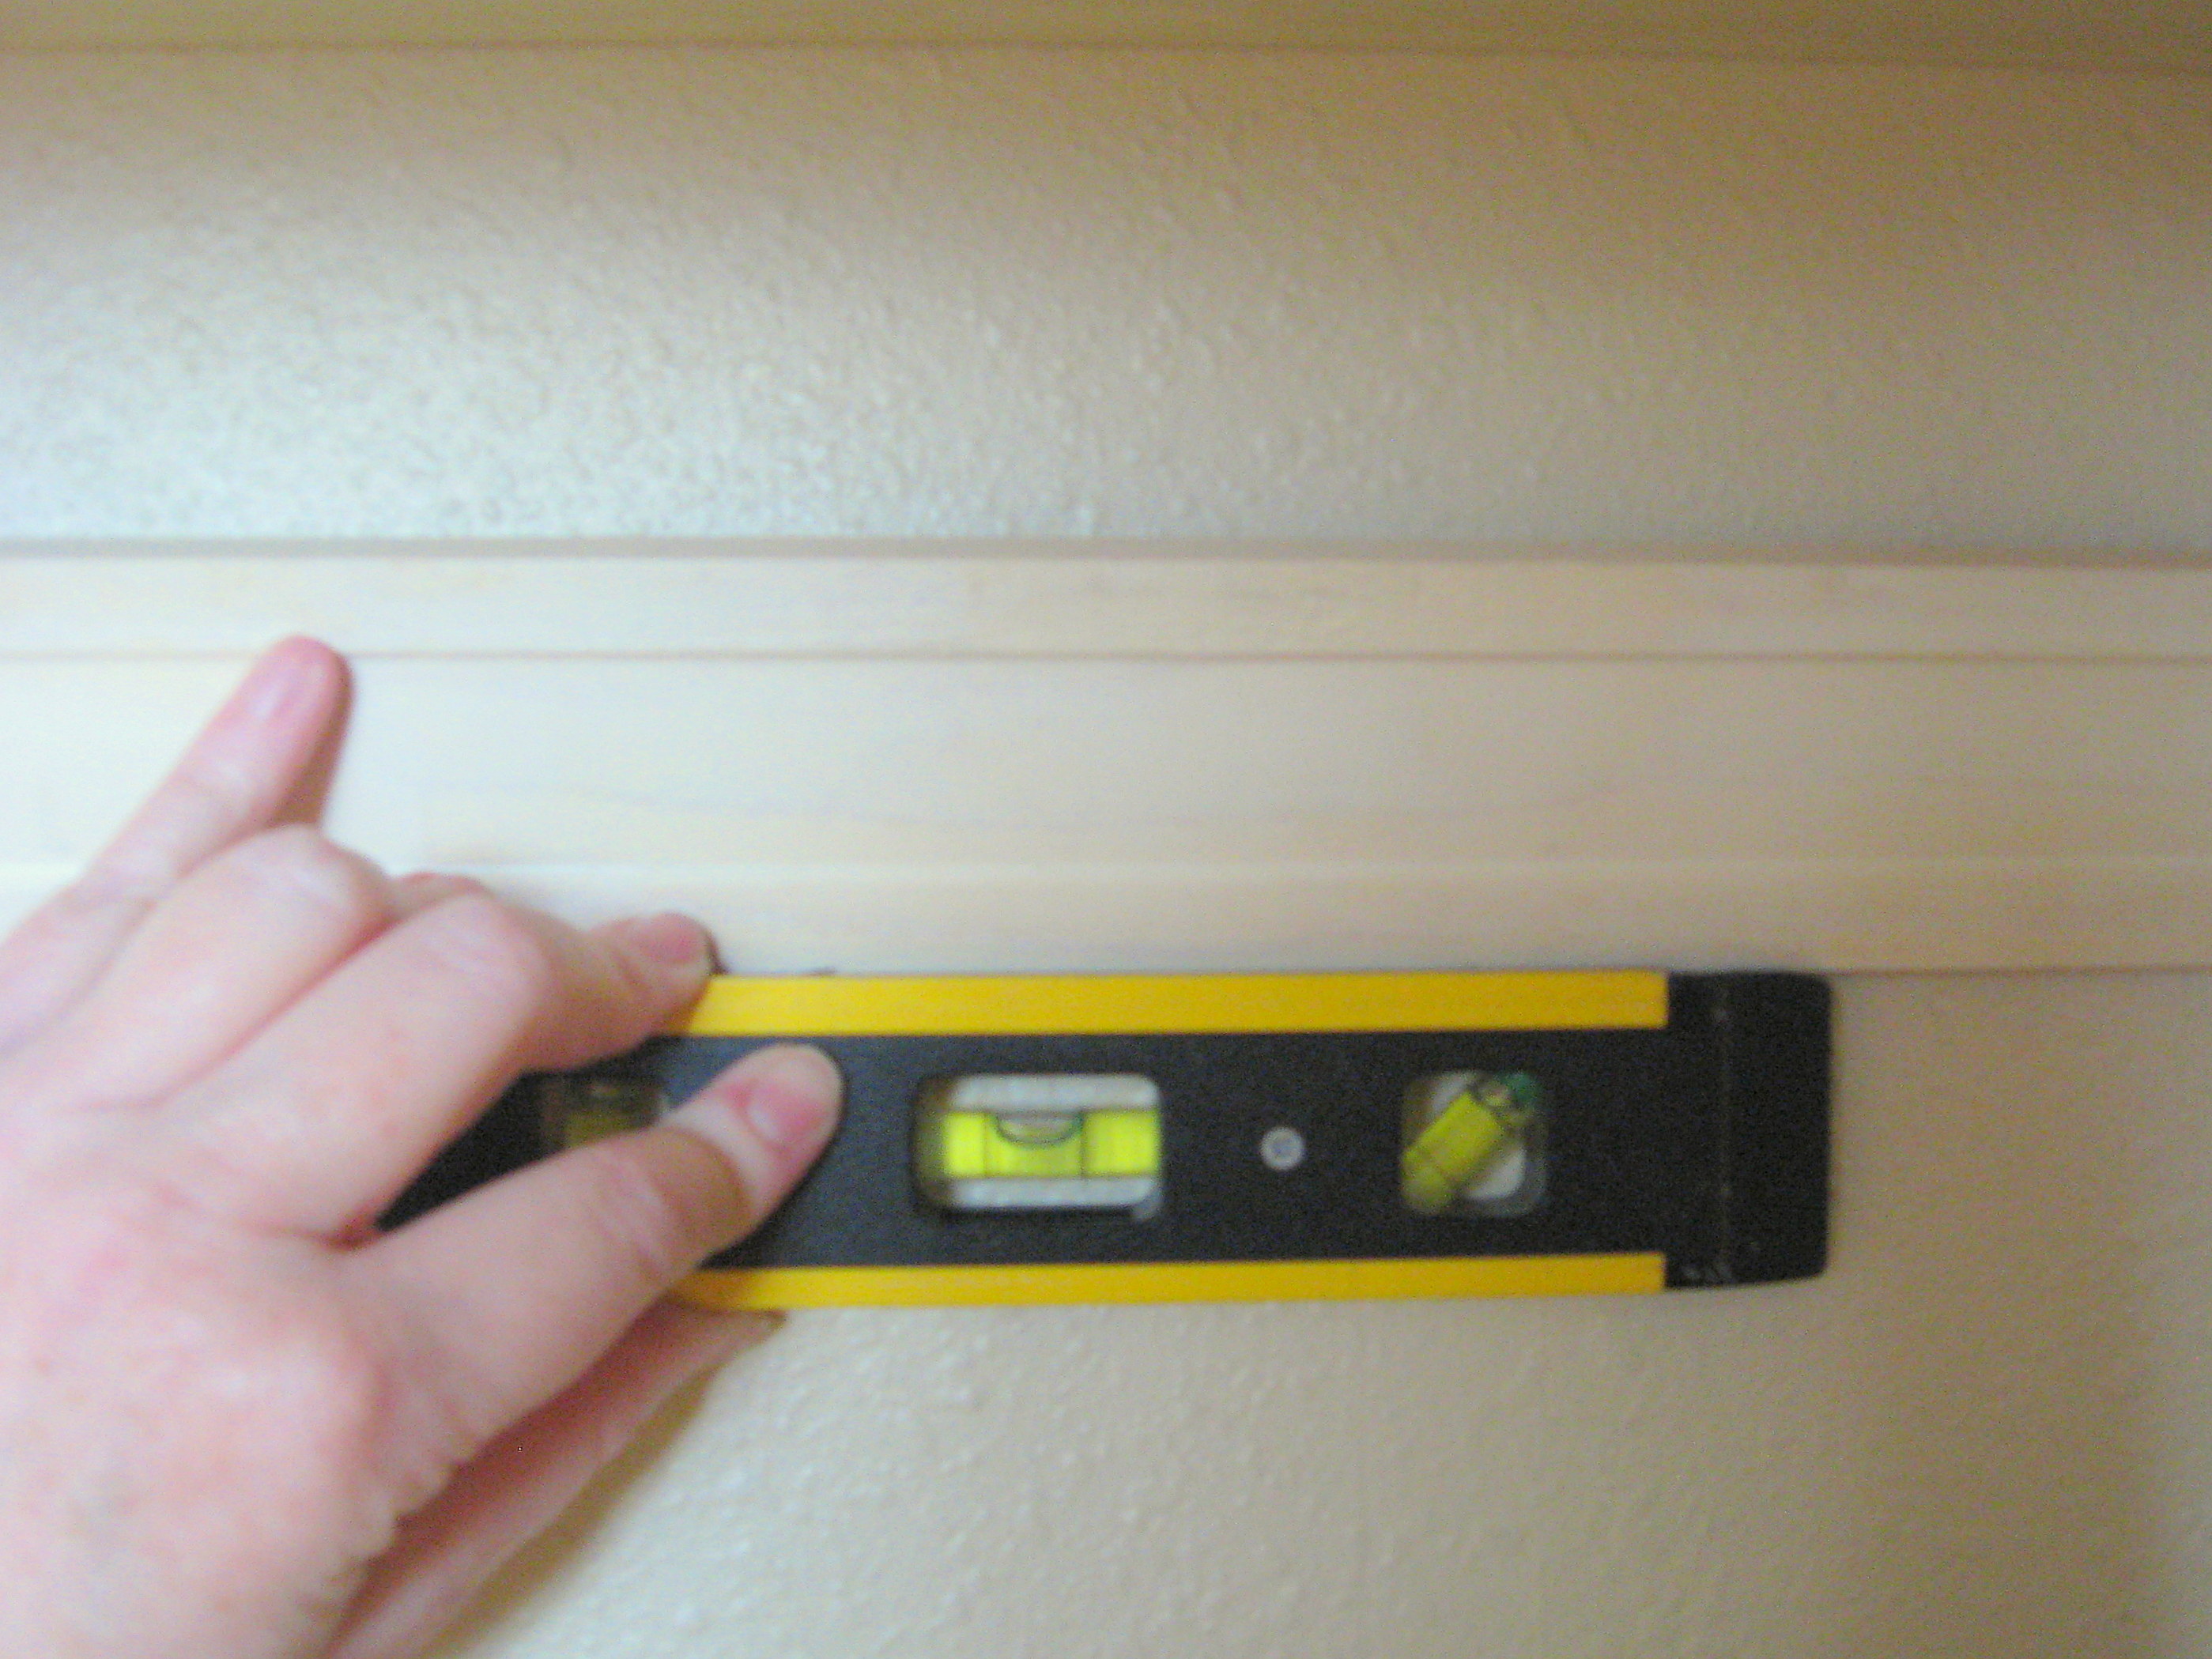
then draw a line along the bottom edge (see how I’m holding the moulding with the unfinished side towards me, and the thin top on the bottom).
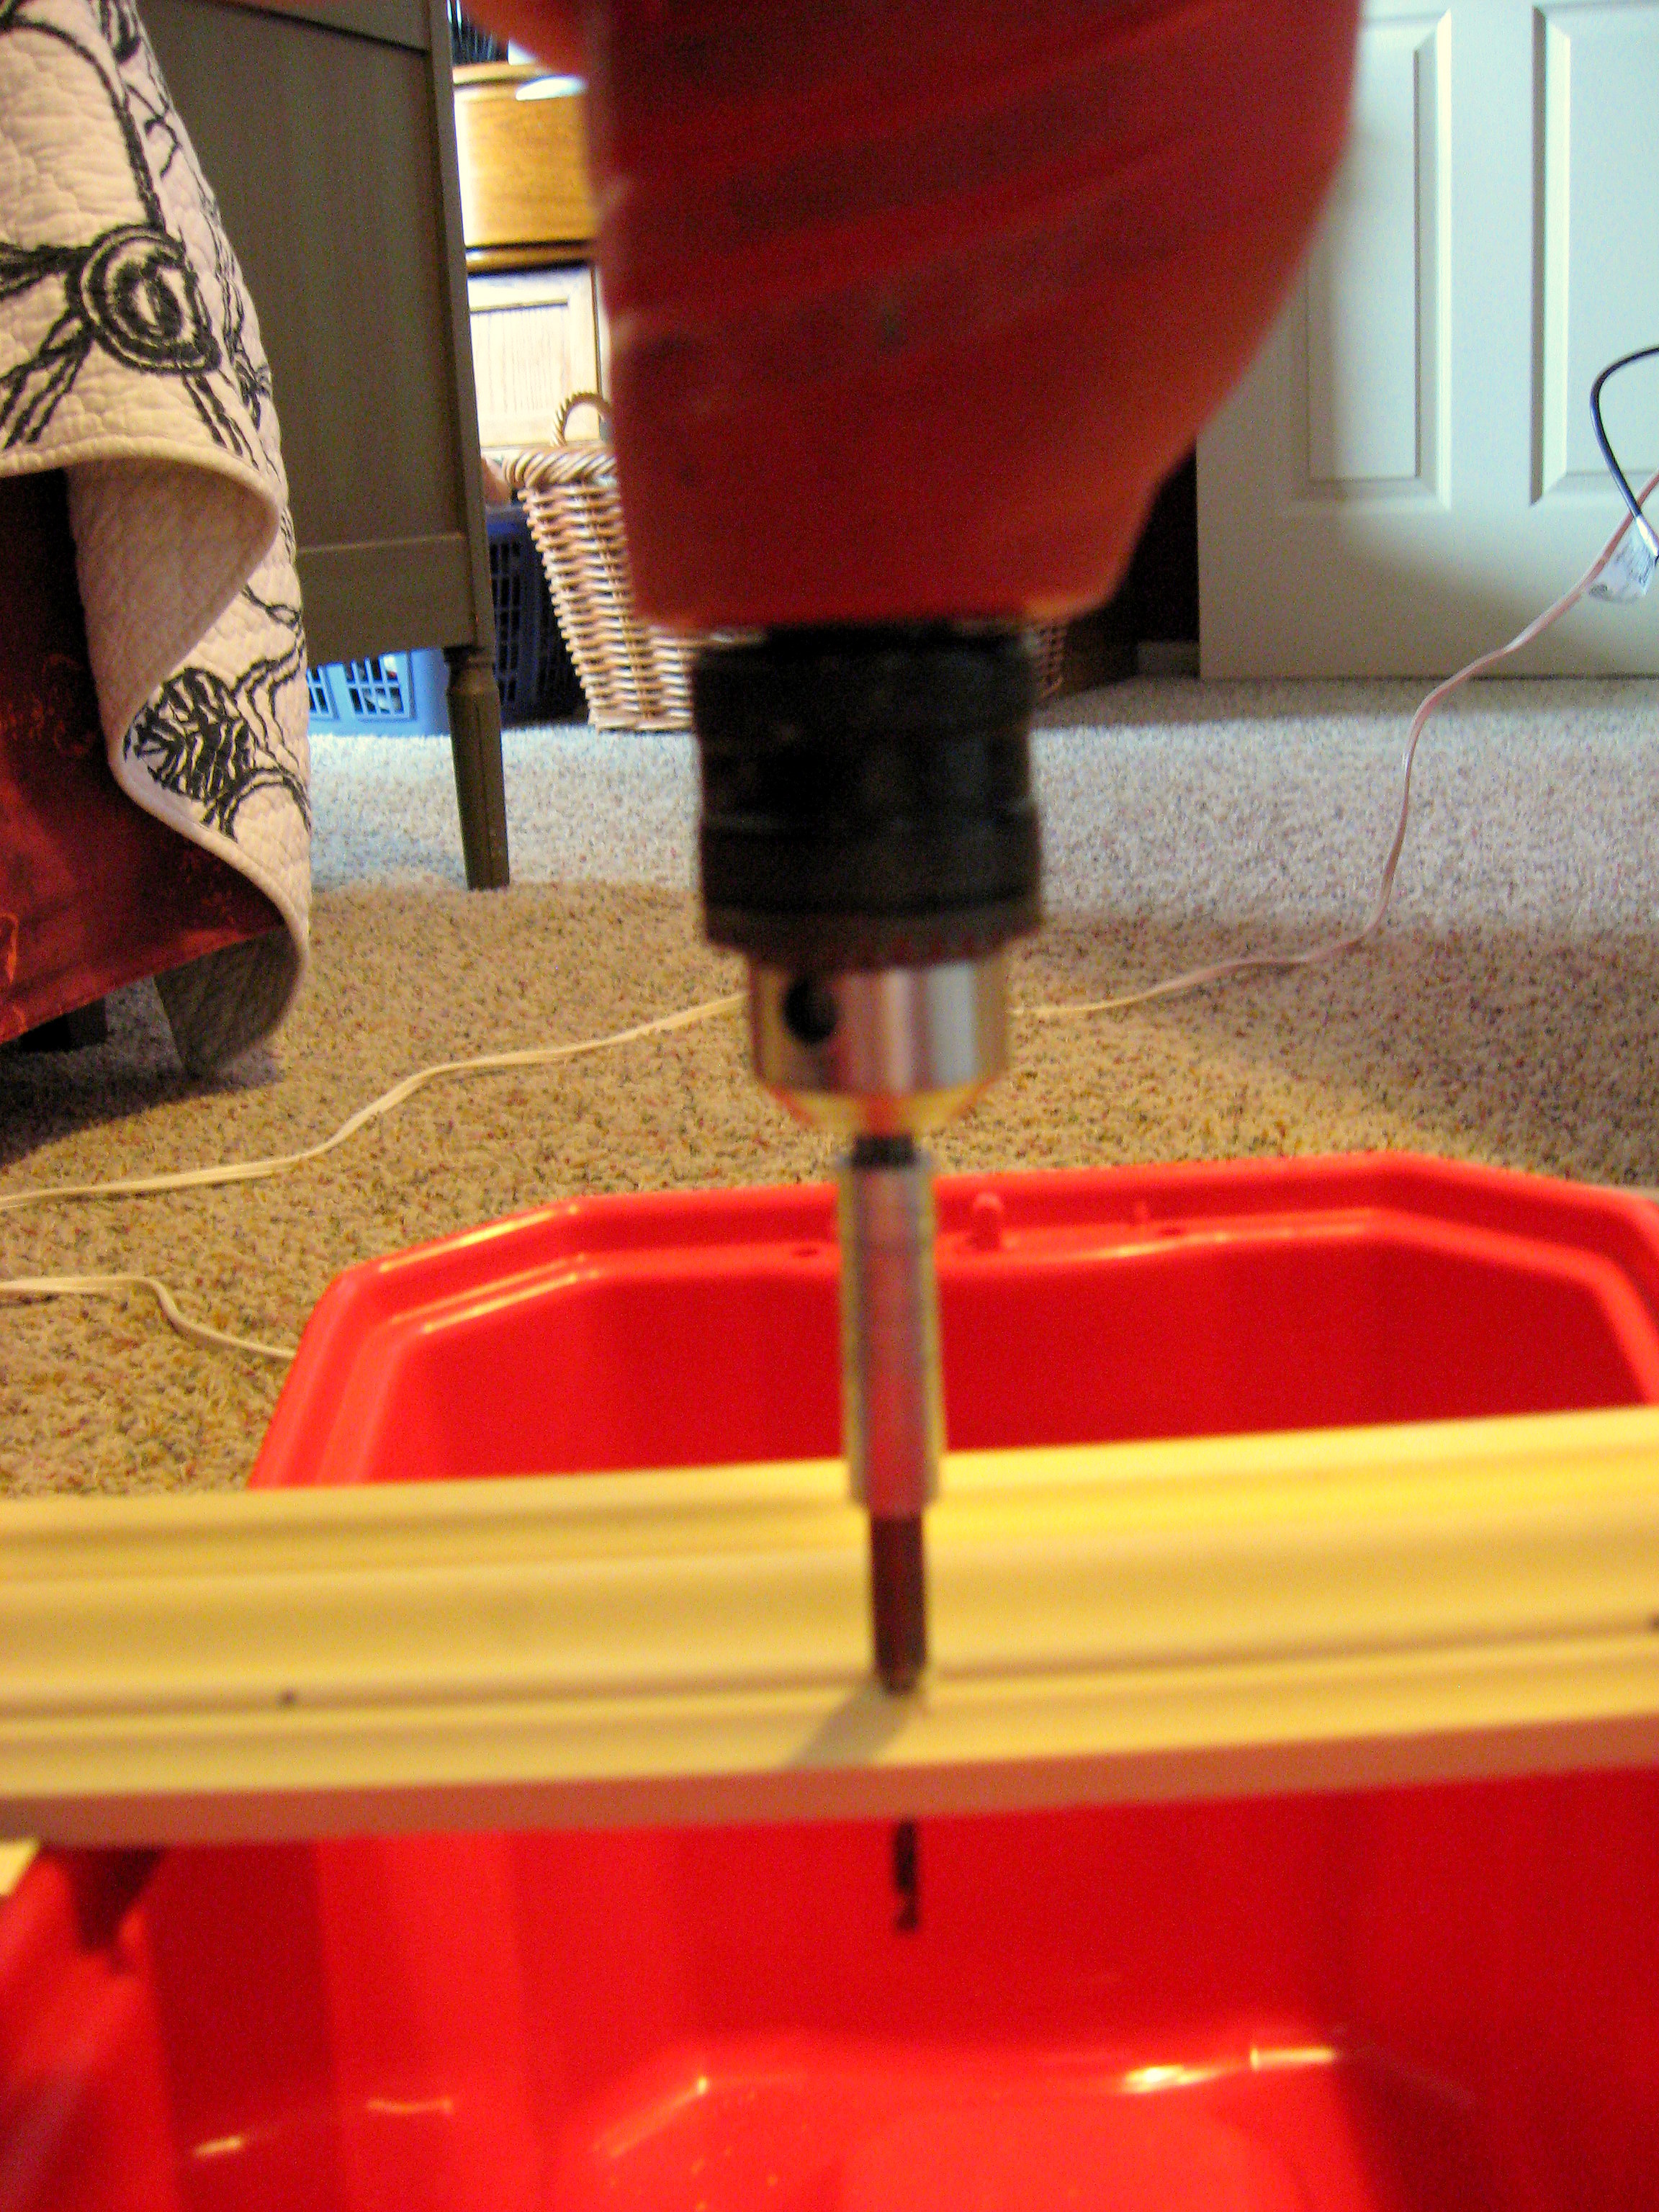
You are going to be putting screws through the thinner edge of the moulding to attach it to the wall. Carefully drill pilot holes so that you don’t split the wood.
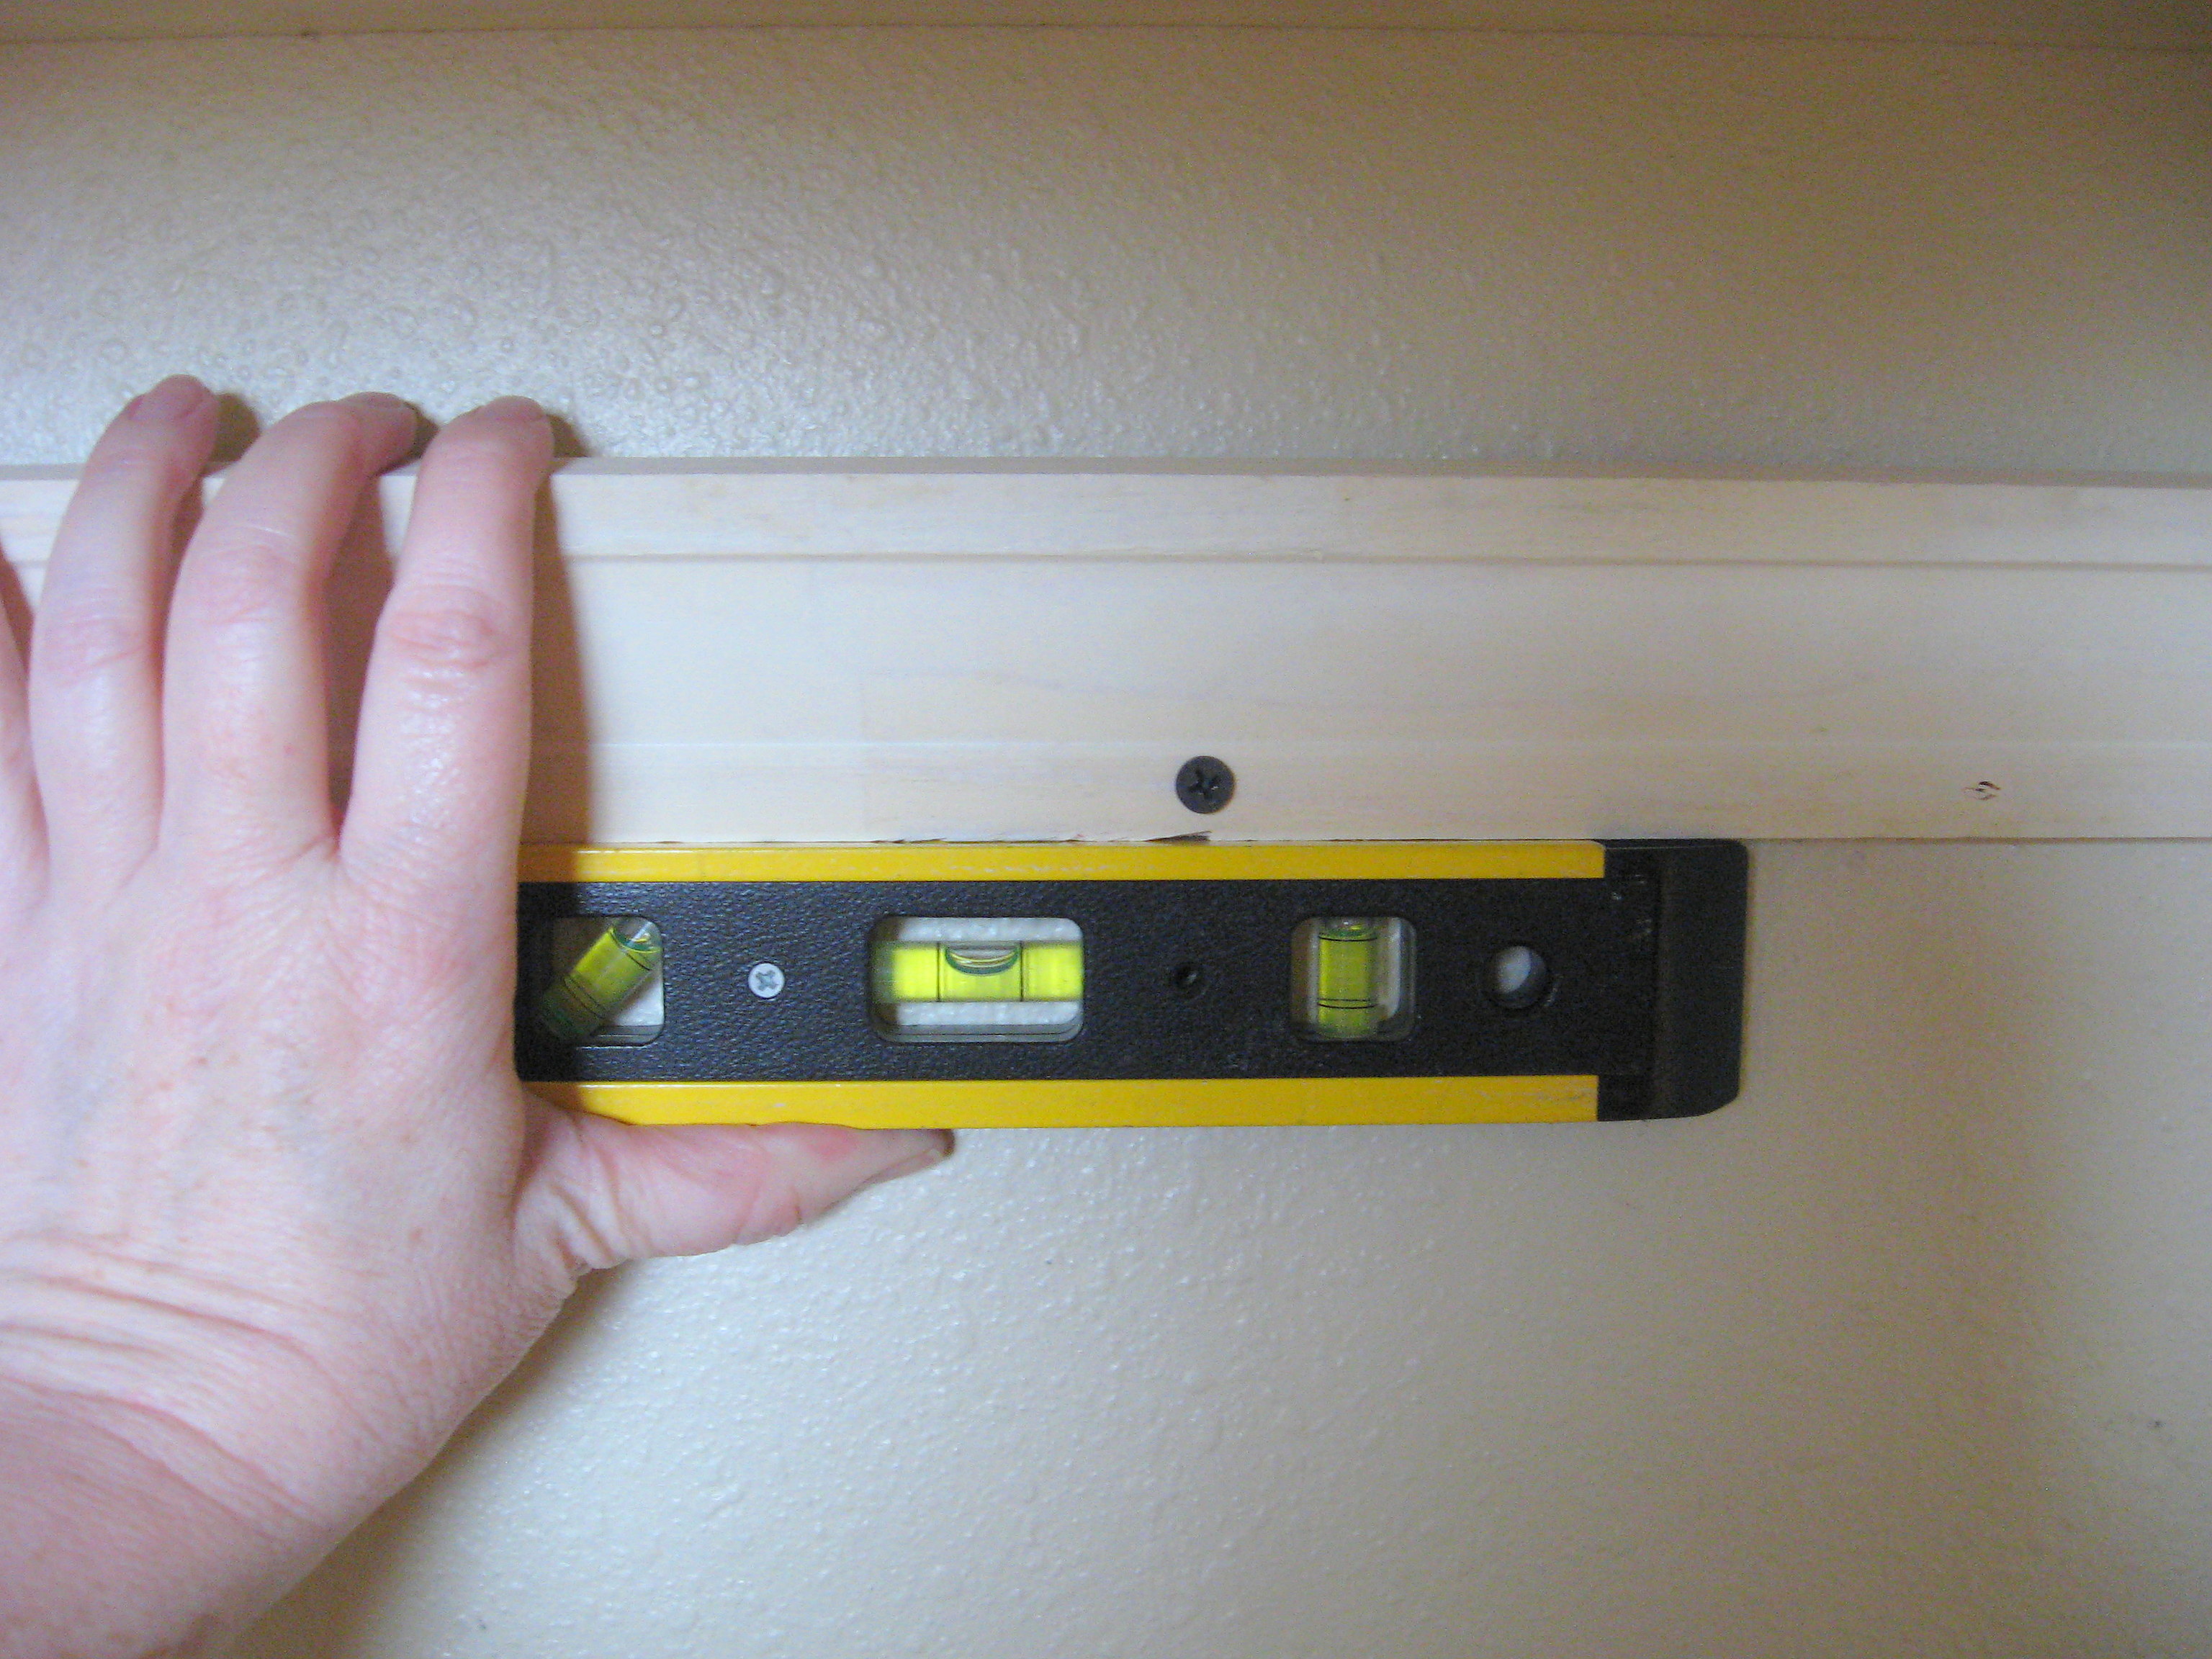
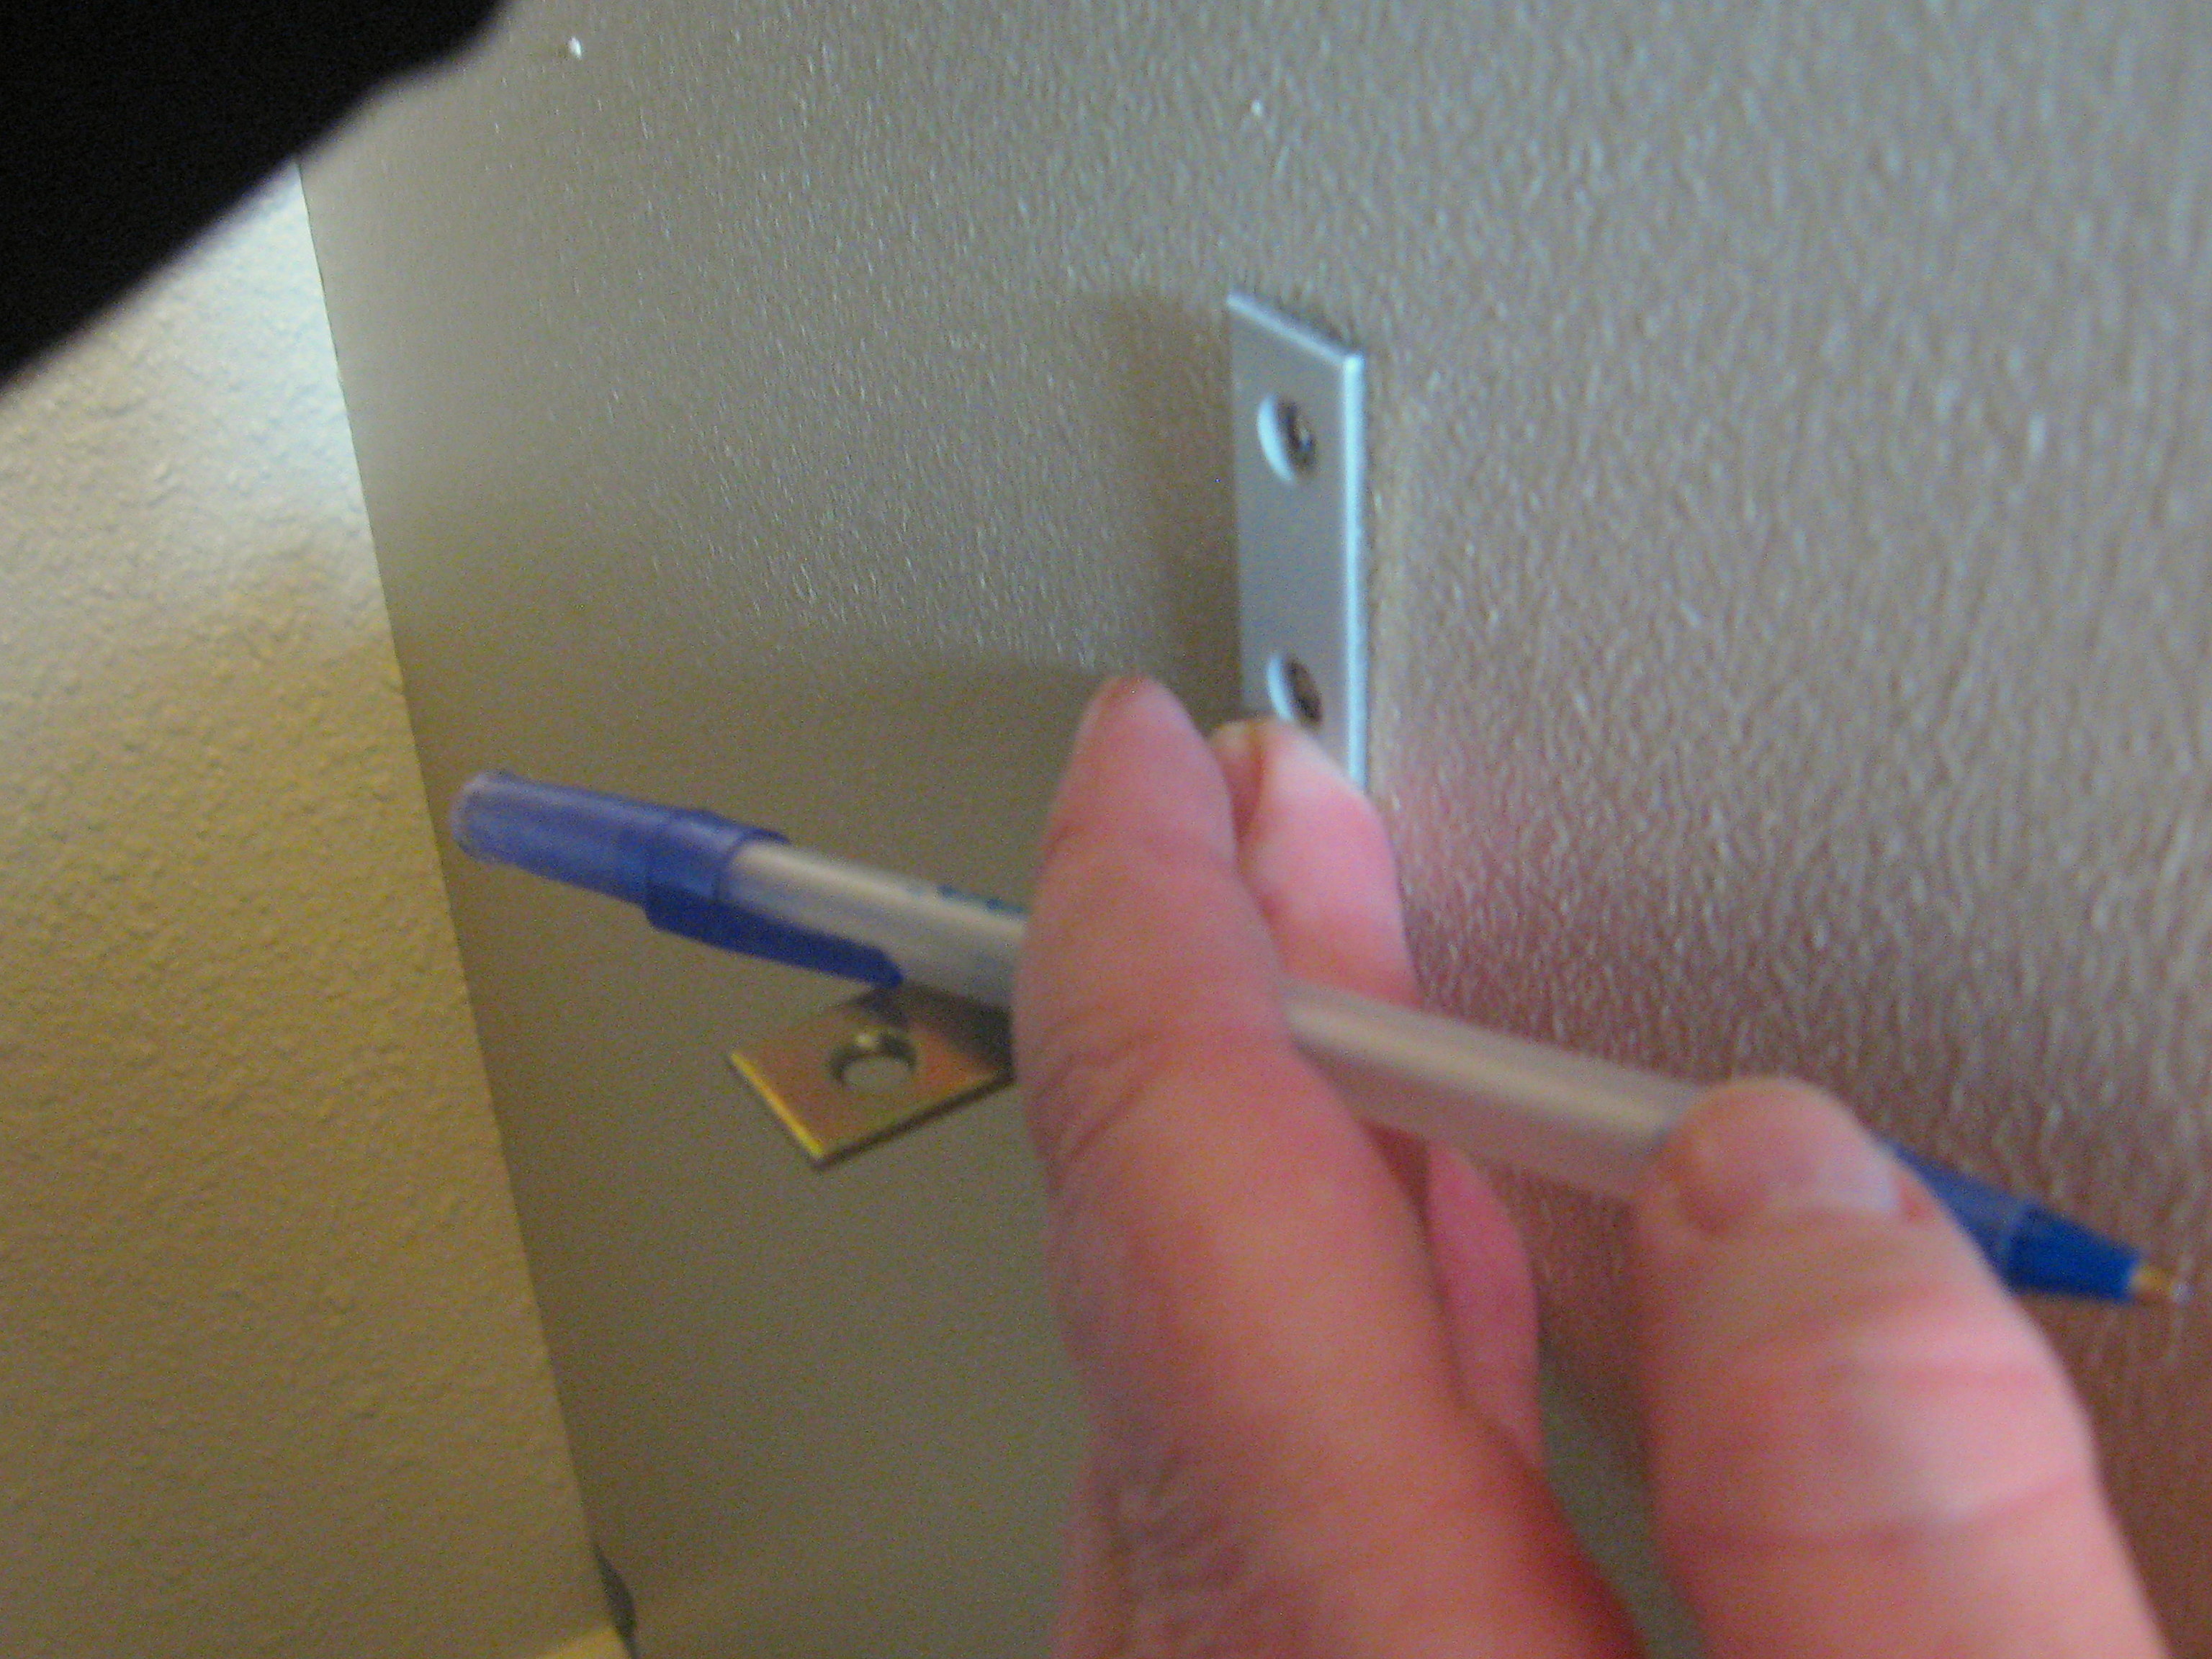
Hold the moulding back into place (checking to make sure it’s level) and mark the placement of the holes with a pencil – or have someone drill through the holes into the wall behind while you hold the moulding firmly in place.
If you are drilling into hard wood or into a stud, you can now just screw the moulding right into place. If you are drilling into drywall, you should use wall anchors, then screw into those.
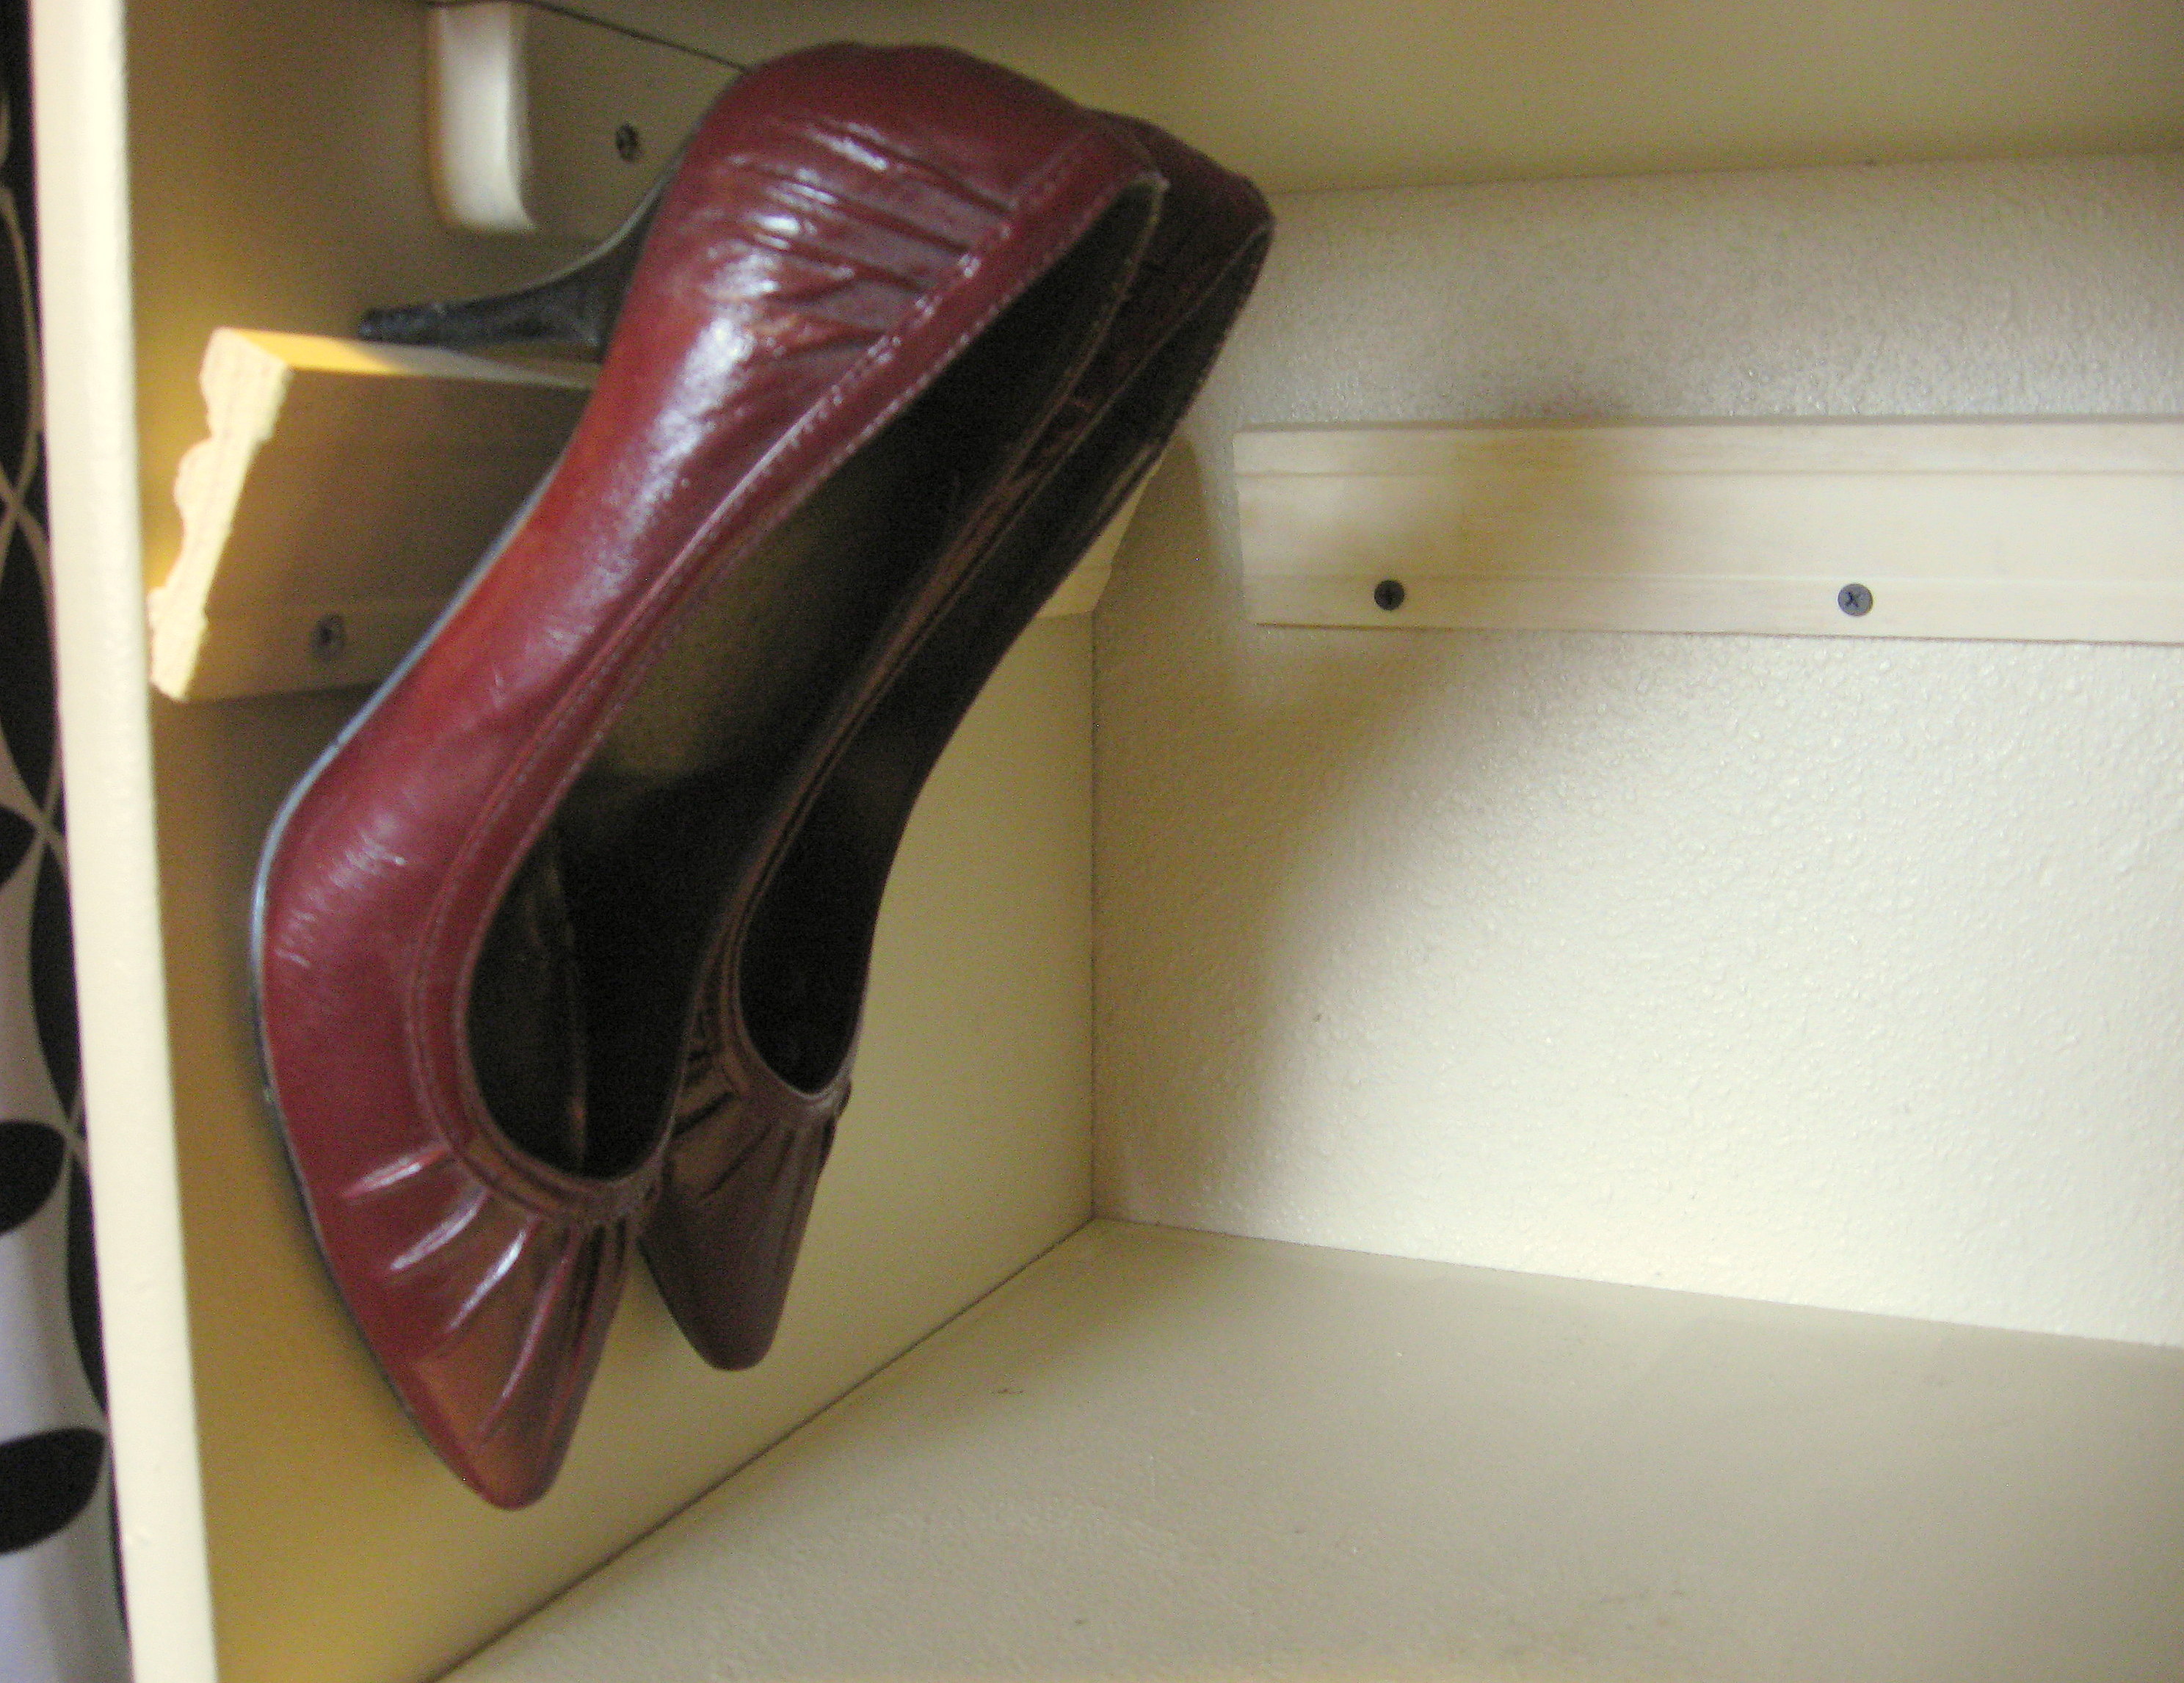
This is what it looks like when it’s all done with the shoes hanging on it. Notice how the moulding sits at an angle, since the angled face of it is against the wall.
If you’re concerned with the look of it, paint the moulding a fun color. Make sure to countersink the screws, cover them in wood putty or spackle, and touch up paint them when it dries.
And all of them done:
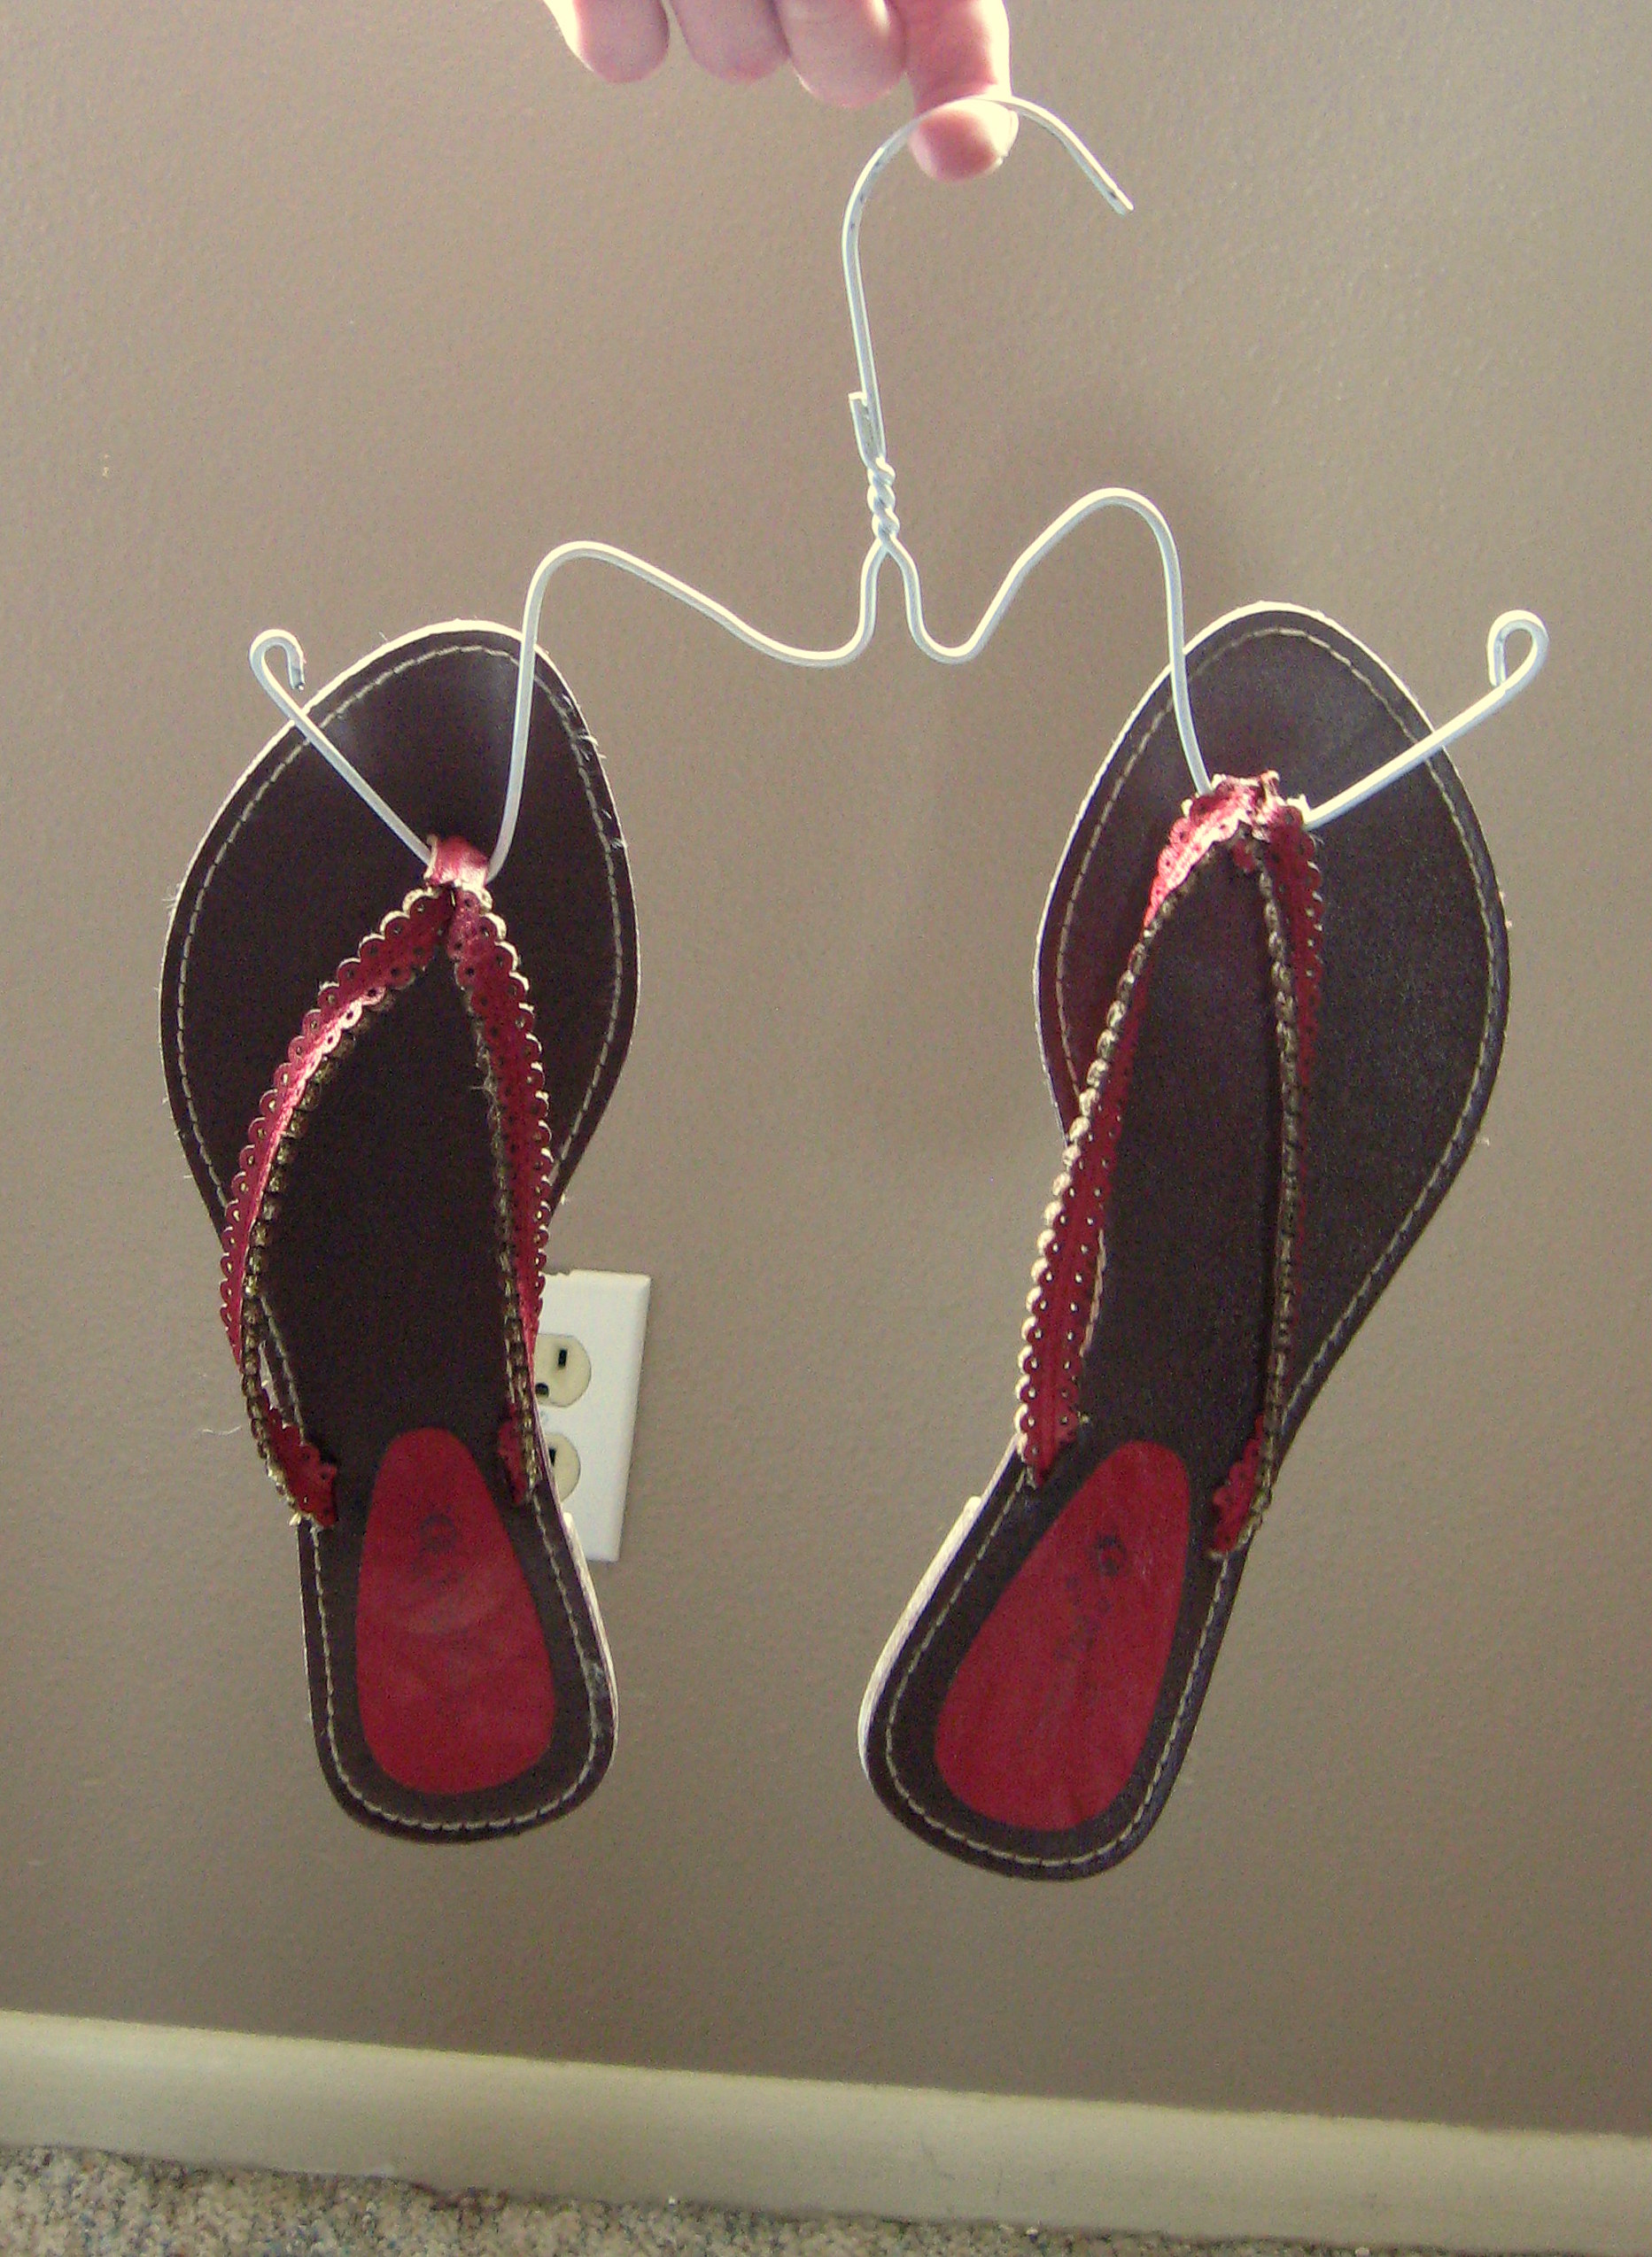
Now let’s do the flip flops and flats:
You will want to buy, beg or find enough wire hangers for how many shoes you want to hang from them.
If you have a choice between really heavy hangers and thinner ones, I would take the thinner ones because they are easier to bend, but it’s not a huge deal either way.
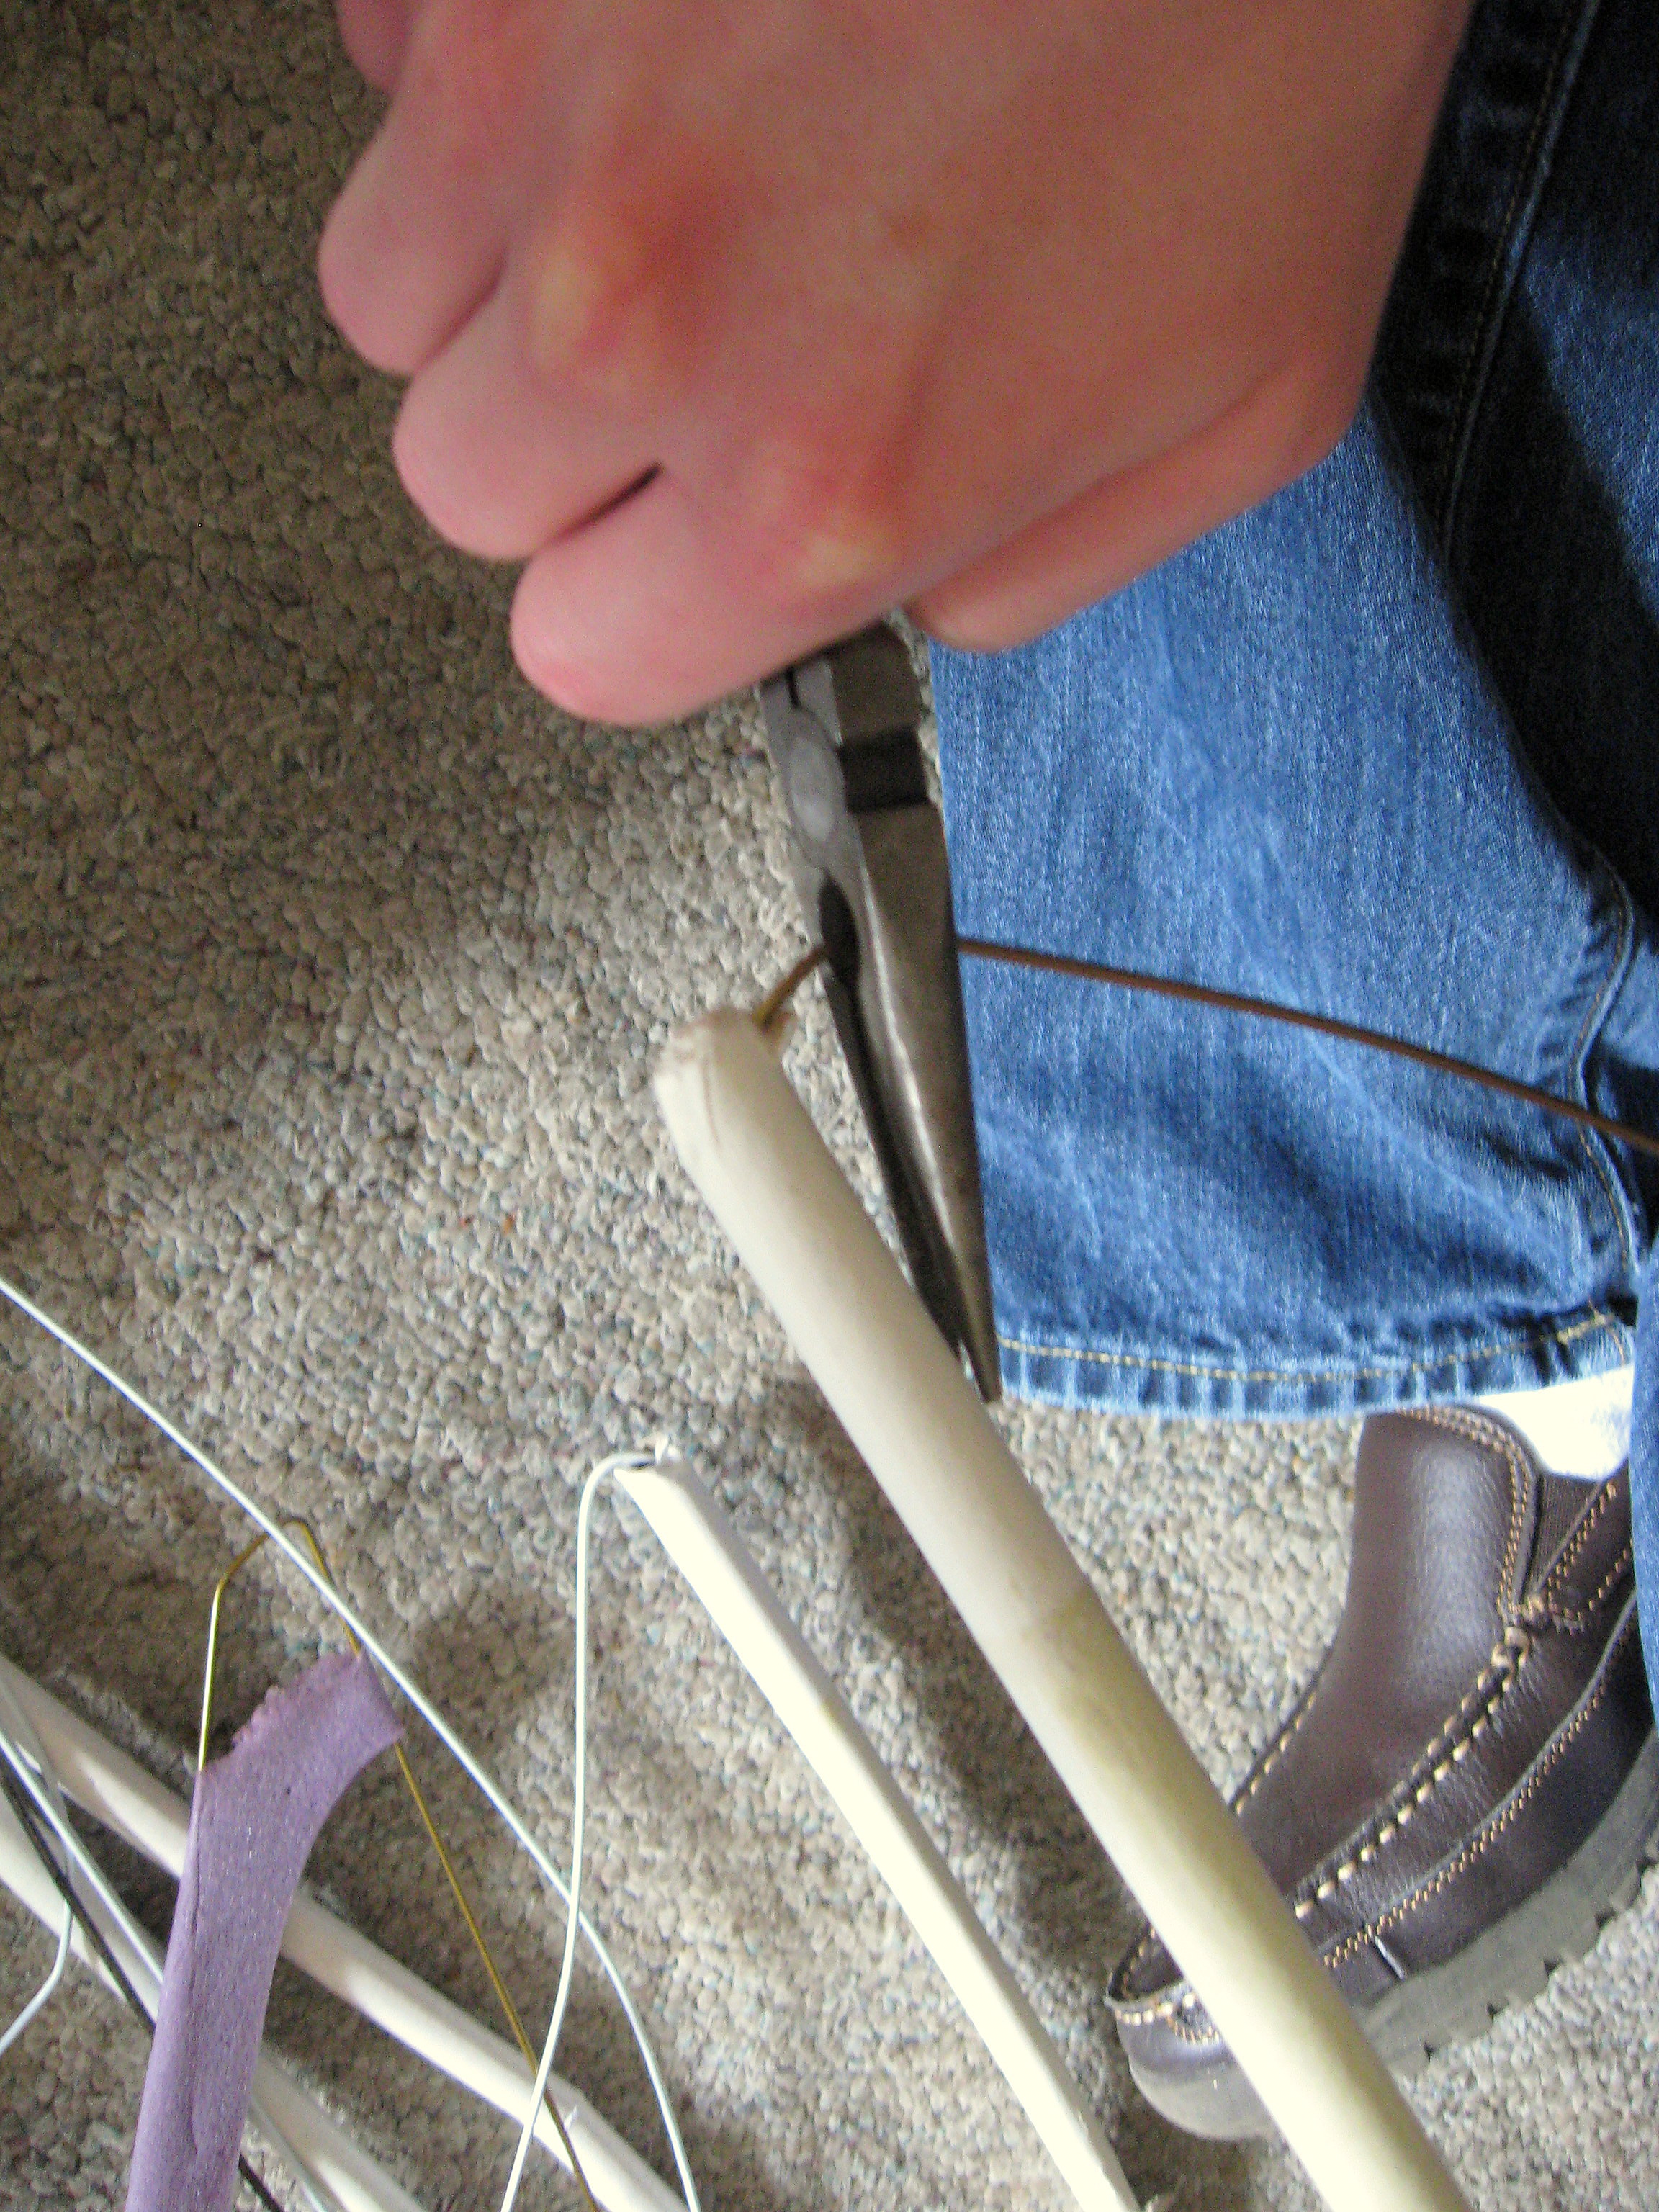
Start by cutting each hanger off at the corners with a pair of wire cutters.
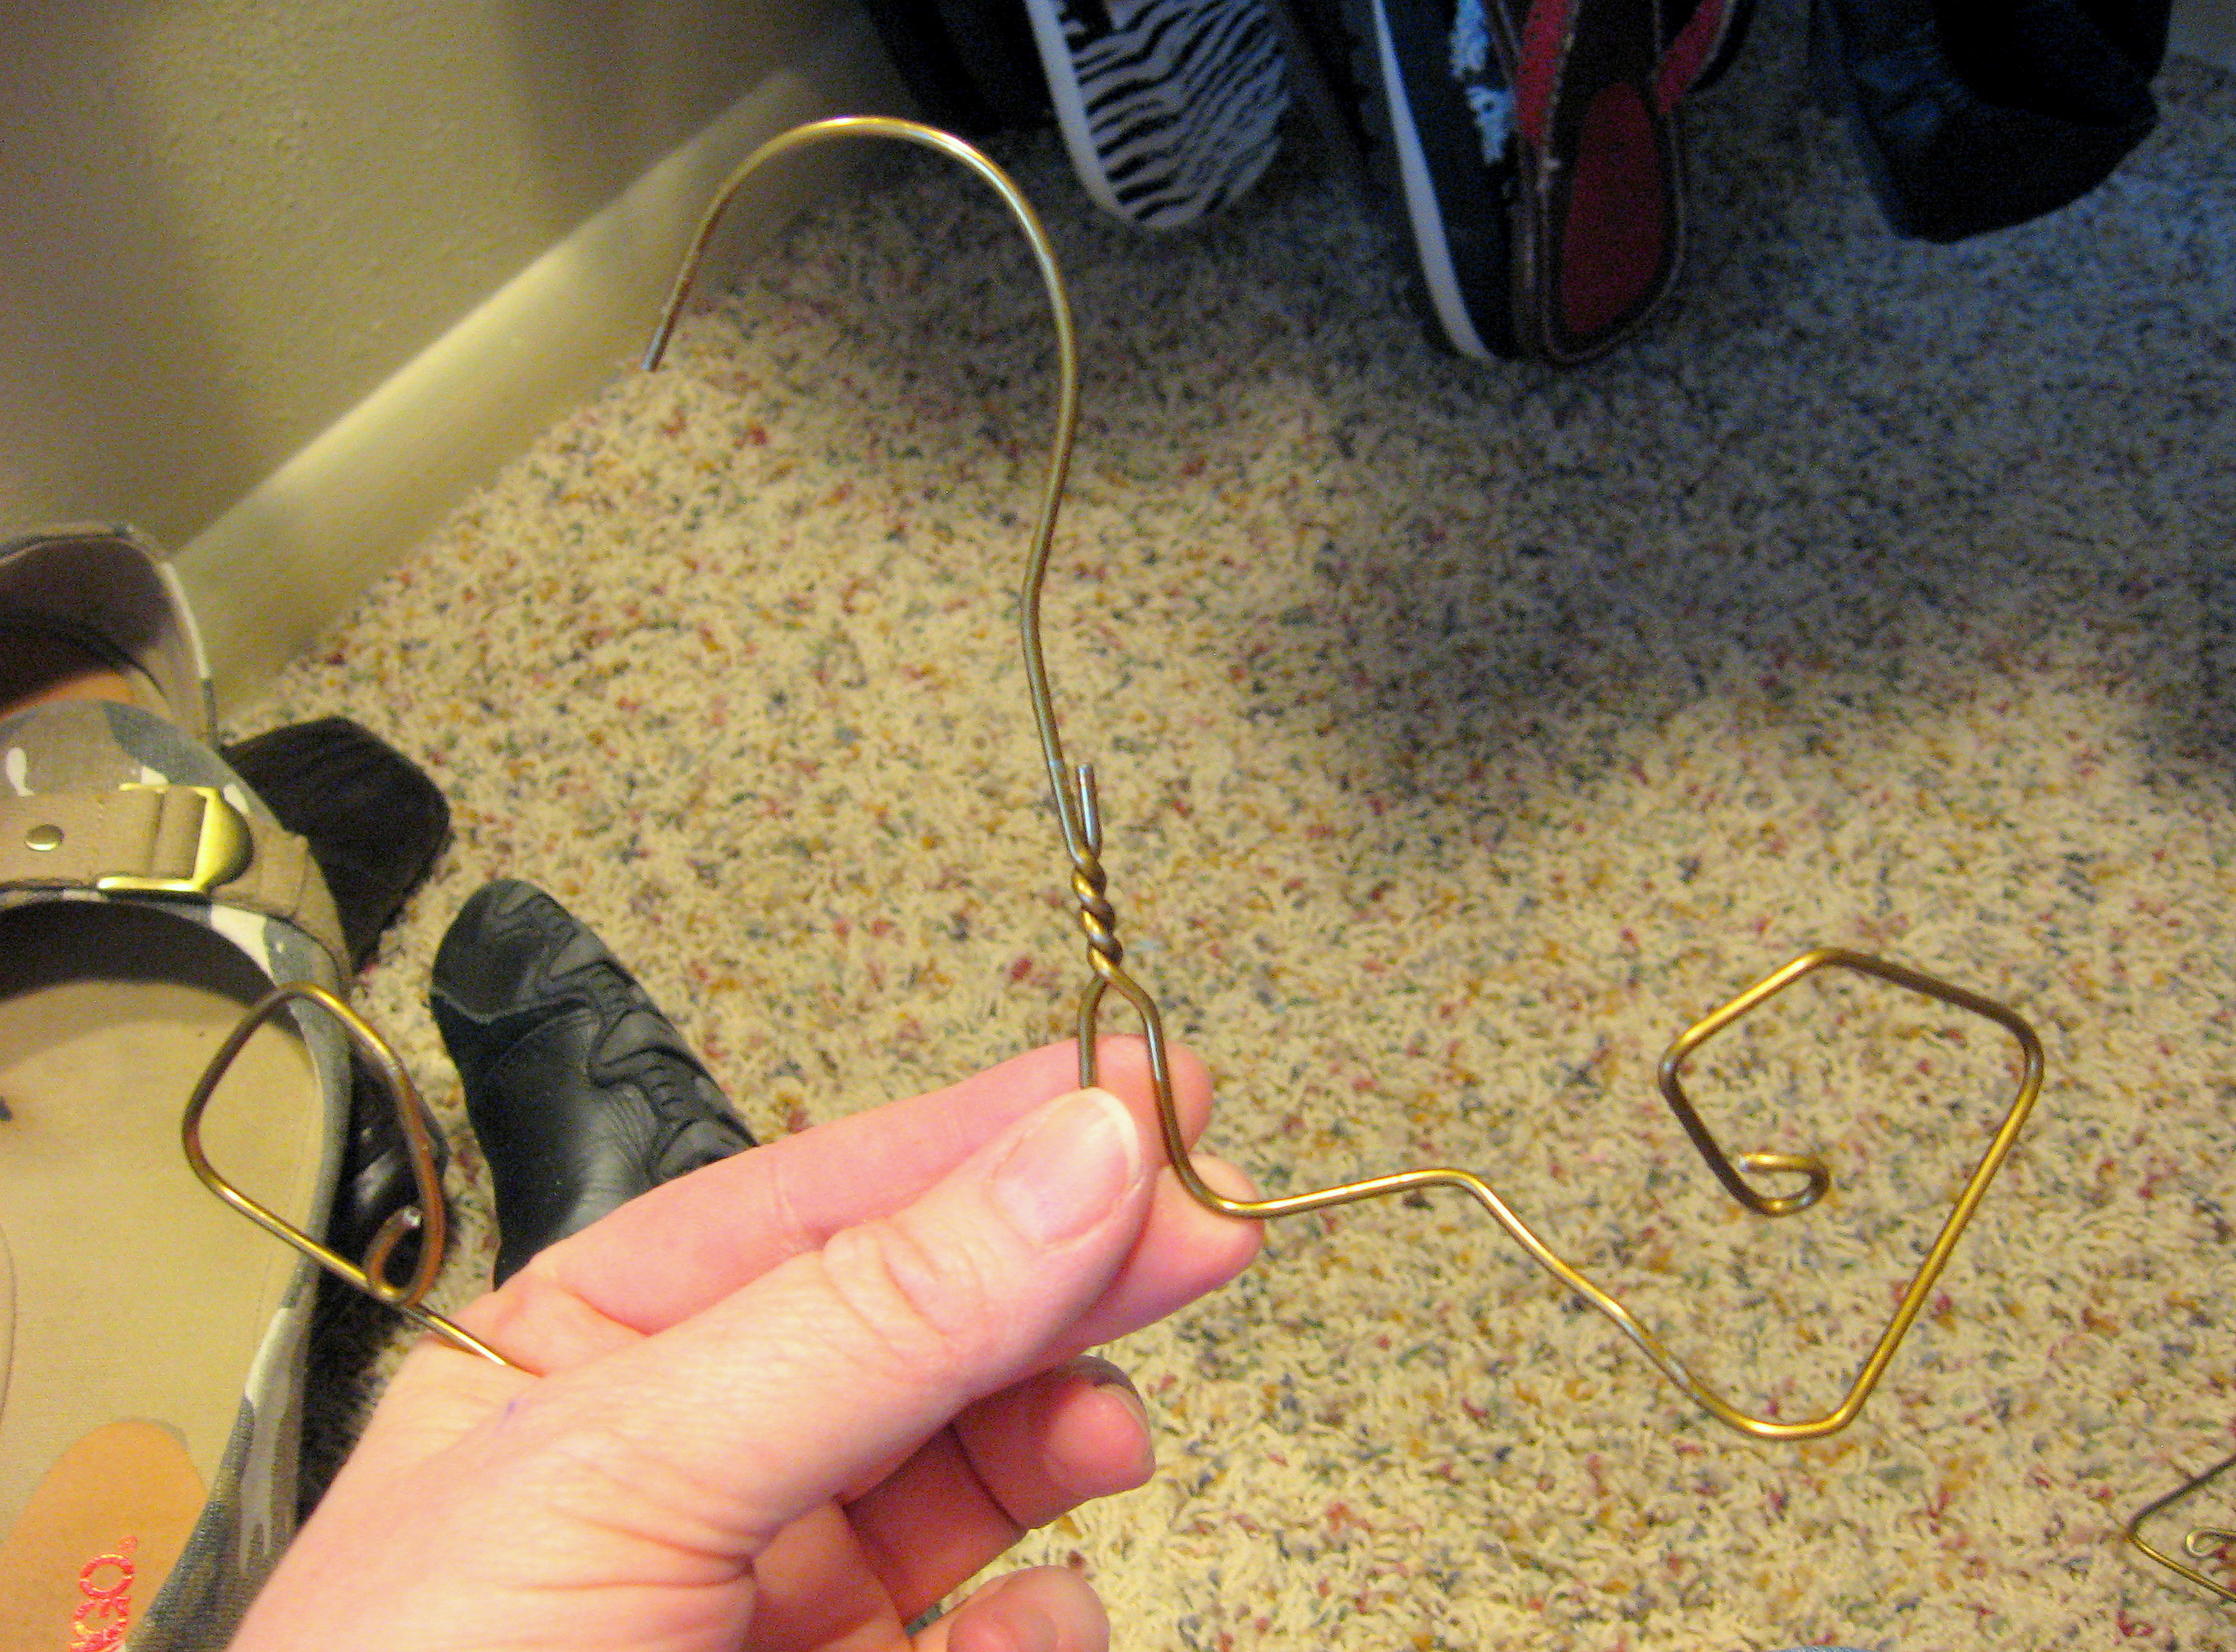
Then, using your hands -or needle nosed pliers if you need to- bend the remaining part of the hanger into a shape like this:
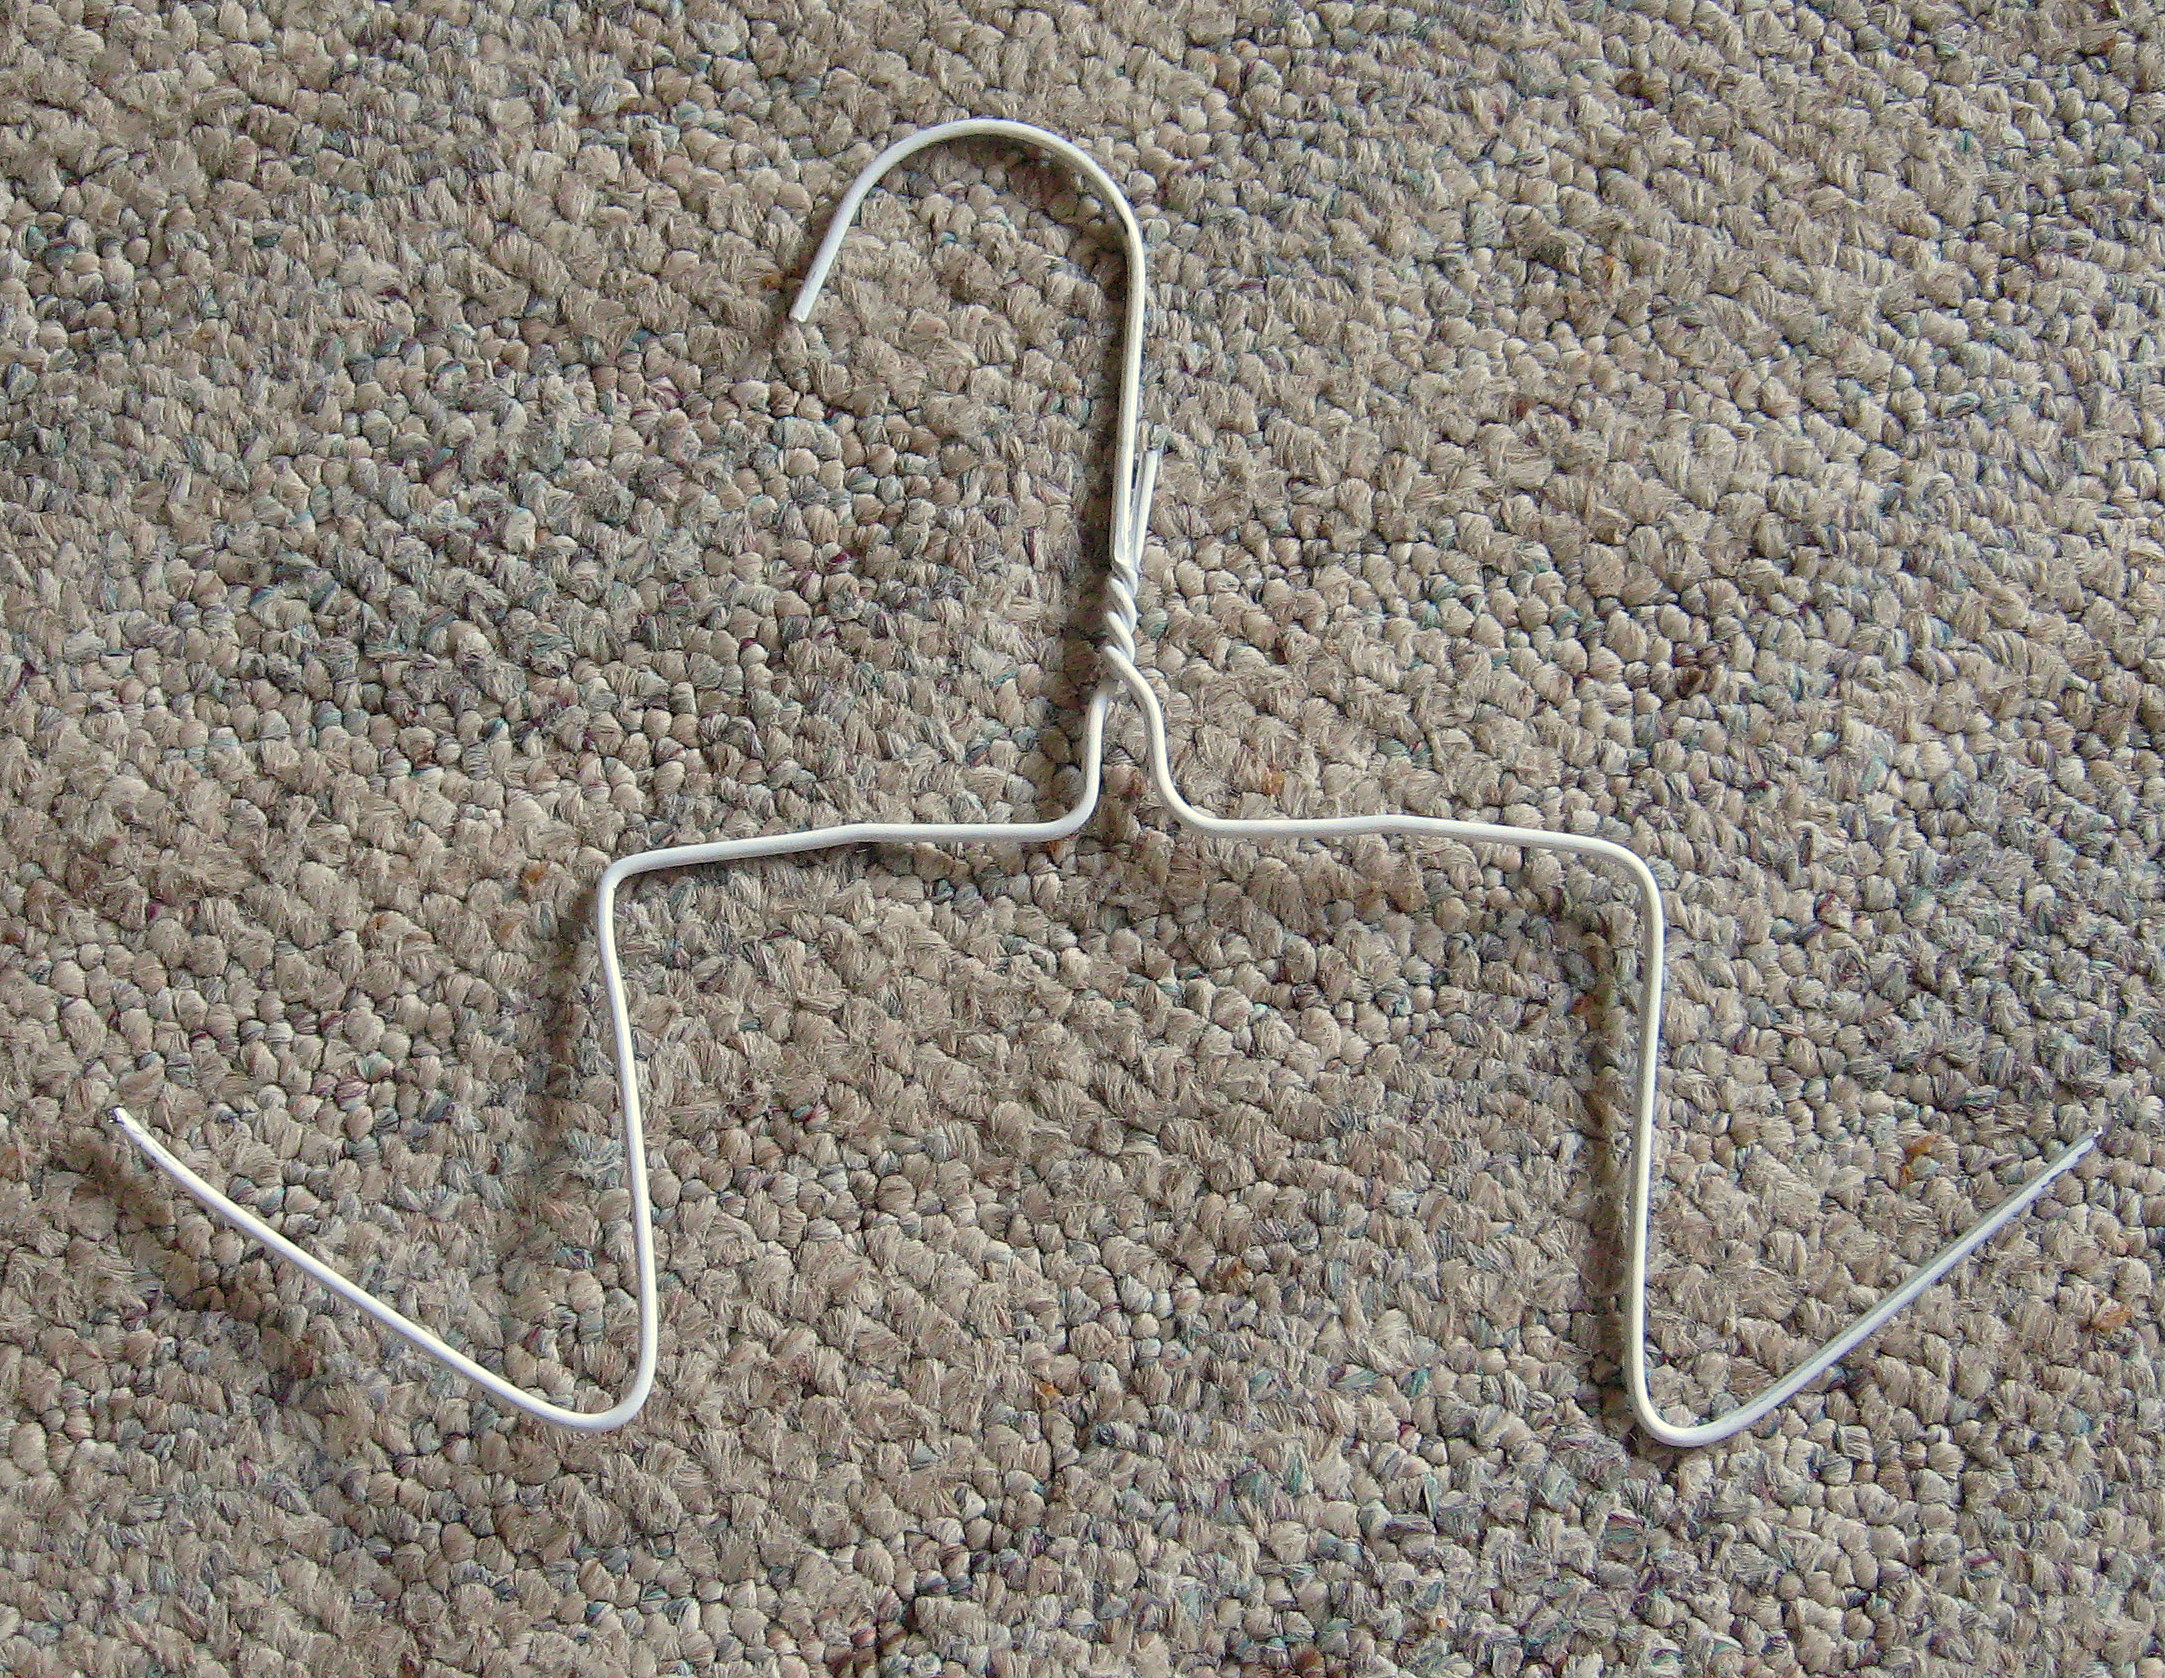
Using the pliers, curl each end in on itself so that you don’t get poked or cut on the cut end of the hanger.
I hung my shoes on as is, but if you want to pretty them up you could make a little decorative sleeve to slip down over the top out of paper or fabric.
You could hang them on a tension rod (less than $5 at Walmart) but in keeping with my “no money” theme, I decided to use a piece of PVC pipe from the garage, mounted on L brackets.
Cut the PVC with a hacksaw to the length of wherever you are putting it, minus however much width the brackets will add (for me it was like 1/4 inch.) Insert the L brackets into the ends of the PVC pipe and make sure it fits in the space (a little looser is better than too tight) and decide how high you want to hang it. I put mine in my closet near the floor, under my skirts and dresses.
Hold the first bracket as straight as you can and mark the holes with a pencil.
Pre drill holes (or insert wall anchors) then screw the bracket firmly to the wall. Now insert the other bracket into one end of the PVC, and slip the other end onto the bracket that is attached to the wall. Hold the other bracket up straight, mark, drill and attach just like with the first side.
Here is is all finished.
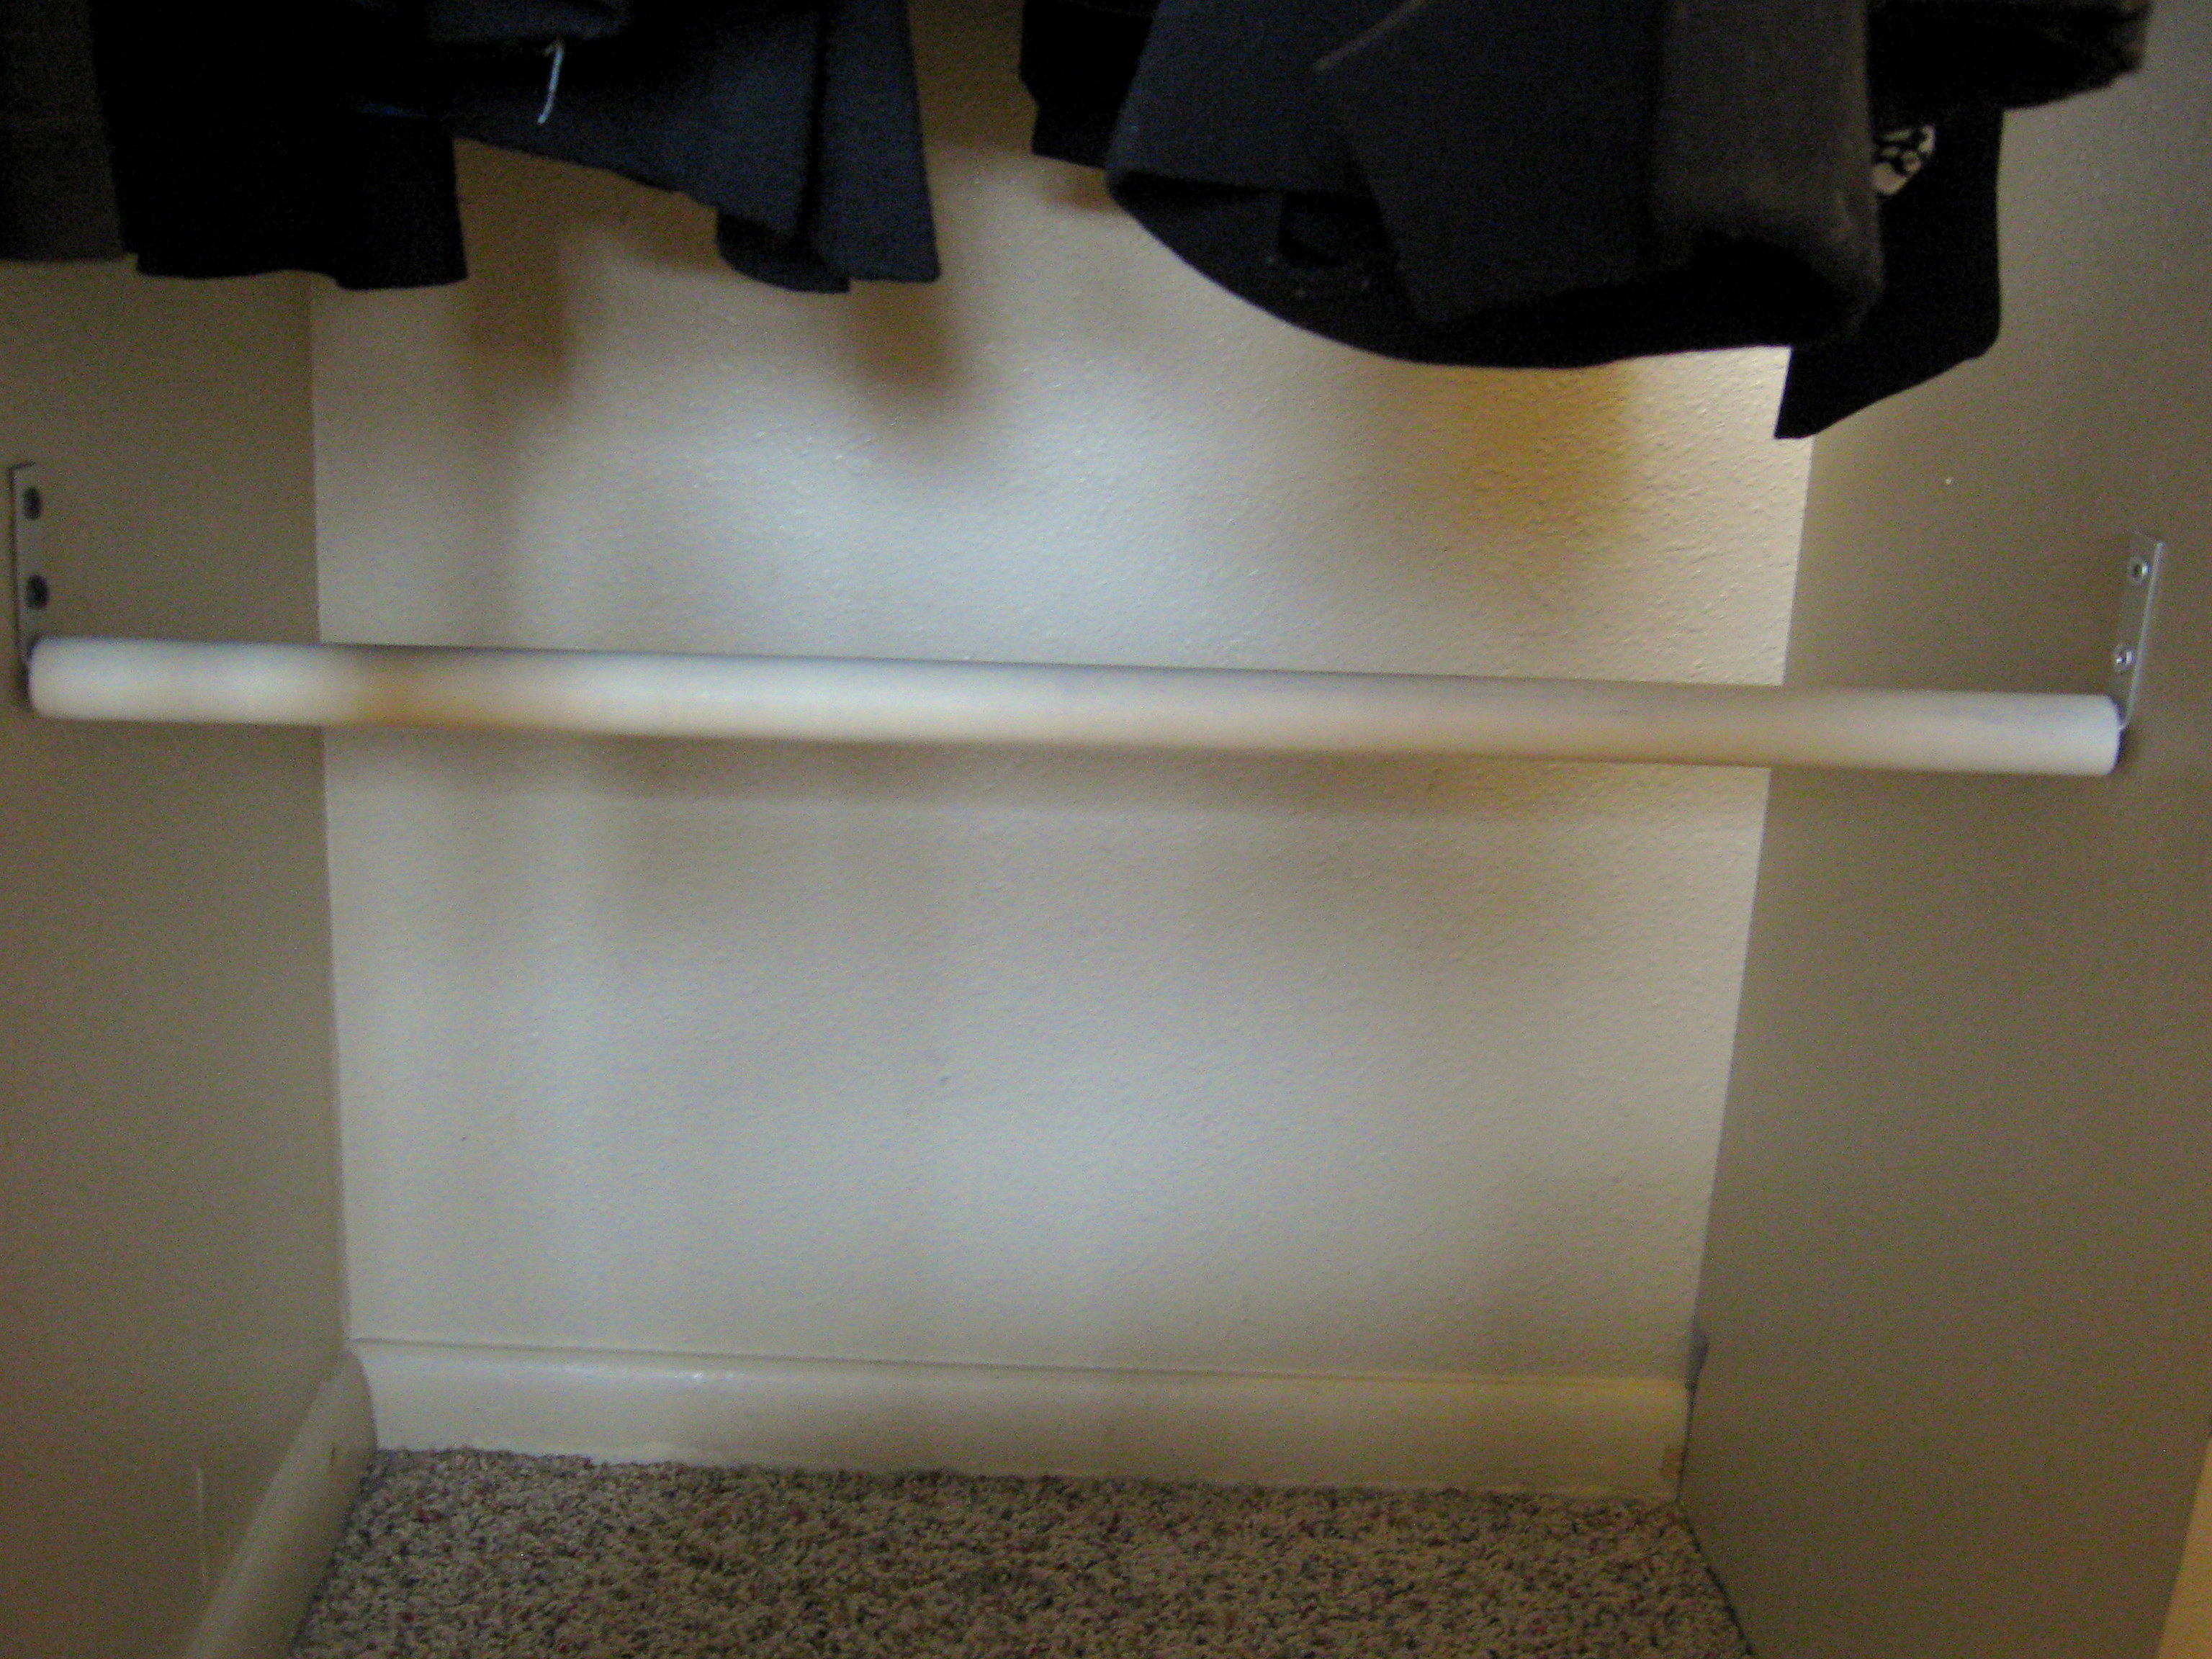
I spray painted the brackets and the PVC to make is look a little nicer.
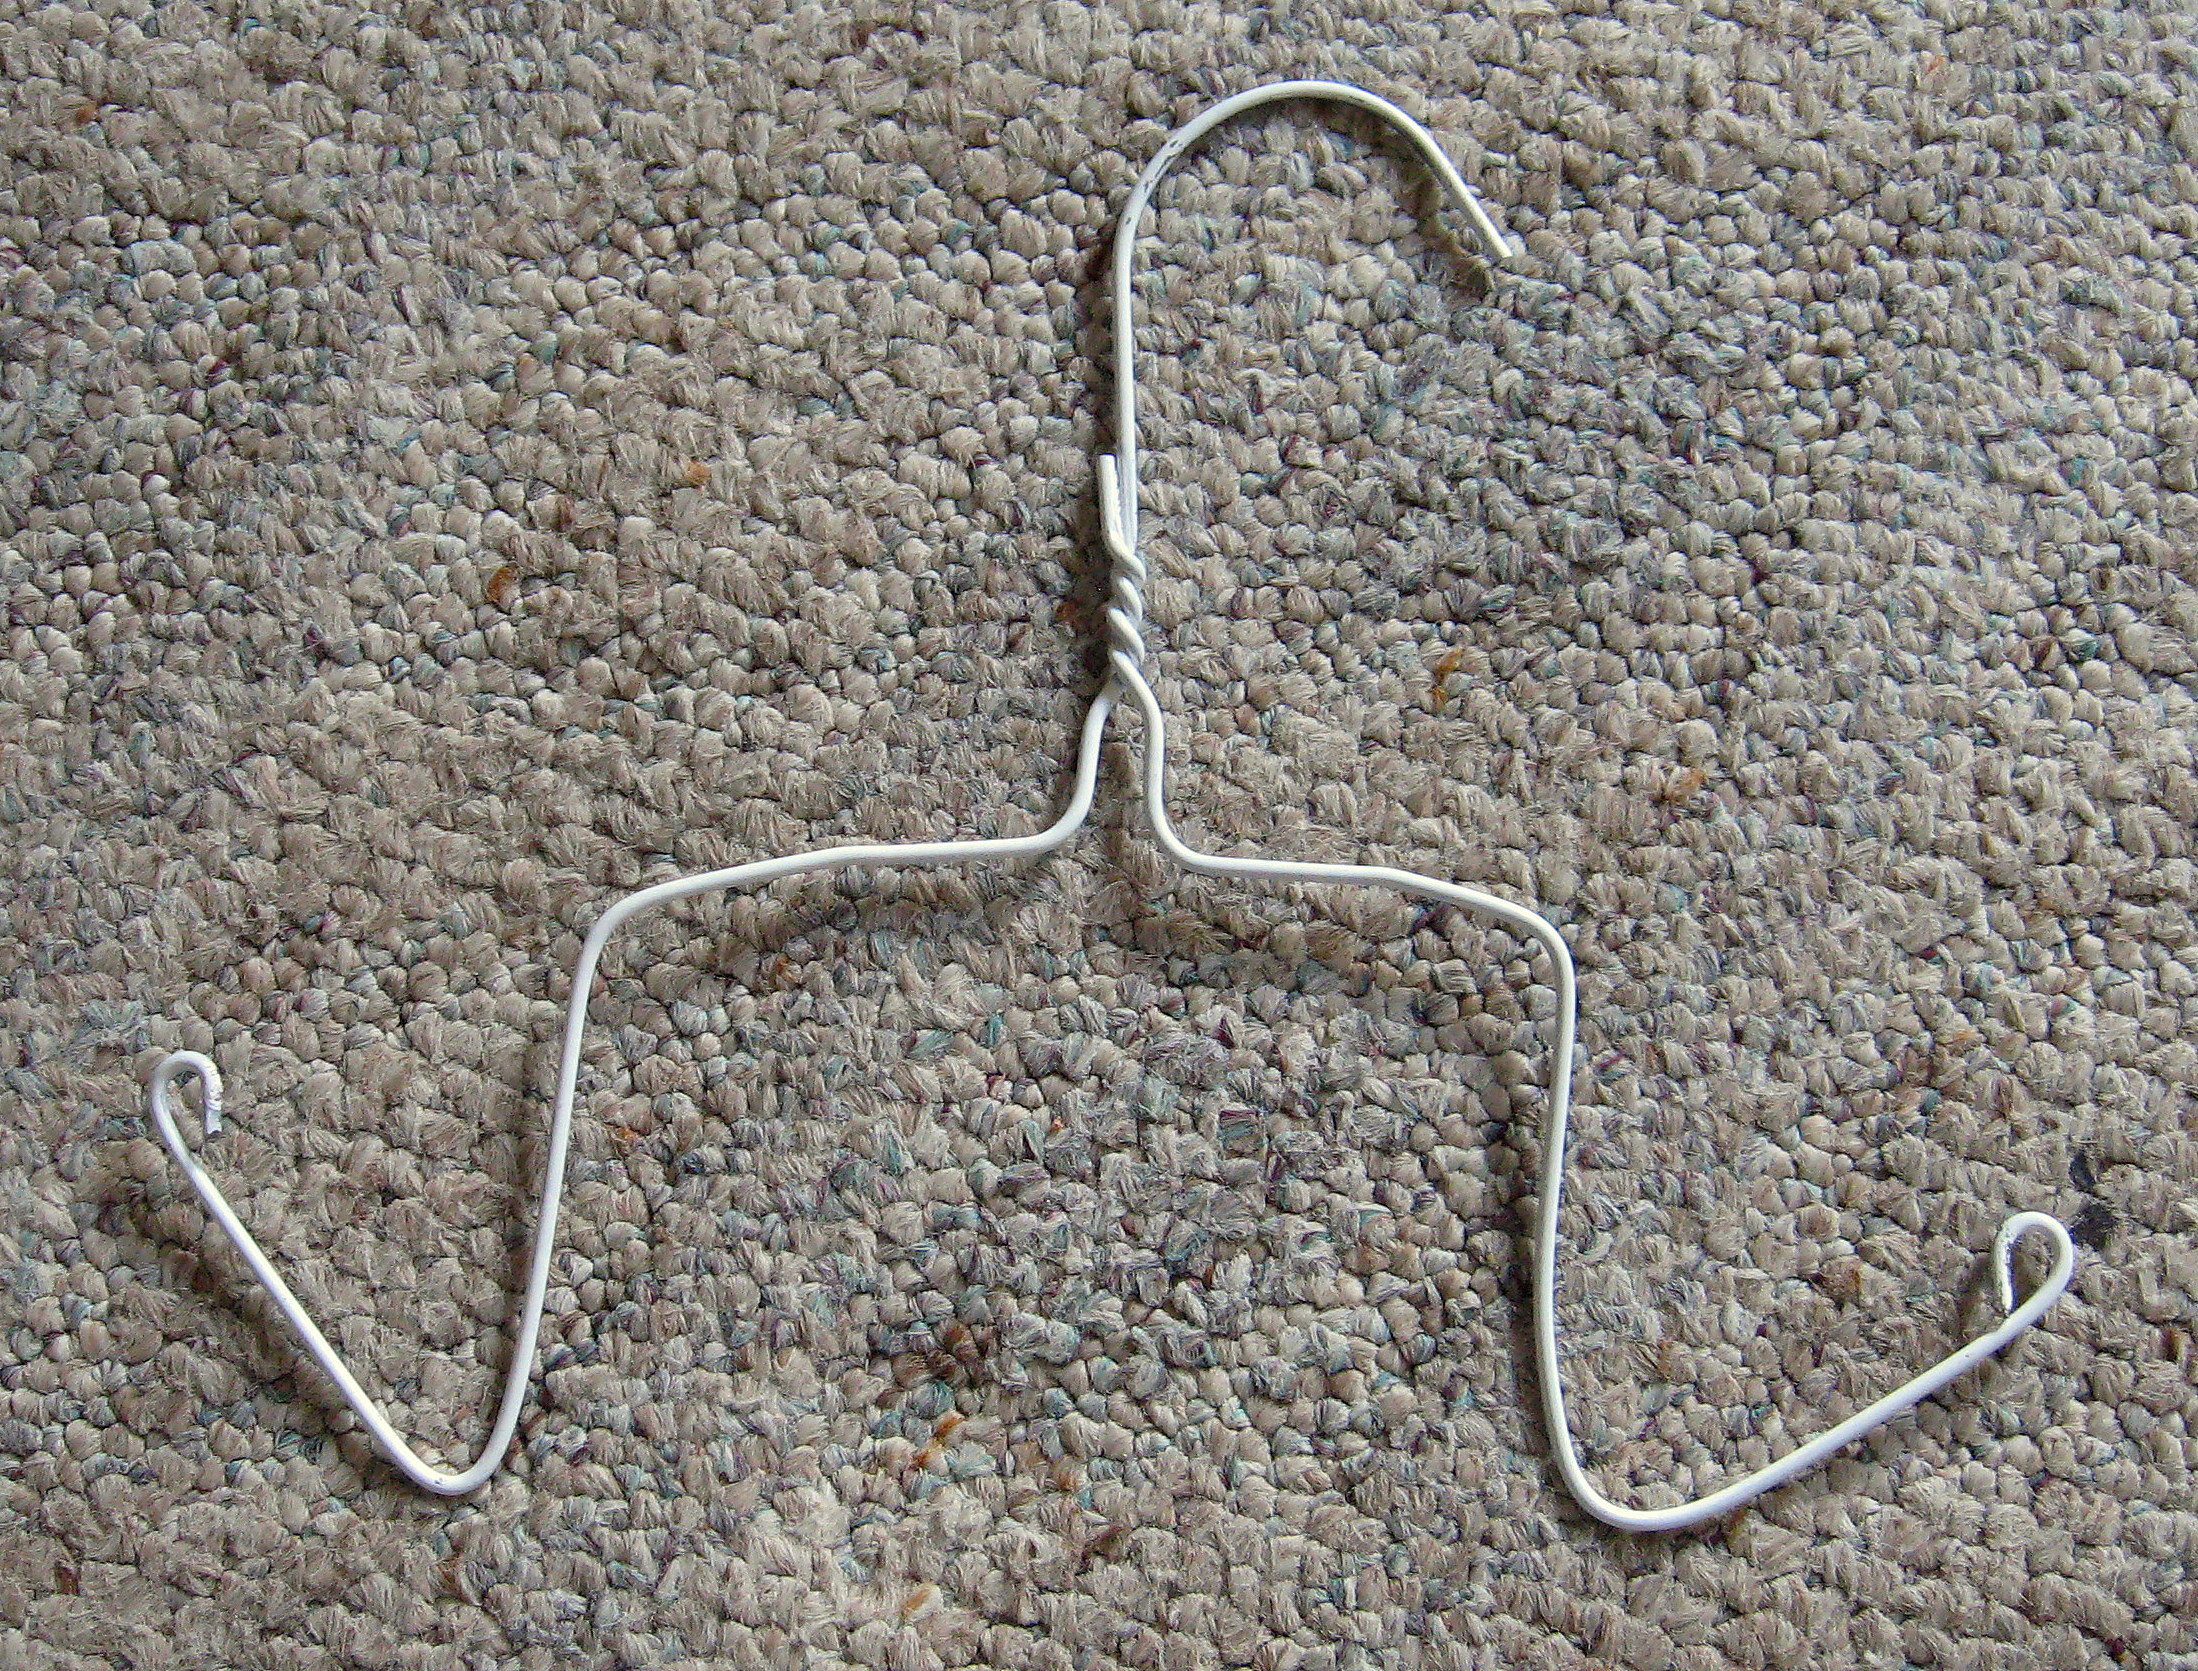
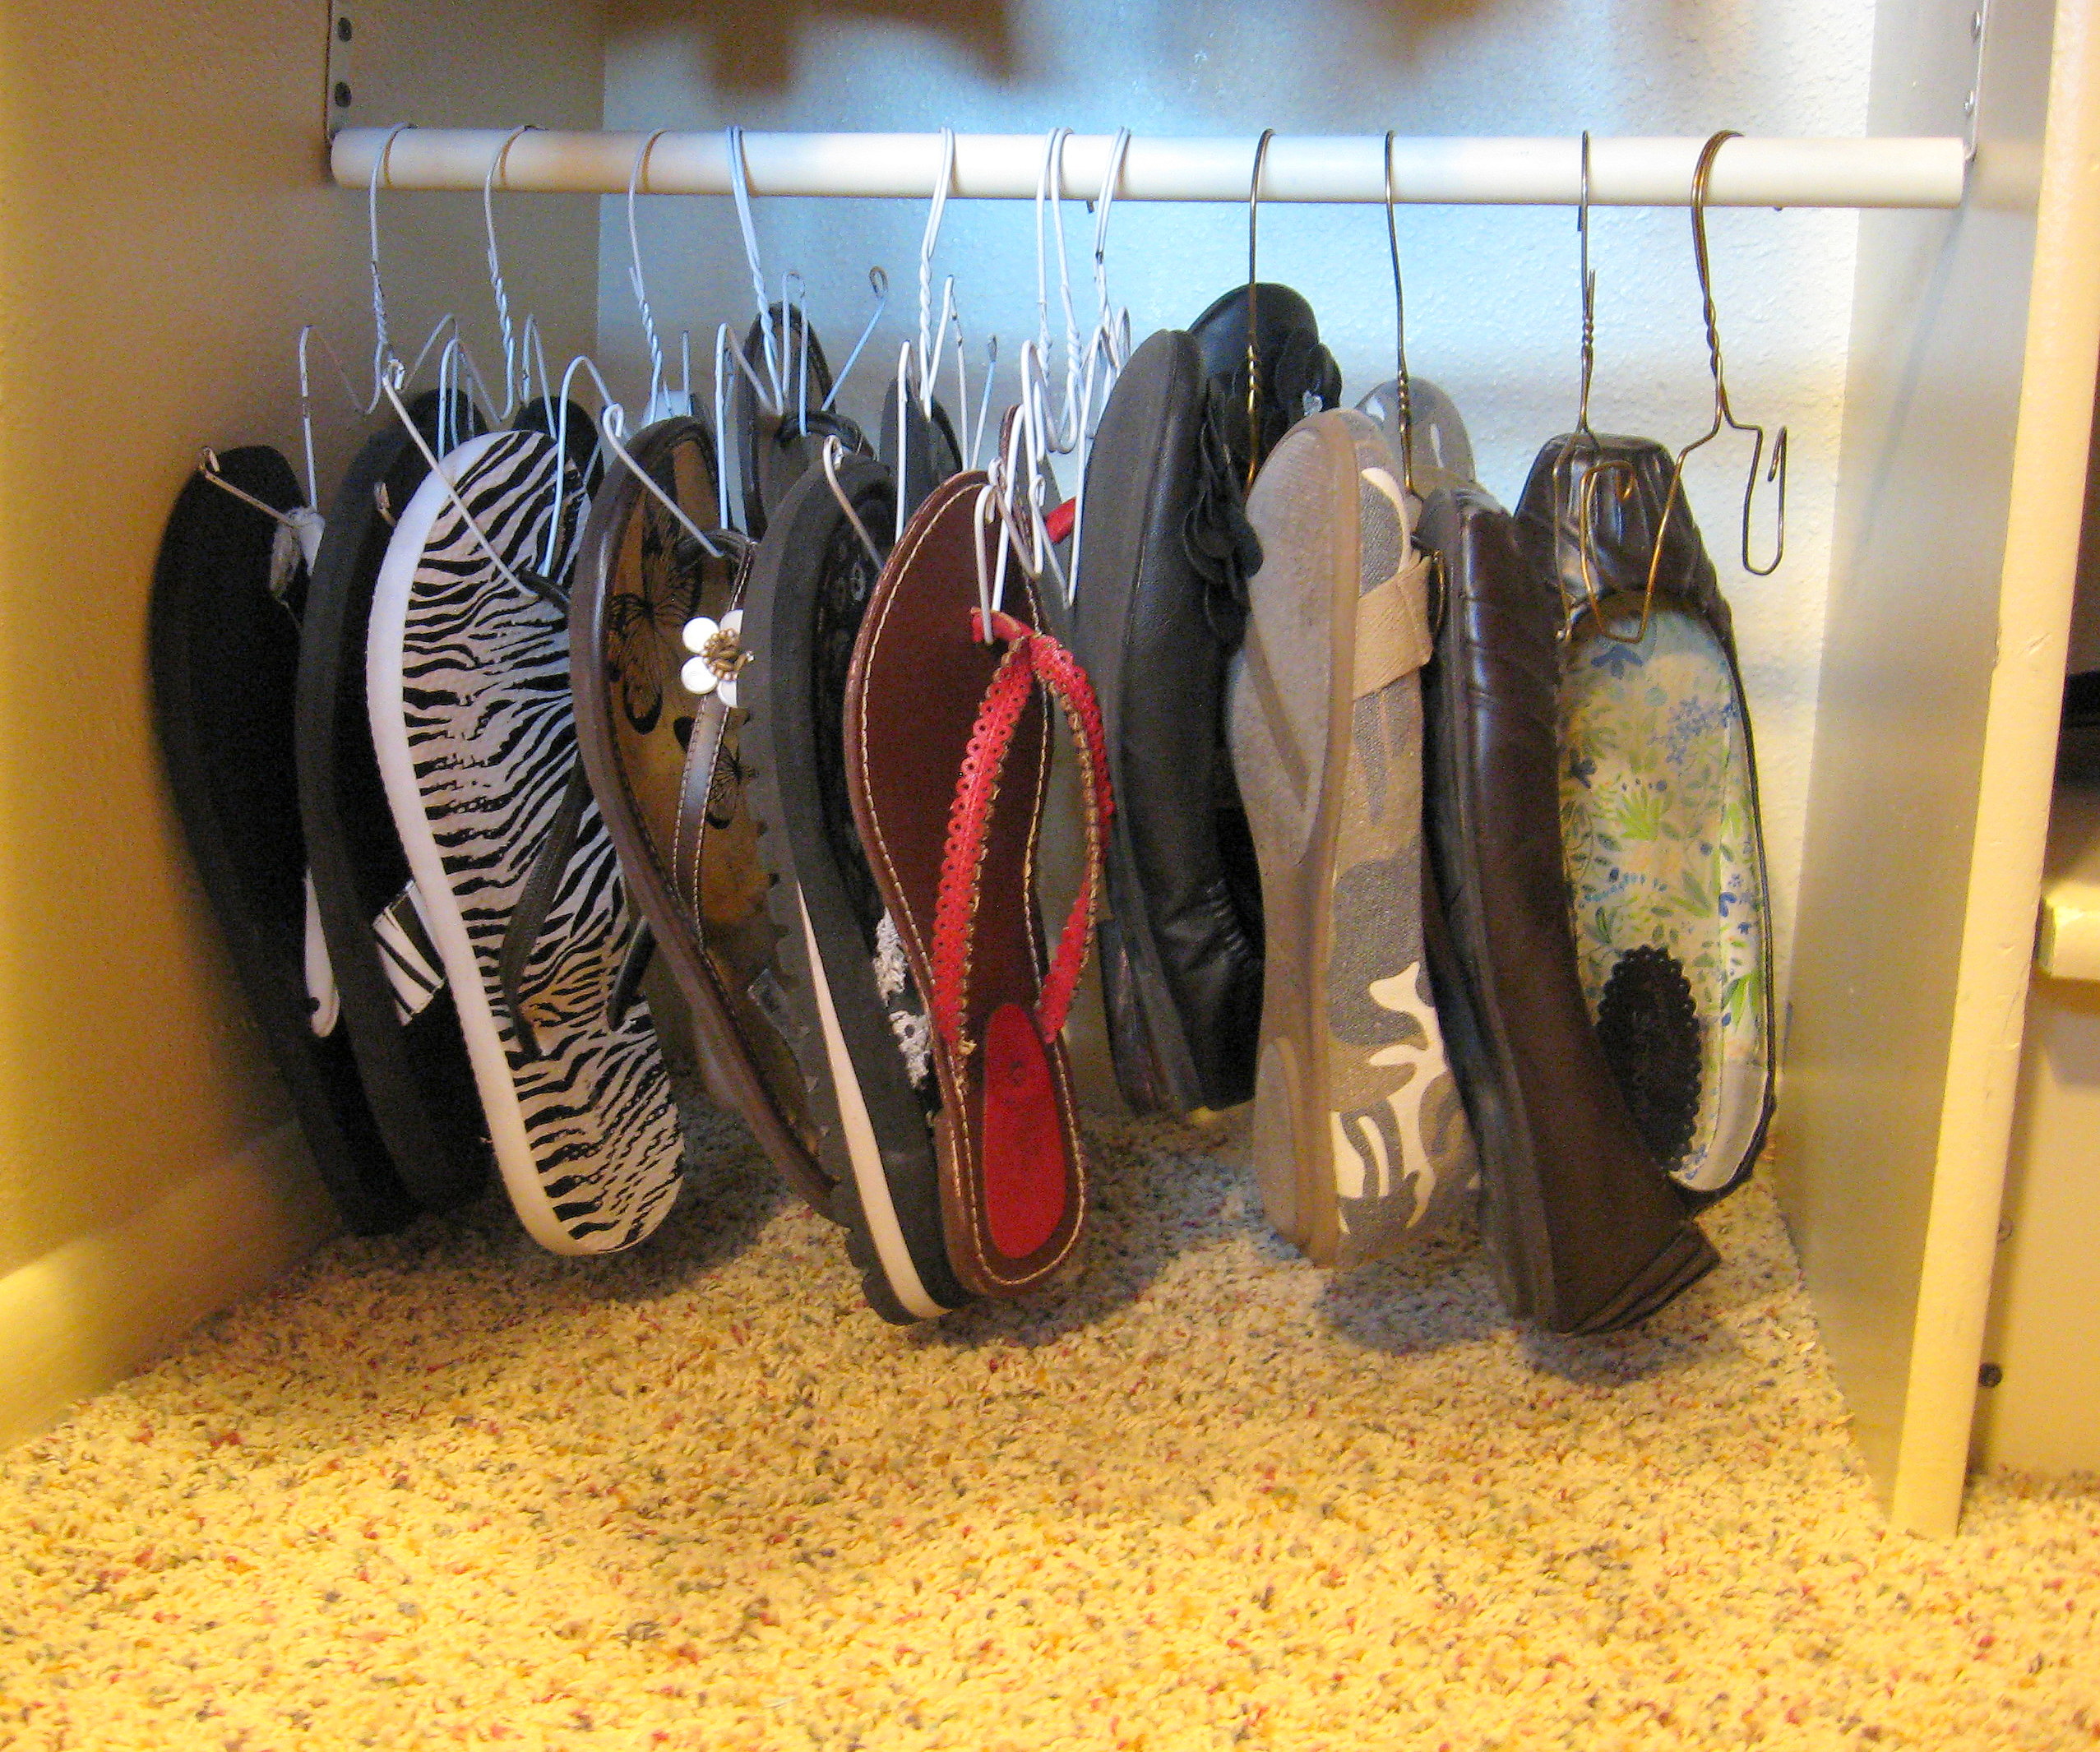
When I started to hang my shoes, some of them touched the floor, so I just bent the “shoulders” of my hanger up a little and it was perfect.

Also, I found that I liked this shape a little better for hanging flats on.
Here is what it looks like:

Now, everything else:
Now I was left with a pile of miscellaneous shoes, but there were too many to just pile on the shelf. I was thinking that maybe I should break my “spend no money” motto and just go buy a wire shelf to double my remaining space, when I decided to have one more look around the garage, and saw the PVC pipe and decided to make a shelf instead.
Cut and assemble PVC pipe and joiners into the shape below (you’ll need 2 of these, so 2 long pieces, 4 short pieces for legs and 4 corner joints.)
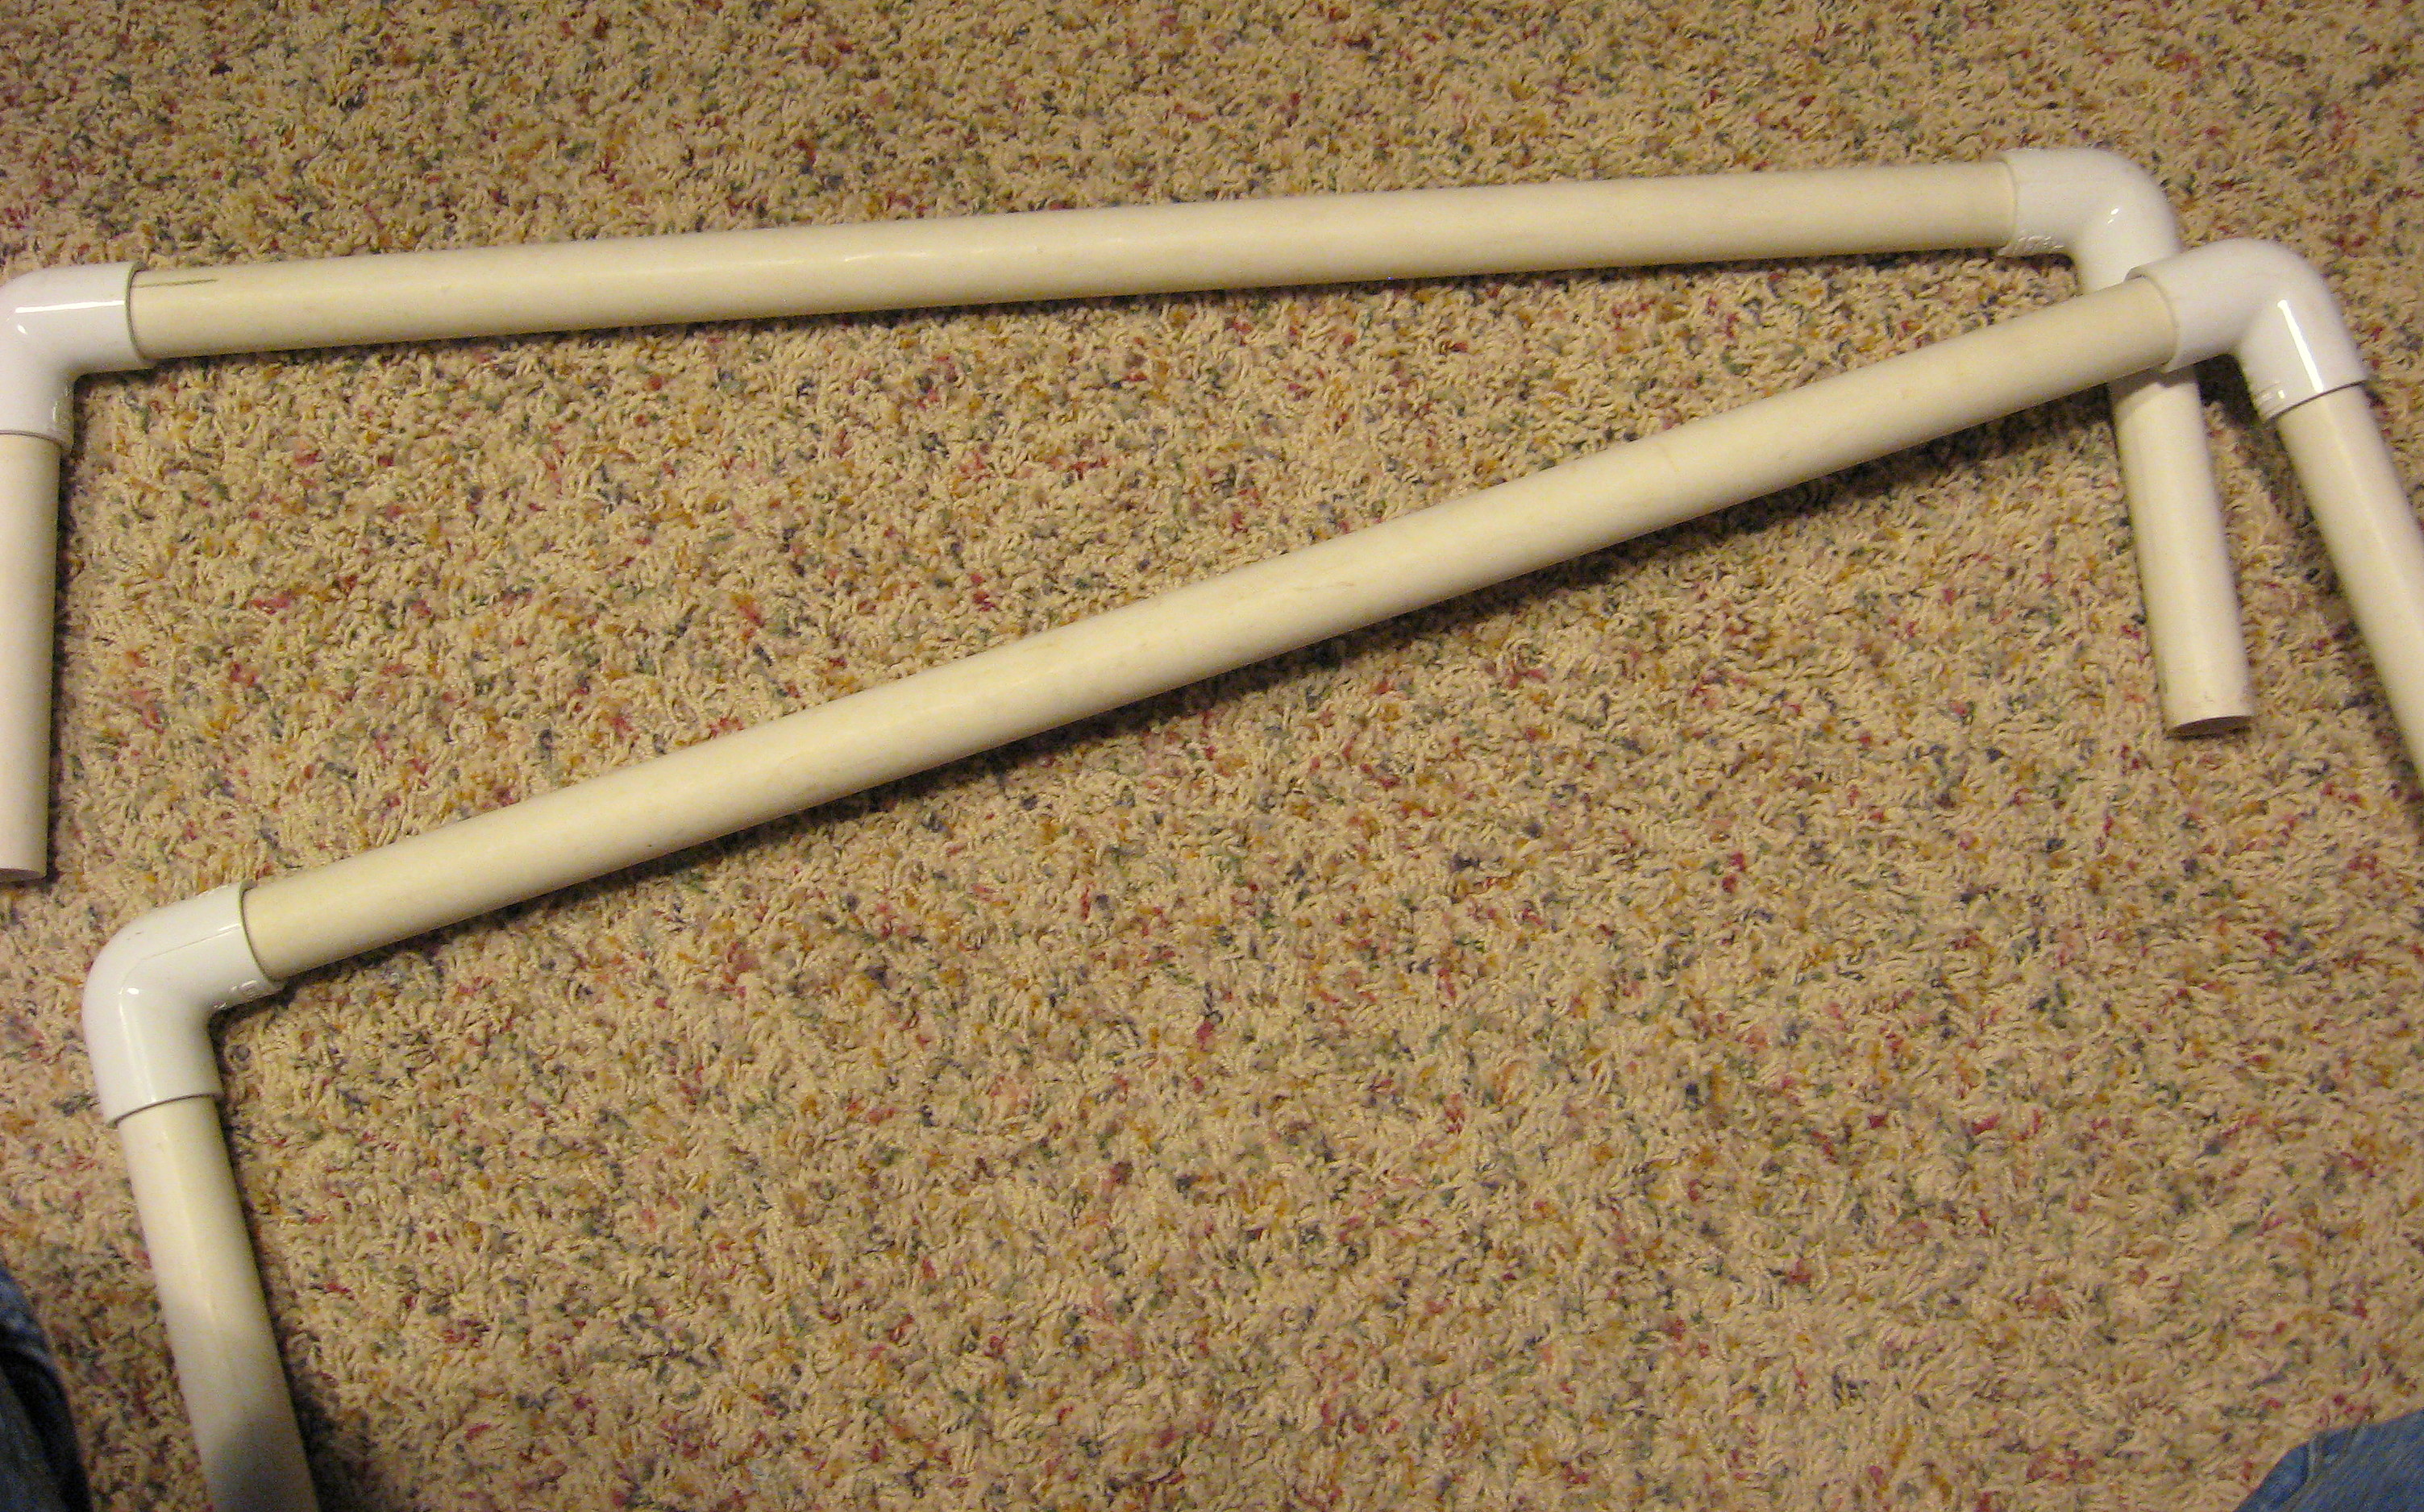
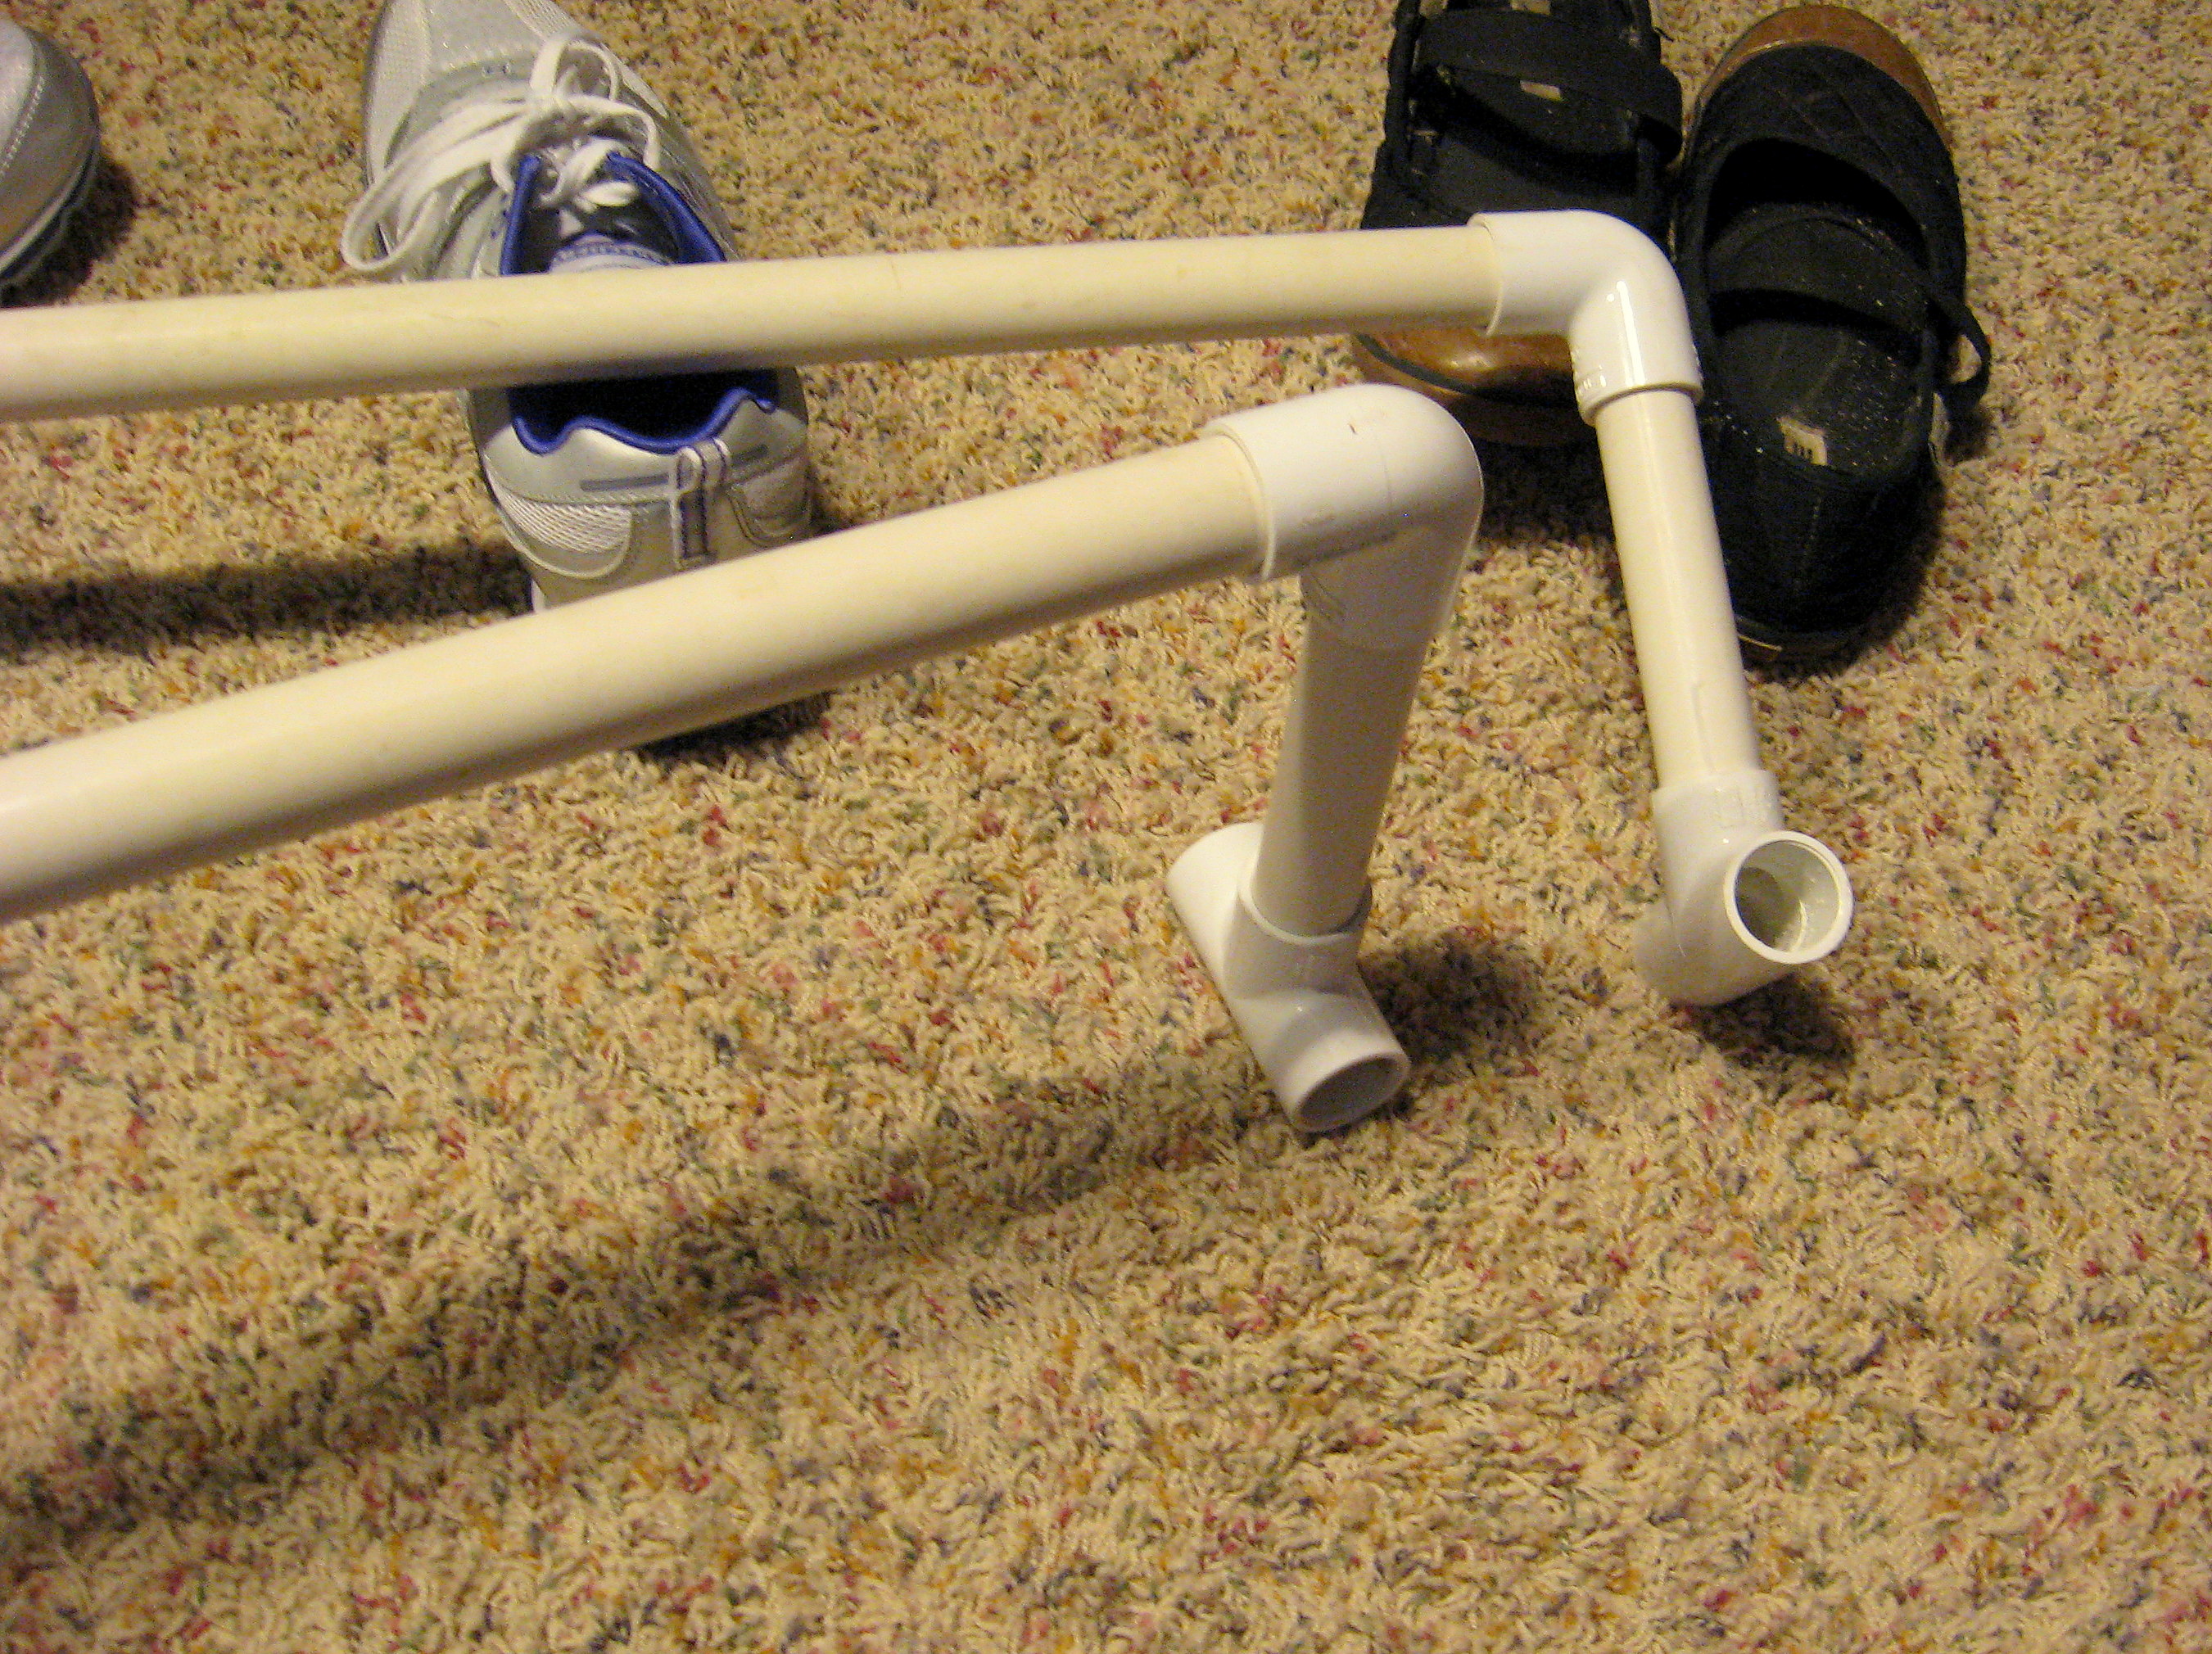
Now add a T shaped joint at the bottom of each leg to act as a foot and allow the shelf to stand.
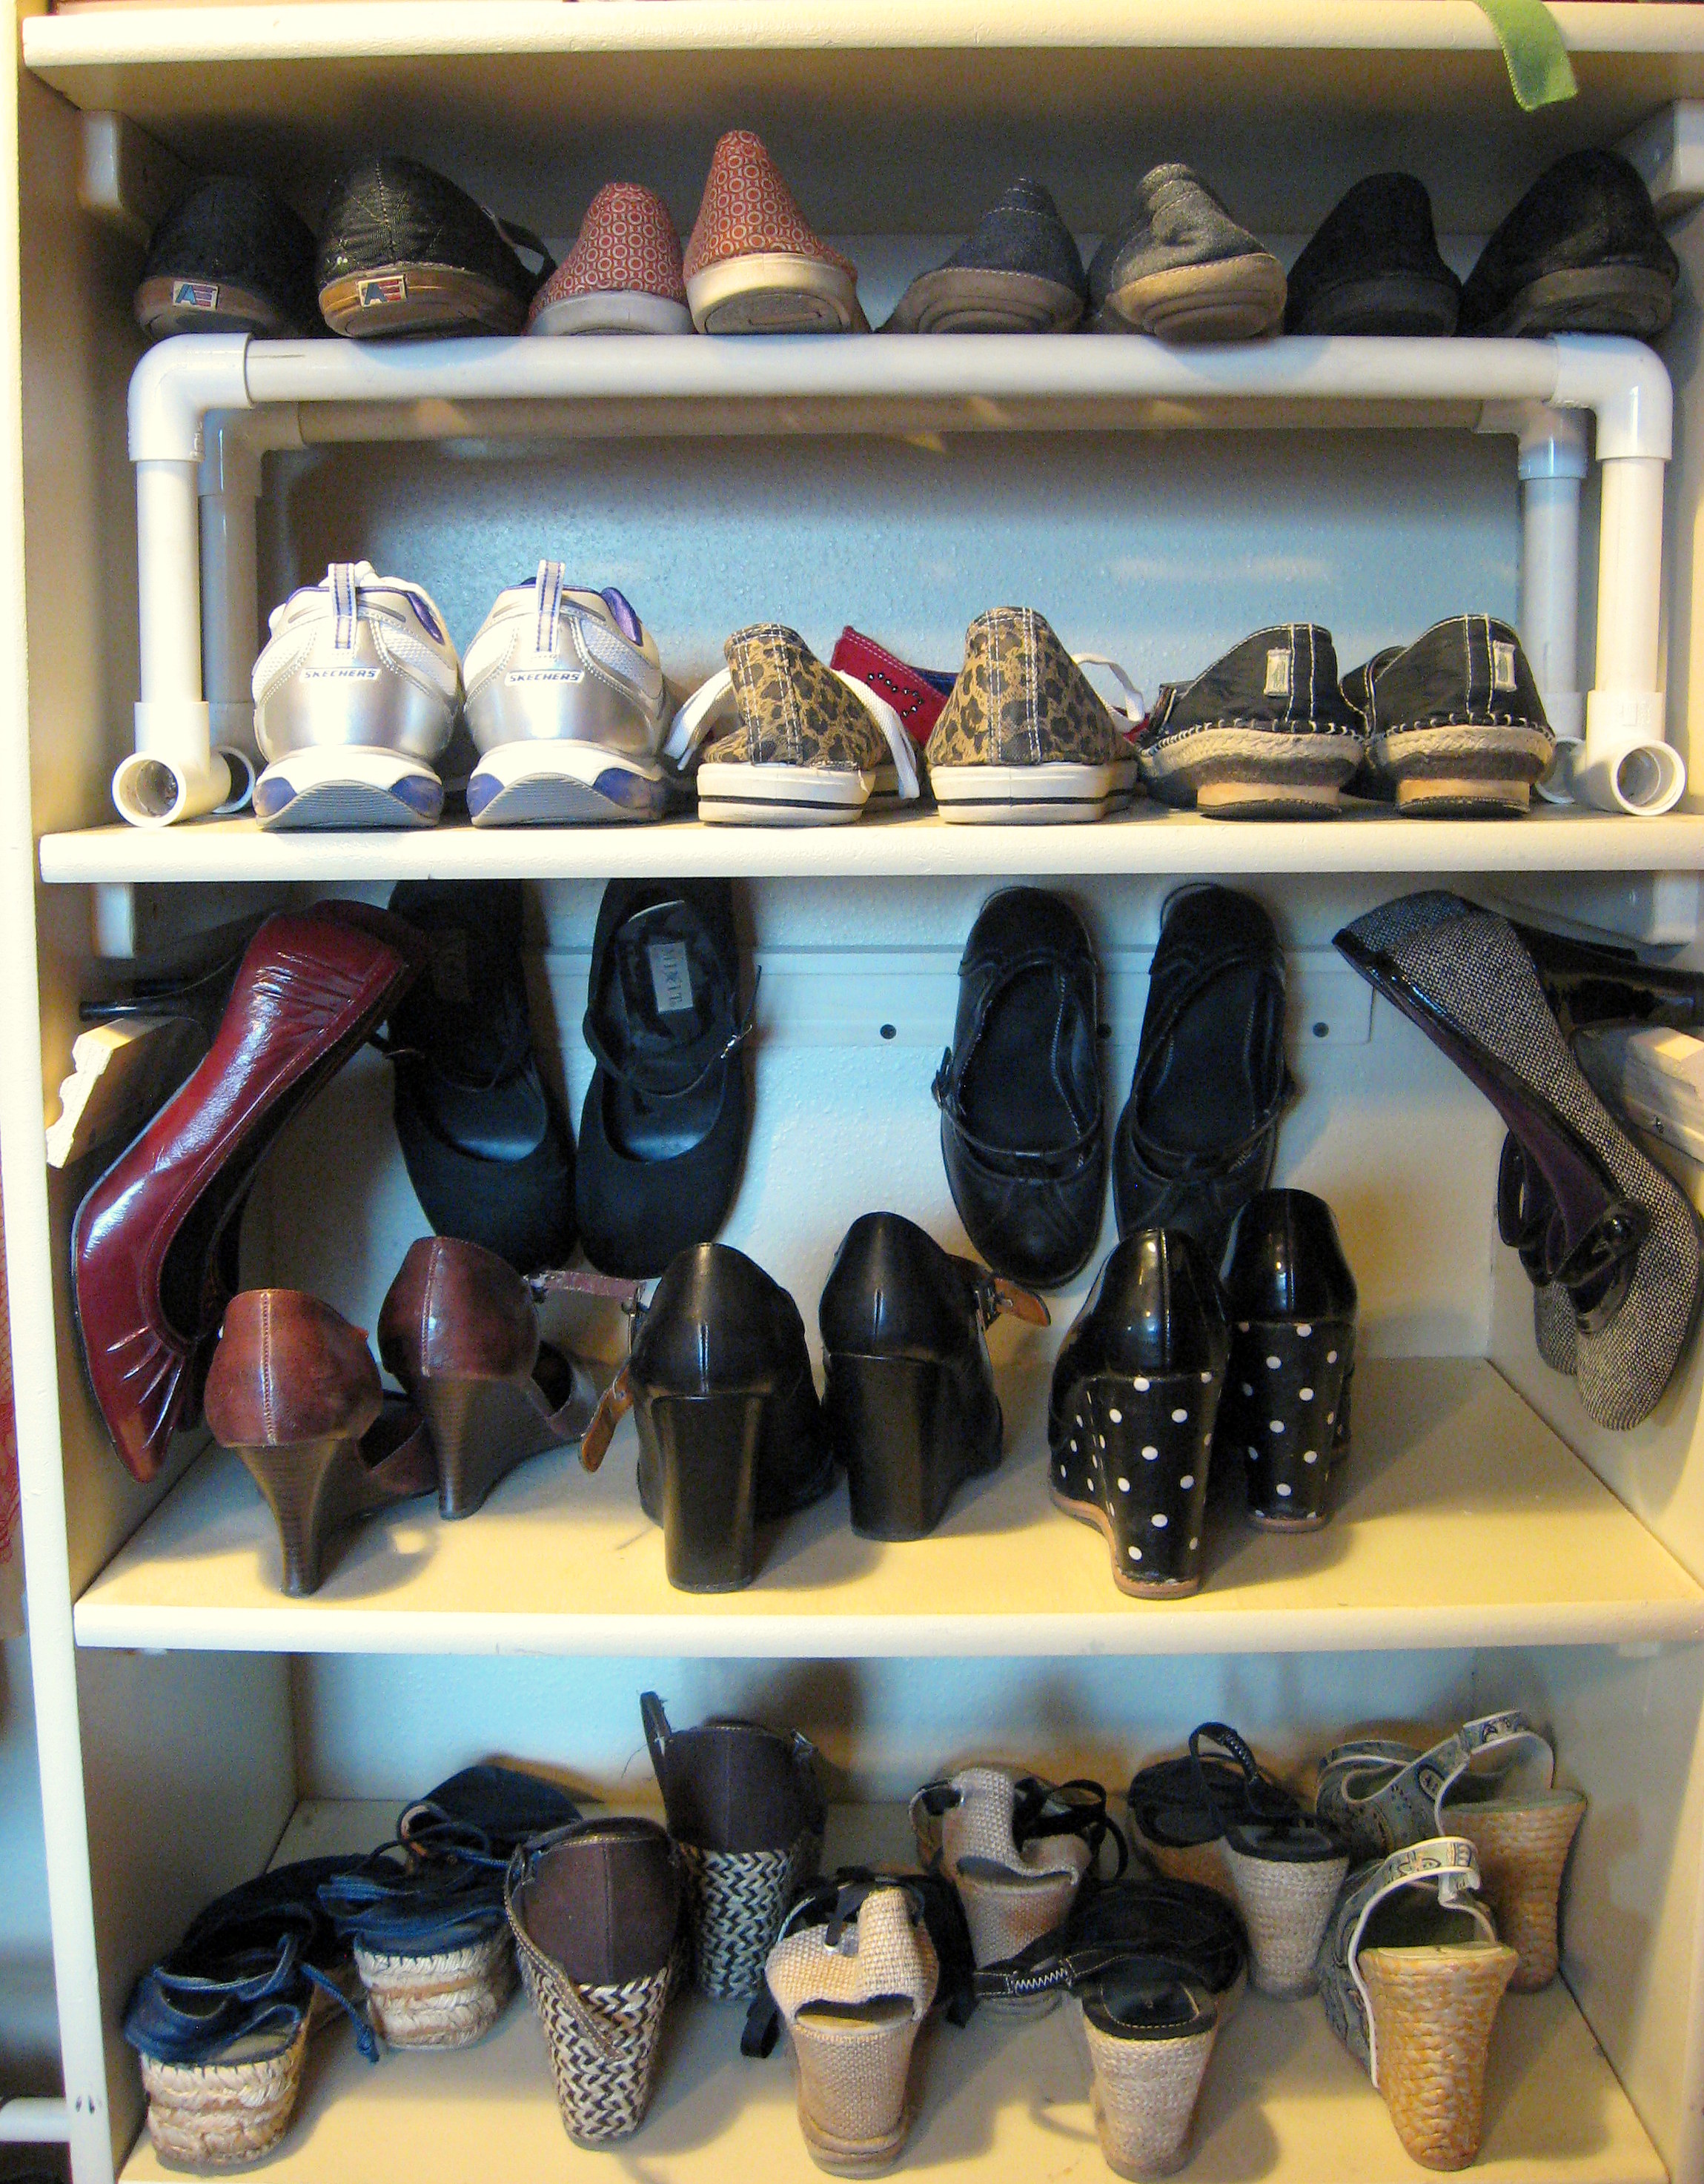
Put them in your shelf one behind the other and stack half your shoes on top.

And here’s the same view from the “before” picture. I’m happy to report it’s been more than a week and it still looks like that!


tinabaily
Those are very clever ideas, but boy, do you have a lot of shoes! 🙂
shazbraz
Ha ha ha!! The first thing I said when I got them all organized is “I need some new heels.” Shoes are a bit of a thing in my family…