
Fast, inexpensive and endlessly customizable to match your home’s decor, this craft is easy and fun enough that your kids can join in!
Needed for this project:
*Balloons (I like water balloons for achieving a small Easter egg shape)
*White glue (like Elmers)
*Yarn – any type, any color. Once you see how easy it is to make these, you’ll want to experiment with all kinds of yarns and string for different finished effects.
You may want to line your work surface with newspaper; it can get messy!
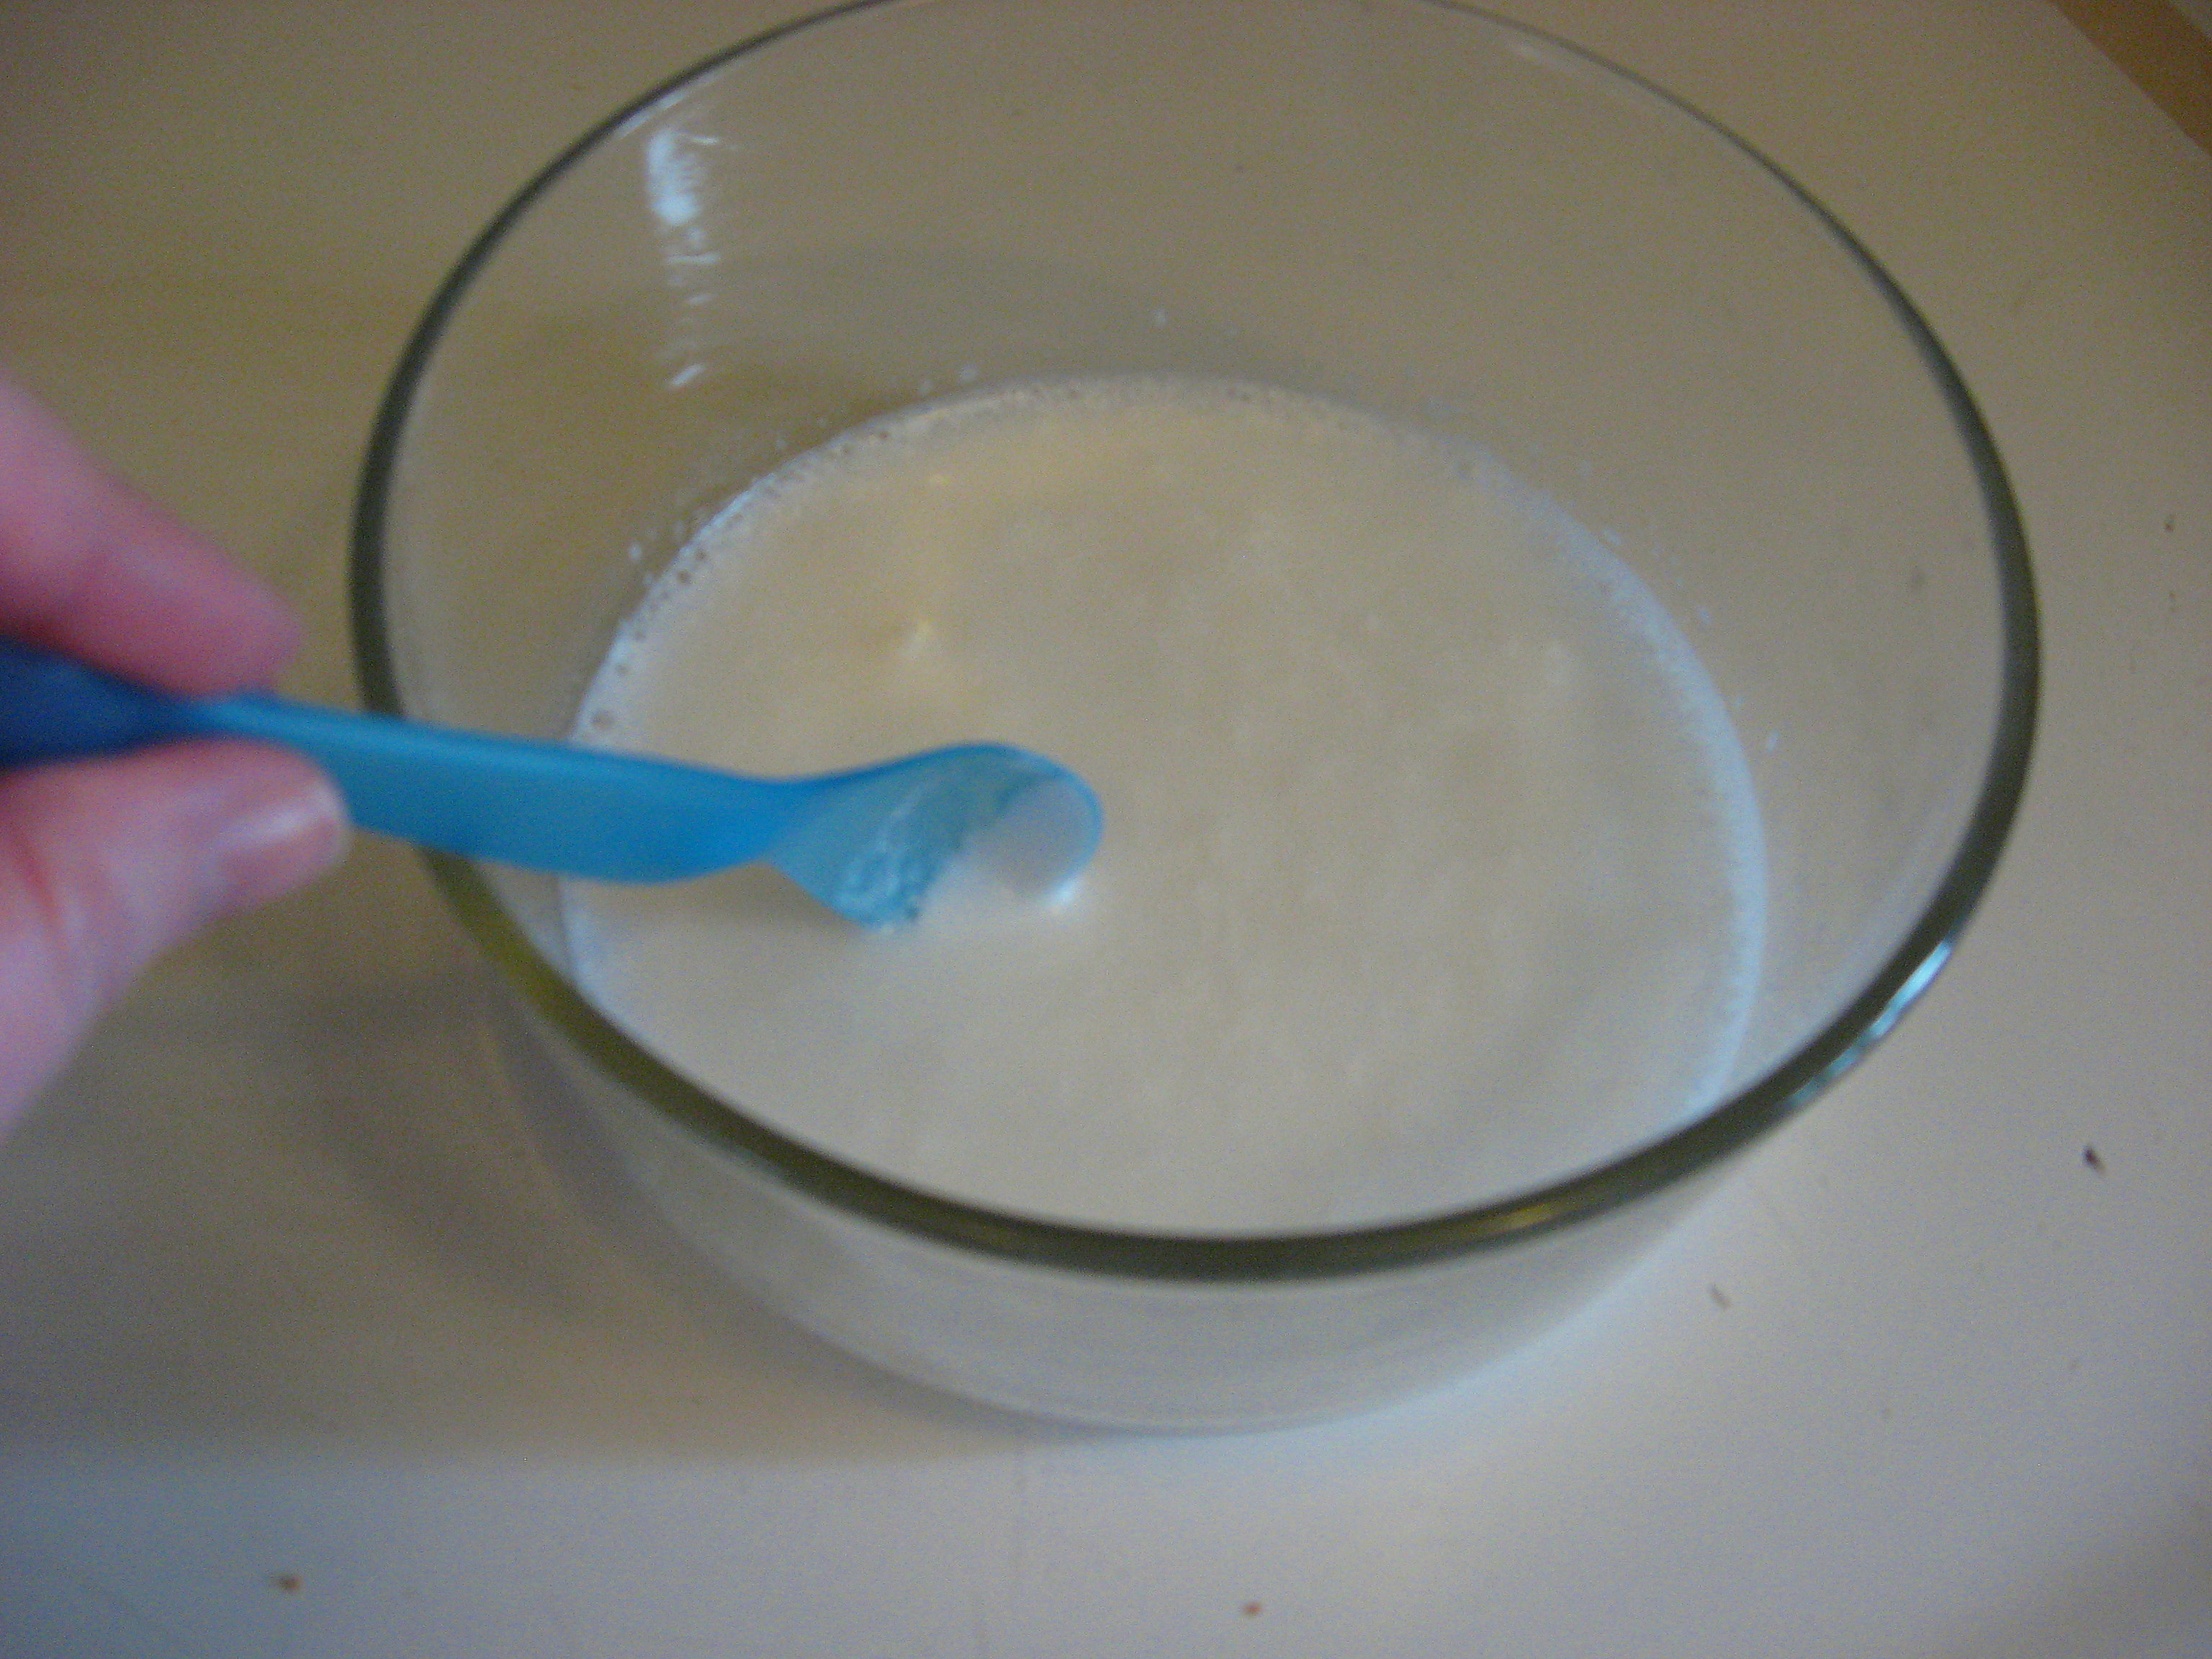
Start by pouring glue into a wide bowl. I tried a batch of eggs with glue only – NO water – and they turned out fine. I also tried a batch with about a 2/3 glue and 1/3 water mix and those turned out great too. I do not recommend going with more water than 1/3; many tutorials say to use equal parts glue and water, but in my experience the yarn didn’t stick well enough for the finished project to stay together. As far as I can tell, the only advantage to using water is that it will stretch the glue further.

Mix it together well (if you are using water.)
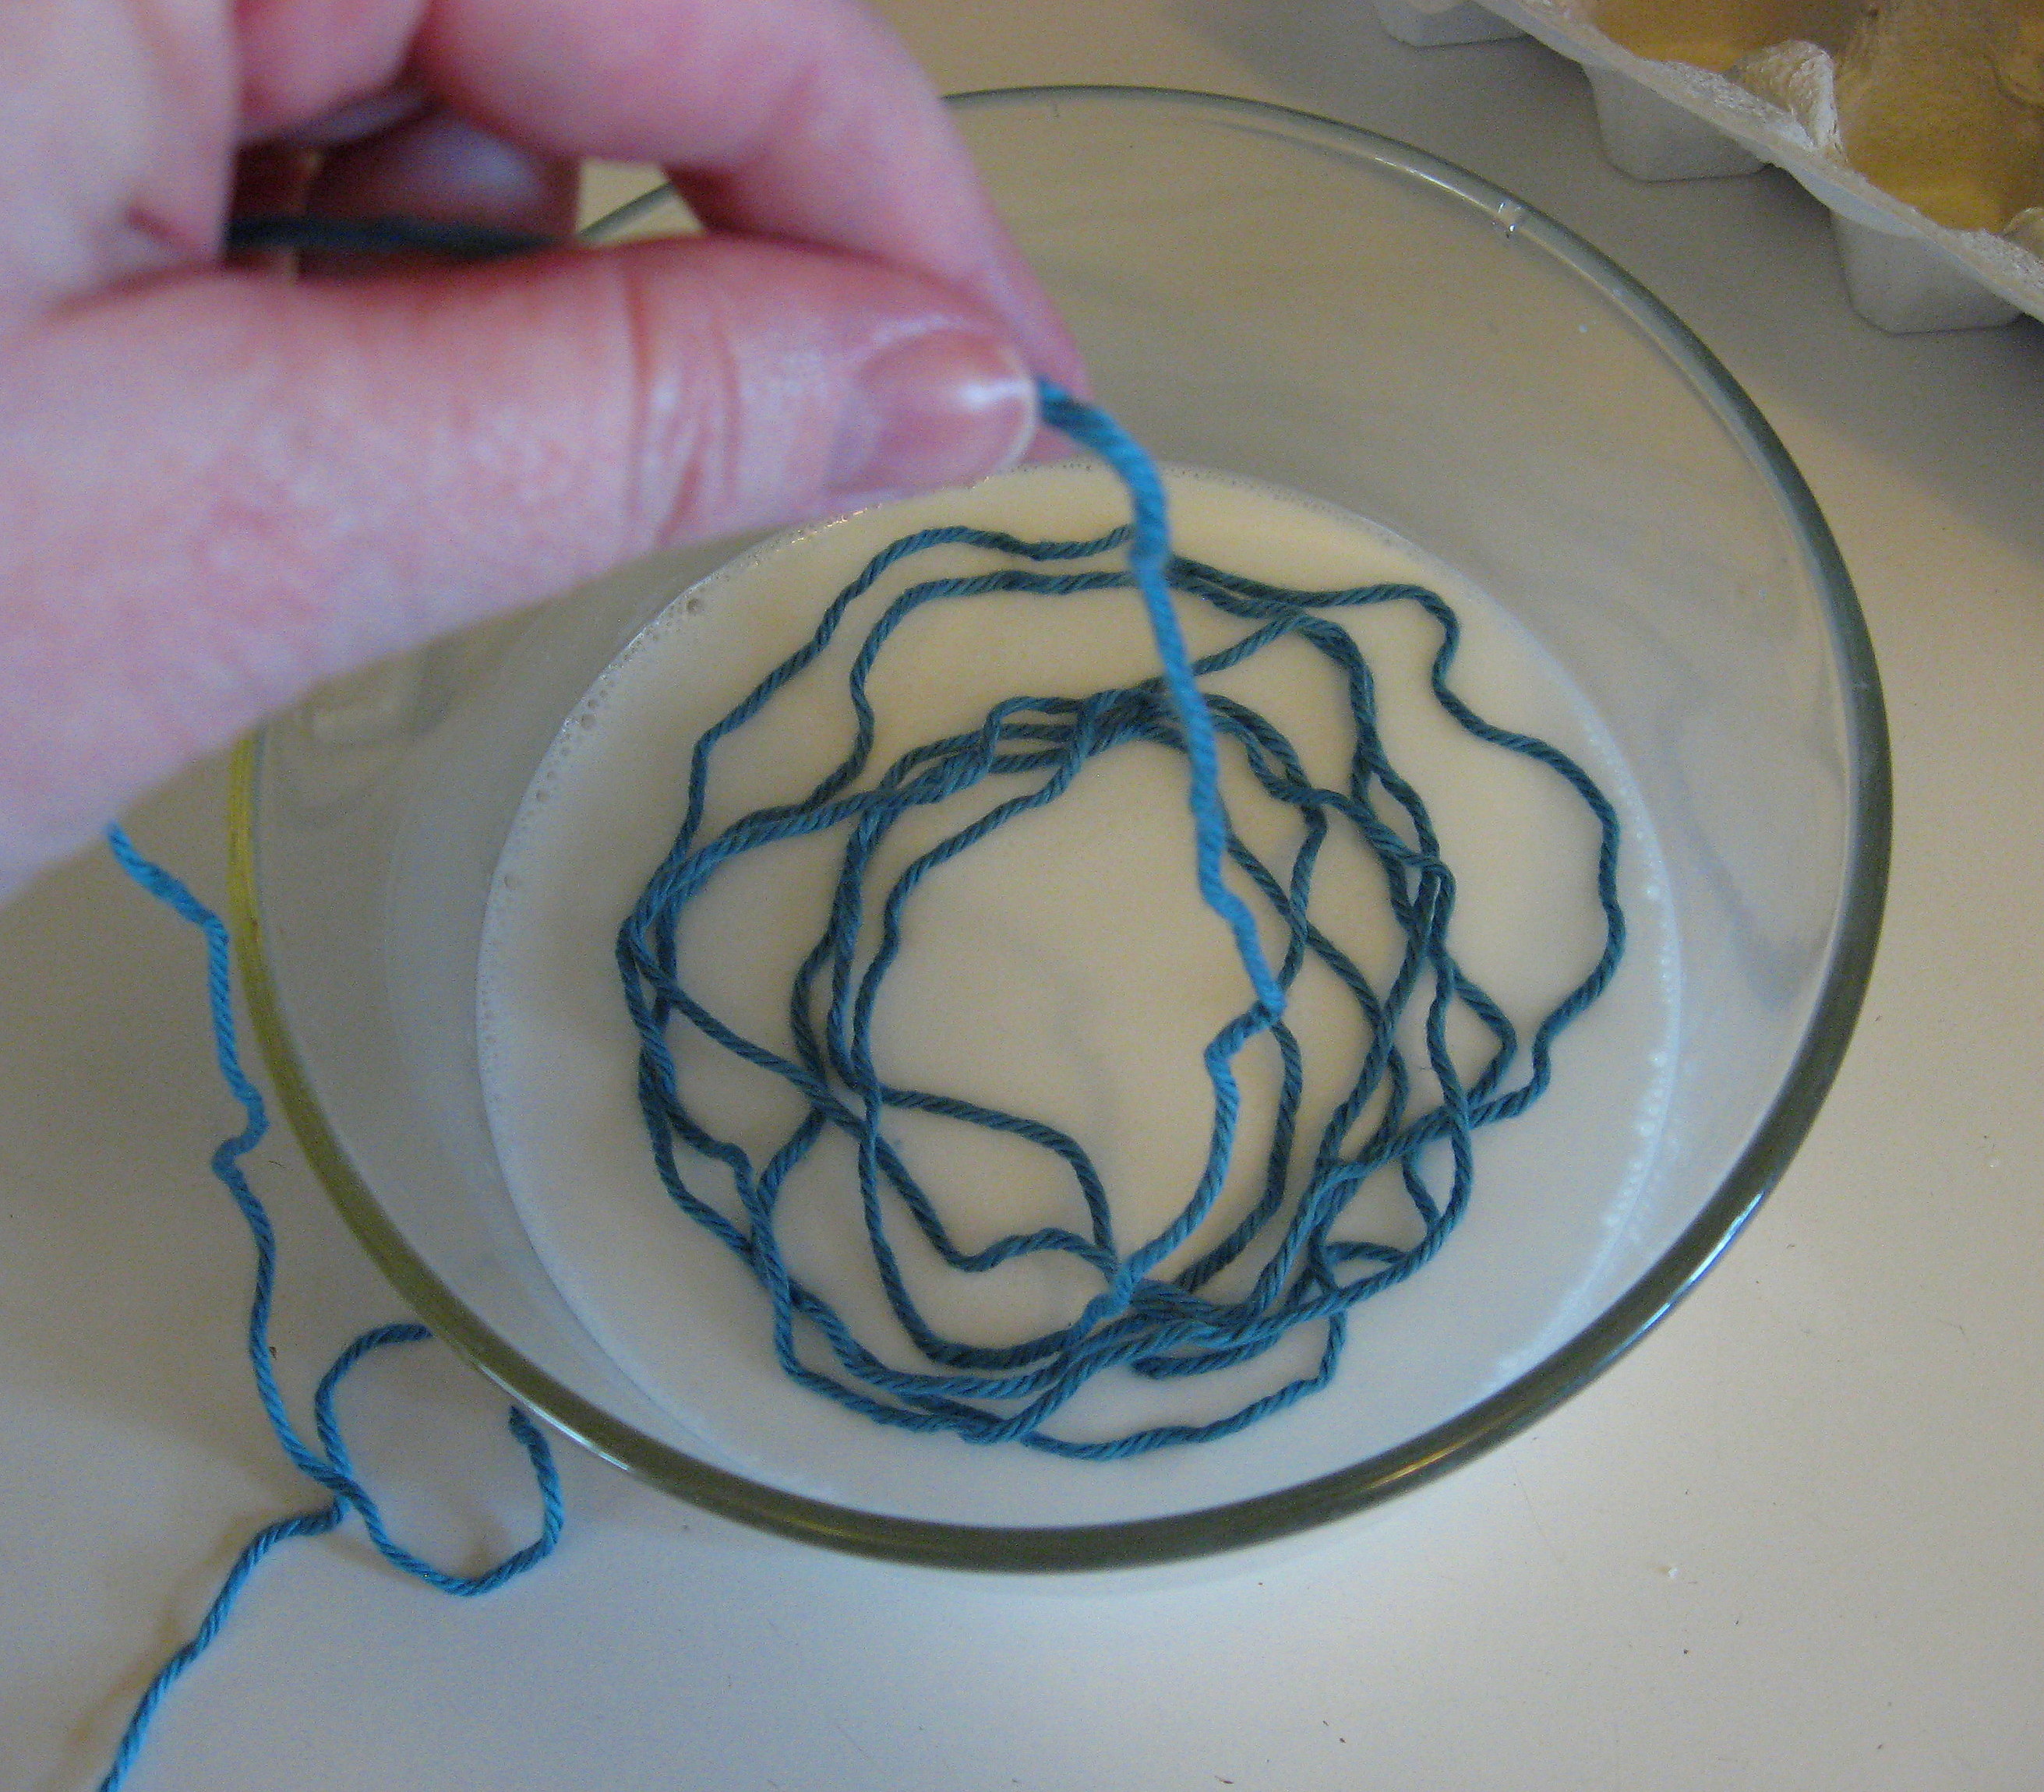
Cut off several yards of yarn and carefully coil it into the bowl, keeping track of the end when you get to it so you can pull it back out. After your first one or two eggs, you’ll get a feel for whether you like them with a lot of yarn or a little and about how much you need per egg. Don’t worry if you don’t cut enough initially; you can easily add more.
Use a spoon to push the yarn down into the glue until it is all covered. 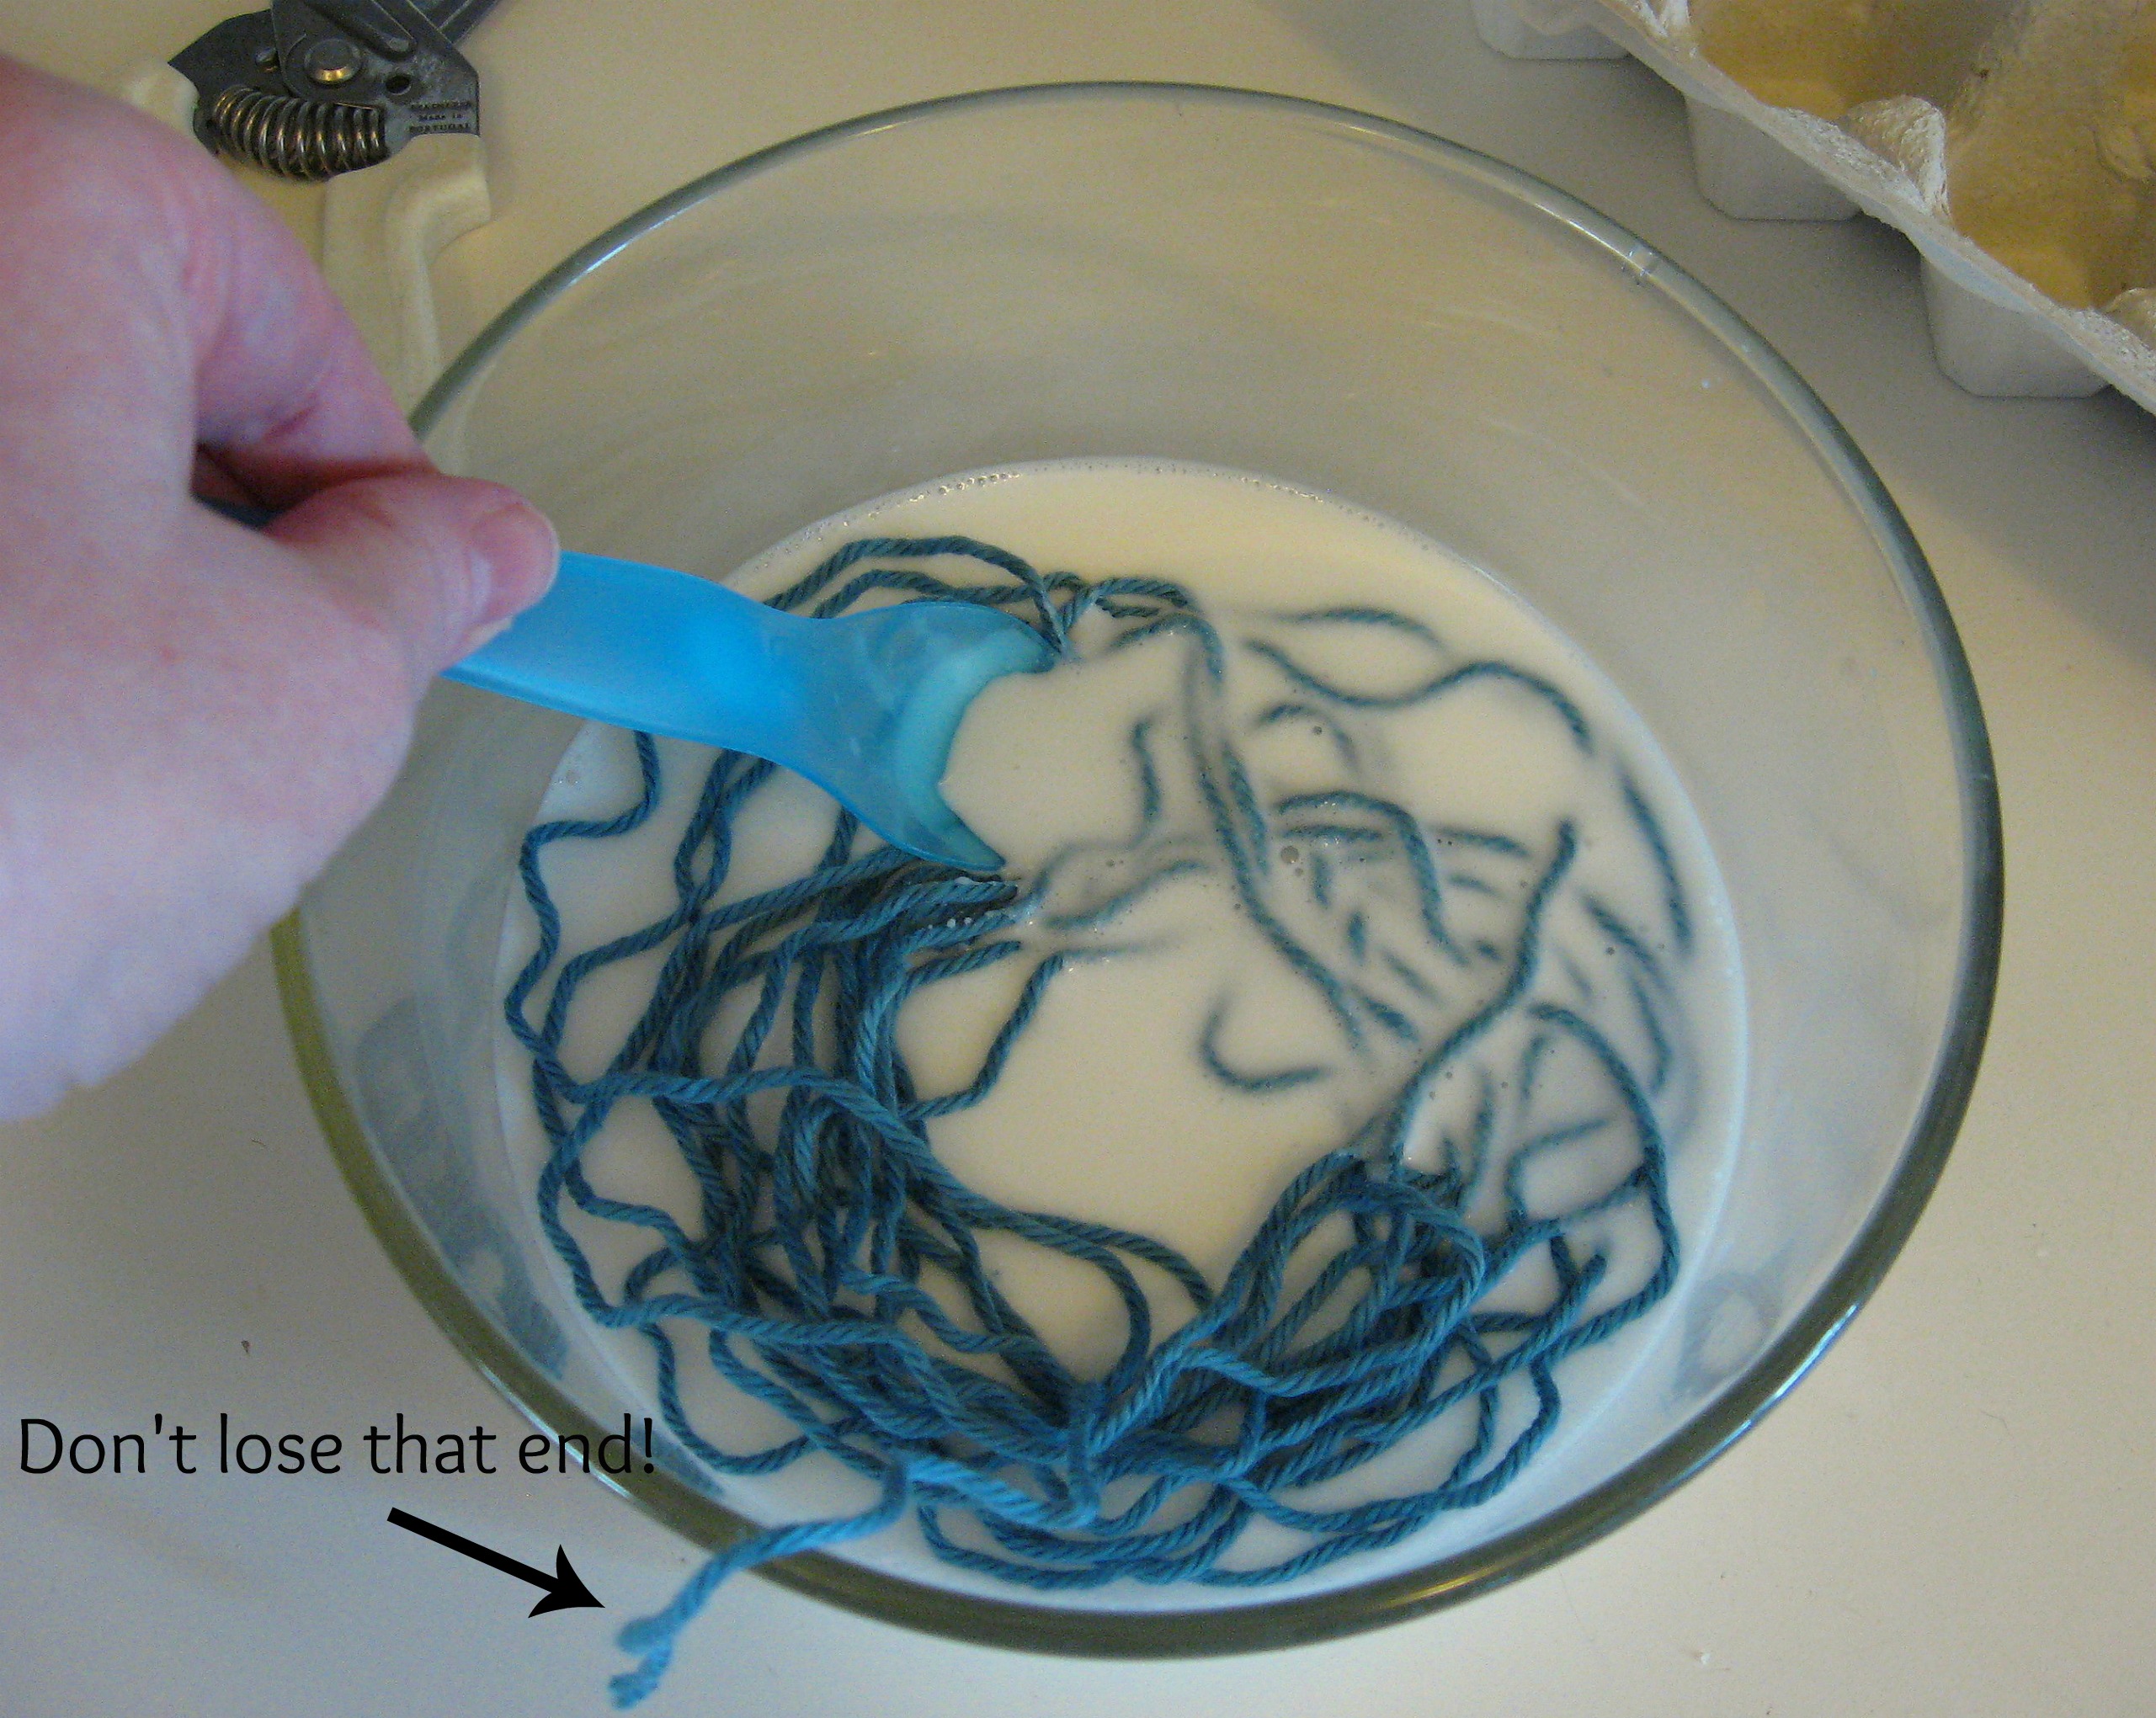
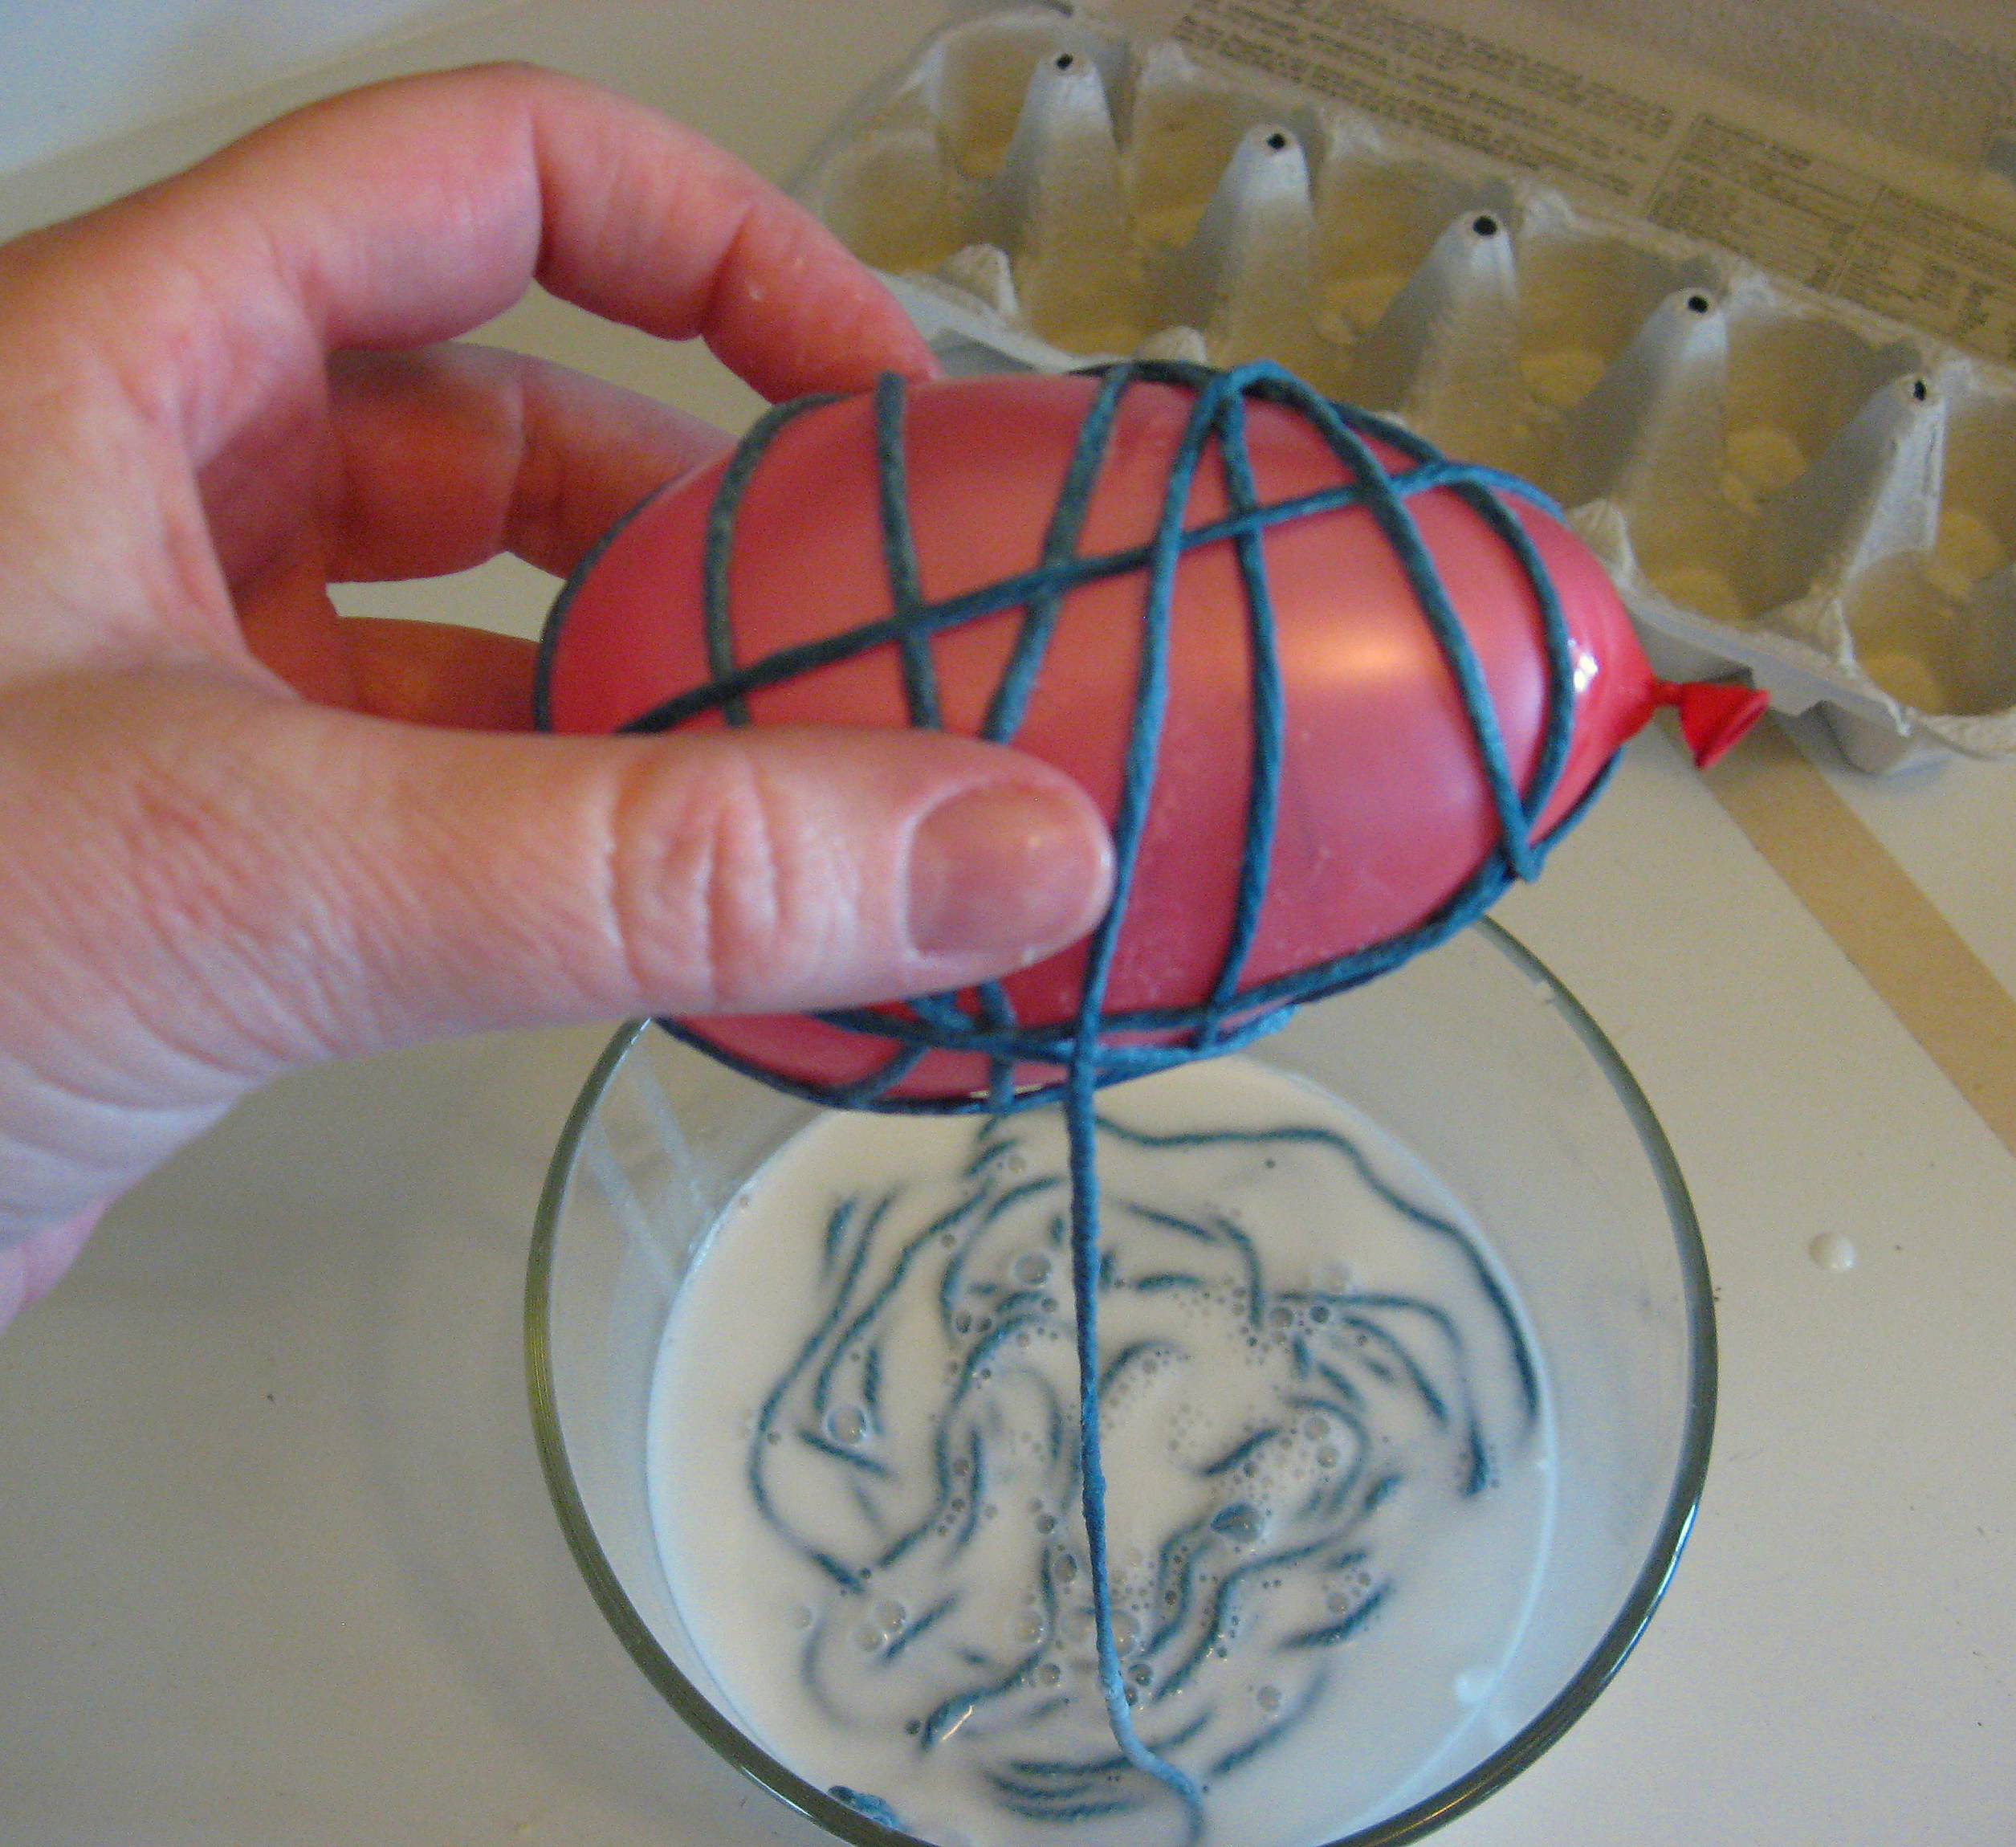
Now just start wrapping the yarn around the balloon.
A couple of tips for this part:
*As you pull the yarn out of the glue, lightly pull it between your thumb and finger to gently “squeeze” the excess glue off and back into the bowl.
*In the picture above, I’m pulling the yarn out in small bits and wrapping as I go, but I found that it was even easier to pull it all out and lay it on a piece of waxed paper, then wrap the balloon all in one go. The yarn doesn’t dry out fast enough to be a problem, and it gives you more control over the wrapping and therefore the finished shape.
*Make sure you cover the starting end with a subsequent wrap or two, so that it doesn’t show when you’re done. Gently squeeze the raw end together with another piece of yarn and you won’t be able to see it at all when it dries. Do the same thing when you finish, tucking the end under another piece of yarn and squeezing them together.
*If you find that you want more coverage when you’re done, just cut another piece of yarn and wrap again, beginning and ending like above, being careful to conceal the raw ends.
*Try to vary how you are holding the balloon as you go so that you don’t end up with all your criss-crossed intersections in the same place.
Now set the finished egg aside to dry. I like using an empty egg carton.
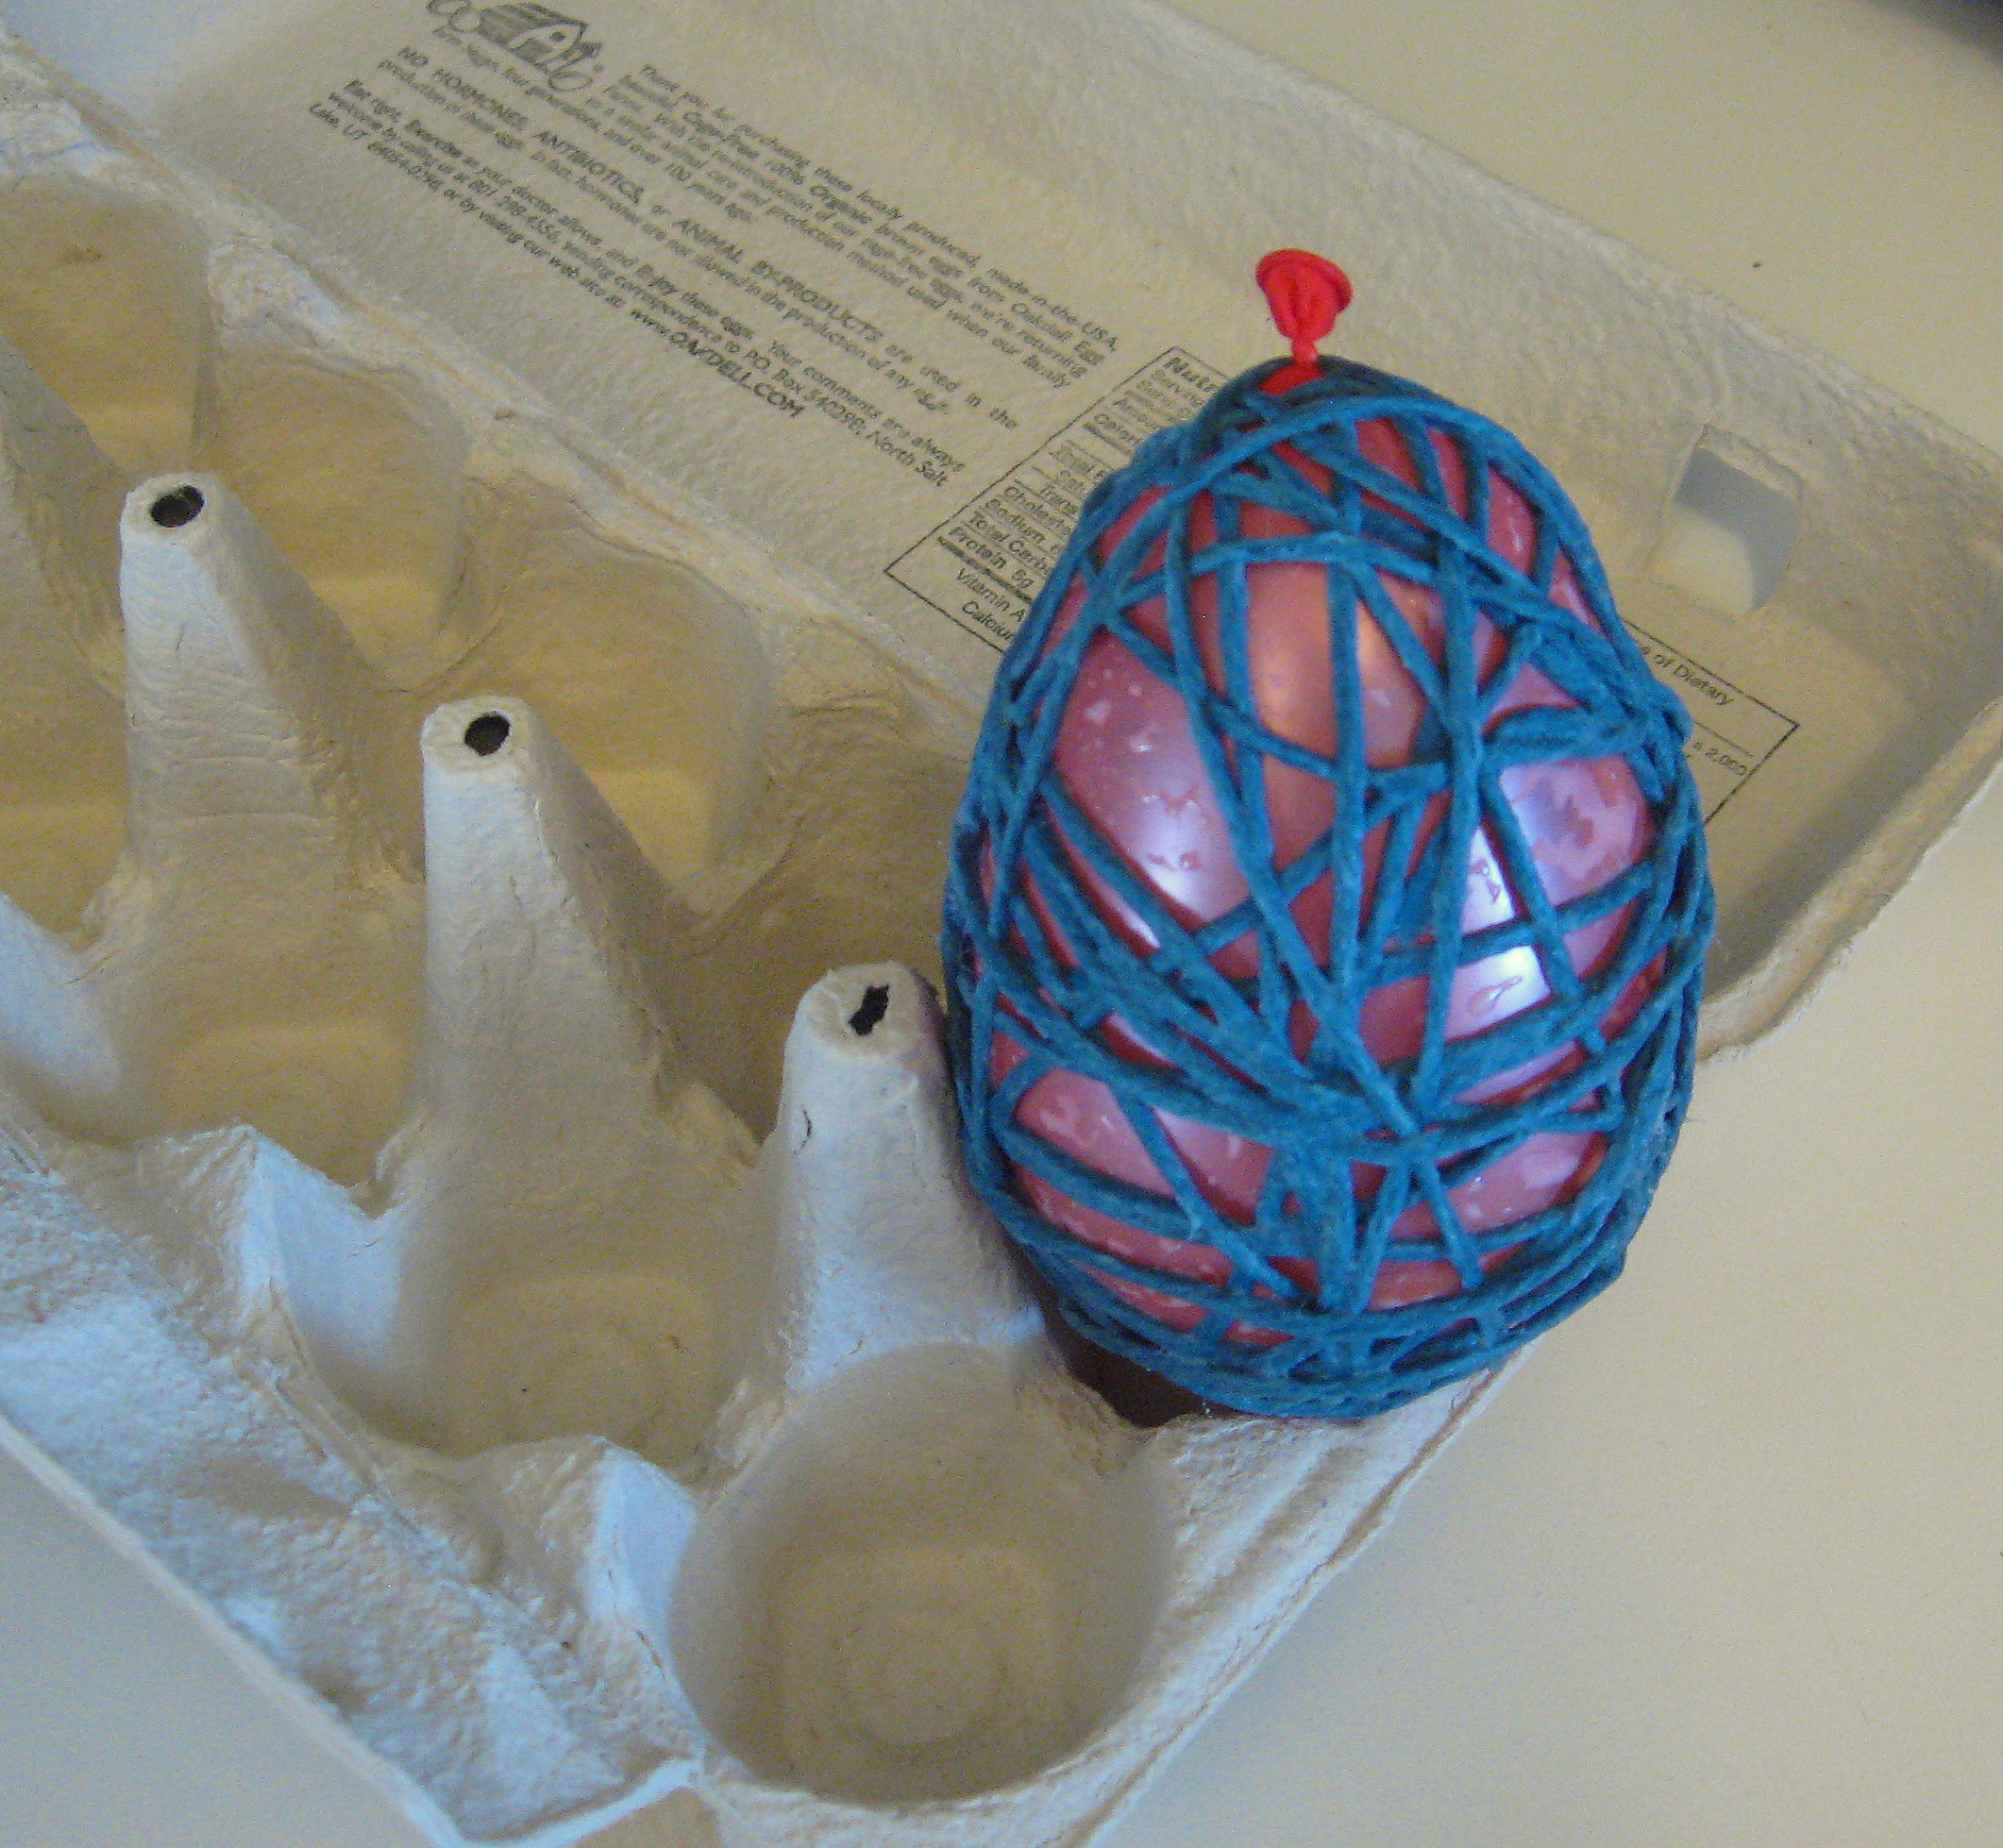
Let the glue dry THOROUGHLY. Really, it has to be totally dry before you mess with it. You may want to gently rotate the eggs once or twice as they’re drying, but other than that, leave them alone. If you try to move on while any of the yarn is still wet, the egg will collapse and you will be sad.
This is the part where this project always worries me; they look kind of ugly and funky while they are still on the balloons and I always wonder if I did it right, but then comes the magic!
Once all the yarn is dry, pop the balloon and remove the pieces with a pair of tweezers.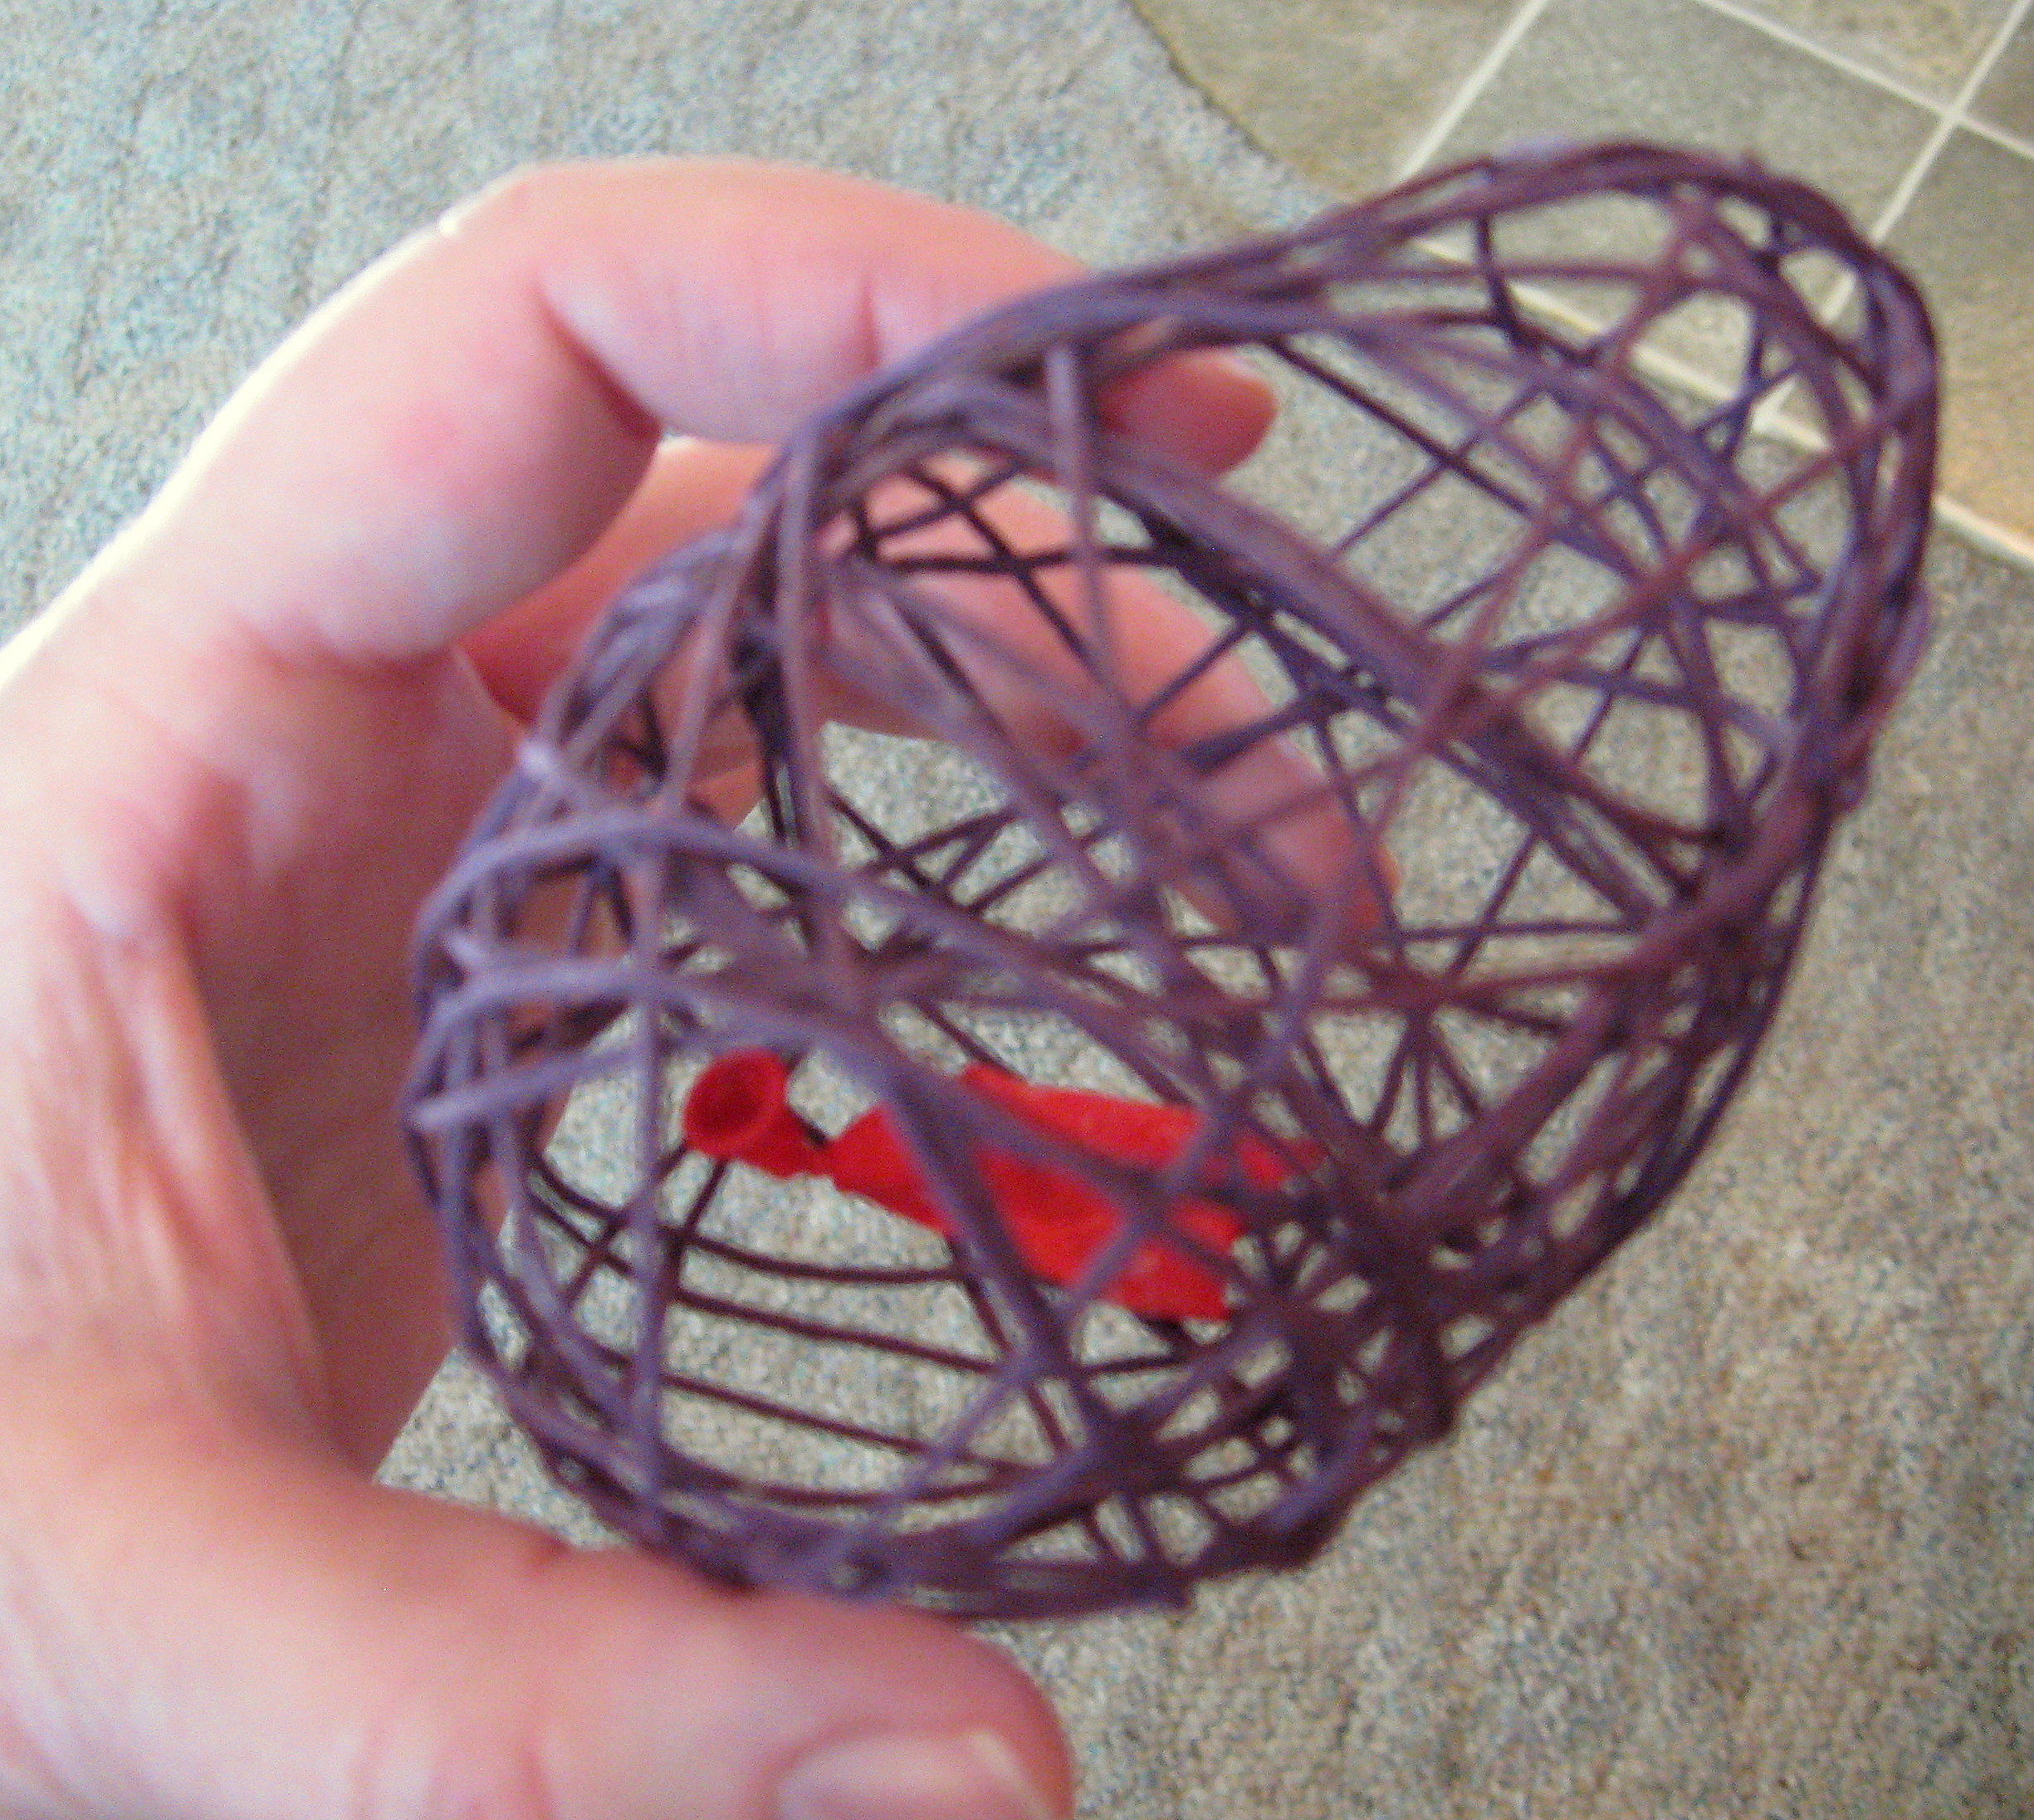
Now they’re all done and ready to display. You’ll be thrilled with how cute they are as soon as the balloon is gone.
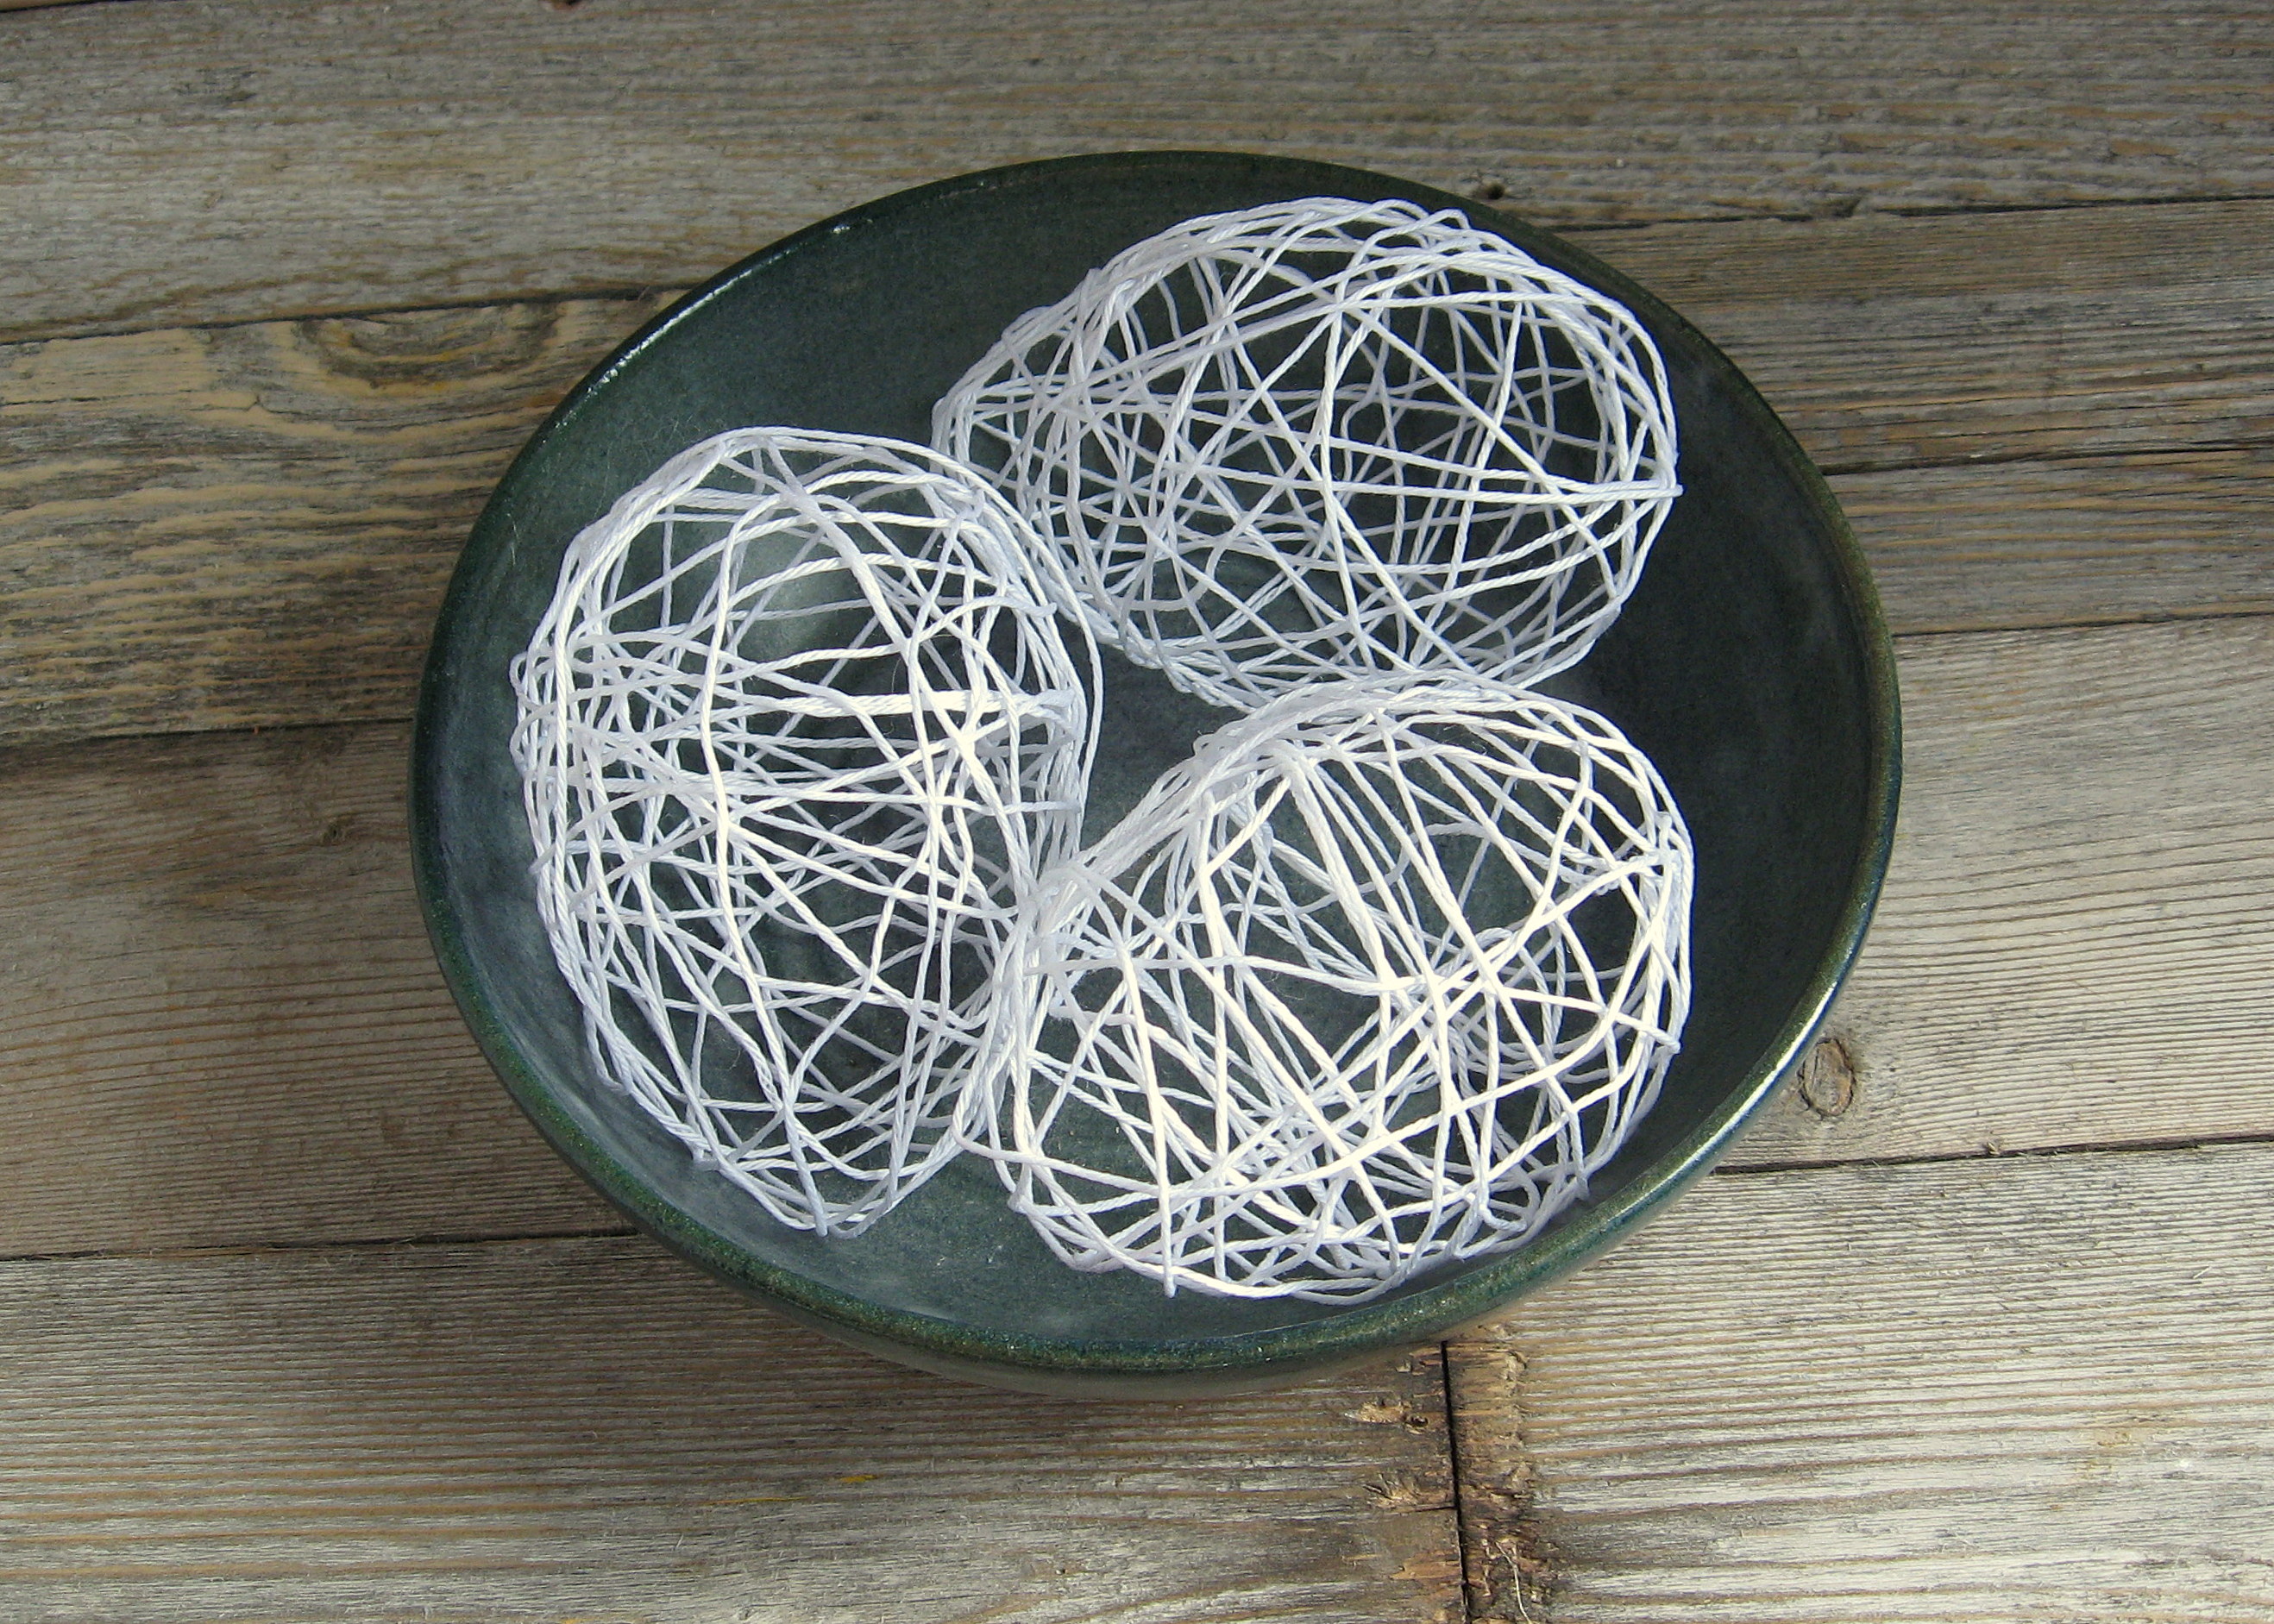
Here are some all white ones, that I made with some very thin white cotton yarn.
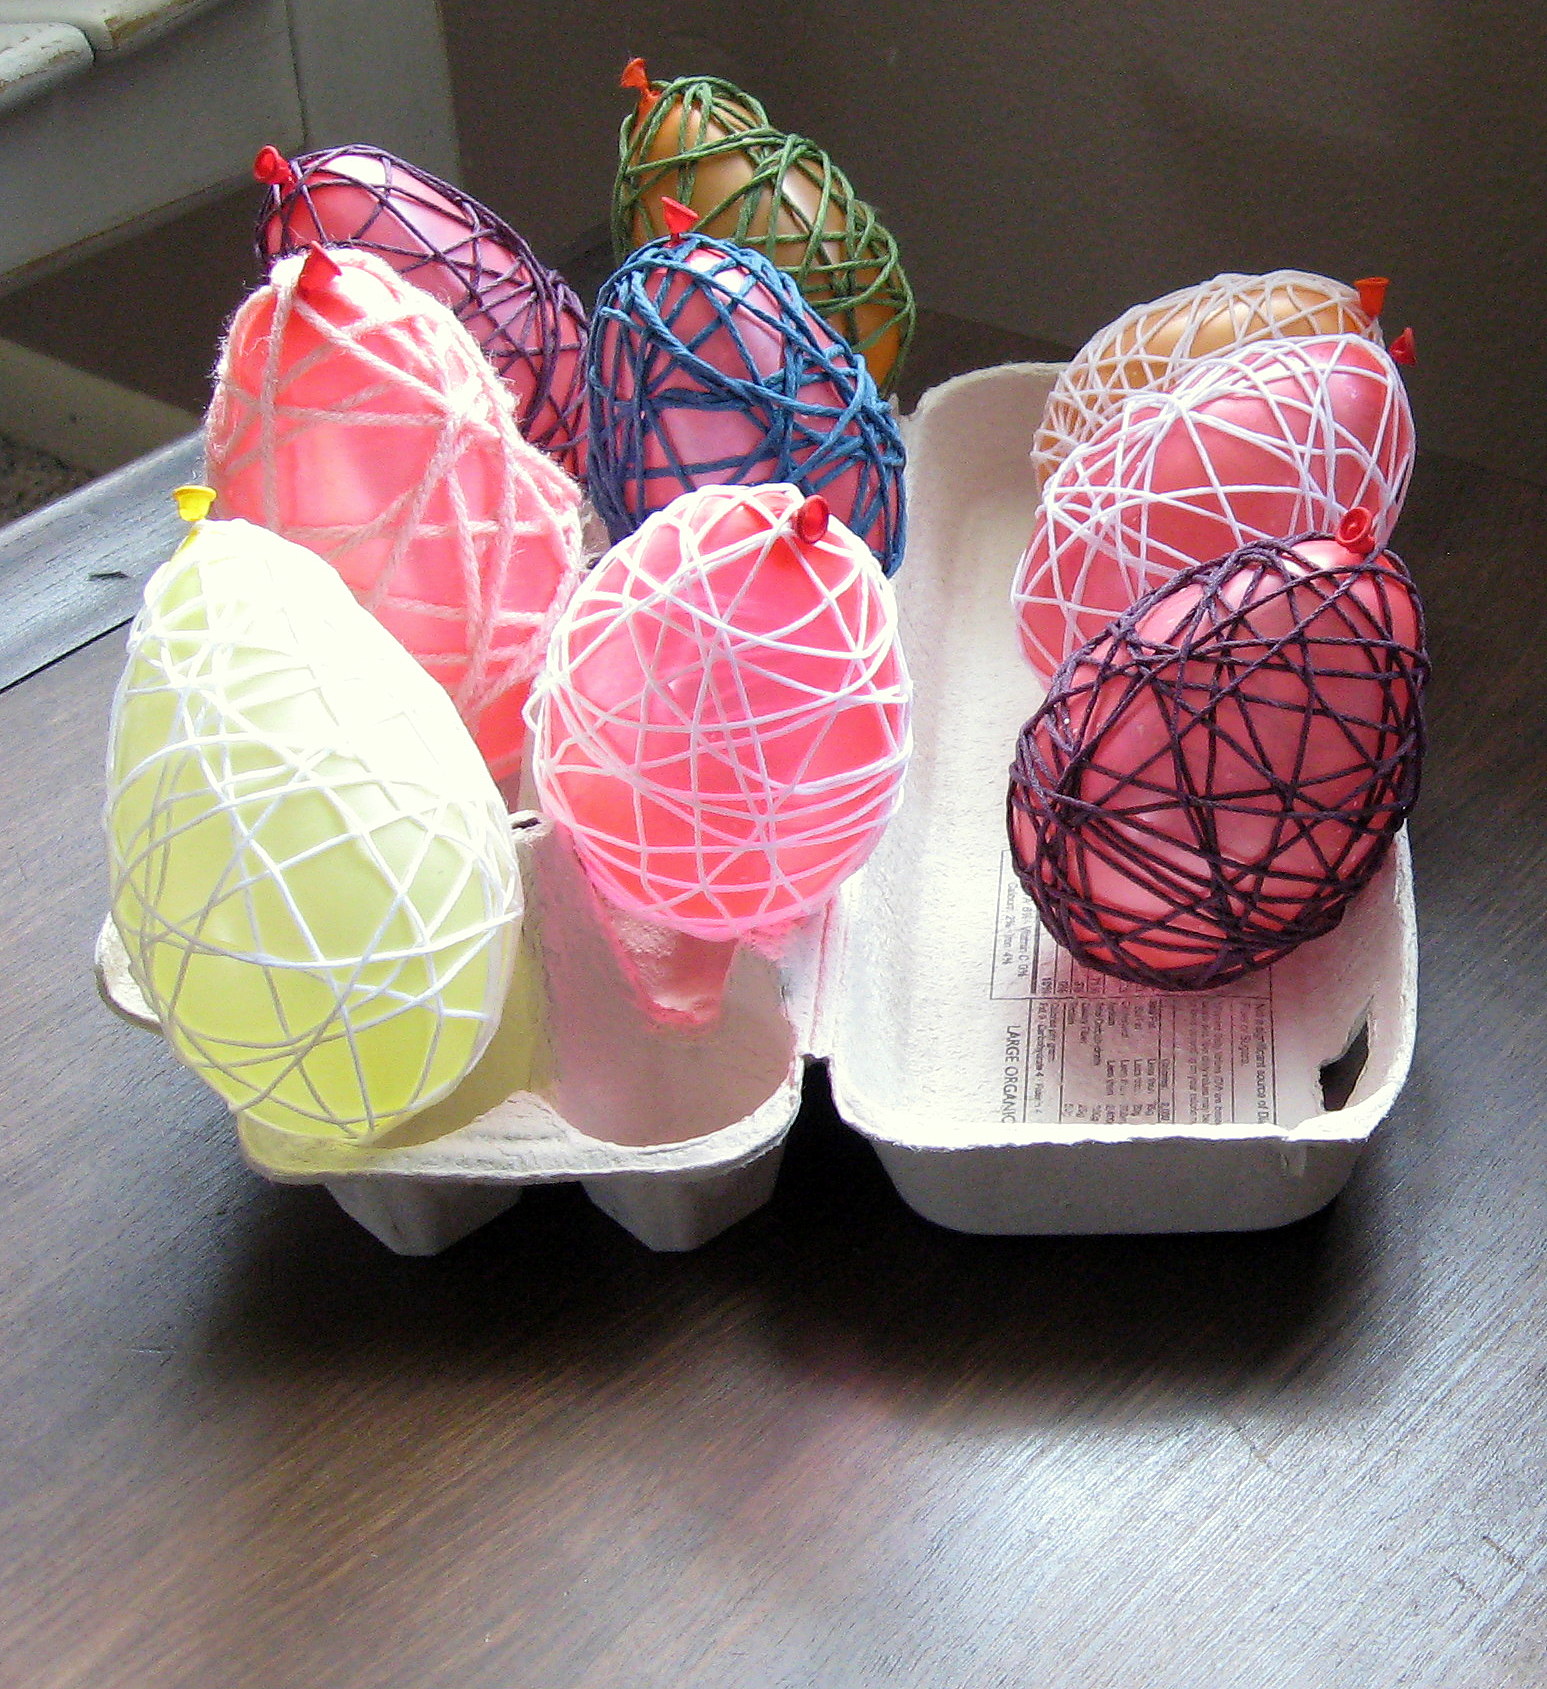
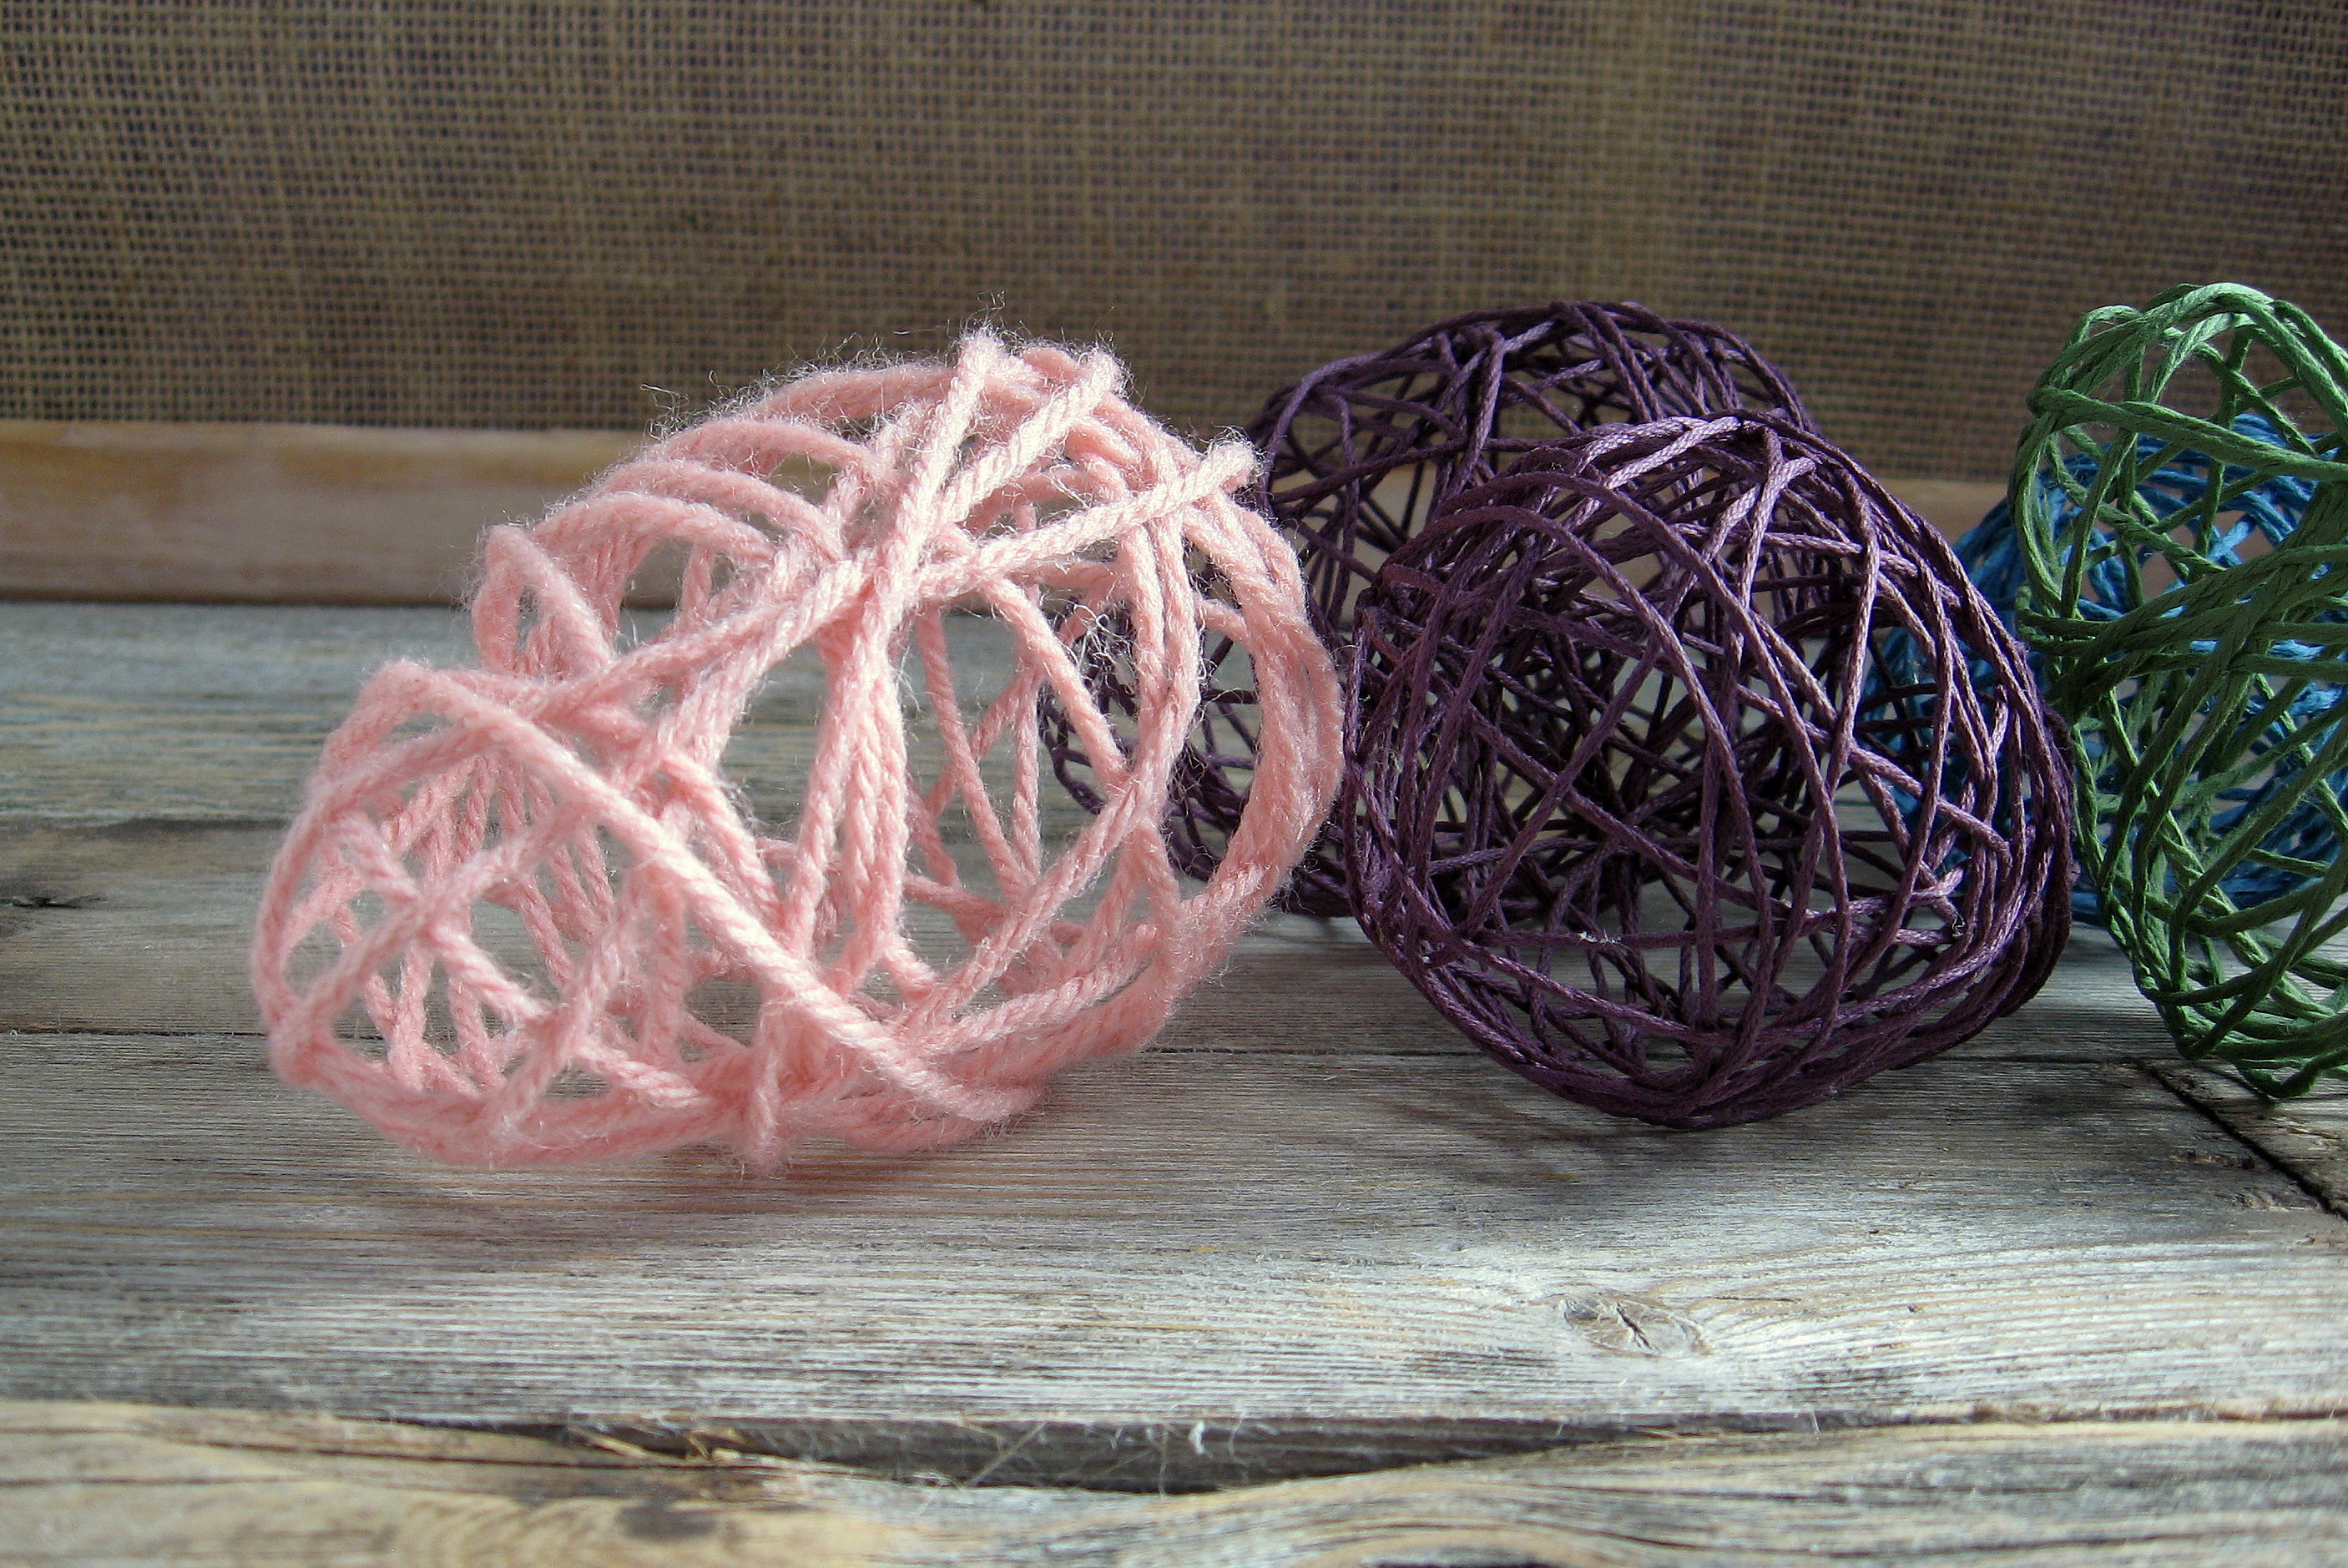
And here are some colored eggs, again using a thinner cotton yarn.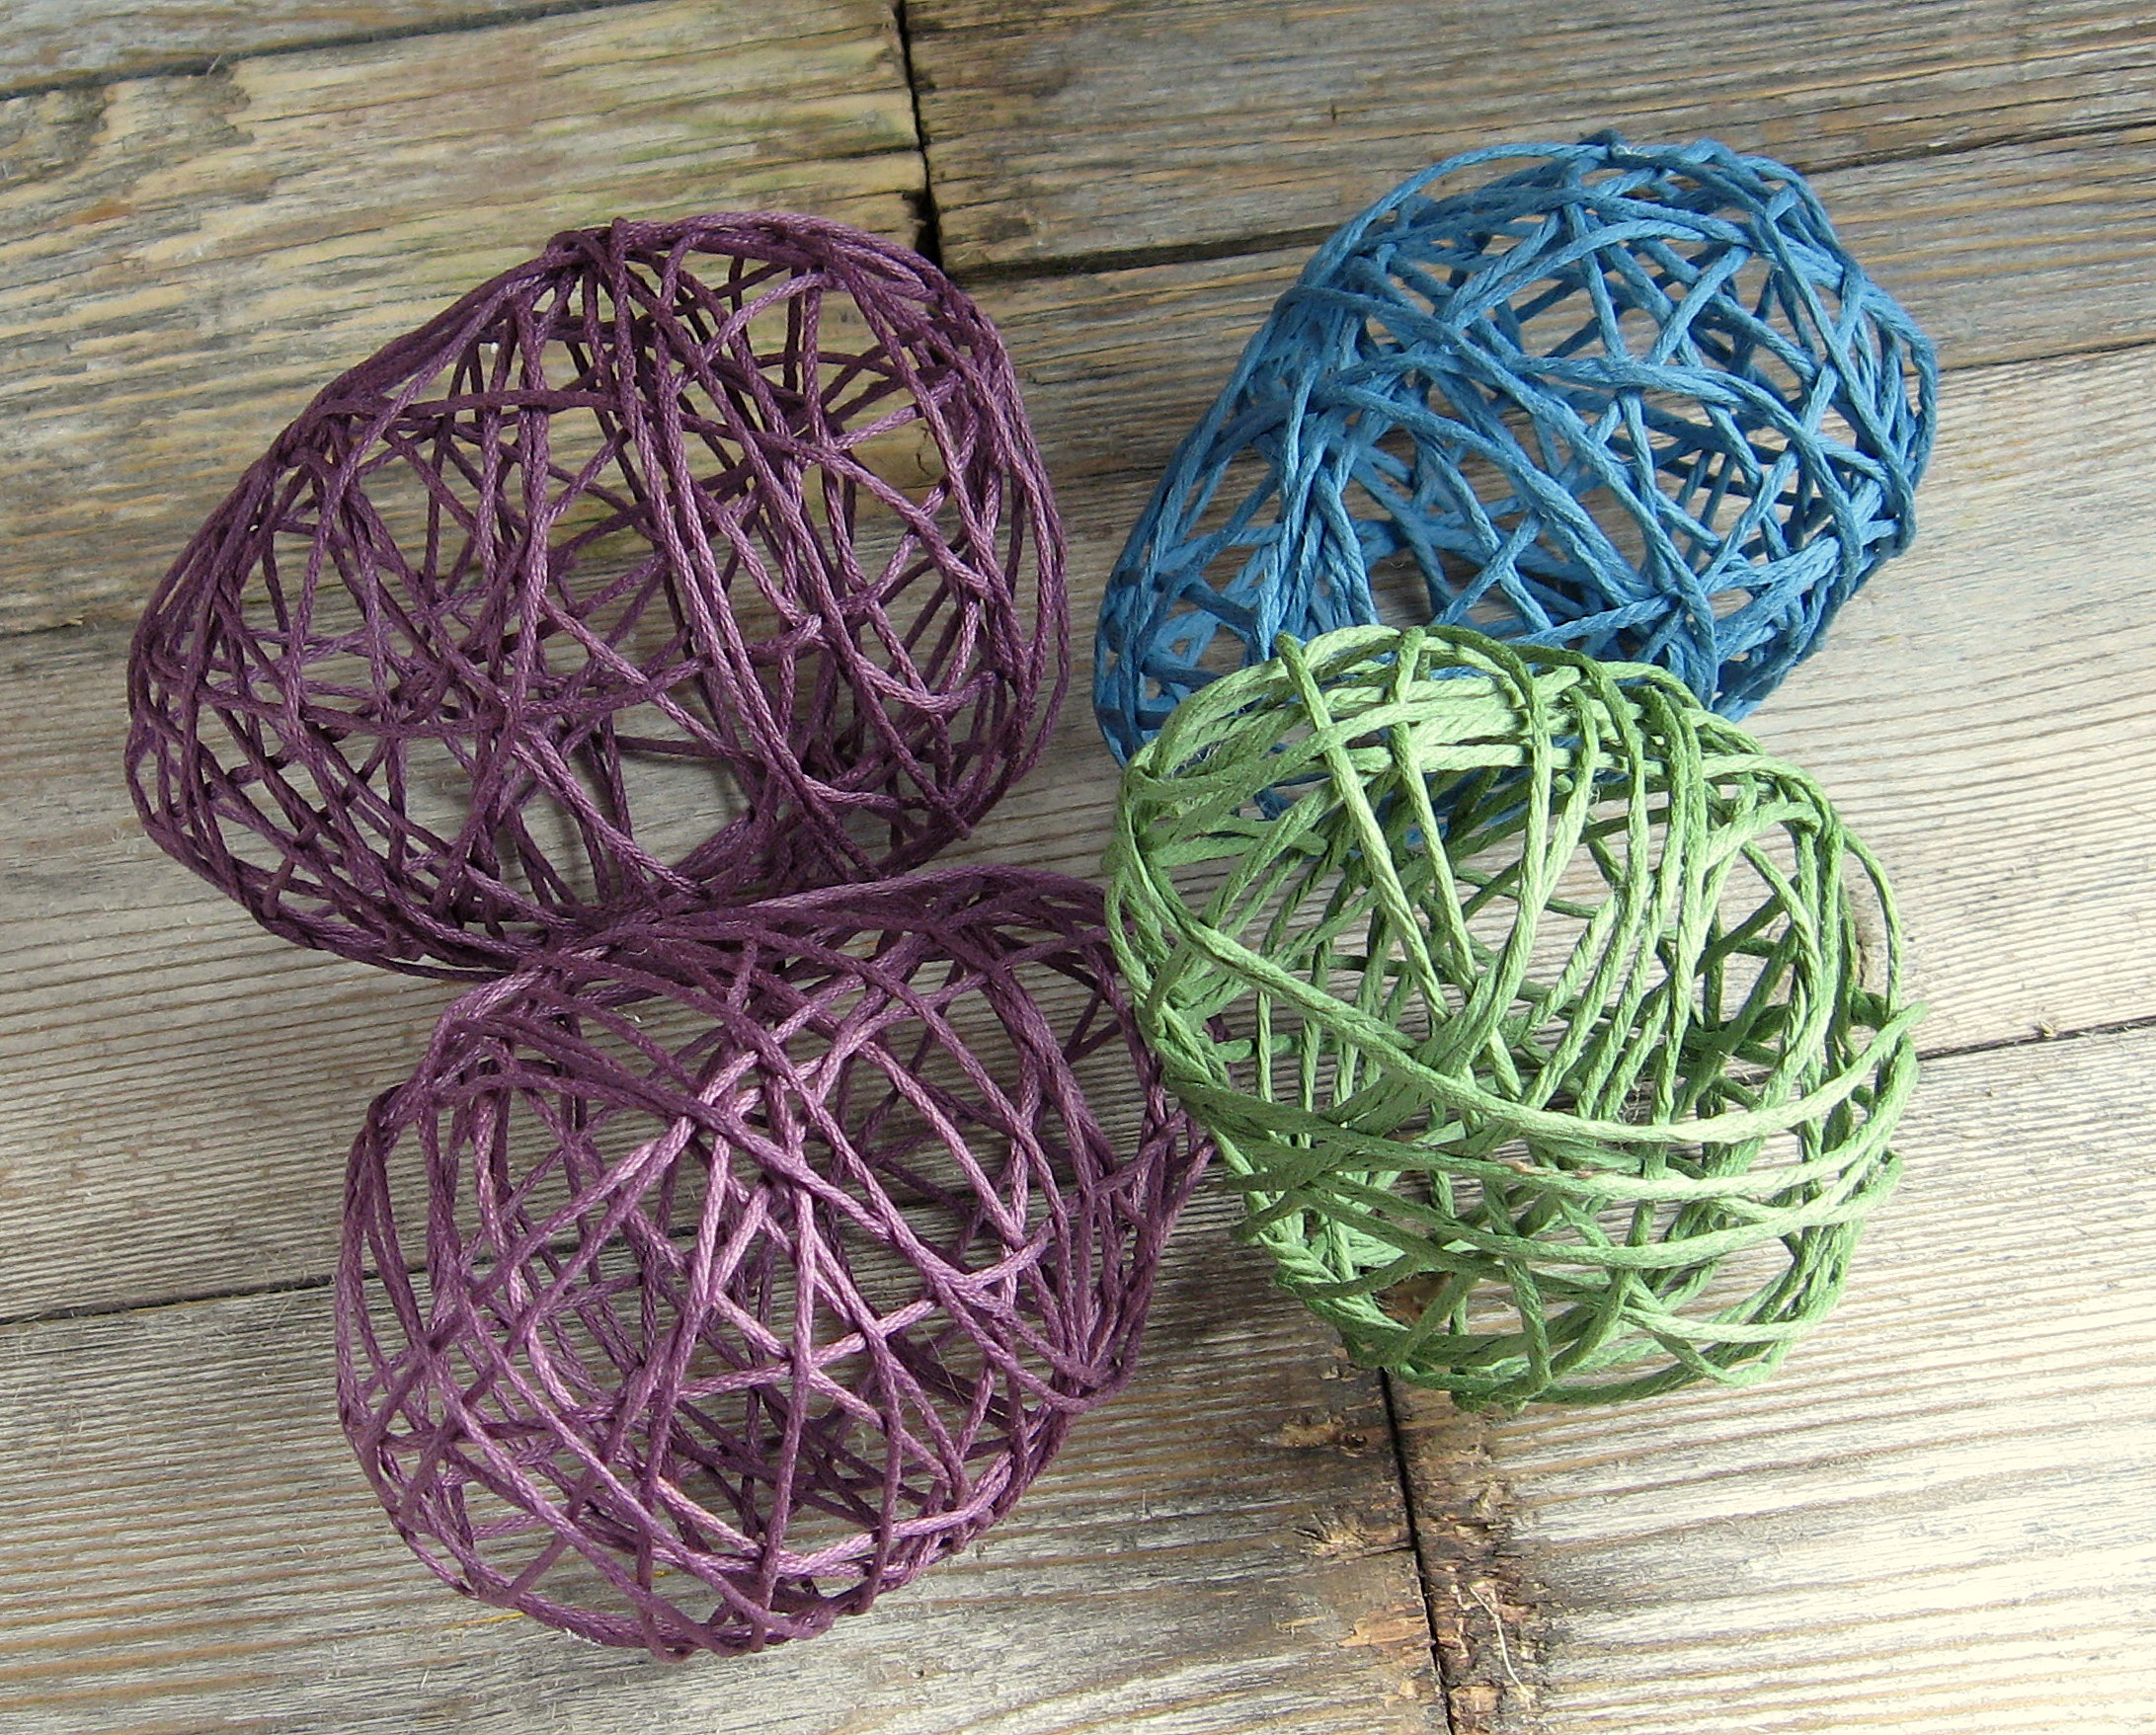
Notice the pink egg here. I used a thicker, fuzzier yarn, just so you could see the difference in how they look.
Once you get the hang of that, try some other projects with the same technique. How about using a larger round balloon to make pretty balls to hang from the ceiling? Pink yarn balls hanging by ribbon from the ceiling is adorable in a baby girl’s nursery. Or, use them in appropriate colors to decorate for any holiday party (I’m picturing black and orange ones at Halloween!)
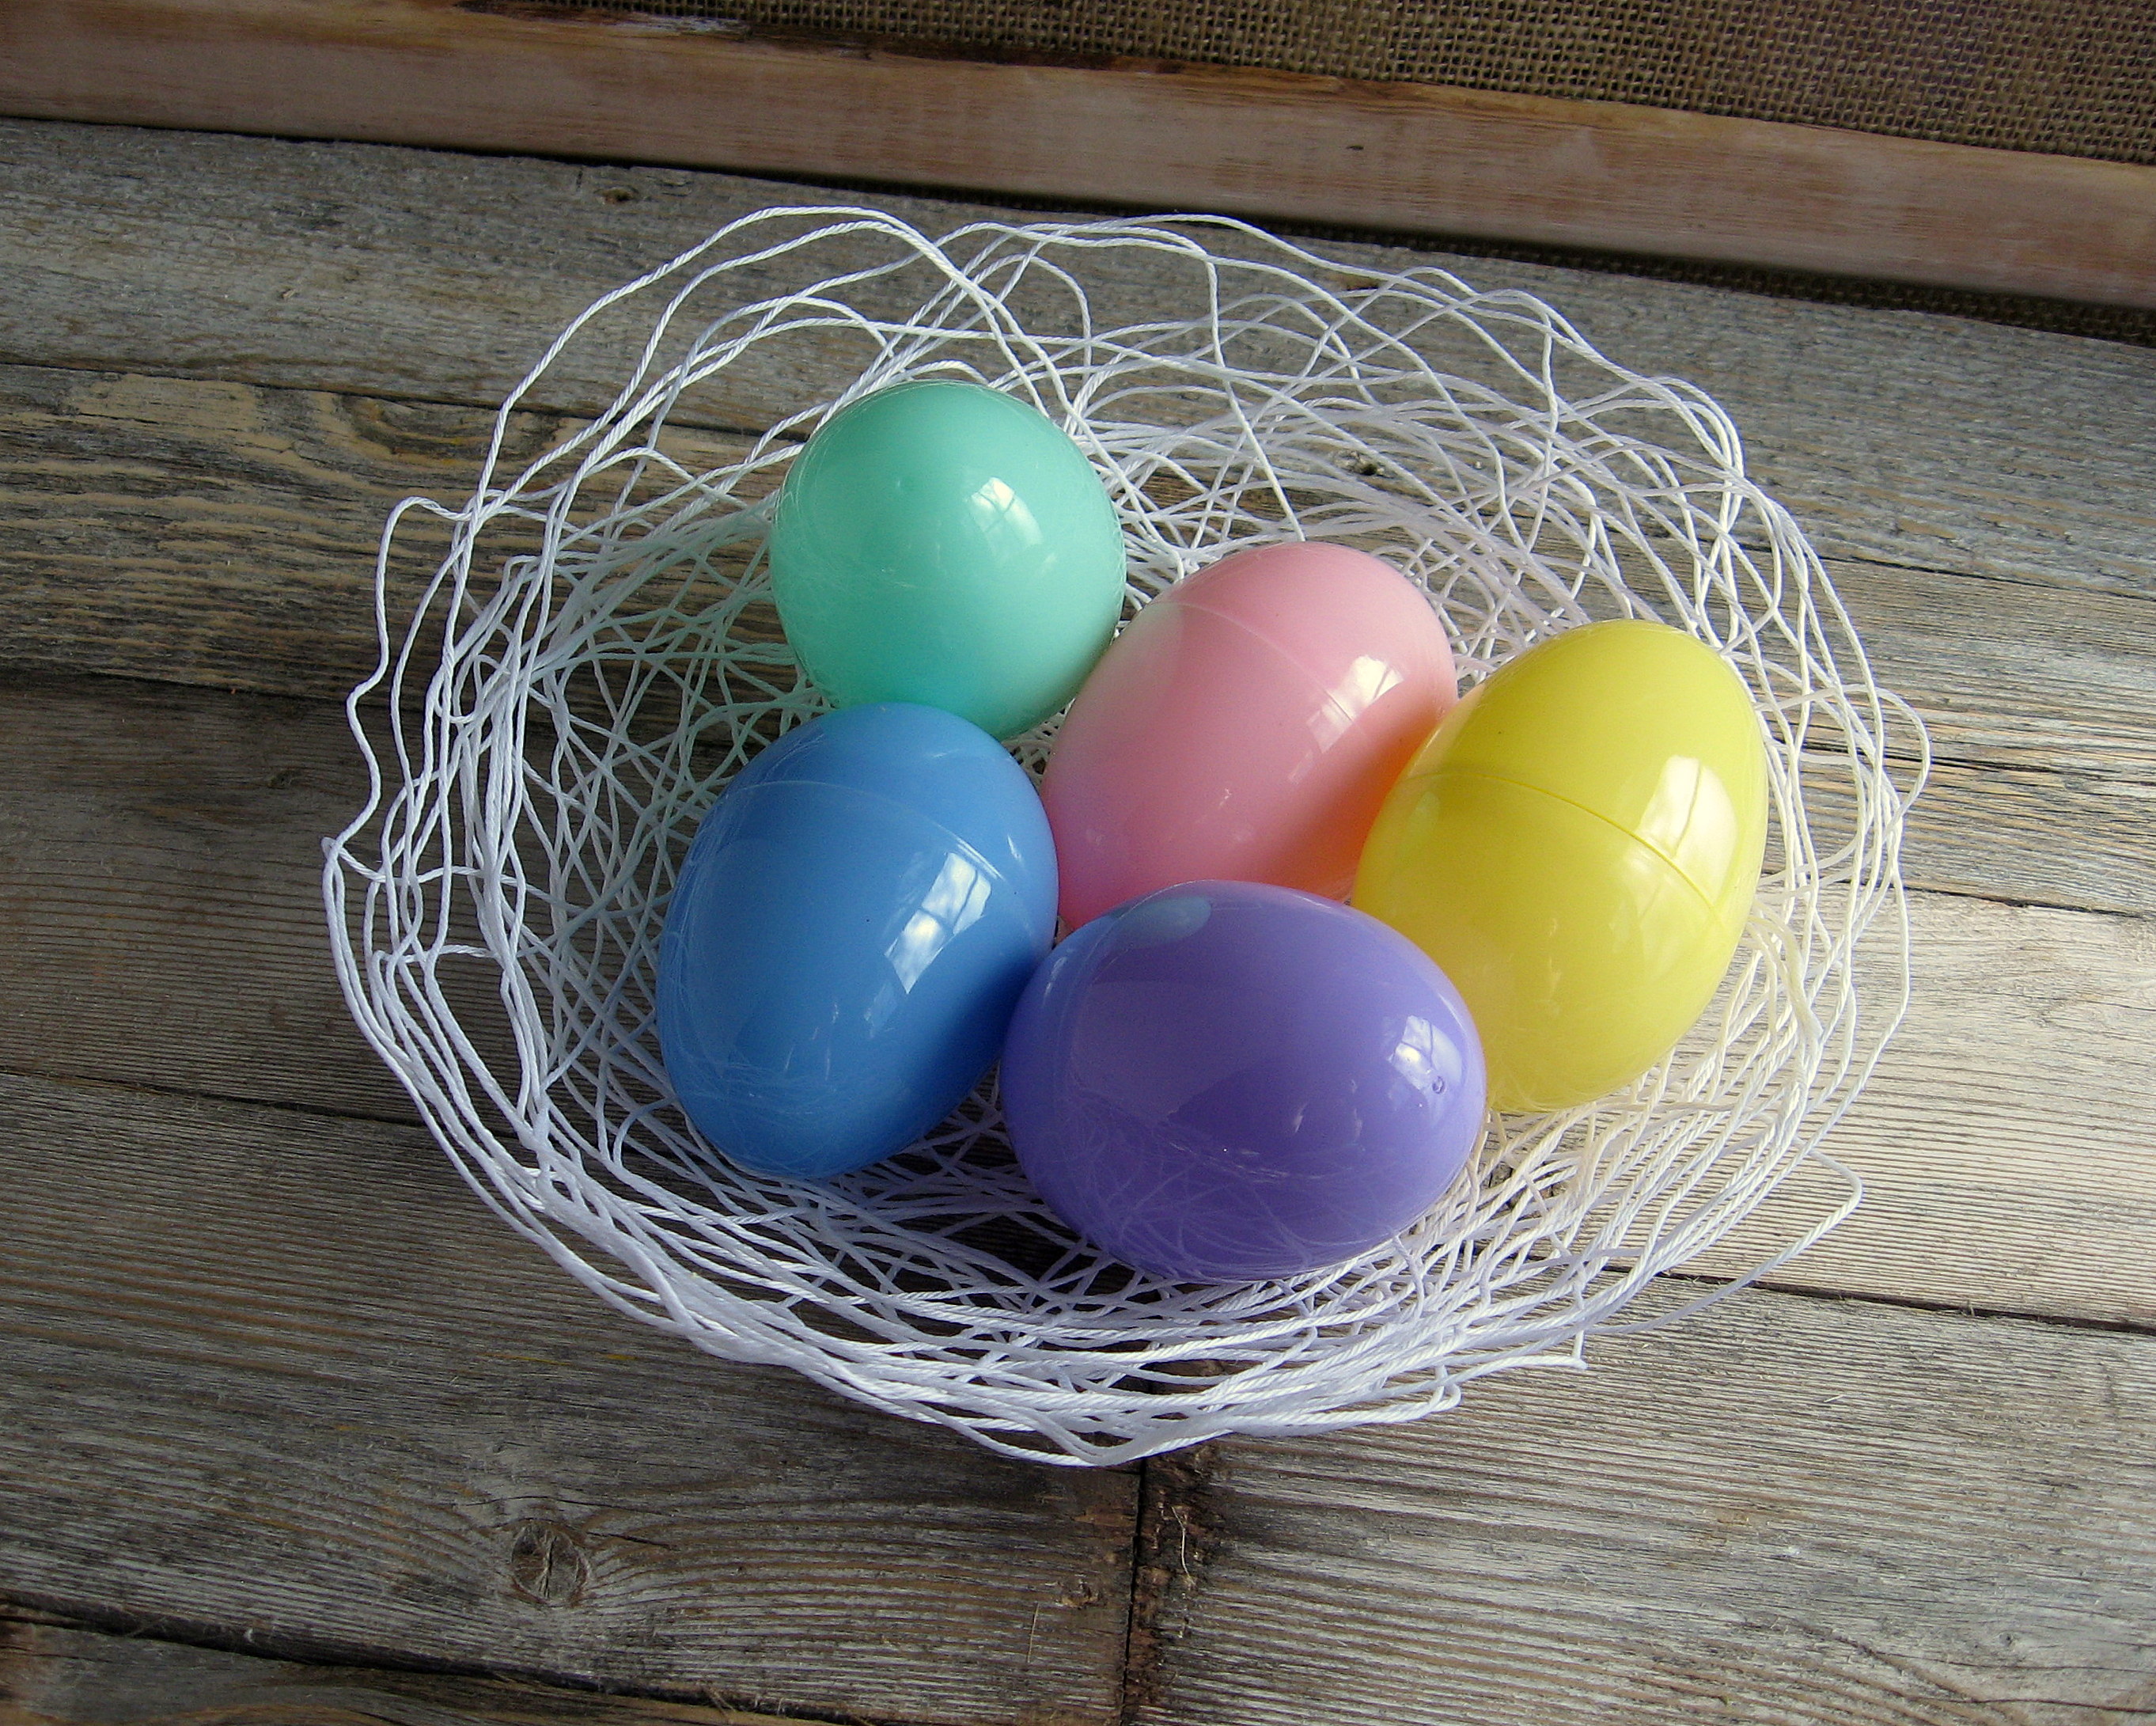
Or how about a bowl?
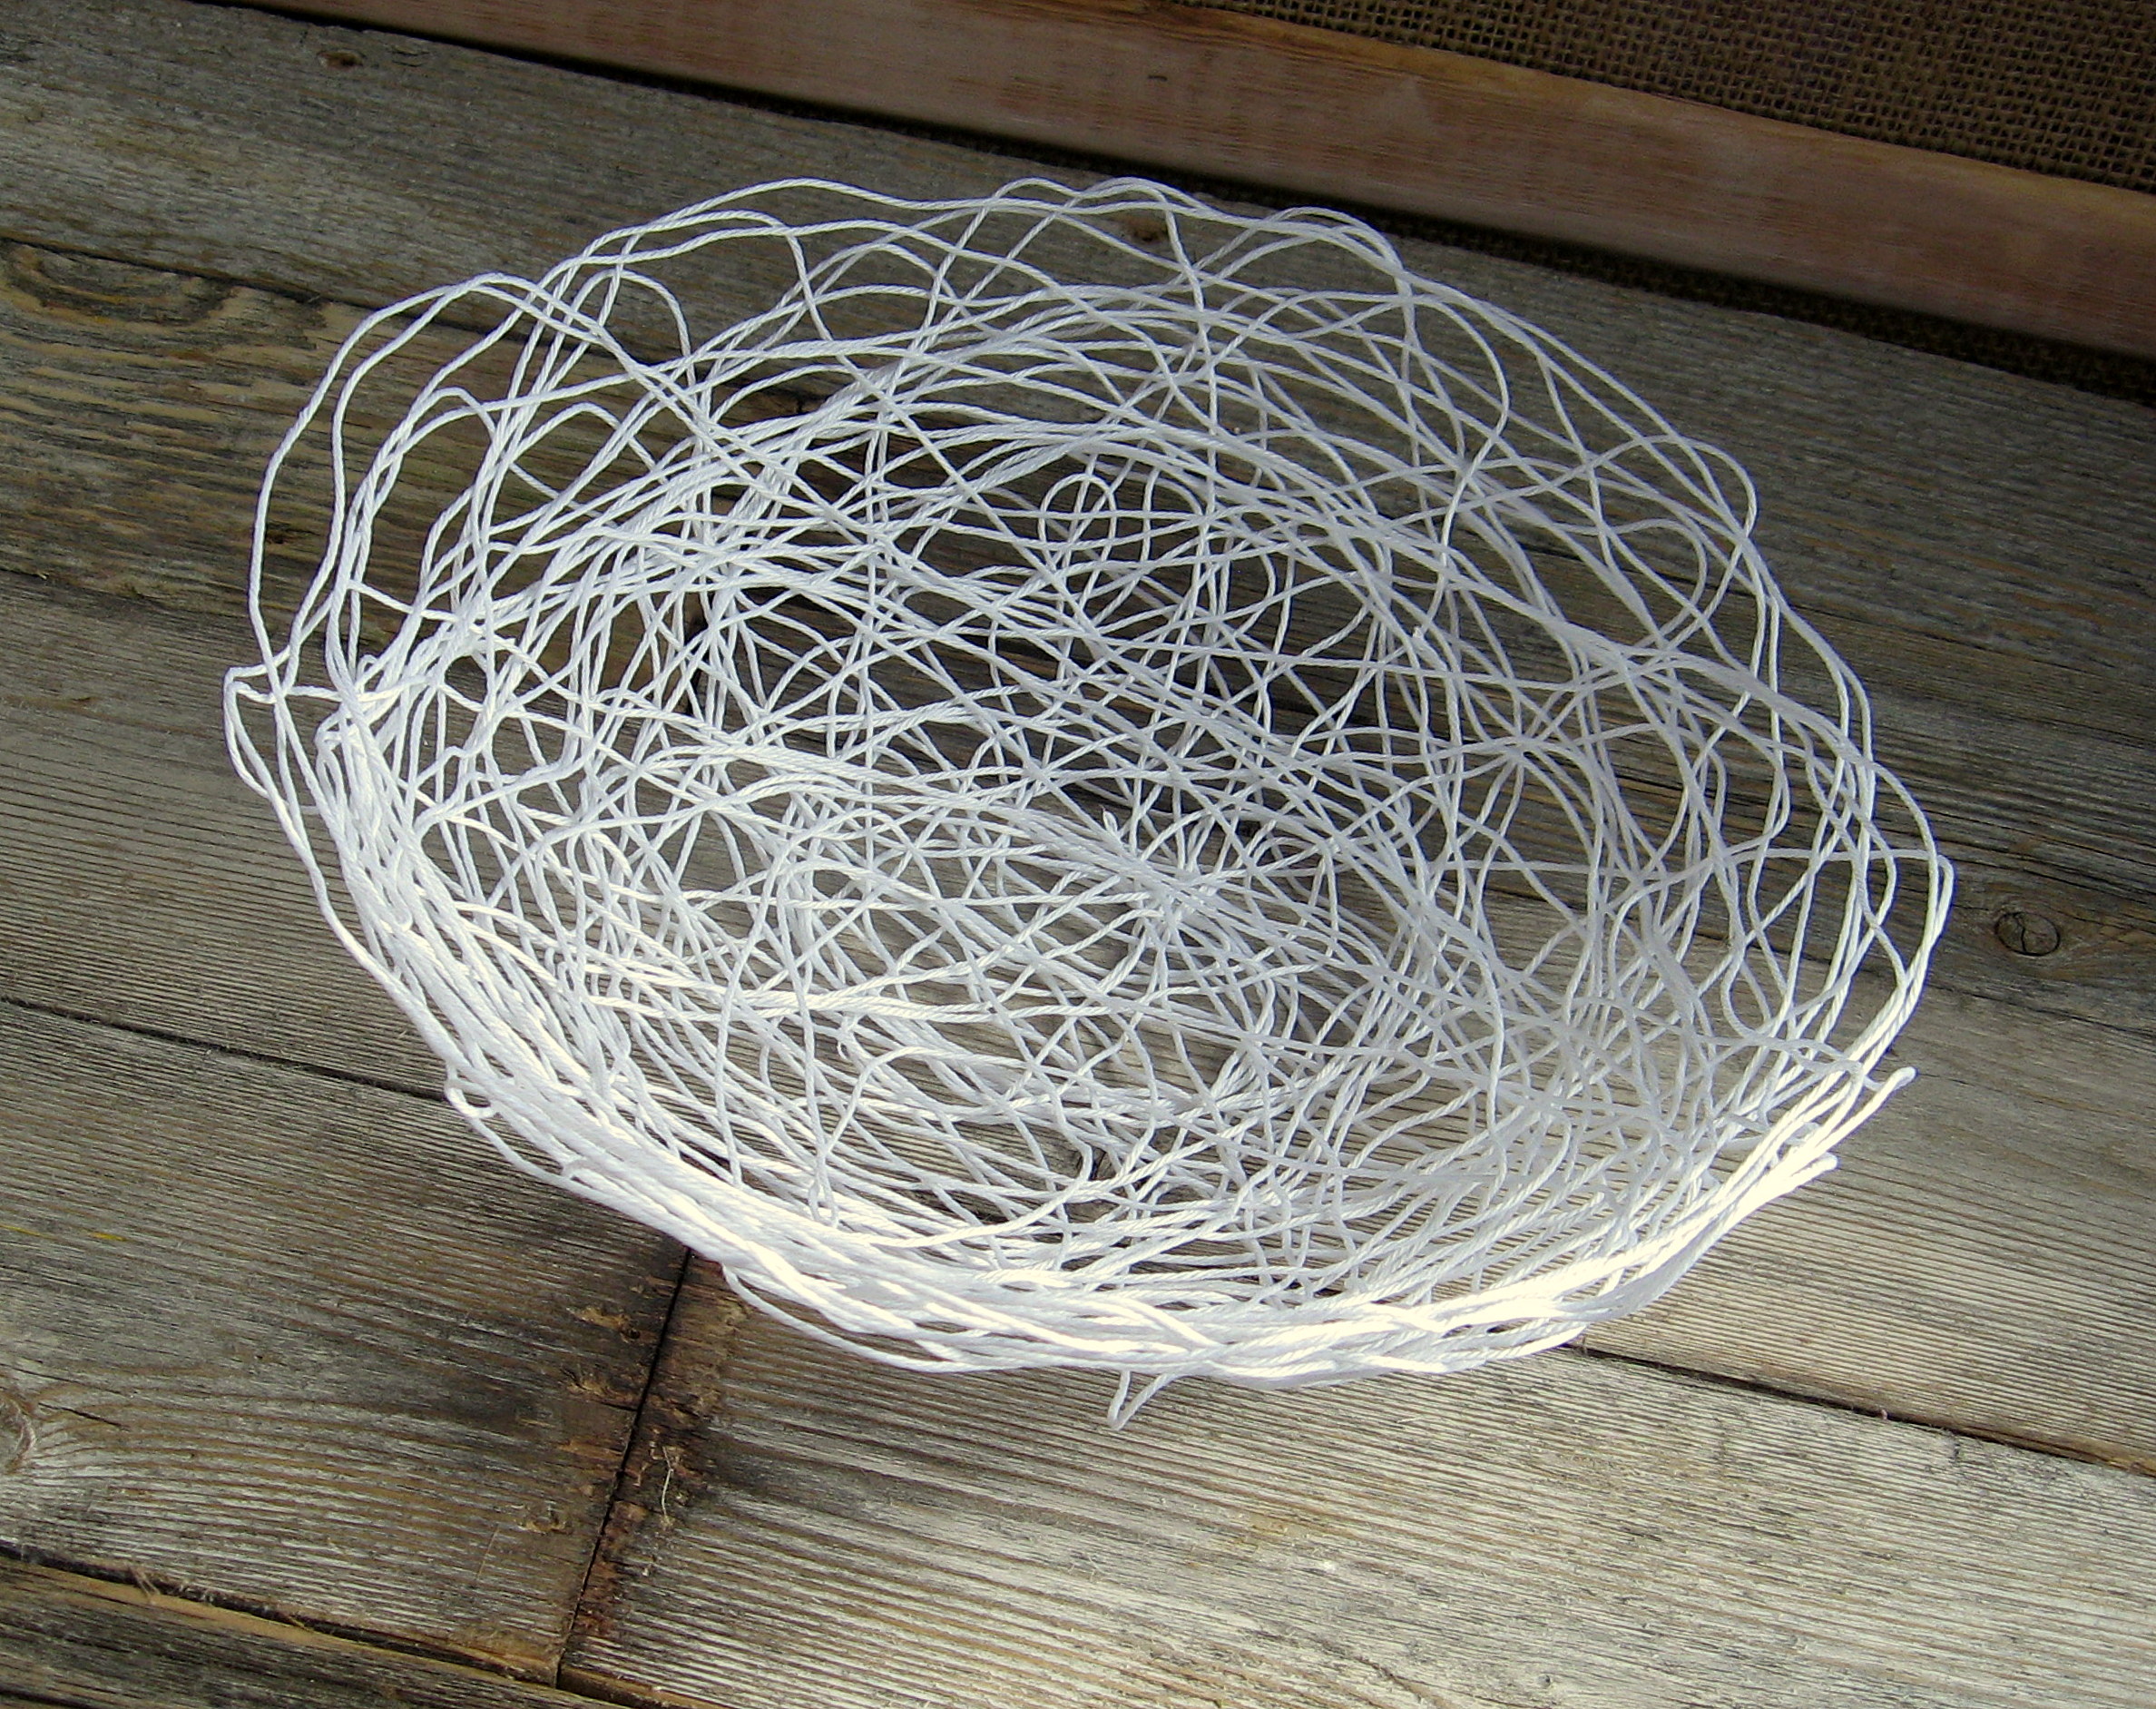
I made this one with a 14 inch balloon and just put the yarn on the bottom of it. With the eggs in it, it looks kind of like a nest, don’t you think? It would be so cute done in brown yarn, with little plastic eggs spray painted robin’s egg blue…
luckiestmommyever
Love it!