
Finally flip-flop weather; my favorite footwear! (read that sentence 10 times fast!)
I think I can never have too many pairs of flip flops and I was thrilled last summer to discover how easy and inexpensive they are to make myself. I’ll start here by showing you how to make the easiest, fastest flip flops, and then you’ll be ready to experiment with other styles. A quick internet search will bring you no end of ideas and inspiration to make flip flops from plain to fancy, simple to fabulous and everything in between!
Supplies:
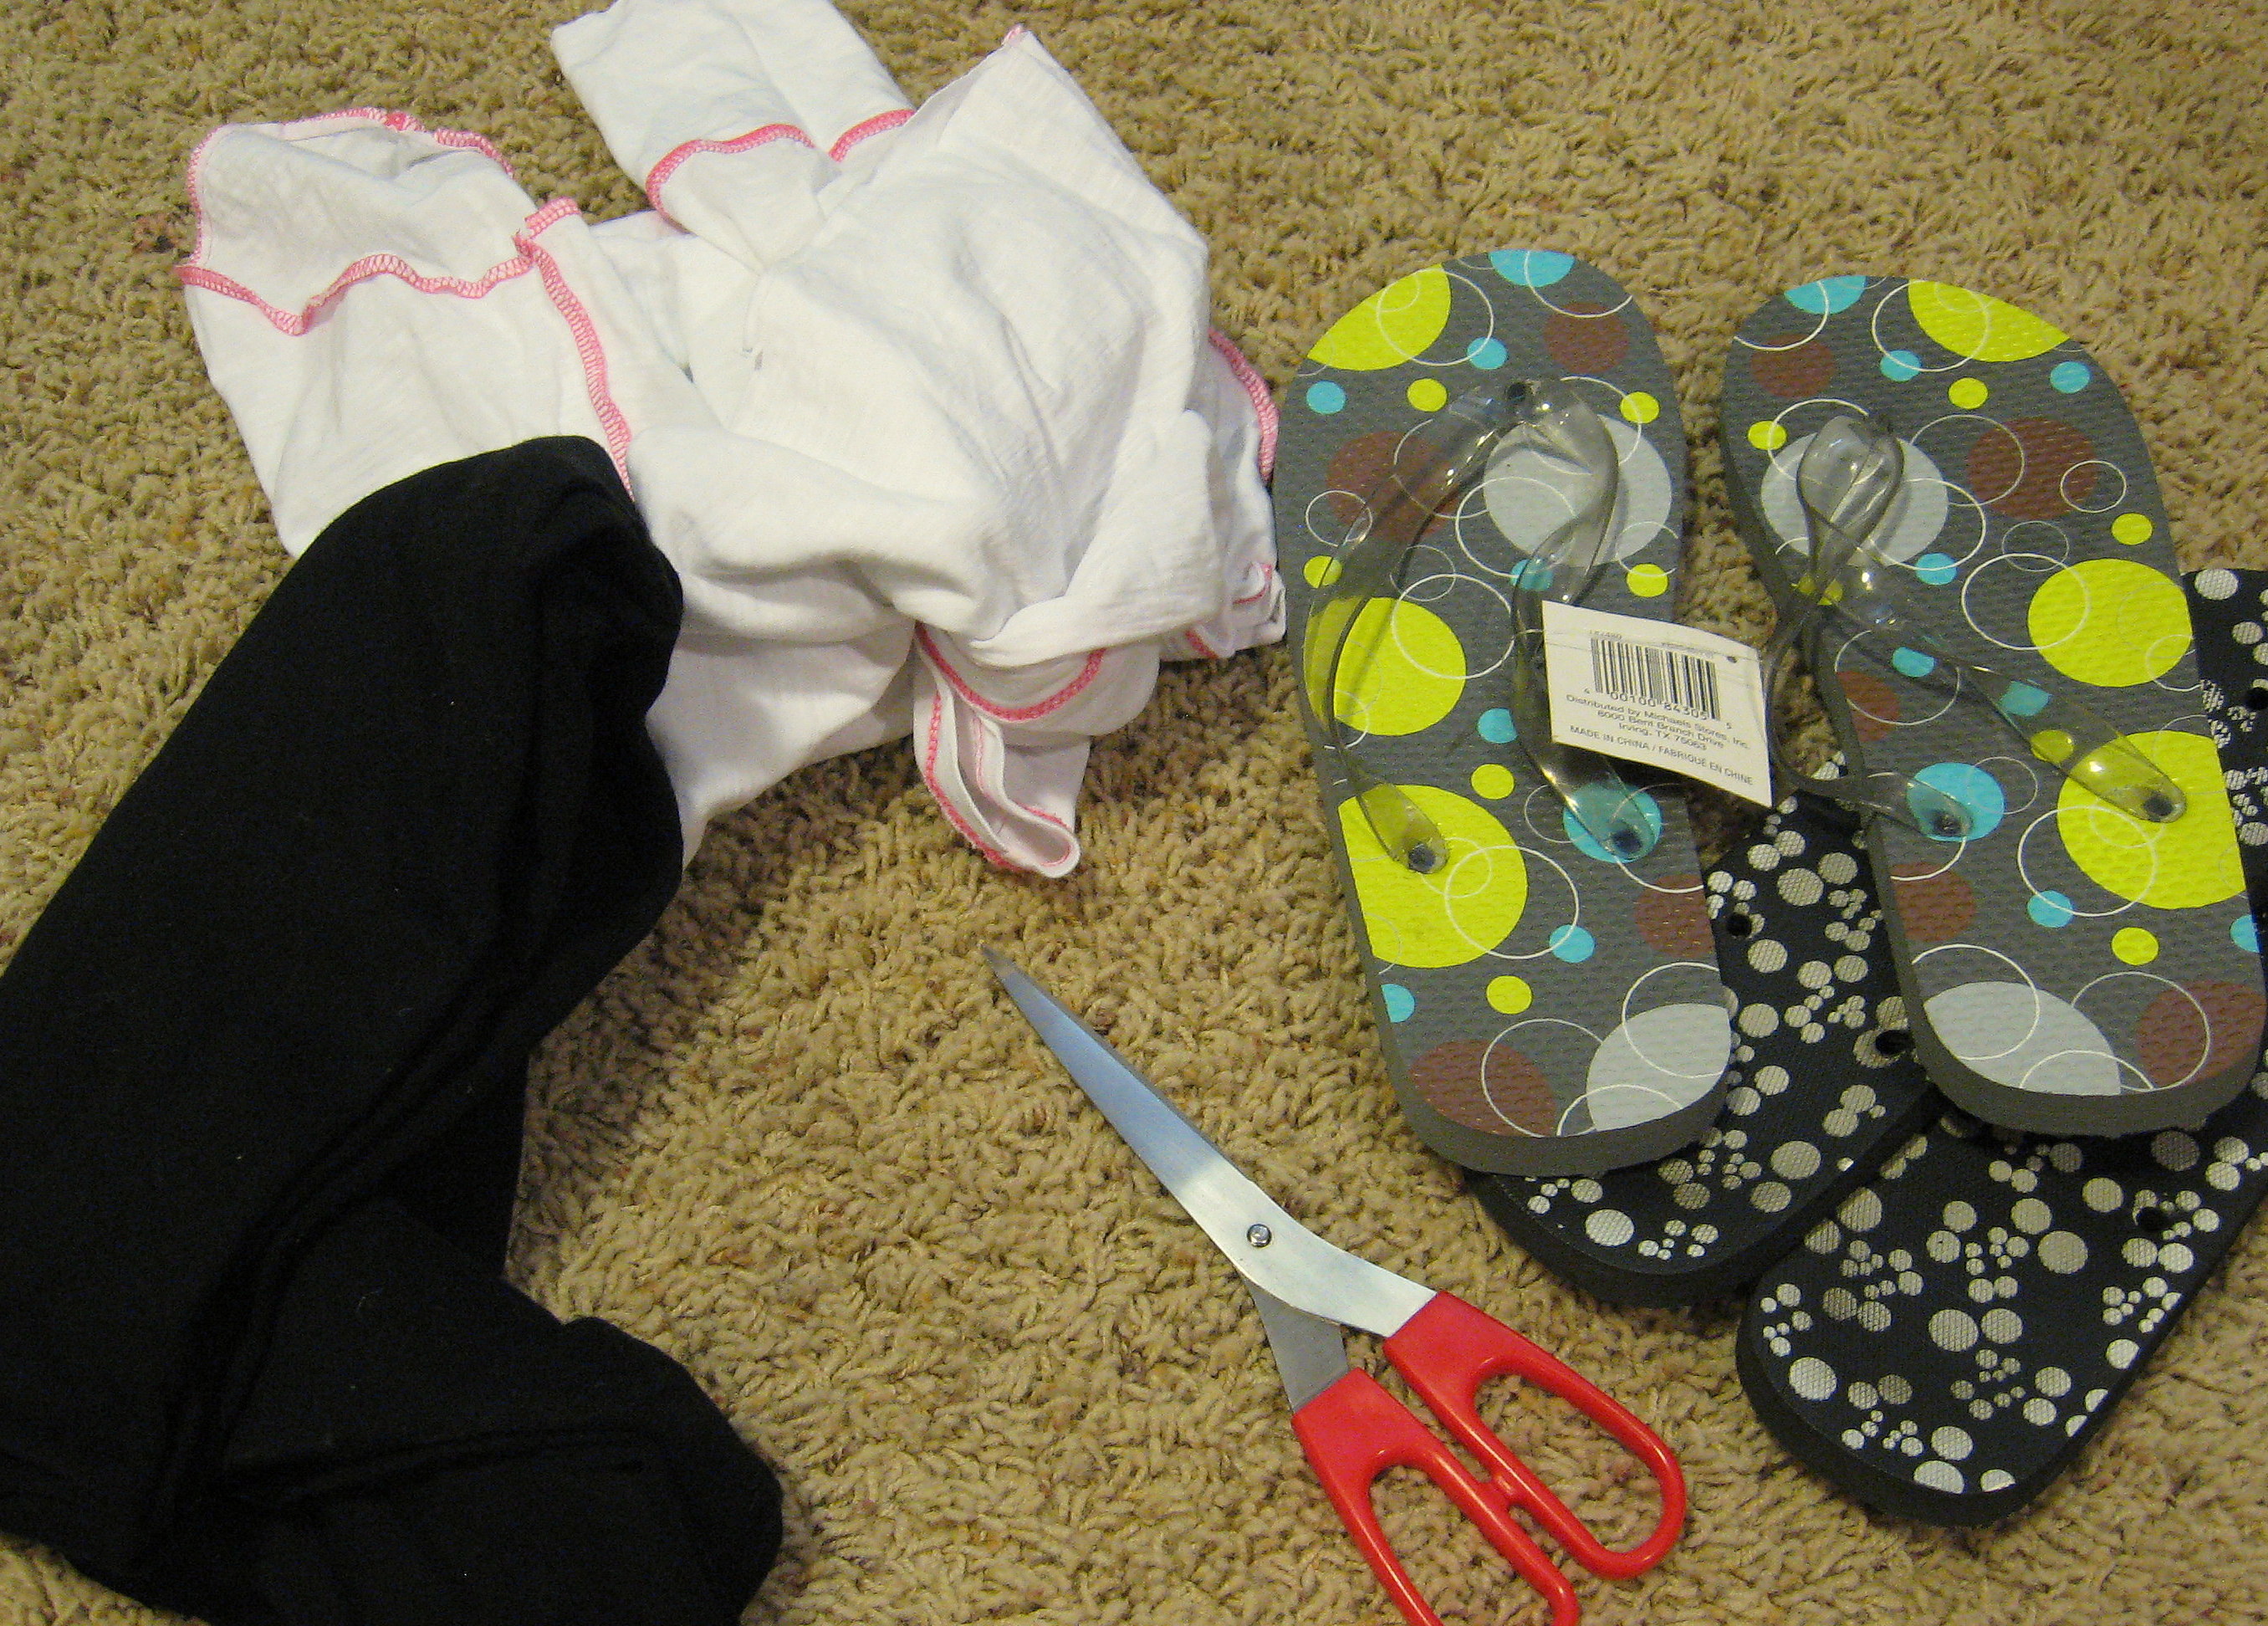
Flip Flops – Use a cheap pair of flip flops – the kind that you can remove the plastic “Y” that sits on top of your foot. With cheap flip flops, I find that the thing that makes them uncomfortable is the plastic pieces under your foot in the back, or the piece that goes between your toe and you’ll be cutting those off, so the cheaper the better! The top pair in the photo were picked up at Michaels last year on clearance for $1. I’ve also gotten a pair from the grocery store that were $ .69; they were much too large for me, but for that price I bought them anyway and trimmed them down to size with sturdy kitchen shears.
Fabric – You can use any kind of fabric you like. I’ve made them with simple cotton, and I’ve seen them made with wide ribbon. My favorite fabric for comfort, though, is a soft, stretchy jersey knit. Remember a few weeks ago when we made bags from old T shirts and I told you to keep the leftover fabric? That’s what I’m using here.
Scissors and Glue – You don’t even need the glue if you don’t want to use it. I just used Elmer’s.
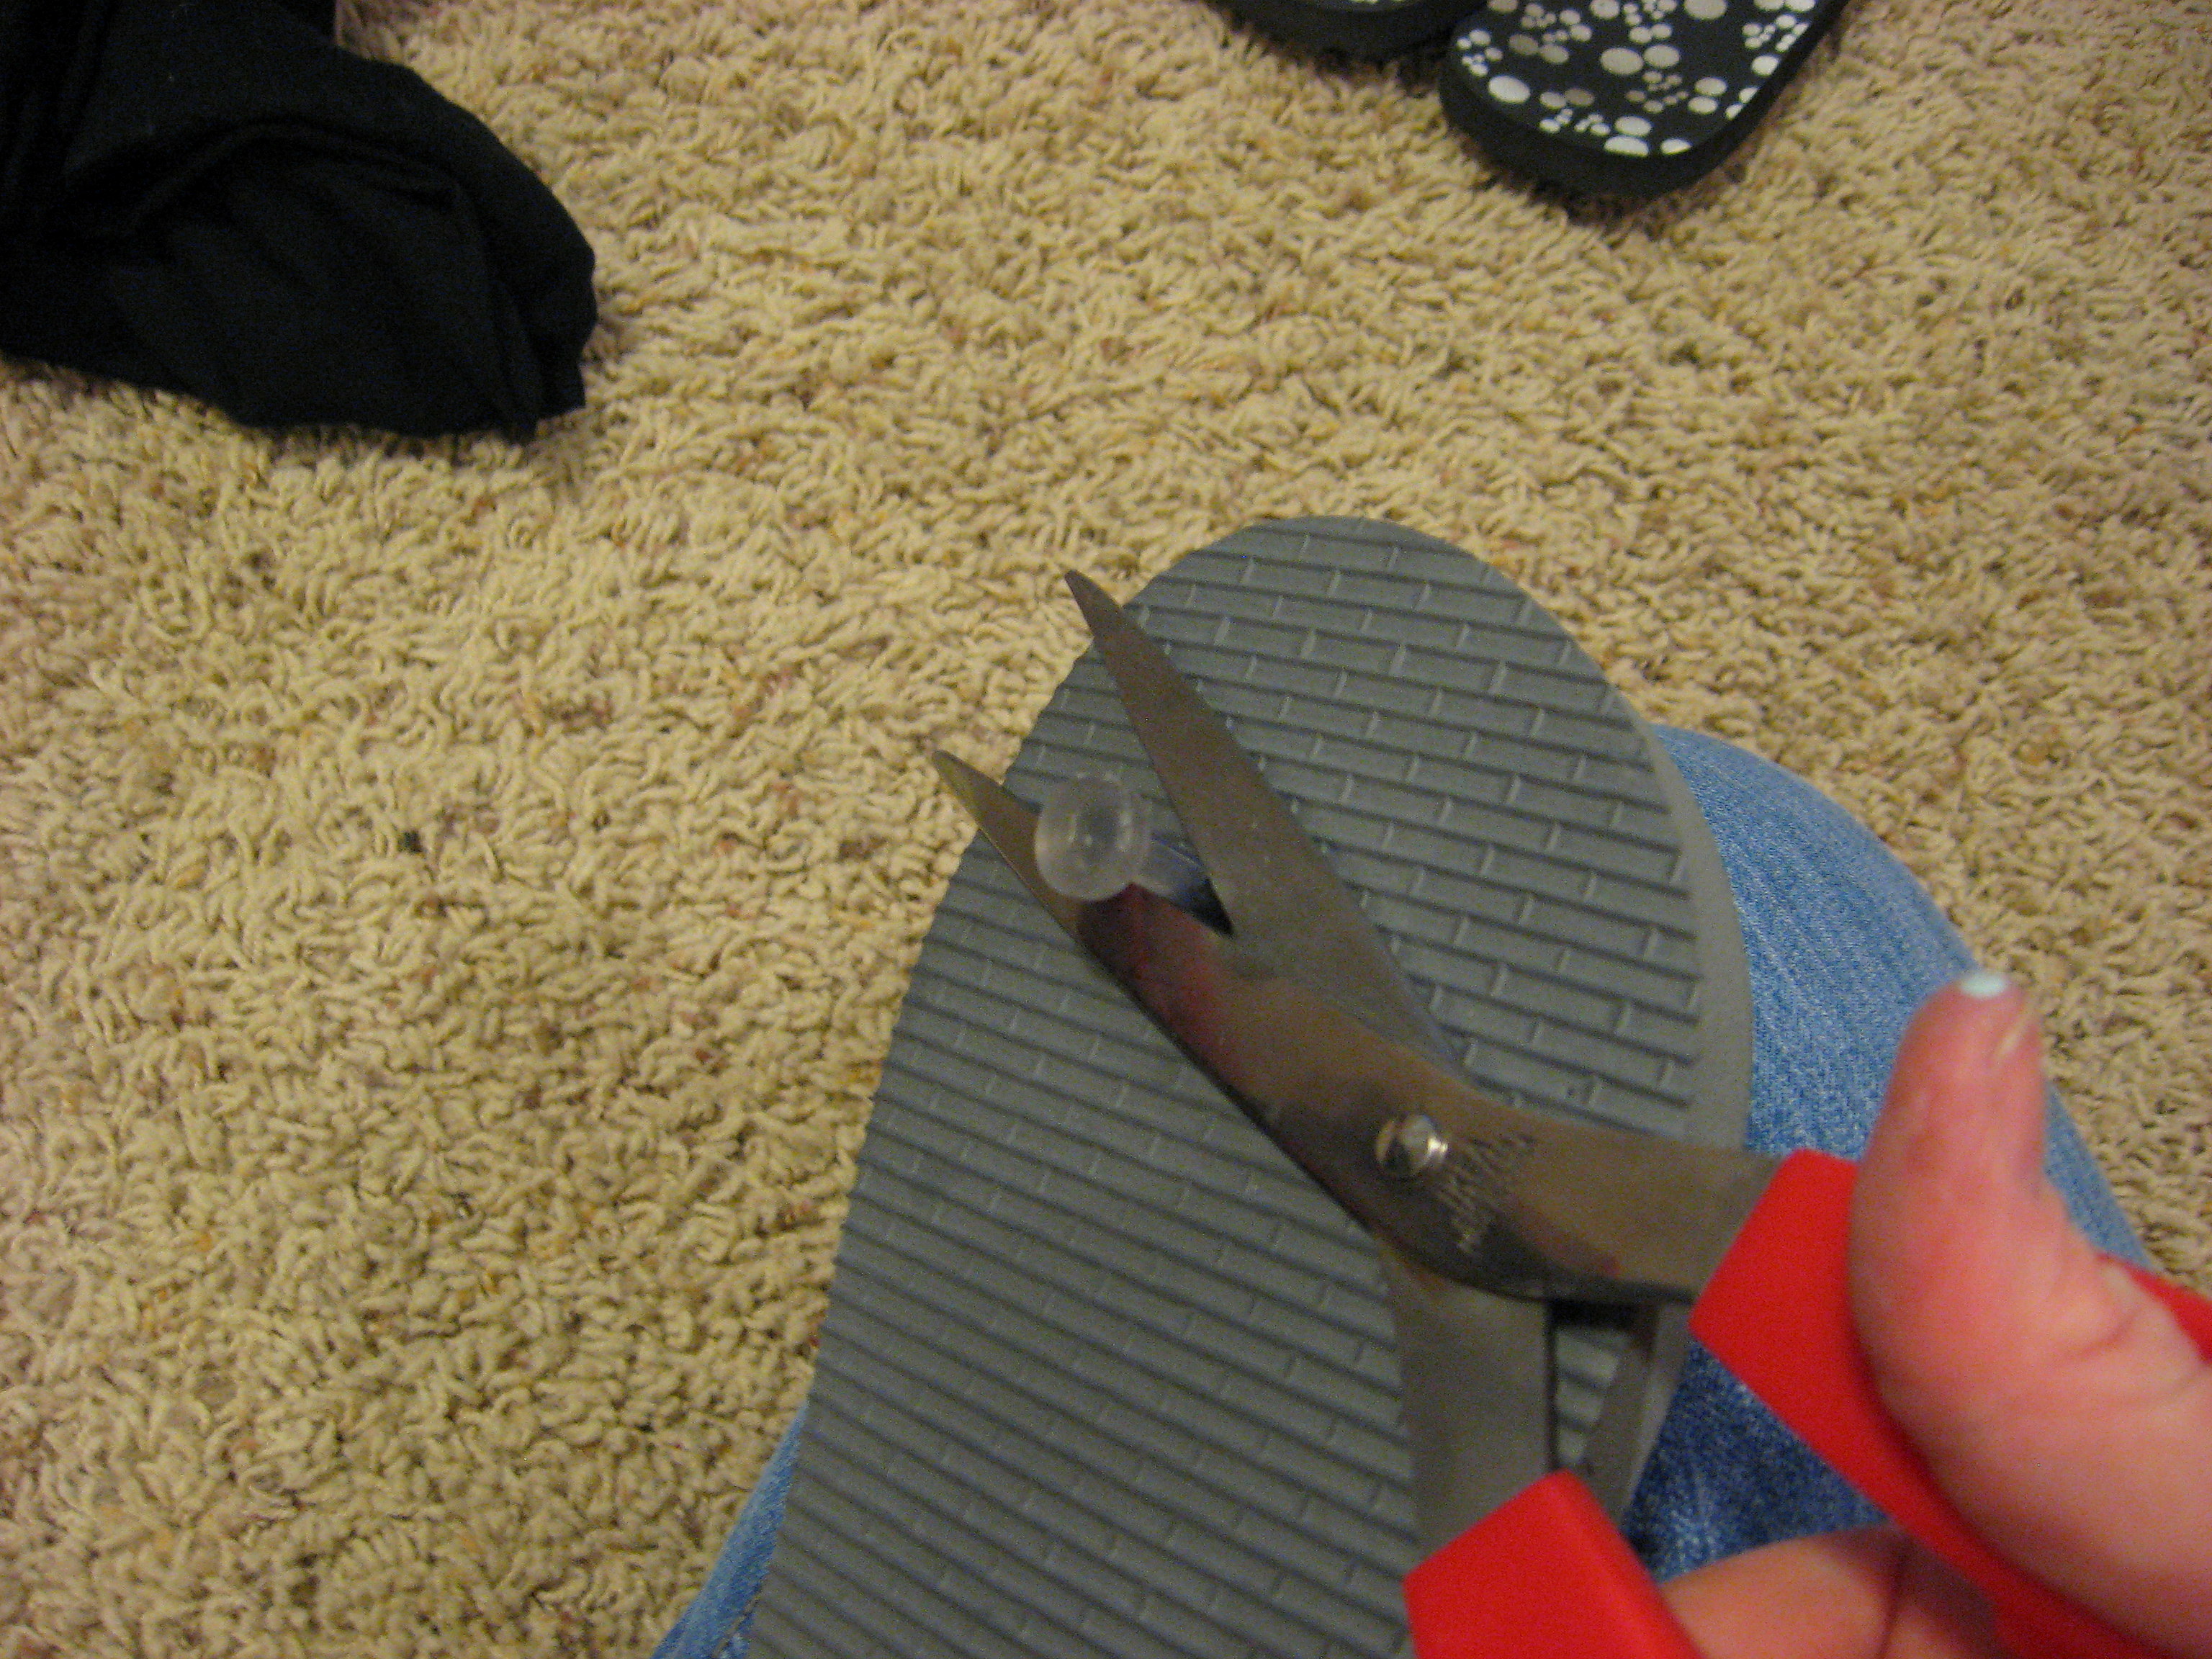
Start by cutting the straps of your flip flops and discarding them
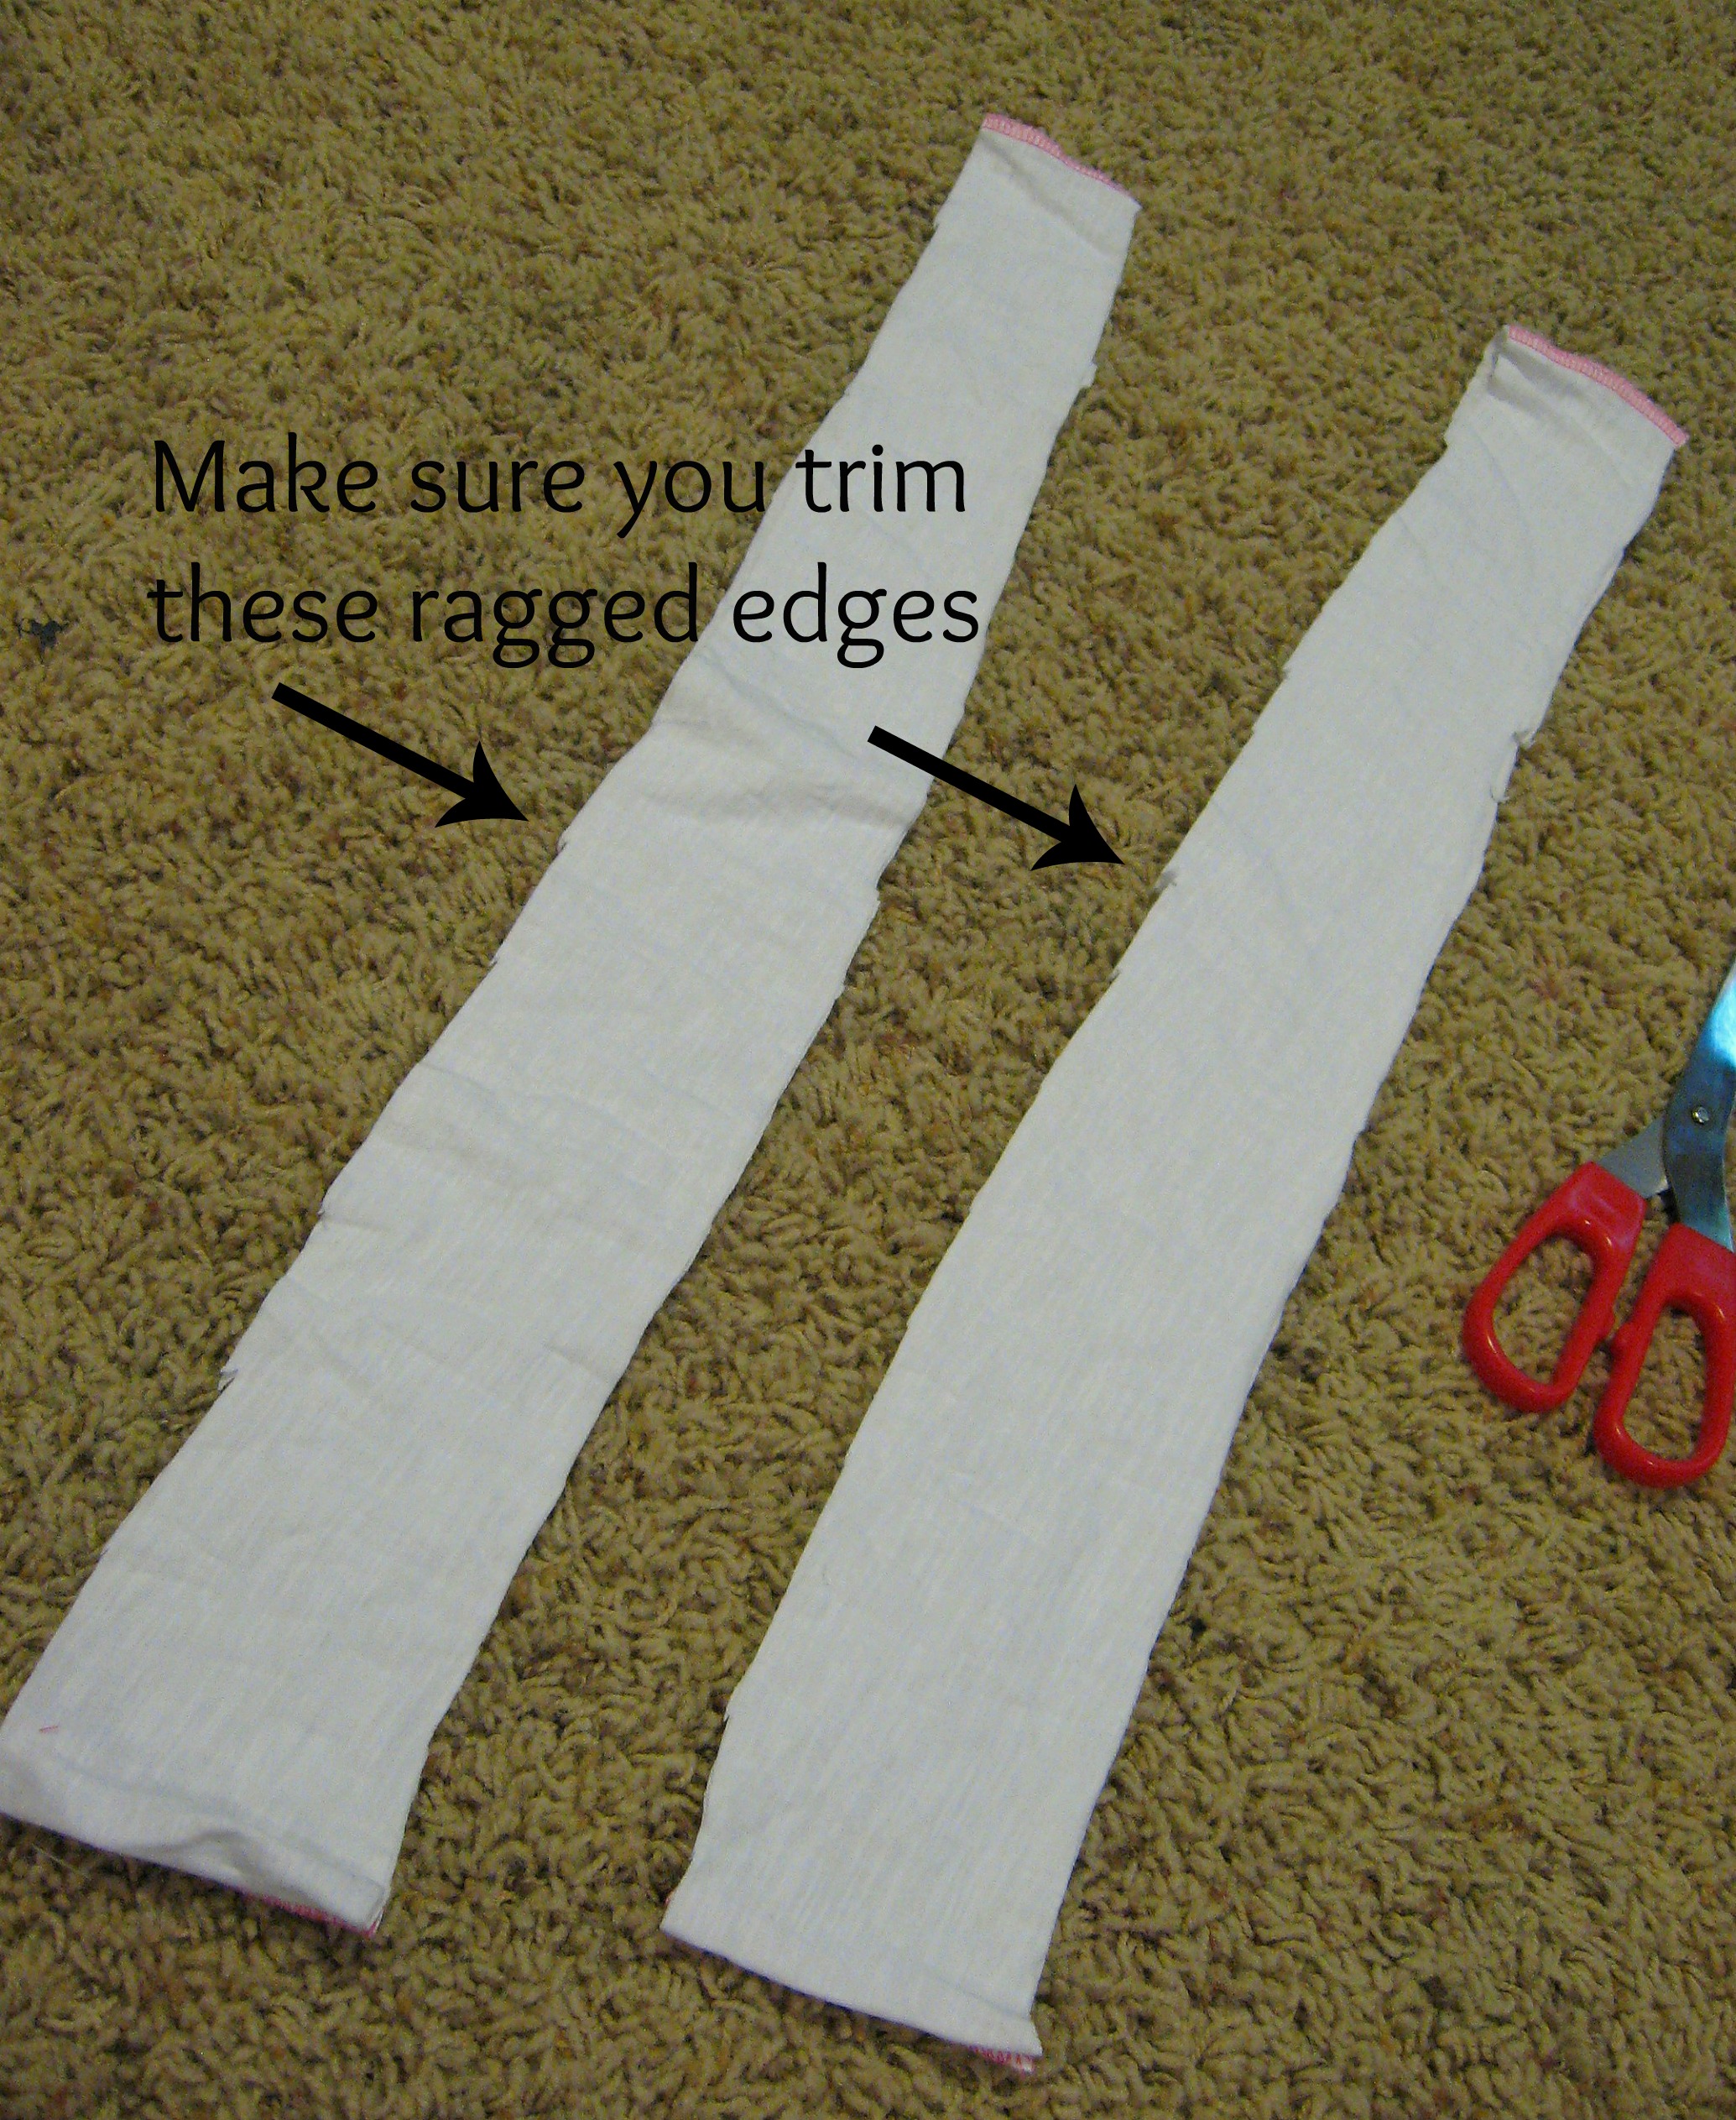
Now you’ll cut the fabric into strips. This is totally up to you based on how you want the finished shoe to look. For these, I cut the strips about 3 1/2 inches wide. I usually start with strips about a yard long; you will probably not need that much in the end, but it allows for some oops along the way. I double it over to cut the strips so both sides will match perfectly.
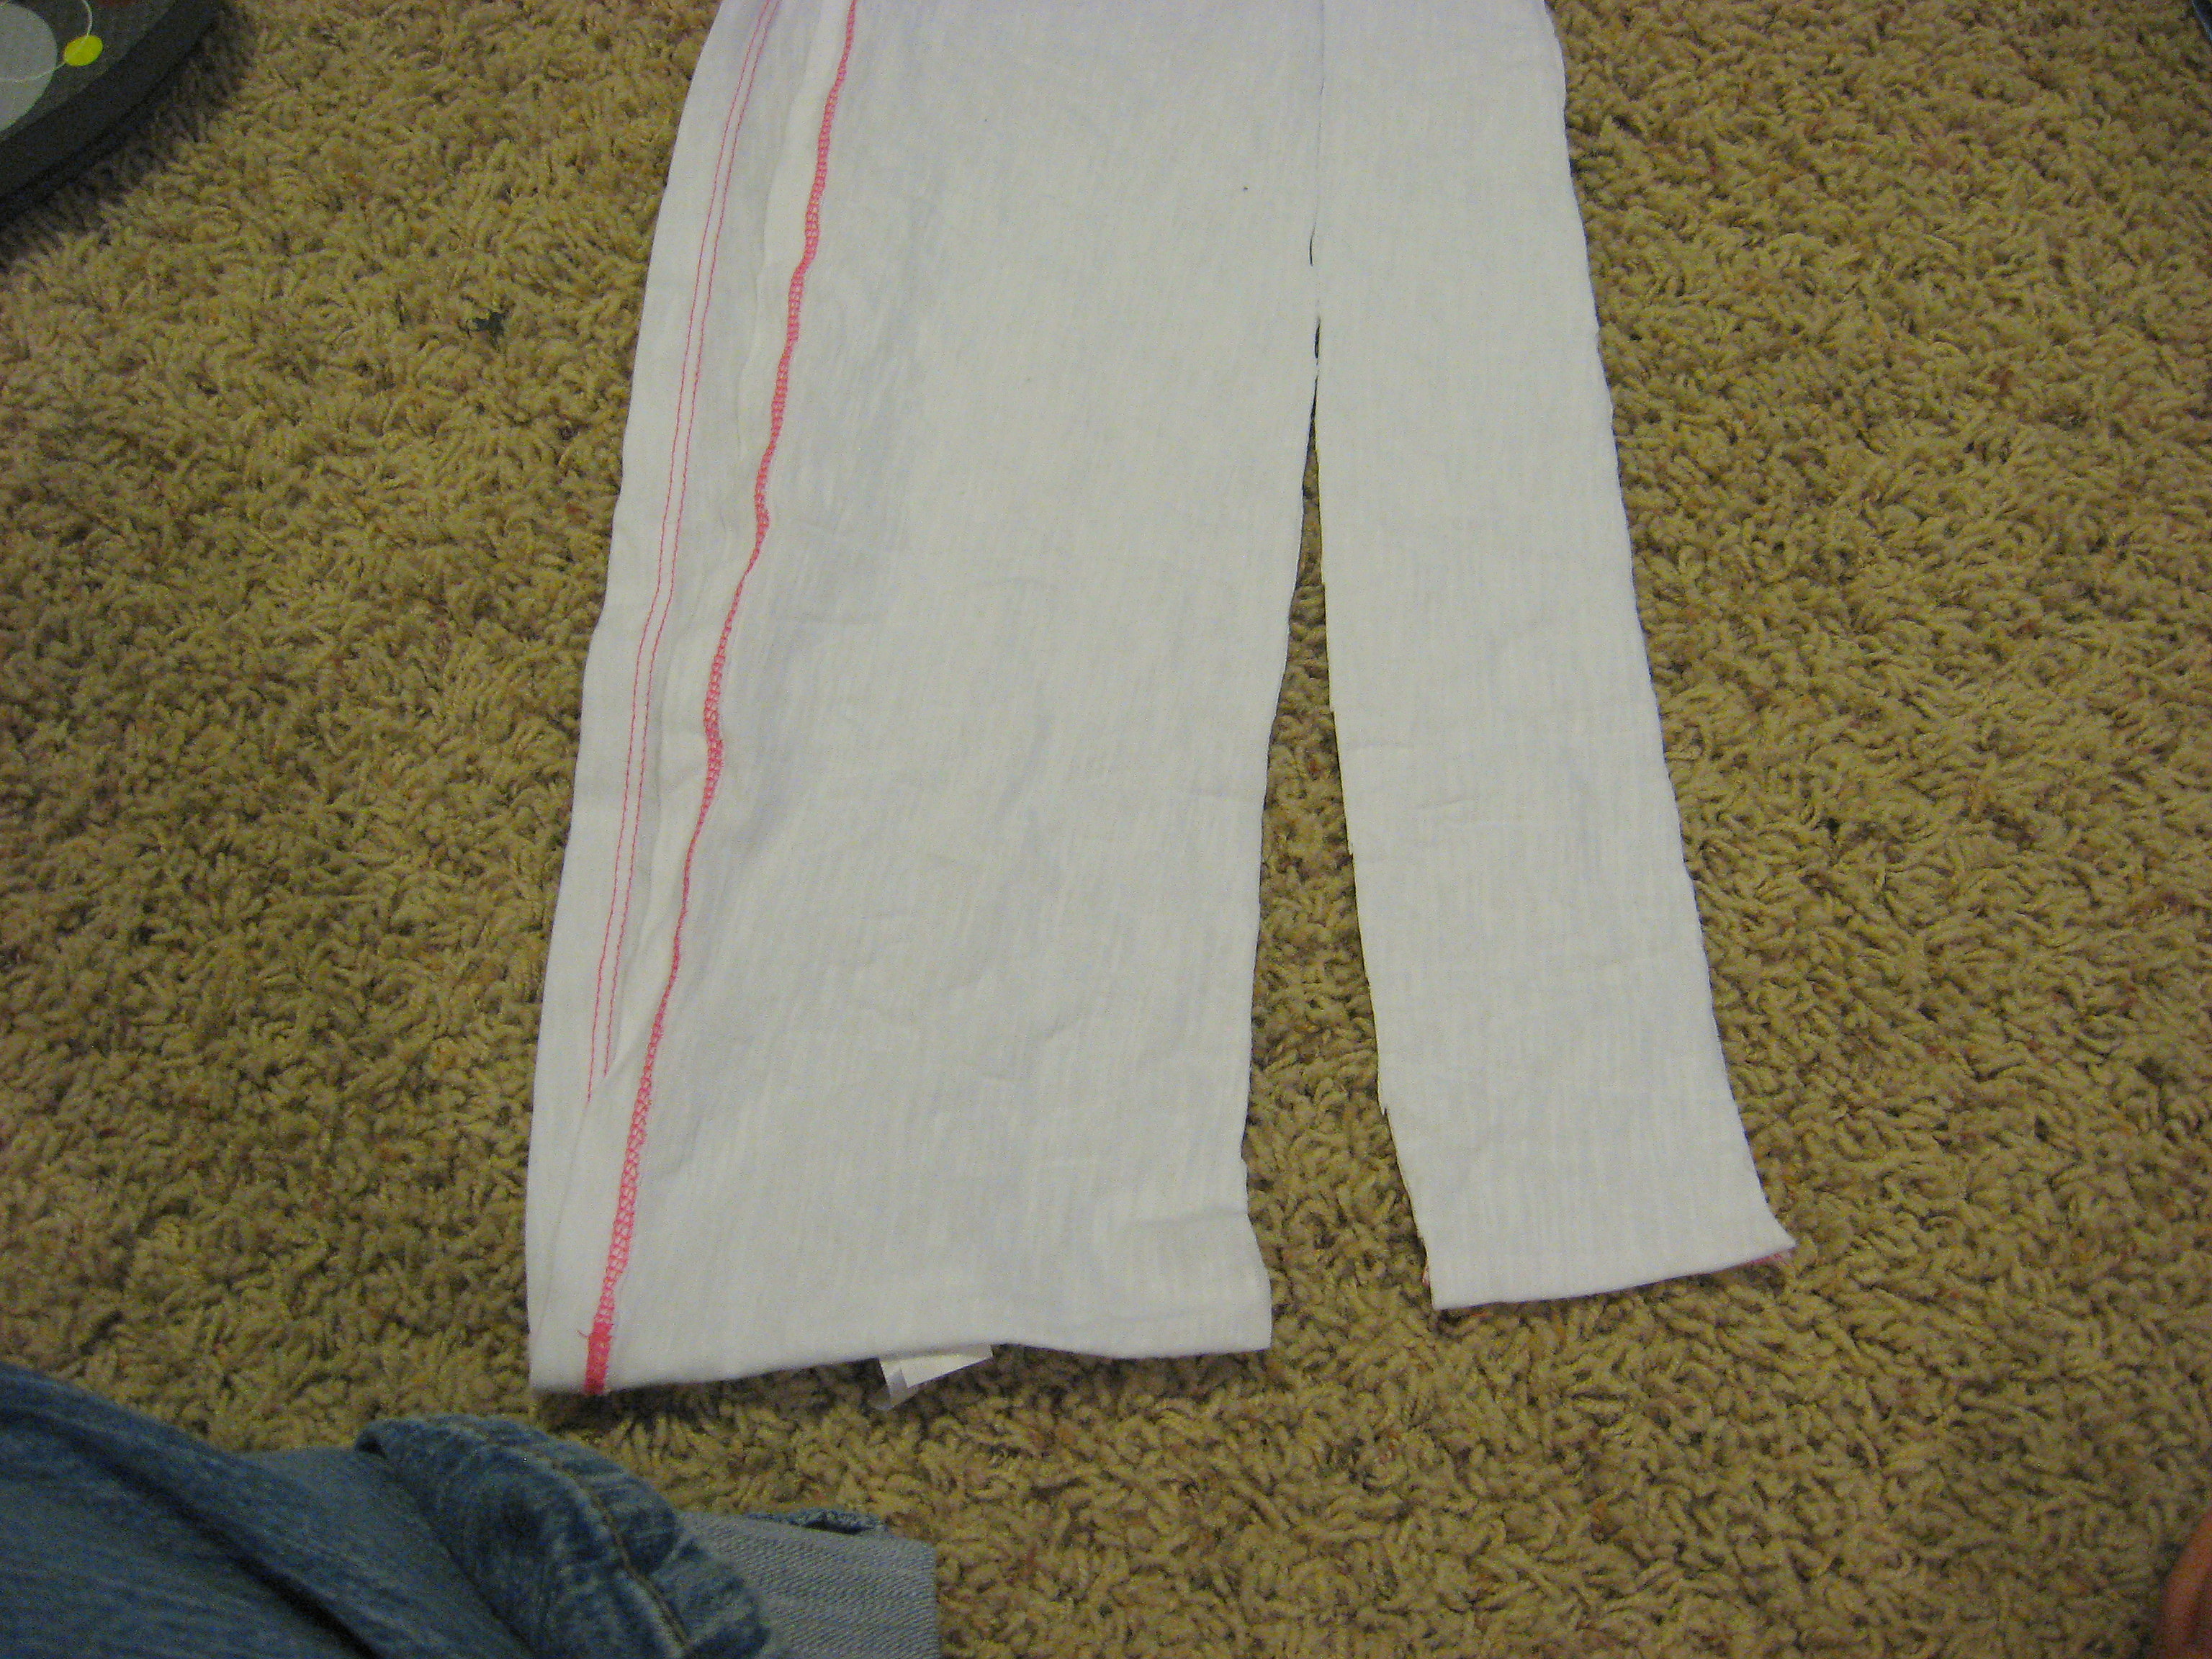
The fabric in the picture above is still doubled-over so you can see that the end that will be between my toes is a little narrower. If you don’t want to think it through that much, no worries. Just cut it straight and you’ll be fine.
Keeping the fabric doubled up, grab the end that will go at the front of the shoe and shove through the hole at the toe end of the flip flop. Tie a knot. 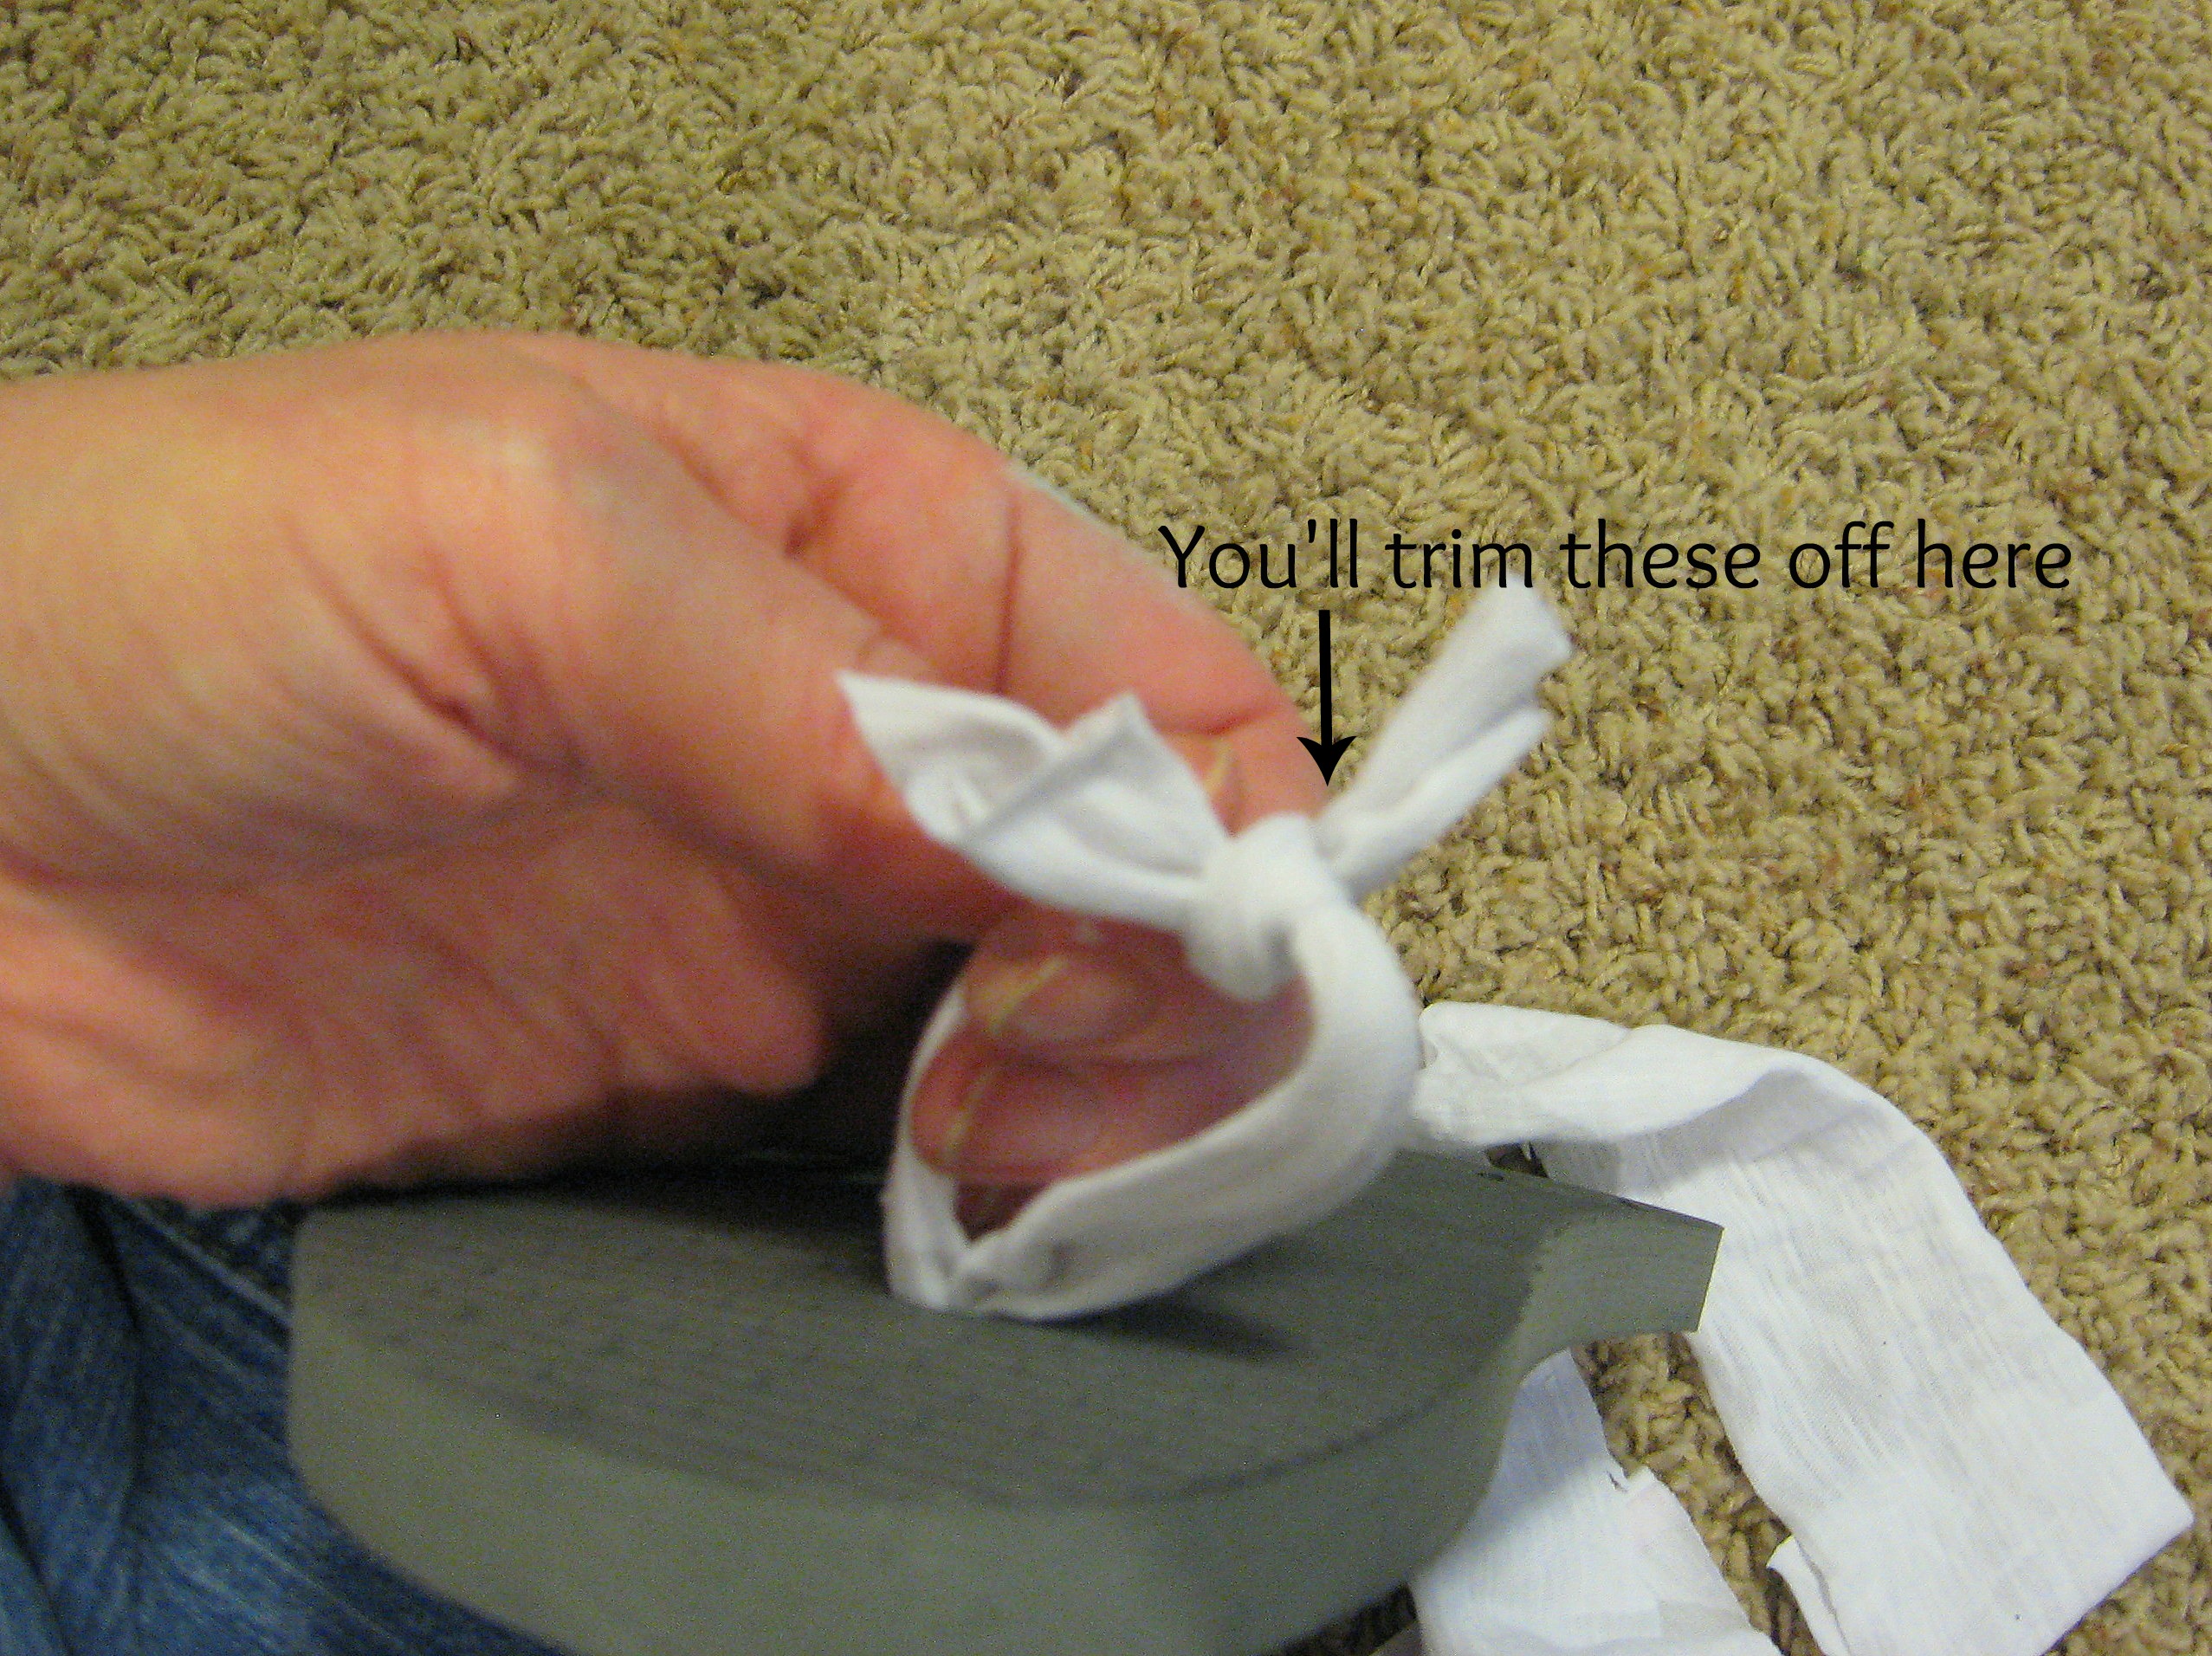
Get it as tight as you can, then trim off the extra fabric ends.
Now pull the fabric back towards the top of the shoe until the knot nestles down in the hole. The knot needs to be big enough that it won’t pull through the hole, so if you are using really thin fabric, or you cut your strips very thin, then you may need to tie another knot until it is bulky enough to stay in place.
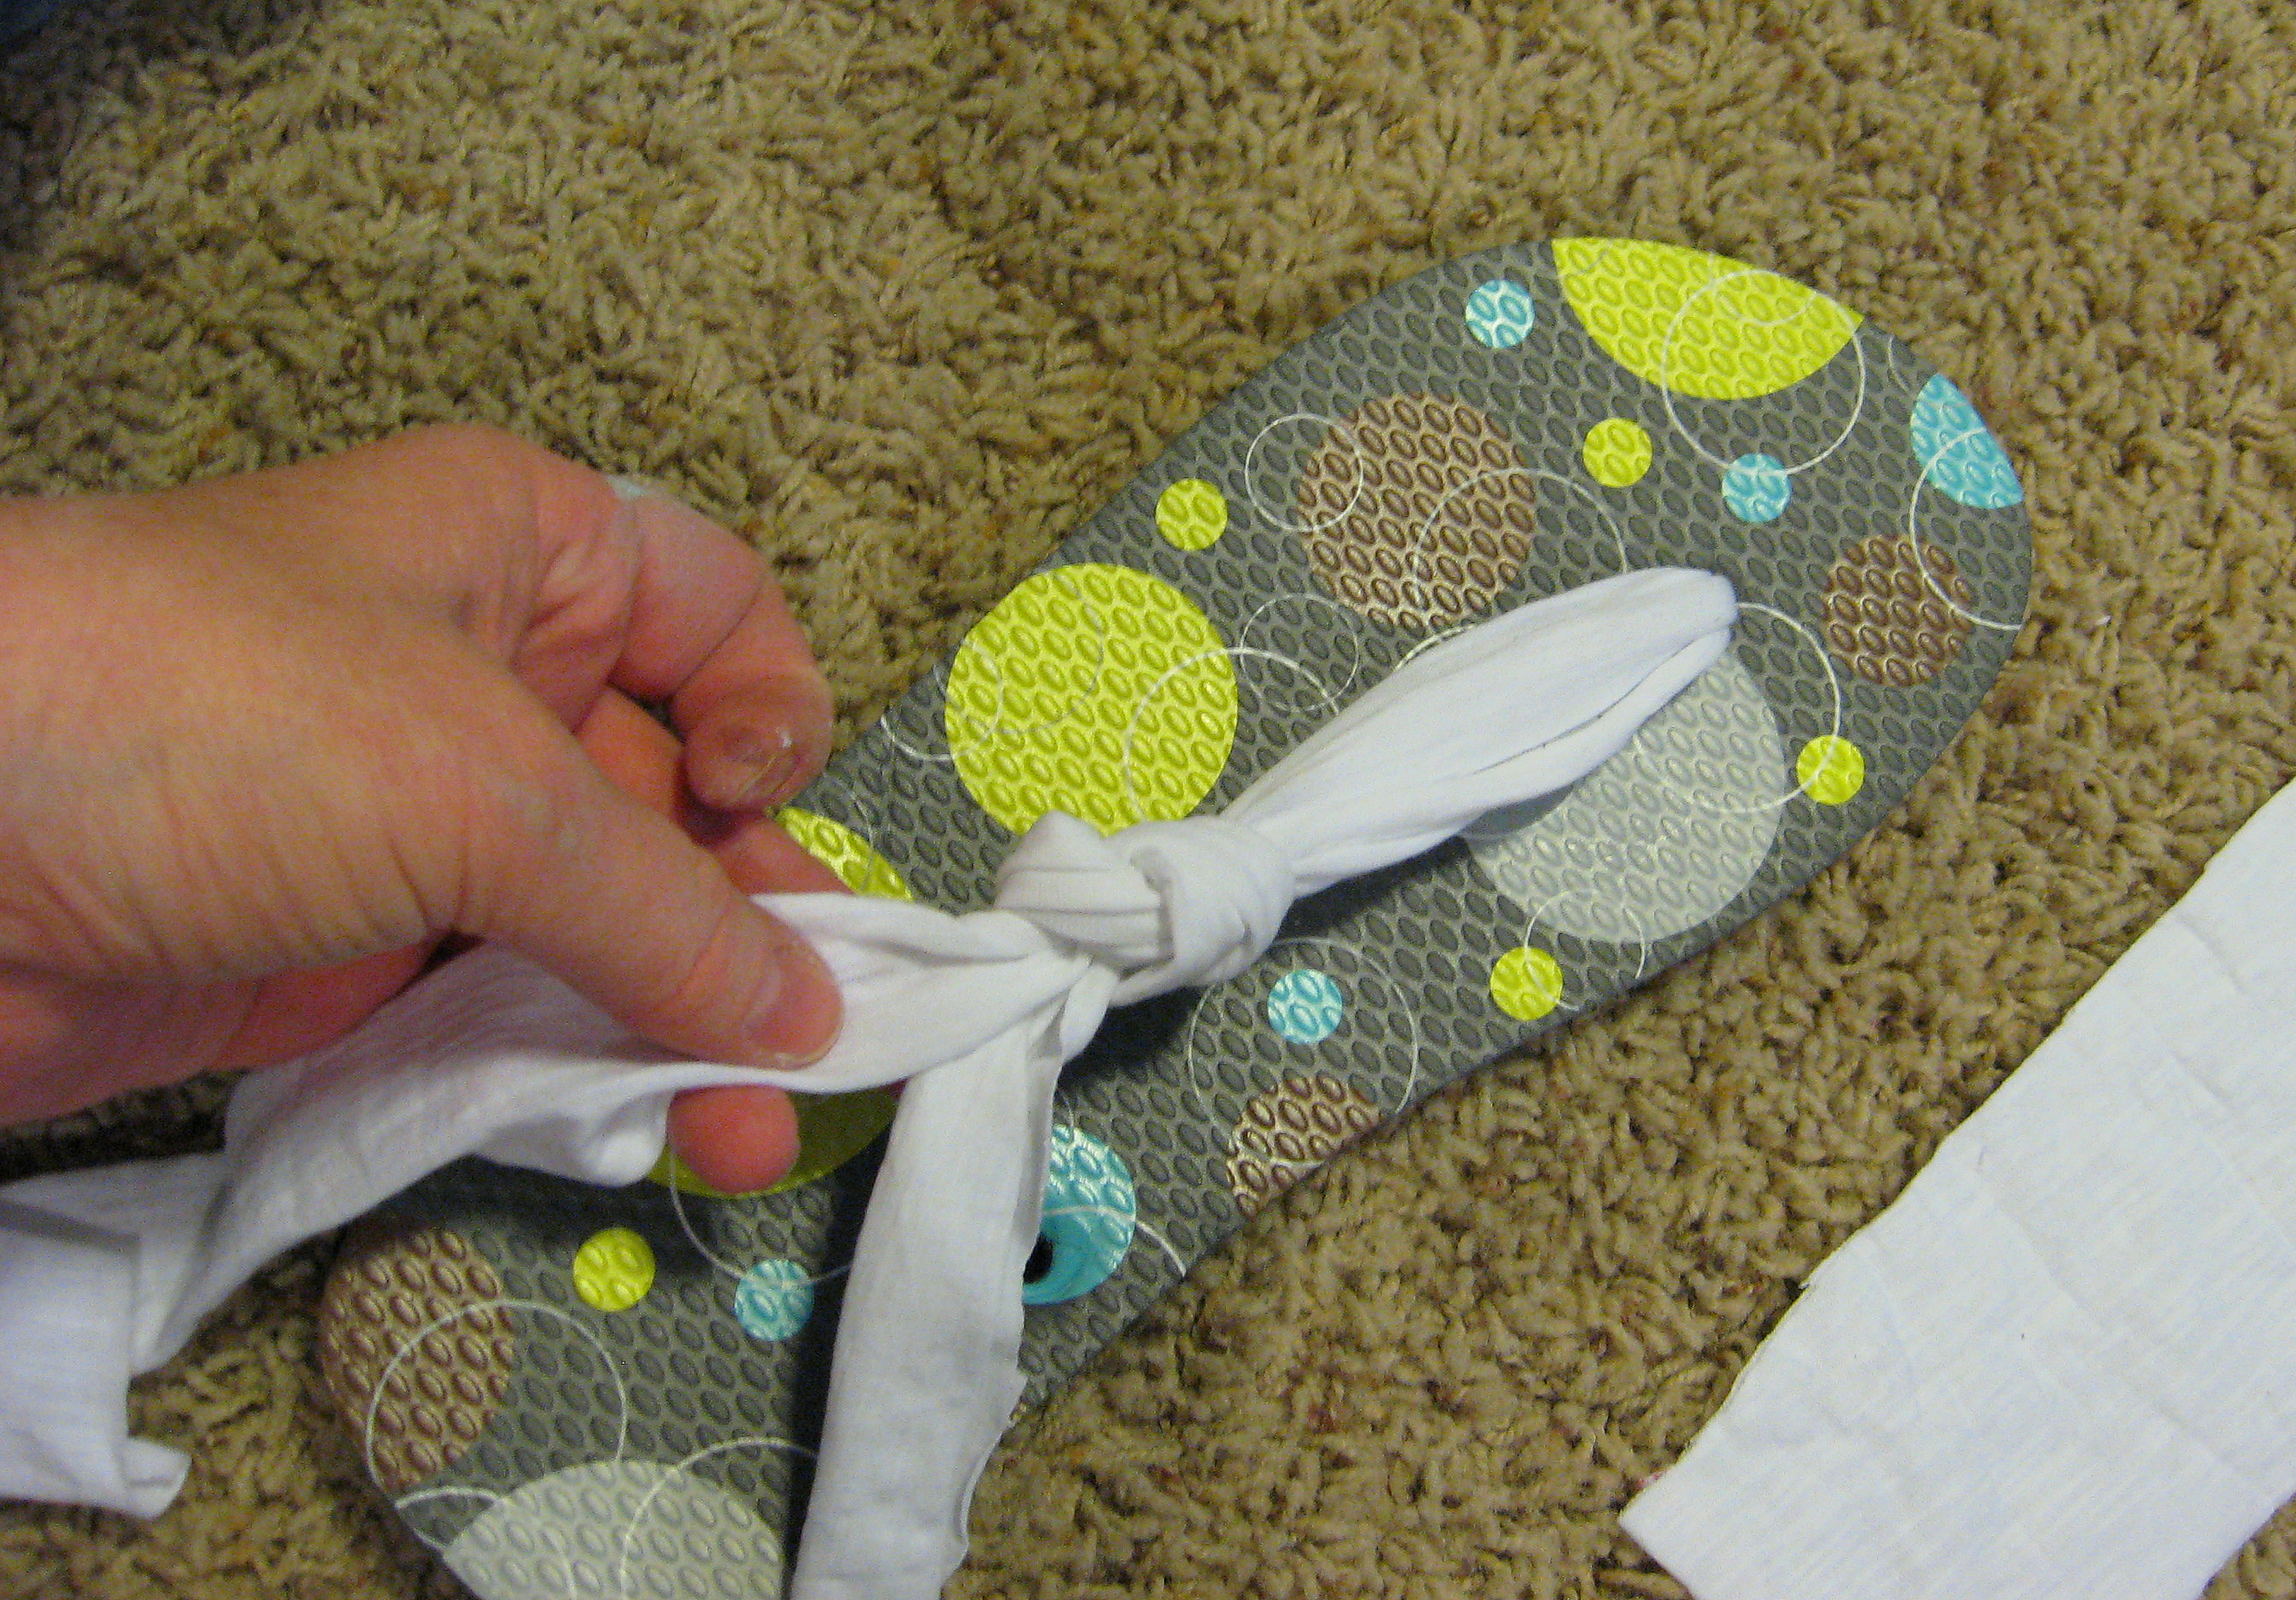
Now you will tie a knot on the top of the shoe to form the “Y” on top of your foot. Put the shoe on with the new straps coming up between your toe. Grab the fabric together and determine where you want to tie the knot.
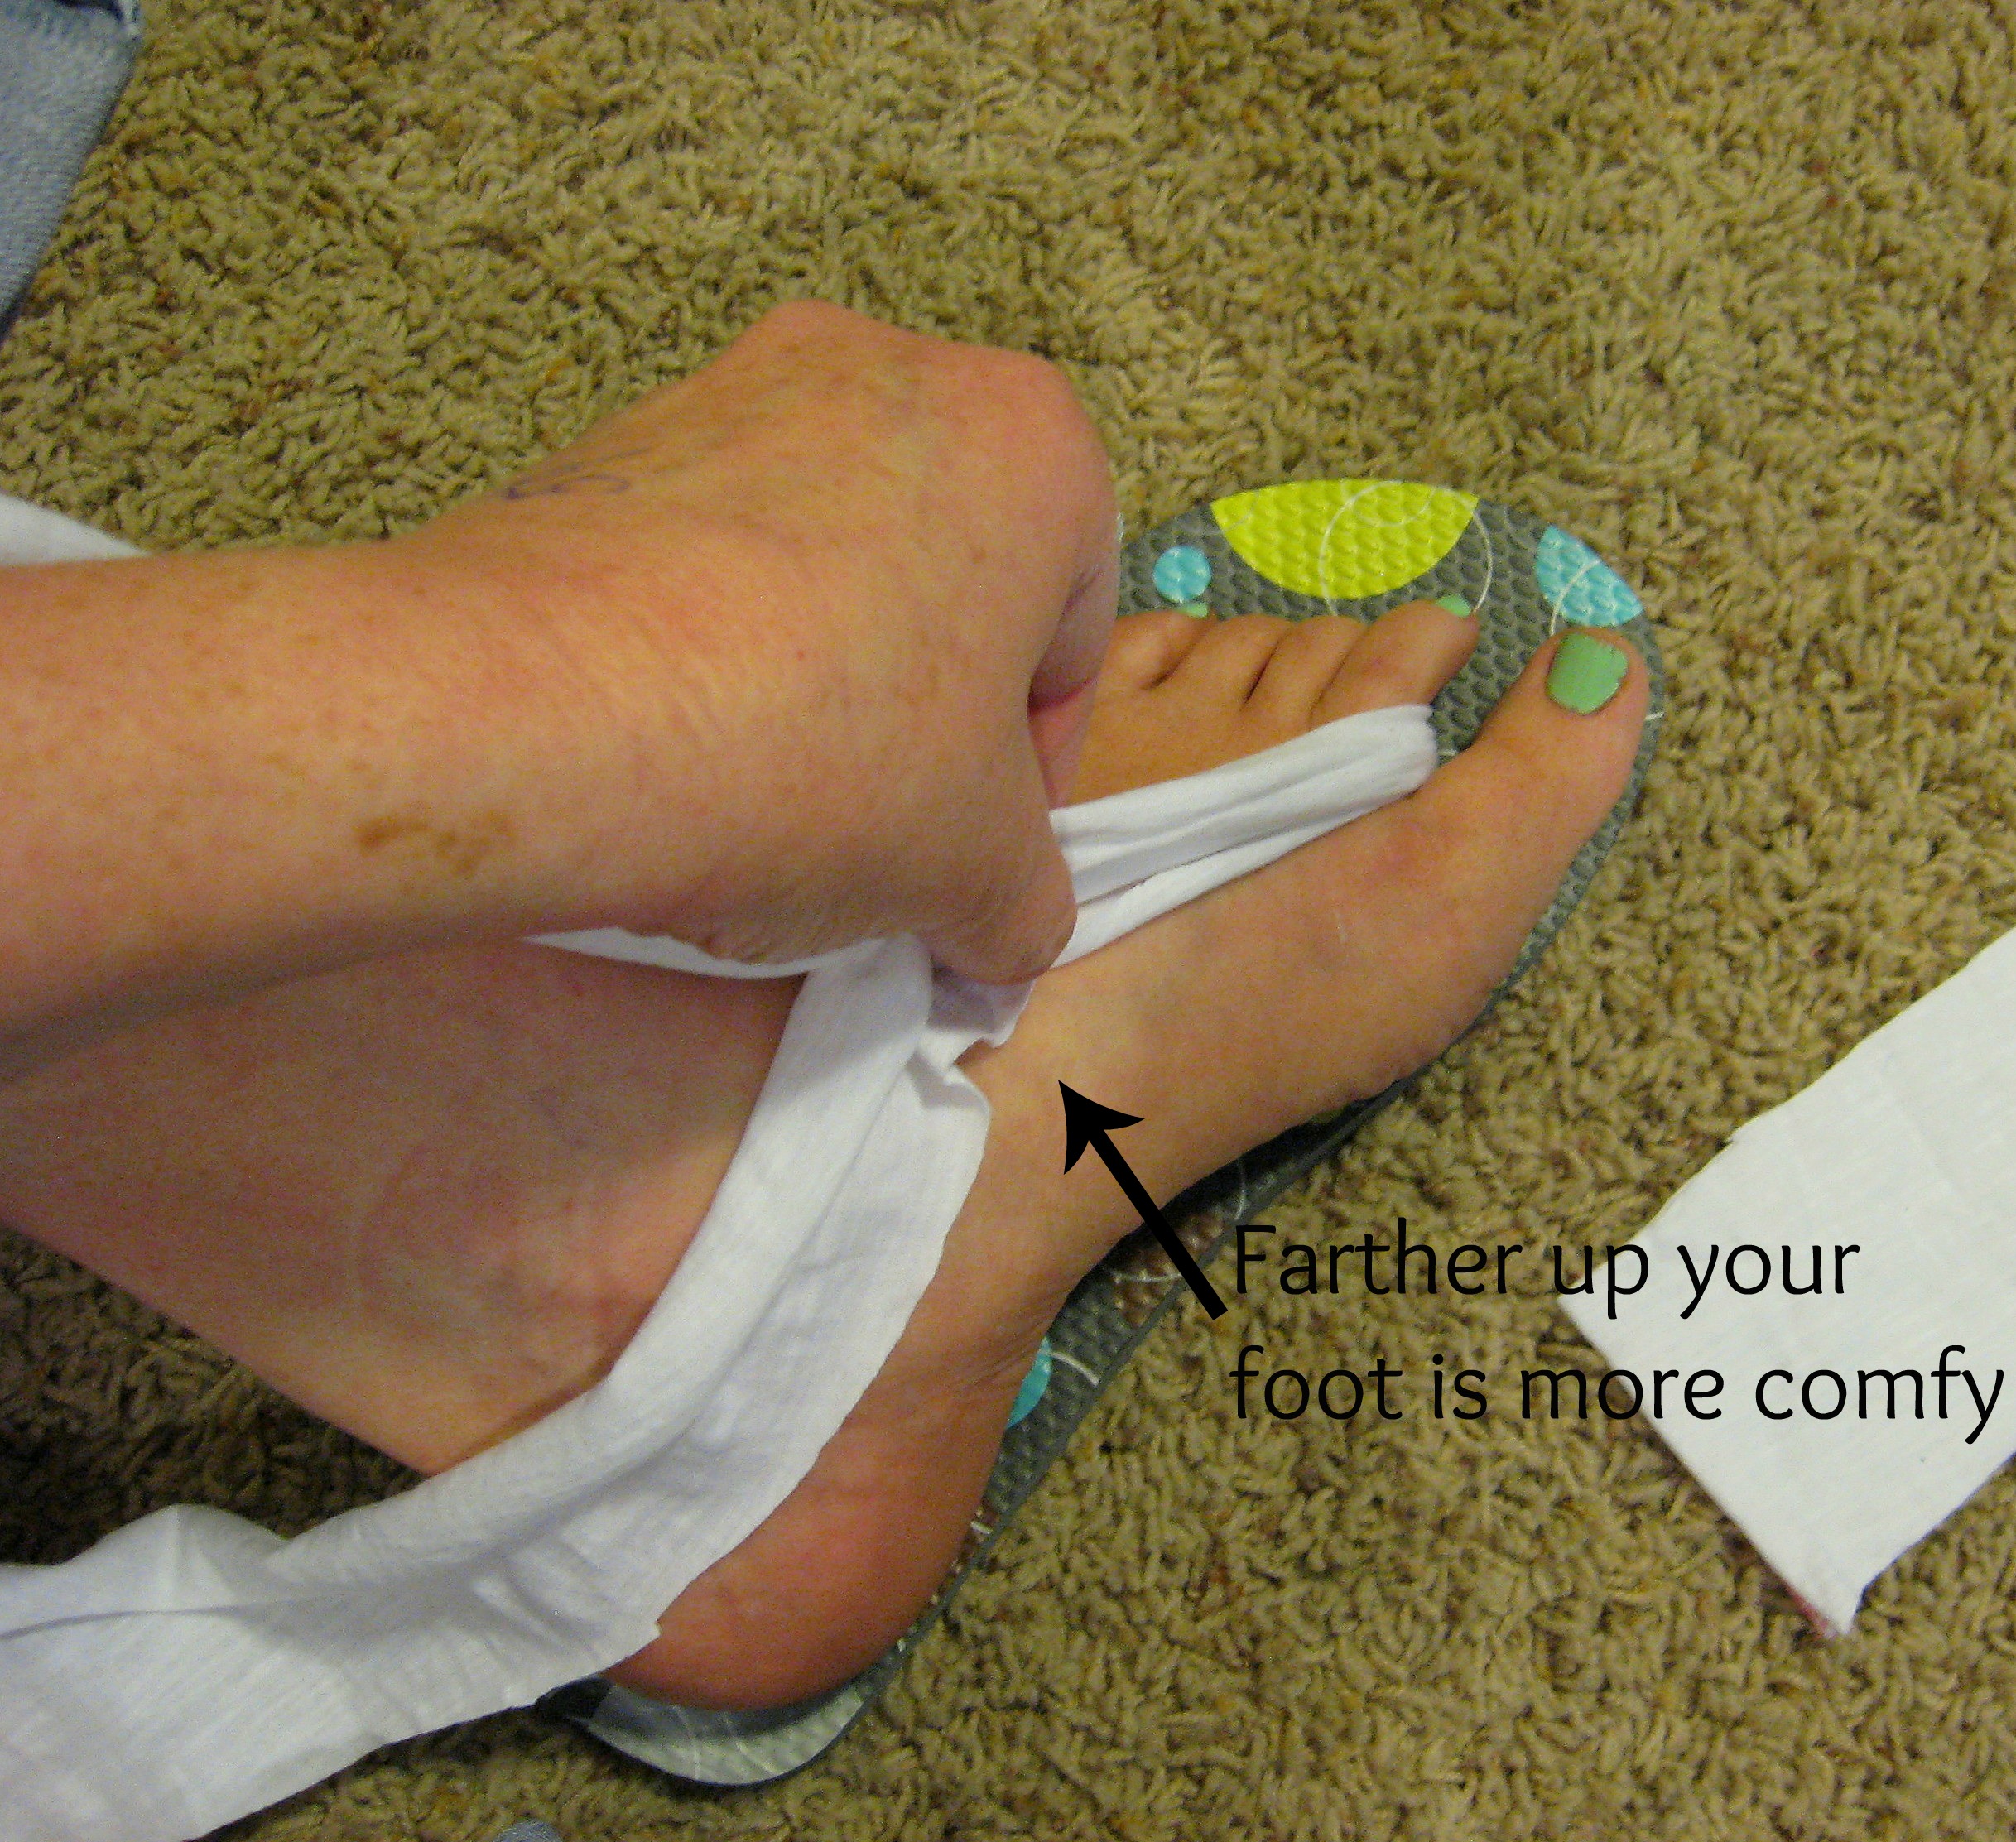
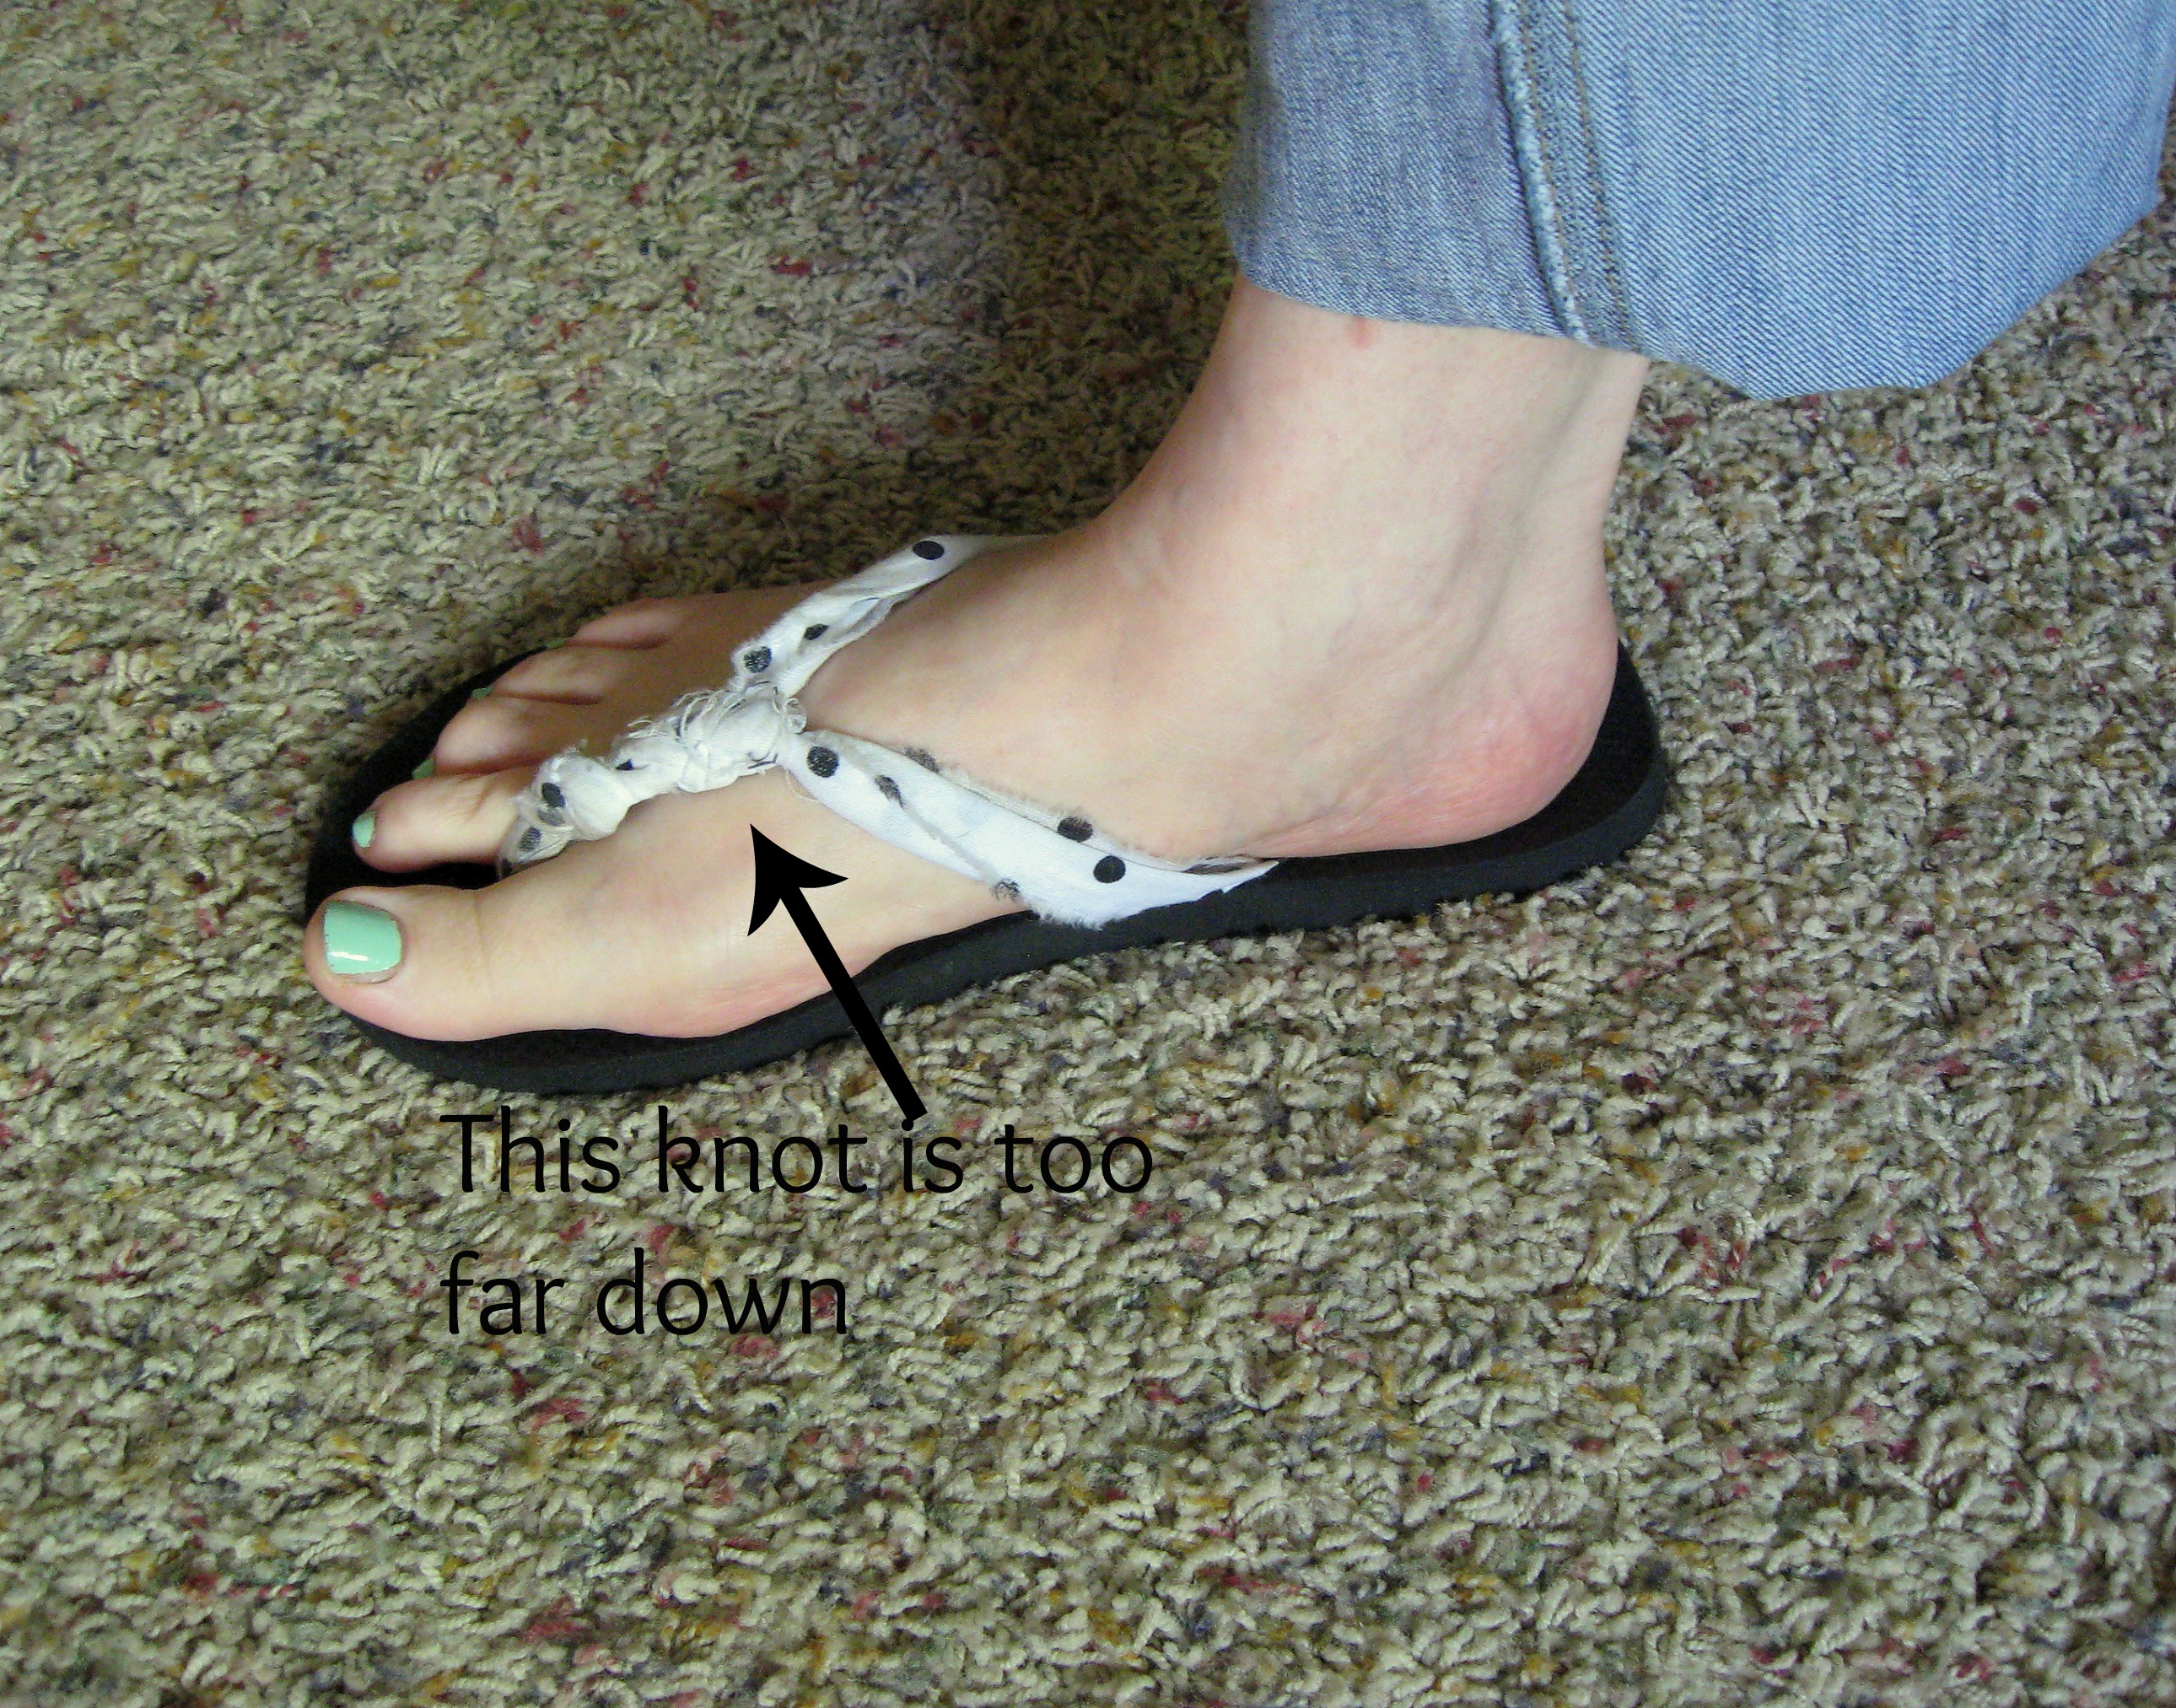
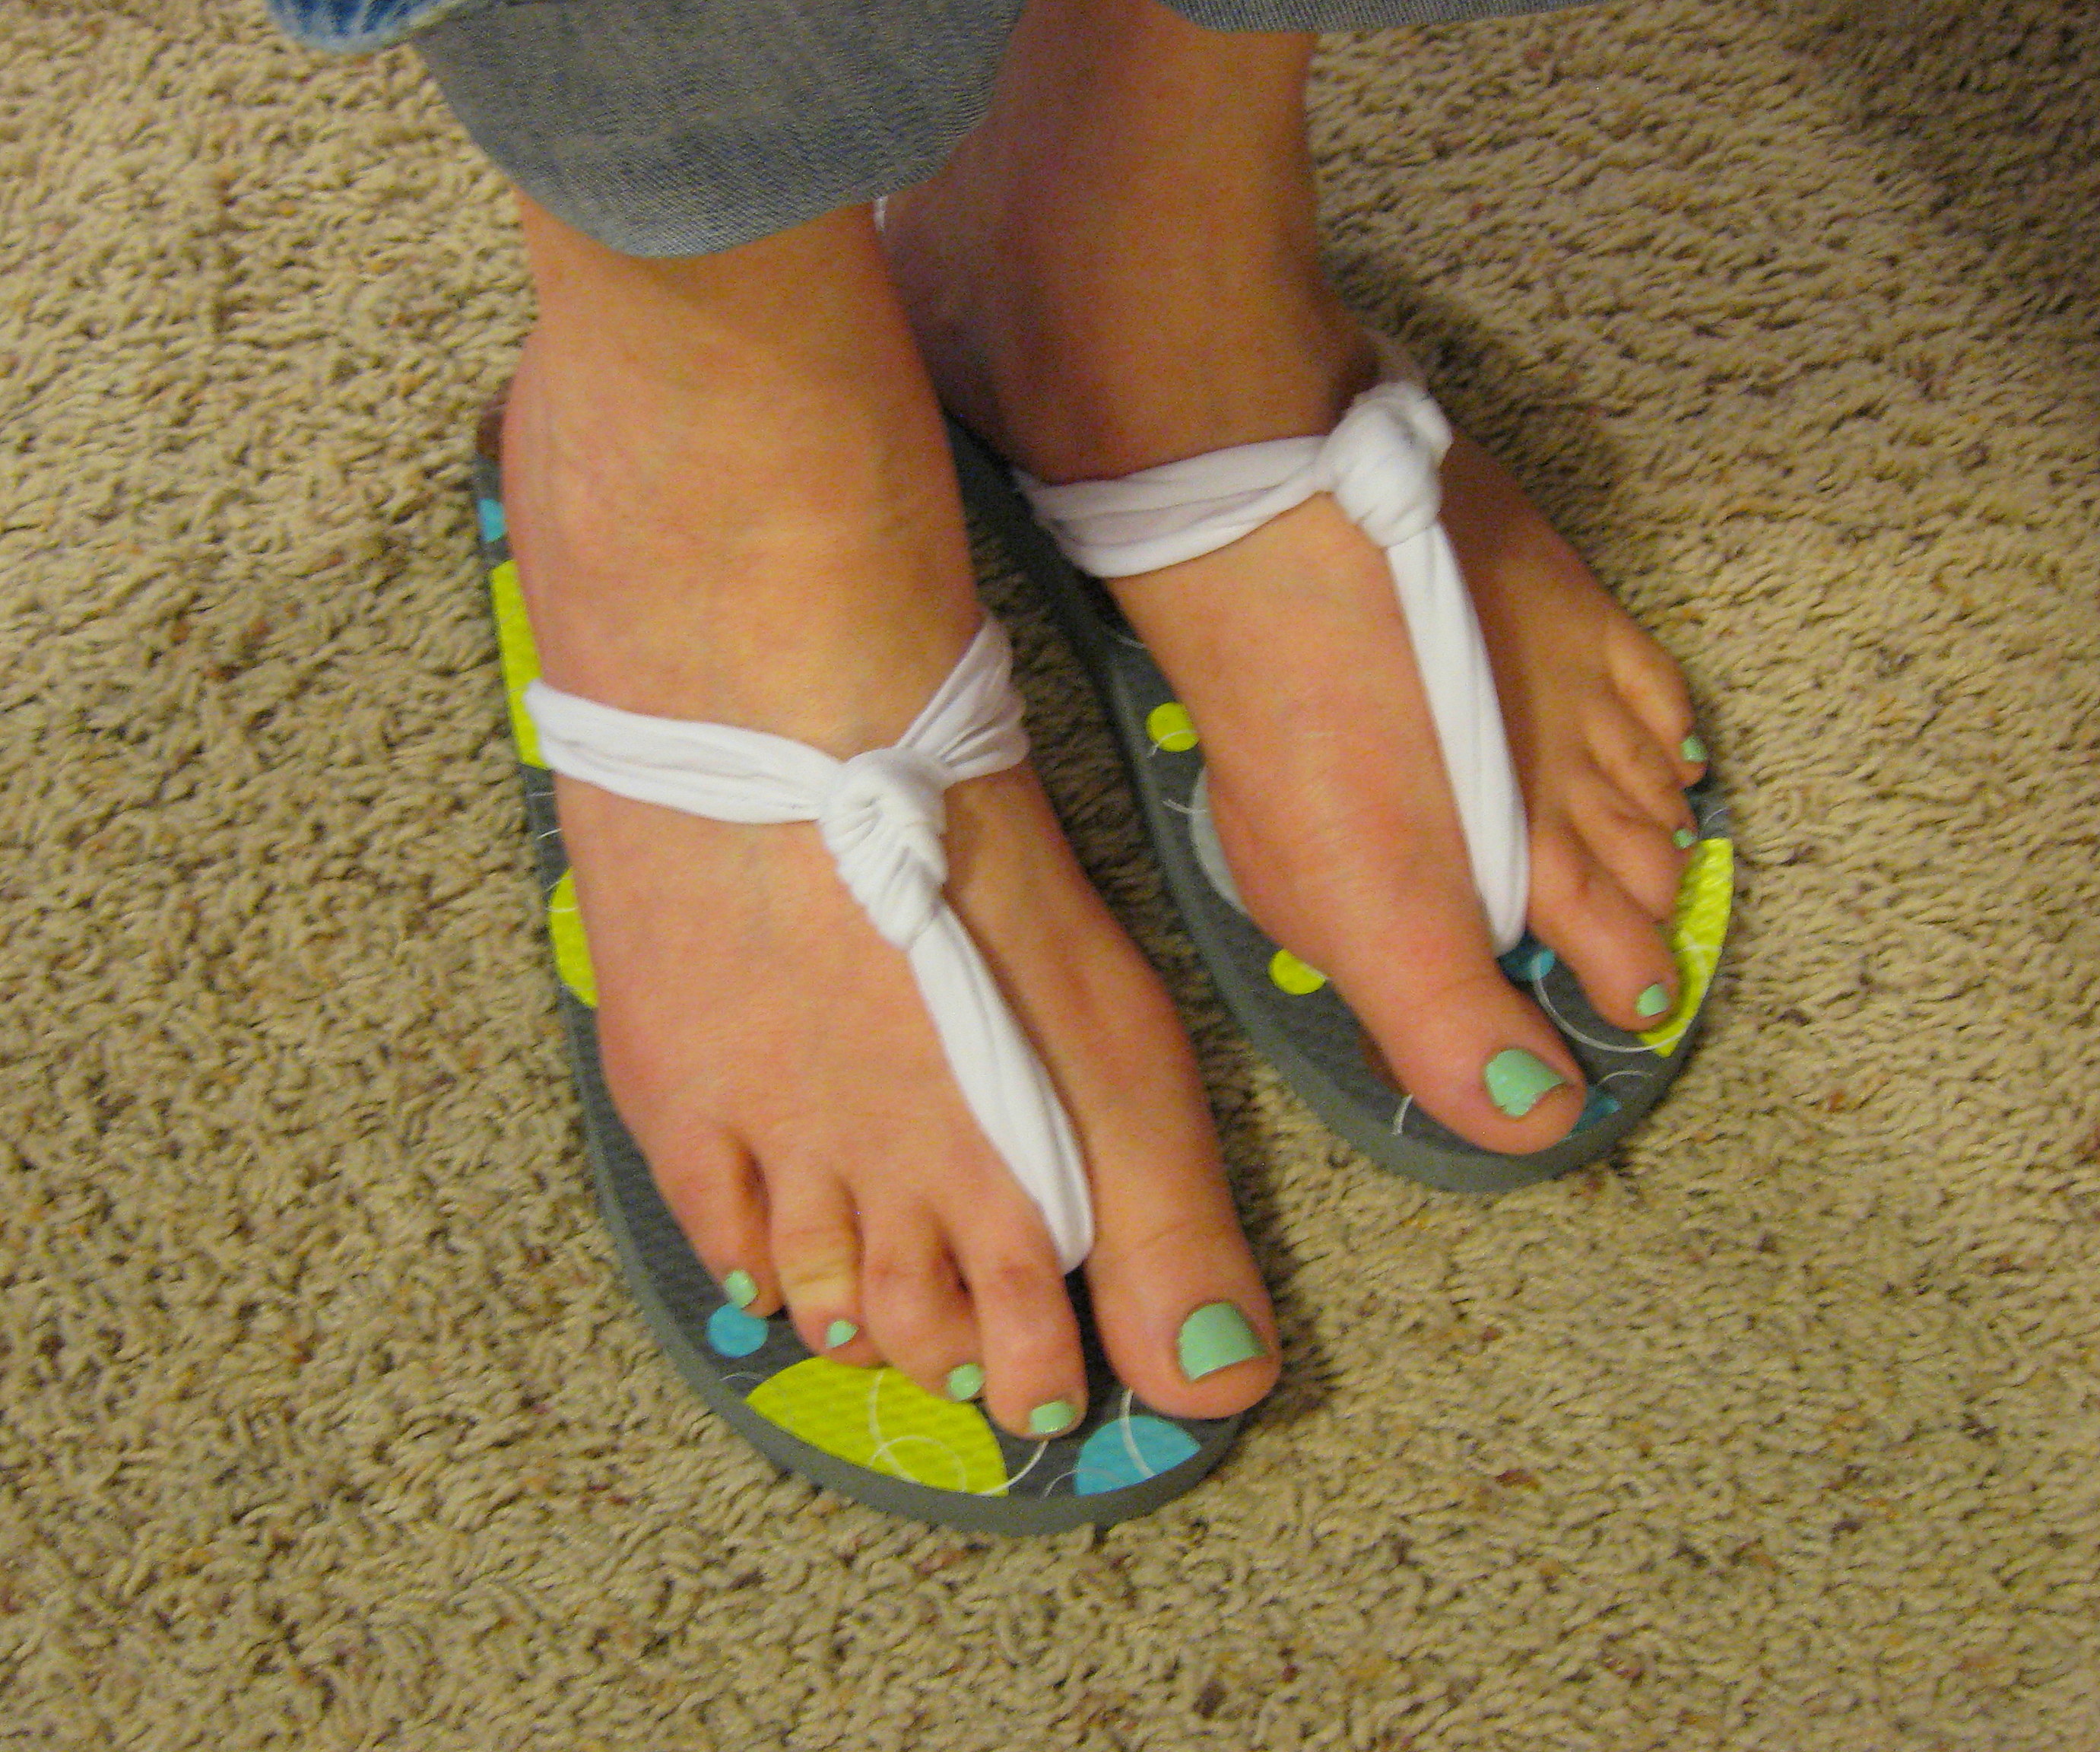
I found that the farther up my foot the knot is, the more comfortable they are to walk in. Below is a picture of a different pair I made. The knot is too close to my toes, and they aren’t as easy to walk in; I have to clench my toes to keep them on and it makes my feet tired! (Also, though, a good picture to show how easy it is to vary this basic idea. Here I used a simple polka-dotted cotton and tied a series of small knots instead of just one big one.)
Once you know where you want the knot to be, grab both fabric strips and tie a simple knot. Try the shoe on again and make sure it is in the right place. Tighten it up and arrange it so it looks just right.
I would pause now and make the other shoe up to this point so that you can make sure they look the same. Whichever direction you tied the knot on the first shoe, do it the opposite way on the second shoe (harder than it sounds!!)
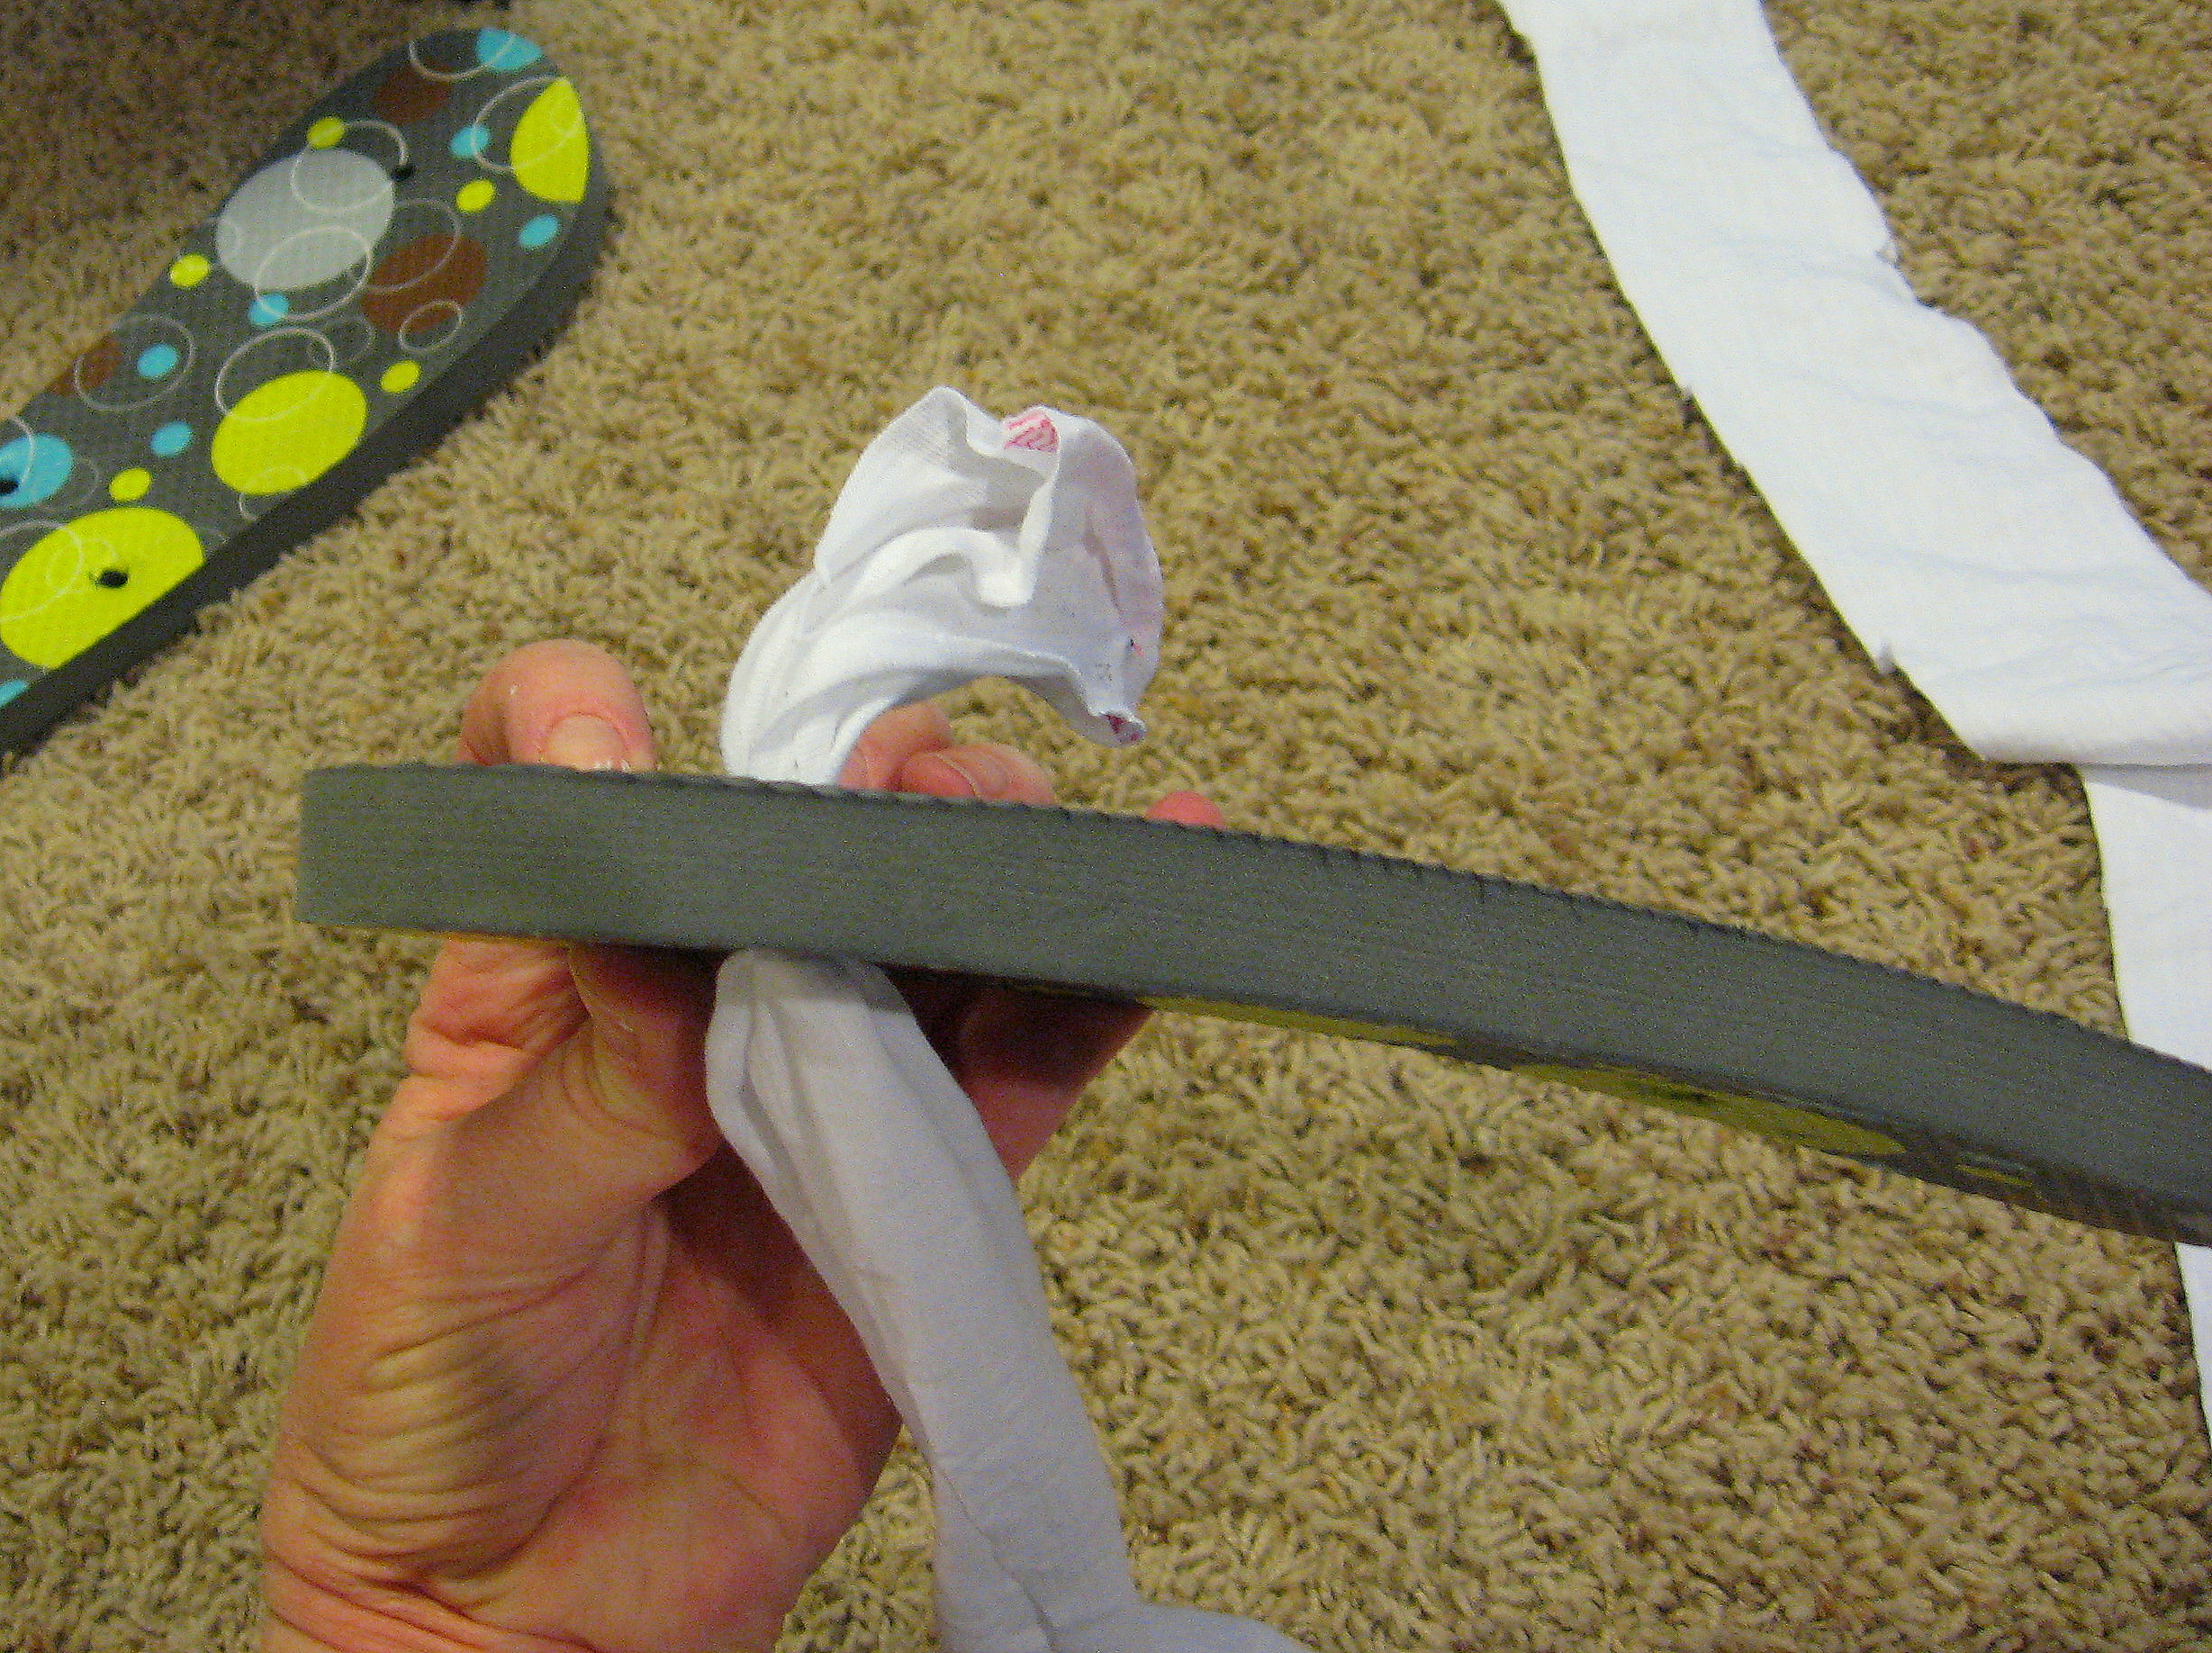
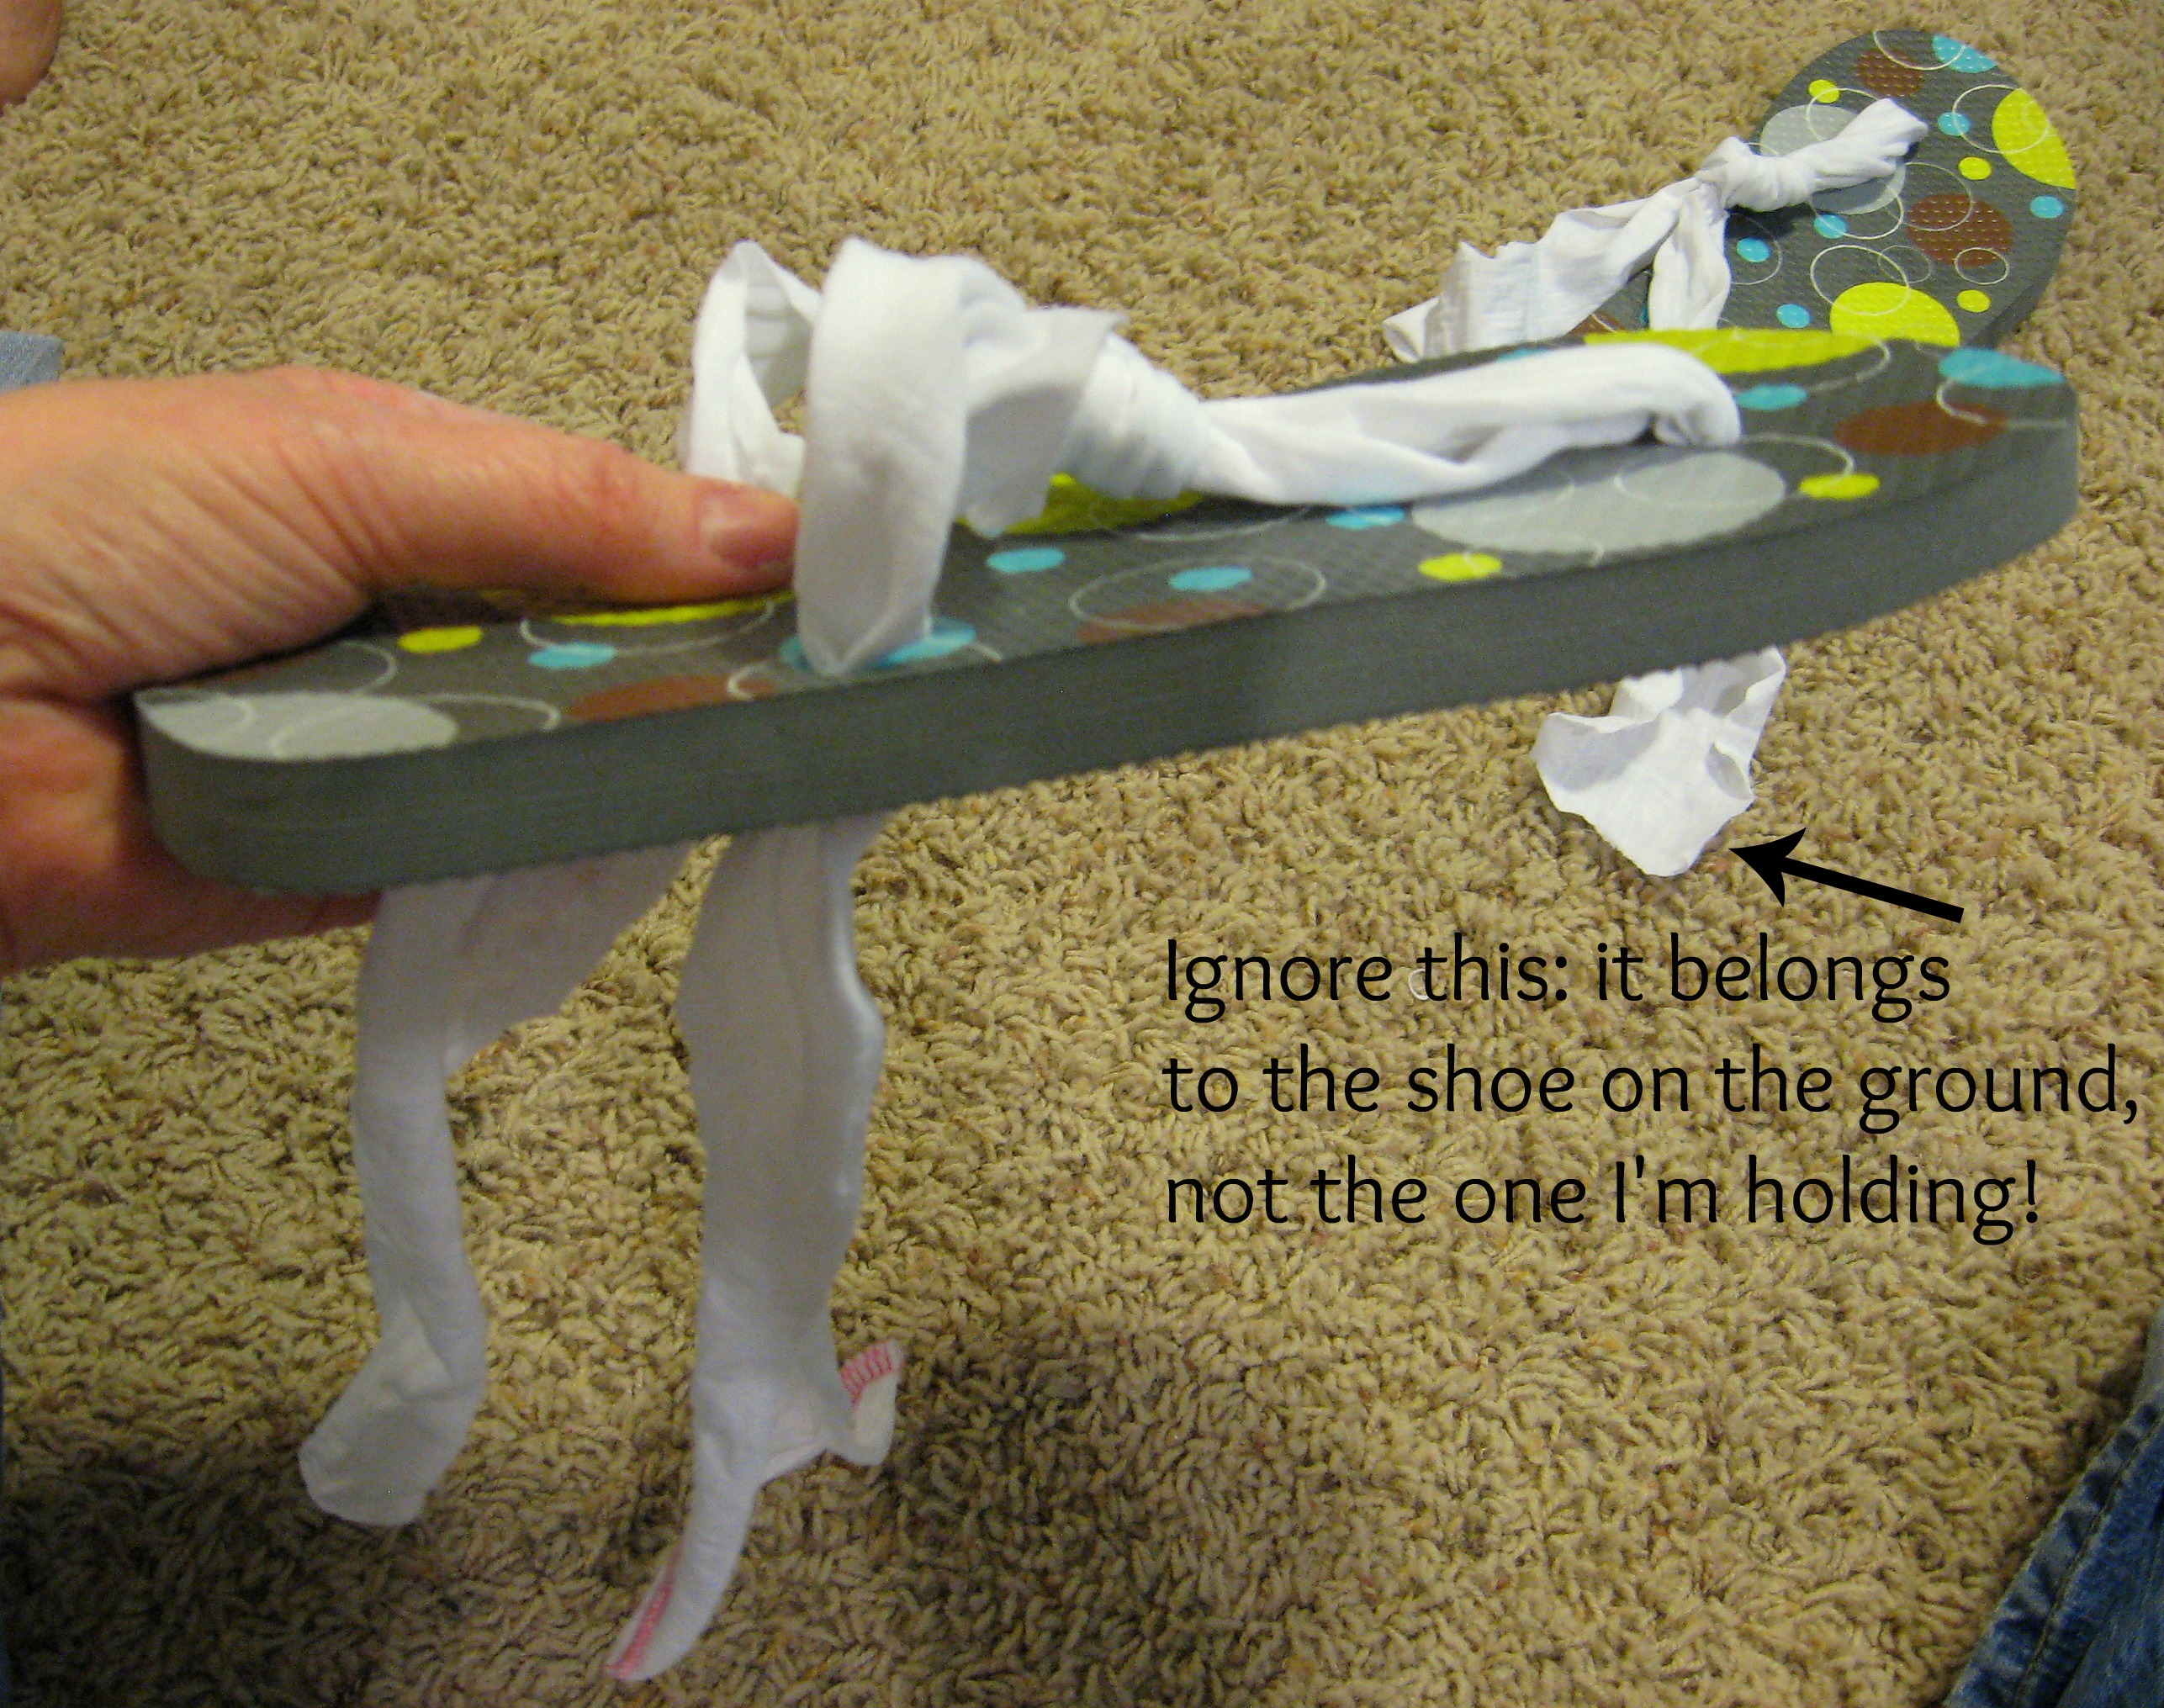
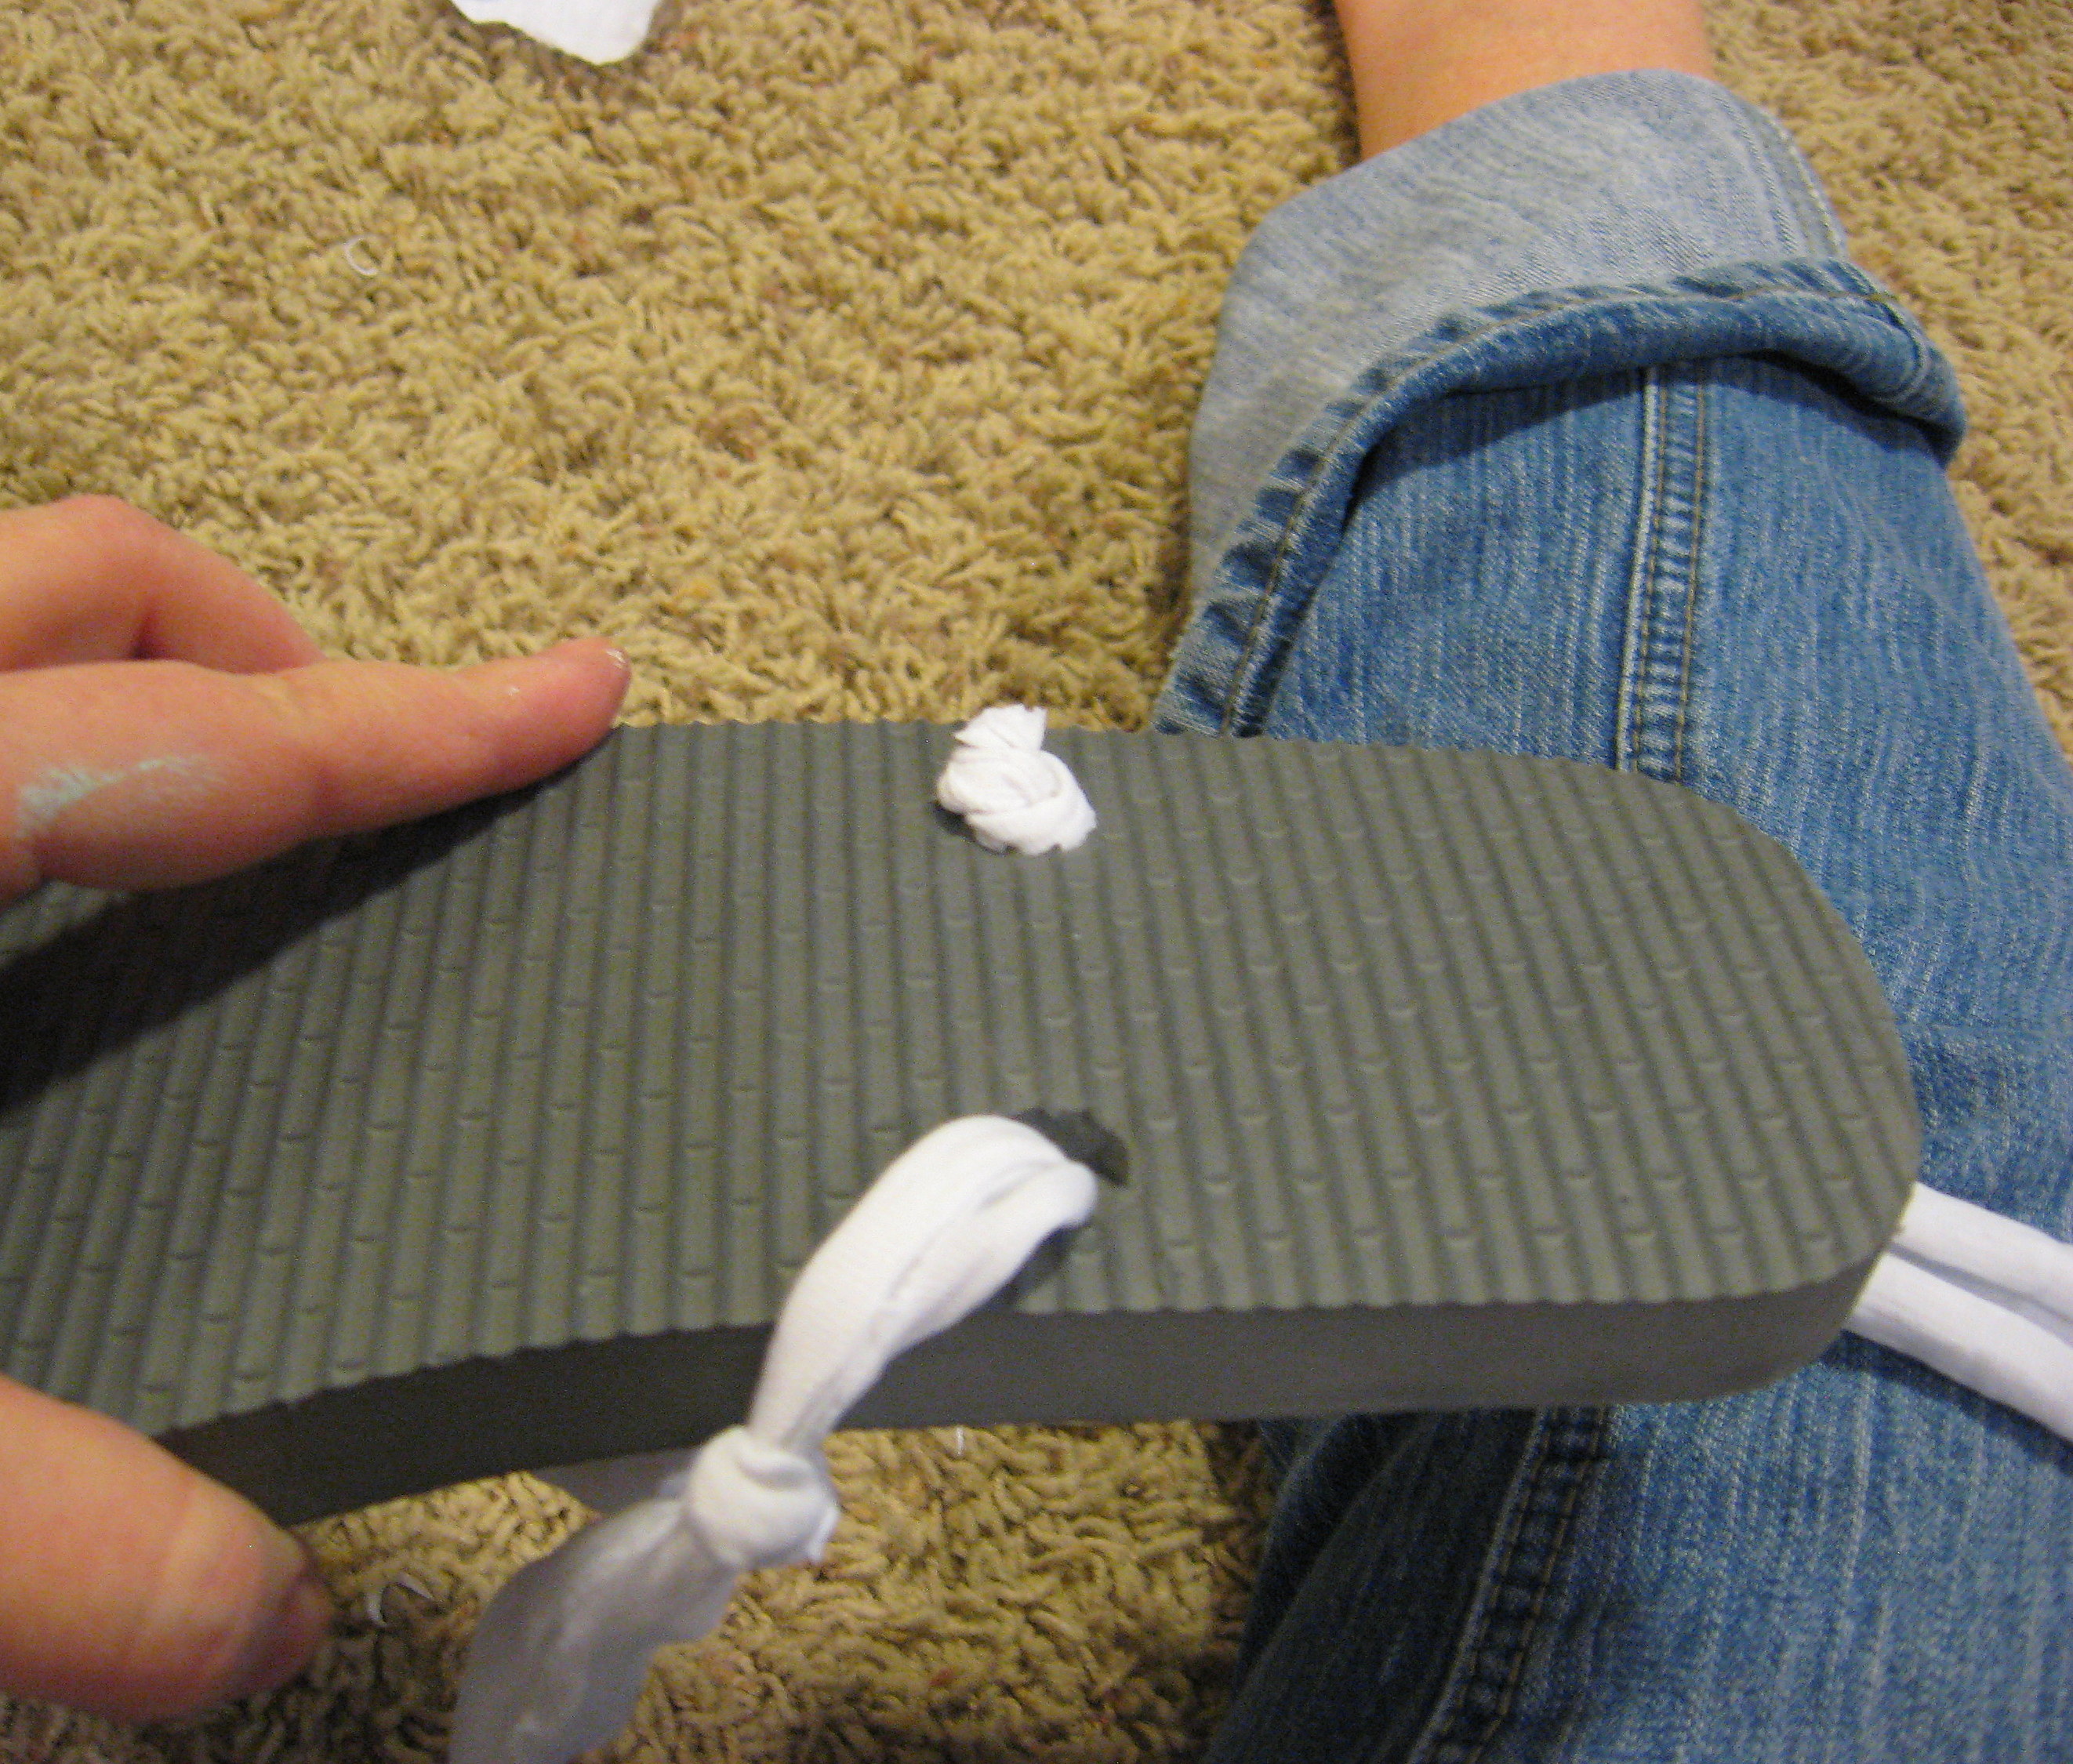
Now separate the back straps and, keeping them straight and untwisted, shove them through the back two holes.
Put the shoe on again, and pull the straps through until they are as tight as you want them to be. Remember to take into account what type of fabric you are using. If I’m using something that doesn’t stretch – like cotton, I like them to be just barely snug. If I’m using something that does – like knit, I like them to be pretty tight.
Hold one of the straps underneath the shoe right where you want the knot to be and take the shoe off, keeping your fingers in that spot.

Tie that knot, then put the shoe back on and repeat on the other side.
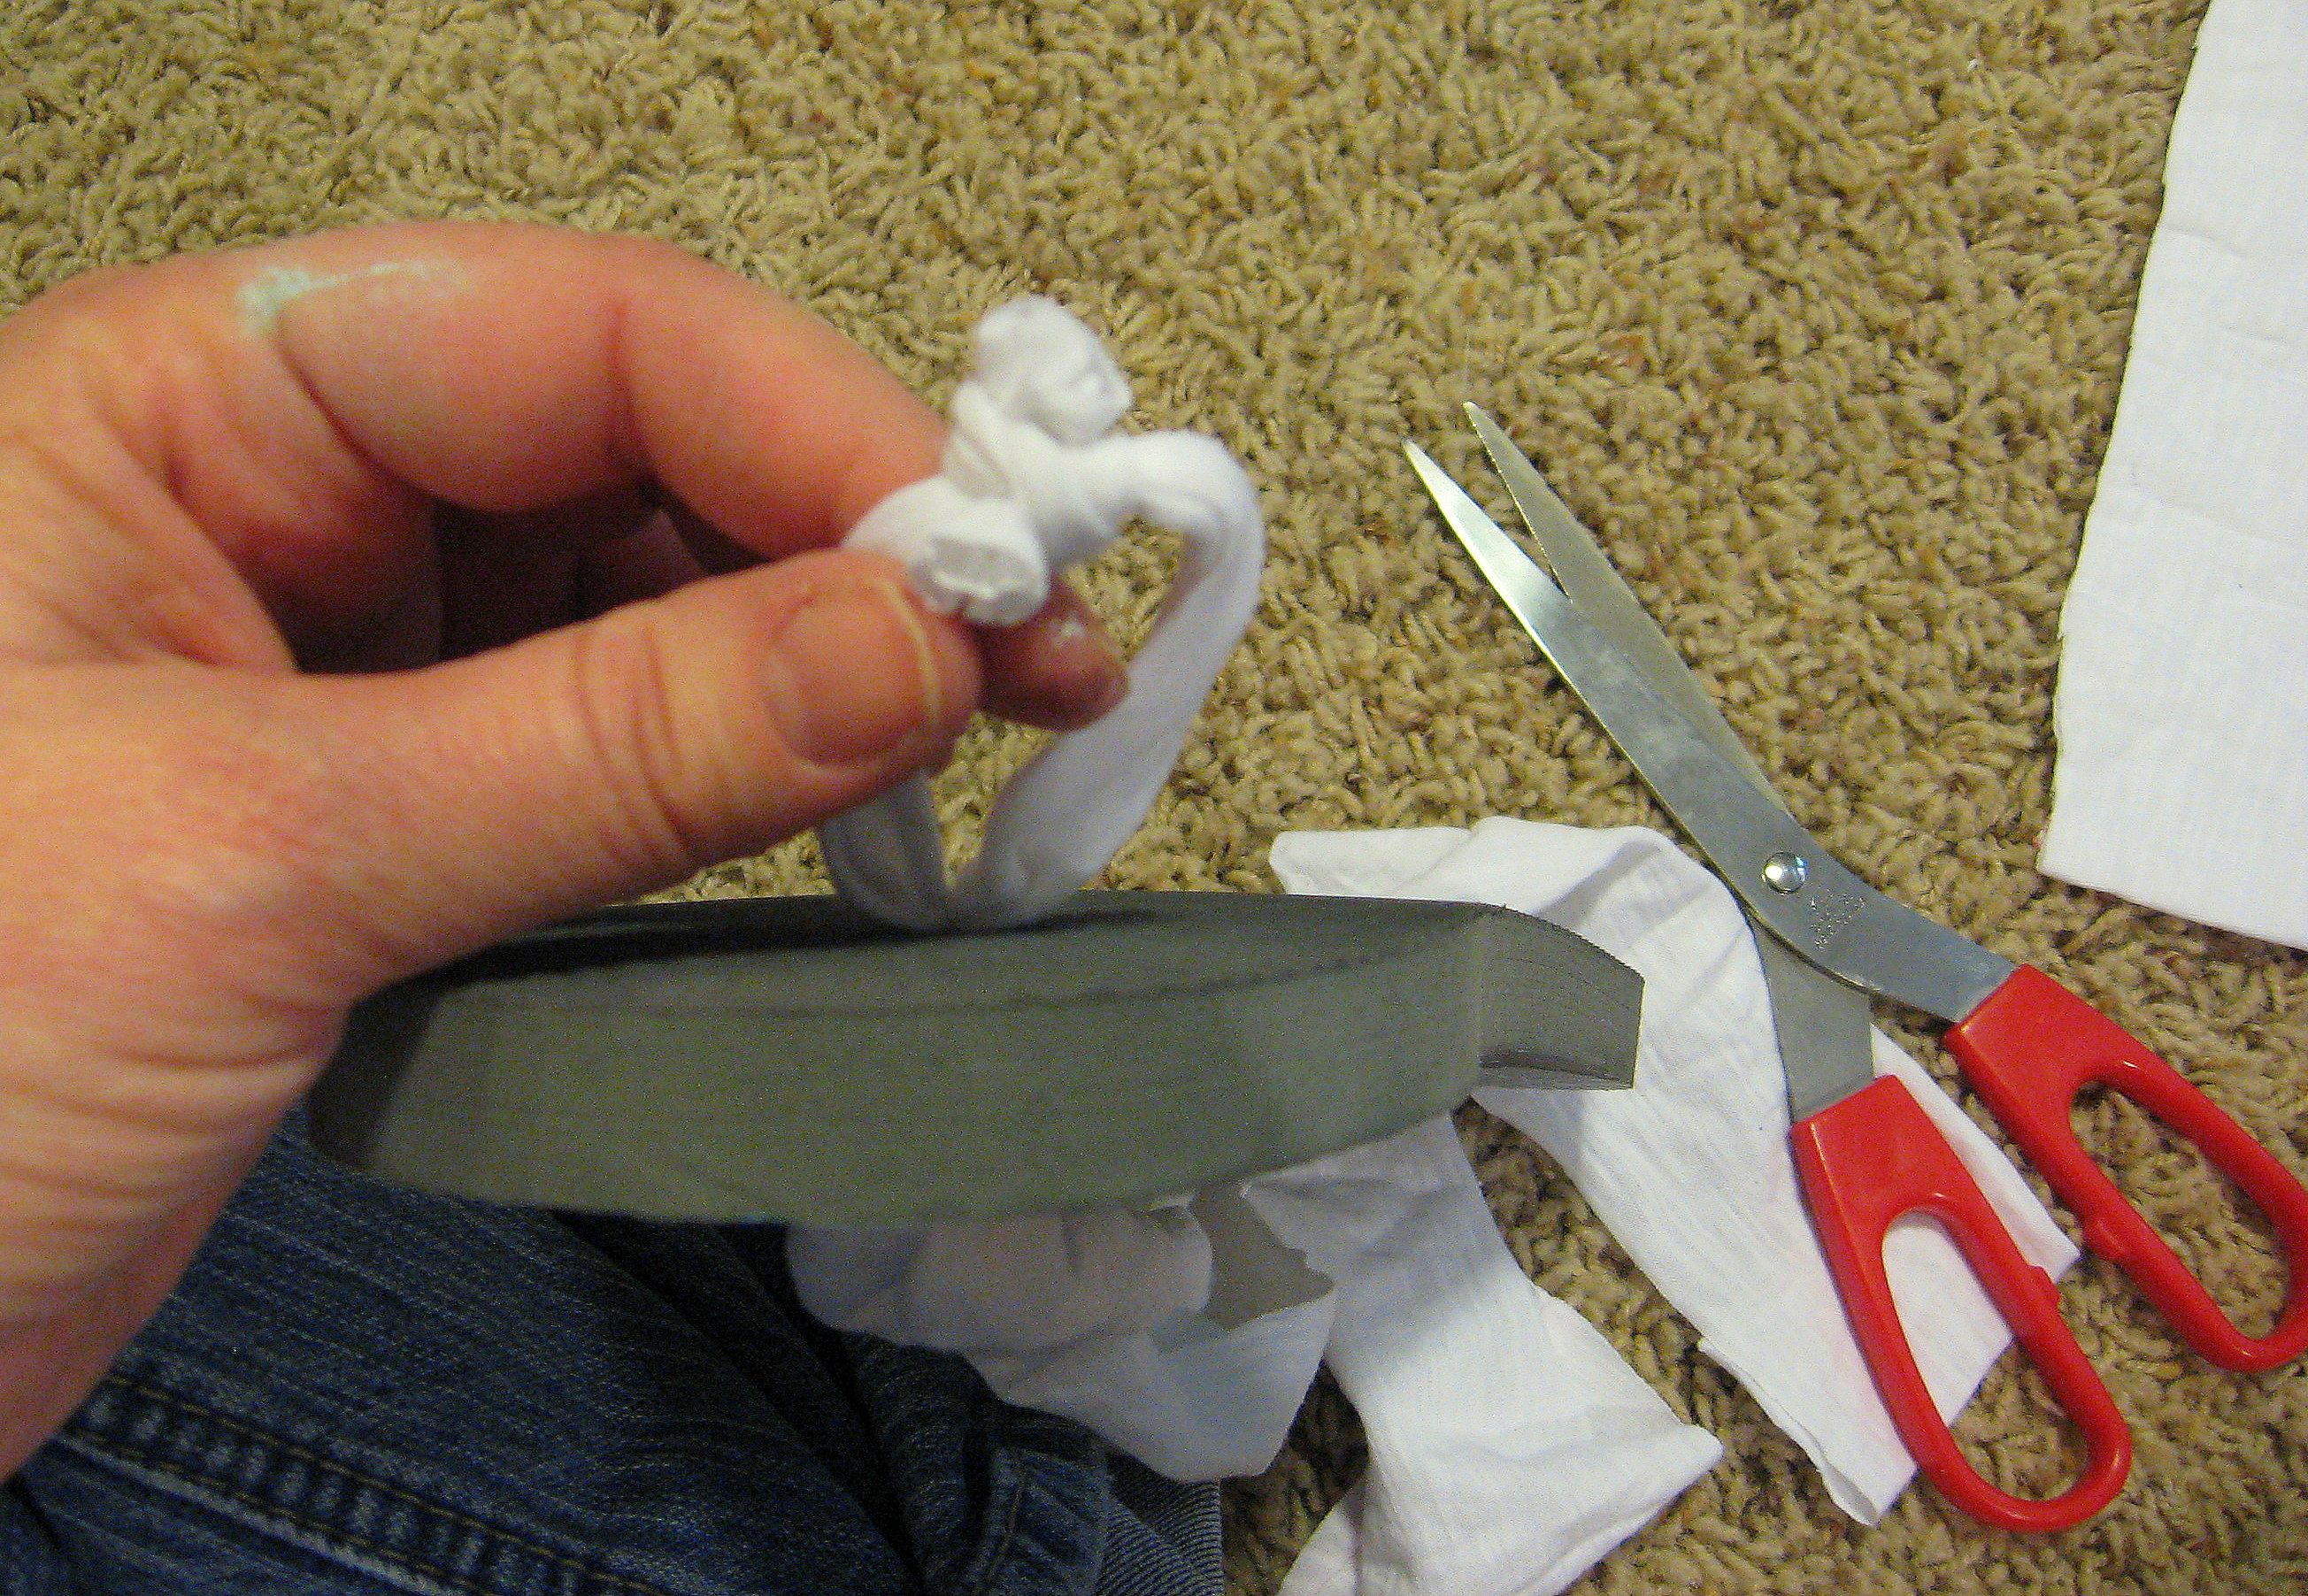
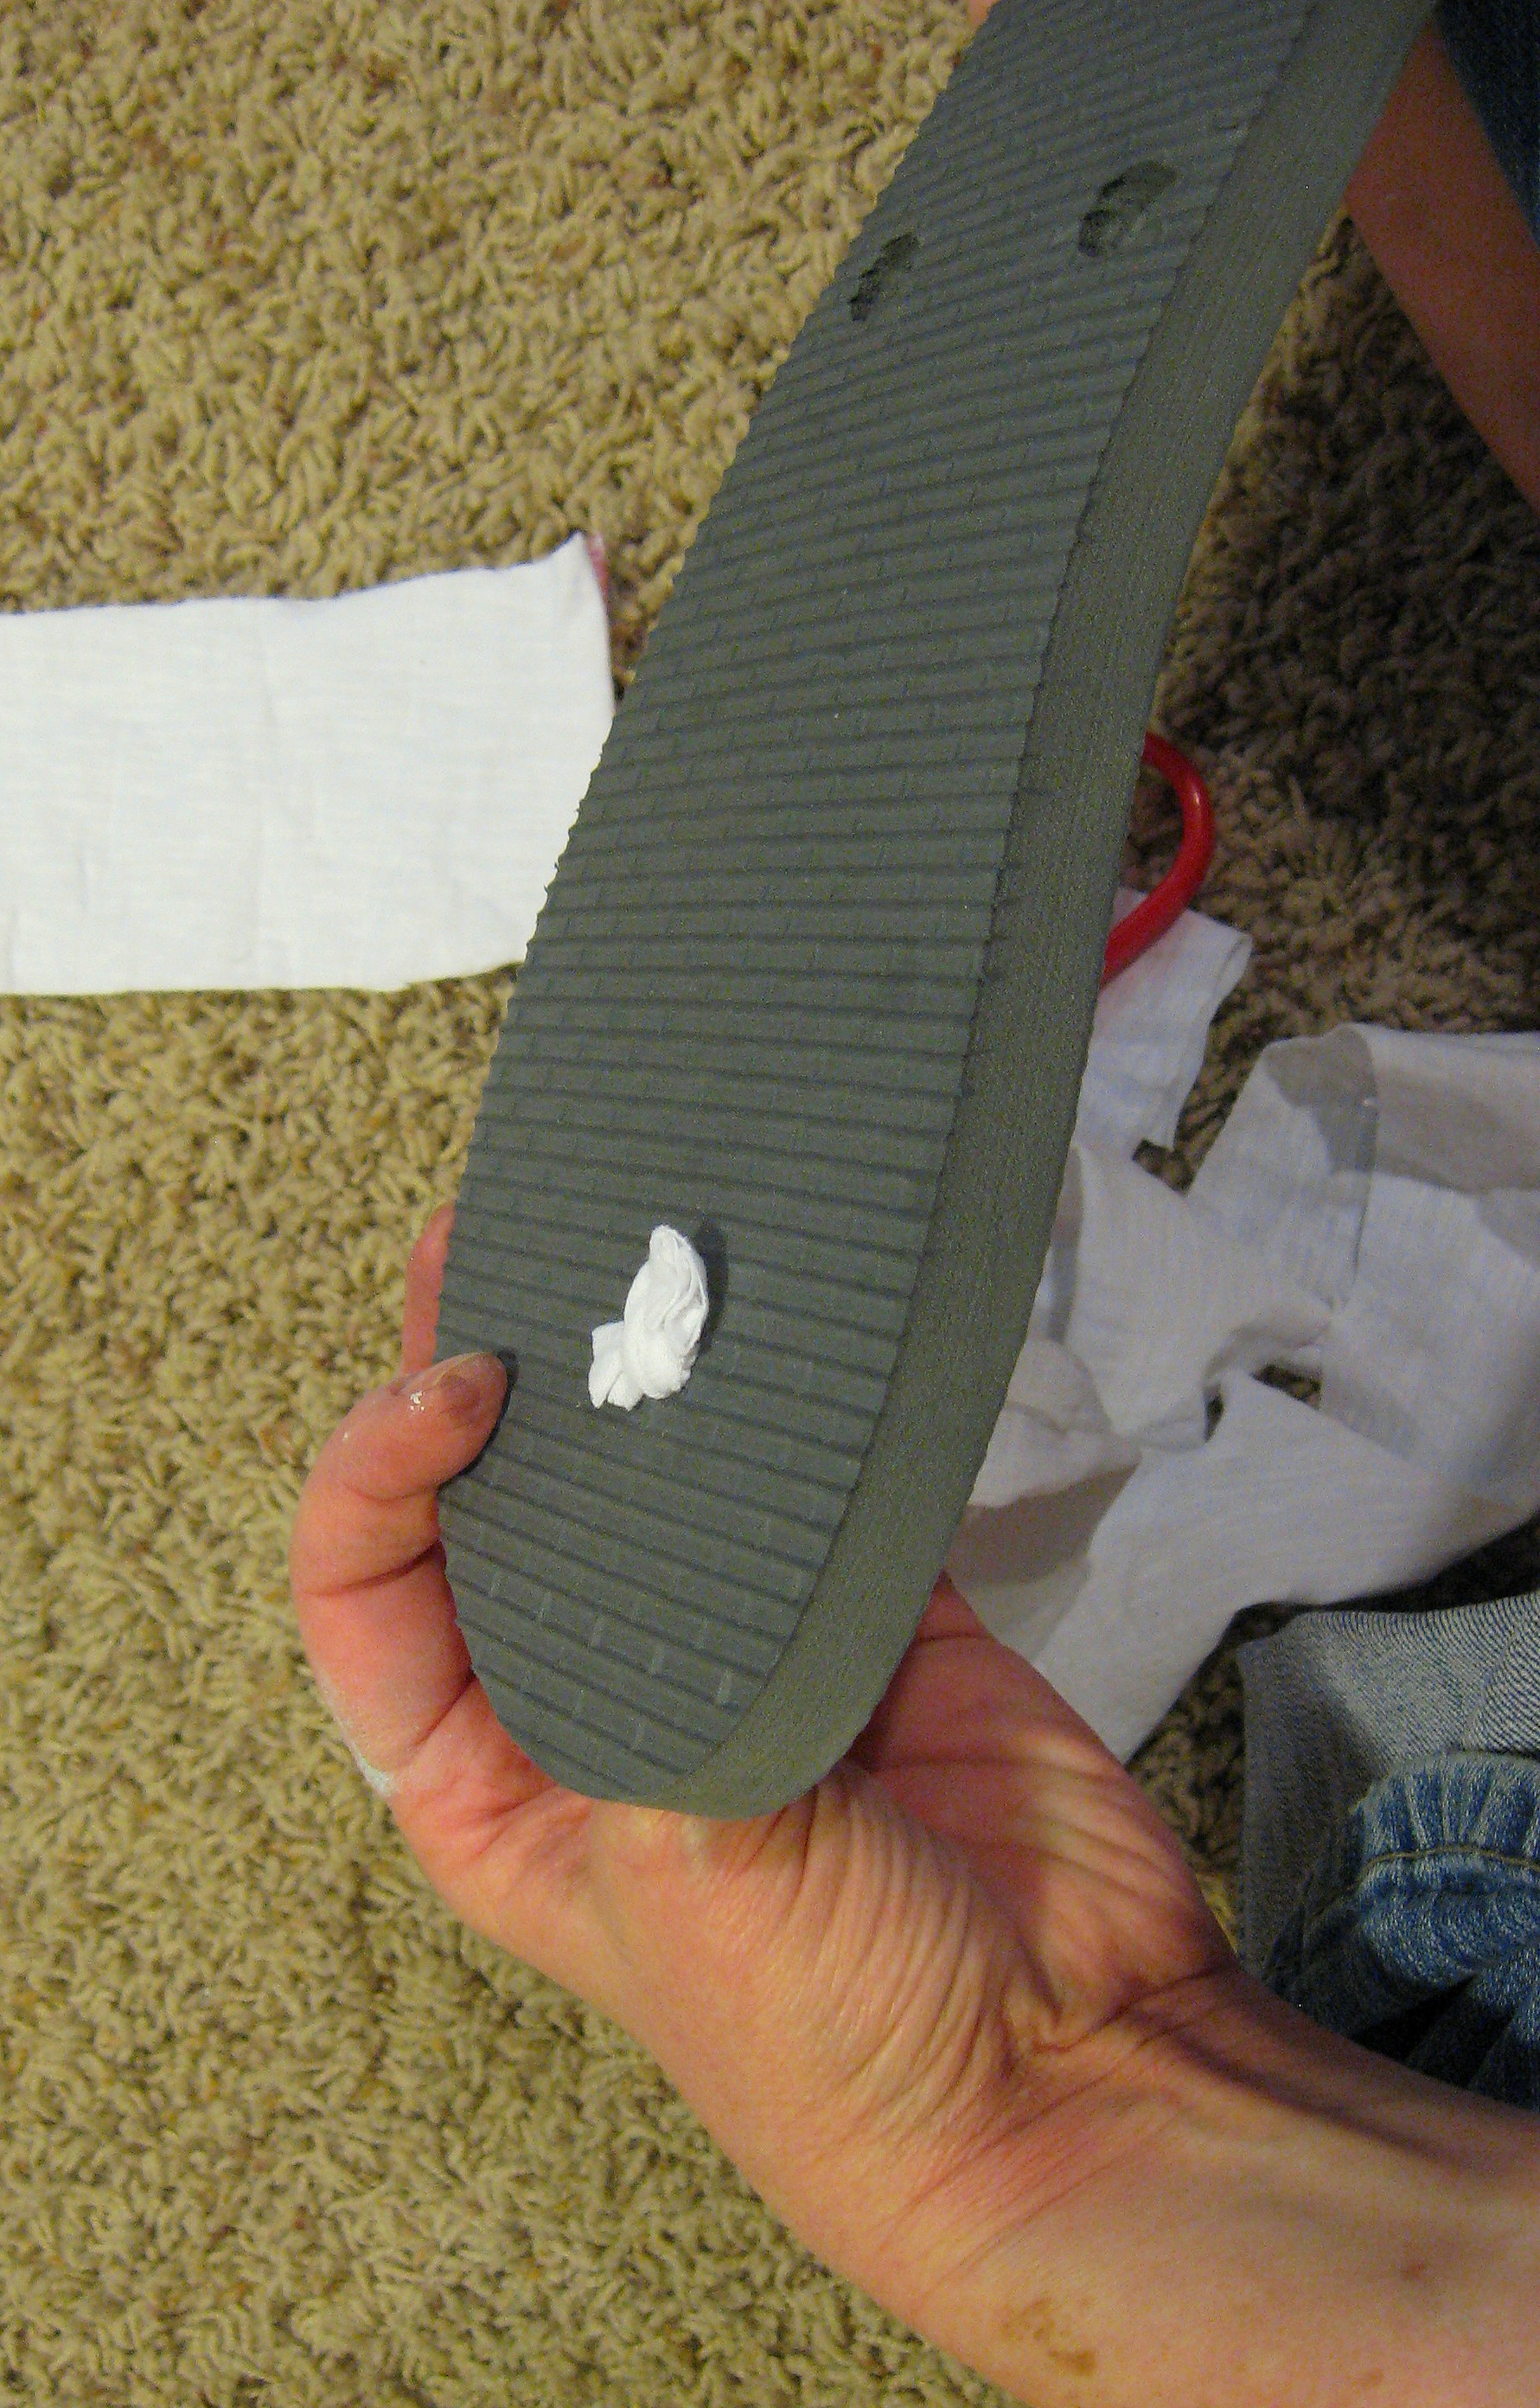
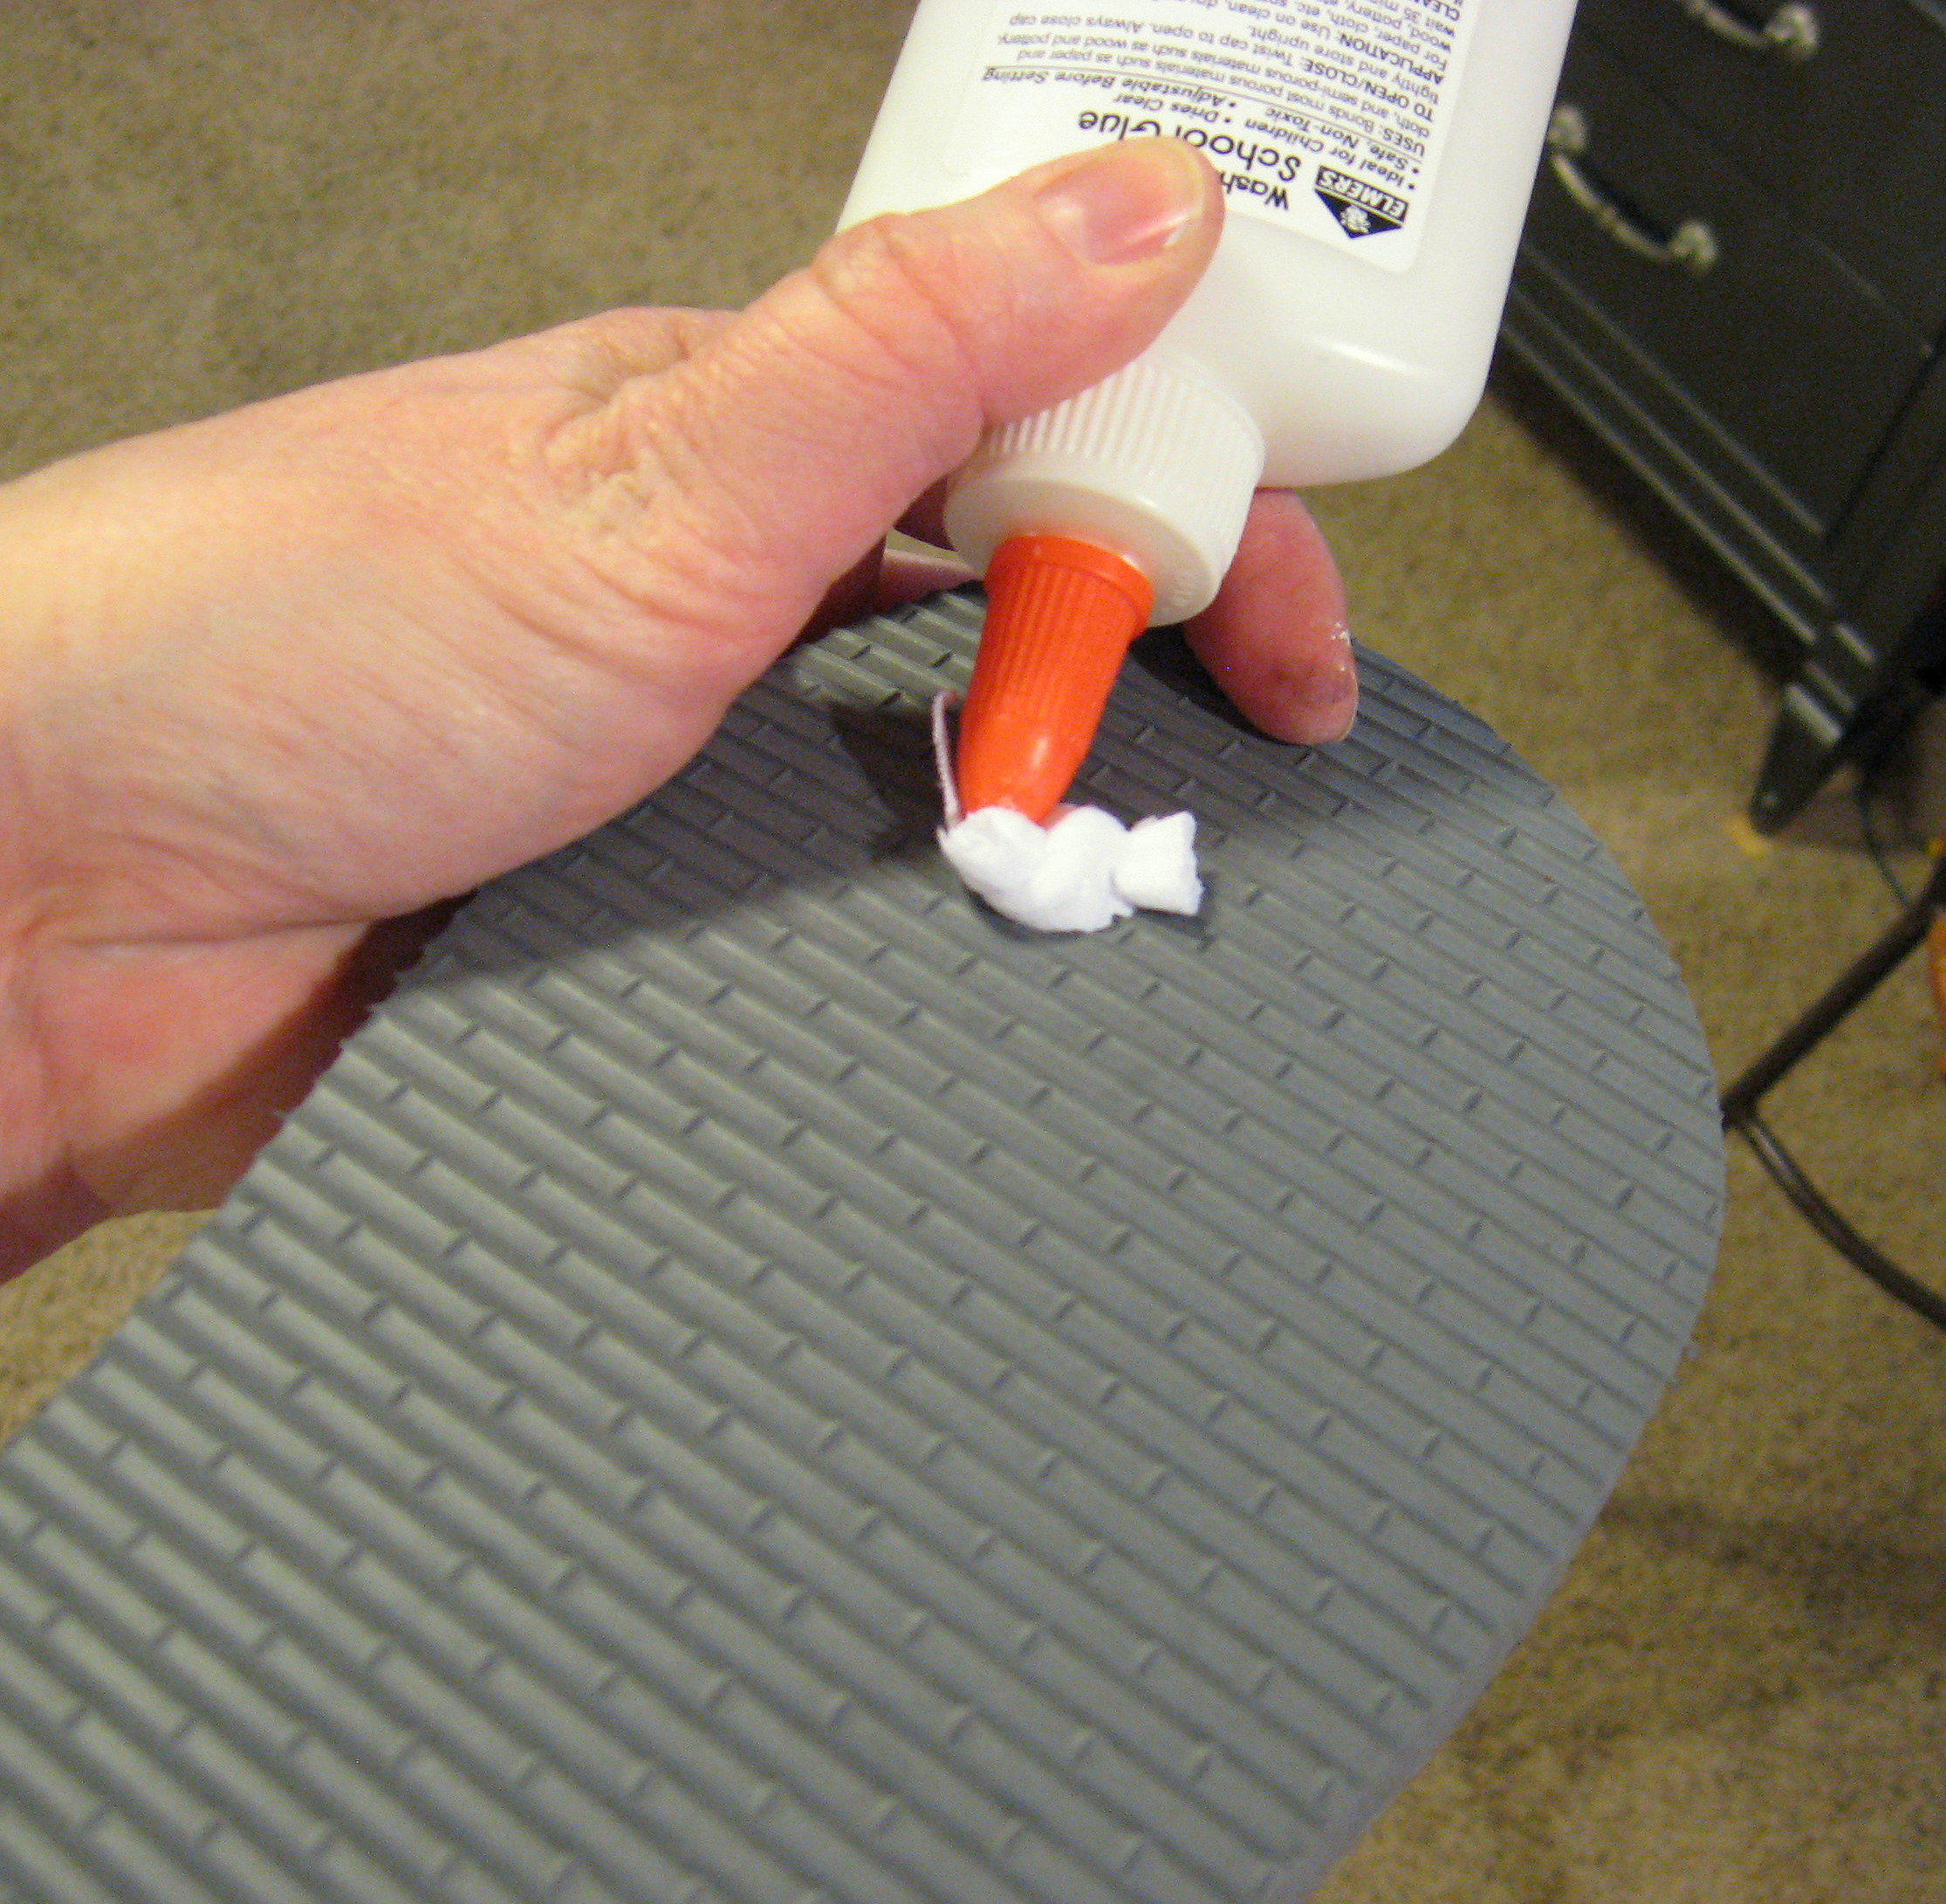
Try the shoe on again and adjust the knots if needed. Once you are sure they are where you want them to be, trim the excess fabric off the ends. Put a little dab of glue on each knot and let it dry.
Now go out and enjoy the sunshine and your fabulous cheap new shoes!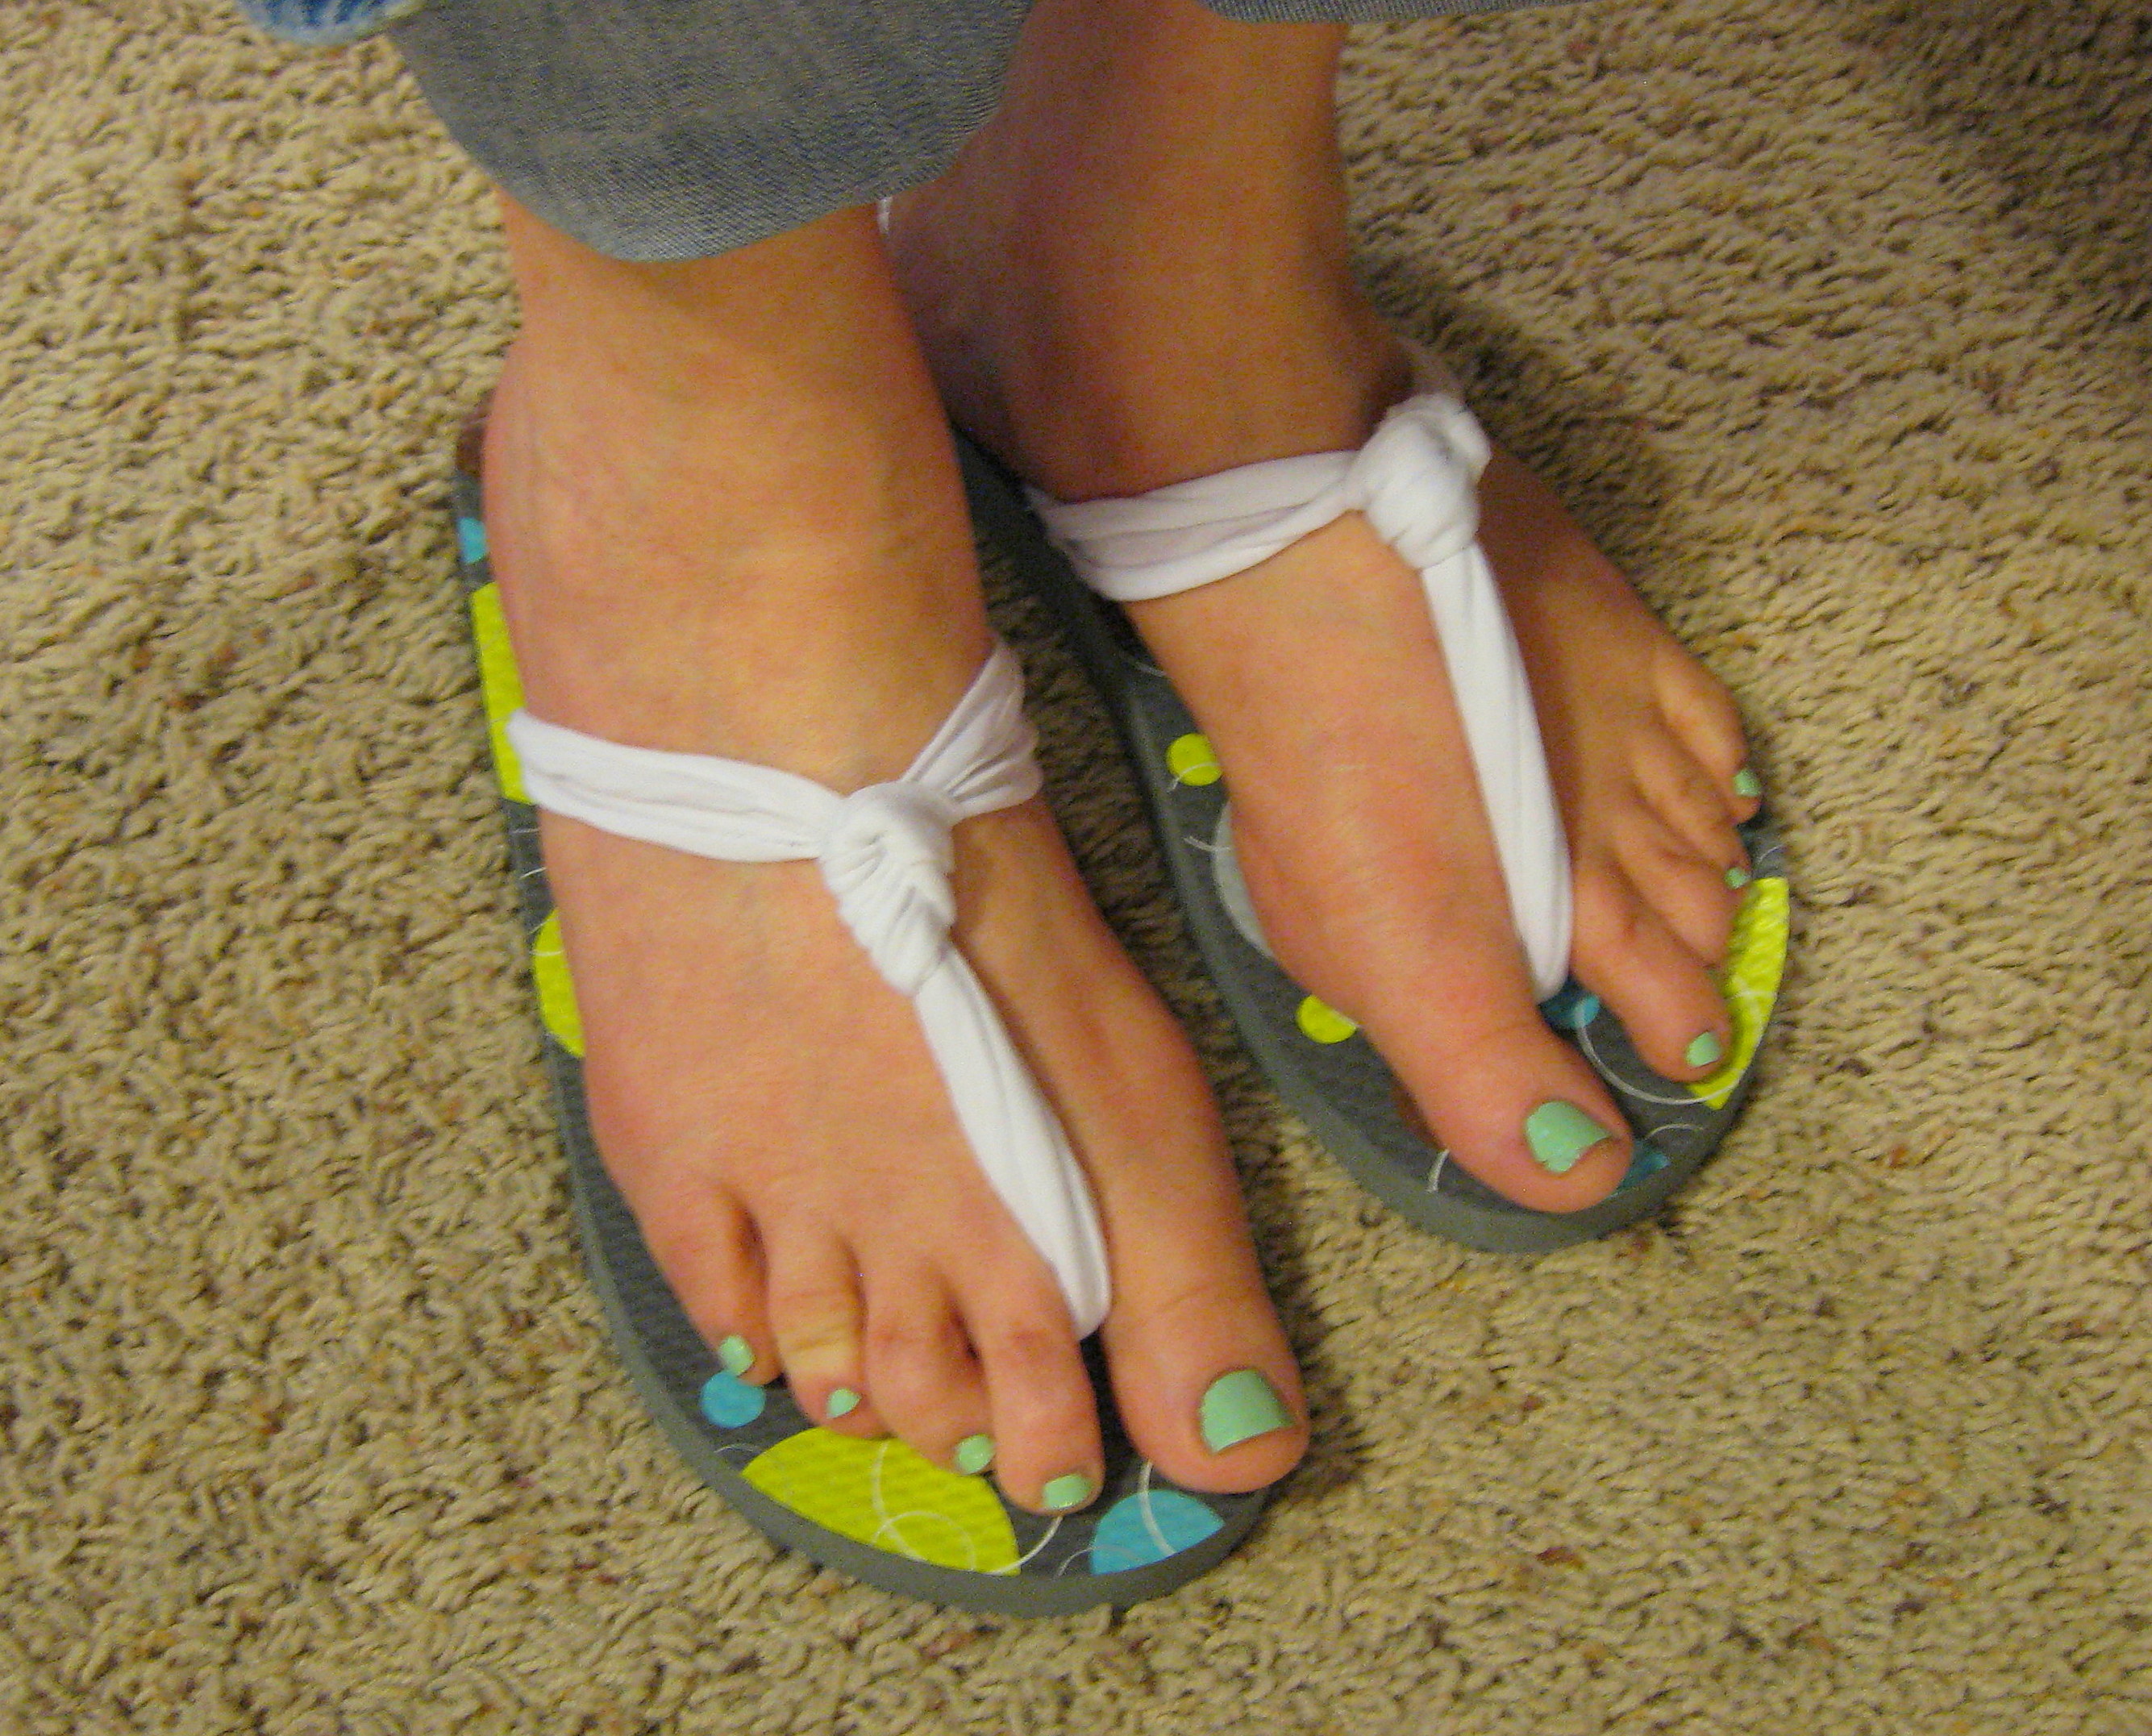

Torhild
I love your comments in the pictures that have nothing to do with the product you are making 🙂
shazbraz
Ha! Just seeing who’s paying attention… 😉