I’ve had a plan brewing for a while now to re-purpose a pile of t-shirts into pajamas for my son.
A few days ago I was making my way around blog land and came across an idea to make leggings for baby girls. So Cute! But I don’t have any sweet baby girls anymore. Just one 5 year old boy who is growing like a weed! All arms and legs!
Our family participates in a few company sponsored charity events each year. We always get at least one promotional t-shirt per family member for each event. Sometimes two! That adds up to a pretty large stack of t-shirts pretty fast.
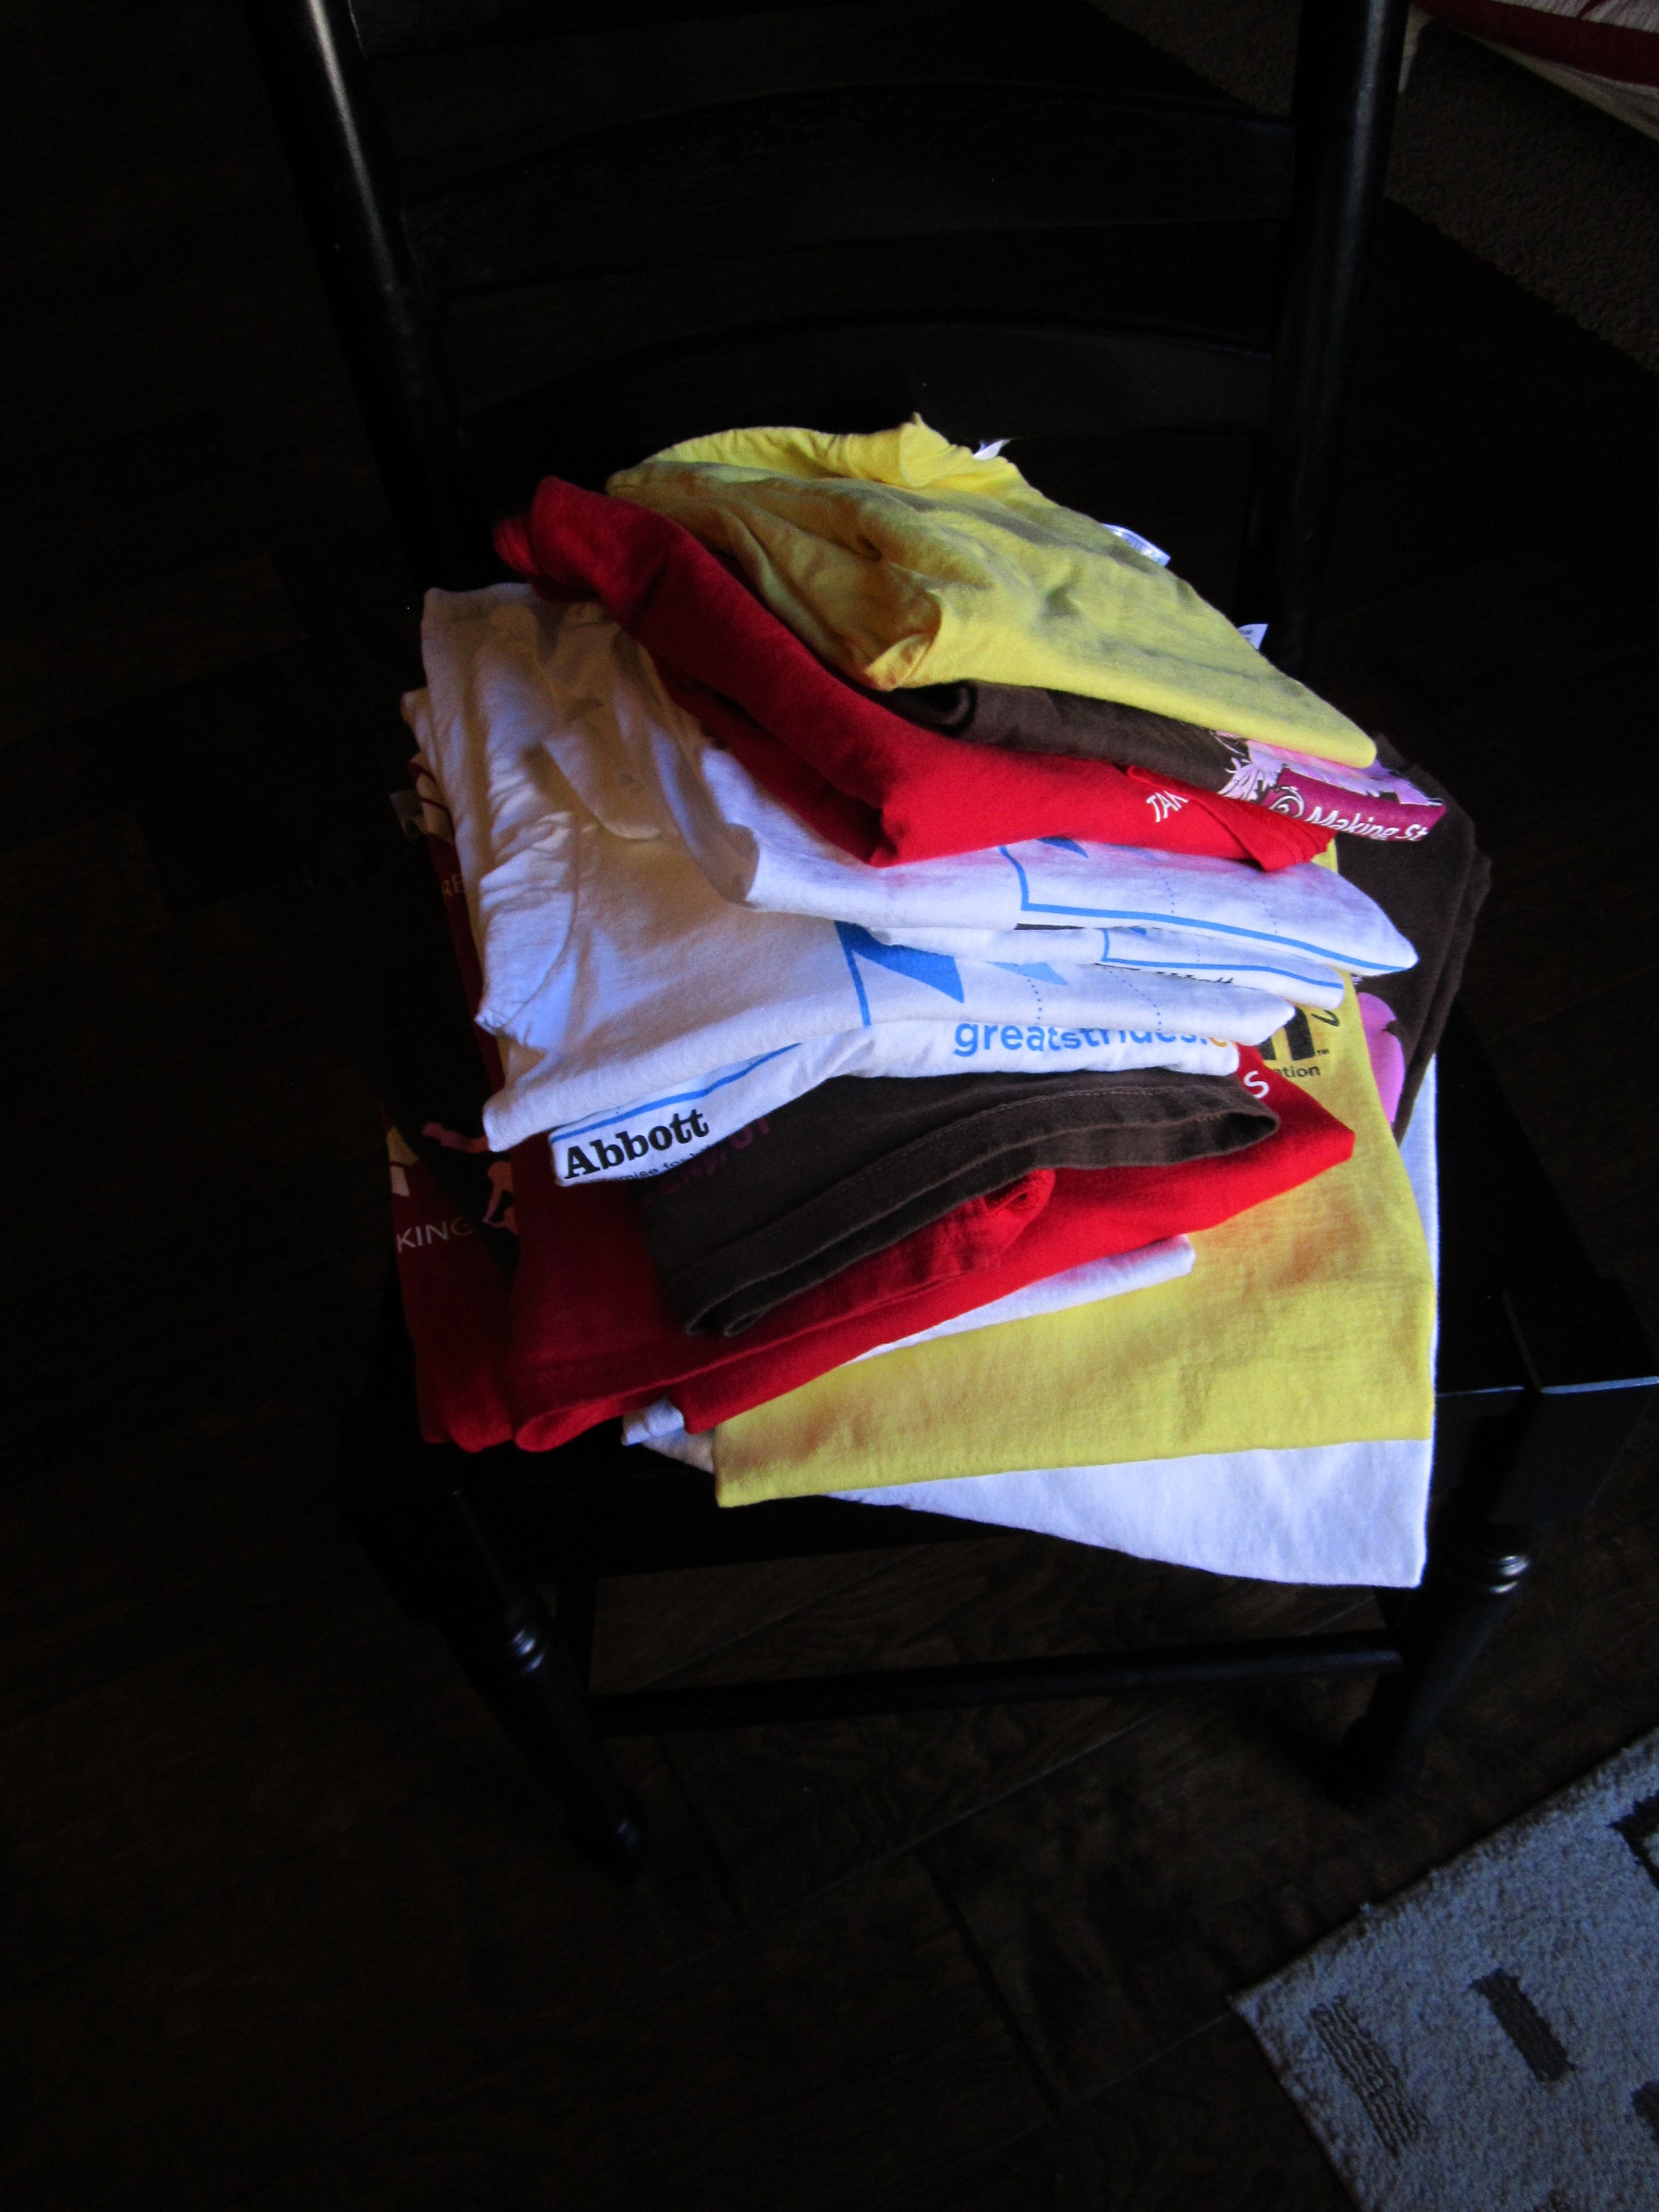
I thought this would be a great way to put them to good use. I love a cute pair of PJs as much as the next mom, but let’s face it, all they do is sleep in them. Well, and occasionally they might get dragged to the store for an emergency milk run at 6 am in them. But still, pajamas don’t really NEED to be high fashion.
So, using that blog as a starting point, I decided to make some pajamas.
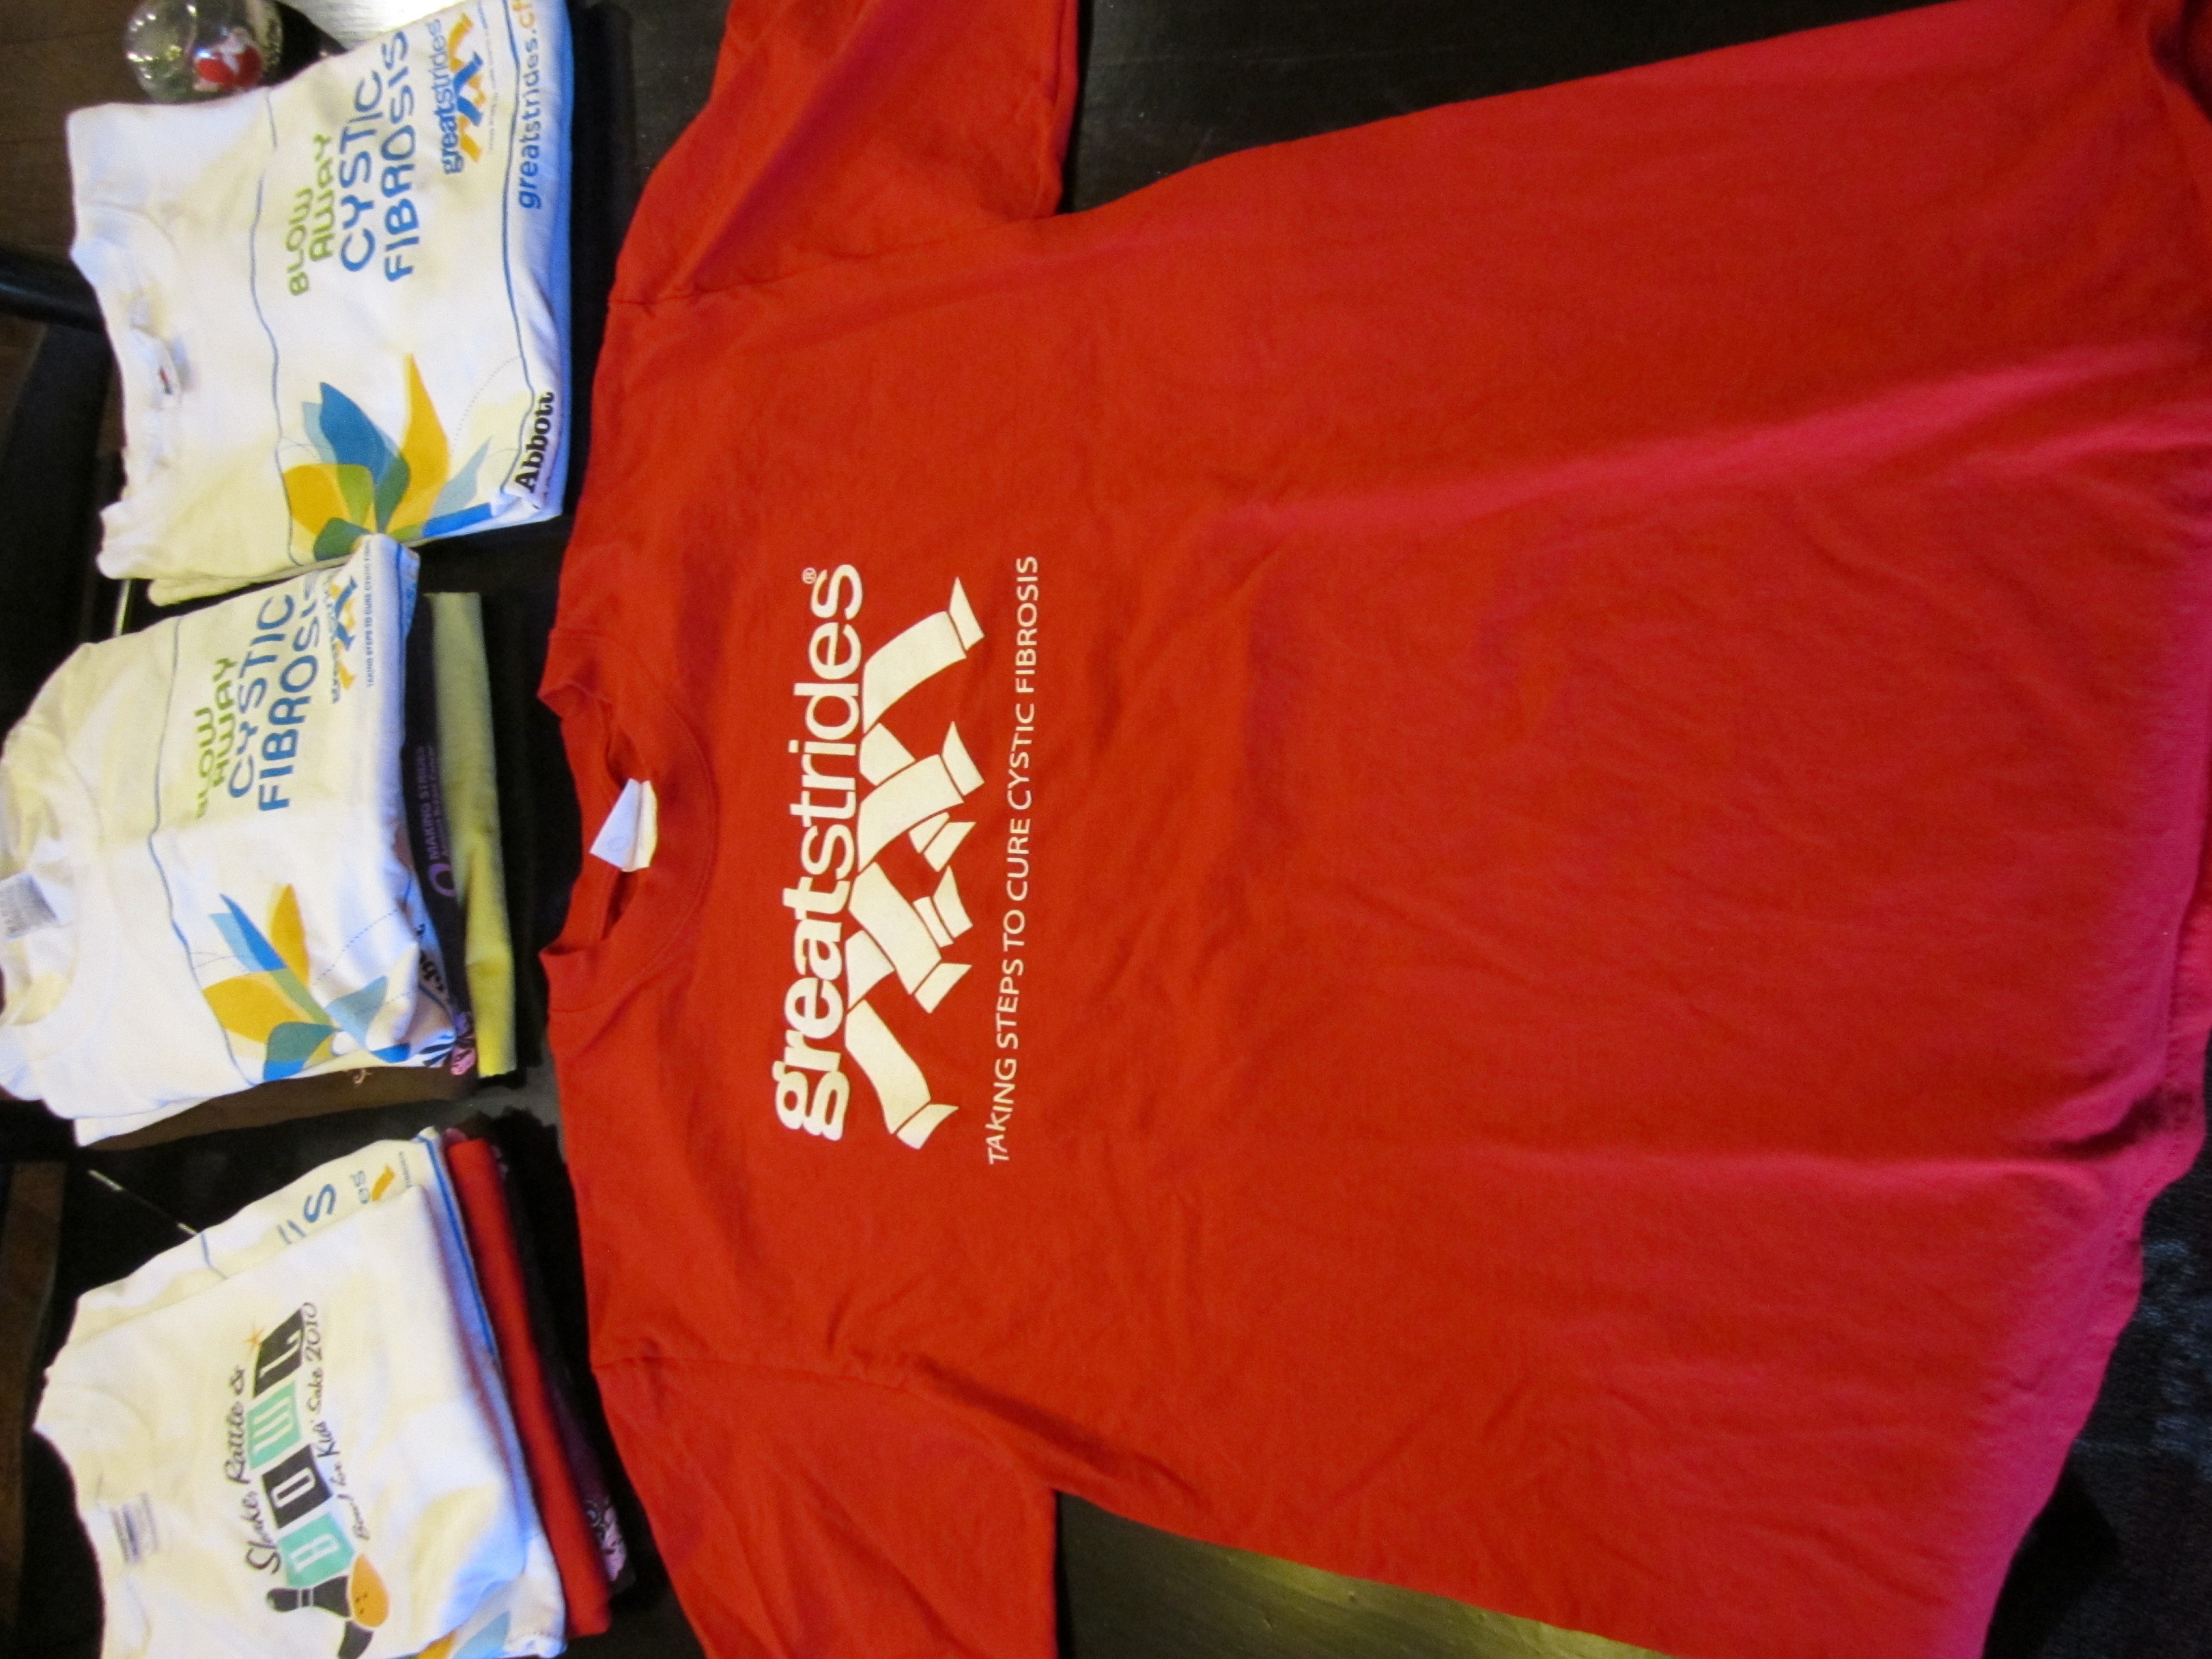
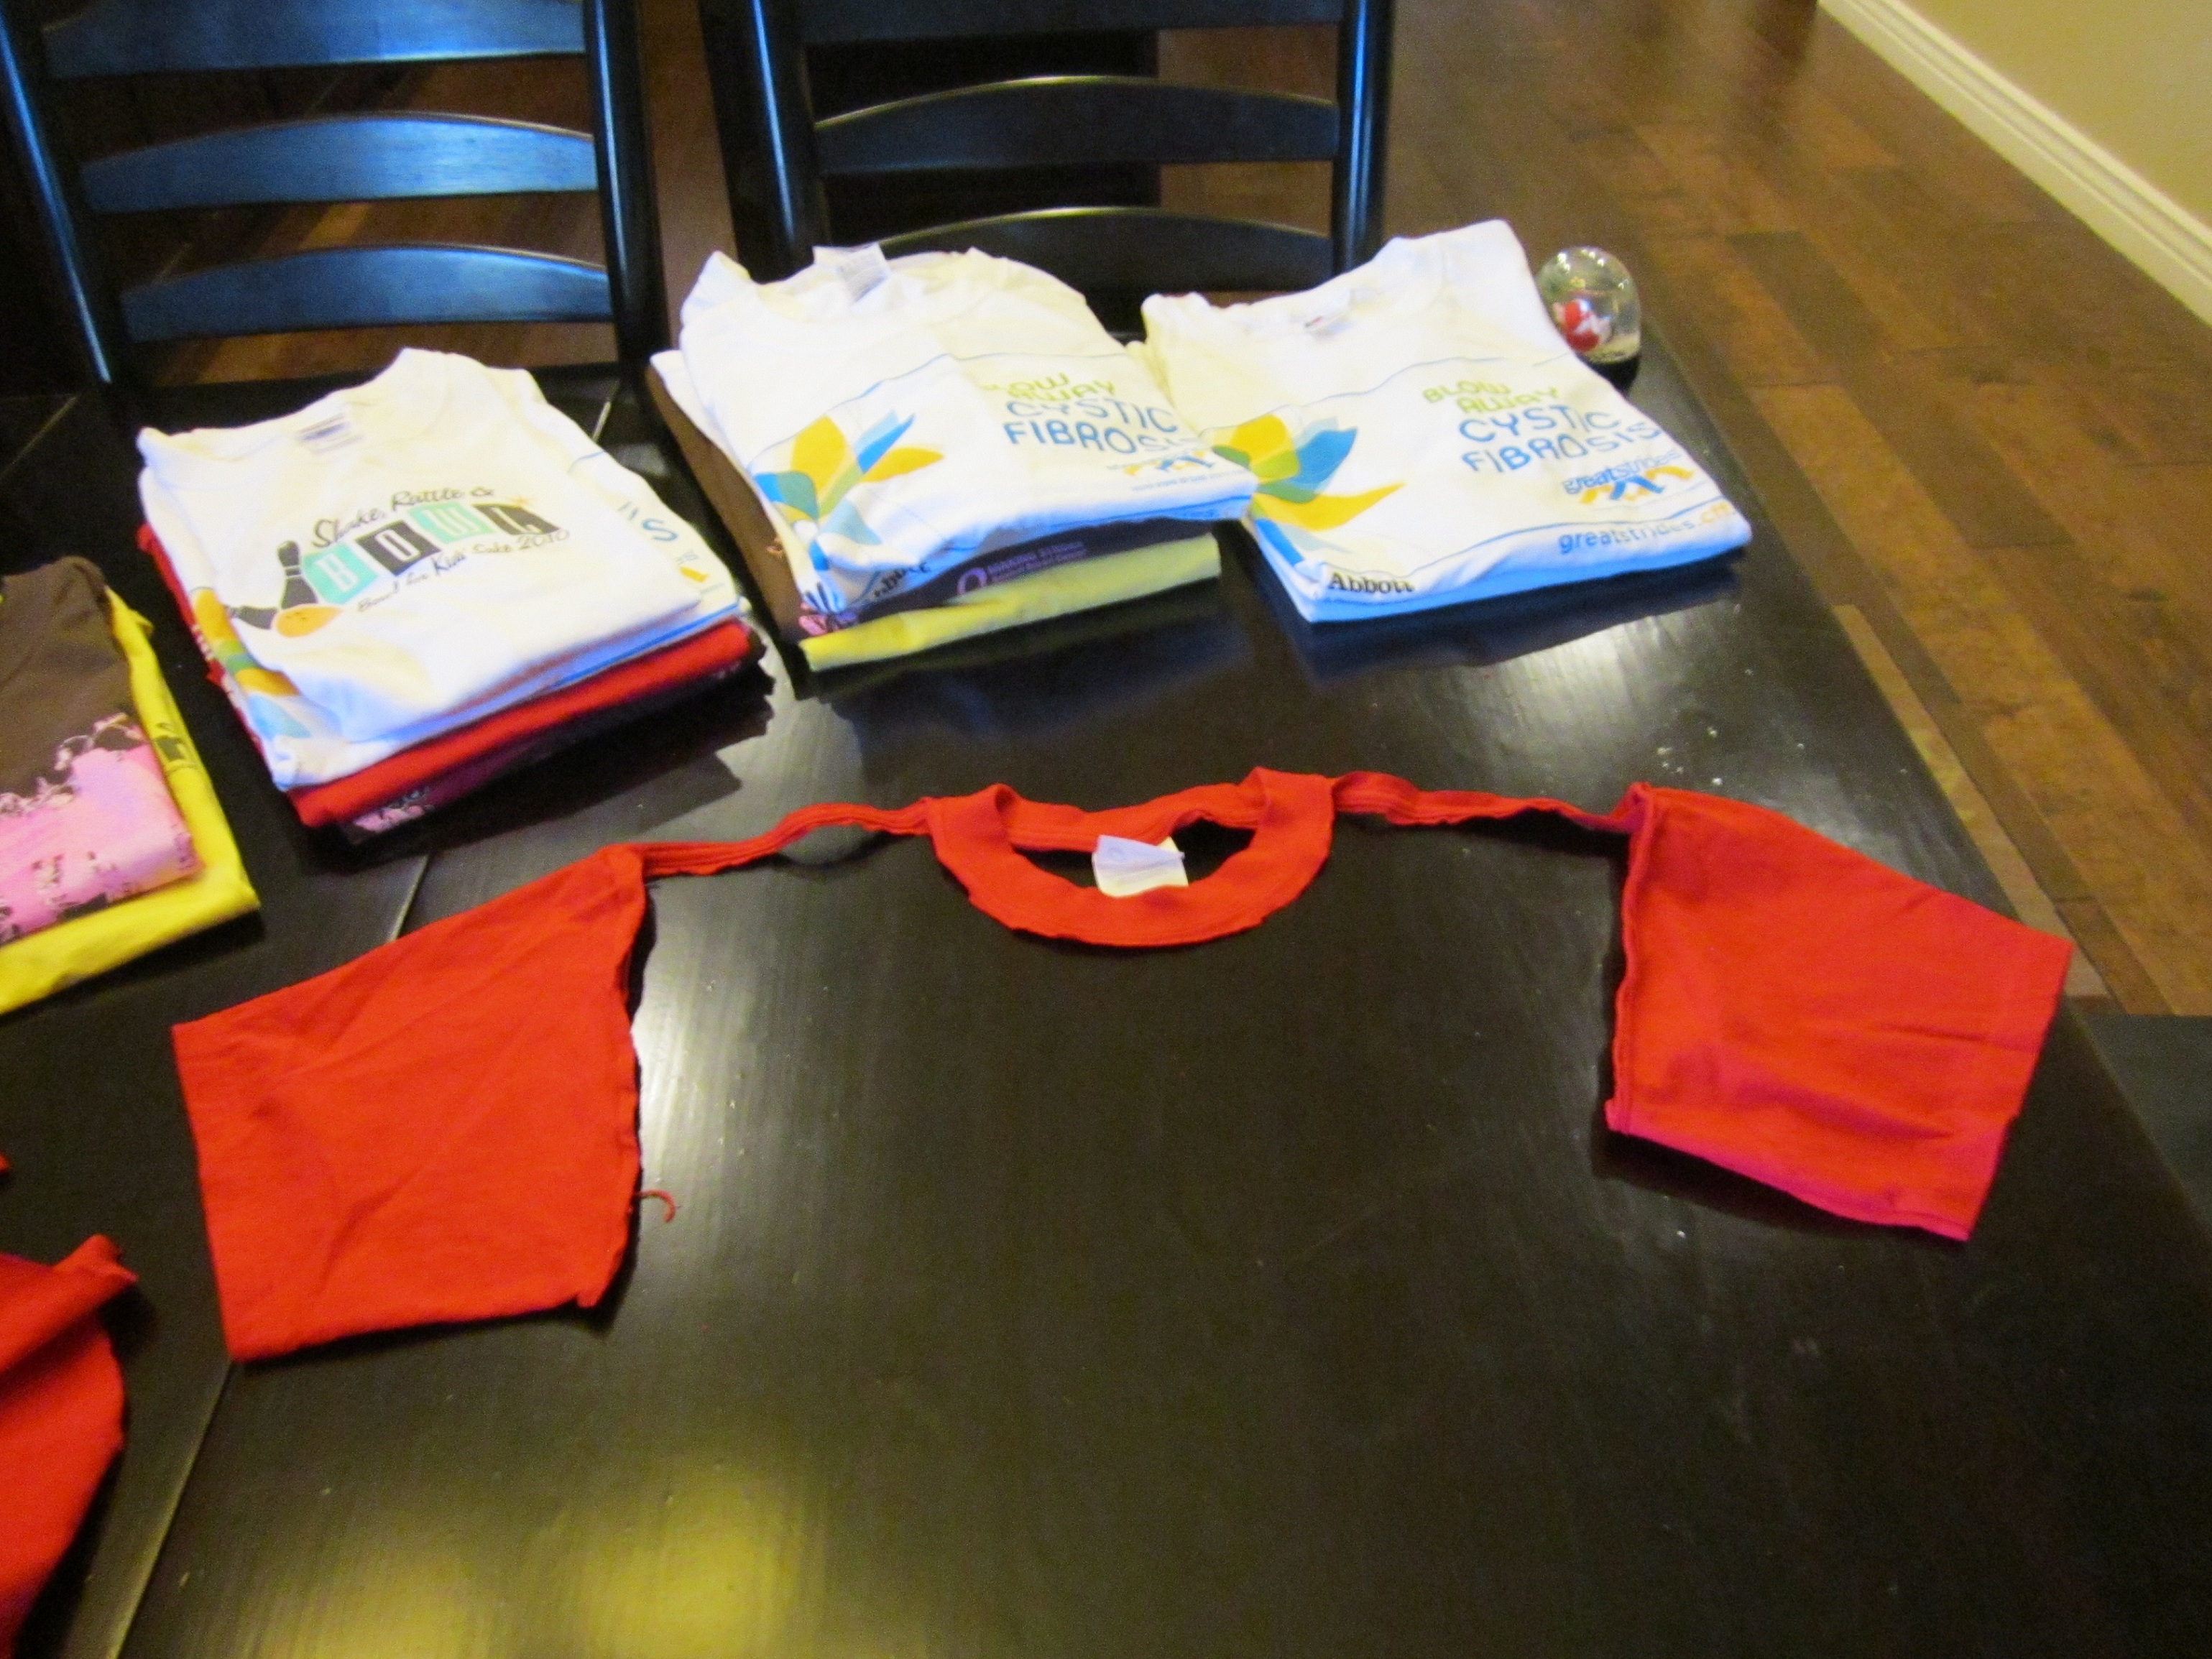
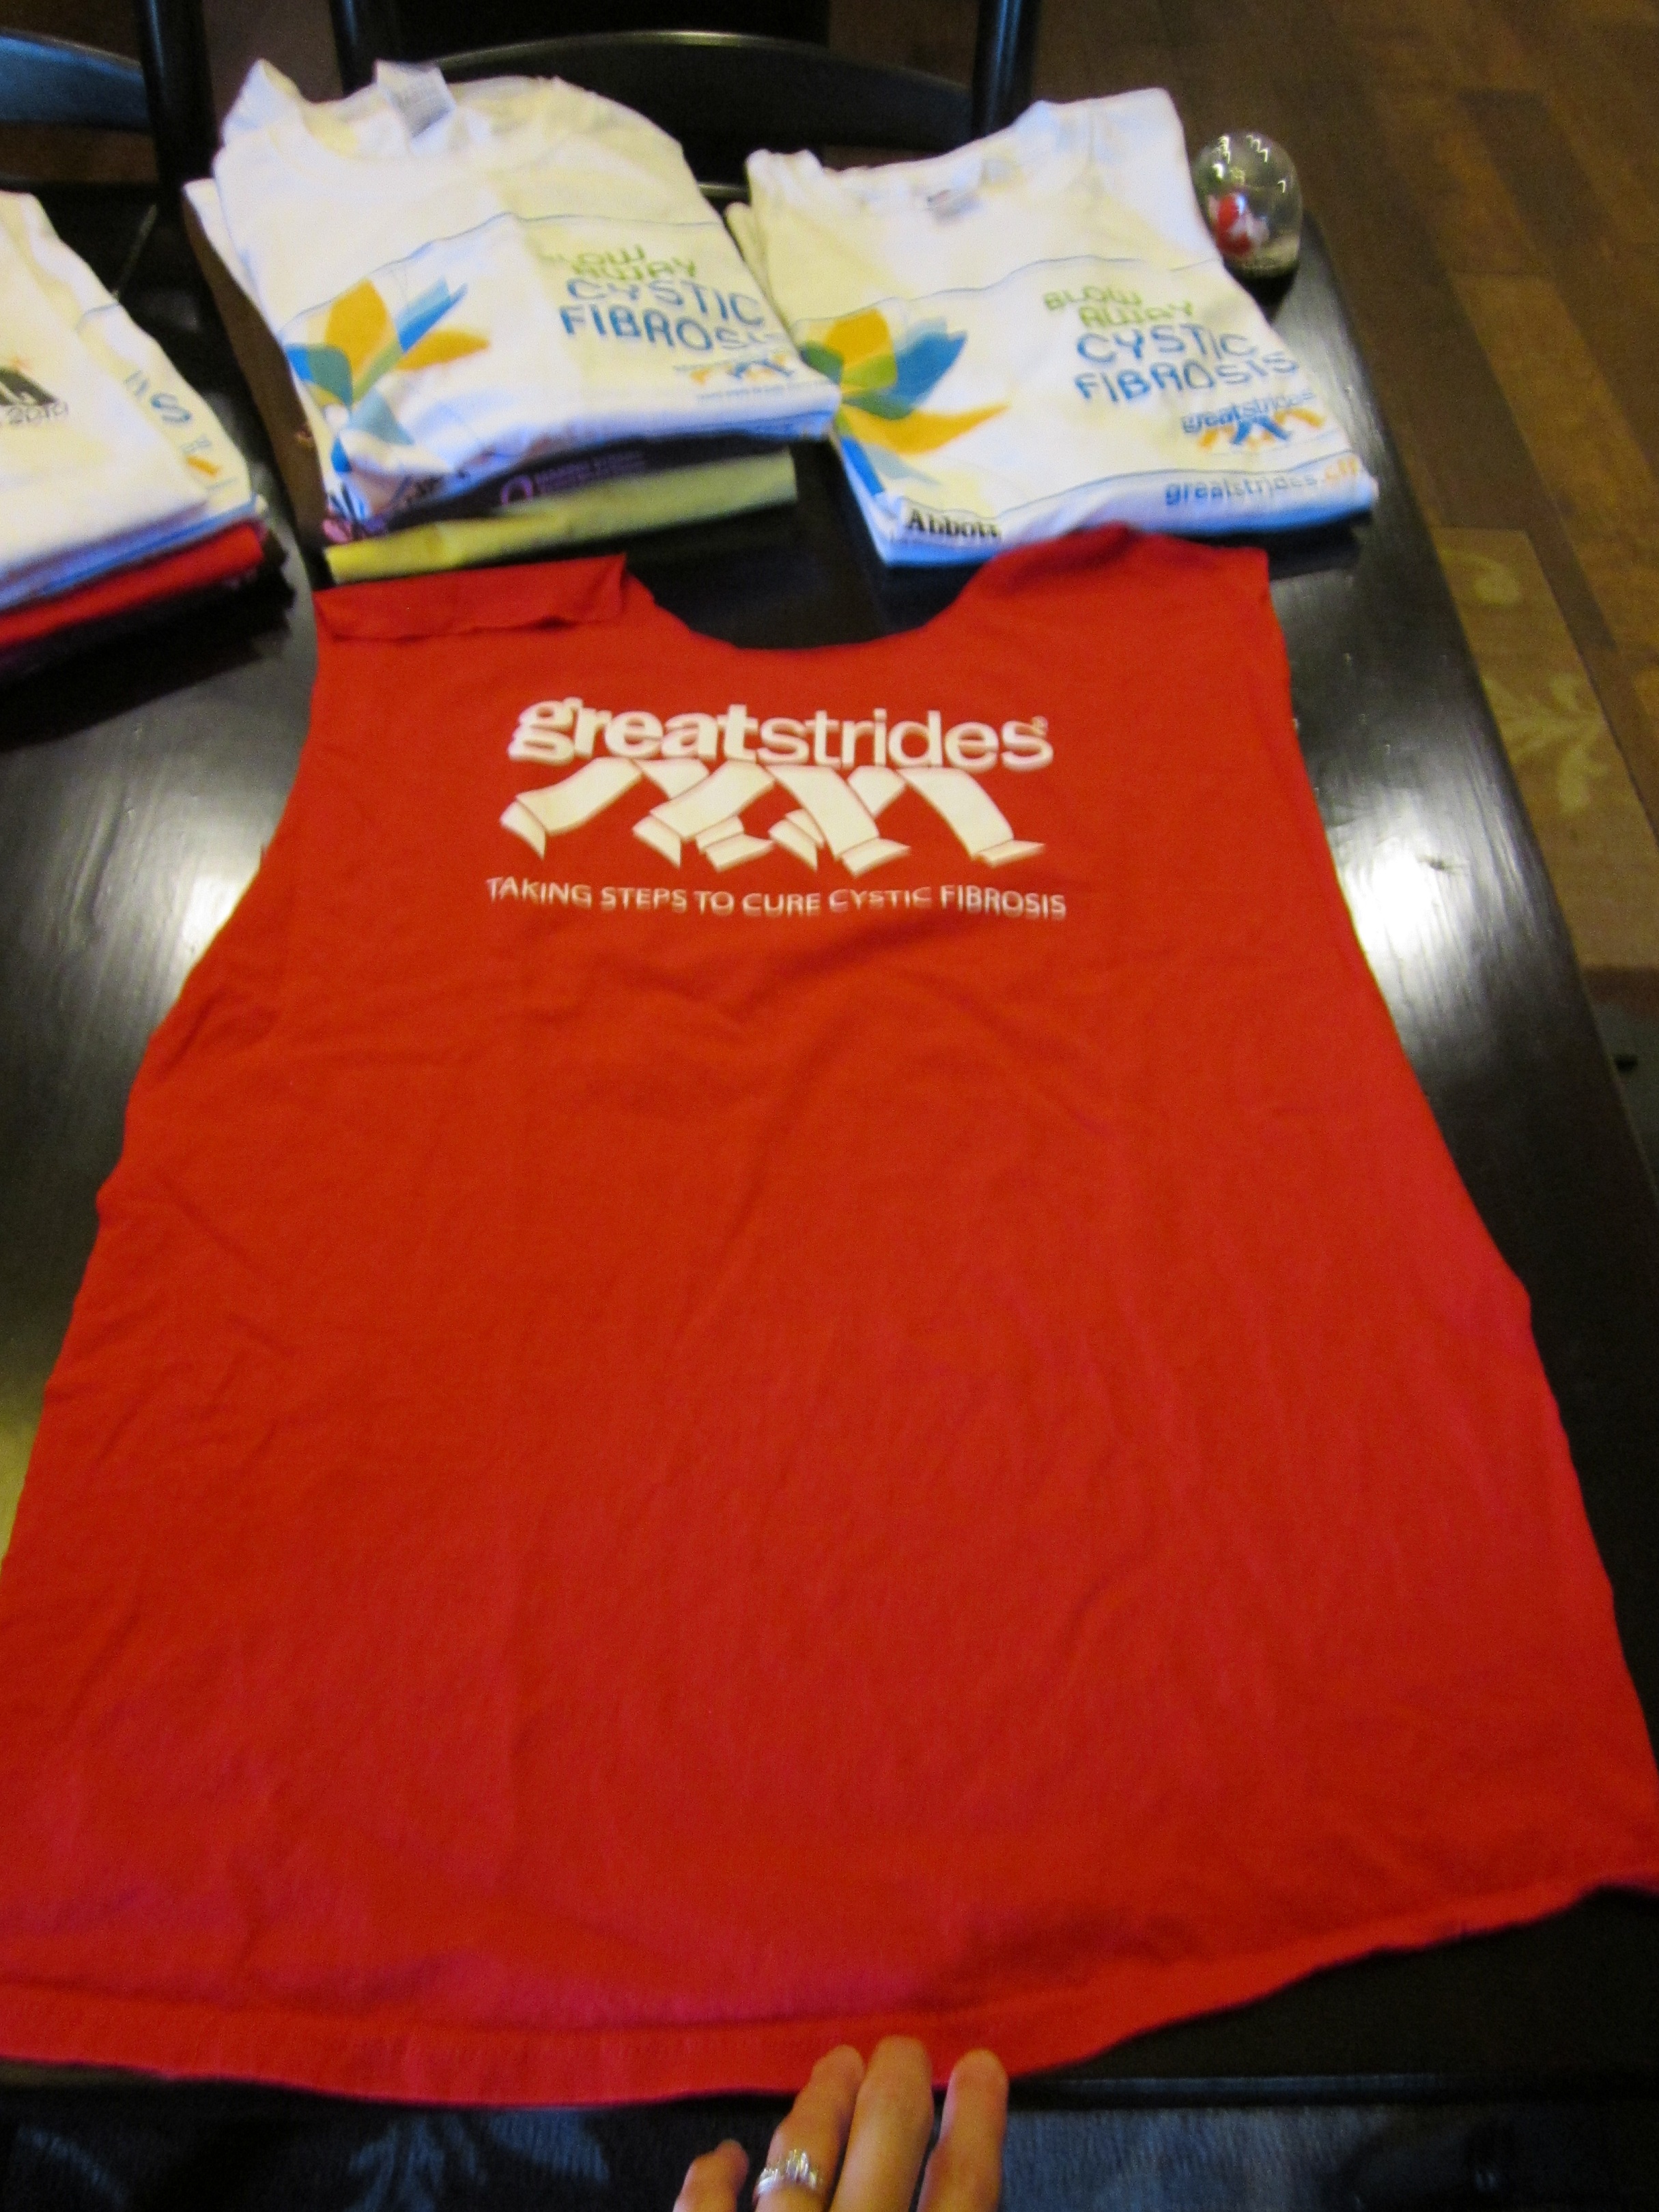
I took one of the largest t-shirts (Adult size L) and cut off the sleeves, neck and shoulder seams and then up each side of the shirt to harvest two pieces of fabric as large as possible.
Now fold what was the back of the shirt in half with the right sides together and place it on a flat surface.
Next, fold what was the front of the shirt in half with the right sides together and lay it on top of the first piece with the folds lined up on top of each other. And the t-shirt hems lined up at the bottom.
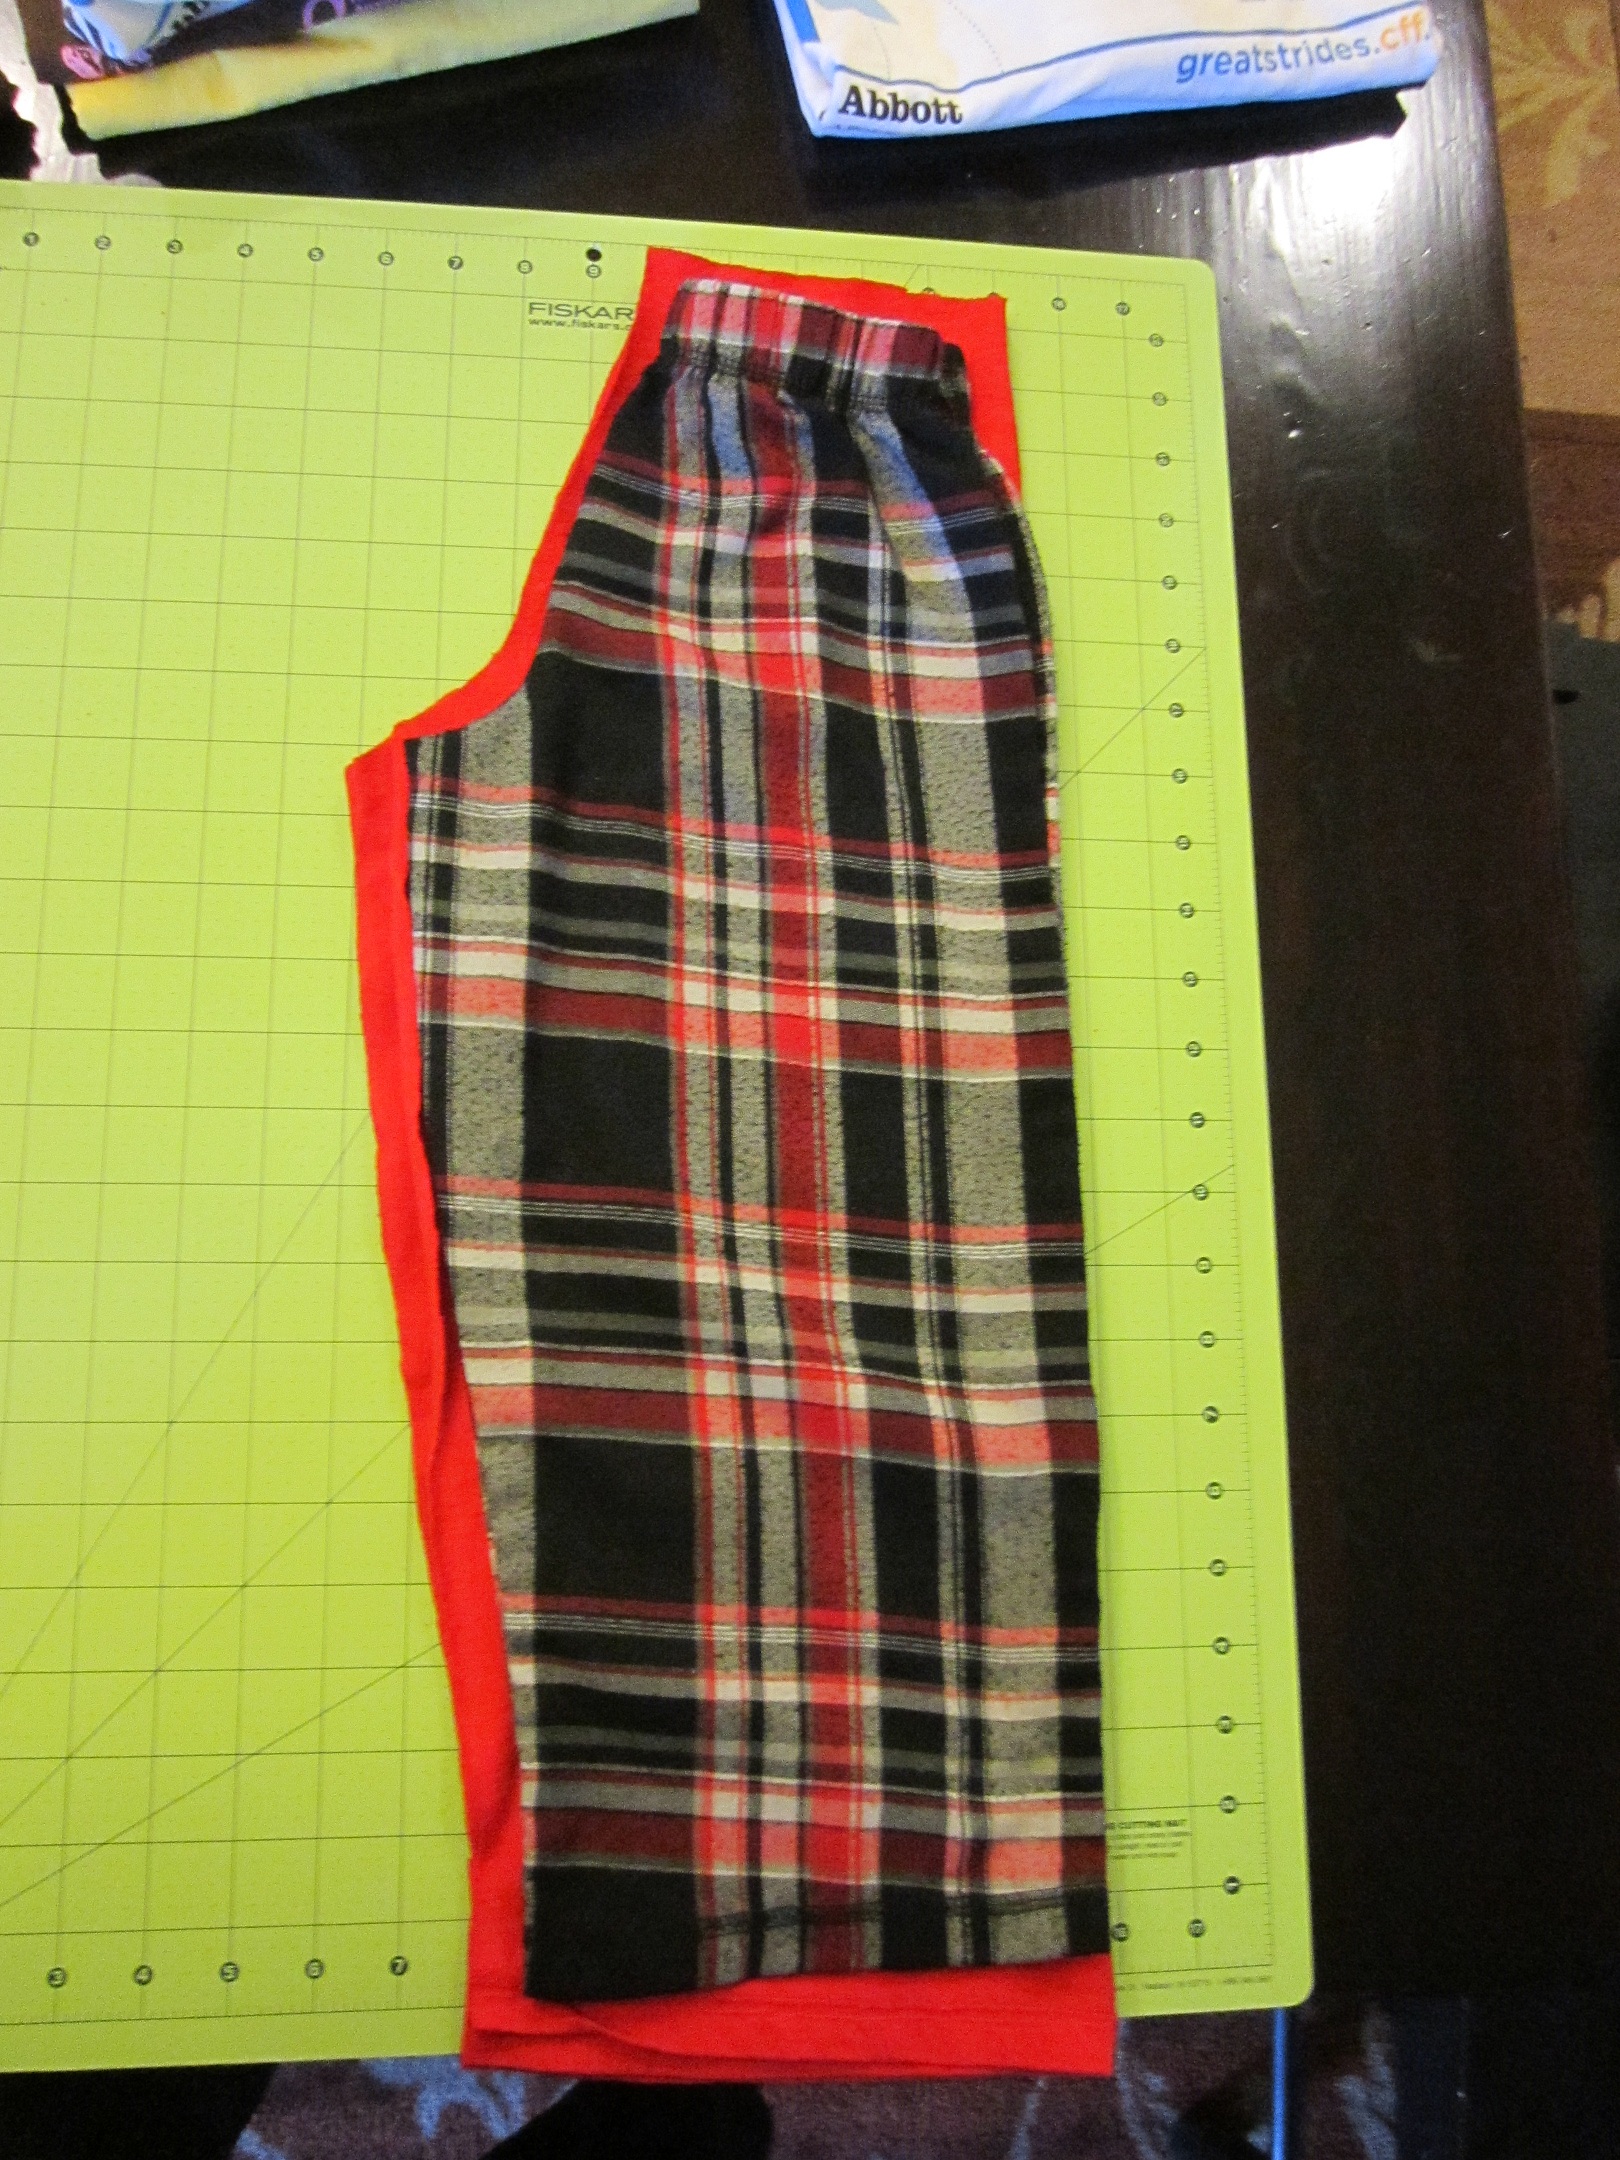
I grabbed the pair of pajama pants that currently fit him best (But still too small! ugh!), fold them in half and line the straight side up on top of the folds of t-shirt fabric.

I wanted to take advantage of the hem at the bottom of the t-shirt and make it the hem of the pants. Less sewing for me! And you will need about an inch or so at the top to create a waist band later. This gave me some extra length for future growth. Perfect!
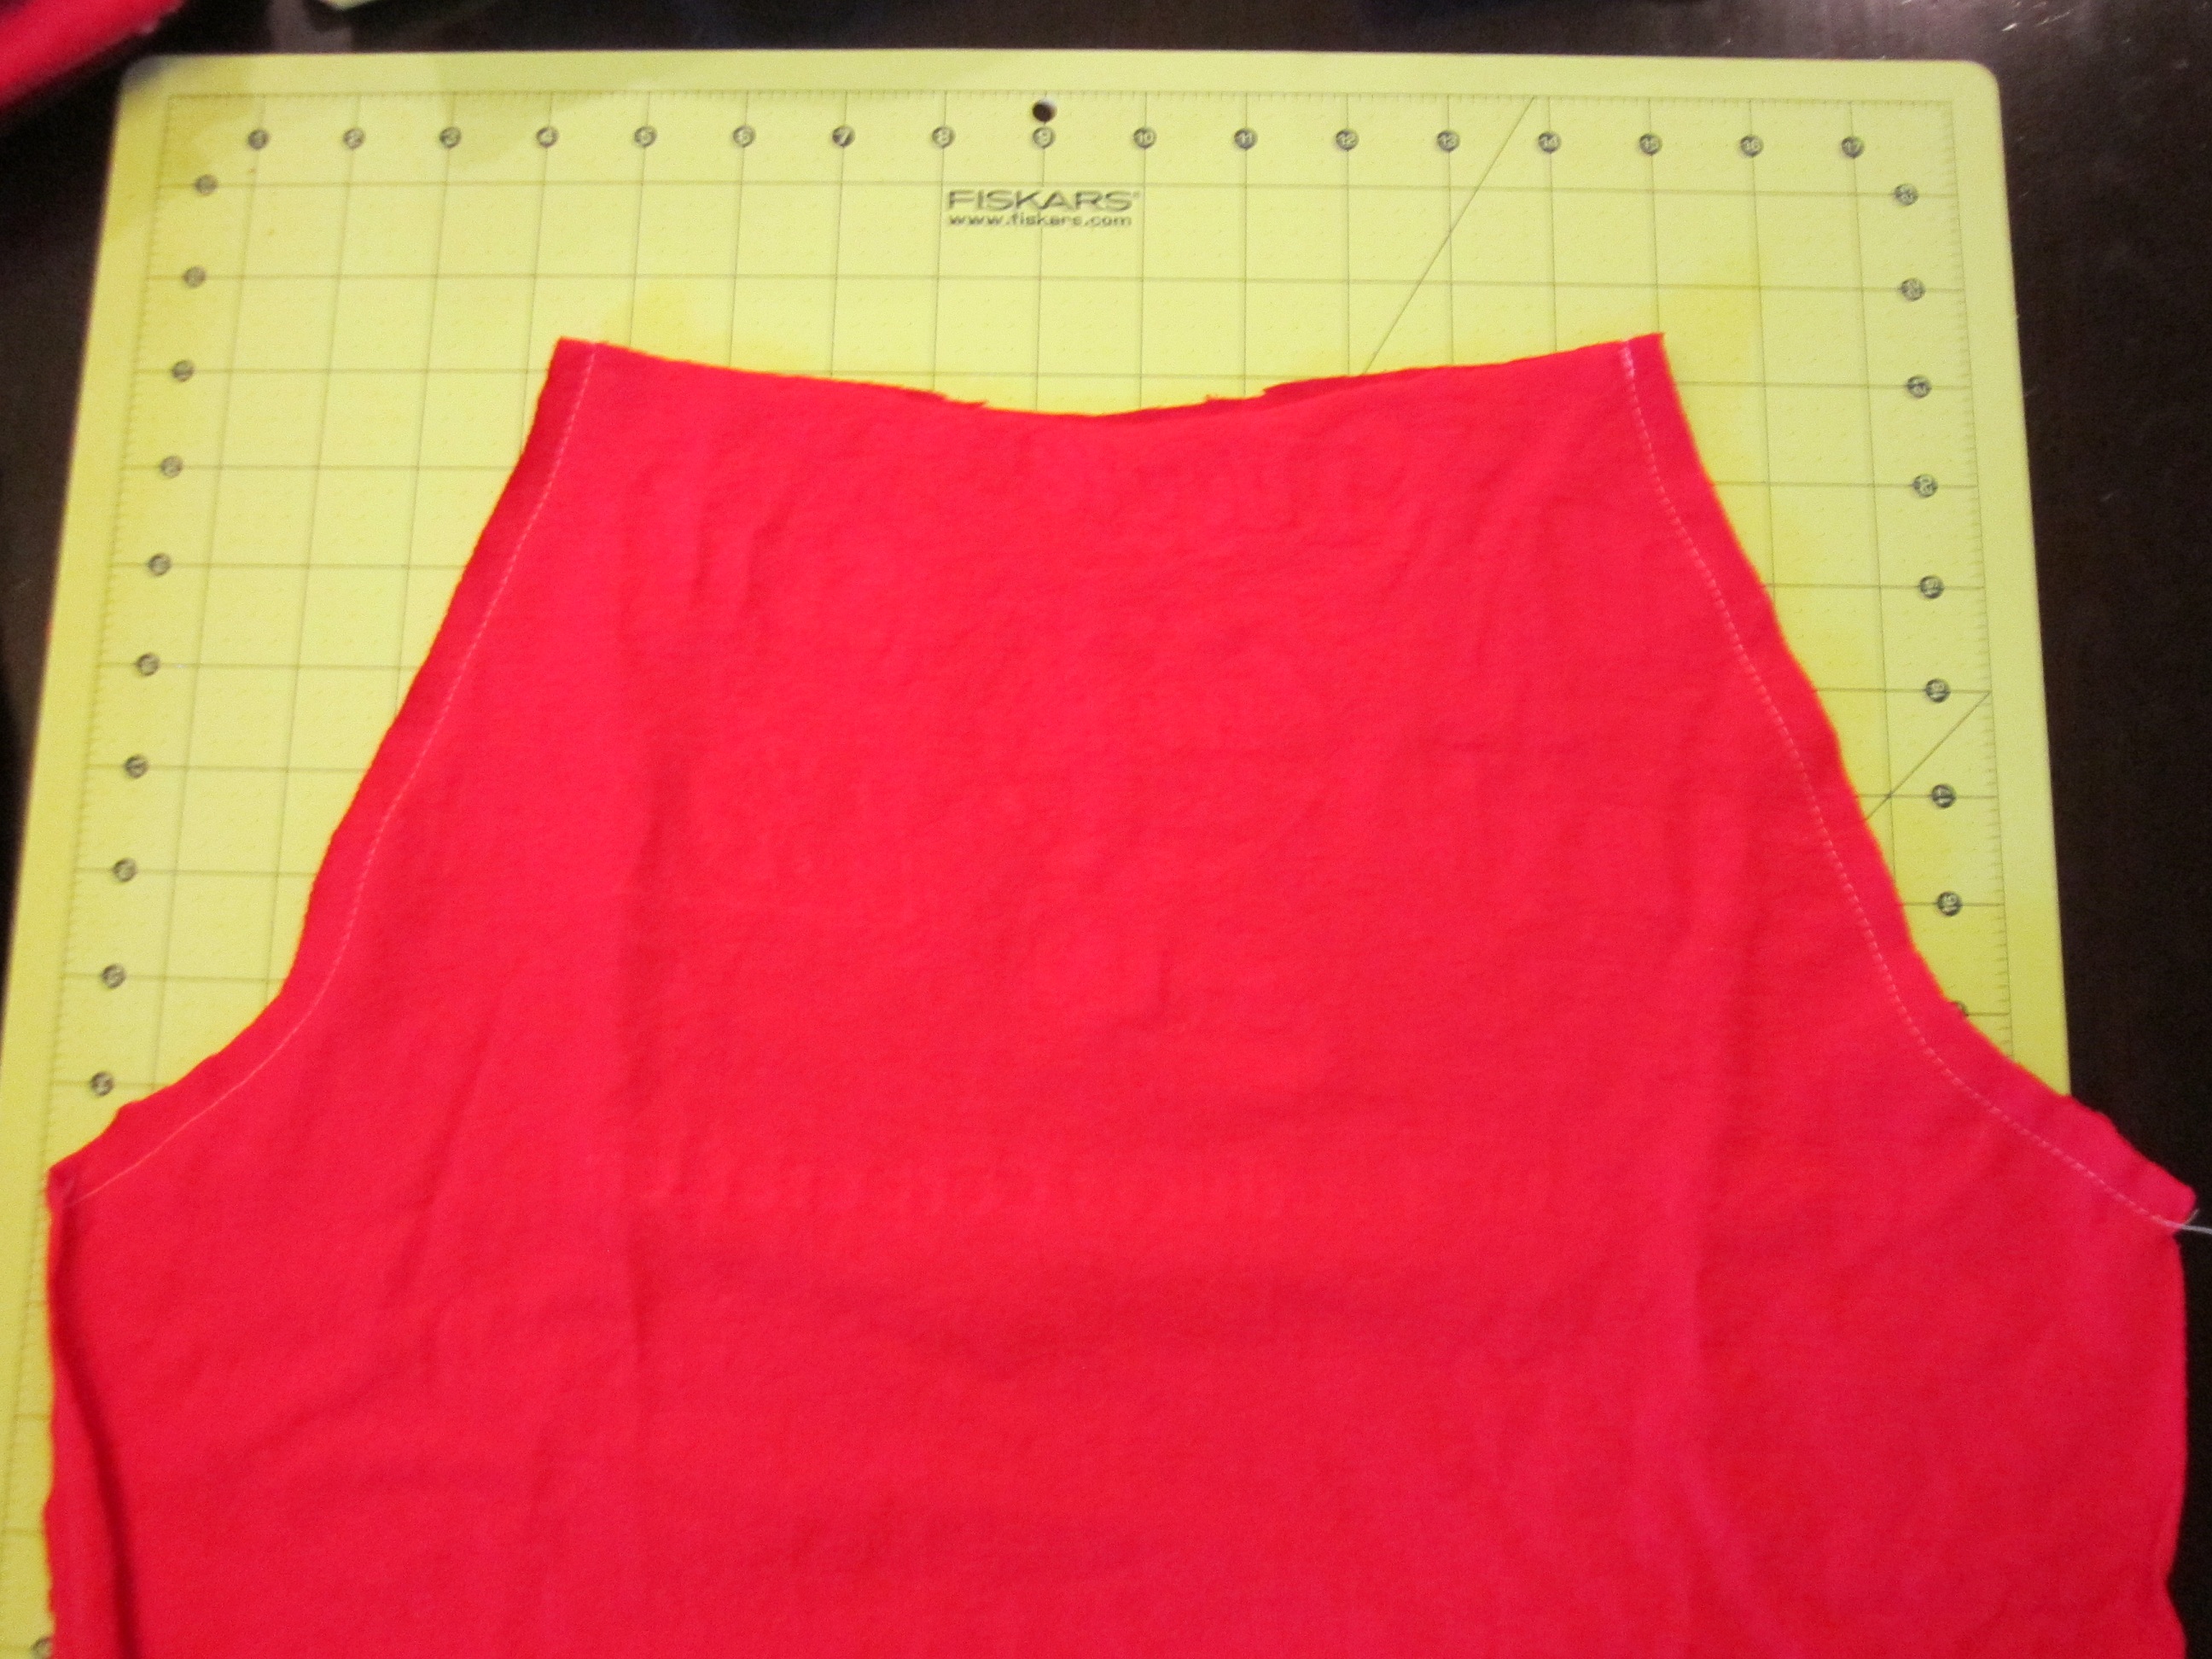
Now, being careful to make sure you’re always cutting through 4 thicknesses of fabric, just cut about an inch above the top of the pants and then all along the crotch side all the way down to the hem, leaving about a half inch for seam allowances.
Open up the two pieces of fabric you just cut and line them up with right sides together. Stitch from the waist (top, unhemmed edge of pieces) to the crotch.
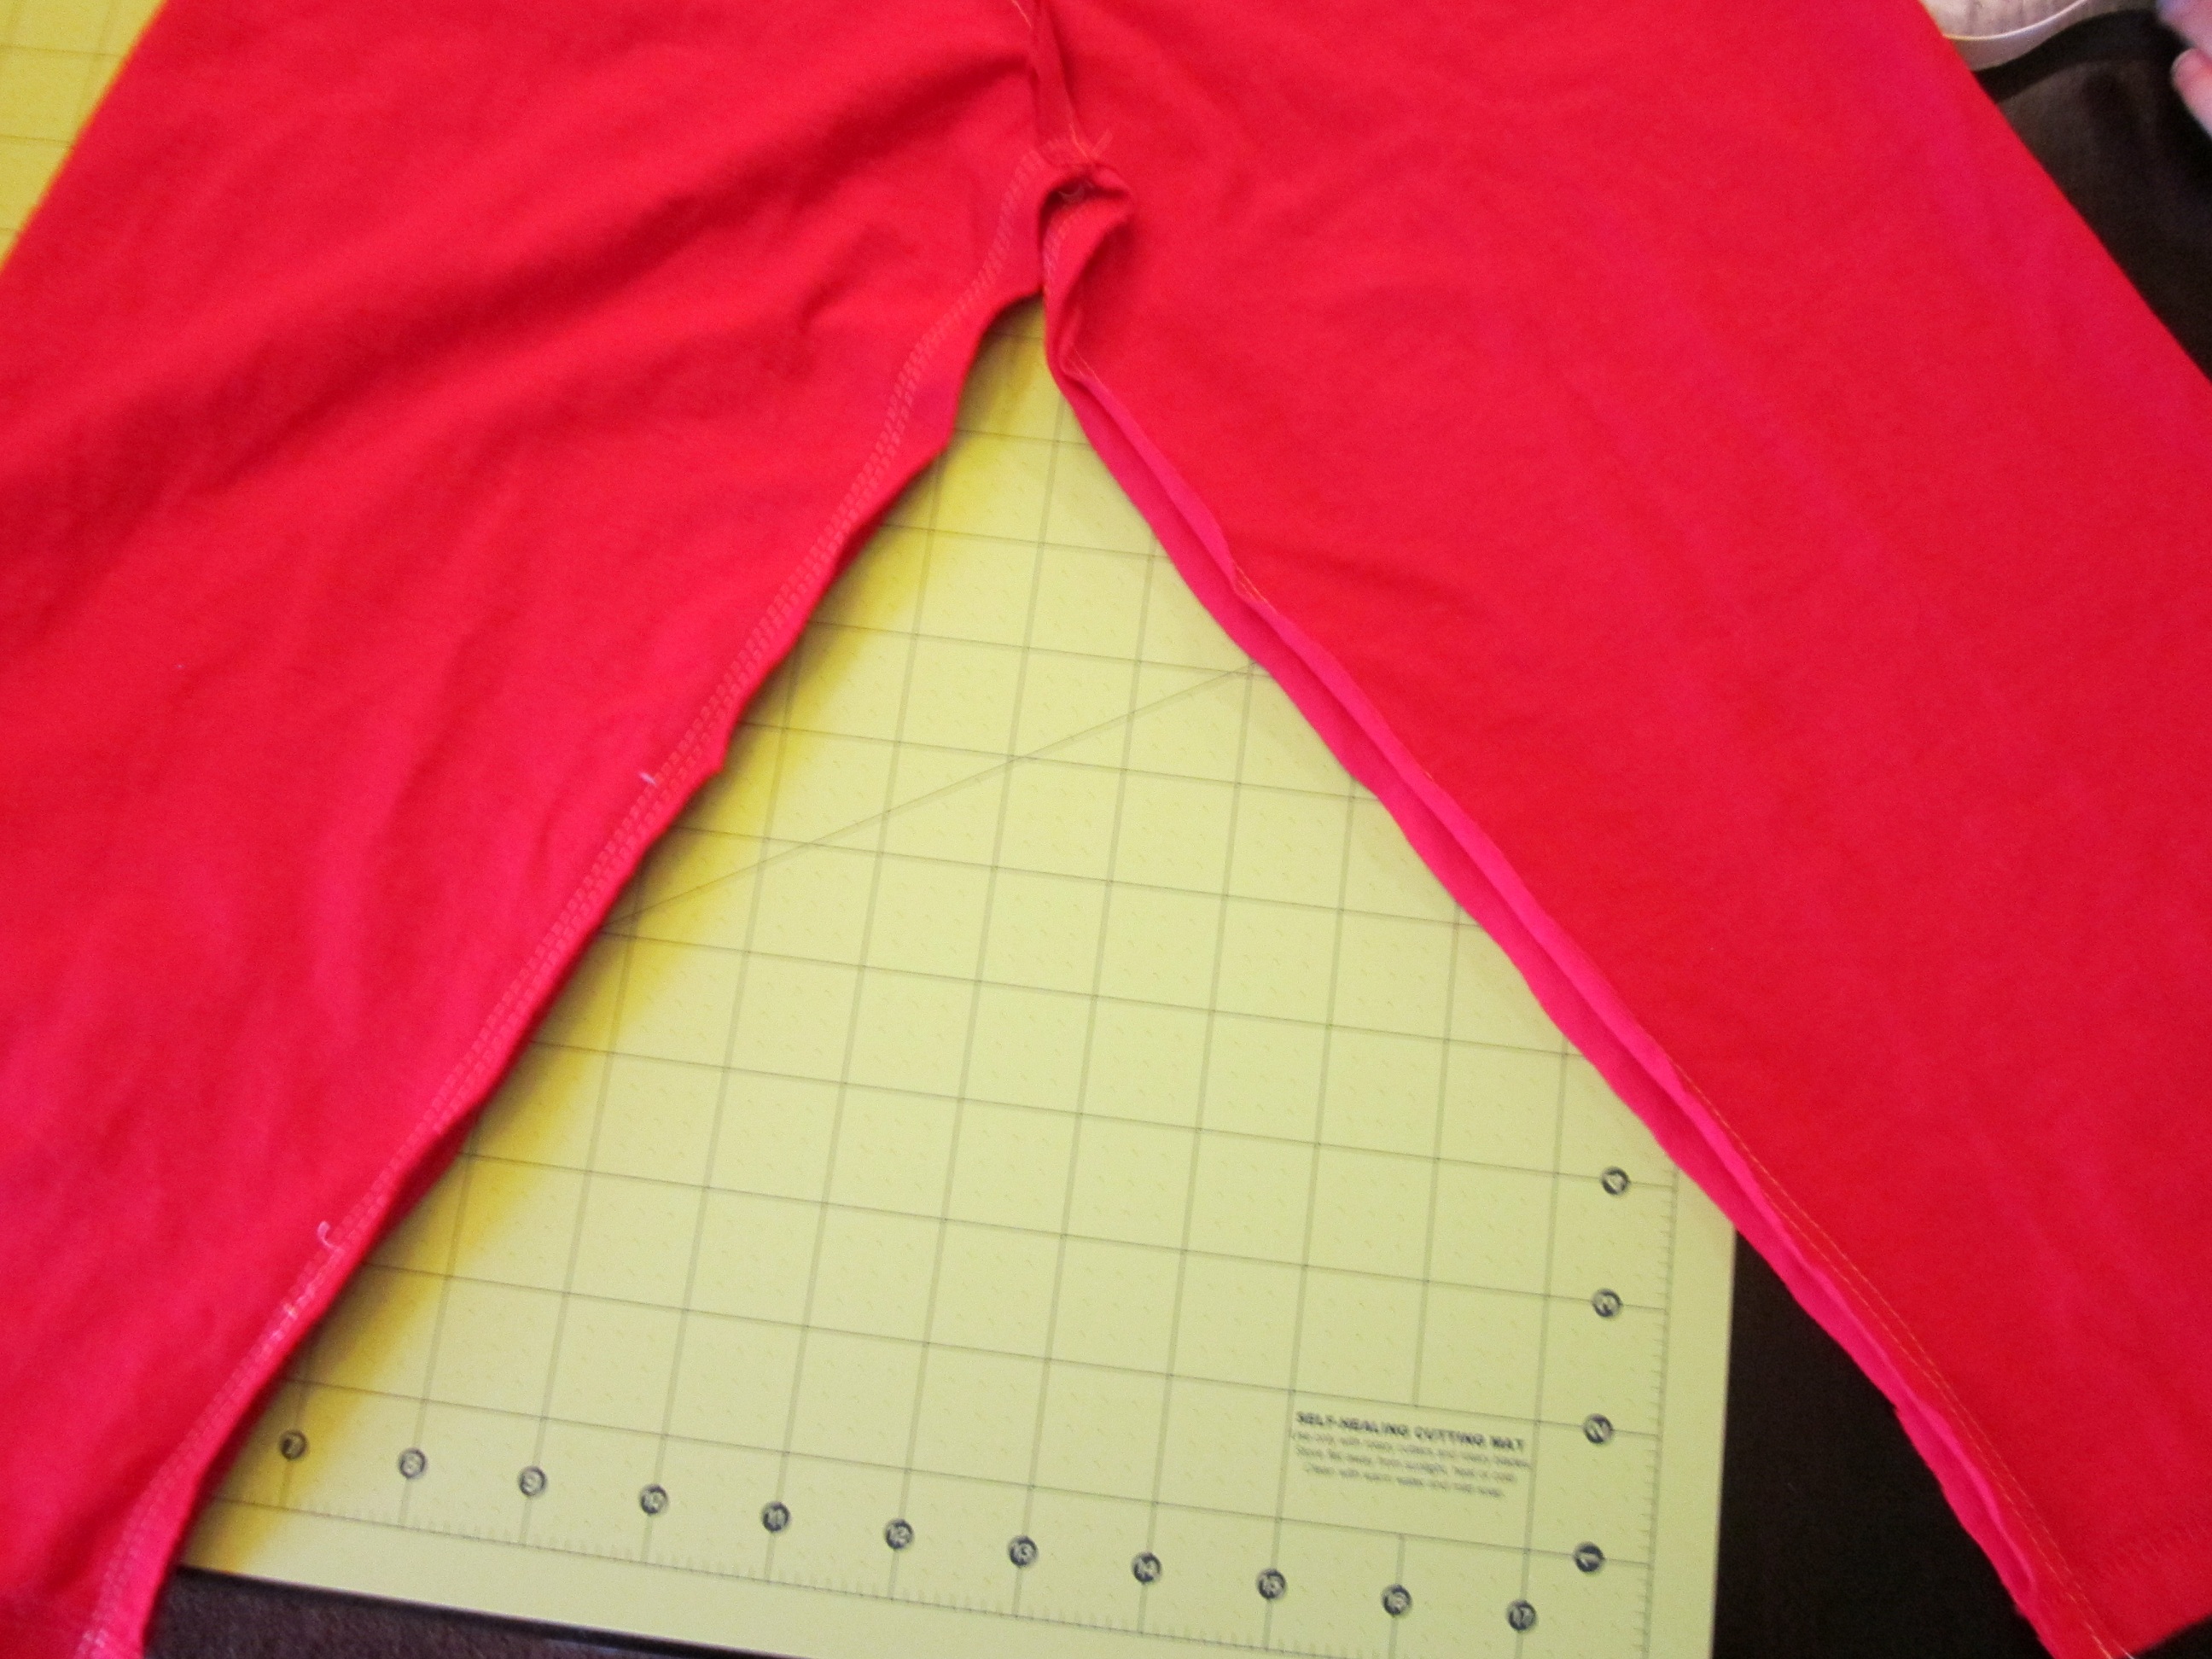
Next line the legs up and stitch the inseams. I made two lines of stitching for a little reinforcement. One at 5/8 inch and one at 3/8 inch.
For the waistband (forgot to take a picture of this step. sorry!) Just fold the cut edge down about an inch and stitch almost all the way around, leaving an opening for elastic. Cut a piece of 1/2 inch elastic to fit your child’s waist and insert it into the waistband casing you just created. Stitch the ends of the elastic together and then stitch the opening of the casing closed.
No need to finish any edges since these are made of t-shirt material and will not fray.
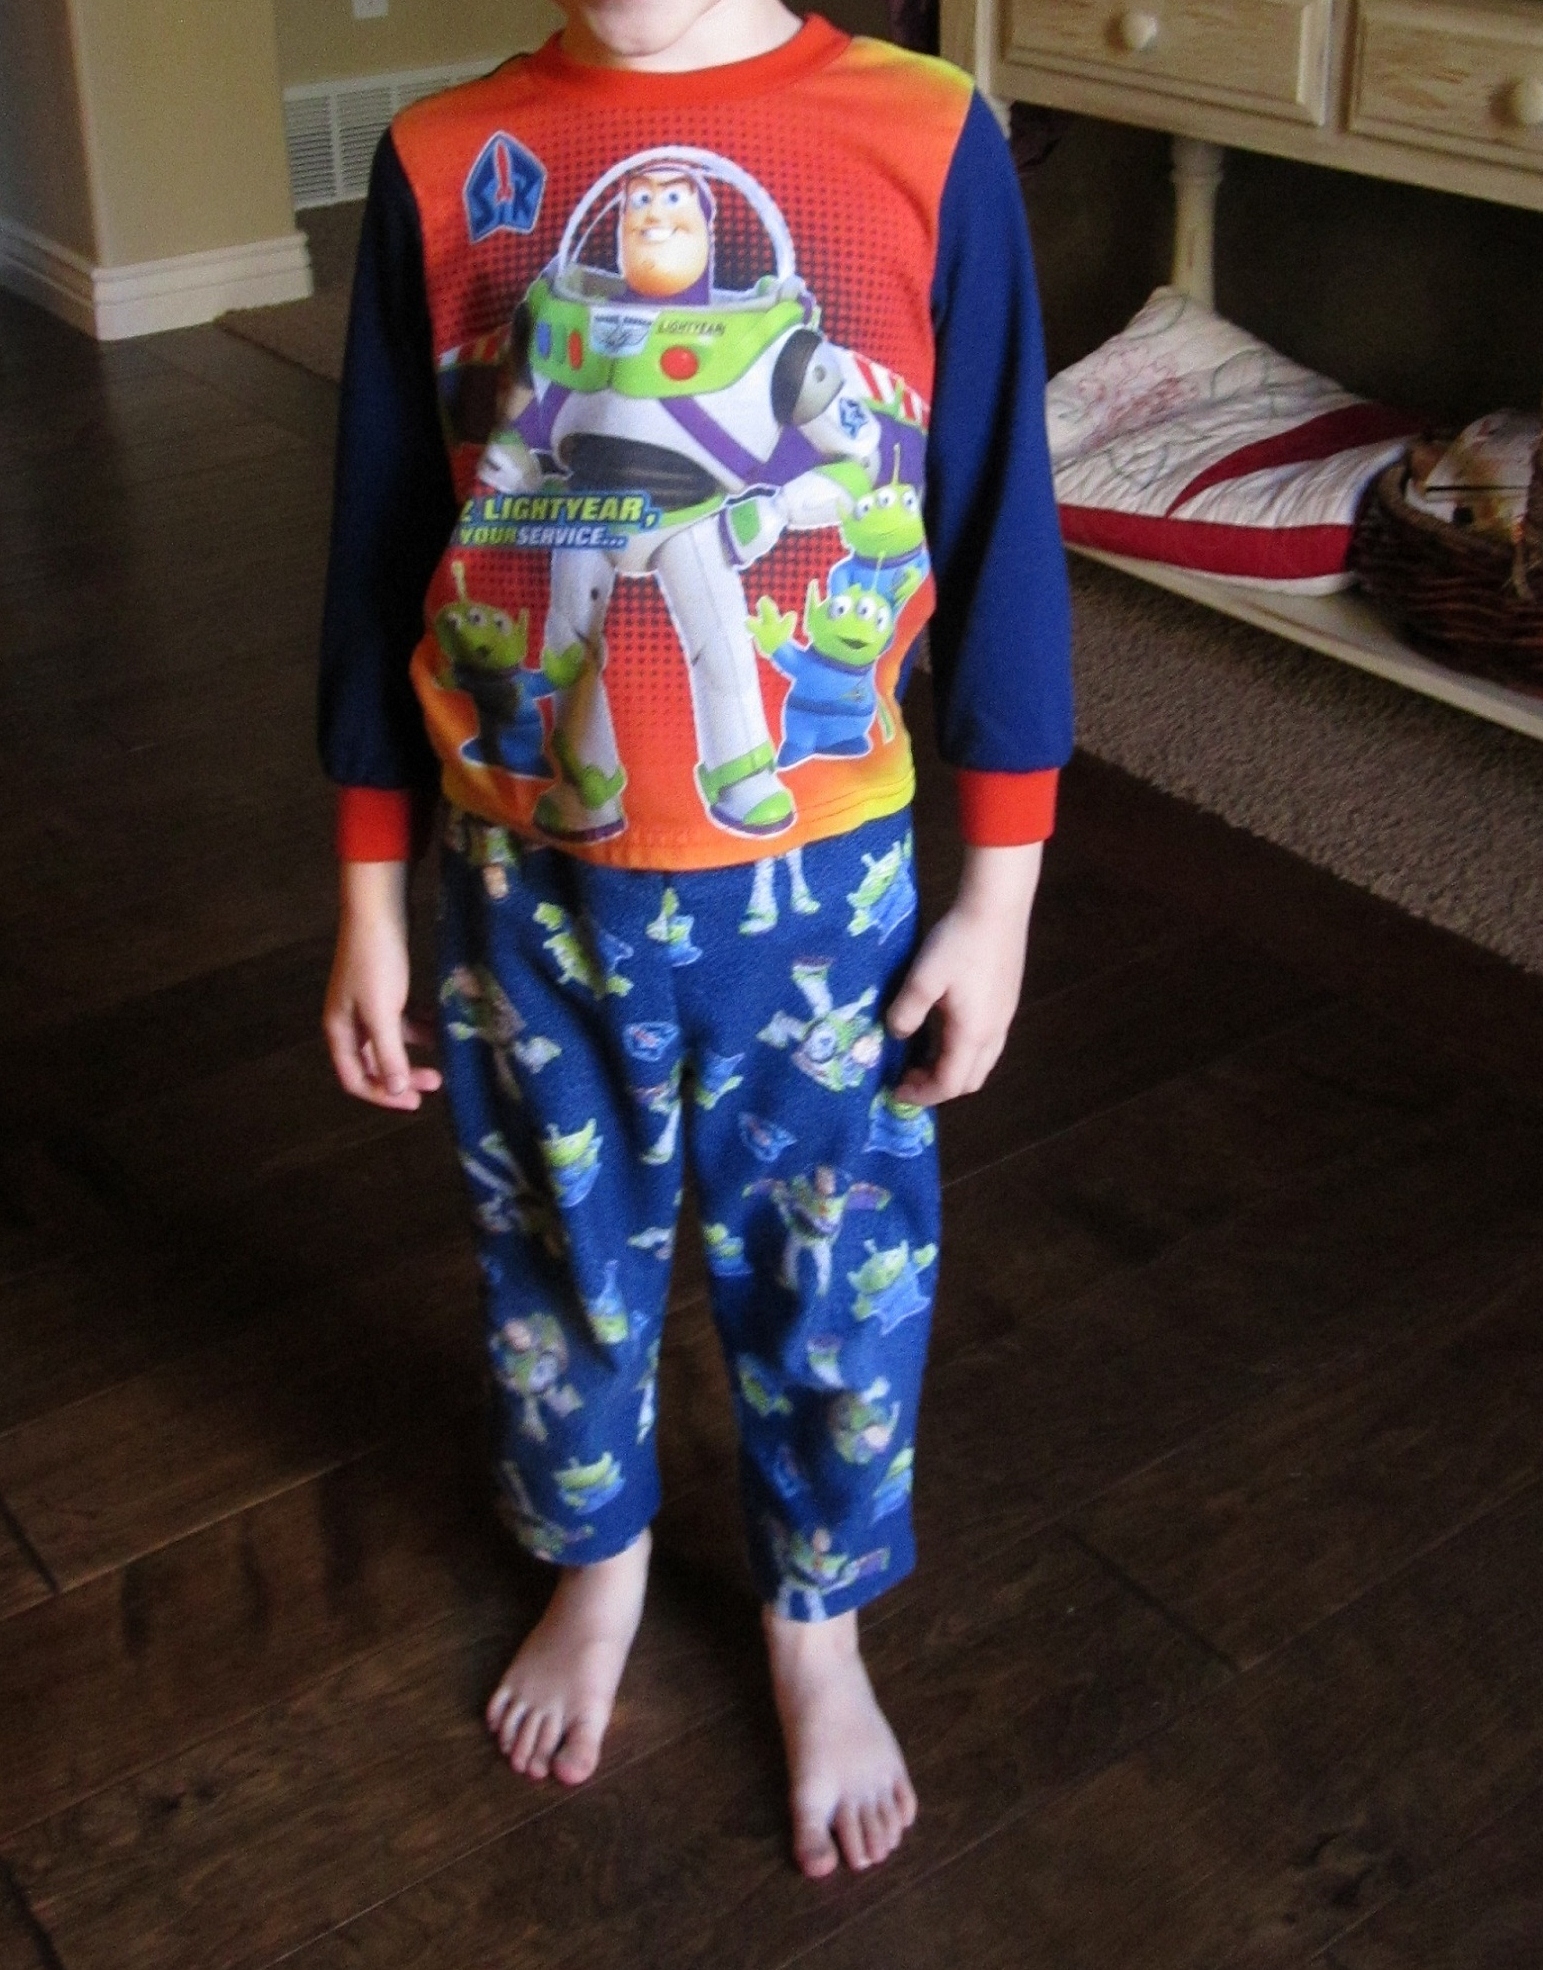
Matched up with the t-shirt that he had from the charity event, he now has a pair of pajamas that will last through another growth spurt or two so I can focus our clothing budget on school clothes! yay!
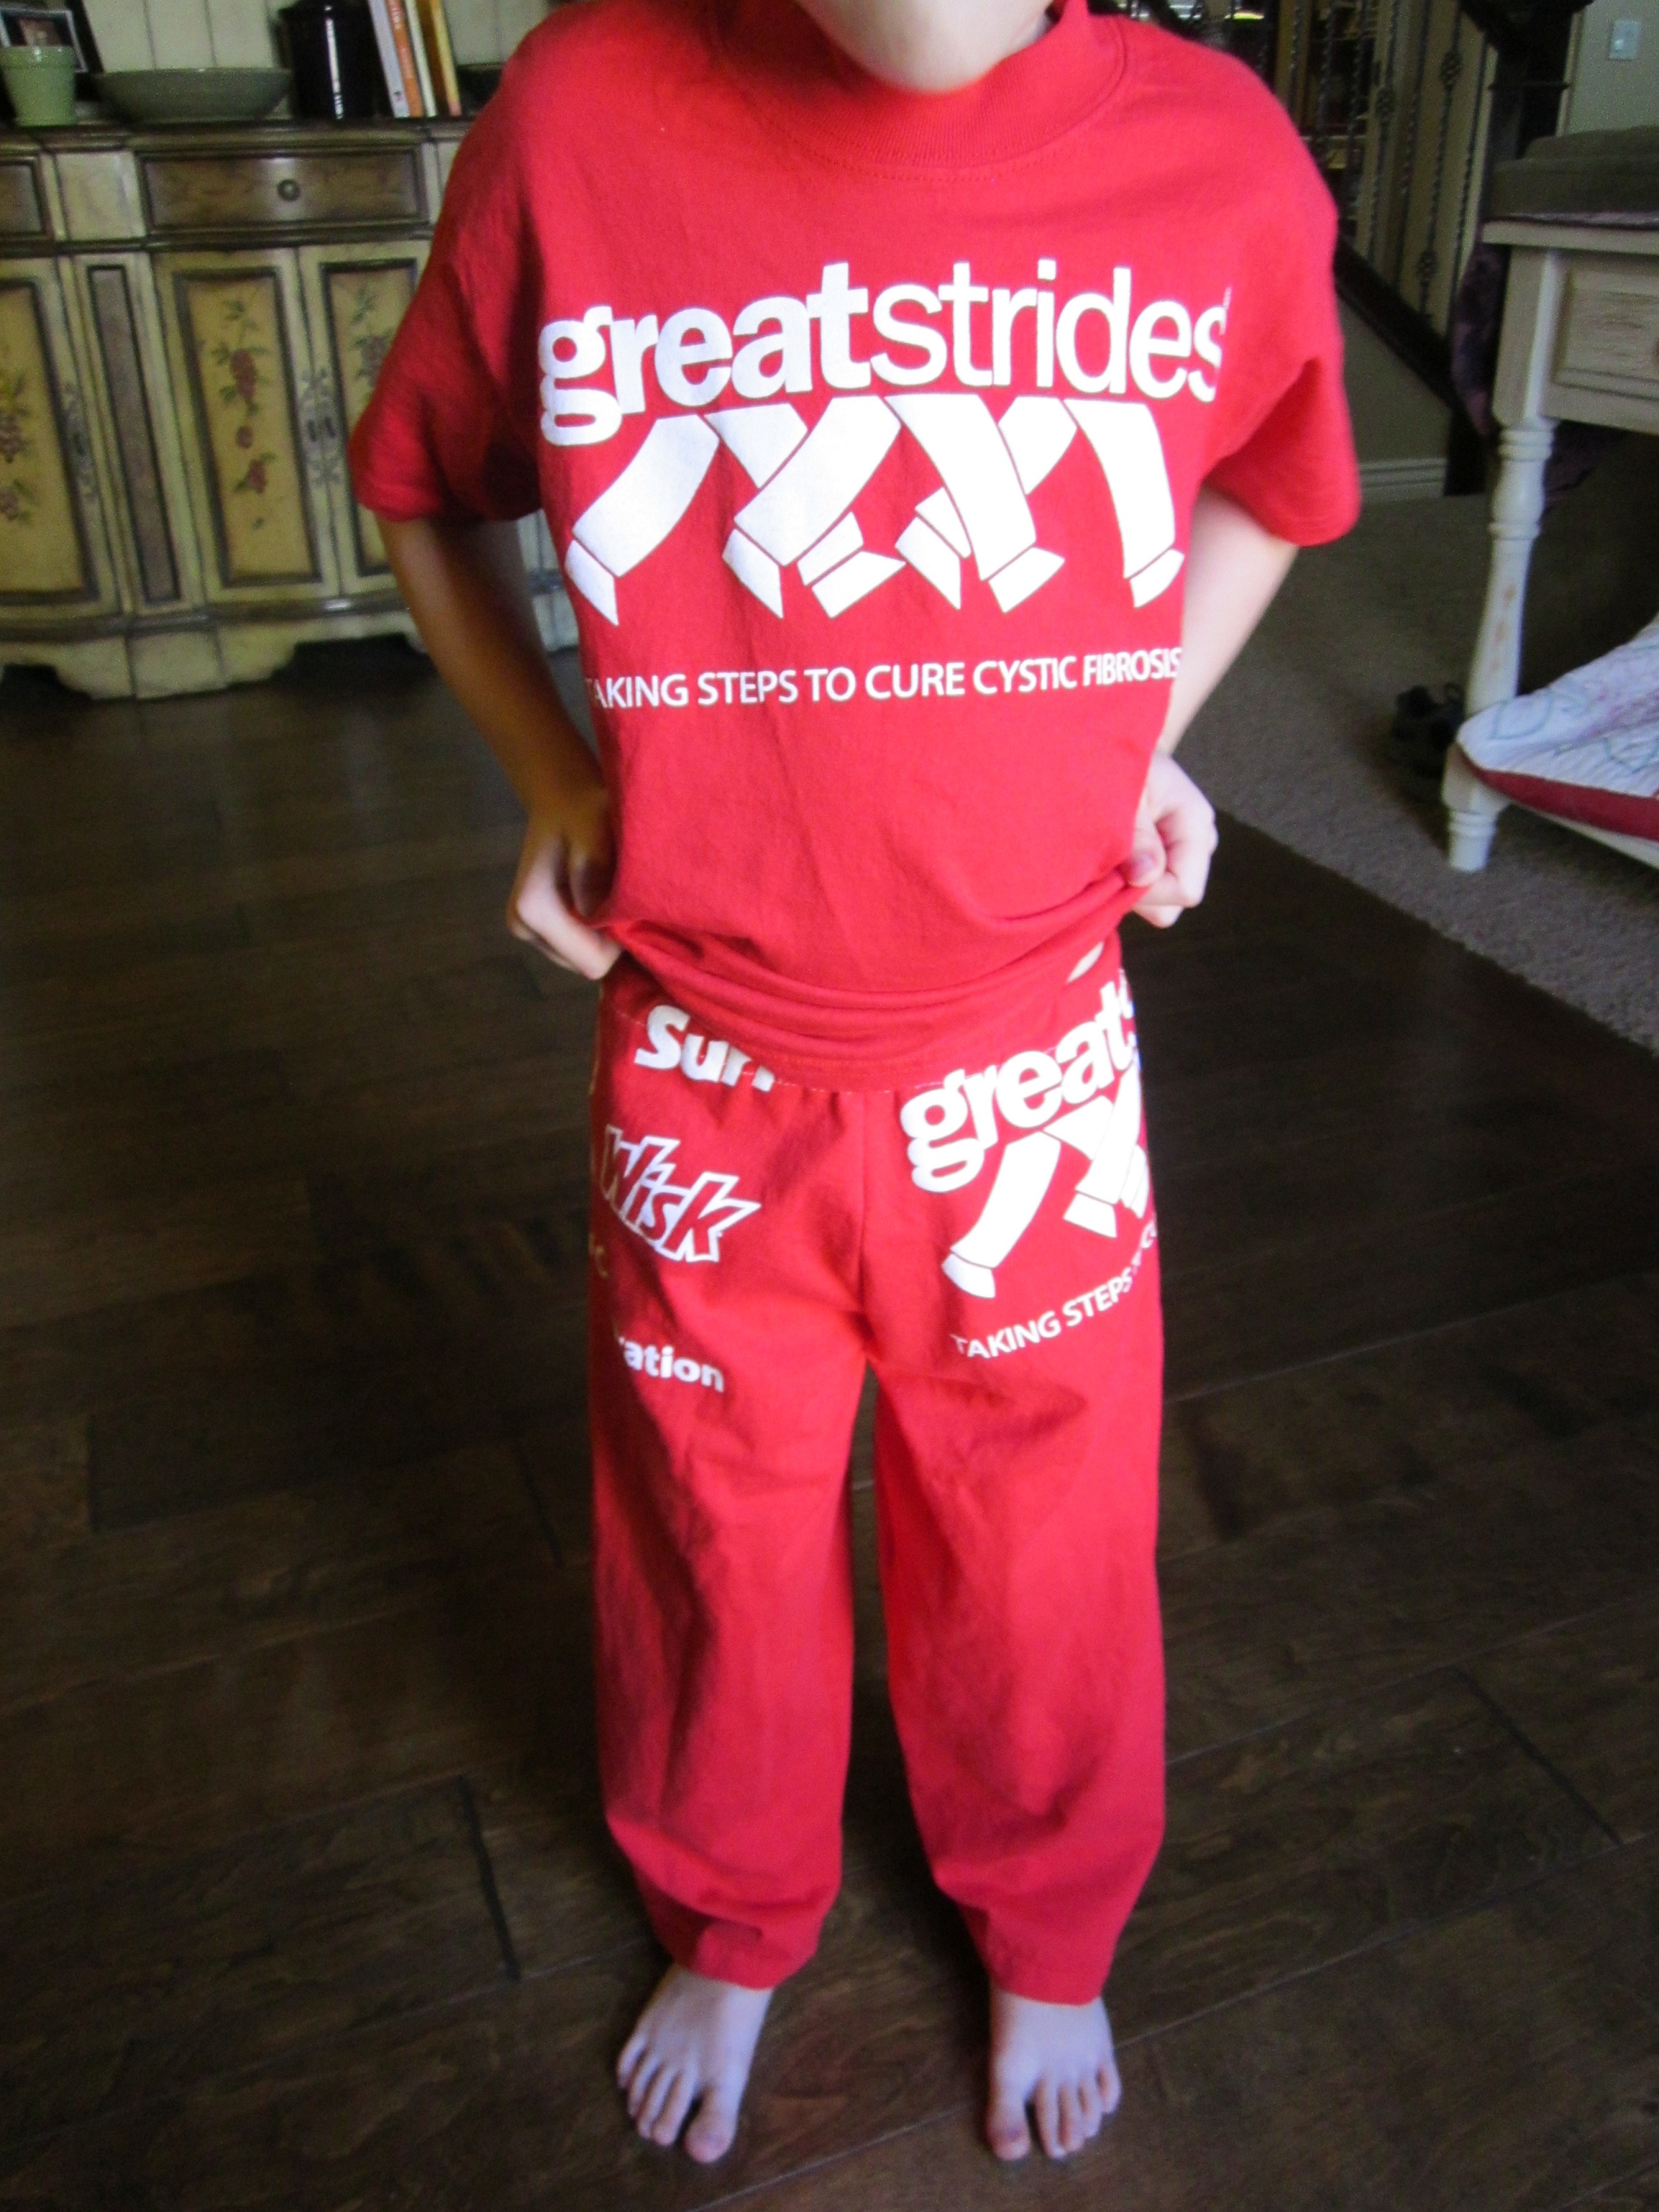
It took me about 20 minutes to make these, including time to take pictures.
He loves them!
Pin It
