If you google “How to paint laminate furniture” you will get dozens of different results. Being able to paint cheap laminate furniture and give it new life is the hallmark of the DIY blogger. I will admit that until recently I usually ignored these posts. I’ve been painting laminate furniture since before most of these bloggers were out of diapers – back in the day when everyone said it was impossible to do! I got great results – I have a cheap WalMart shelf in my kitchen that I first painted 19 years ago and it still looks great – but it was labor intensive with days of sanding, priming, painting and more sanding to get the desired results.
Well, I am glad that this old dog finally paid attention to some of those DIY bloggers and learned a new trick; I’m converted! I have always used Kilz brand primer, and I’m sure I still will, but what I have learned is that some primers are gripping primers and some are not. If you want to paint a surface that the paint won’t adhere to, you’ve got to give it something to stick to. Enter this wonder:
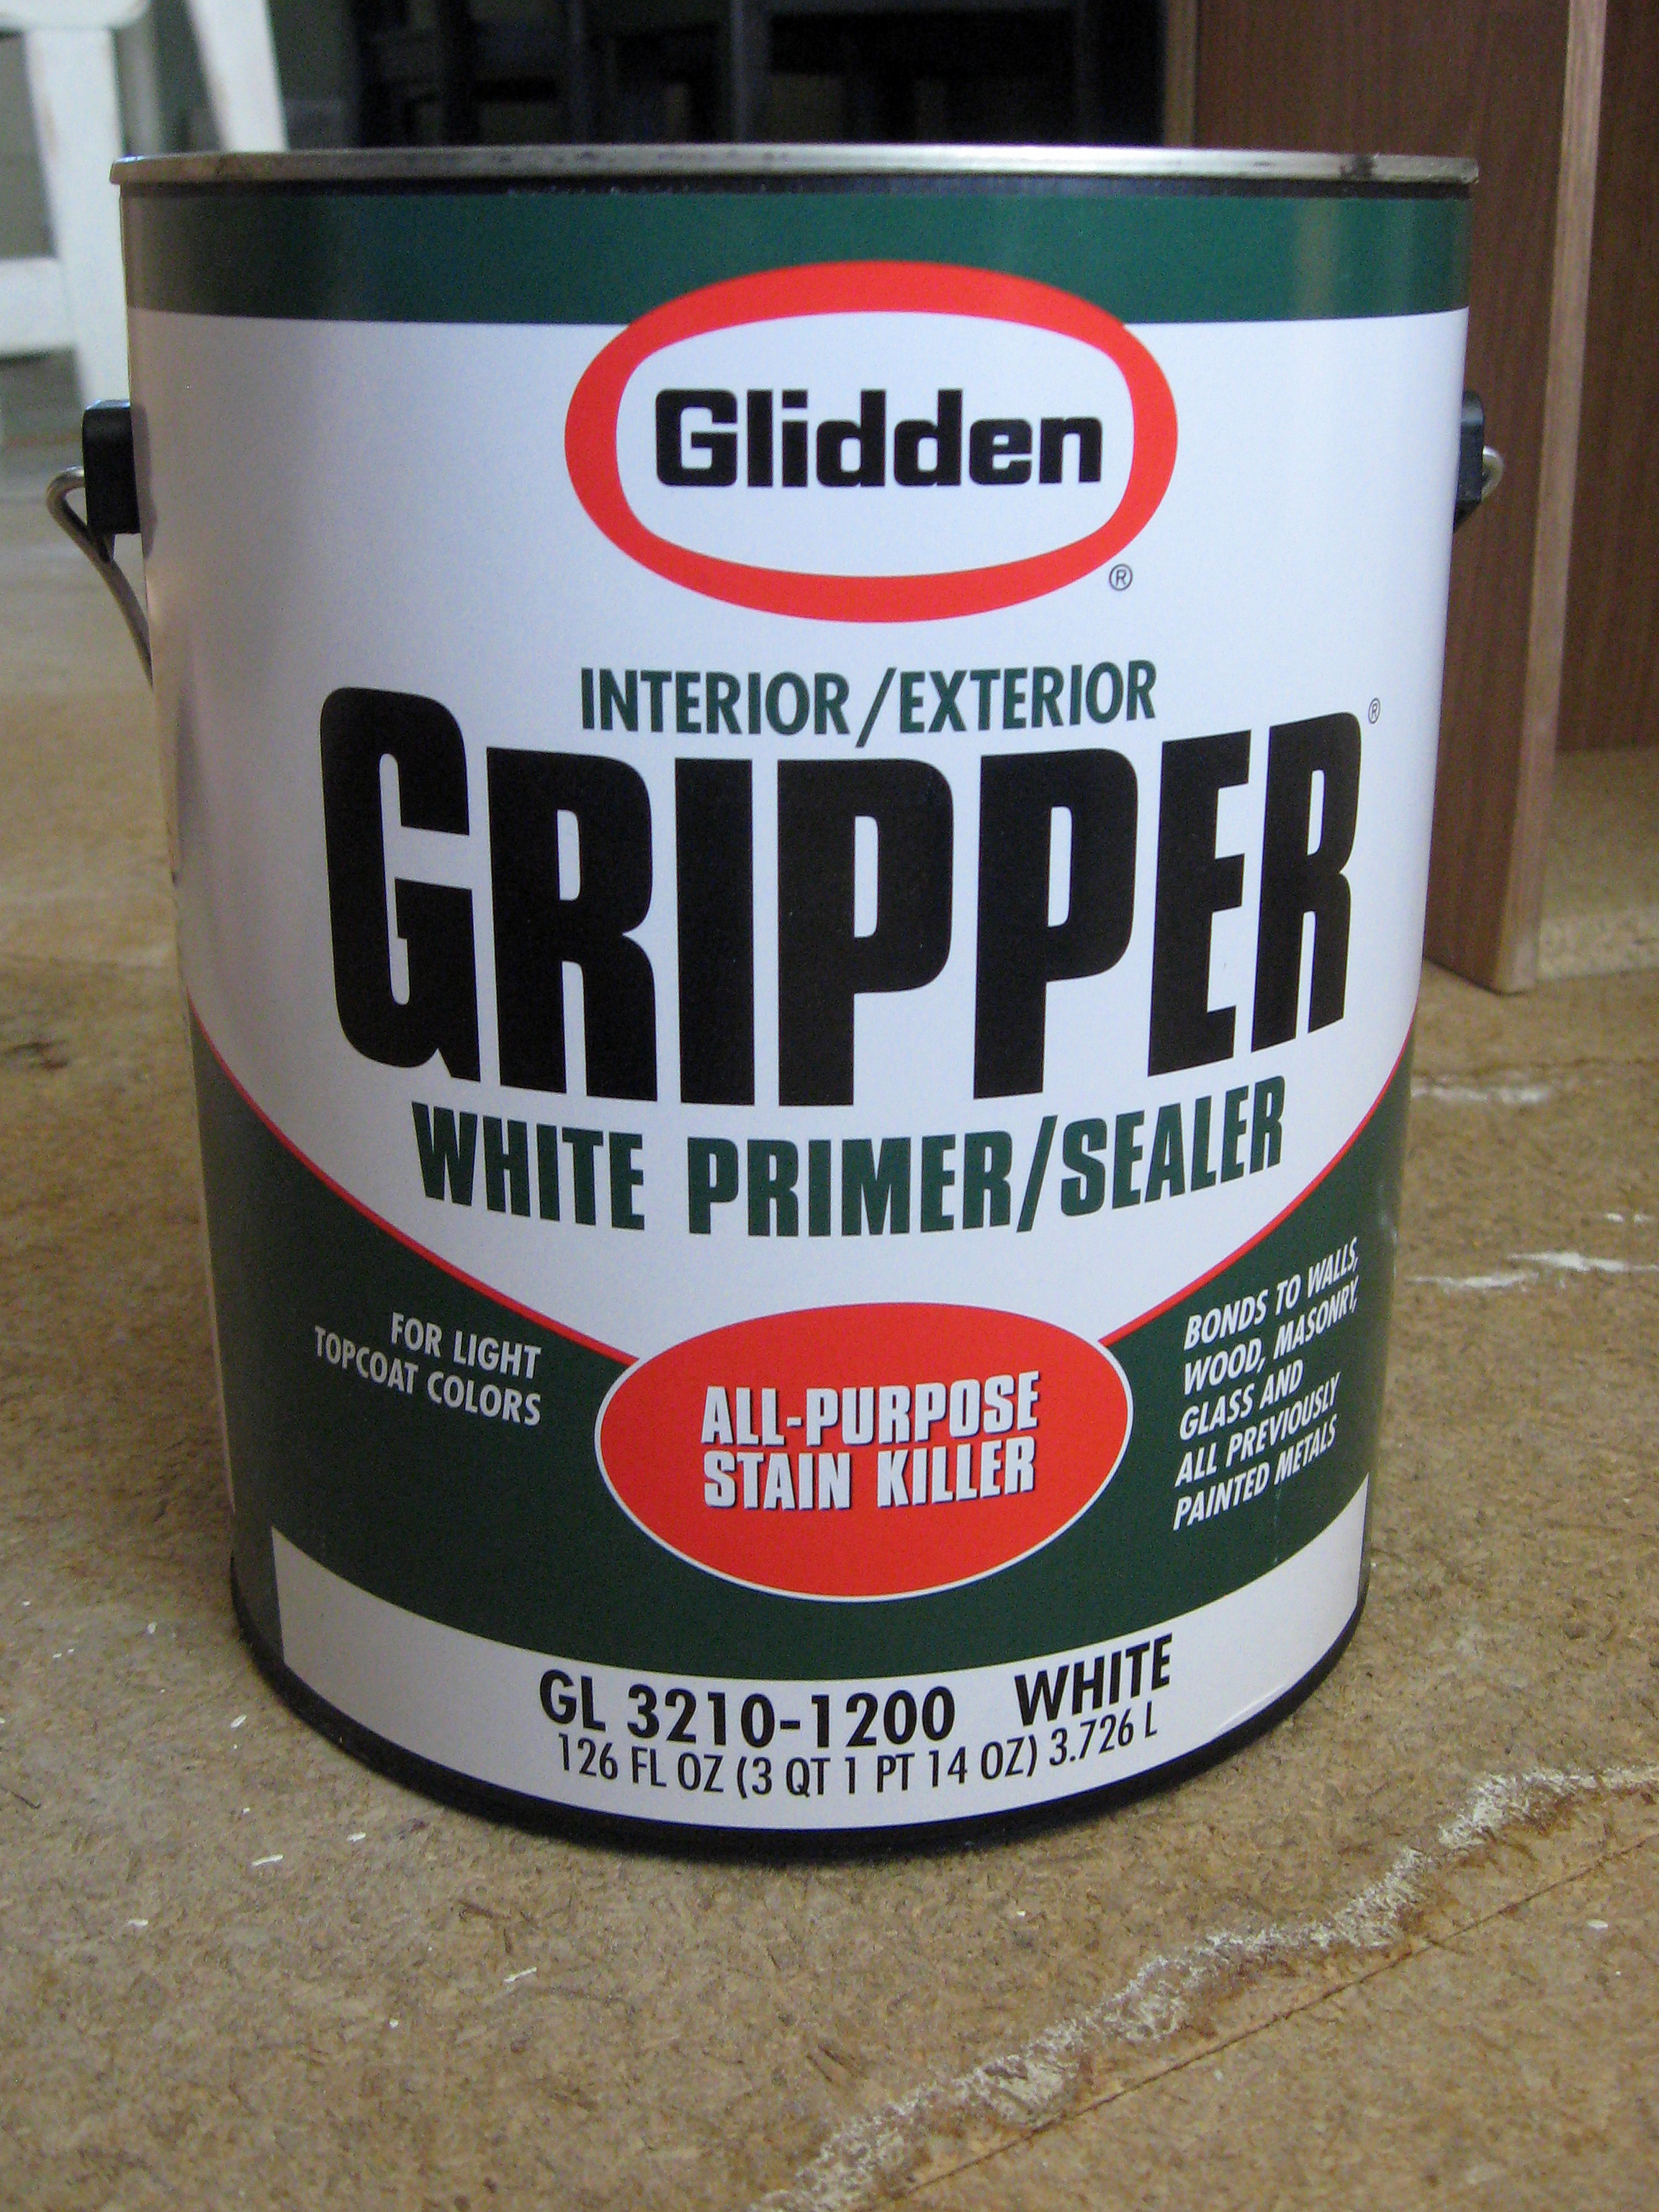
It grips to the surface to be painted with NO SANDING. I bought this straight off the shelf at Home Depot (have them shake it up for you while you’re there!). It is pretty pricey stuff, but it seems to go a long way. It comes in both white and grey; get white if your paint is light and use grey if it is dark.
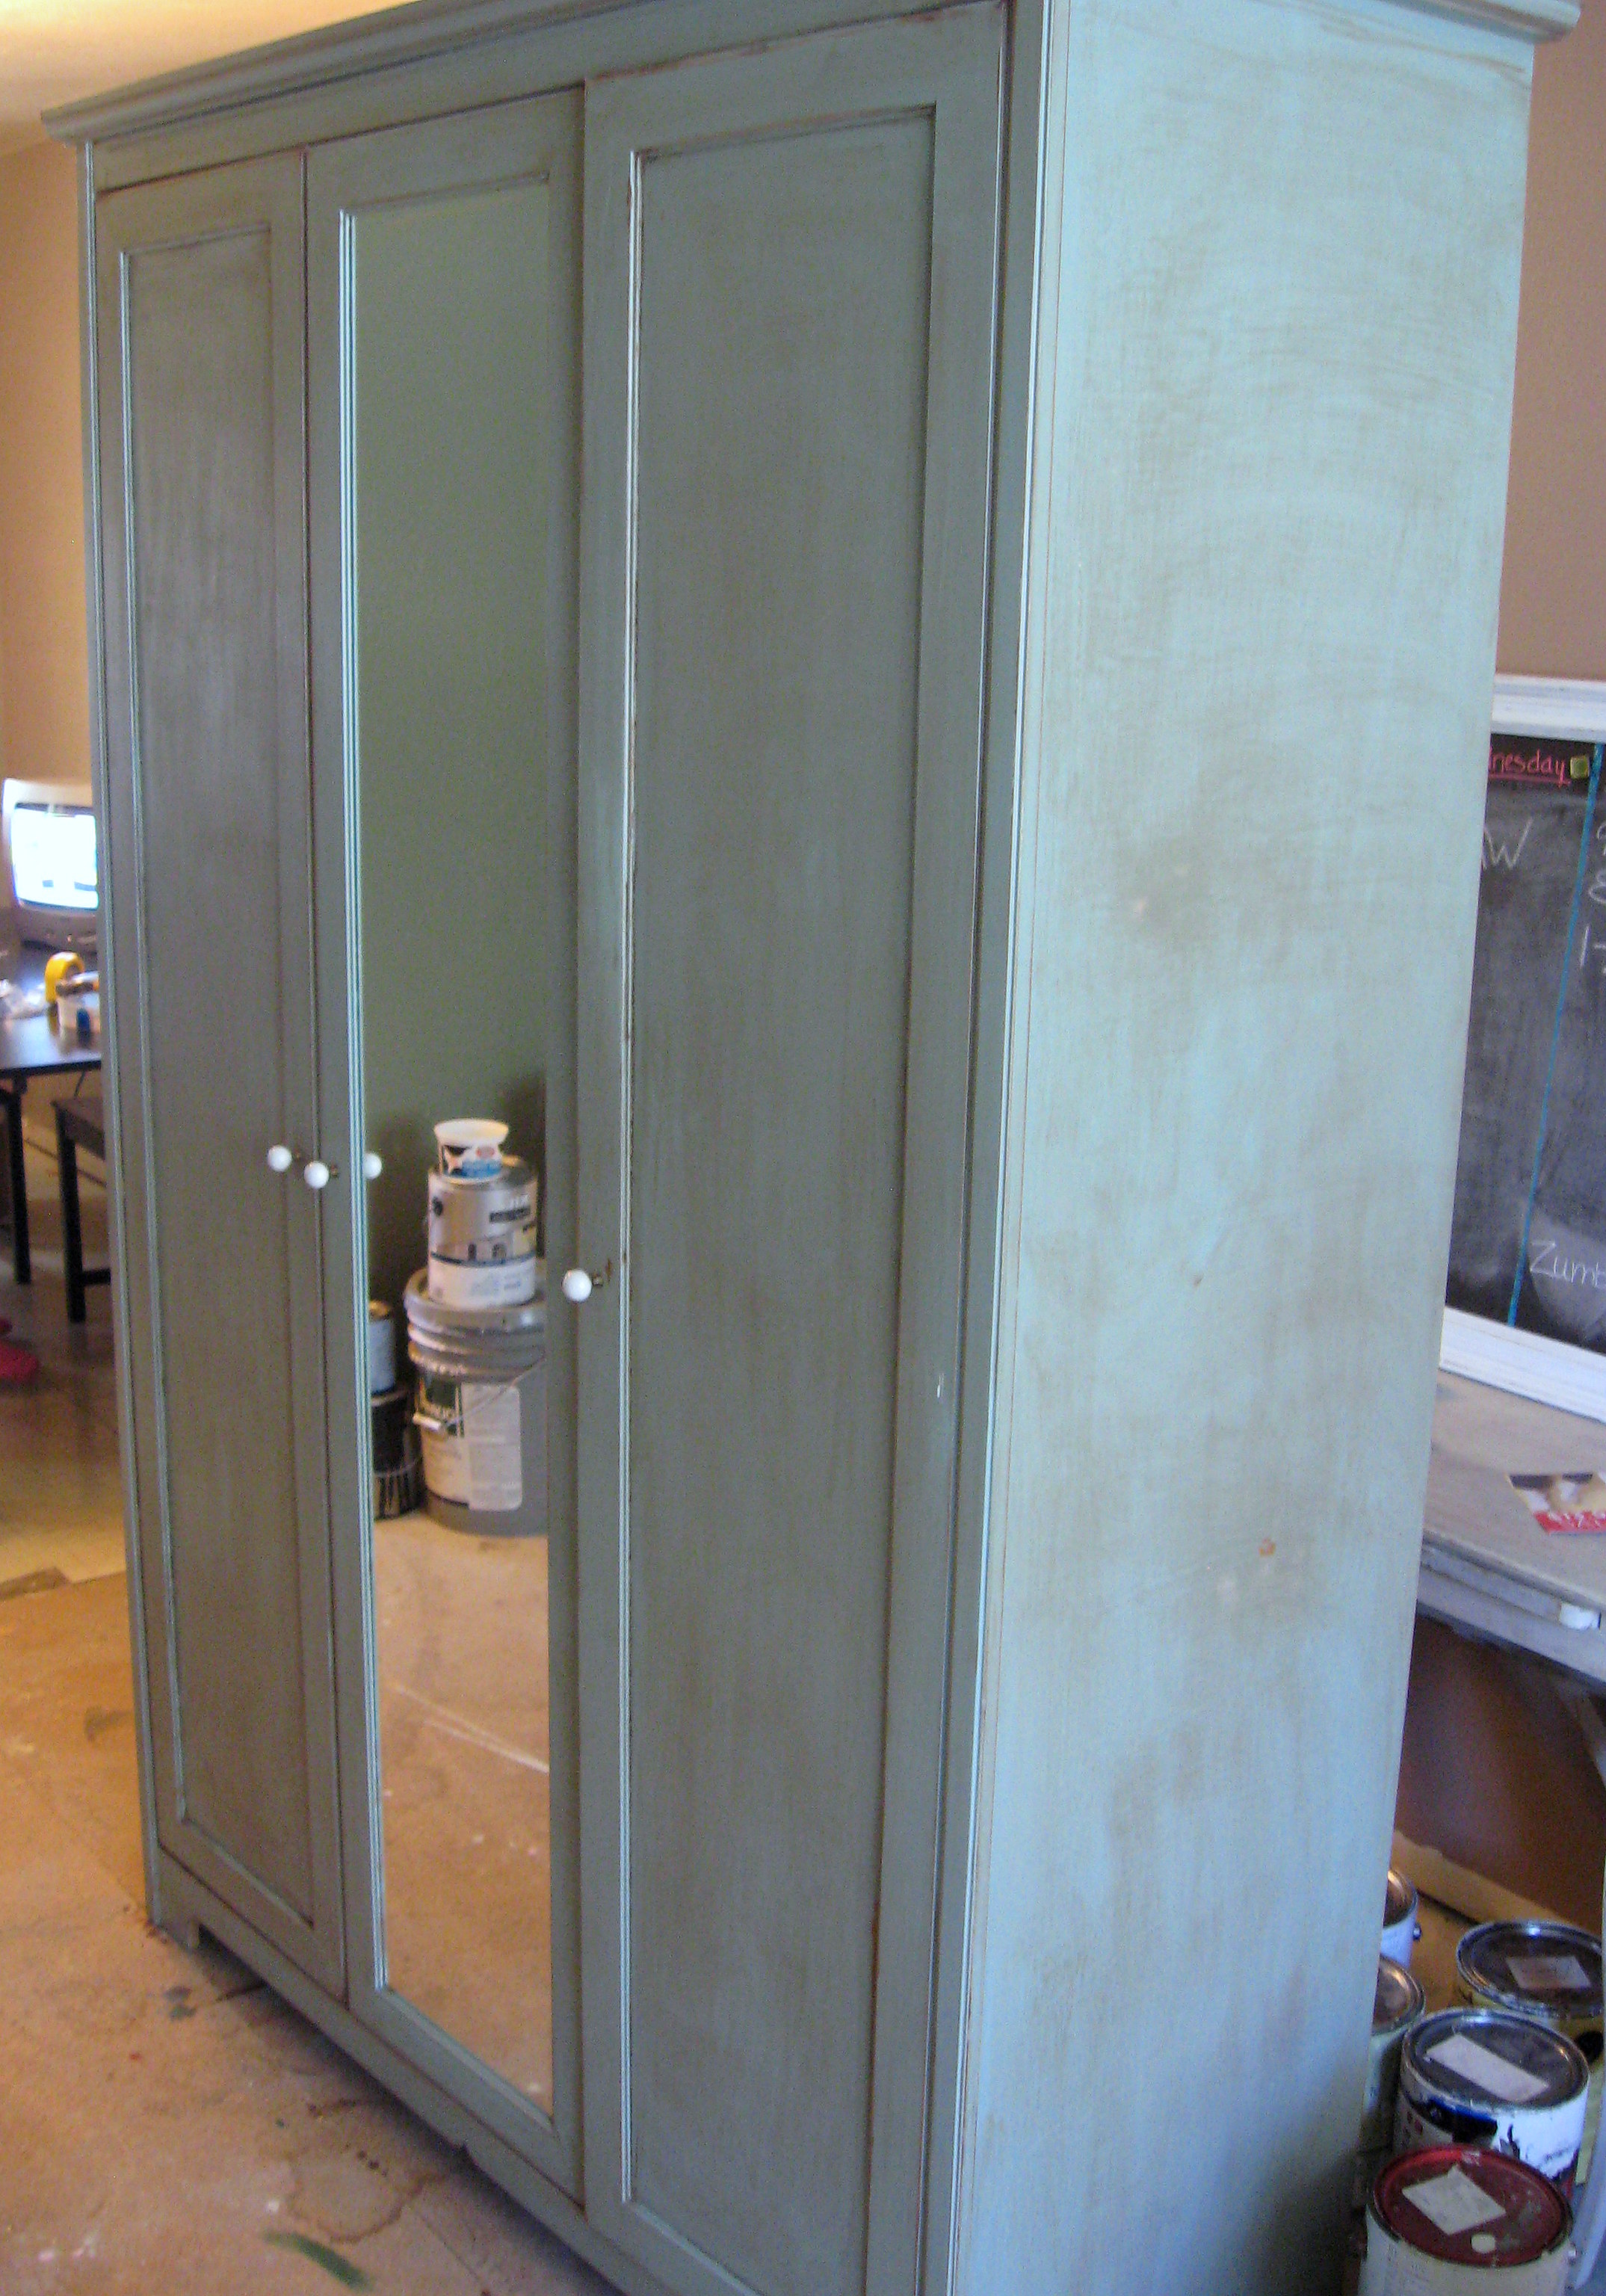
I had an Ikea wardrobe that I have been wanting to paint forever, but I knew all that sanding was going to be a pain so I kept putting it off. I thought this was the perfect project to try out the Gripper on.
I forgot to take a picture of it before I took the doors off, but you get the idea…
Take the doors off, tape around the mirror and remove or tape all the hardware. I chose not to paint the inside, so I taped around there too. Give everything a good coat of the Gripper with a regular brush or roller.
You can see here that I wasn’t even too careful about getting the coat even. Here are my thoughts on this – I wanted this finished project to be something I could sand back into and expose some of the “wood” underneath. Usually when you try that on laminate furniture, the paint will just lift right off. I was curious how it would work here, so I only did one coat of Gripper. I have a dresser that I used it on that I wanted to be solid and smooth so I used 2 coats of Gripper and I was more careful to brush it on smoothly.
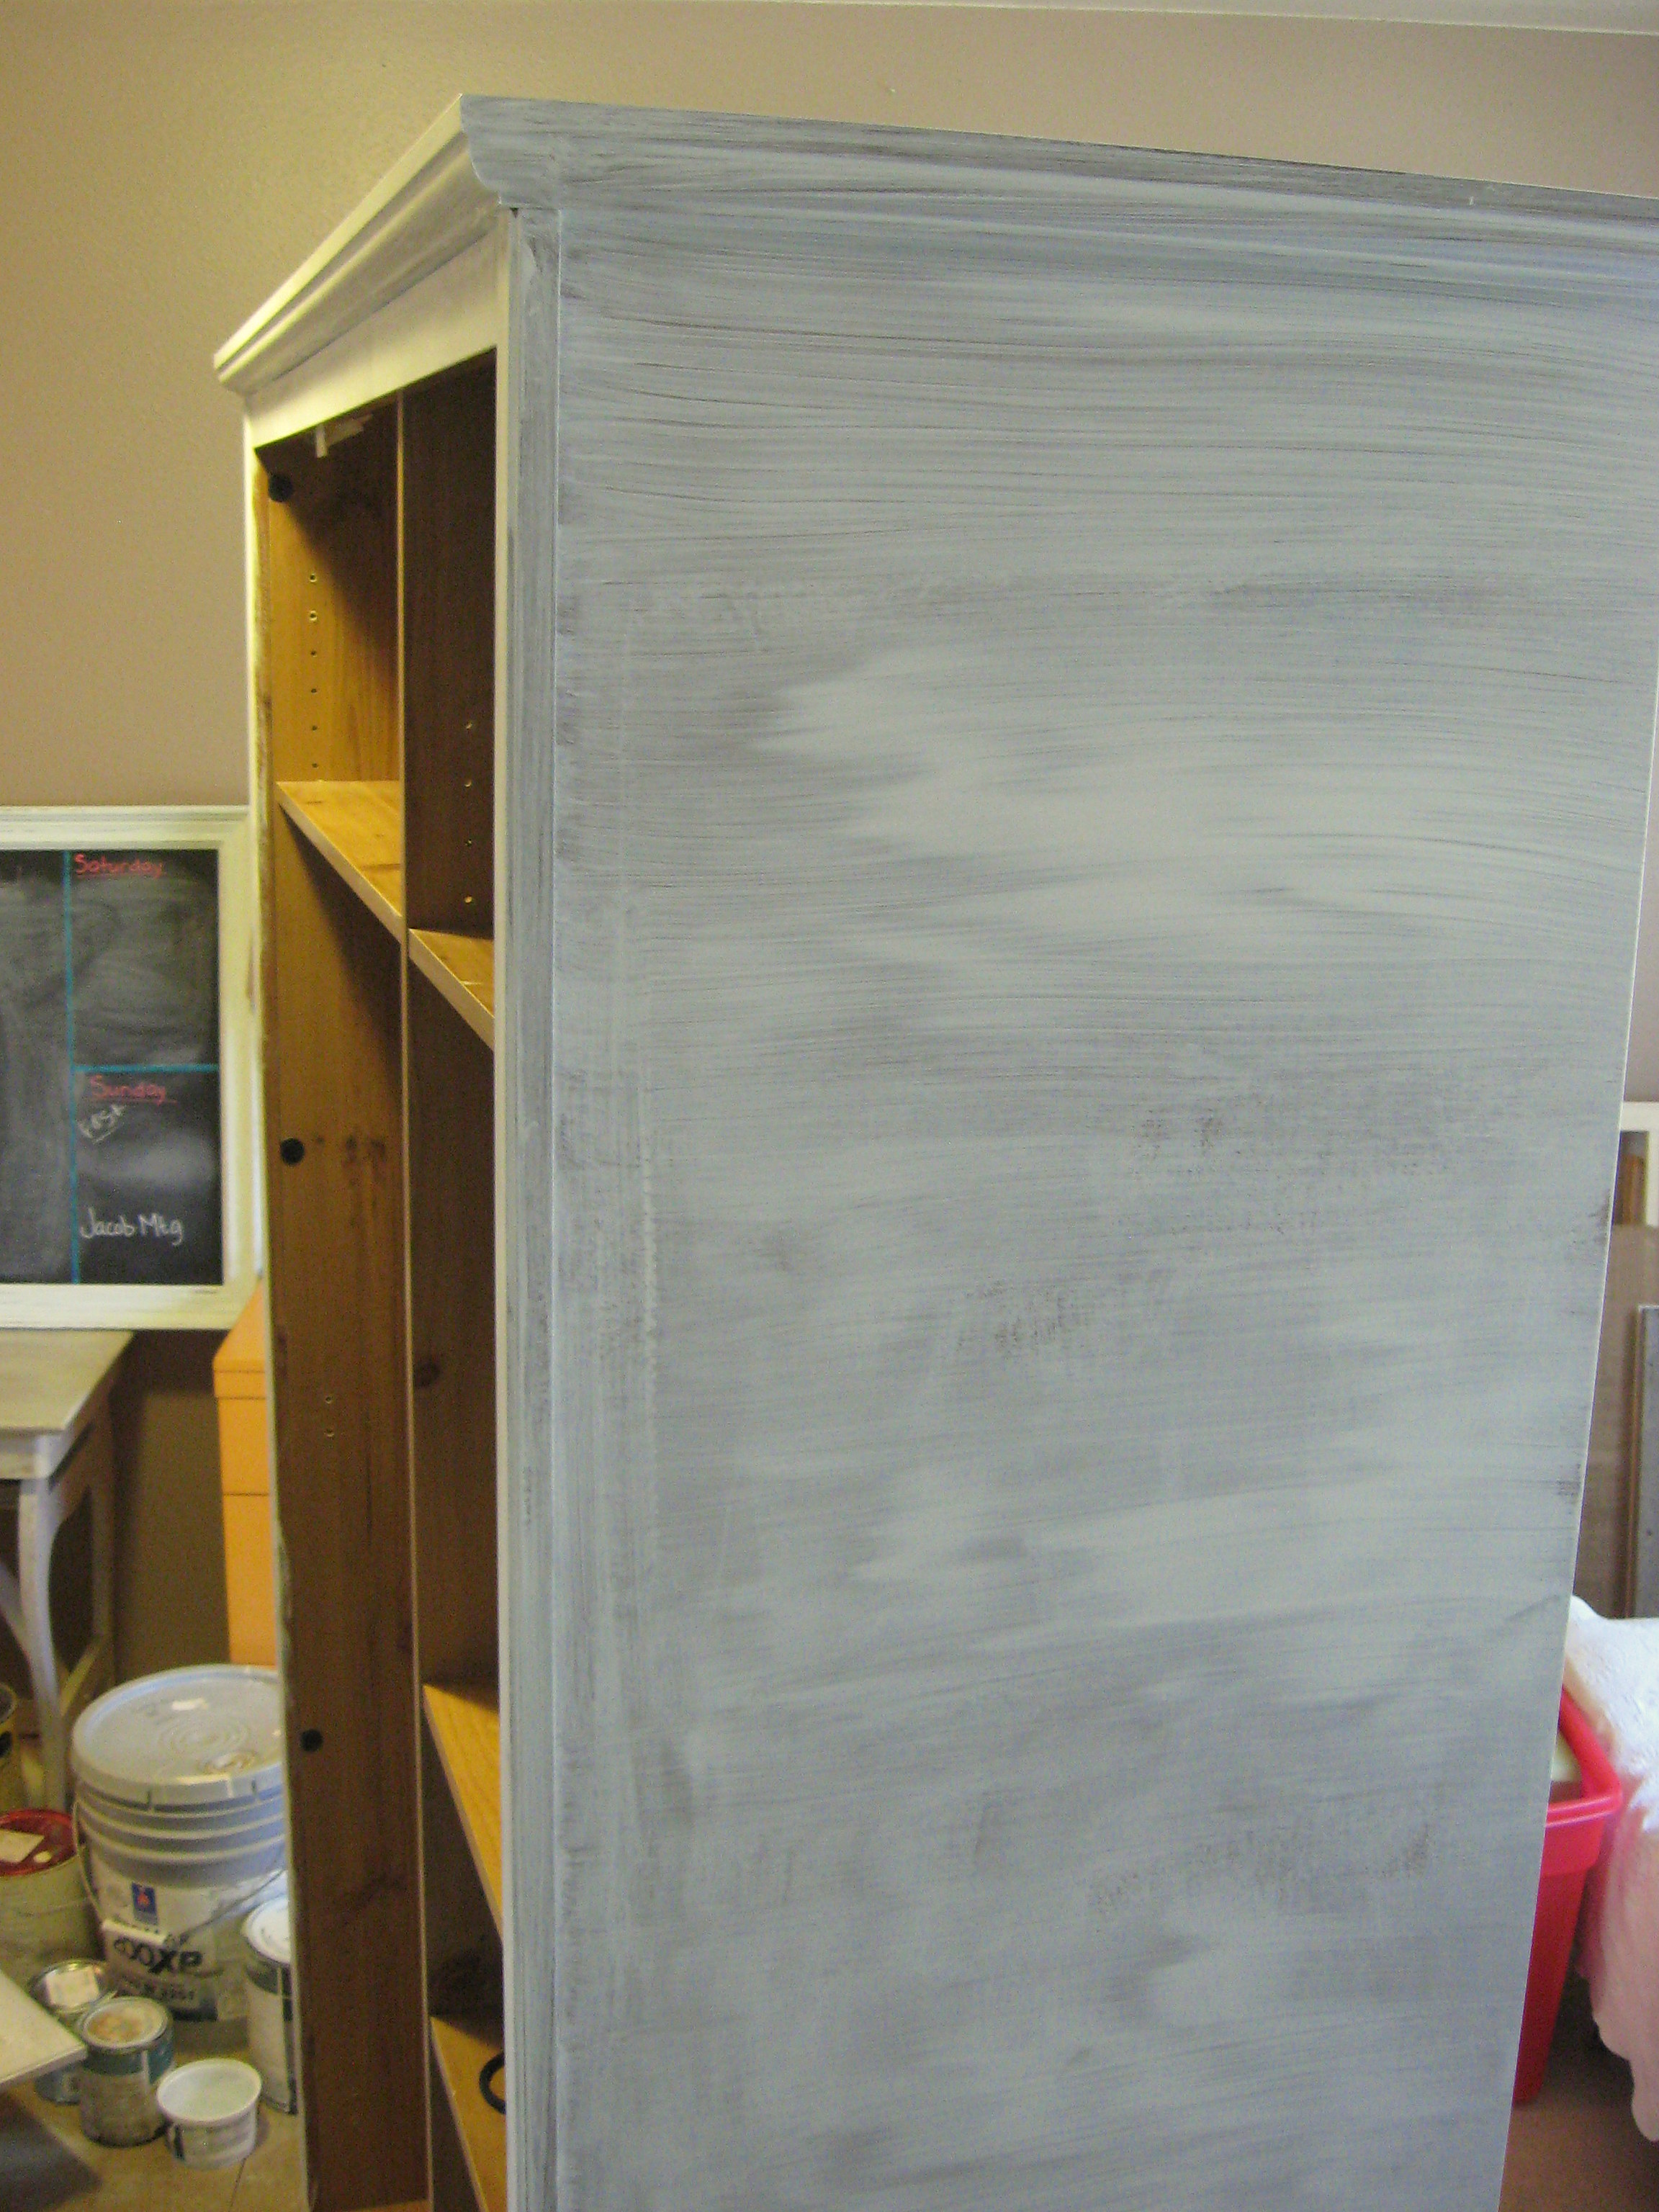
Let that dry according to the directions on the can, then cover with the paint of your choice. I didn’t get a picture of this step, but I used 2 coats of pale blue Satin interior house paint
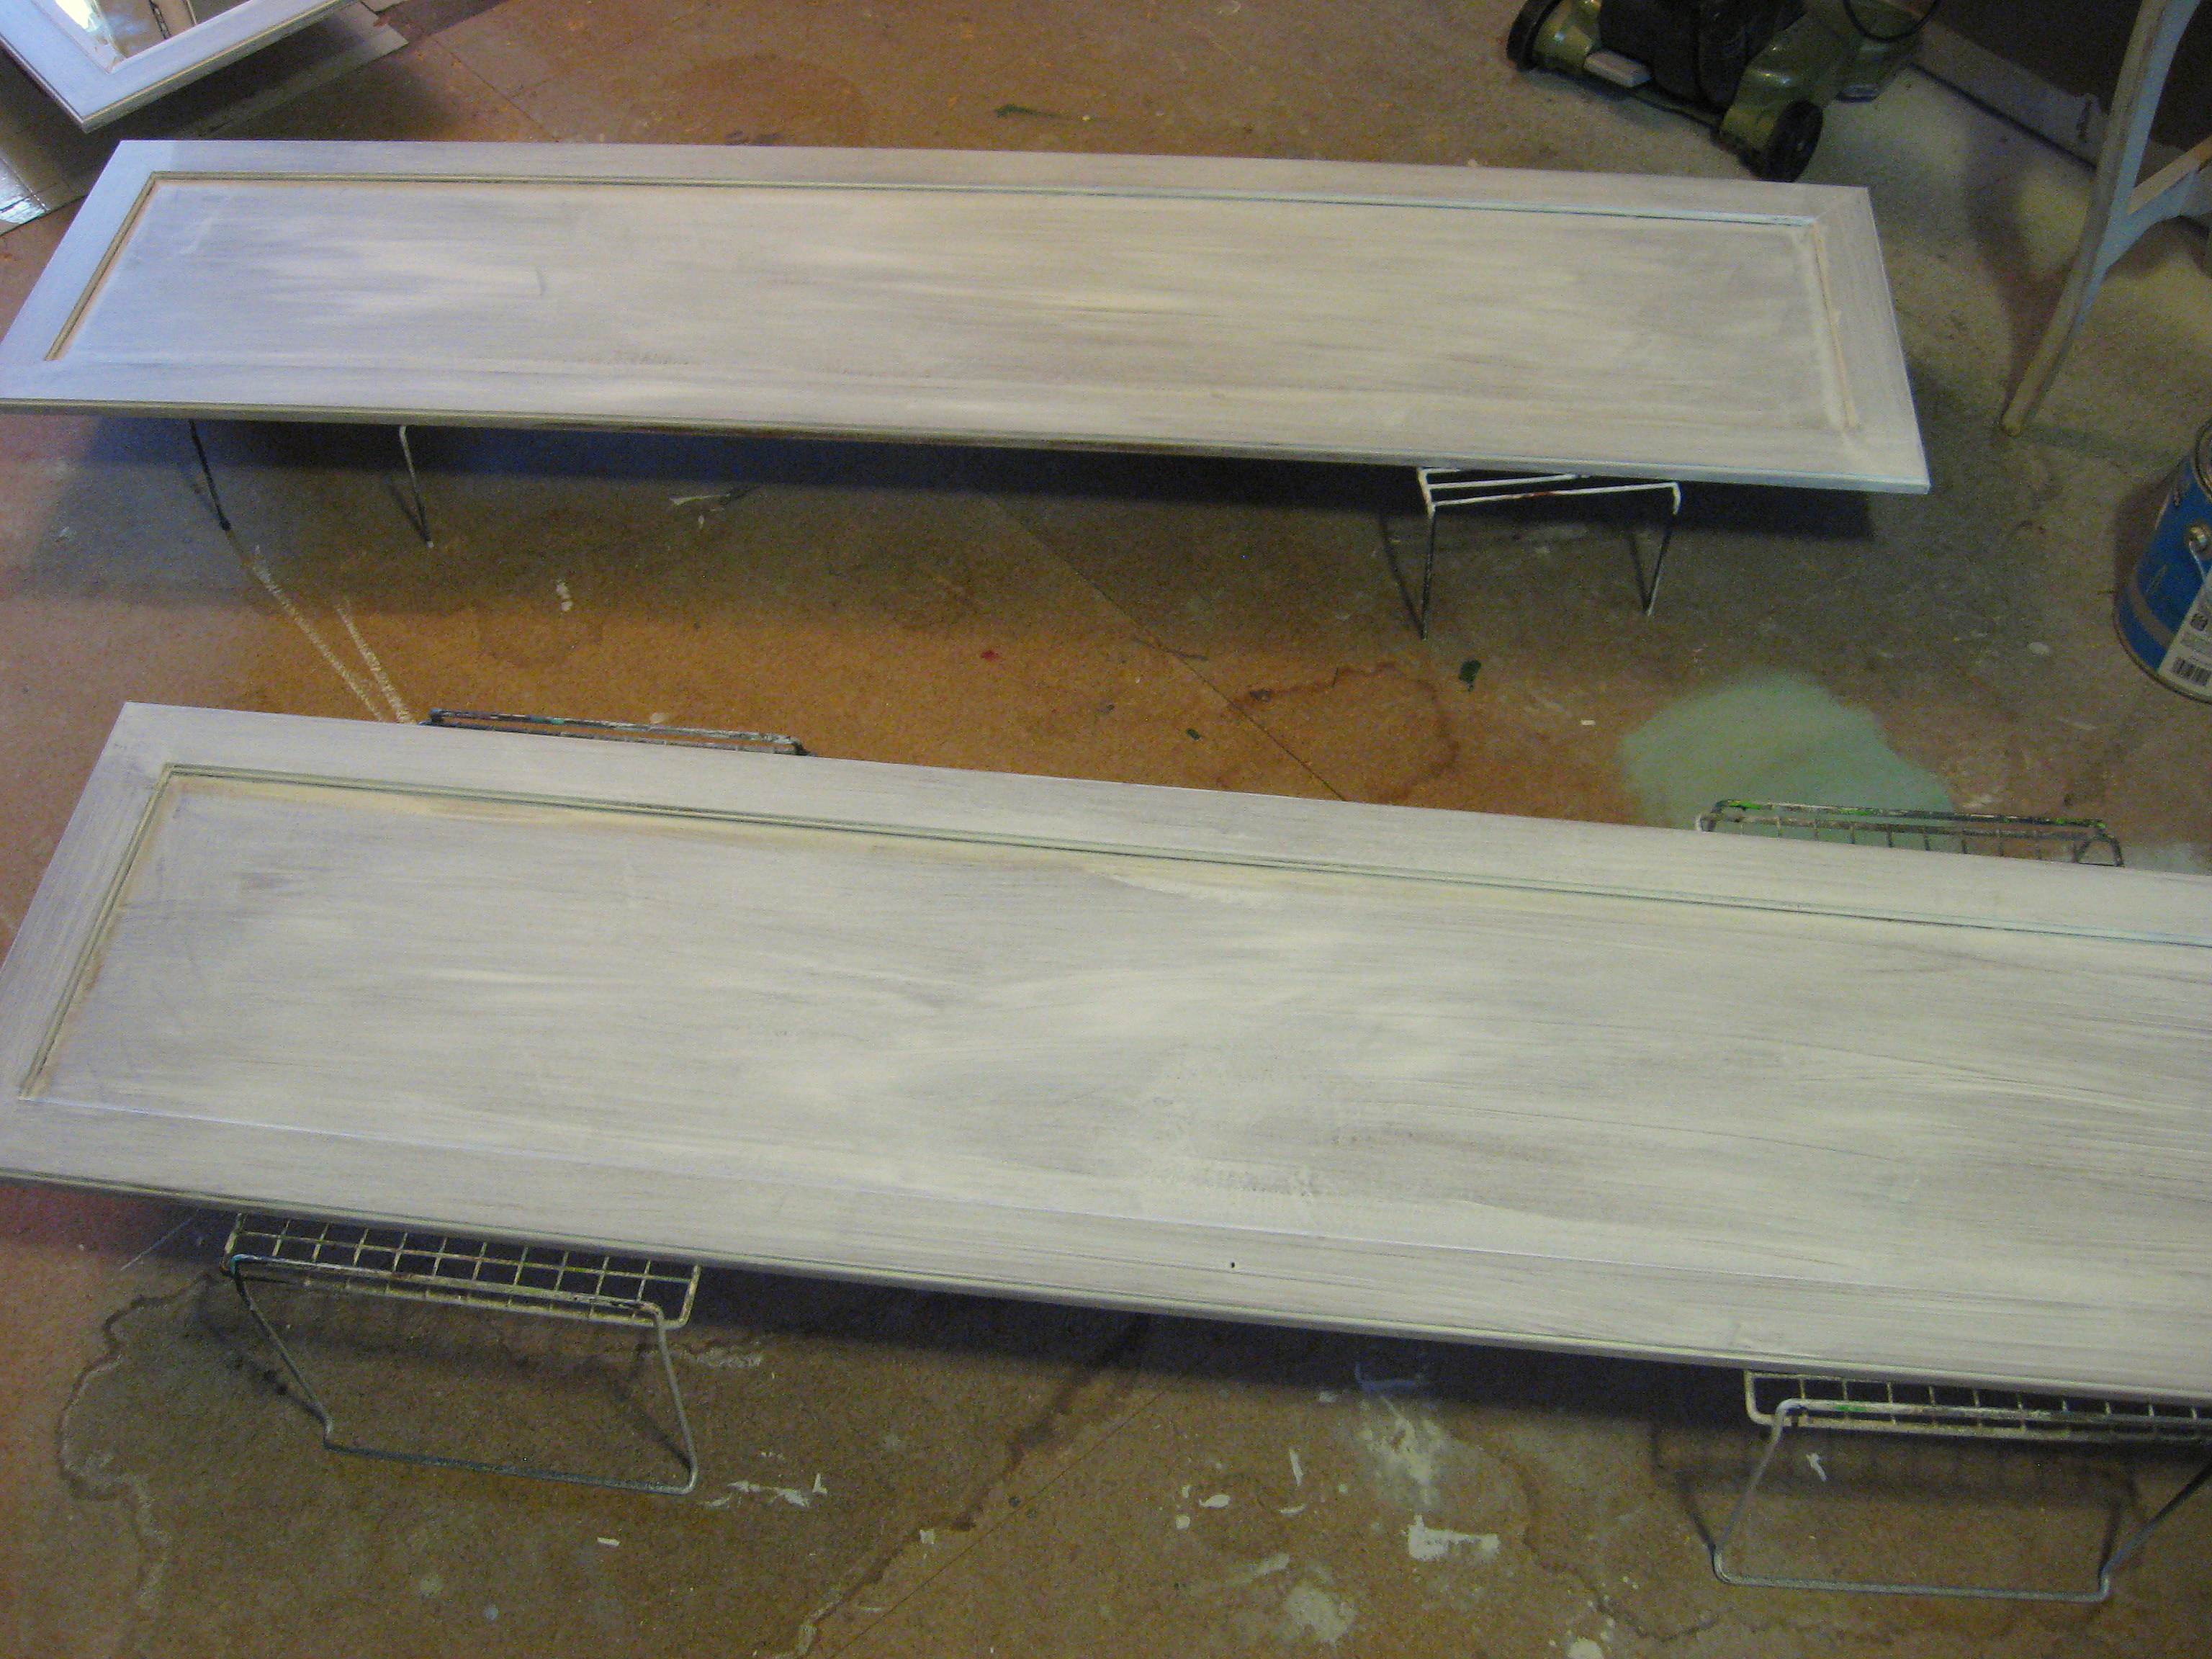
Once that is dry, I went over the whole piece with a fine grit sandpaper on a small detail electric sander, roughing up the whole surface and concentrating (holding my breath!) in a few spots along the edges to wear the paint down to the wood. The paint came off very worn and natural-looking just as if it had been on raw wood! Wonderful!
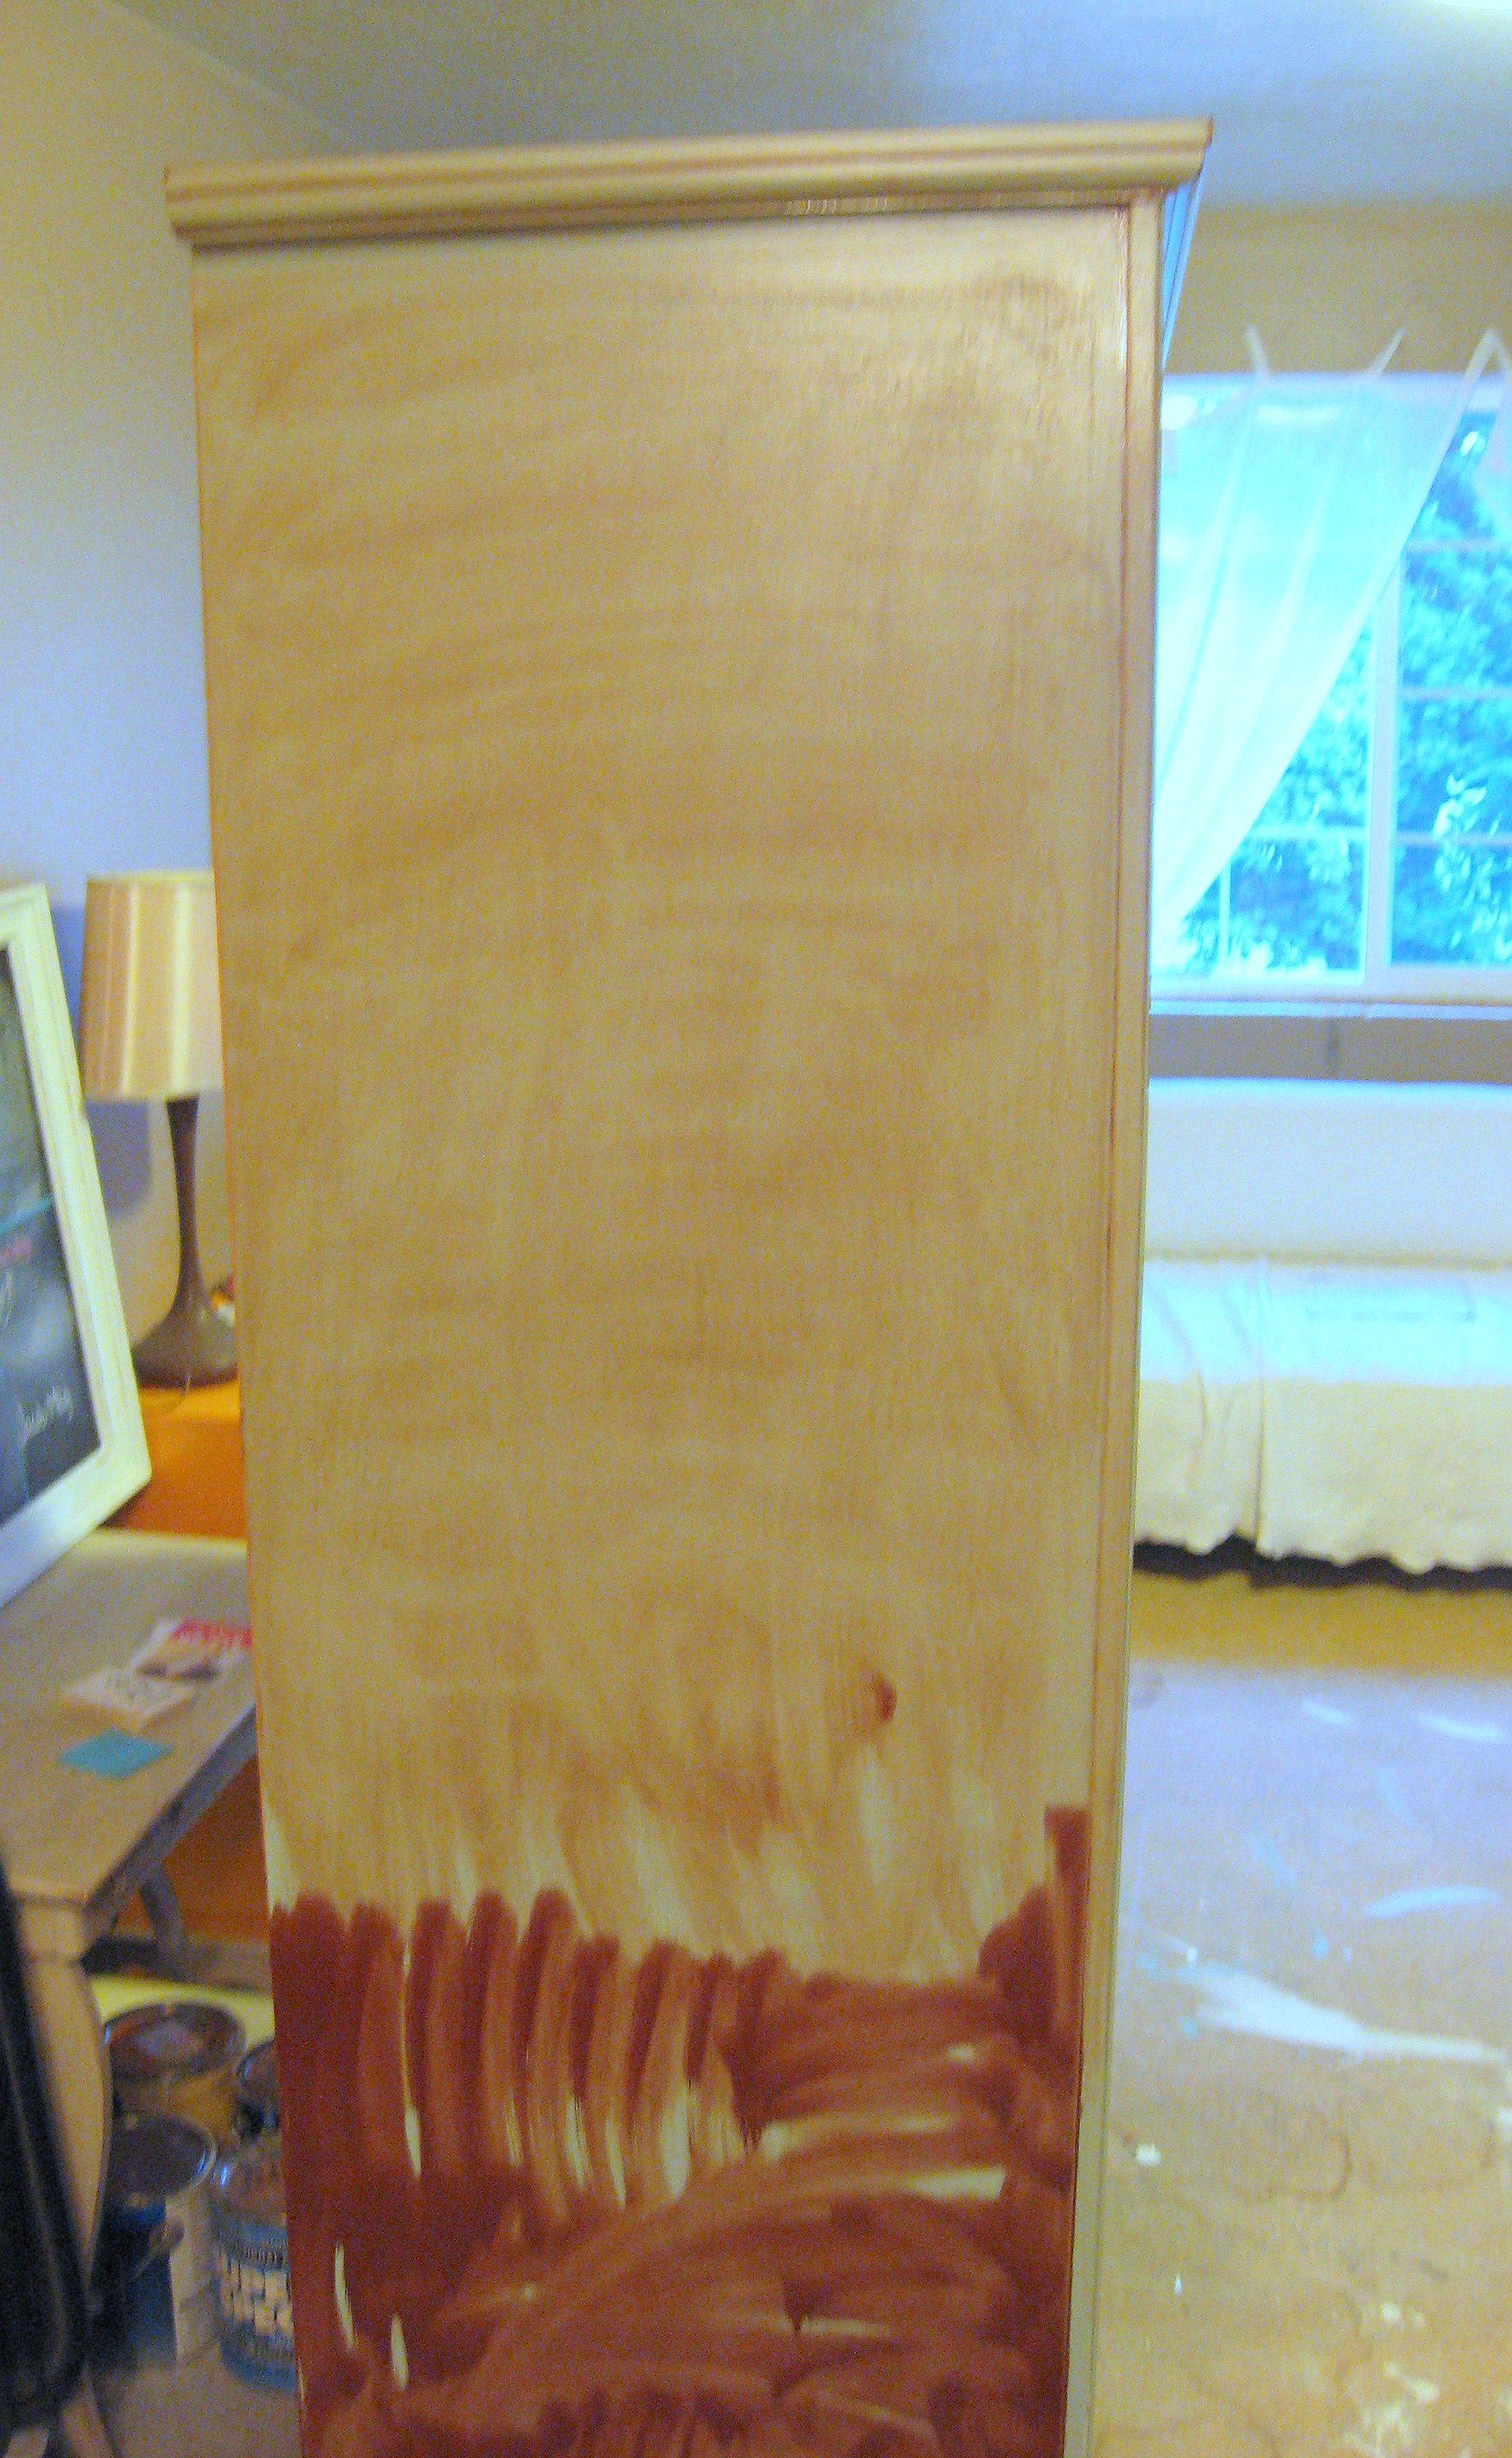
Next I put on a wood stain. Just brush it all over with a paintbrush – working in small sections –
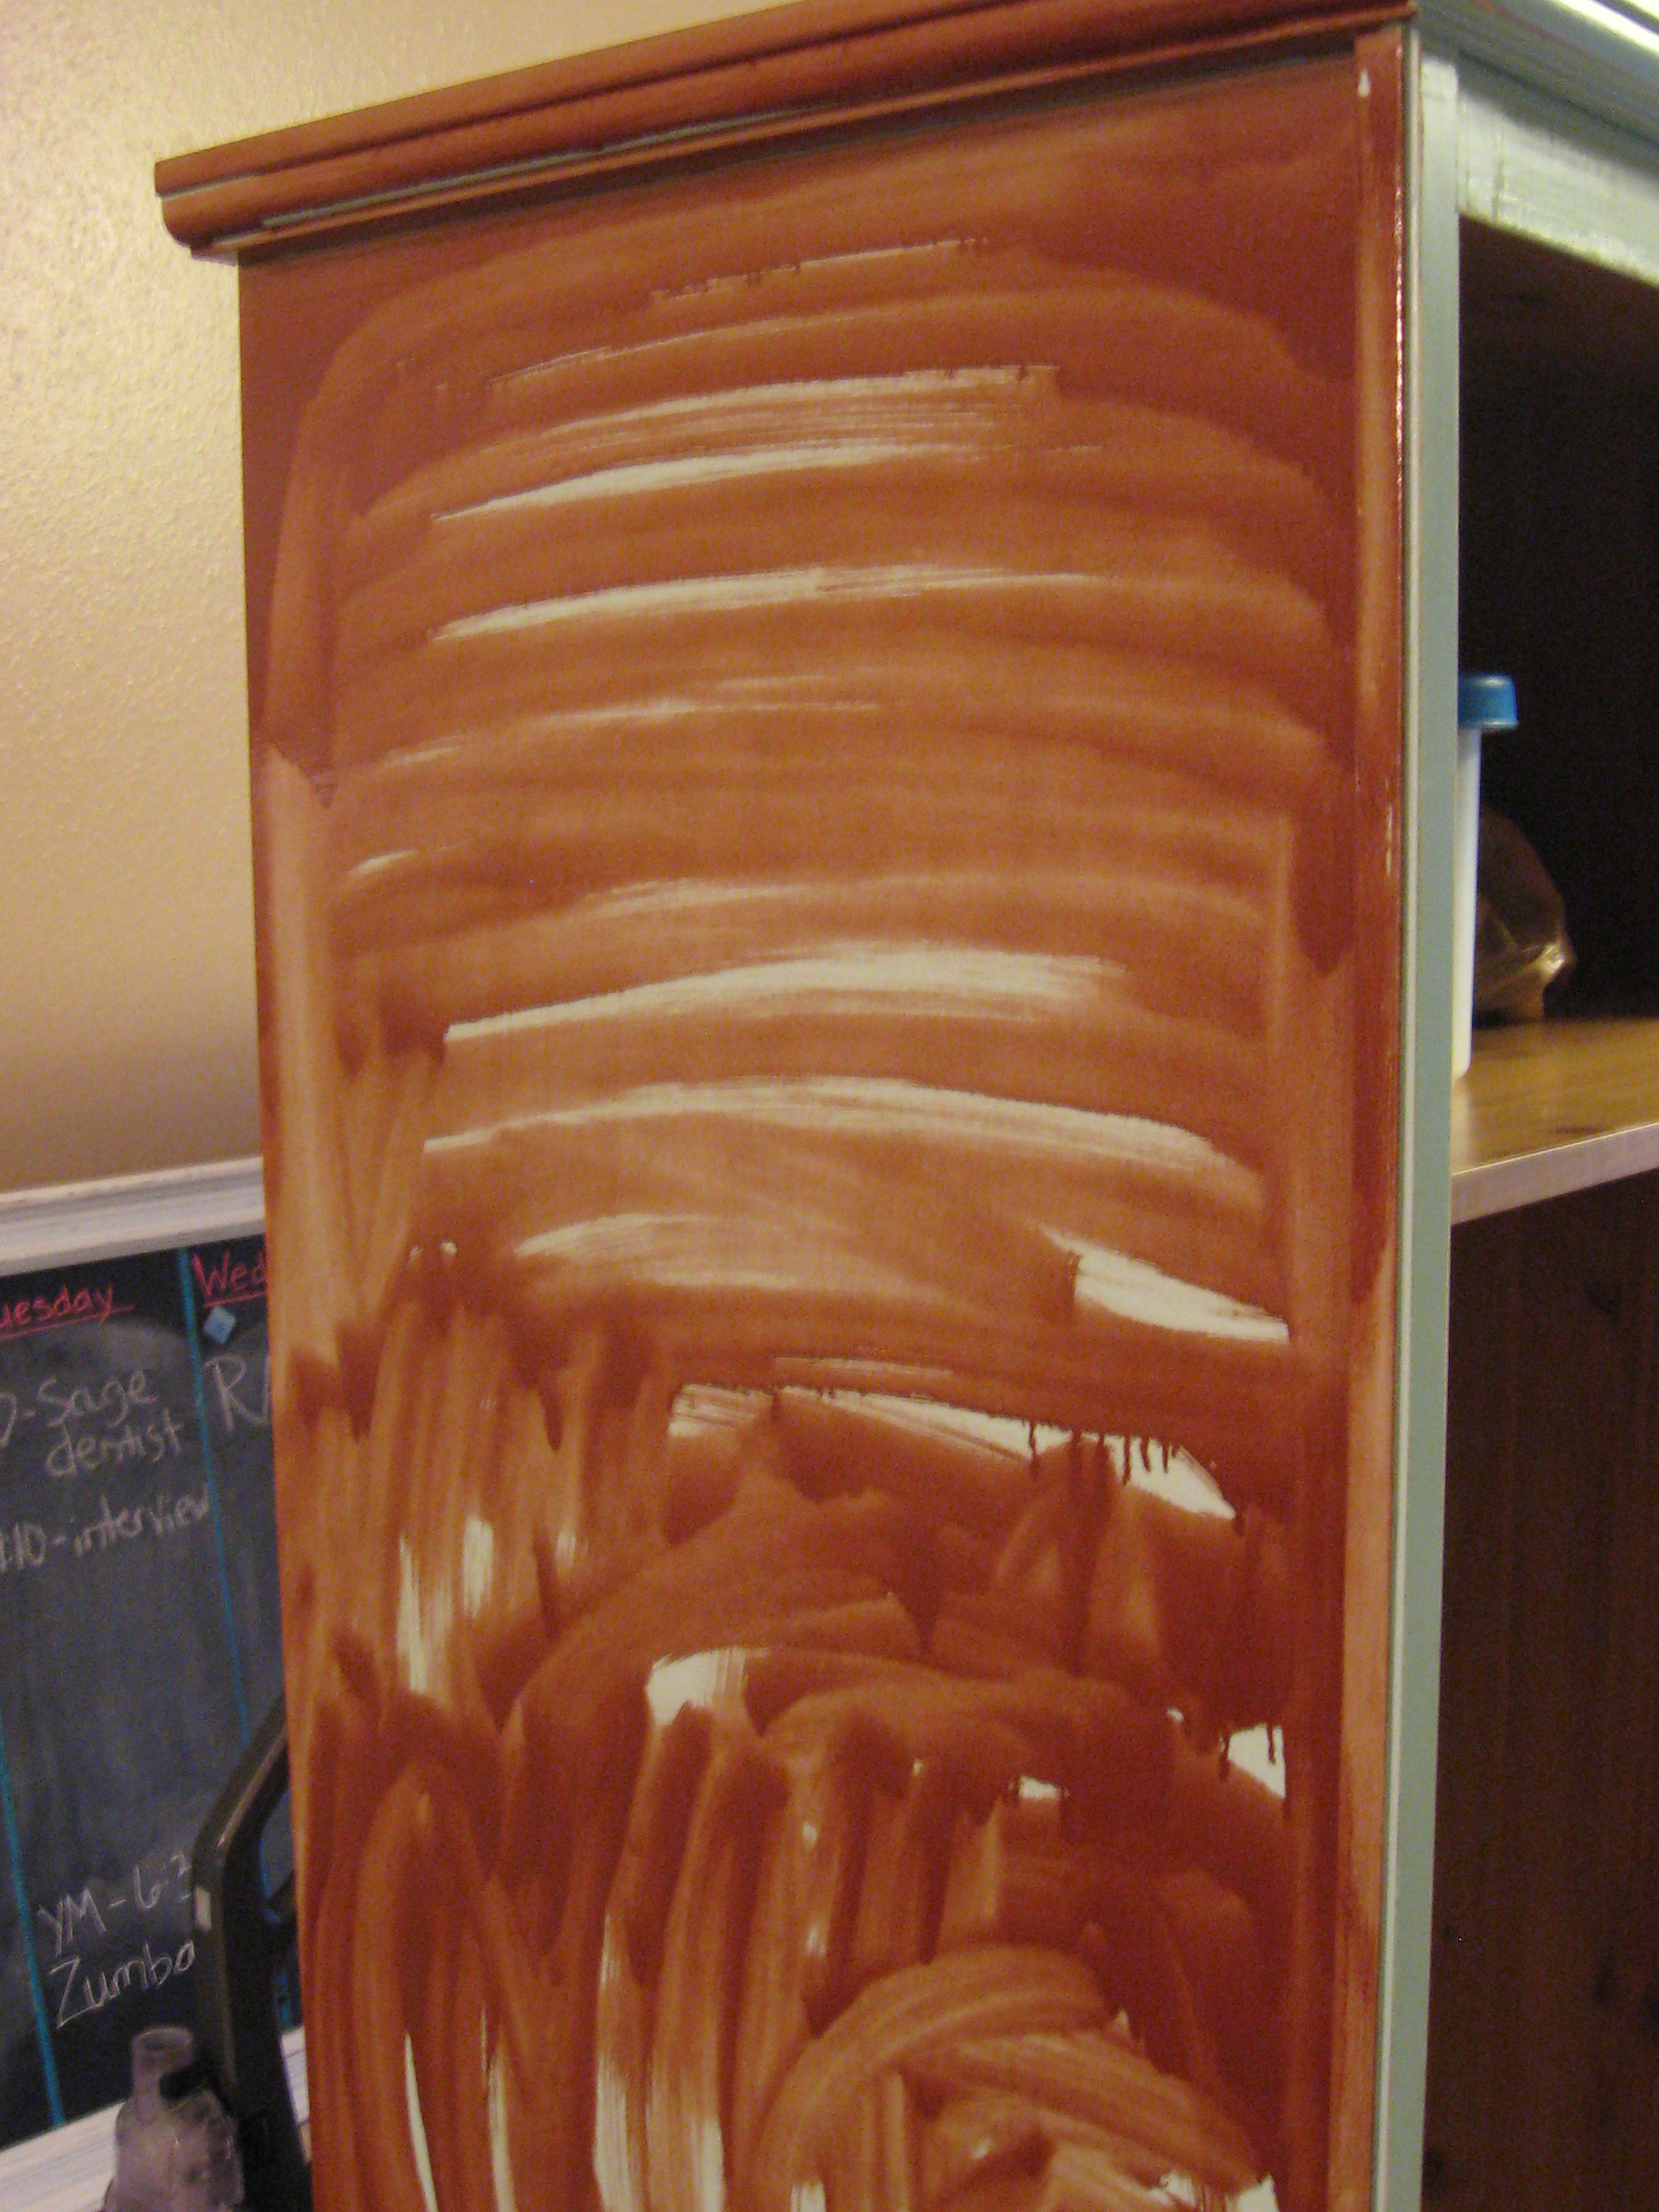
and then rub it back off with a rag. If you want it darker, then leave the stain on longer. If you want it lighter, continue to rub and buff it off with a rag until you get the desired results. Be sure to leave more stain in the crevices and cracks, where age build up would naturally occur.
Replace the doors and hardware – I got these cute little white ceramic knobs on a 50% off sale at Hobby Lobby for $2/knob. I saw the exact same knobs at Anthropologie for $7!
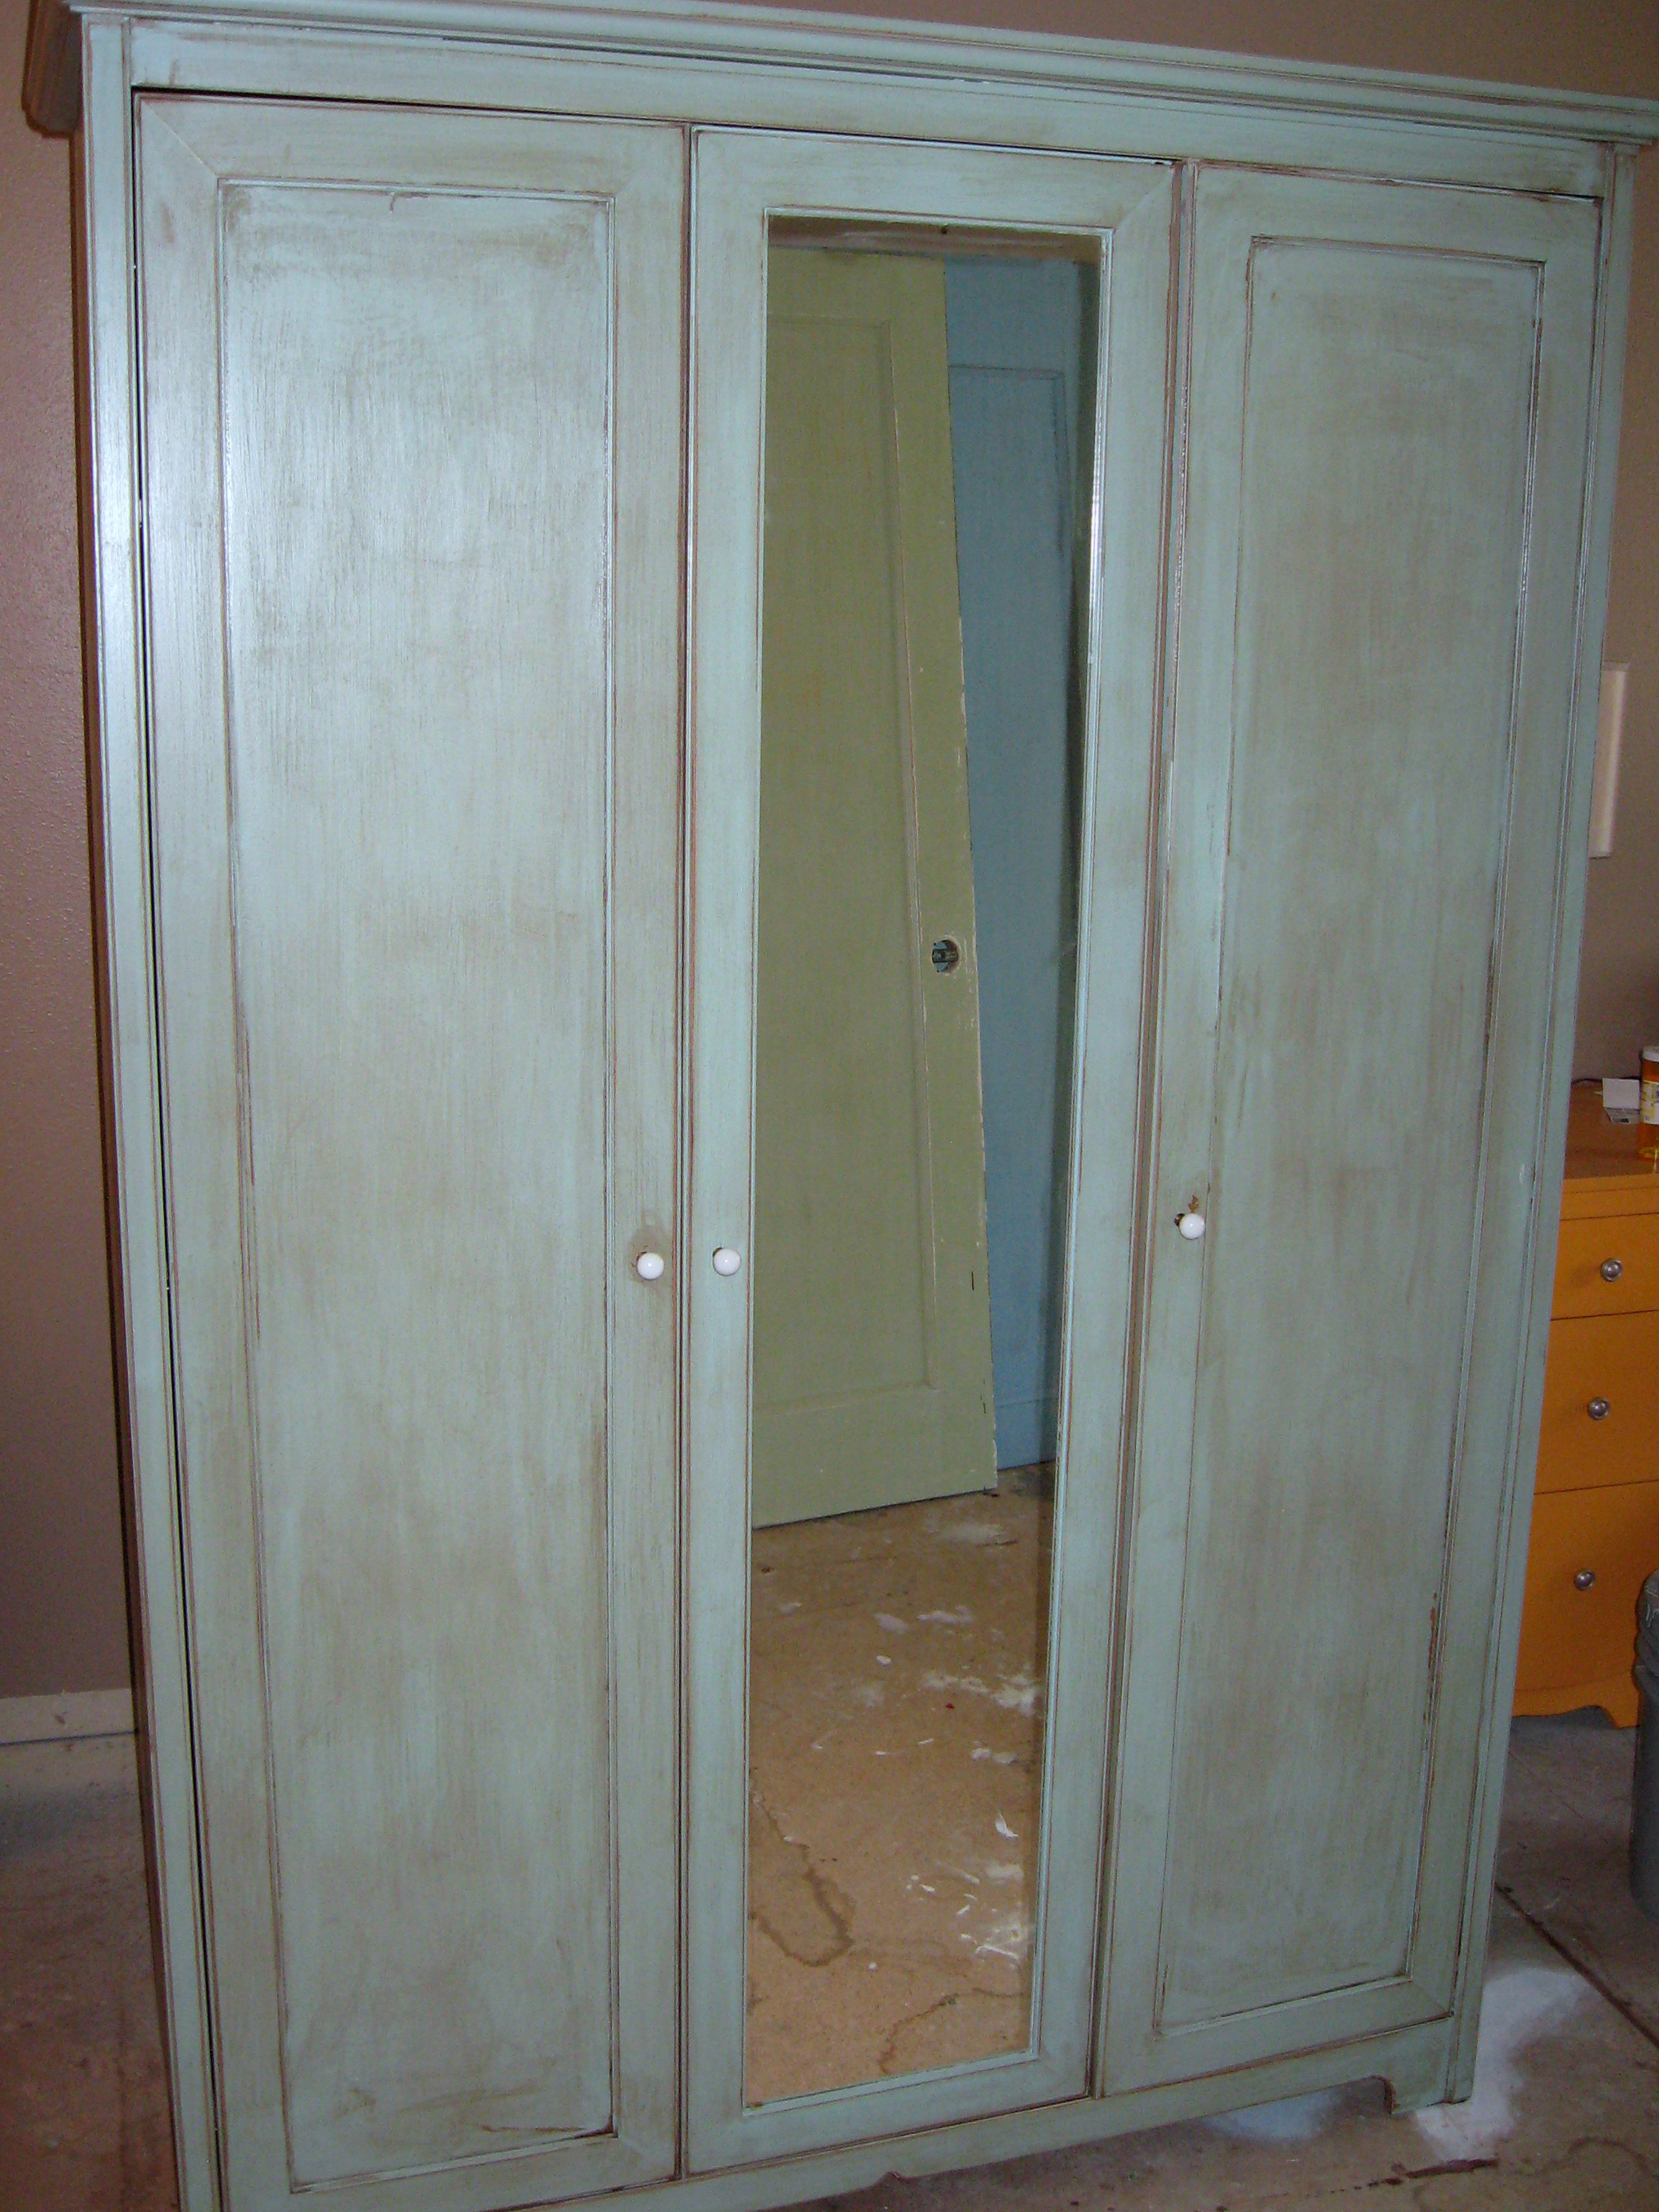
This has been sitting in the middle of our massive-messy remodel now for 3 weeks waiting patiently for us to finish the floor in it’s eventual home. It has been bumped, scraped, brushed up against and generally abused and it still looks great and COULD NOT have been easier to do.