Just in case you missed this article on making a padded messenger bad strap the first time we shared it a couple of years ago, we are republishing it. After Sharon wrote this blog originally, we got an awesome response. This is one of the PYP Best Blogs!
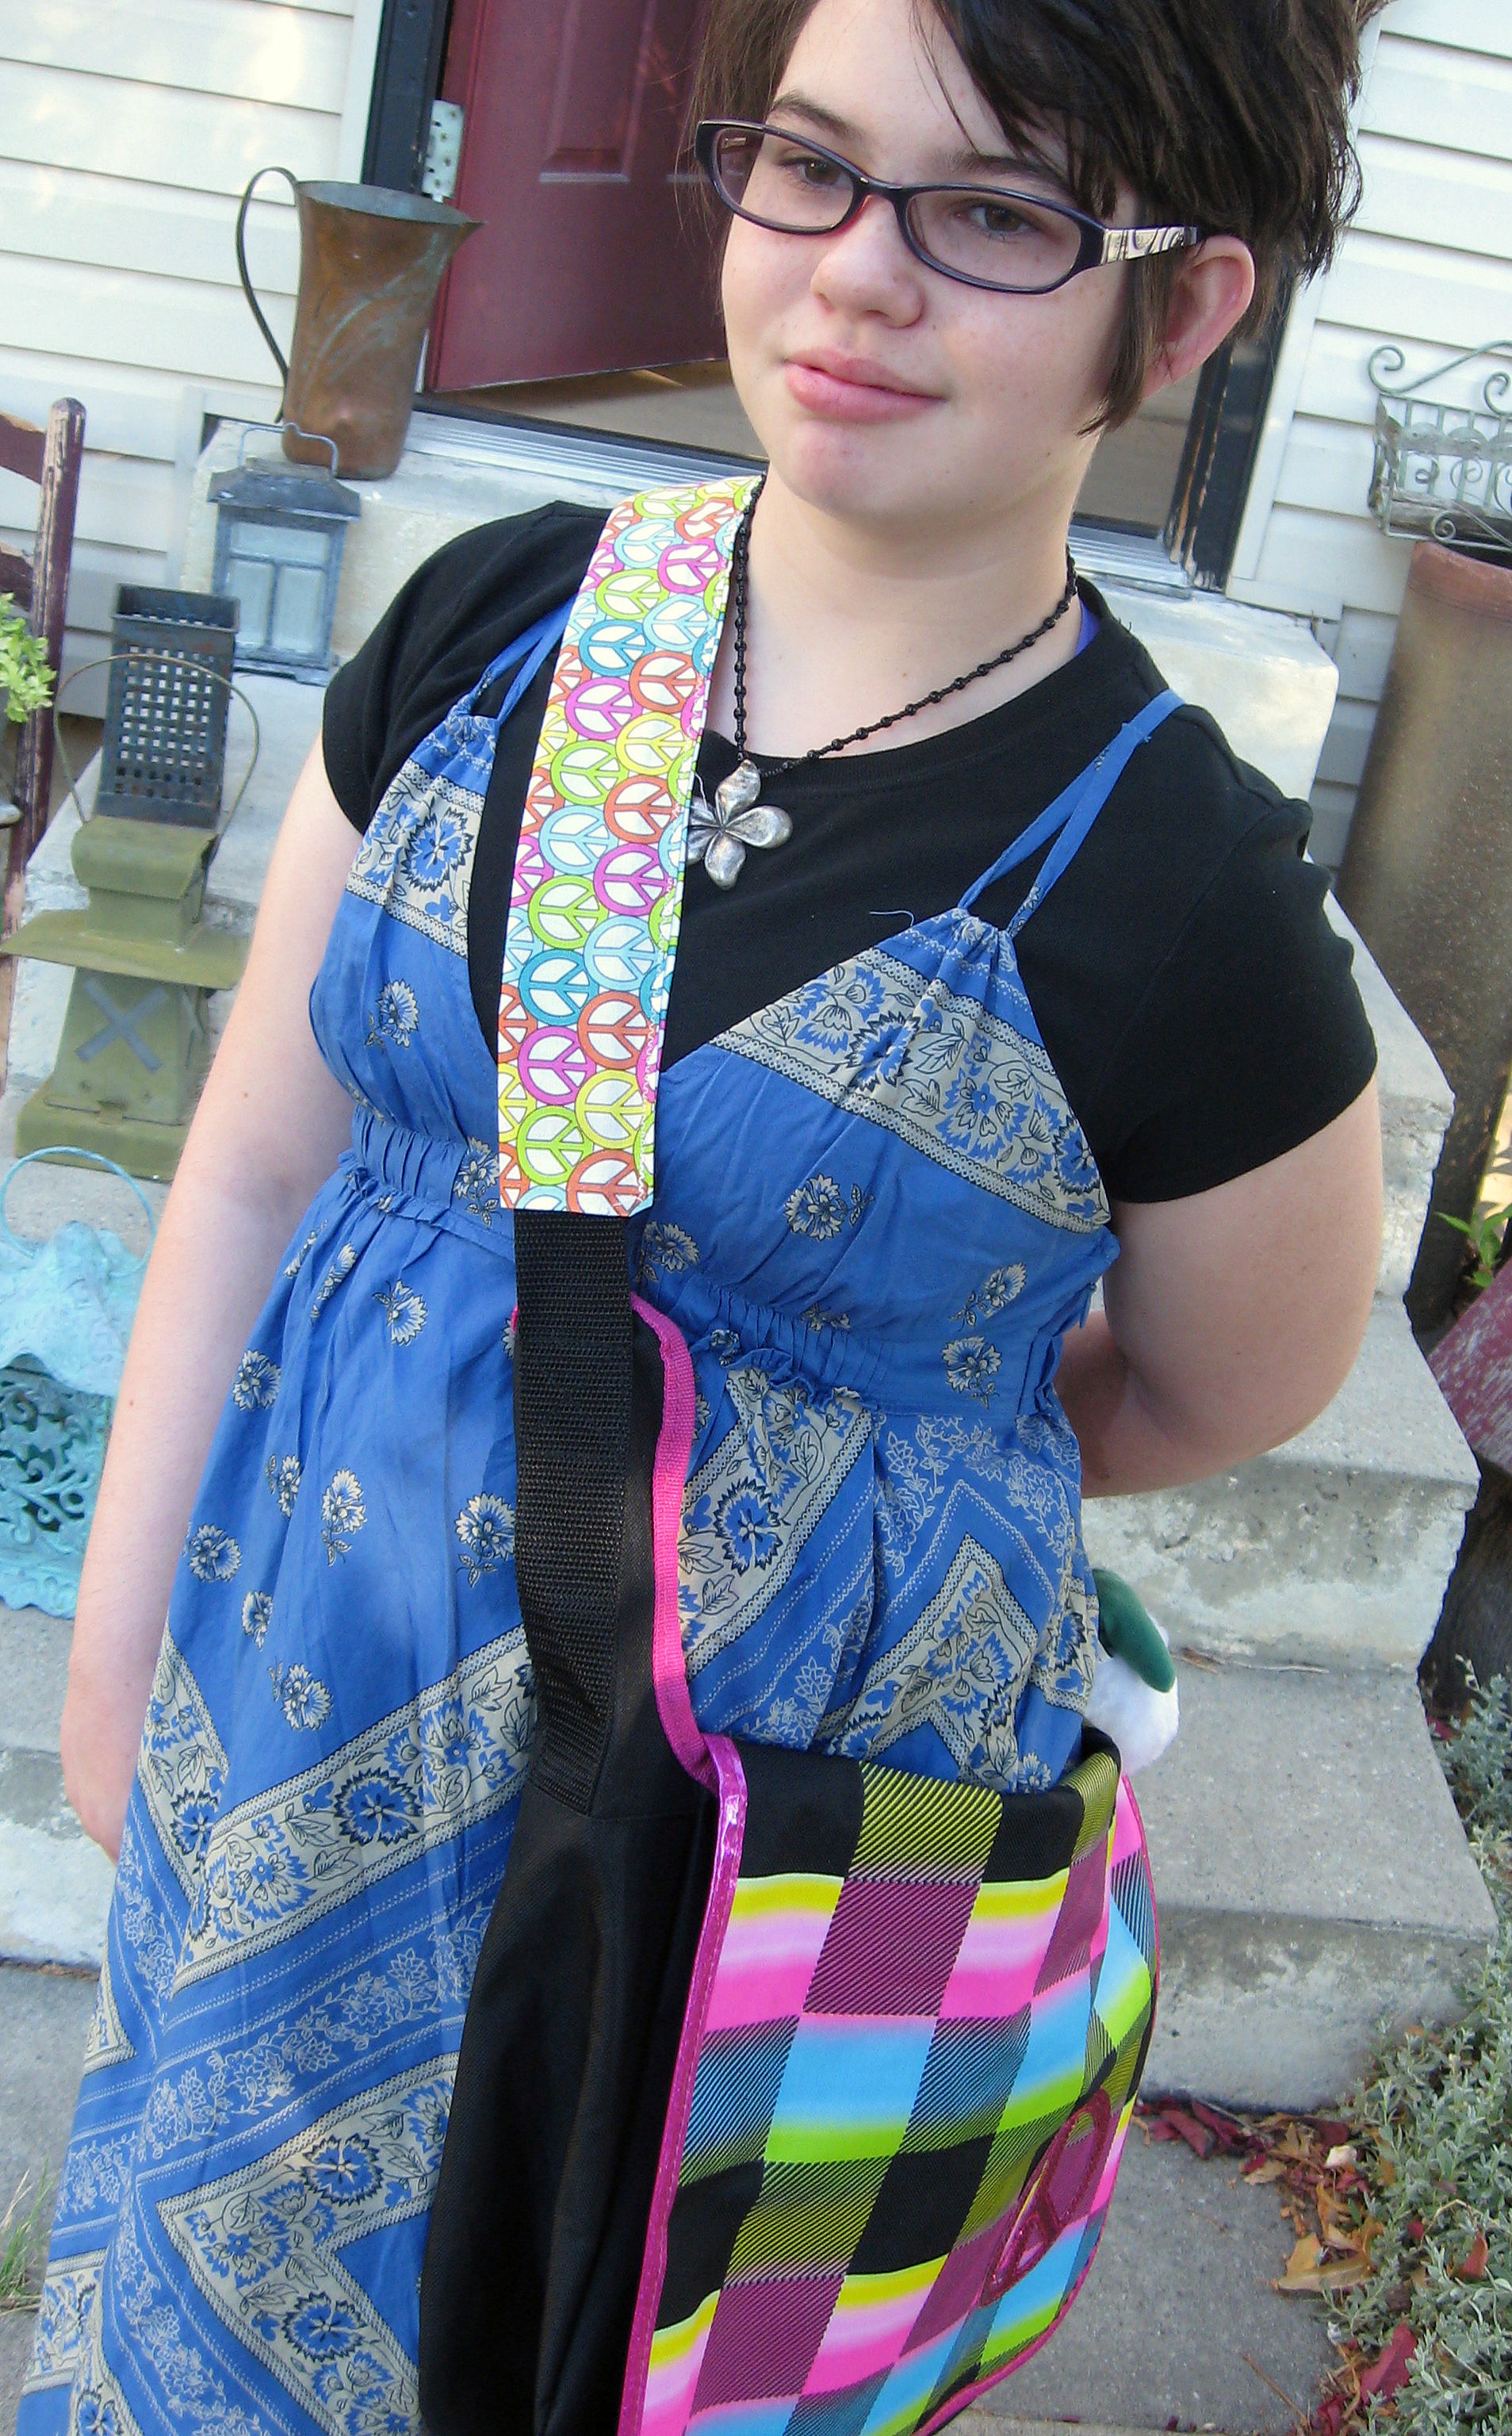
My daughter prefers messenger bags to backpacks, but I find that if I leave them as they are, she comes home bright red and irritated where the strap has rubbed her neck. Luckily it couldn’t be easier to use a piece of scrap fabric to make an almost no-sew padded strap cover.
This year’s messenger bag does not have a detachable strap, so this tutorial will be for that. If your strap comes off, then it is even easier because you can sew the cover, then just slip it onto the strap.
First, cut off the padded part of the strap if it has one, and throw it away – so useless!
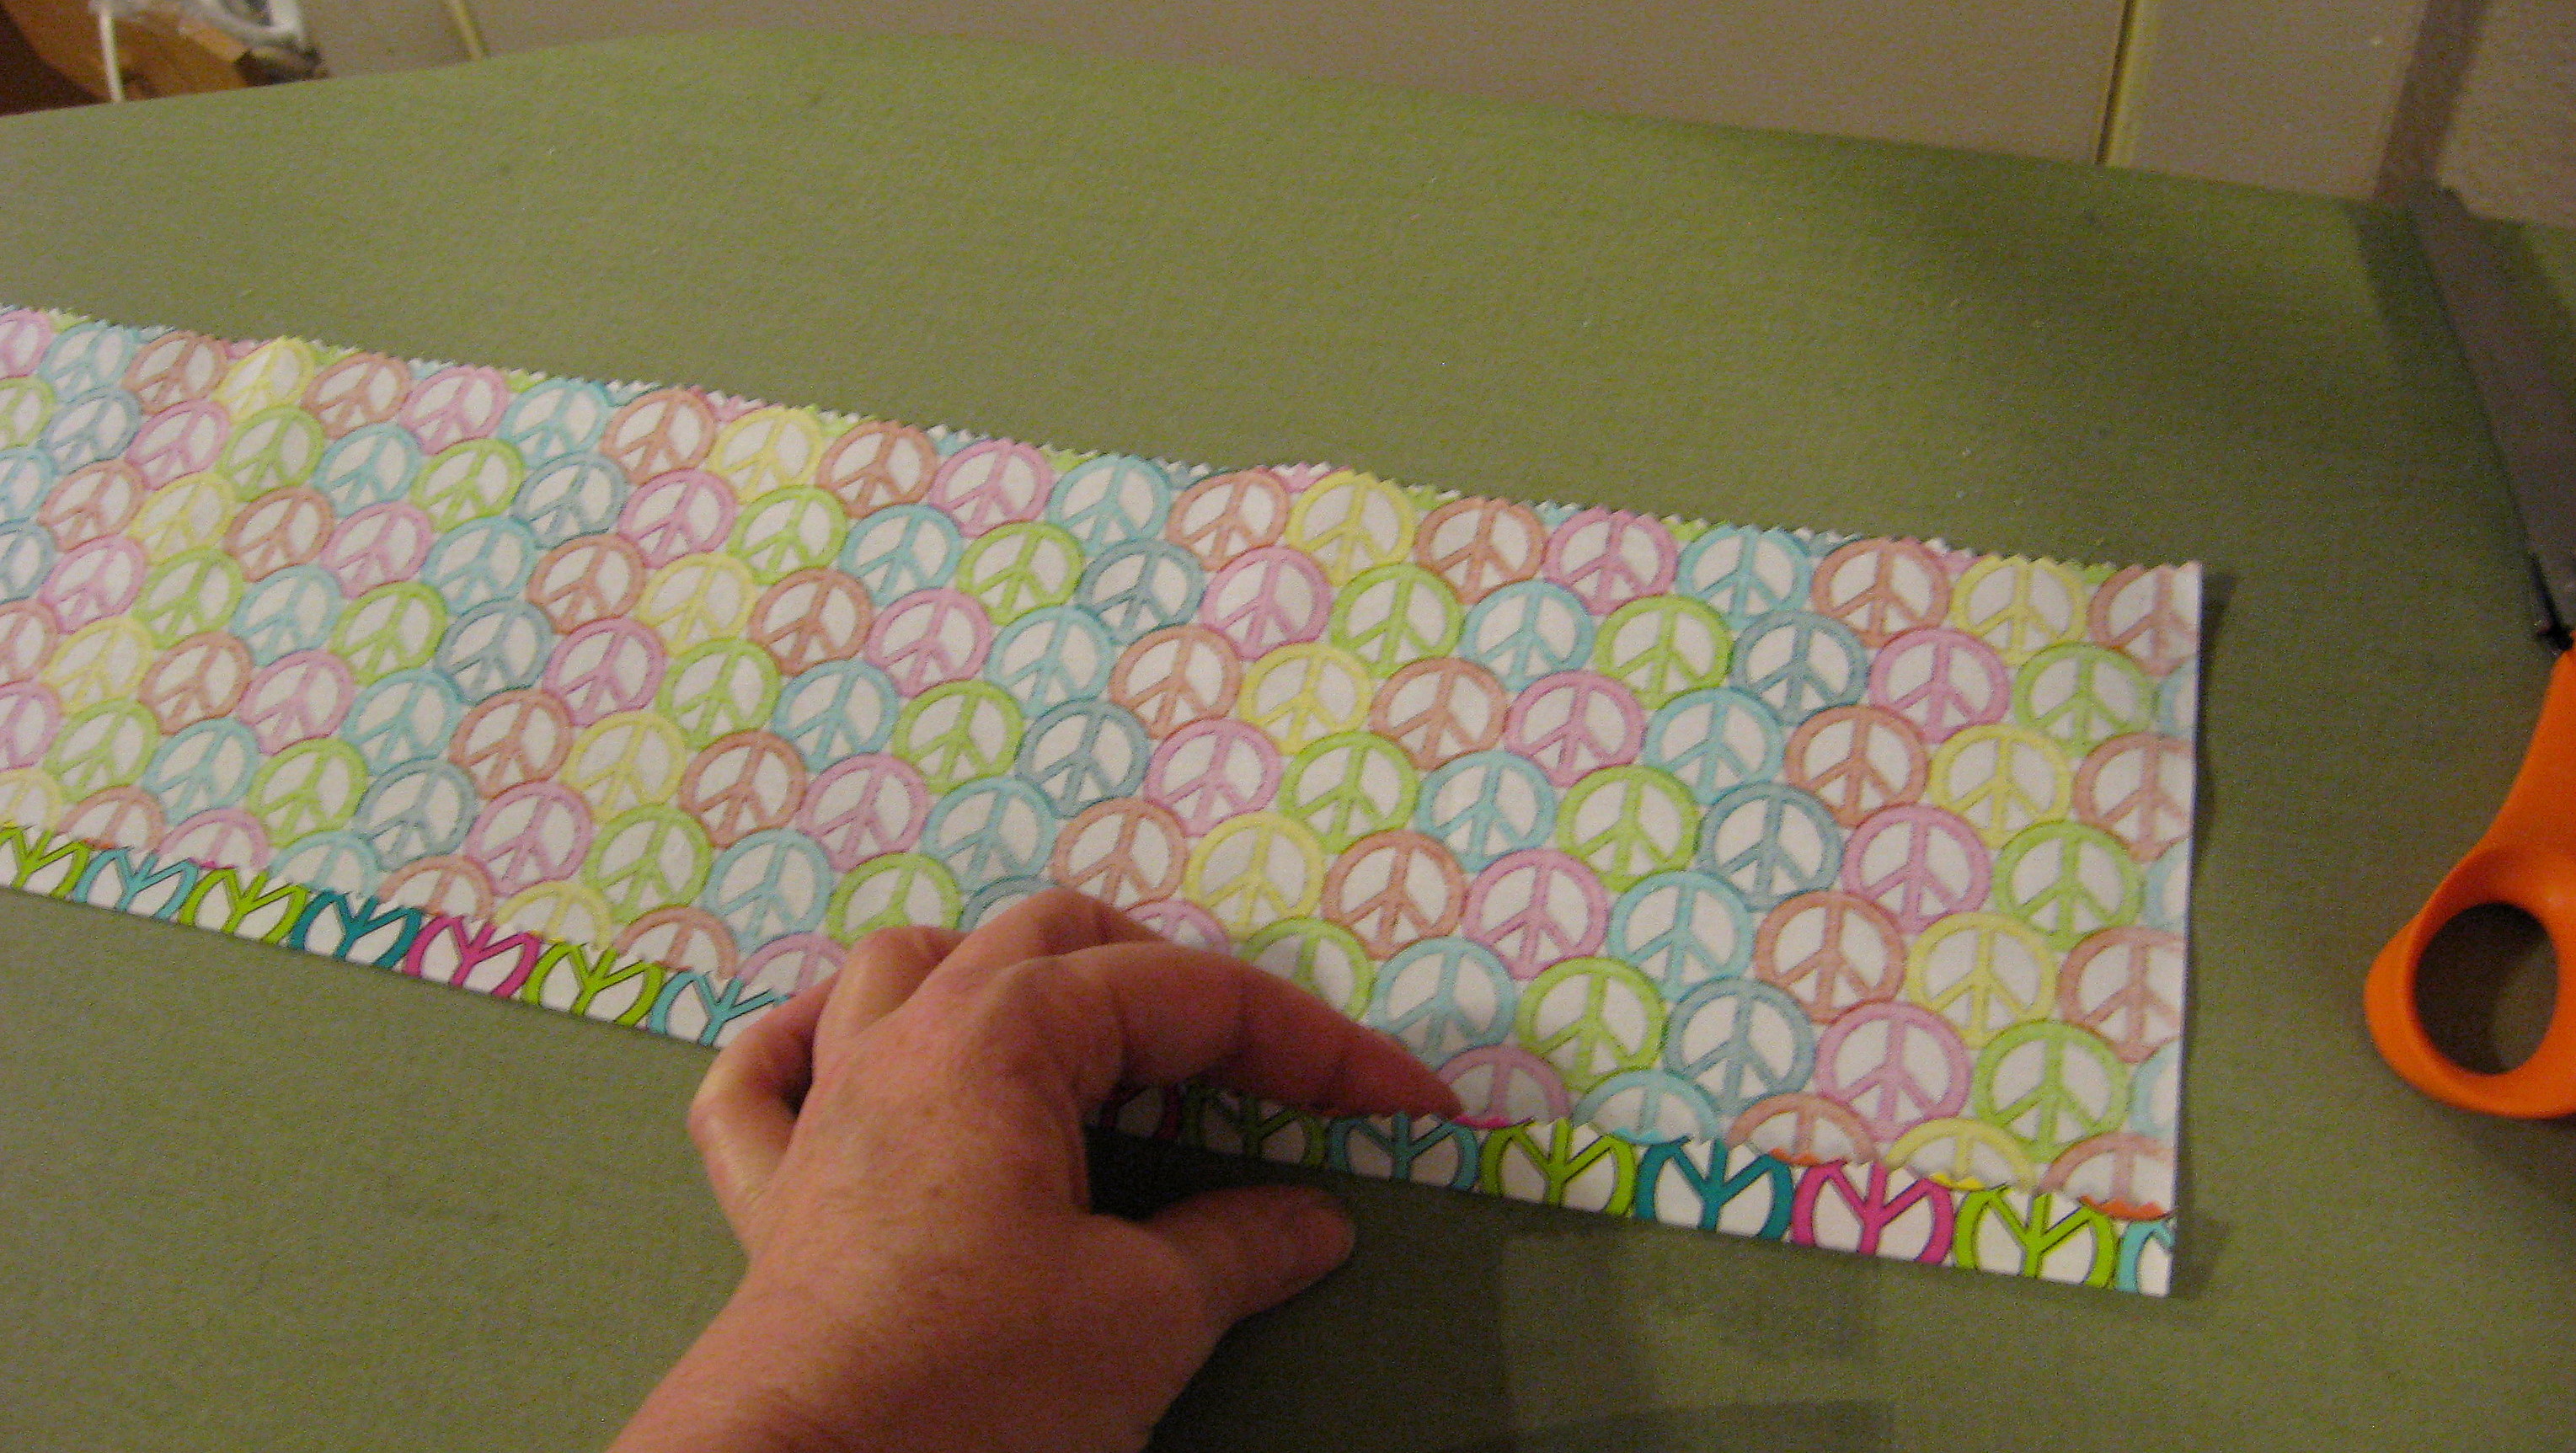
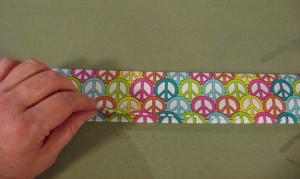
Decide how long you want the strap to be; mine is about 24 inches long because I like the way it looks, but you could do it shorter if you like. Then, figure out how wide to make it. Measure the width of the strap, double it and add 1 1/2 inches – my strap is 1 1/2 inches wide, so the width of my fabric will be 4 1/2 inches wide. Cut out your fabric into a rectangle in those measurements (so mine is 24″ X 4 1/2″).
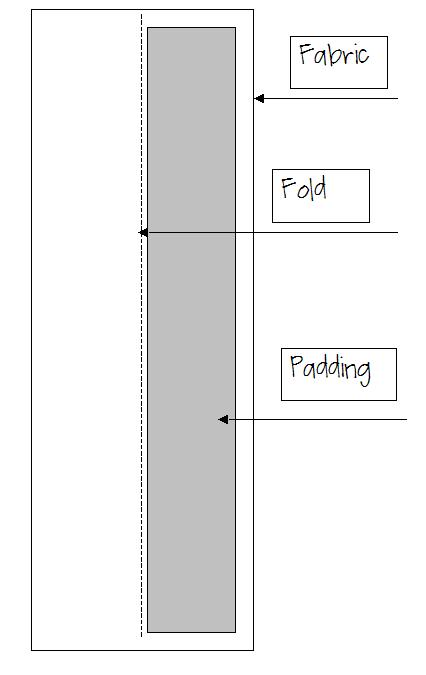
Fold down each long side 1/2 inch and iron. Put a strip of Heat and Bond inside this fold and iron it down following the manufacture’s instructions.
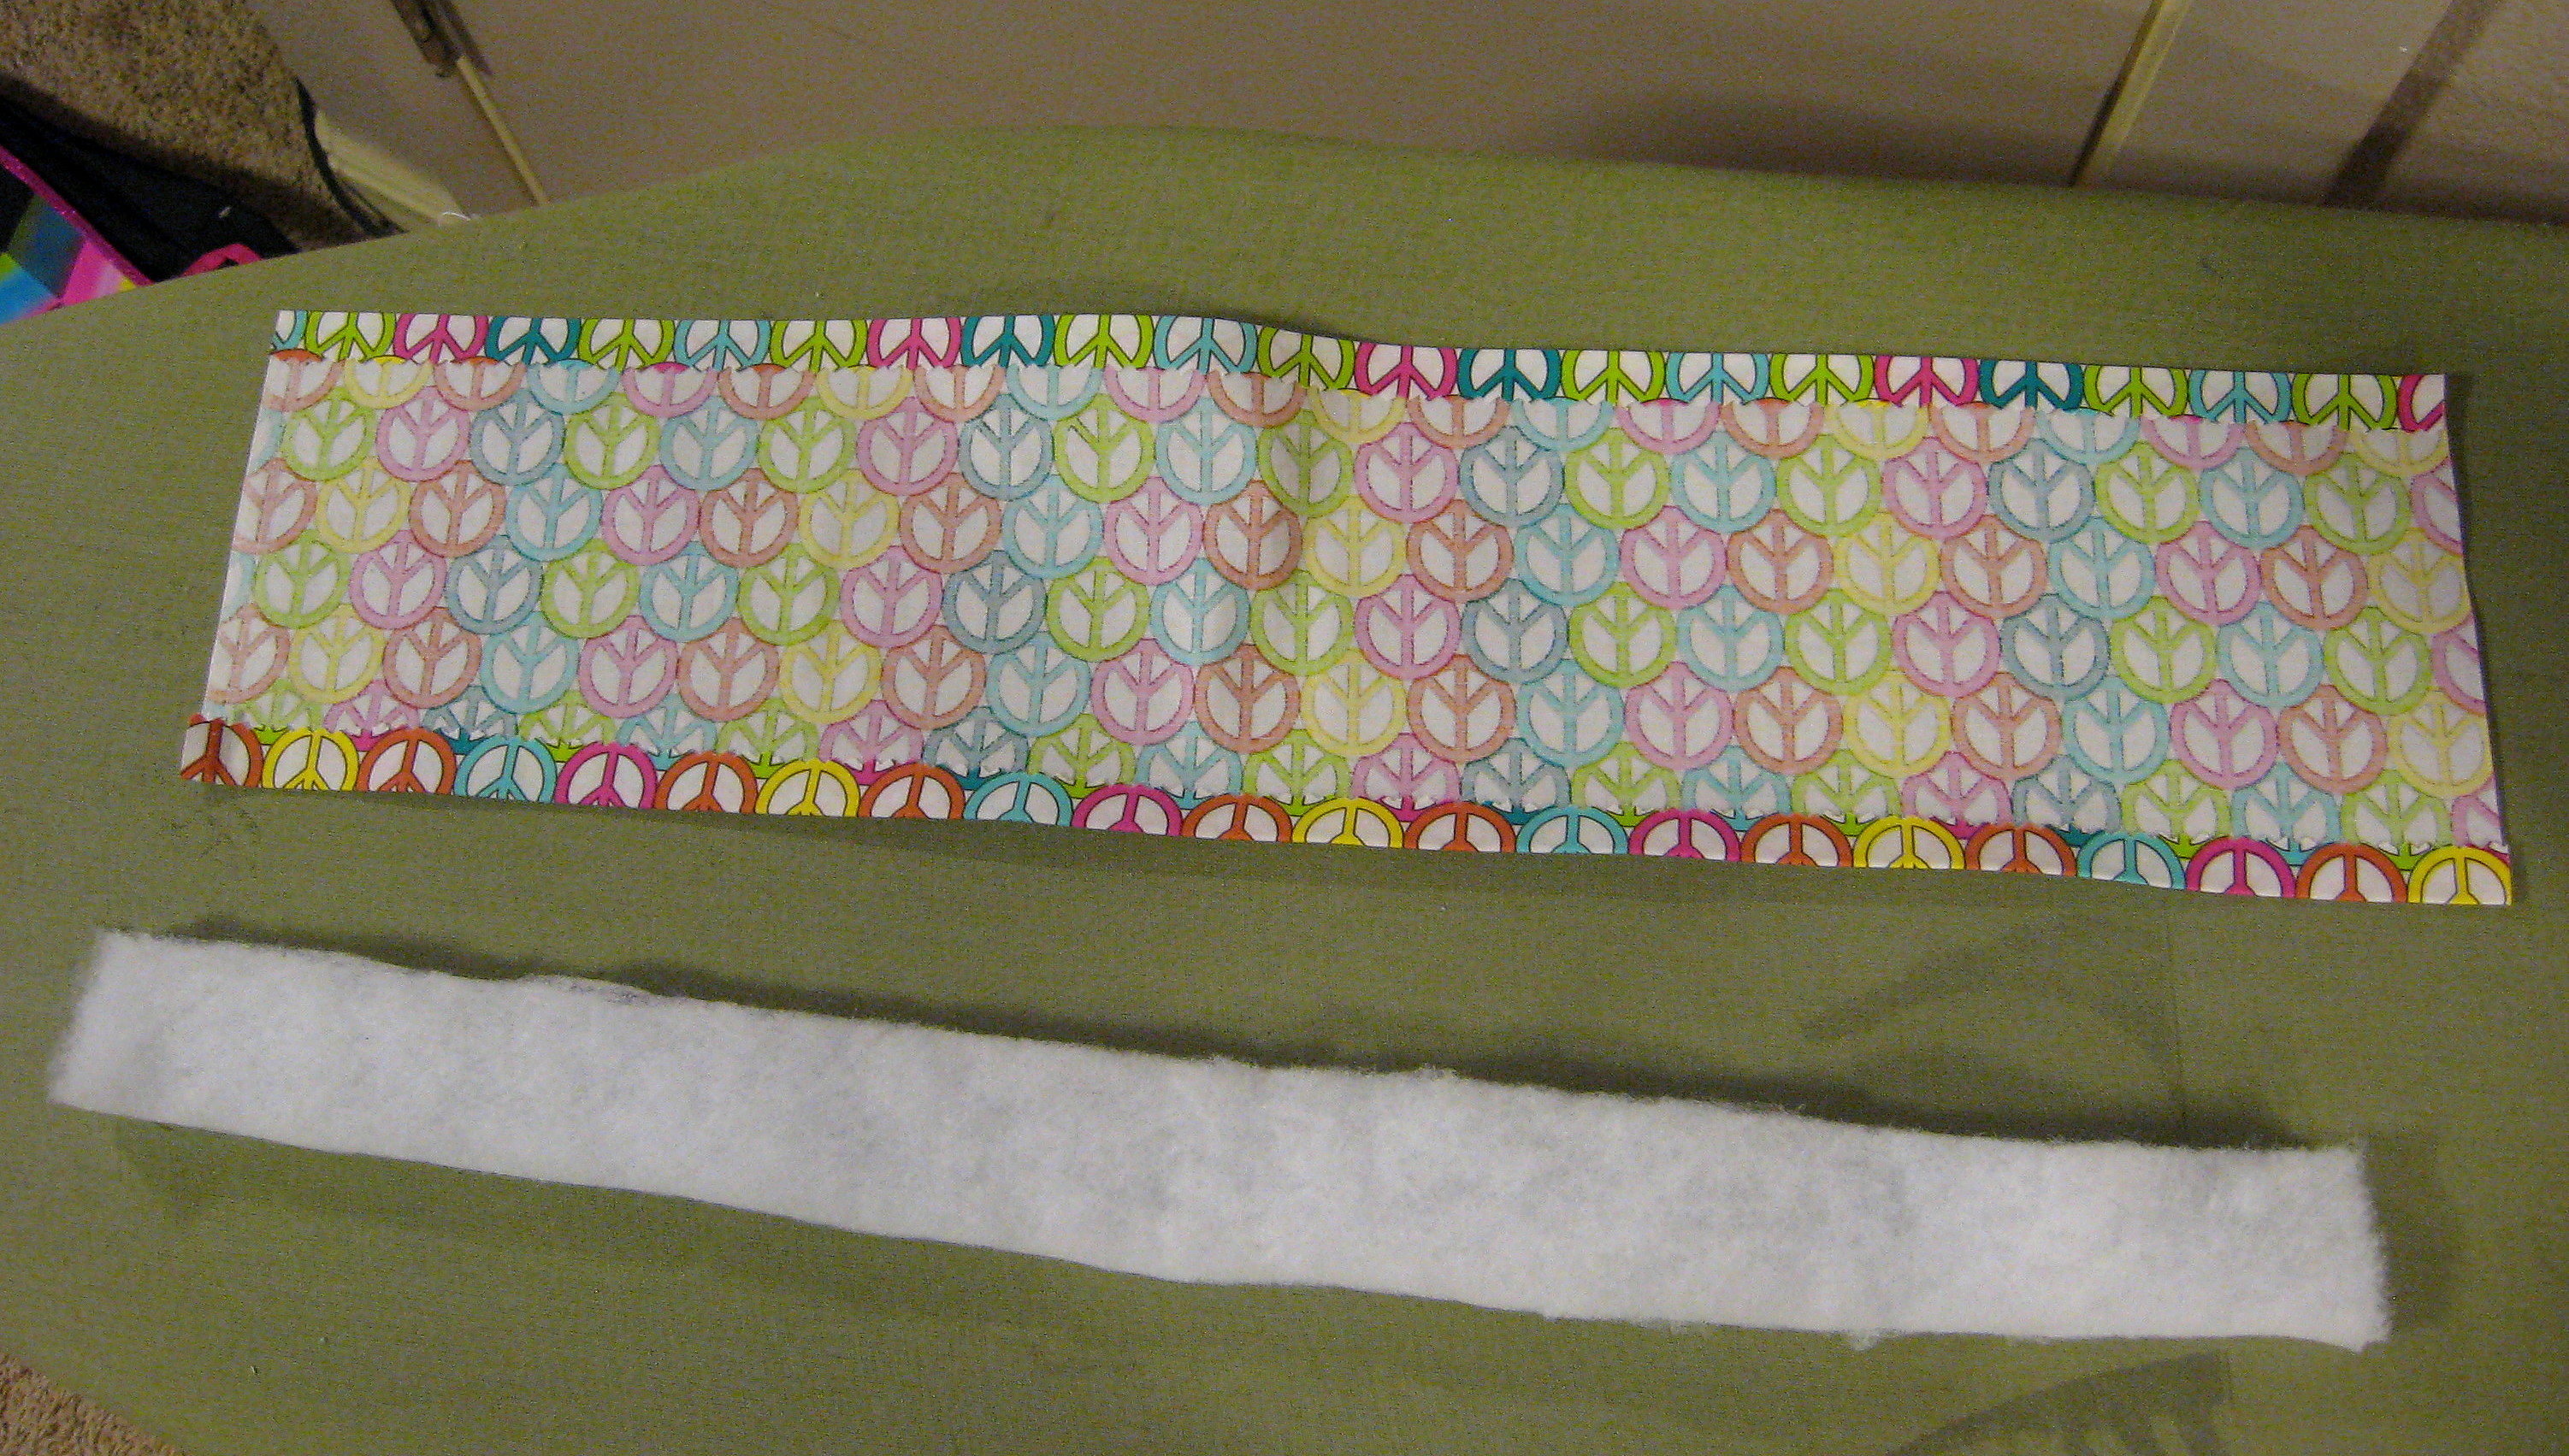
Now cut a piece of padding almost as long as the strip of fabric, and the same width of the original strap (mine is about 21″ long by 1 1/2″ wide). Here, I used quilt batting, but in the past I have used fleece fabric and that works great too.
Fold the fabric in half and iron it flat.
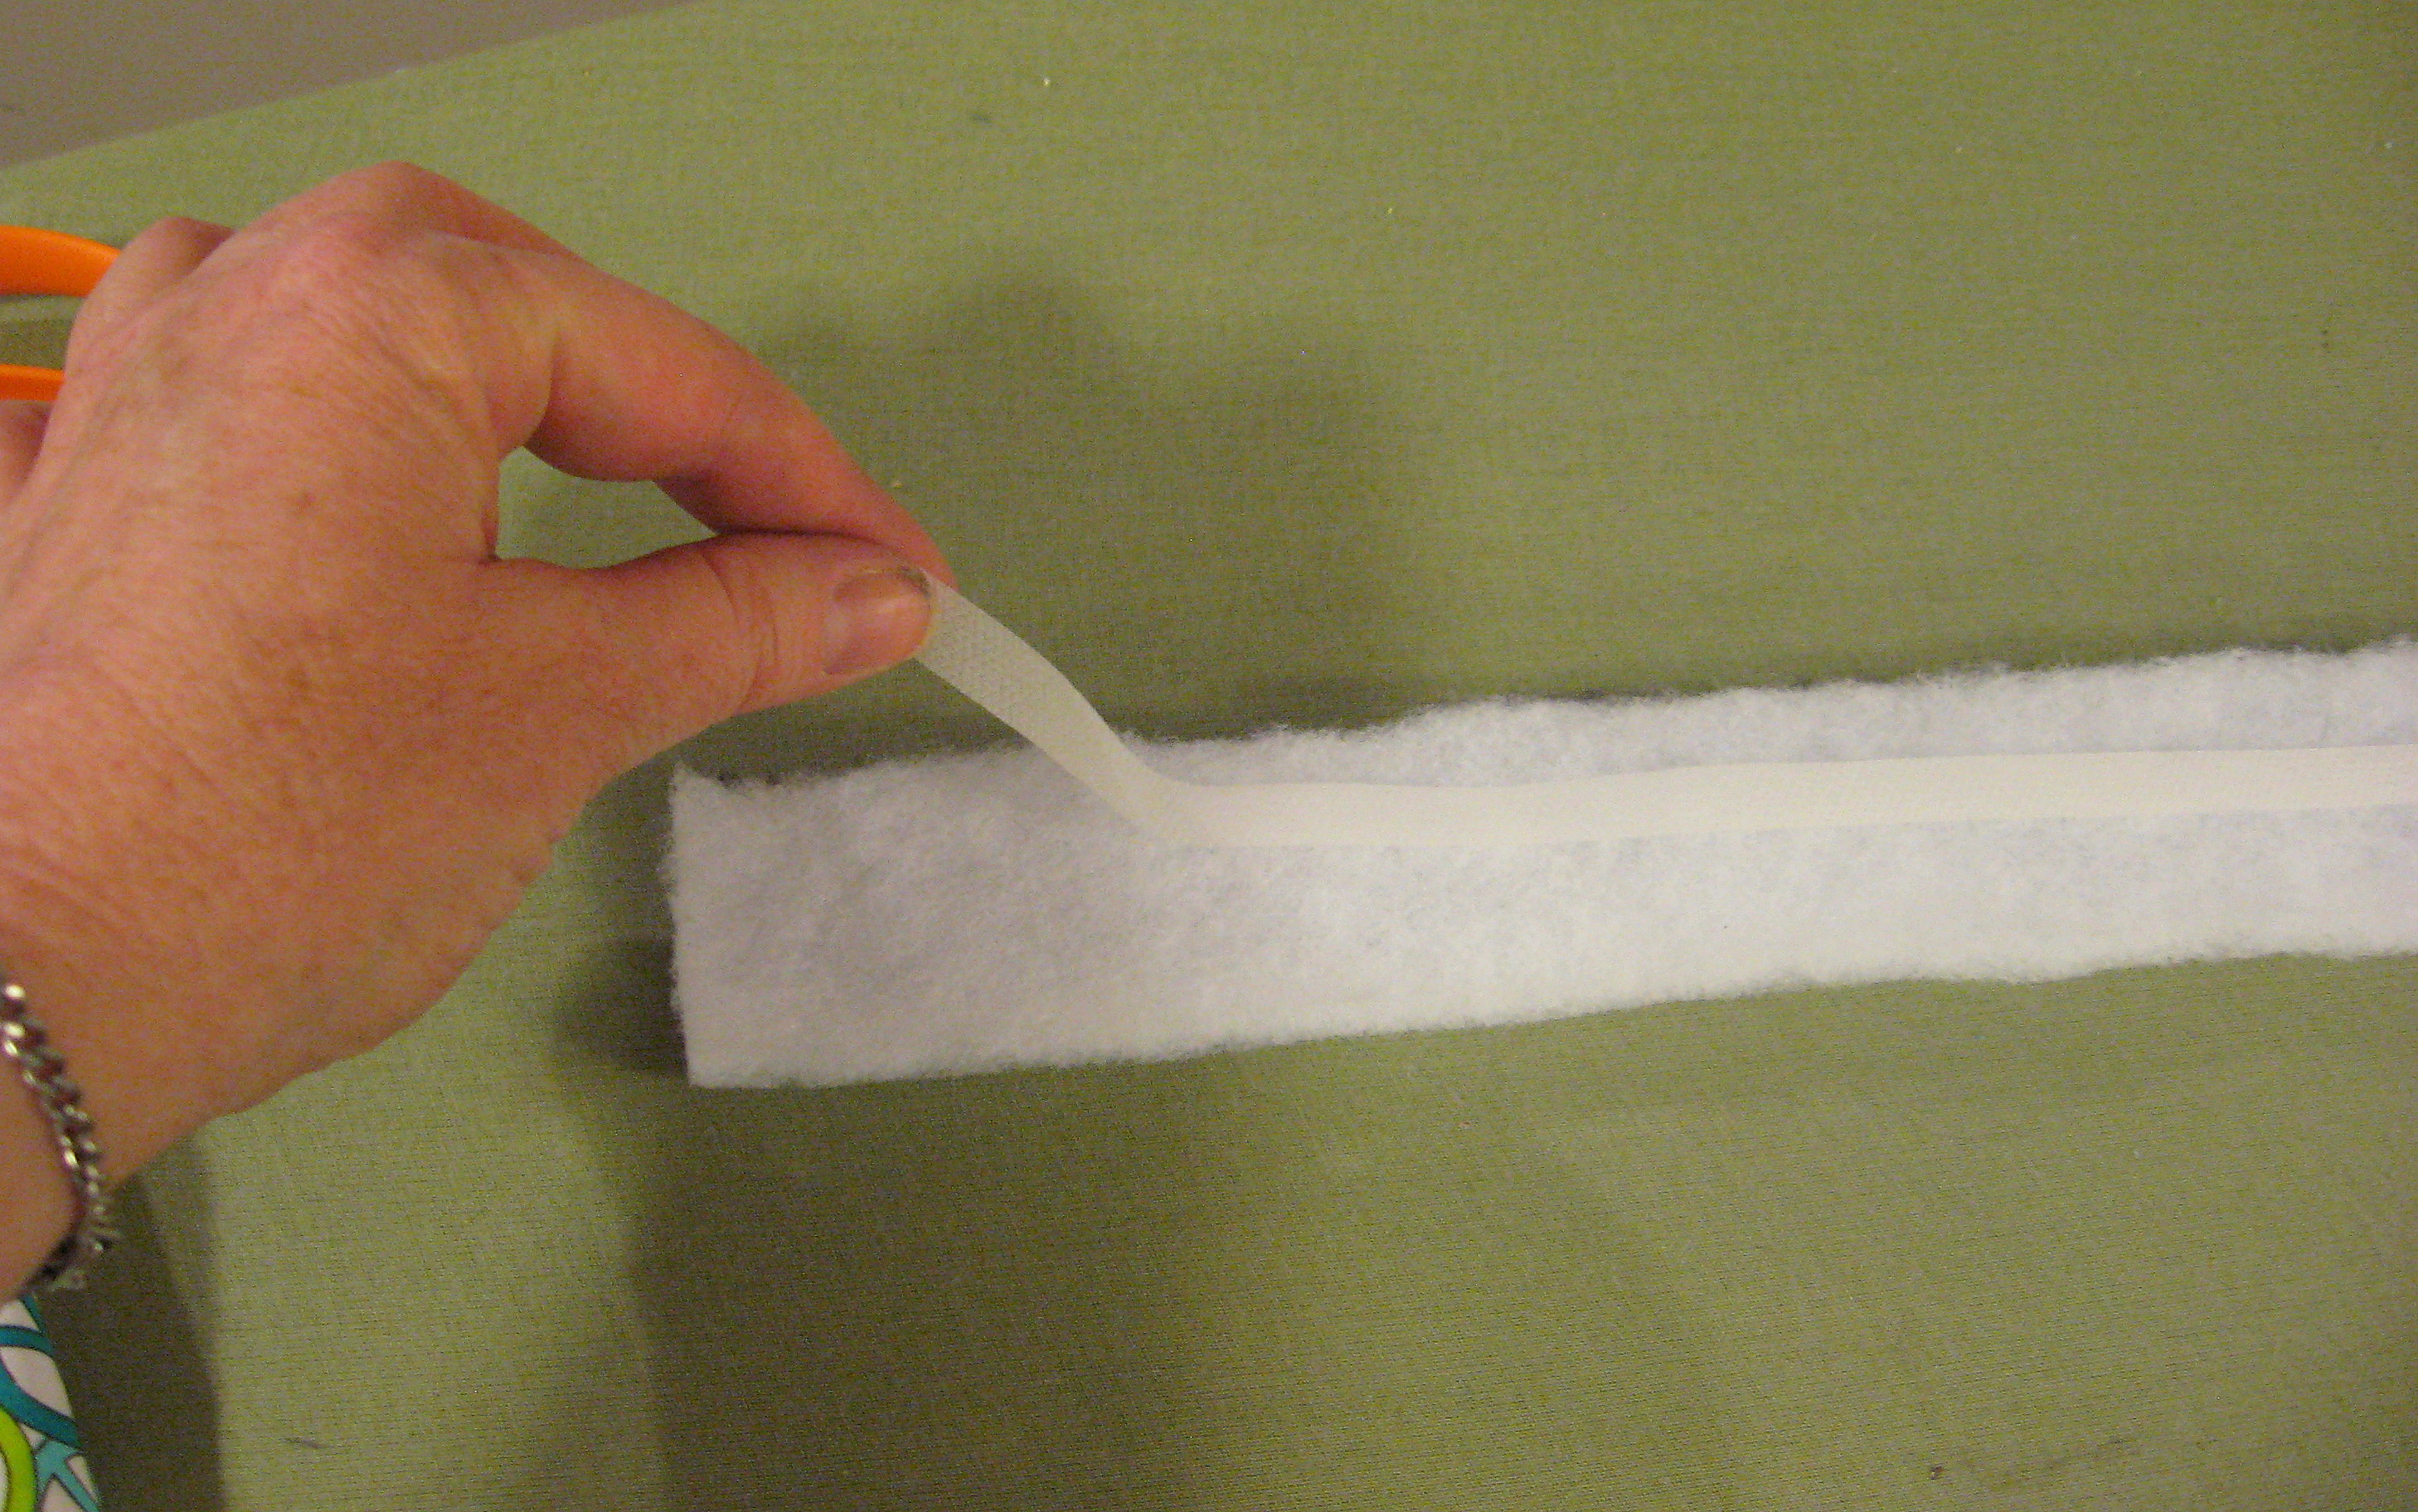
Put a piece of Heat and Bond down the center of the padding, then open the fabric back up and line it up on top of the Heat and Bond like this:
and iron it down. Be careful not to iron it so much that it melts the batting; you just want it to keep the padding in place on the fabric while you finish the strap.
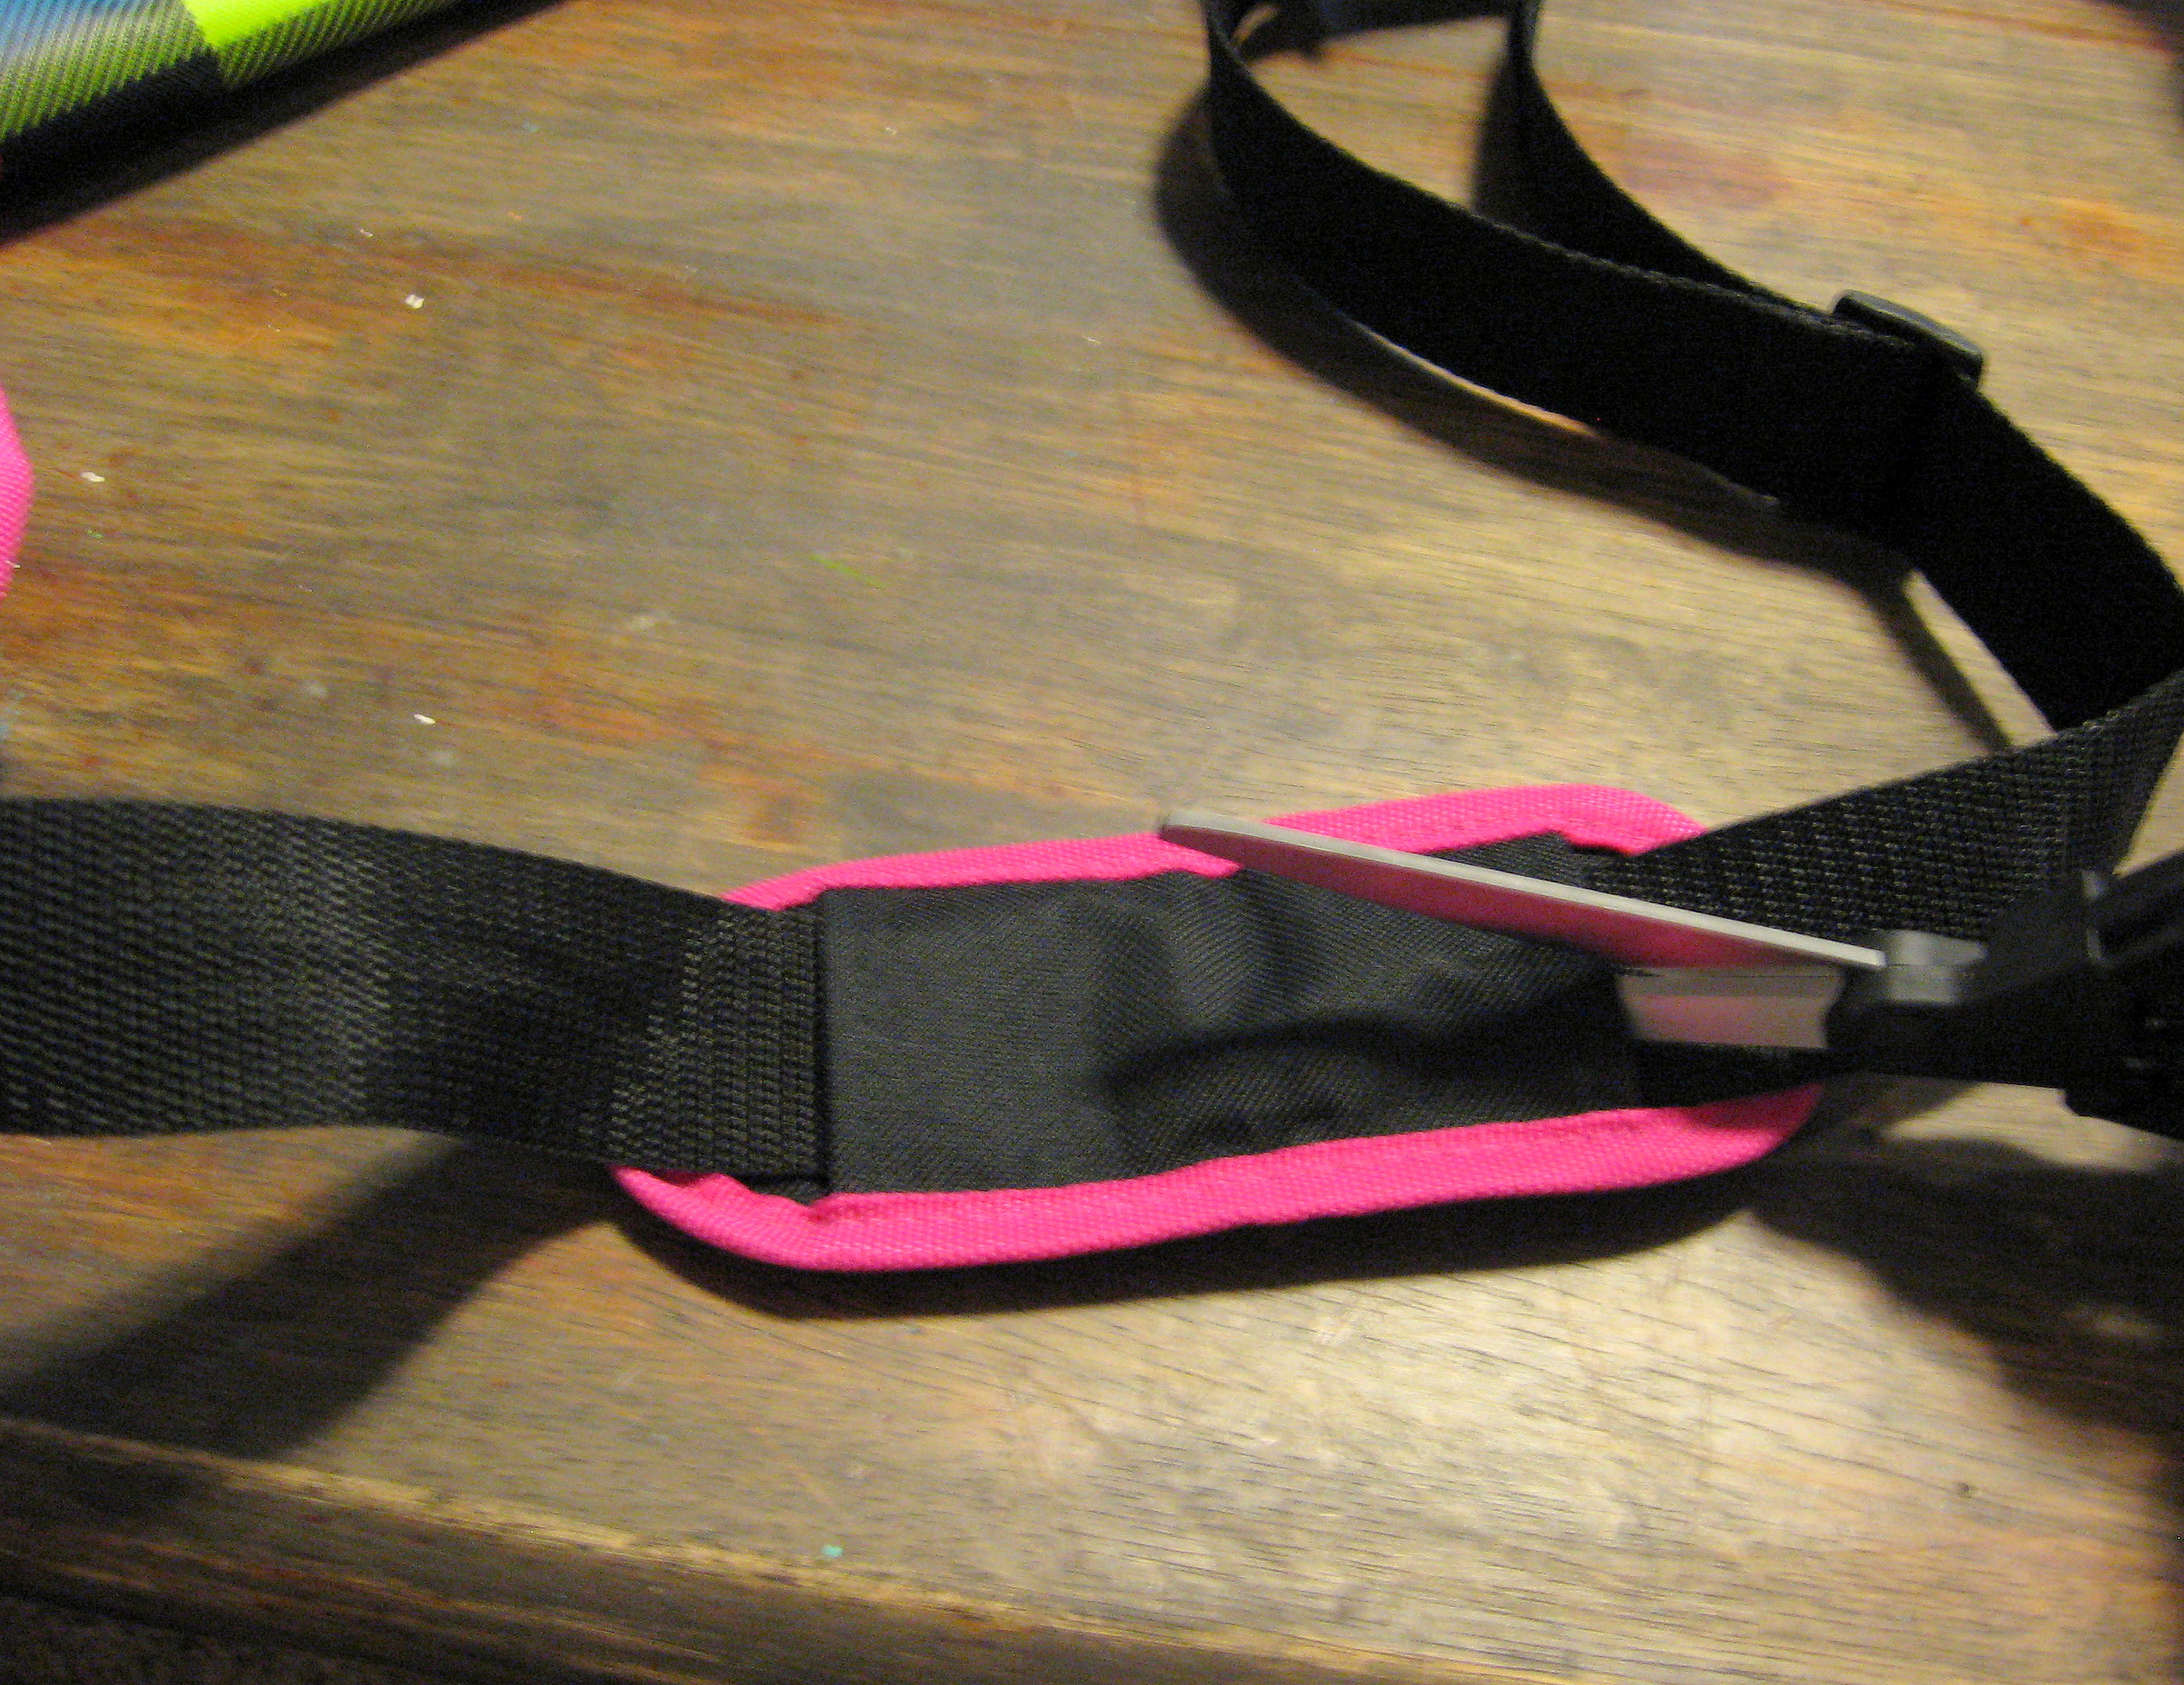
Now put the strap down on the padding, and put another piece of Heat and Bond along the outside fold.
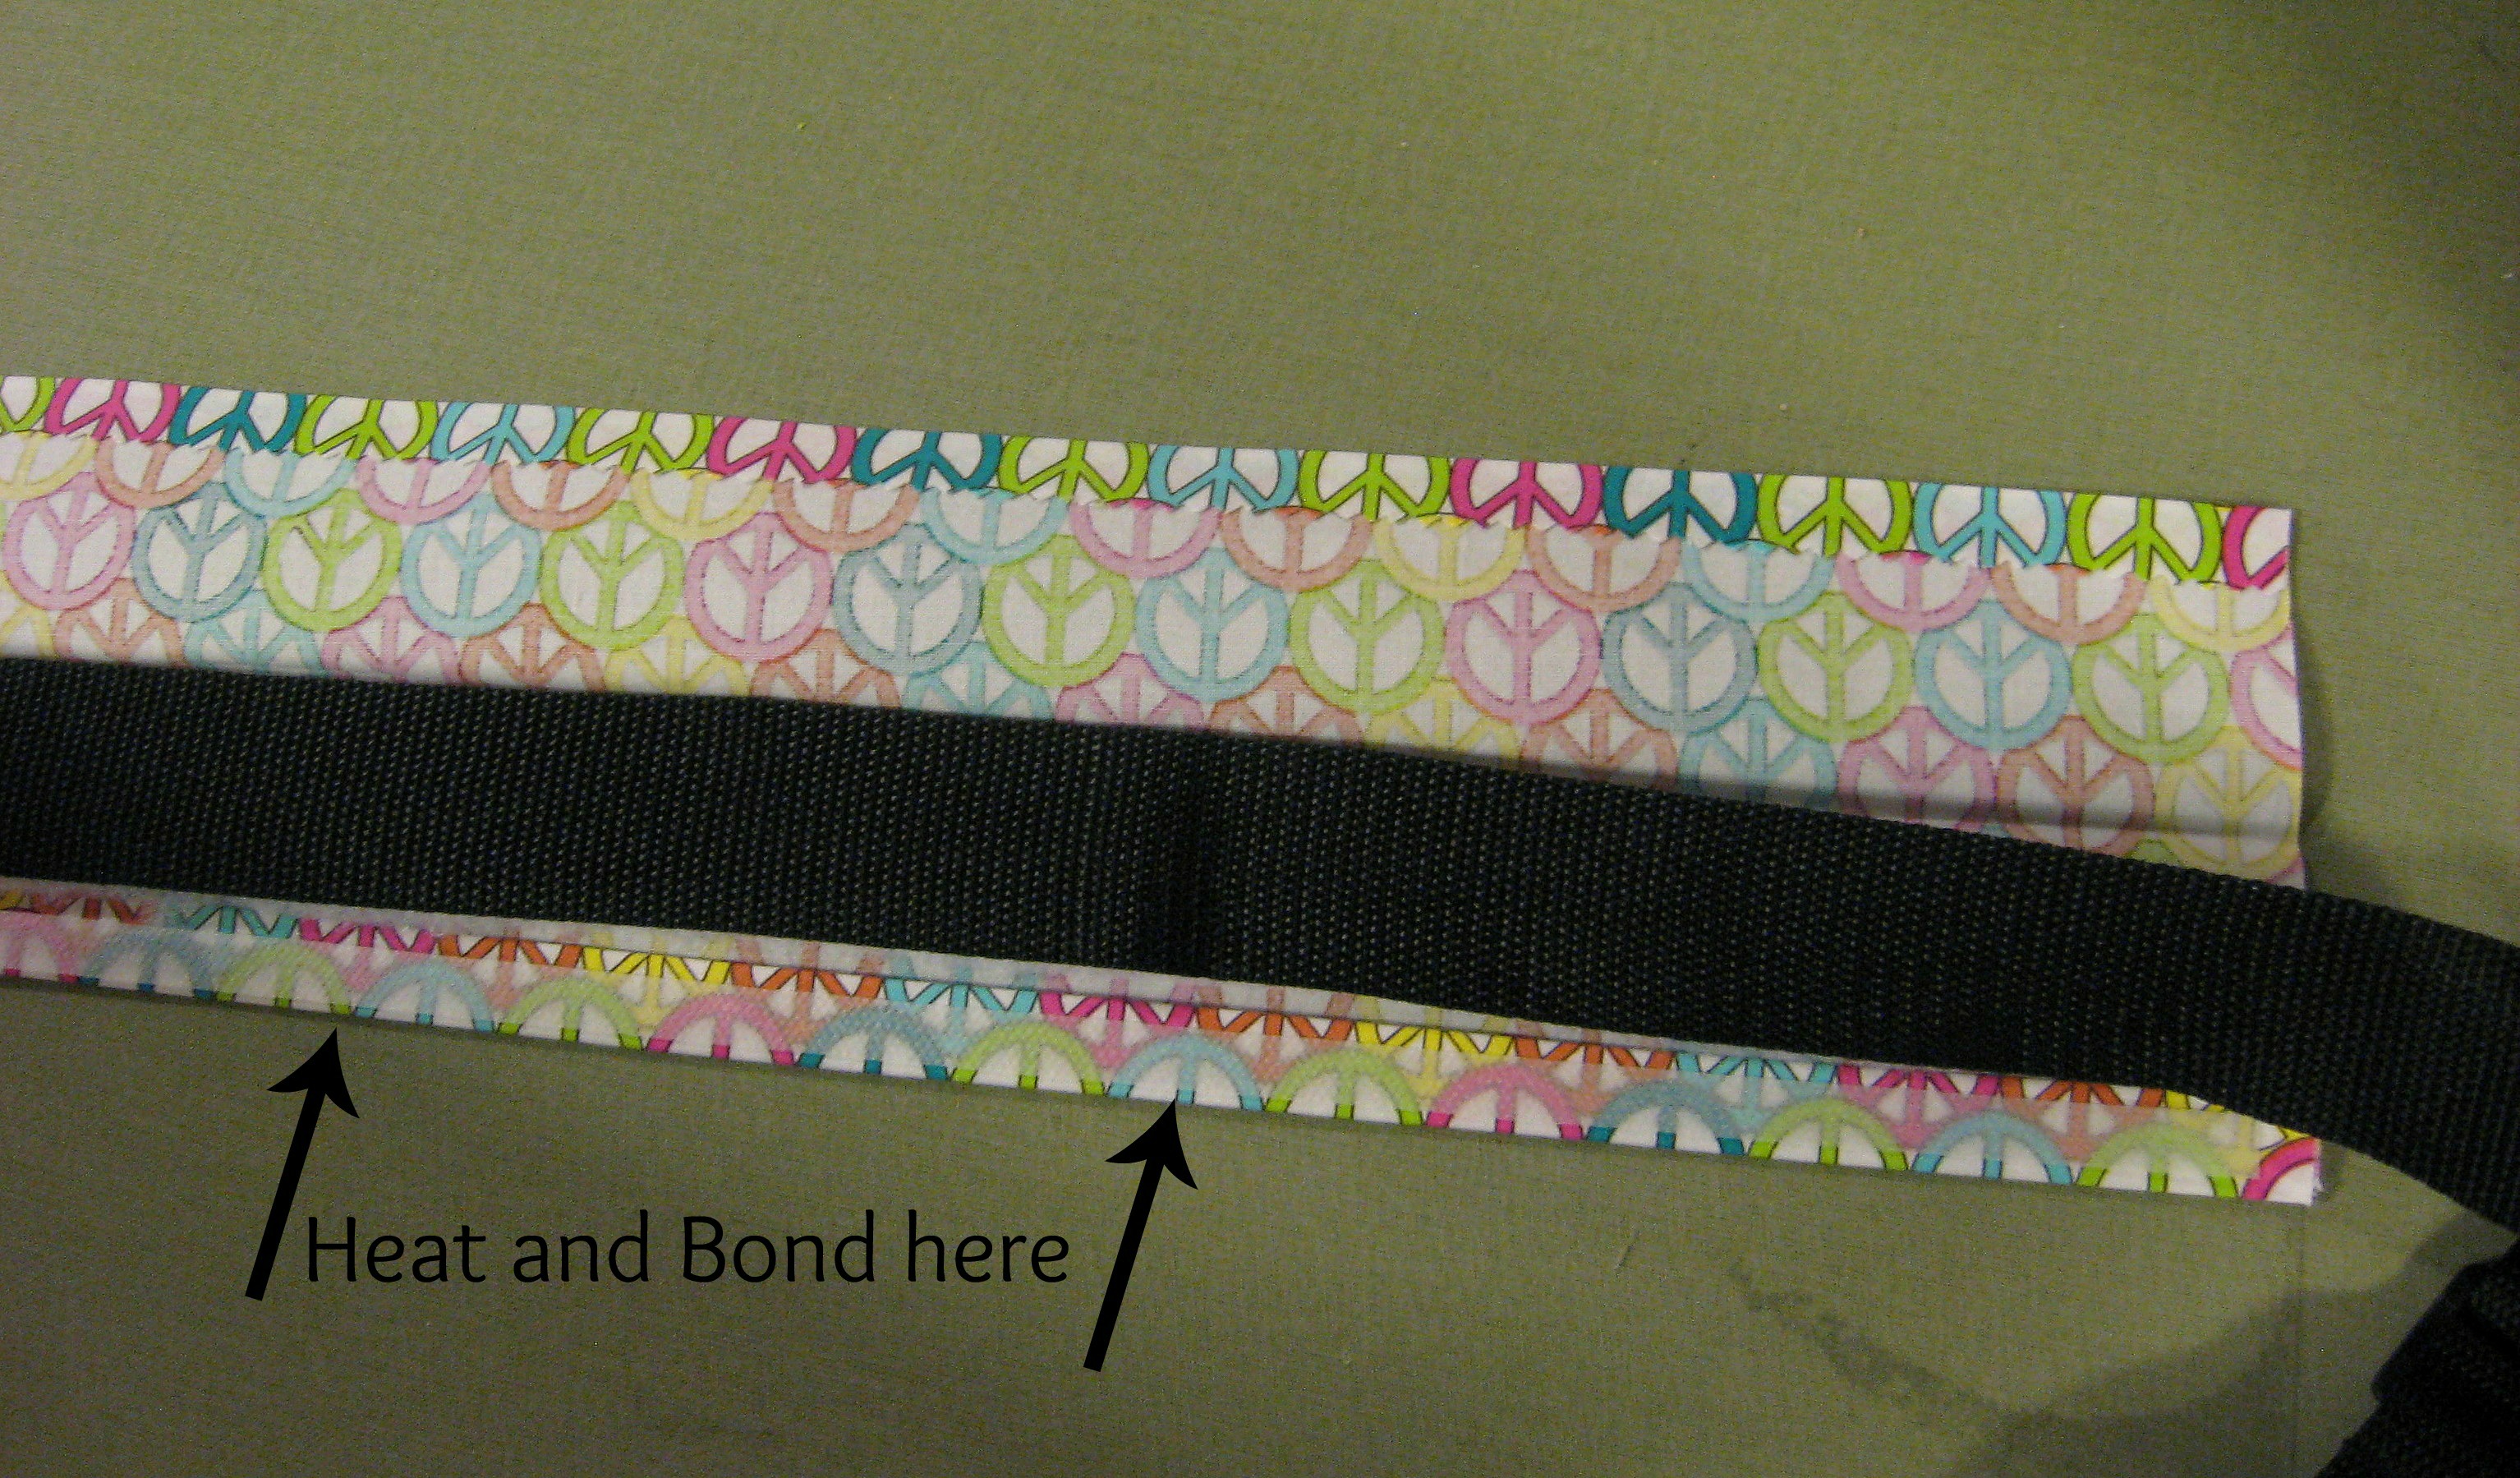
Fold it over and iron it to seal the edge.
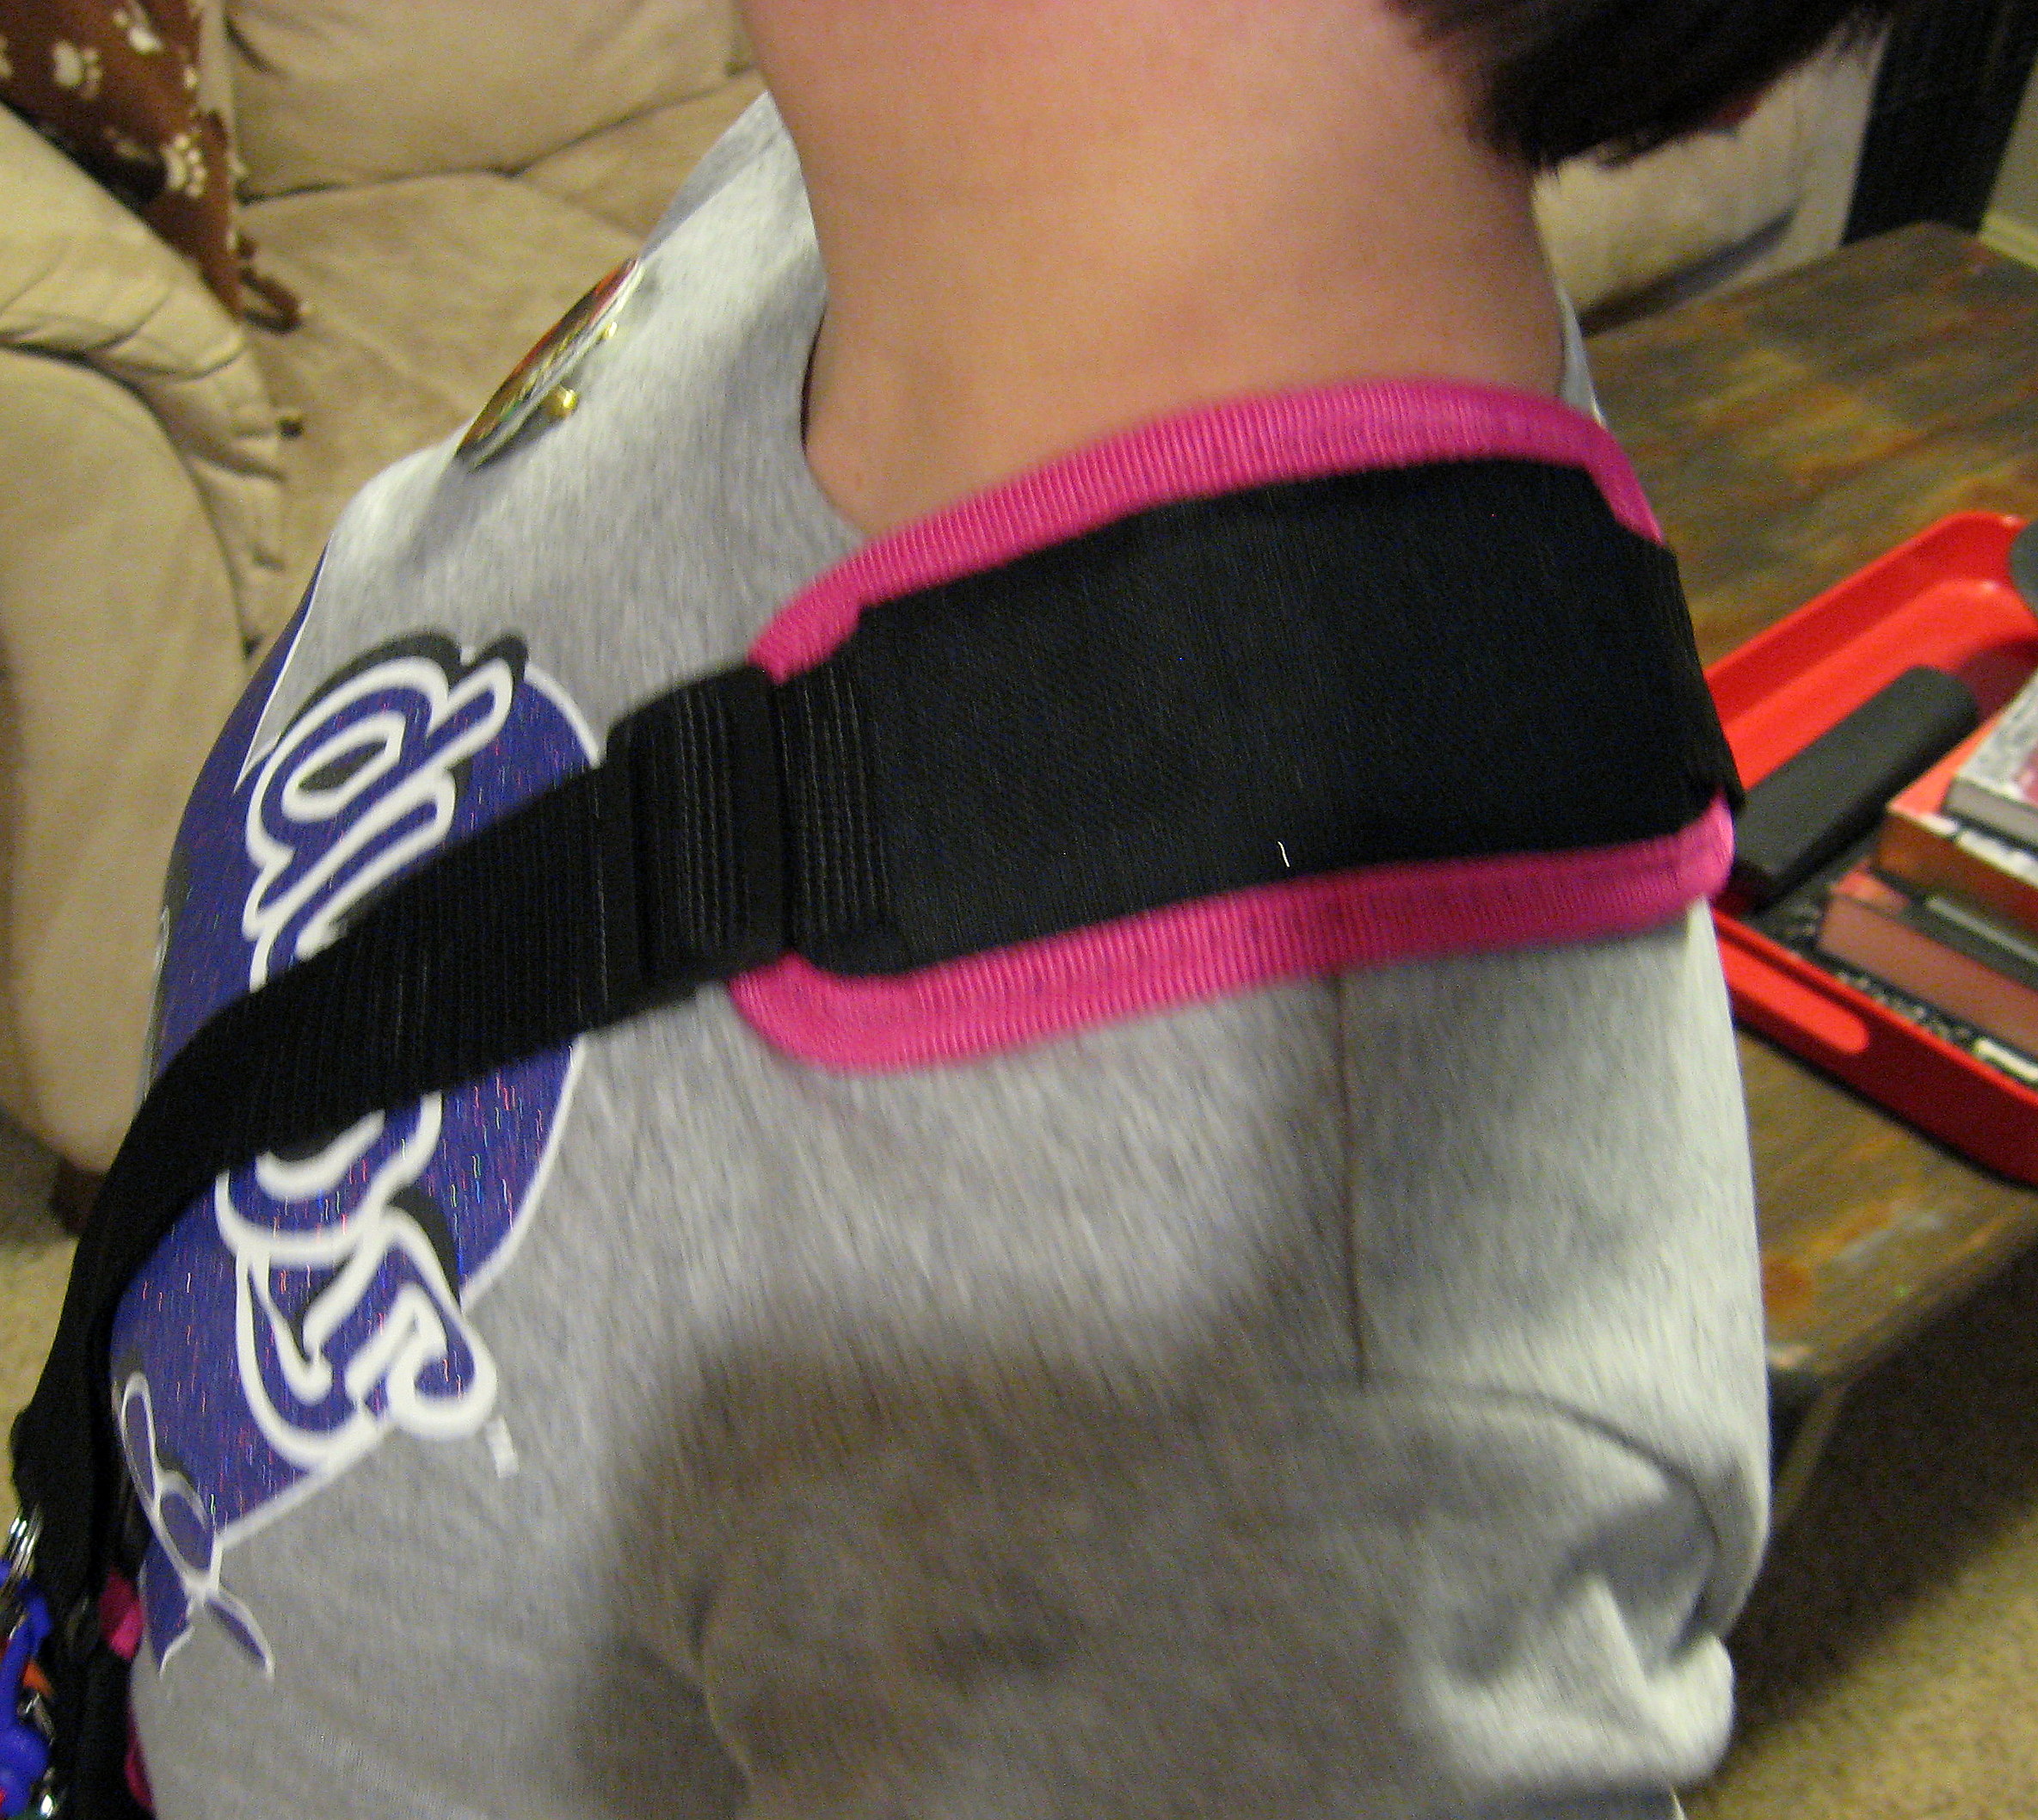
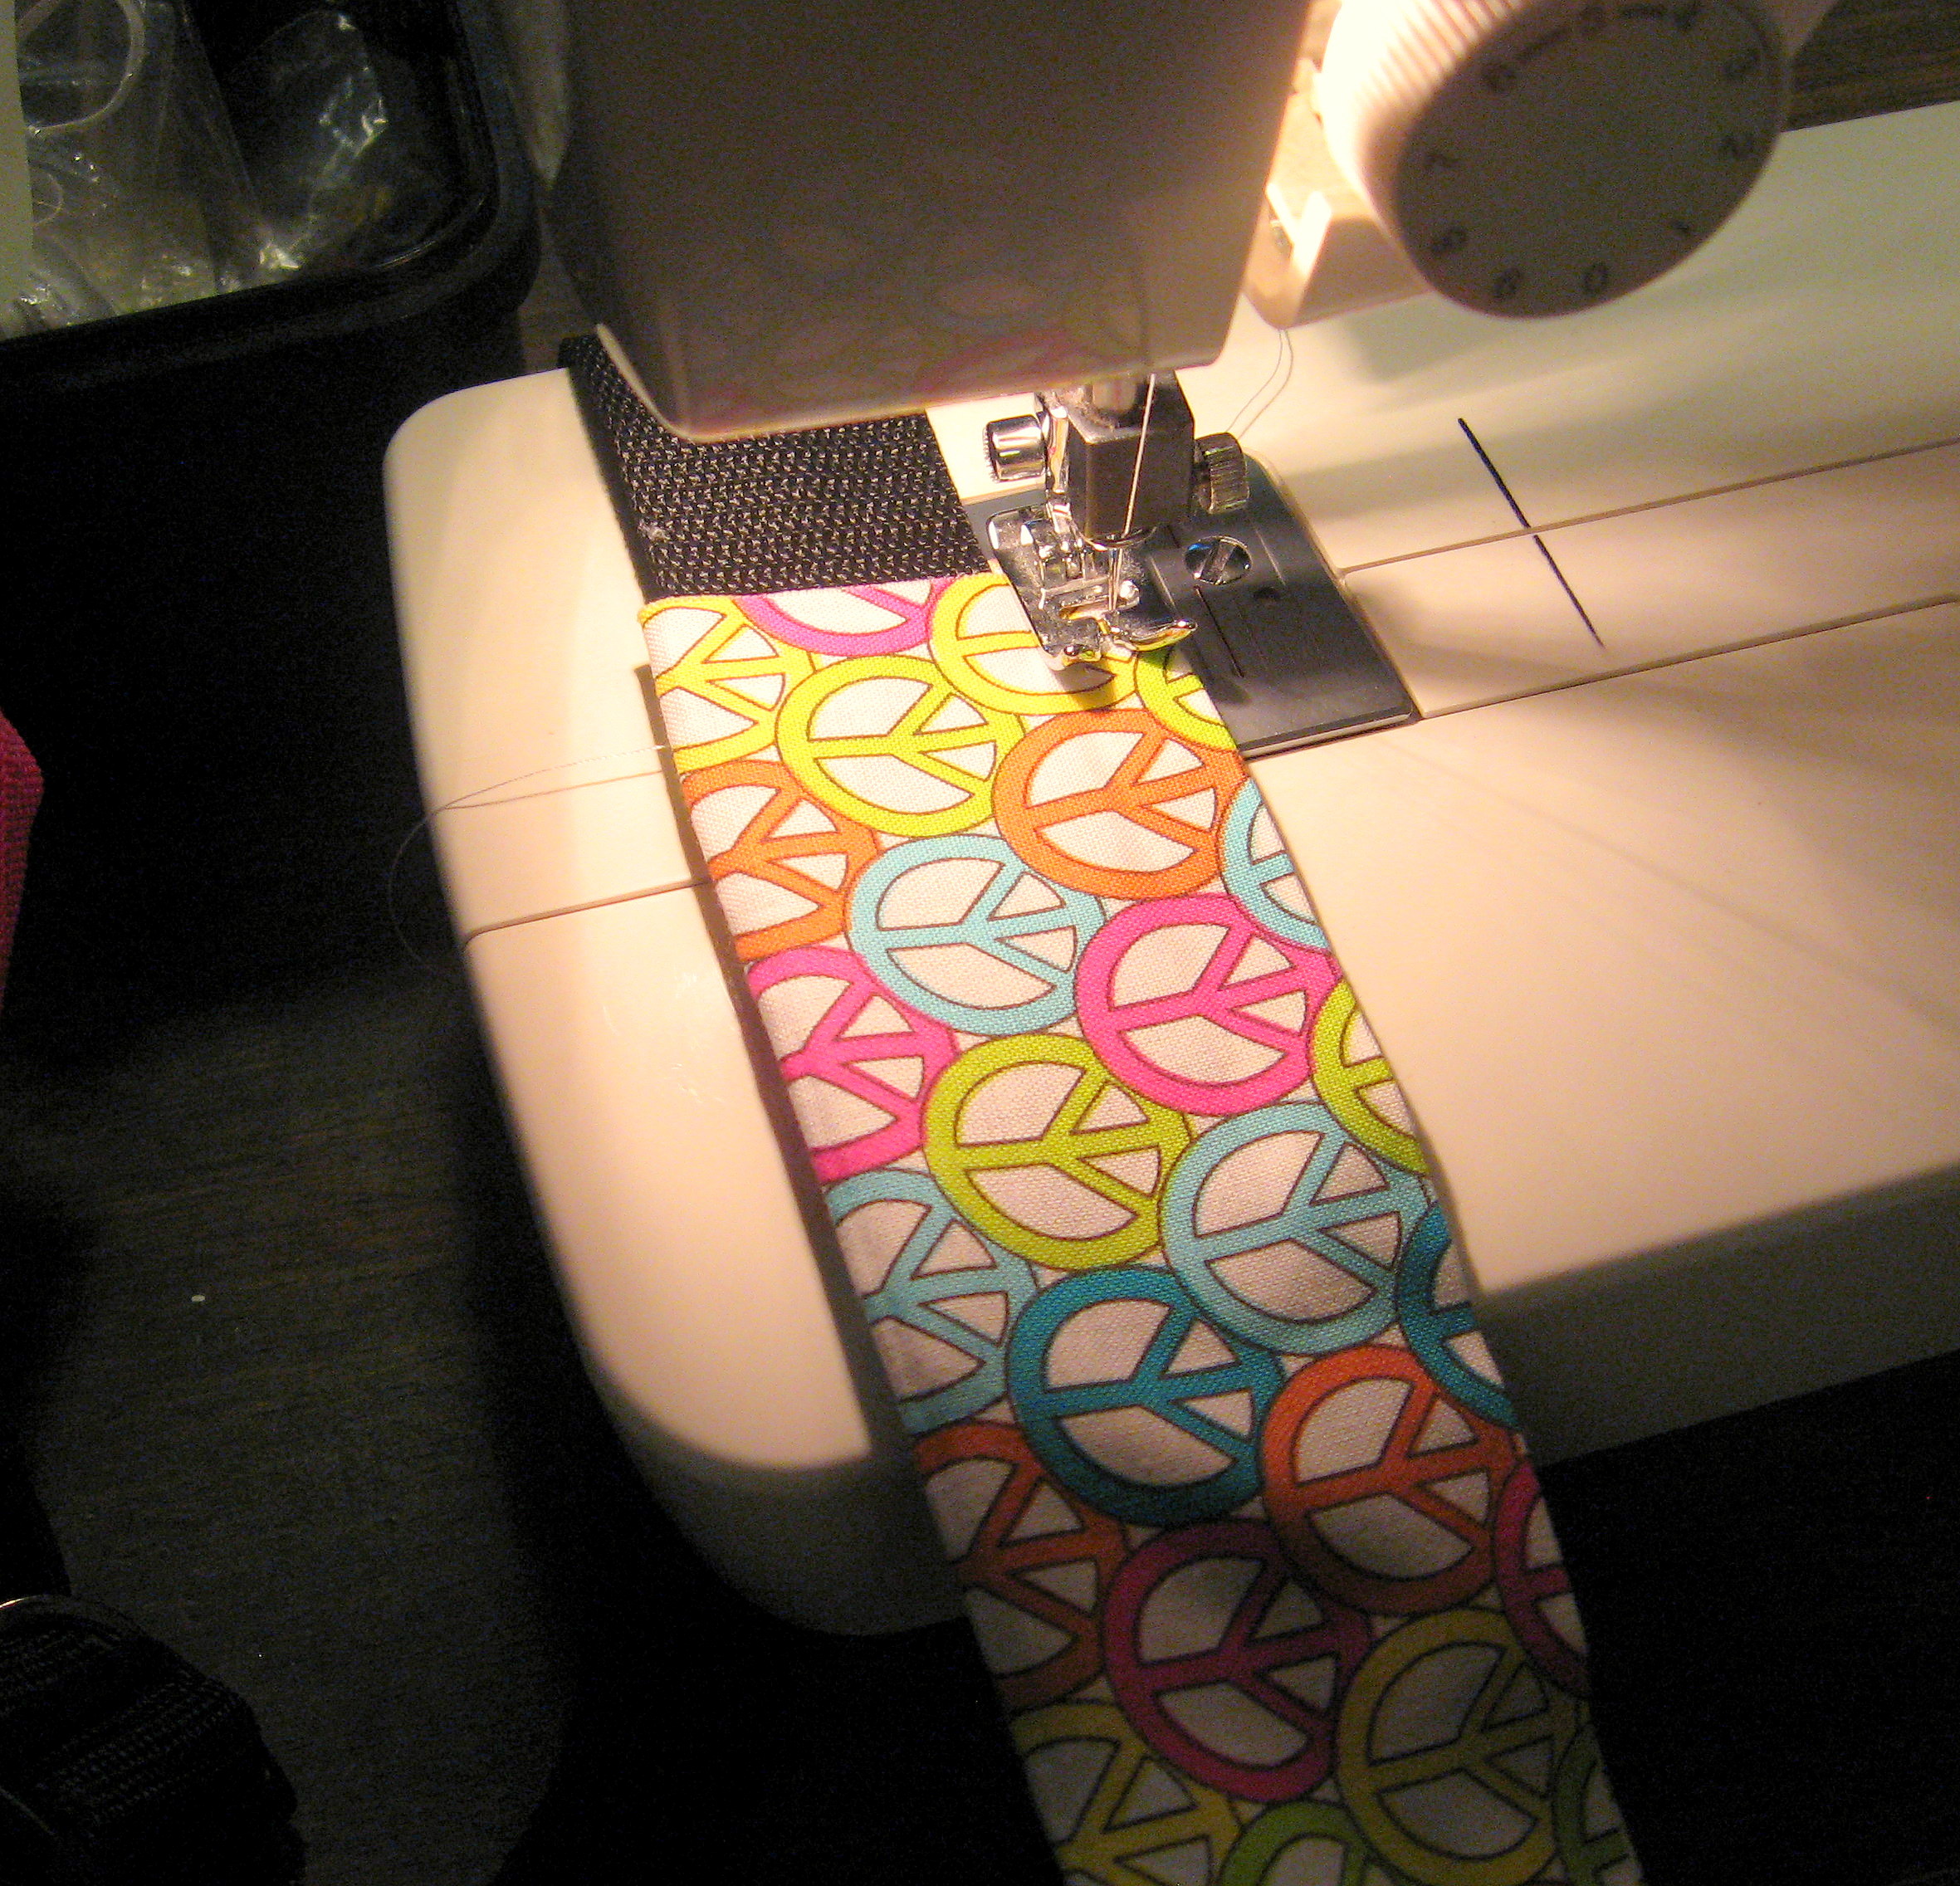
You could stop at this point, but I felt like it wasn’t holding together well enough to withstand the daily wear and tear, so I ran a straight stitch down that side to sew it closed (this is where it is a little difficult to keep everything straight with the bag attached. Just go slow and you can do it!)
Feels much better; and it’s cute, too!