
Just in case you missed this article on making shabby wooden fireworks the first time we shared it a couple of years ago, we are republishing it. After Sharon wrote this blog originally, we got an awesome response. This is one of the PYP Best Blogs!
I was reading someone’s blog today and she said that for her, the hardest thing about blogging was coming up with the first sentence of a post…I didn’t realize how much I agreed until she said it…
SO! Let’s make some fireworks!
I started with this piece of wood that I found in my garage. It is about 1 1/2 inches square, but you could use square, round, bigger, smaller… whatever strikes your fancy! 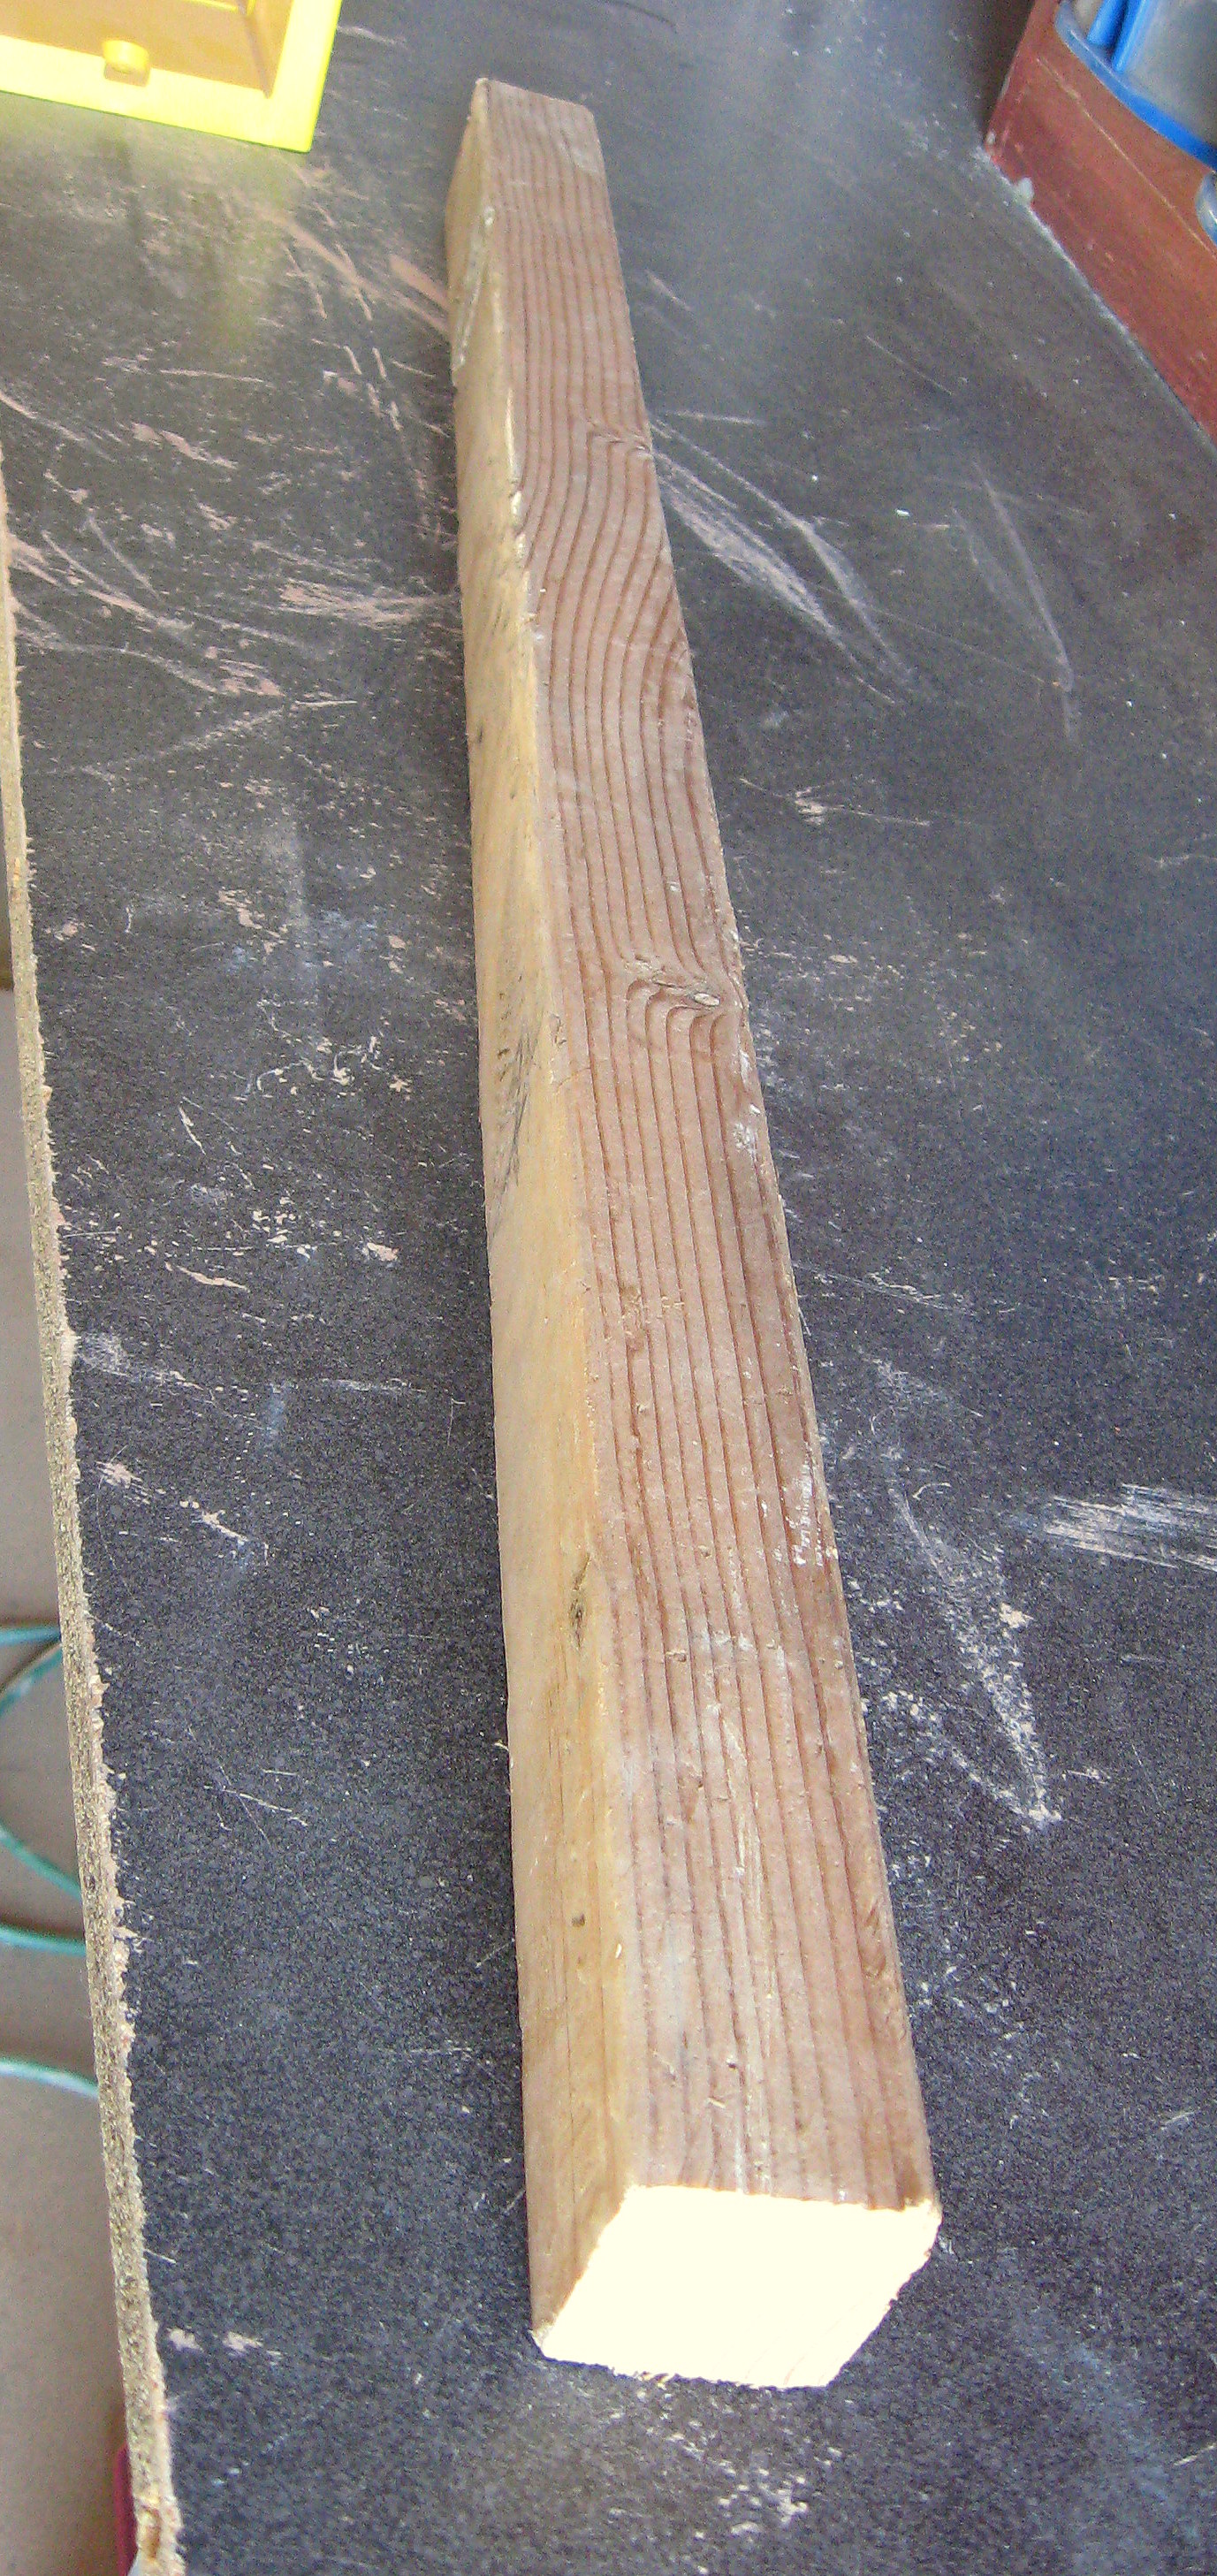
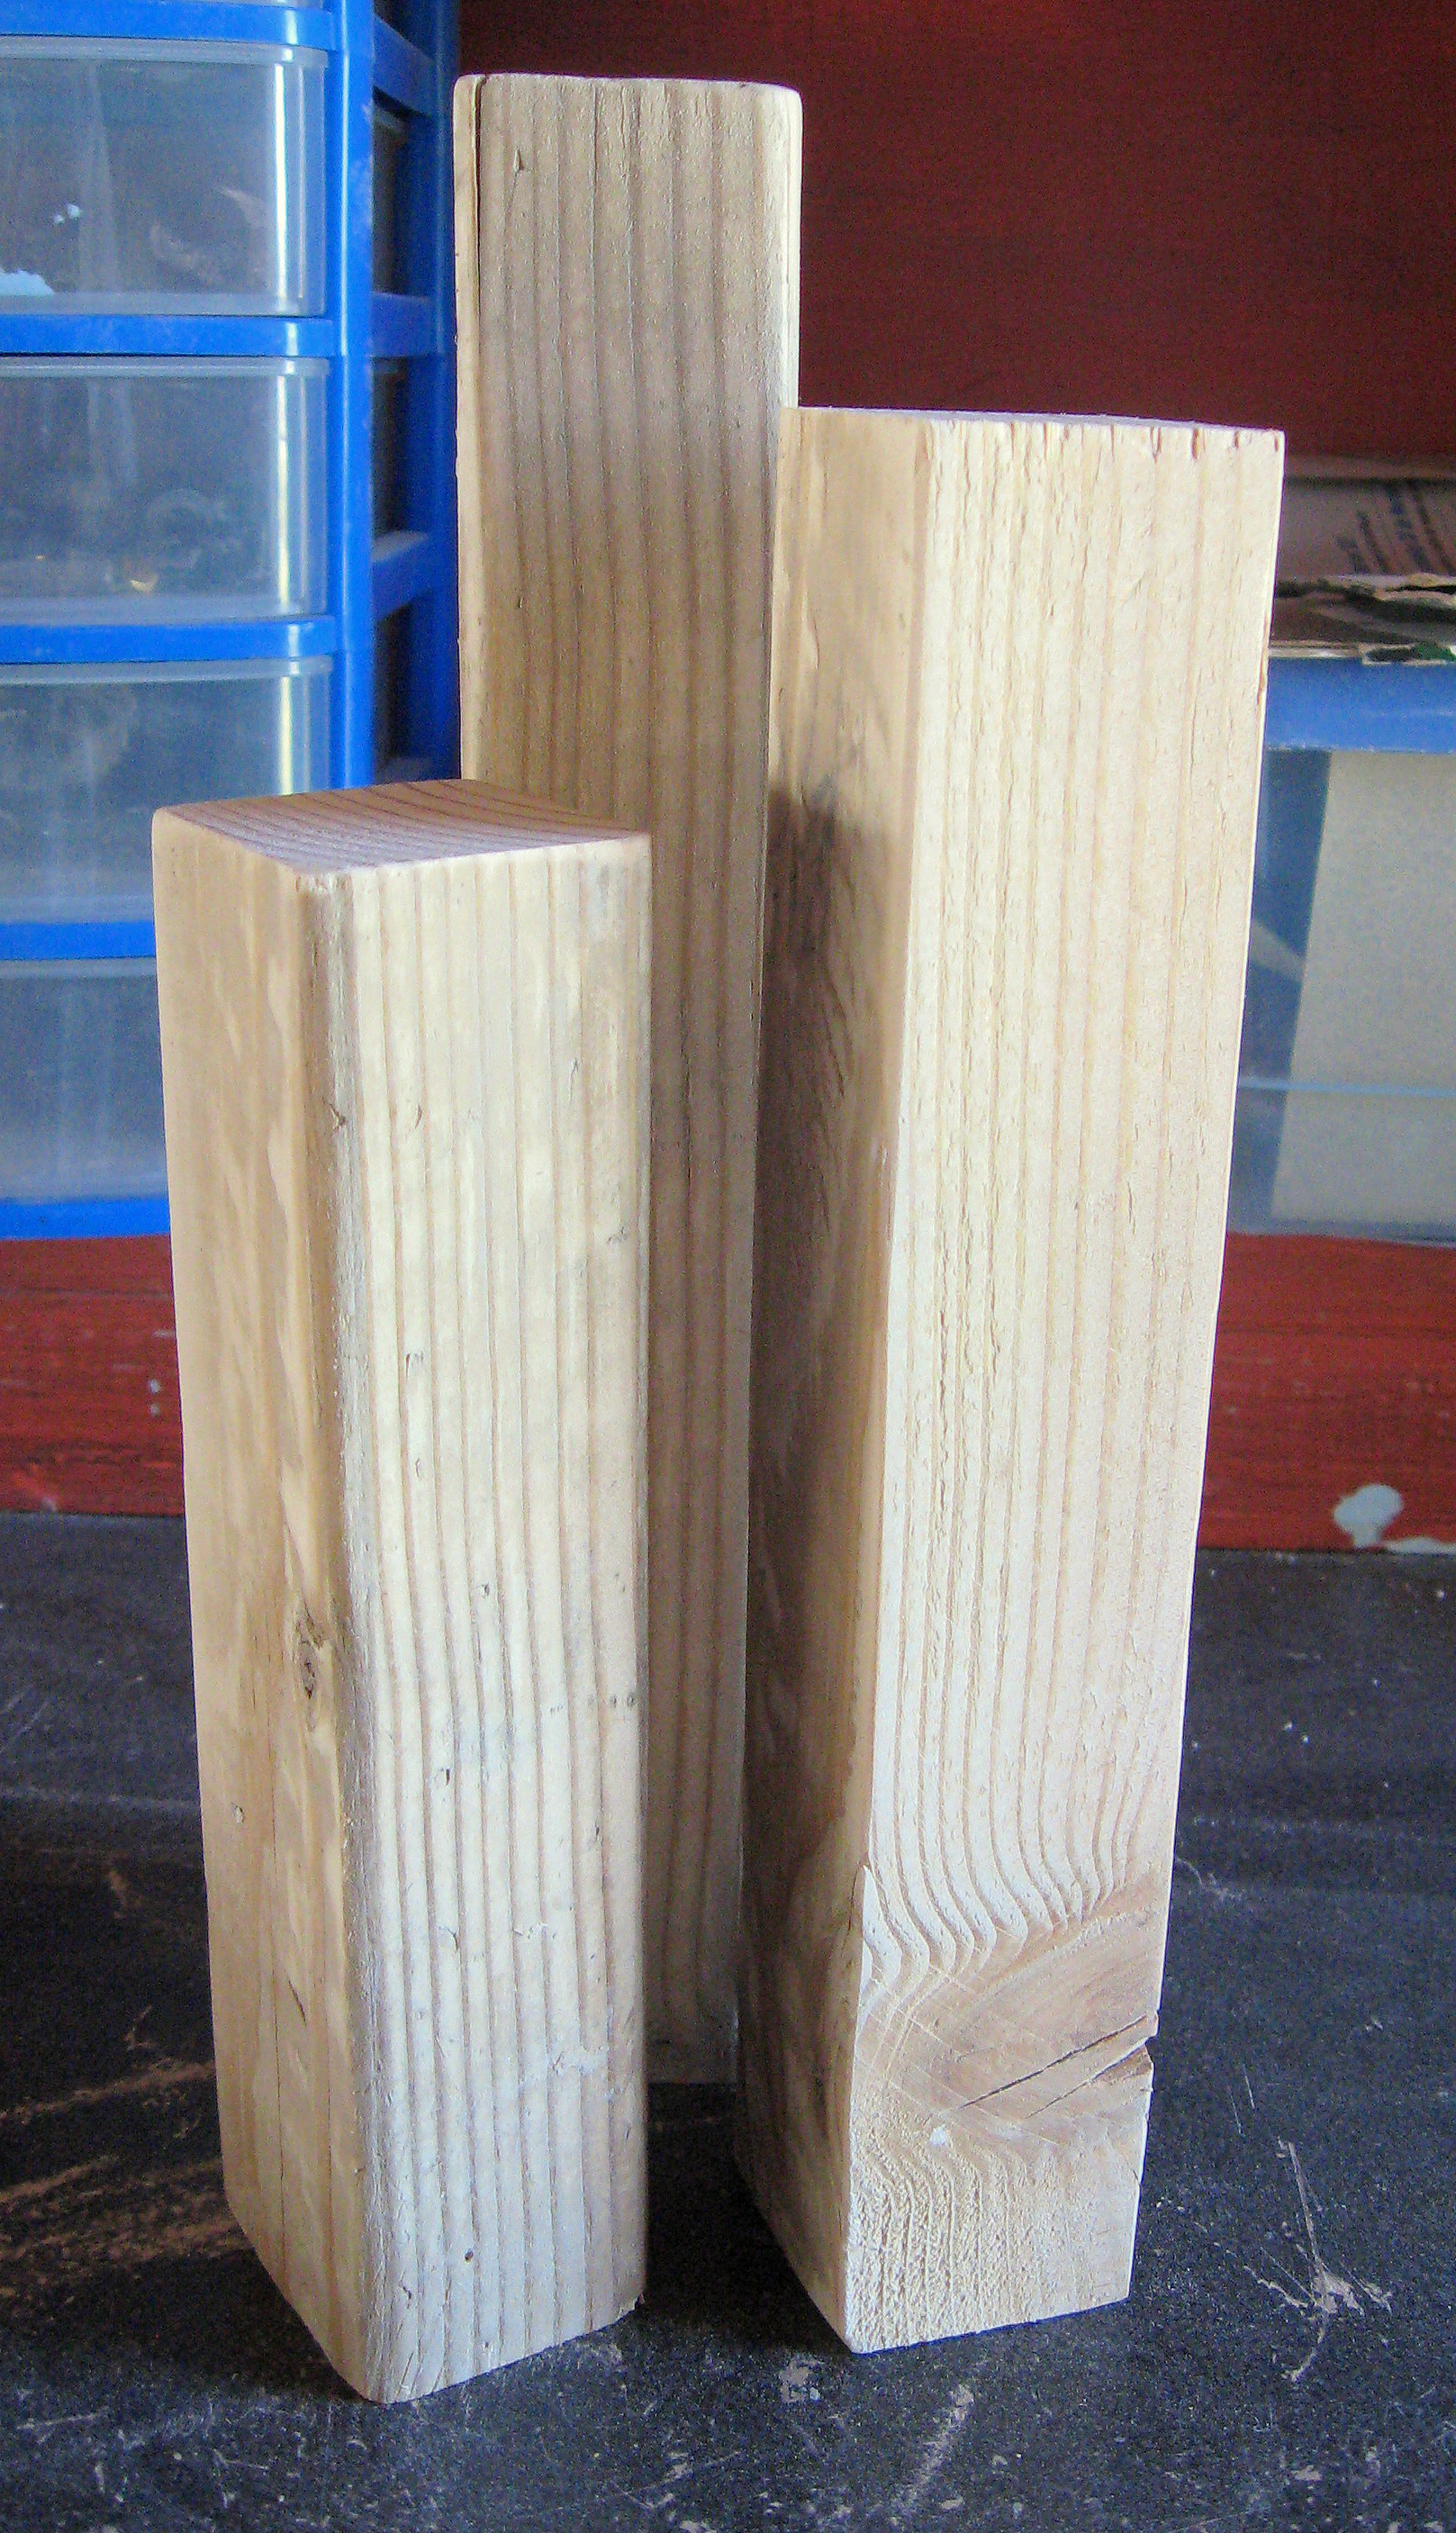
Cut into three pieces…I just eyeballed what I thought looked good – mine are about 10, 8 1/2 and 7 inches – and then give them a good sanding.
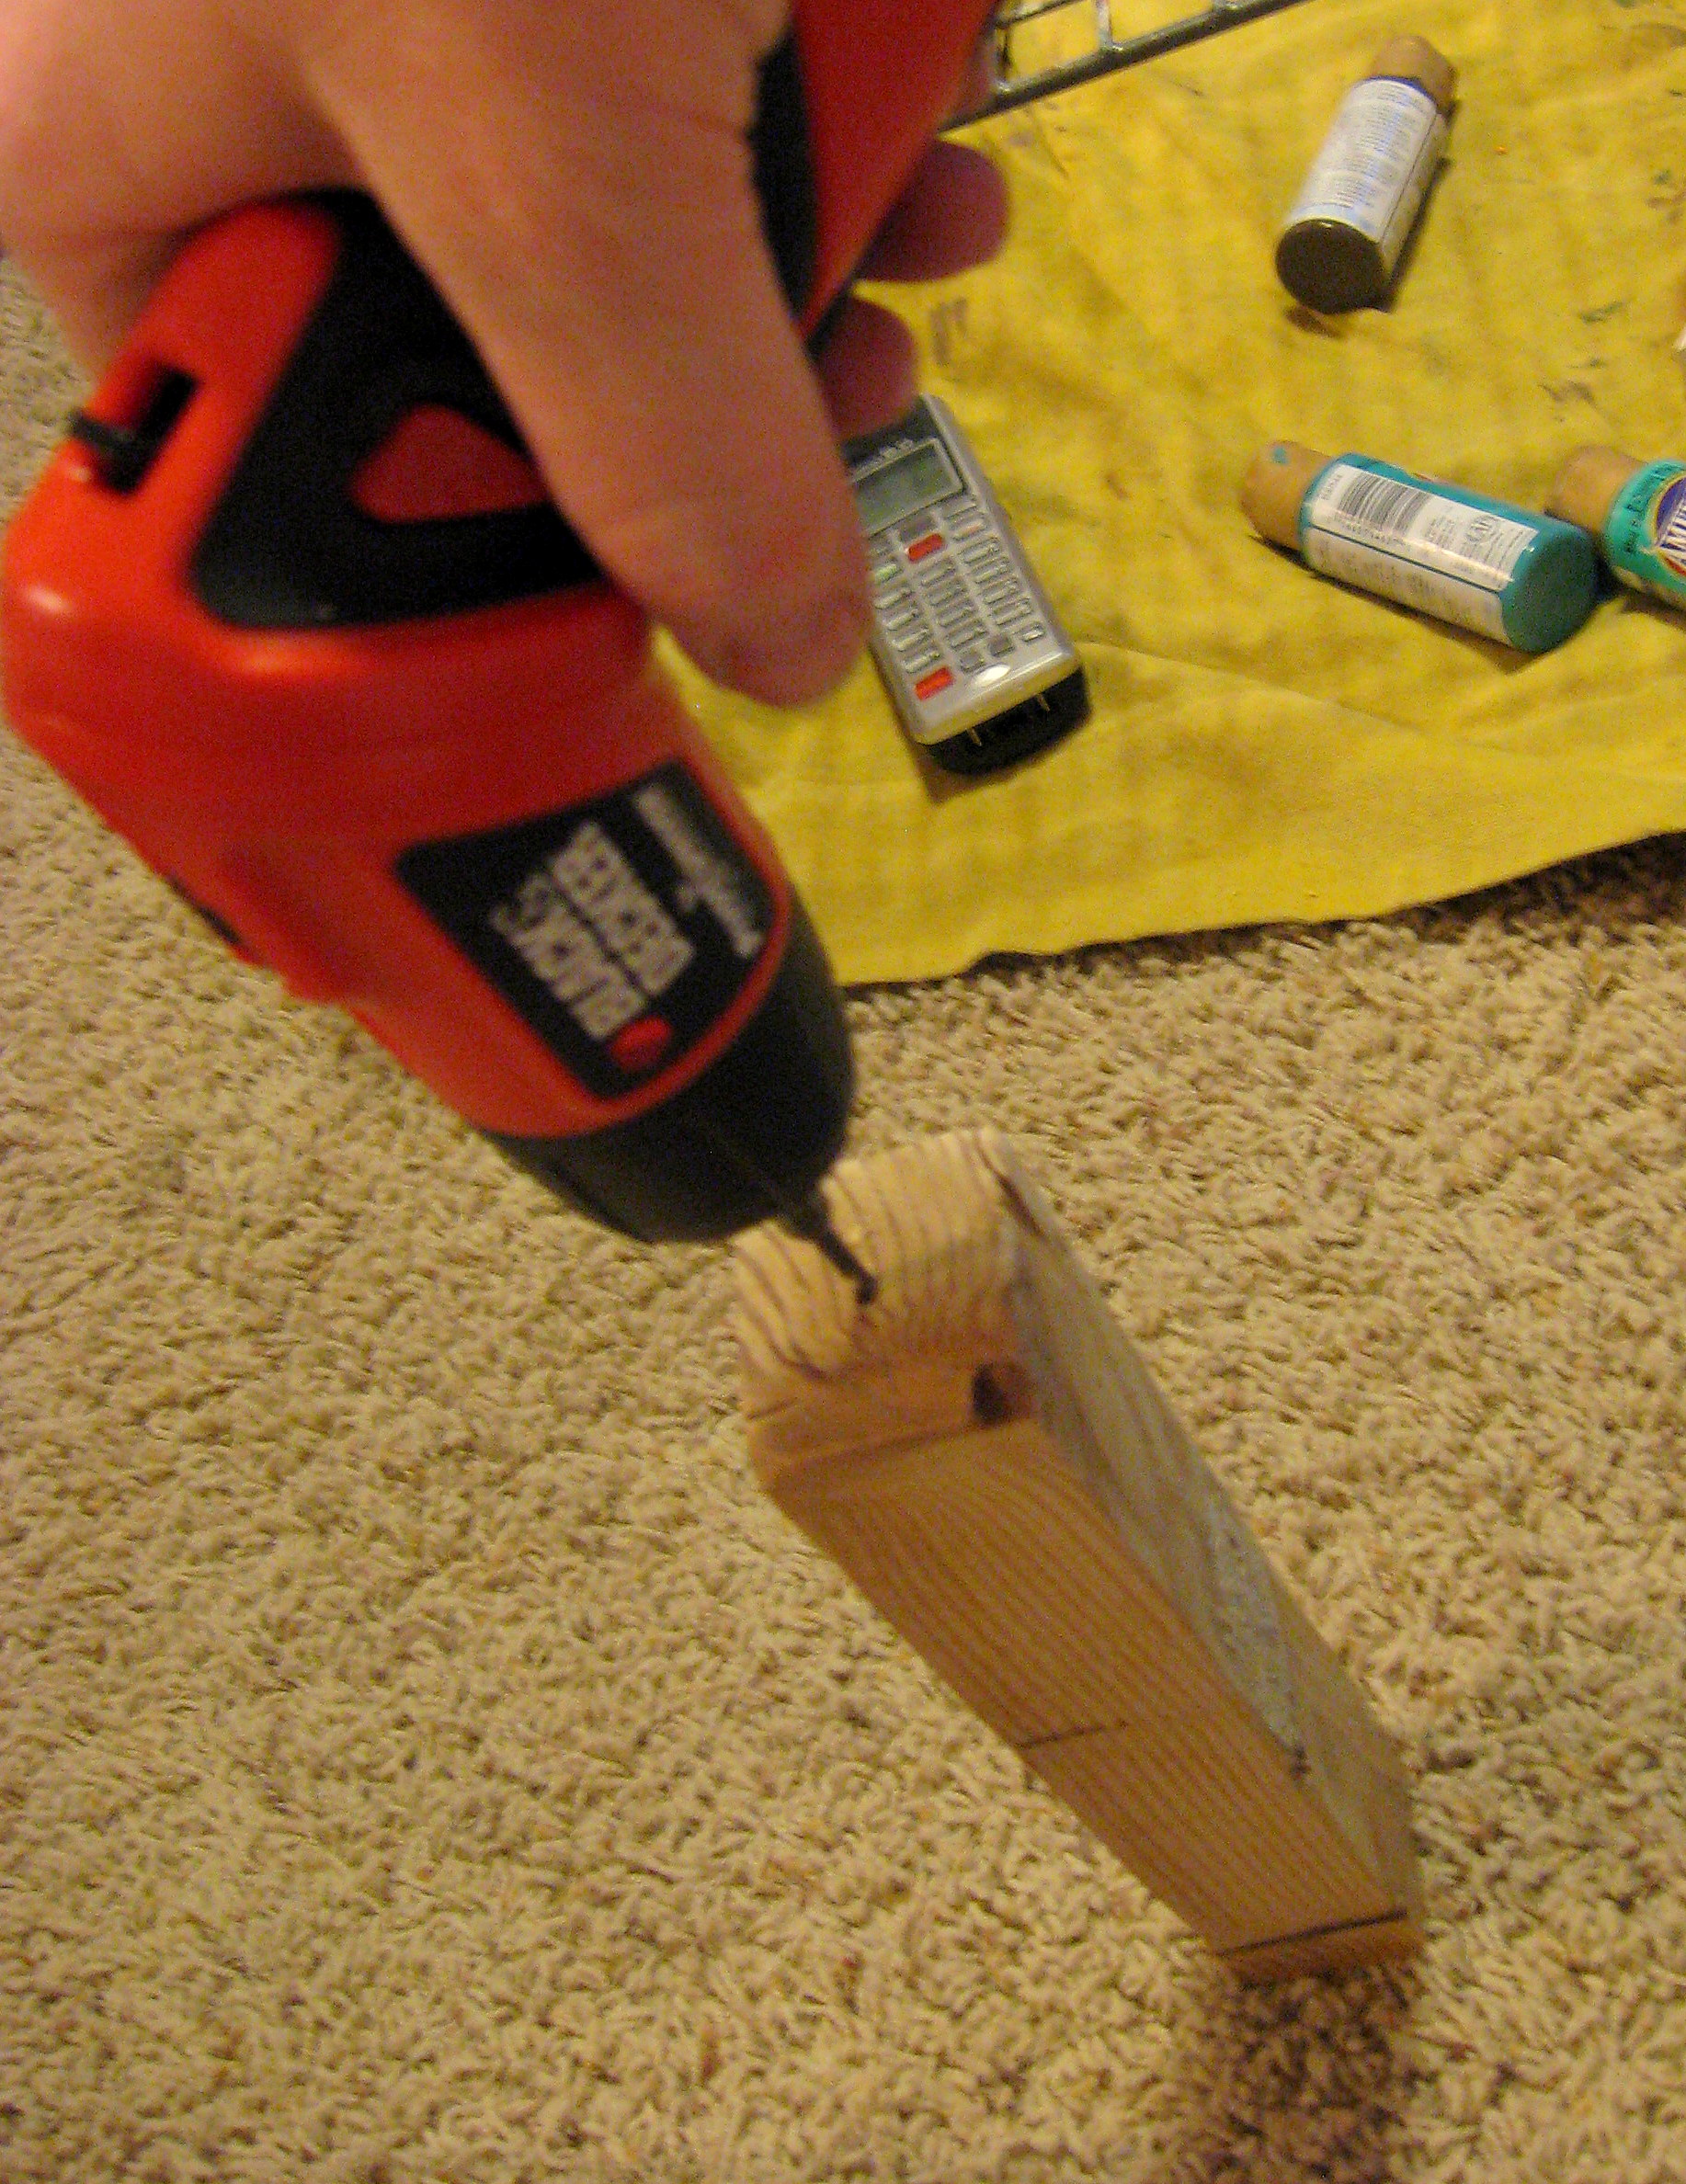
Drill a hole in the middle of the top of each stick – you will use this later for the “fuse” on the fireworks.
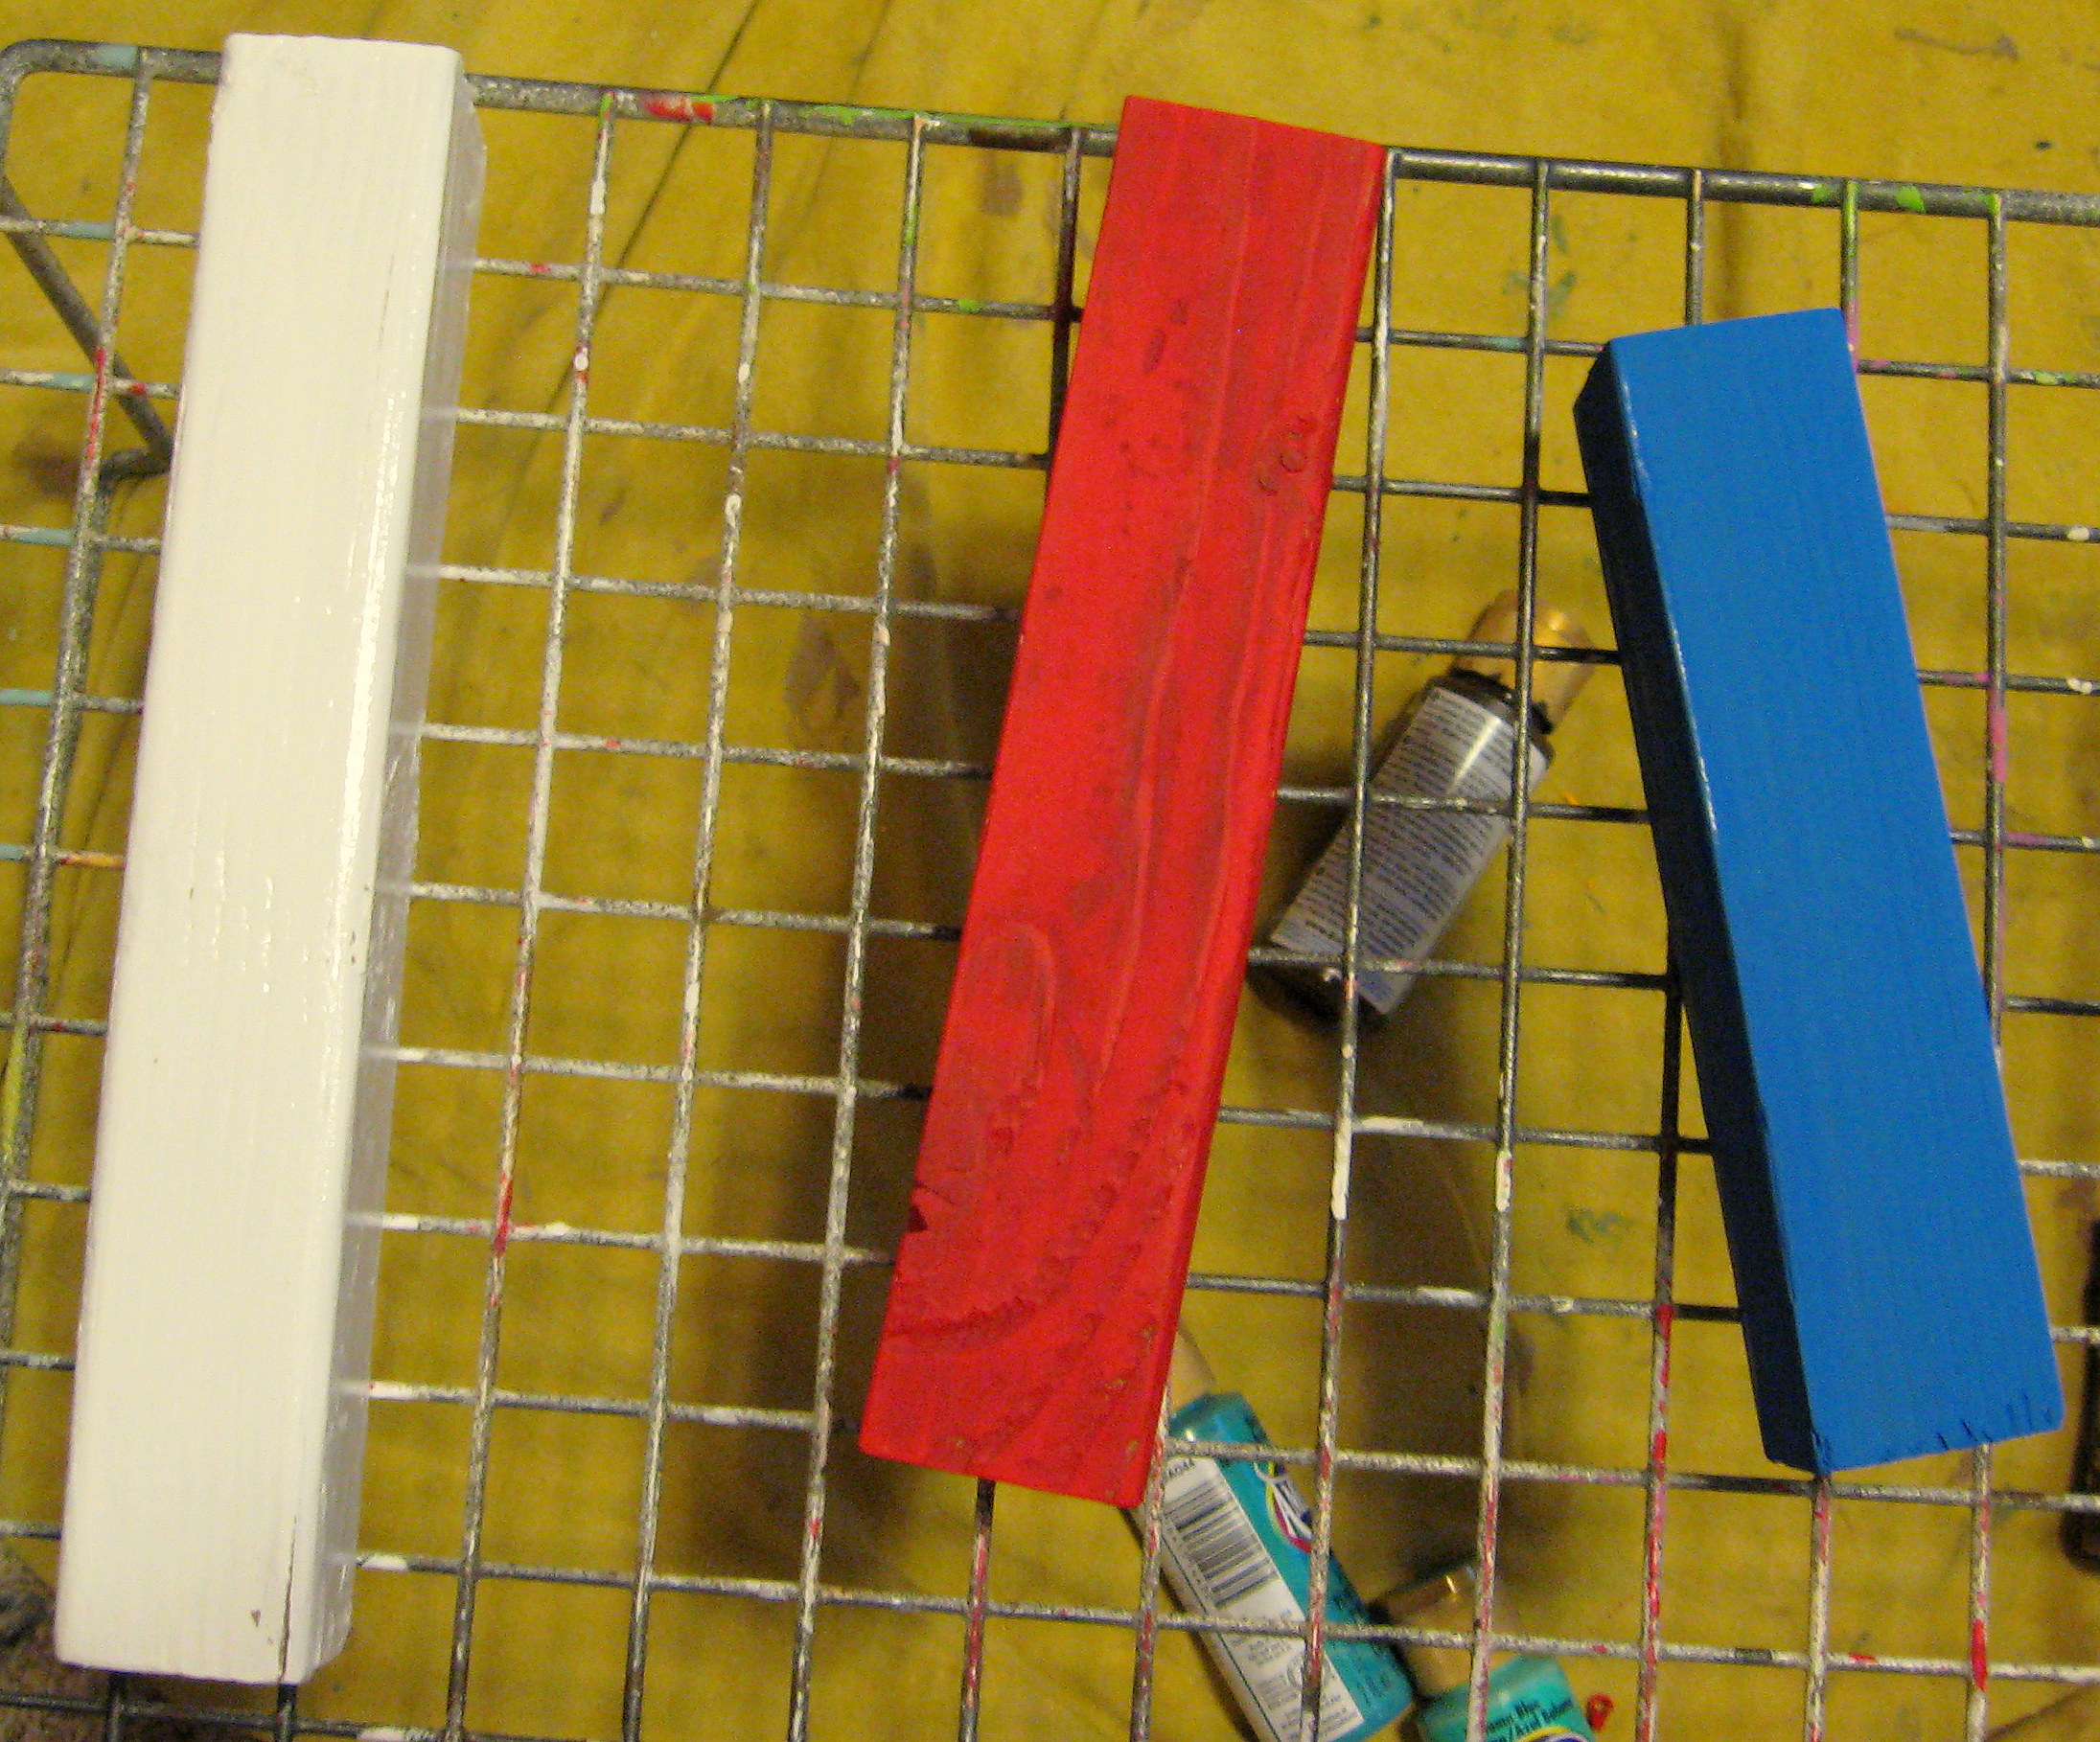
Now paint them and let them dry, then give the edges a light sanding to distress the fireworks a bit.
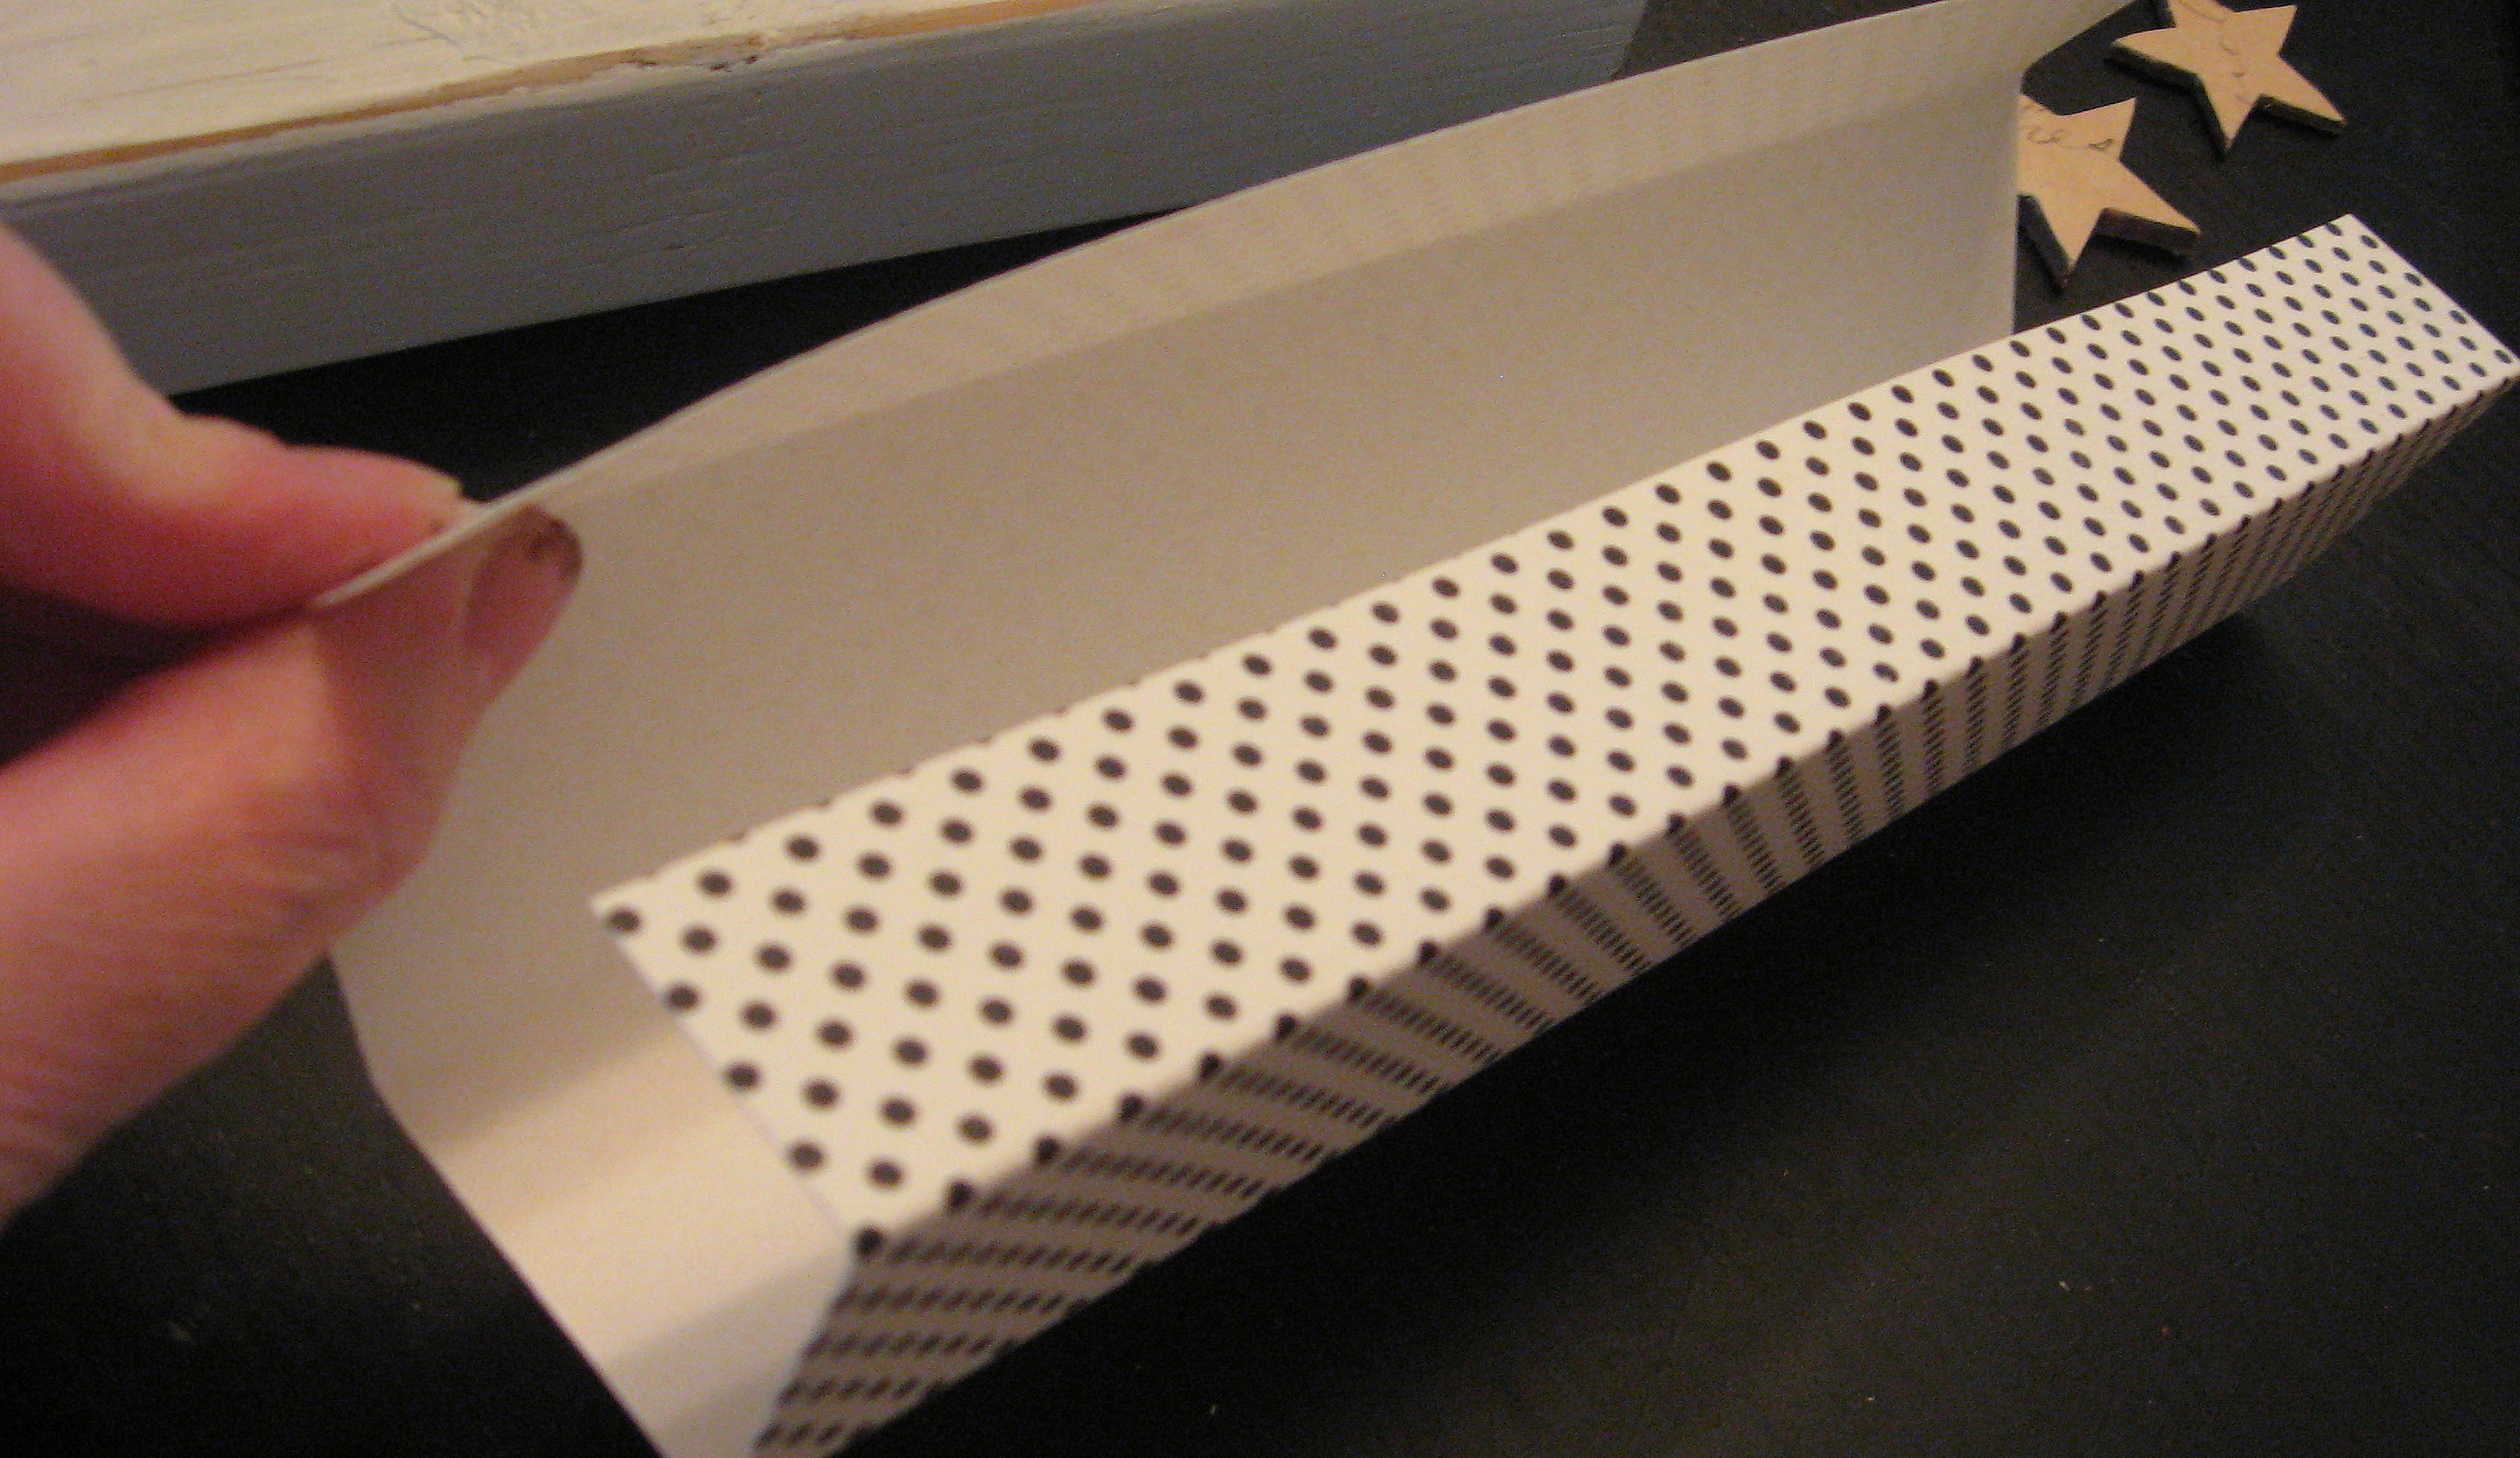
Next, cover each of the fireworks sticks with scrapbook paper. Cut a strip that is long enough to go all the way around and overlap just a little on the back.
Wrap it around the stick, using the edges to crease the paper, then take the paper off and make the creases sharp.
Mod Podge the paper onto the sticks and let dry. Once it’s dry, take sandpaper to the edges and corners to rough up the paper a little and give it that shabby, worn look. Just be sure to use a light touch – the paper will tear easily.
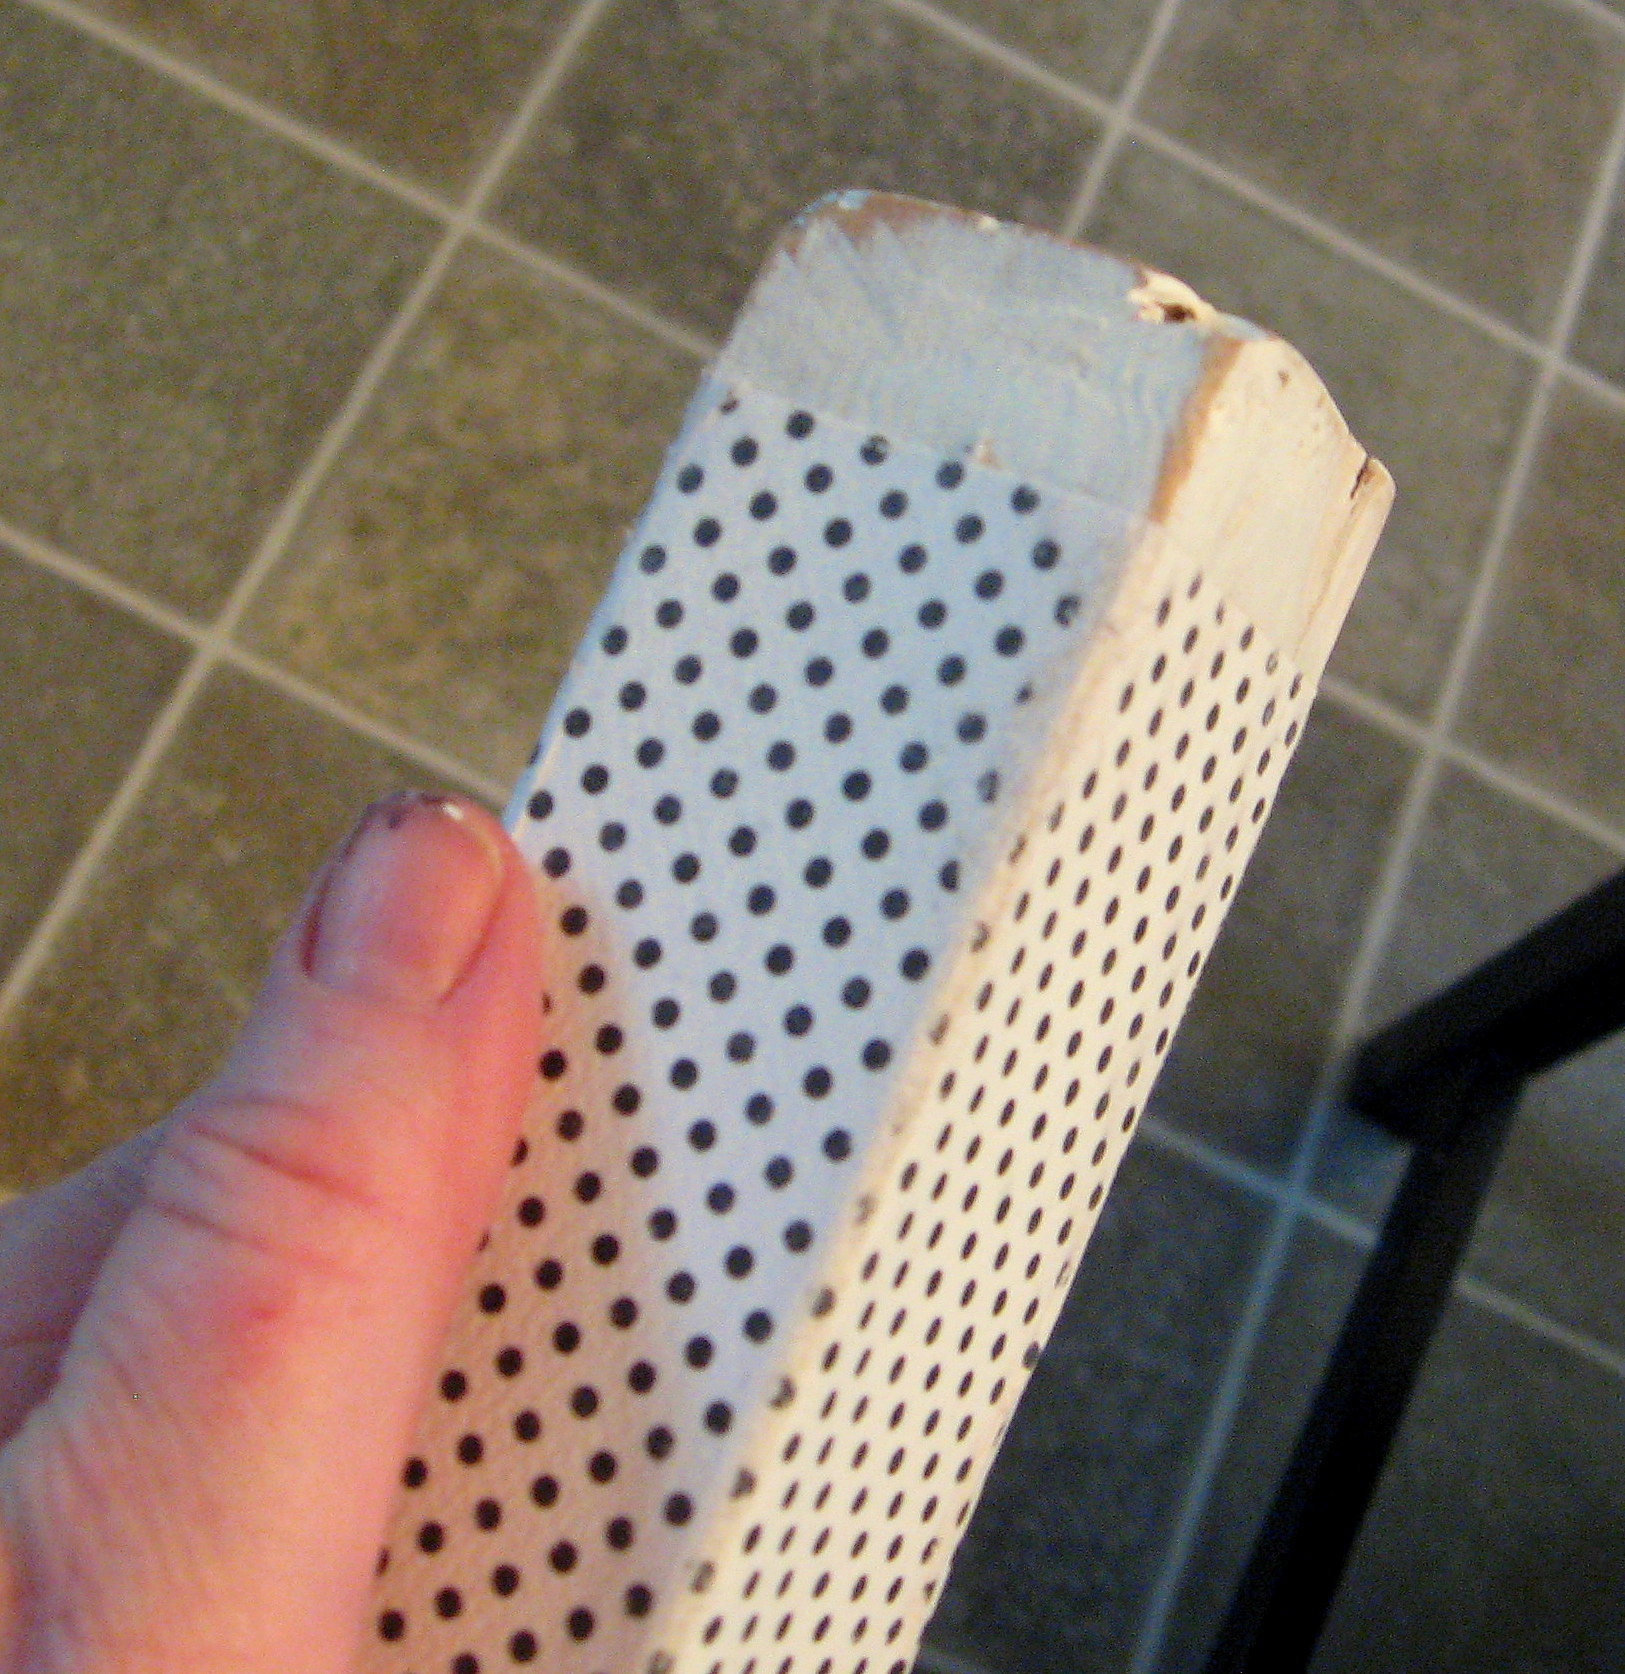
When the fireworks look just the way you want them, seal them with a coat of Mod Podge on top of the paper.
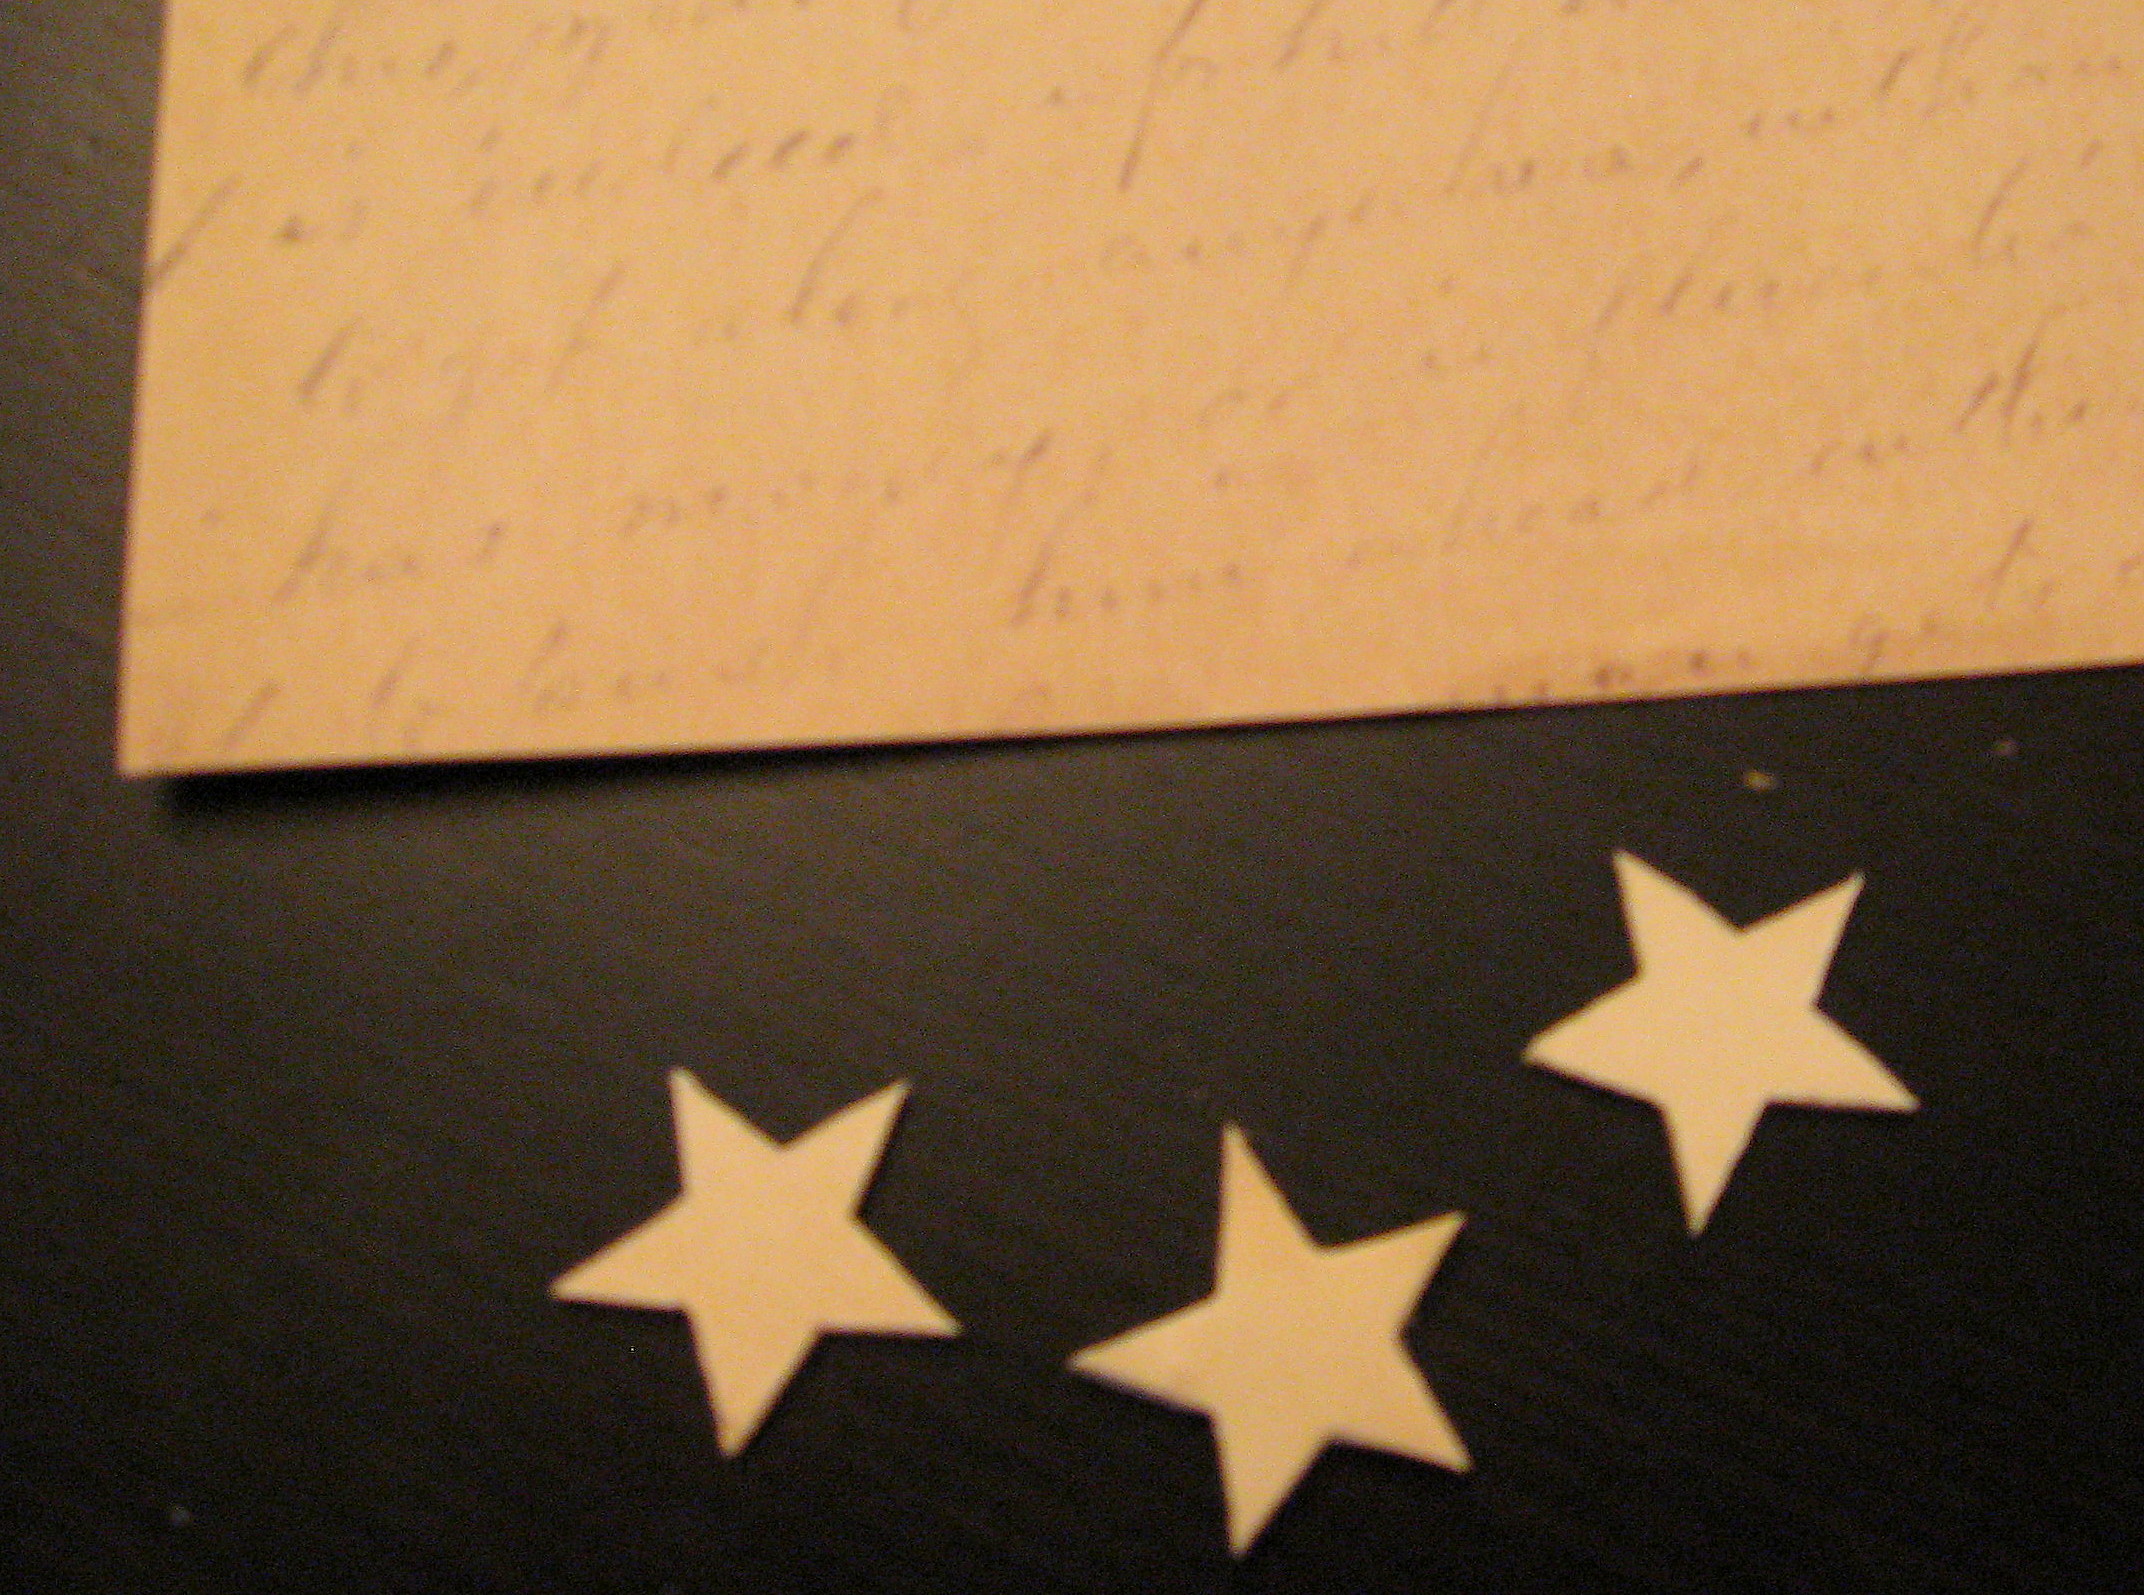
Next we will make the “fuse”. I started with three wood stars that I bought at a craft store. trace them onto a piece of scrapbook paper – mine is a creamy white with old-fashioned script writing on it – and cut them out. Cut them a little bit on the big side rather than trying to line them up exactly…you will see why in the pictures below.
Paint the edges and the backs of the stars with a coordinating paint color – I used brown –
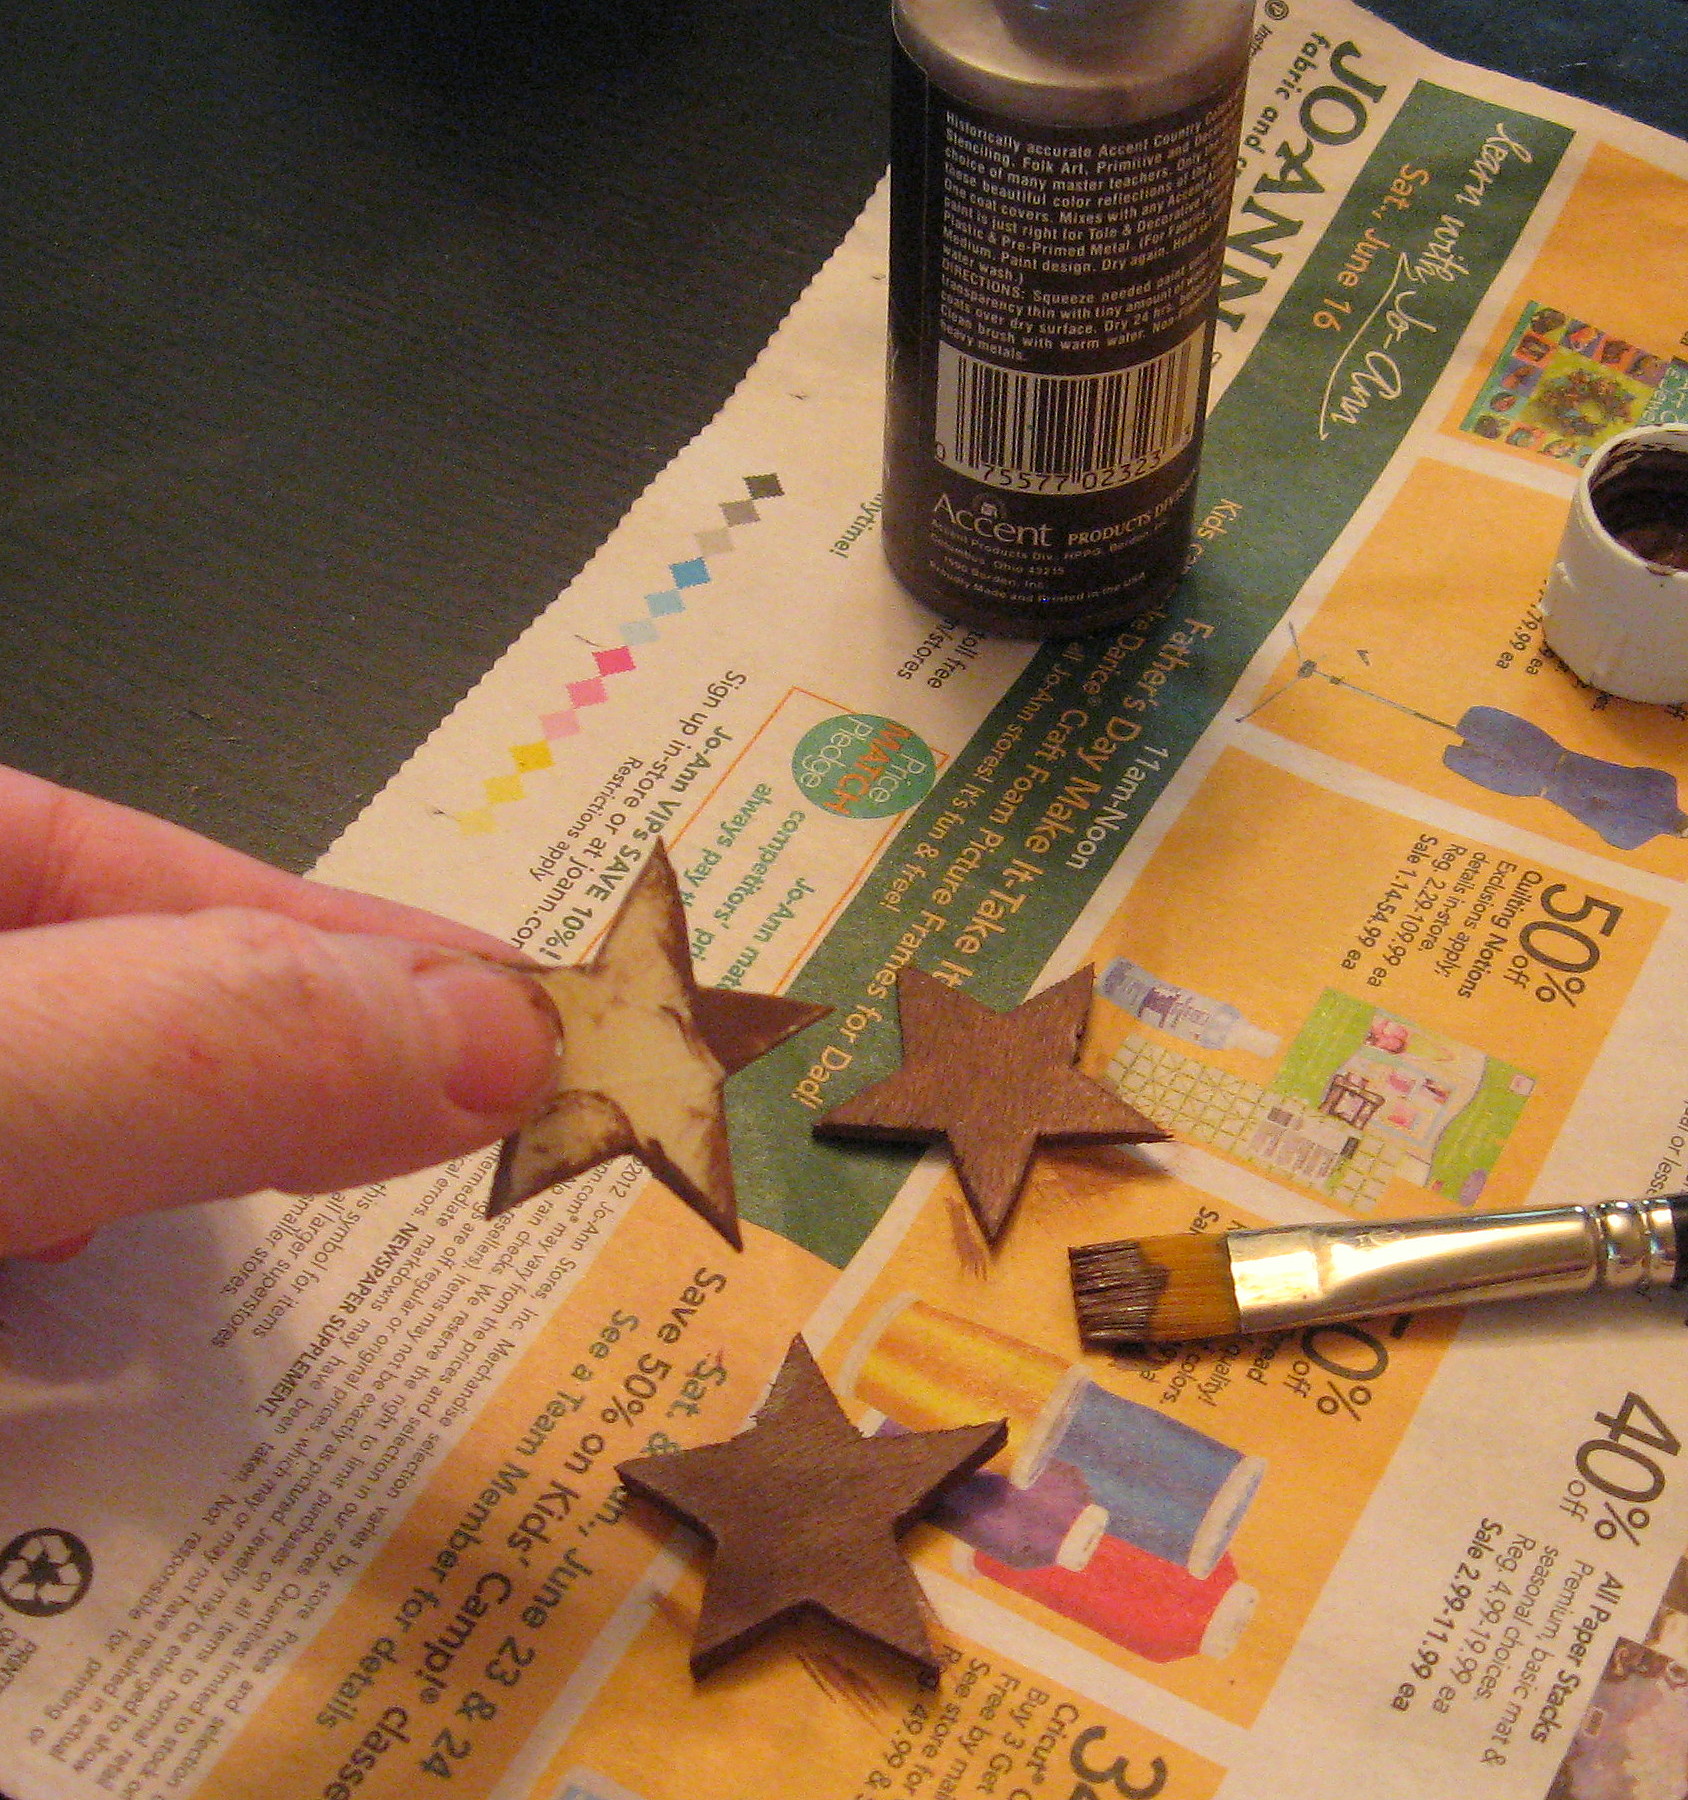
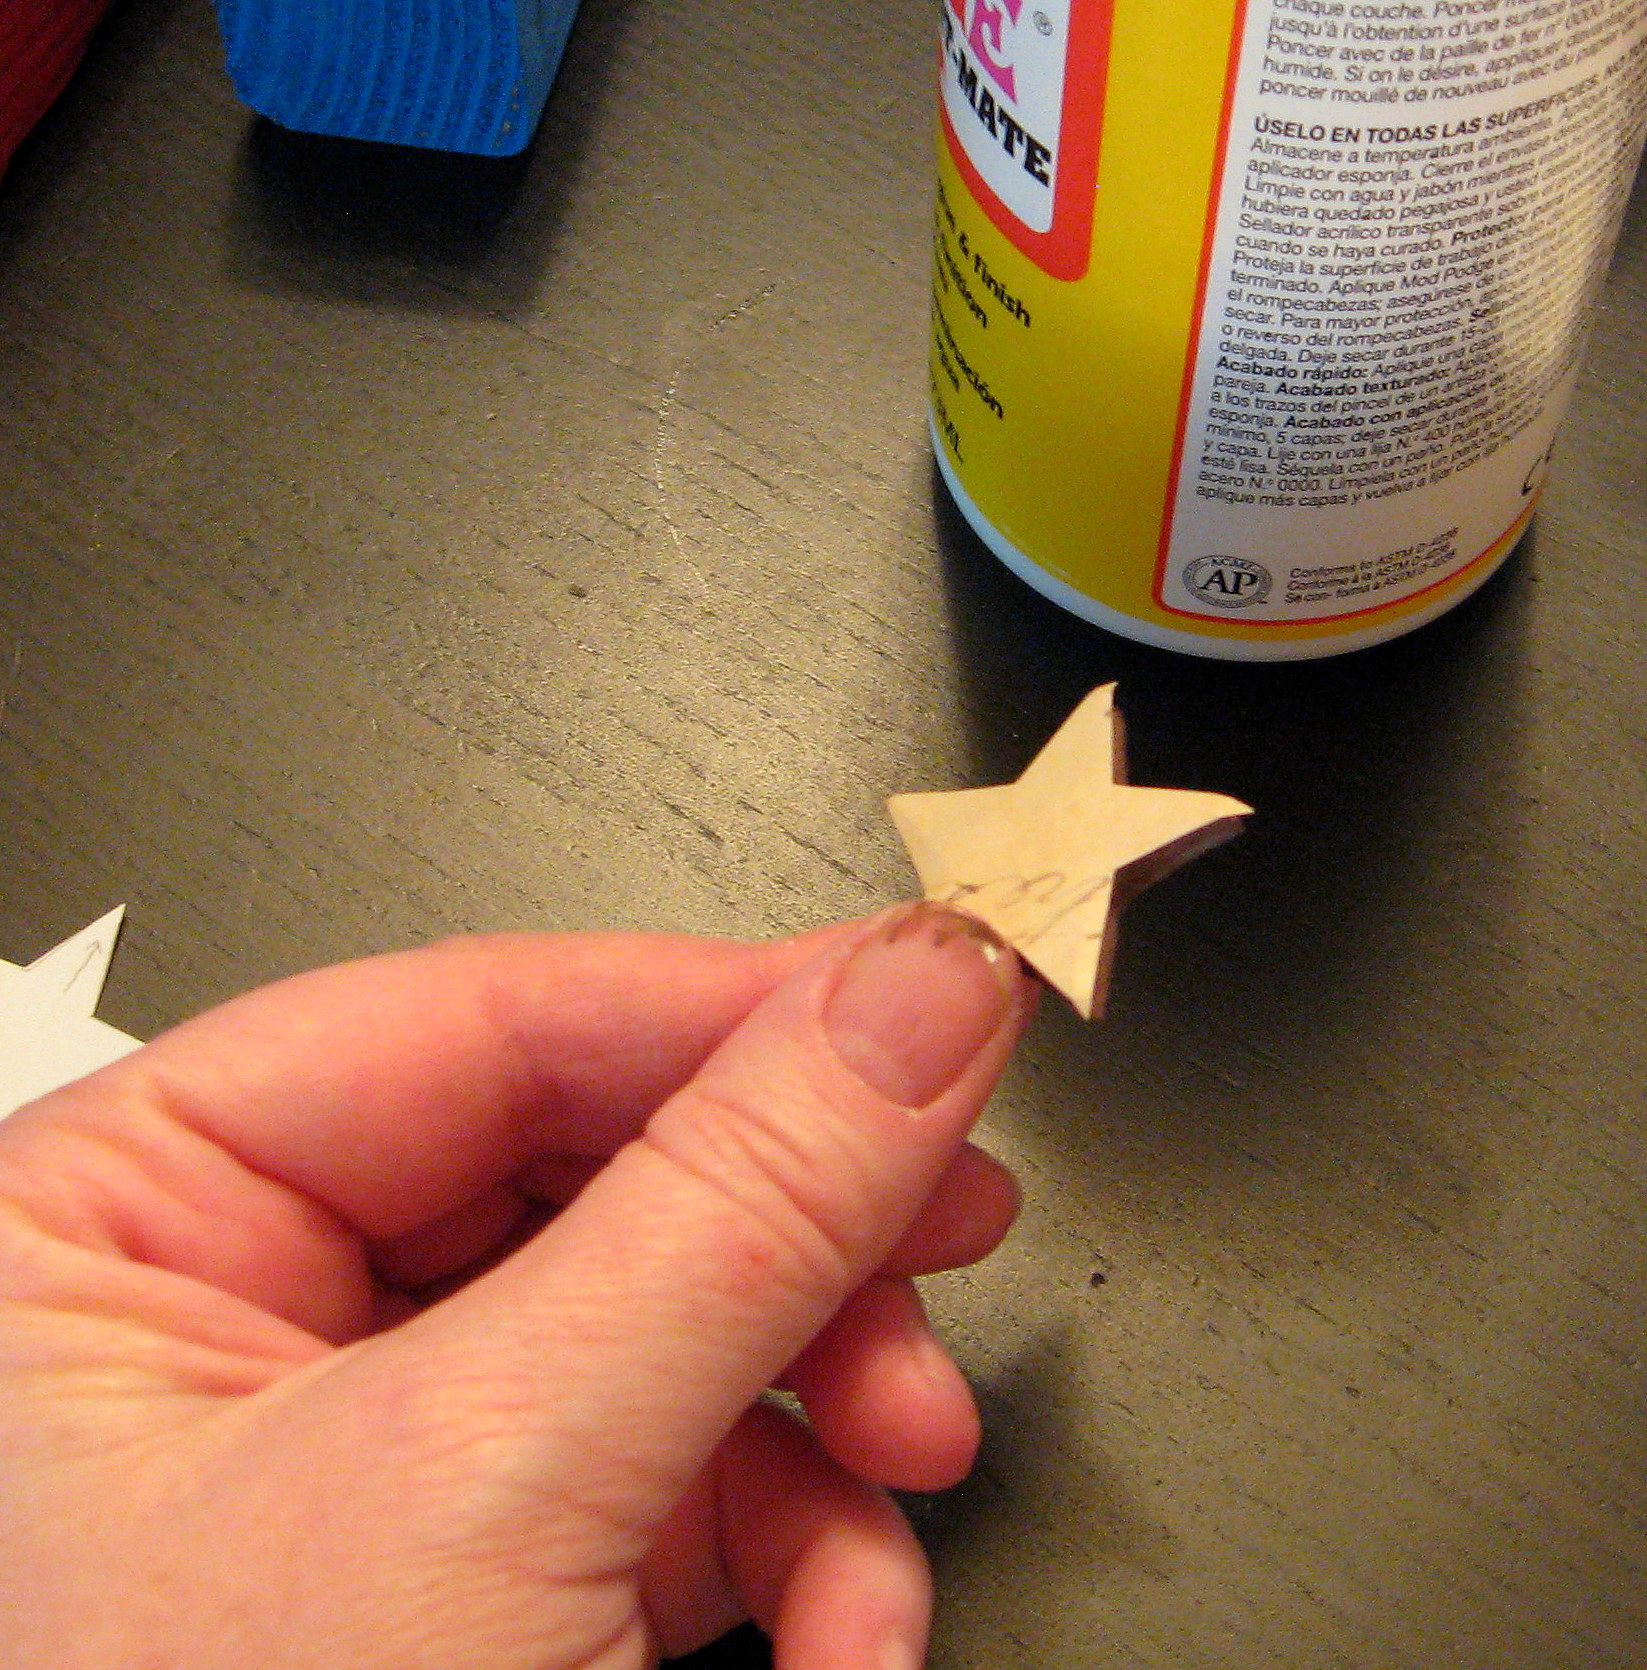
and once that is dry, Mod Podge the paper stars onto the unpainted side of the wood stars. Notice in the picture below how the paper is bigger than the wood?
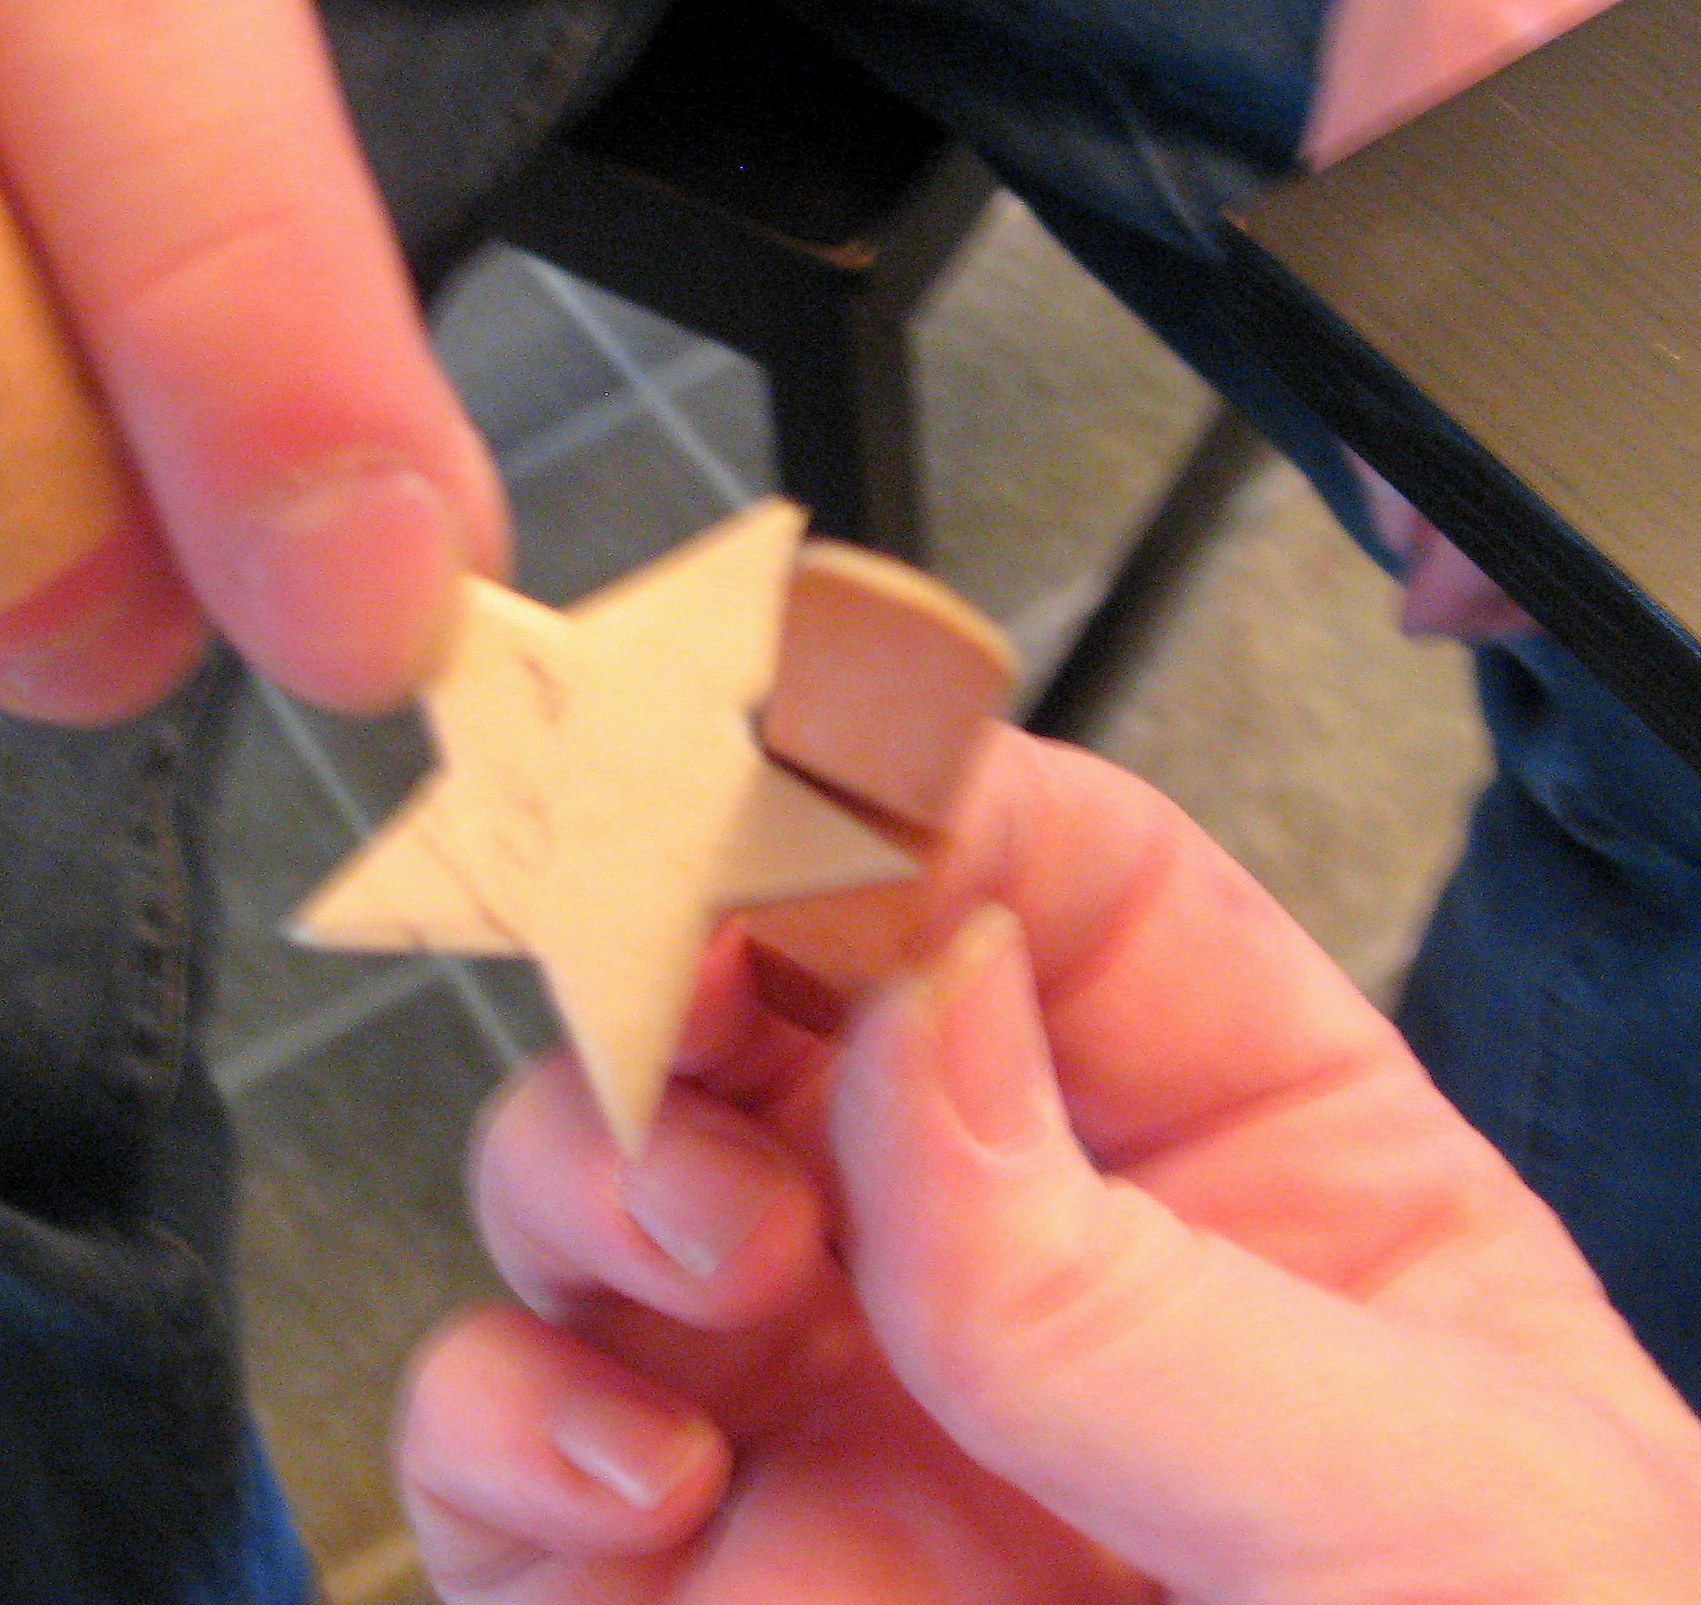
Using an emery board (I buy packs of them at the dollar store just for crafting!) or a piece of sandpaper, sand the overlapping edges of the paper off by holding the emery board perpendicular to the star and sanding in downward strokes.
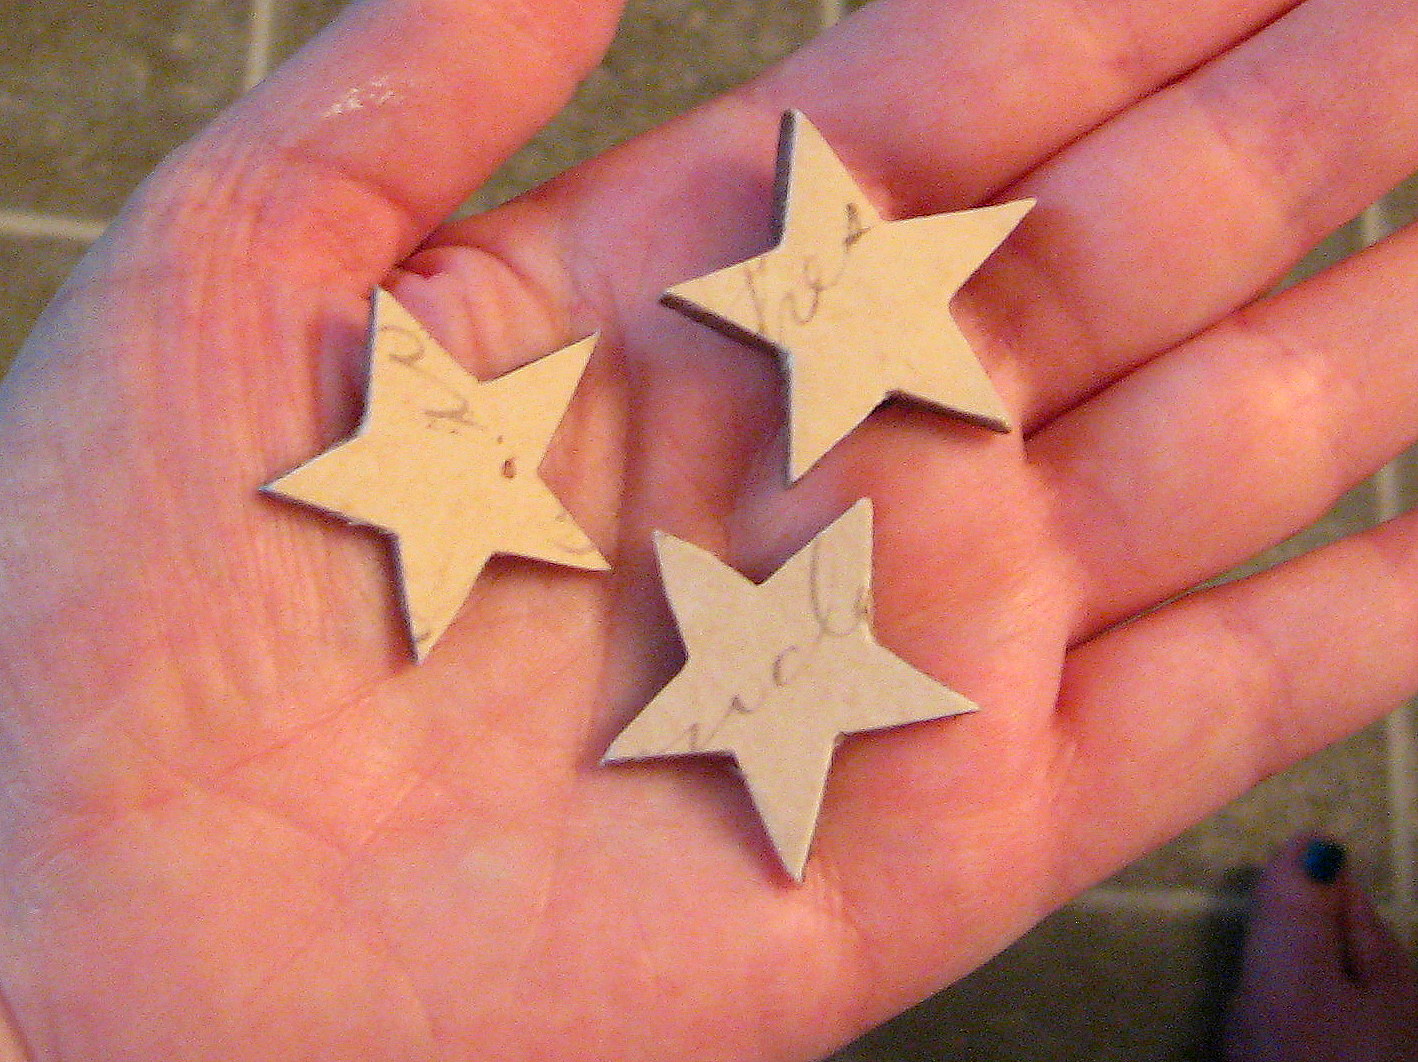
The paper will be cut off and you will end up with perfectly covered stars with perfectly crisp and even edges.
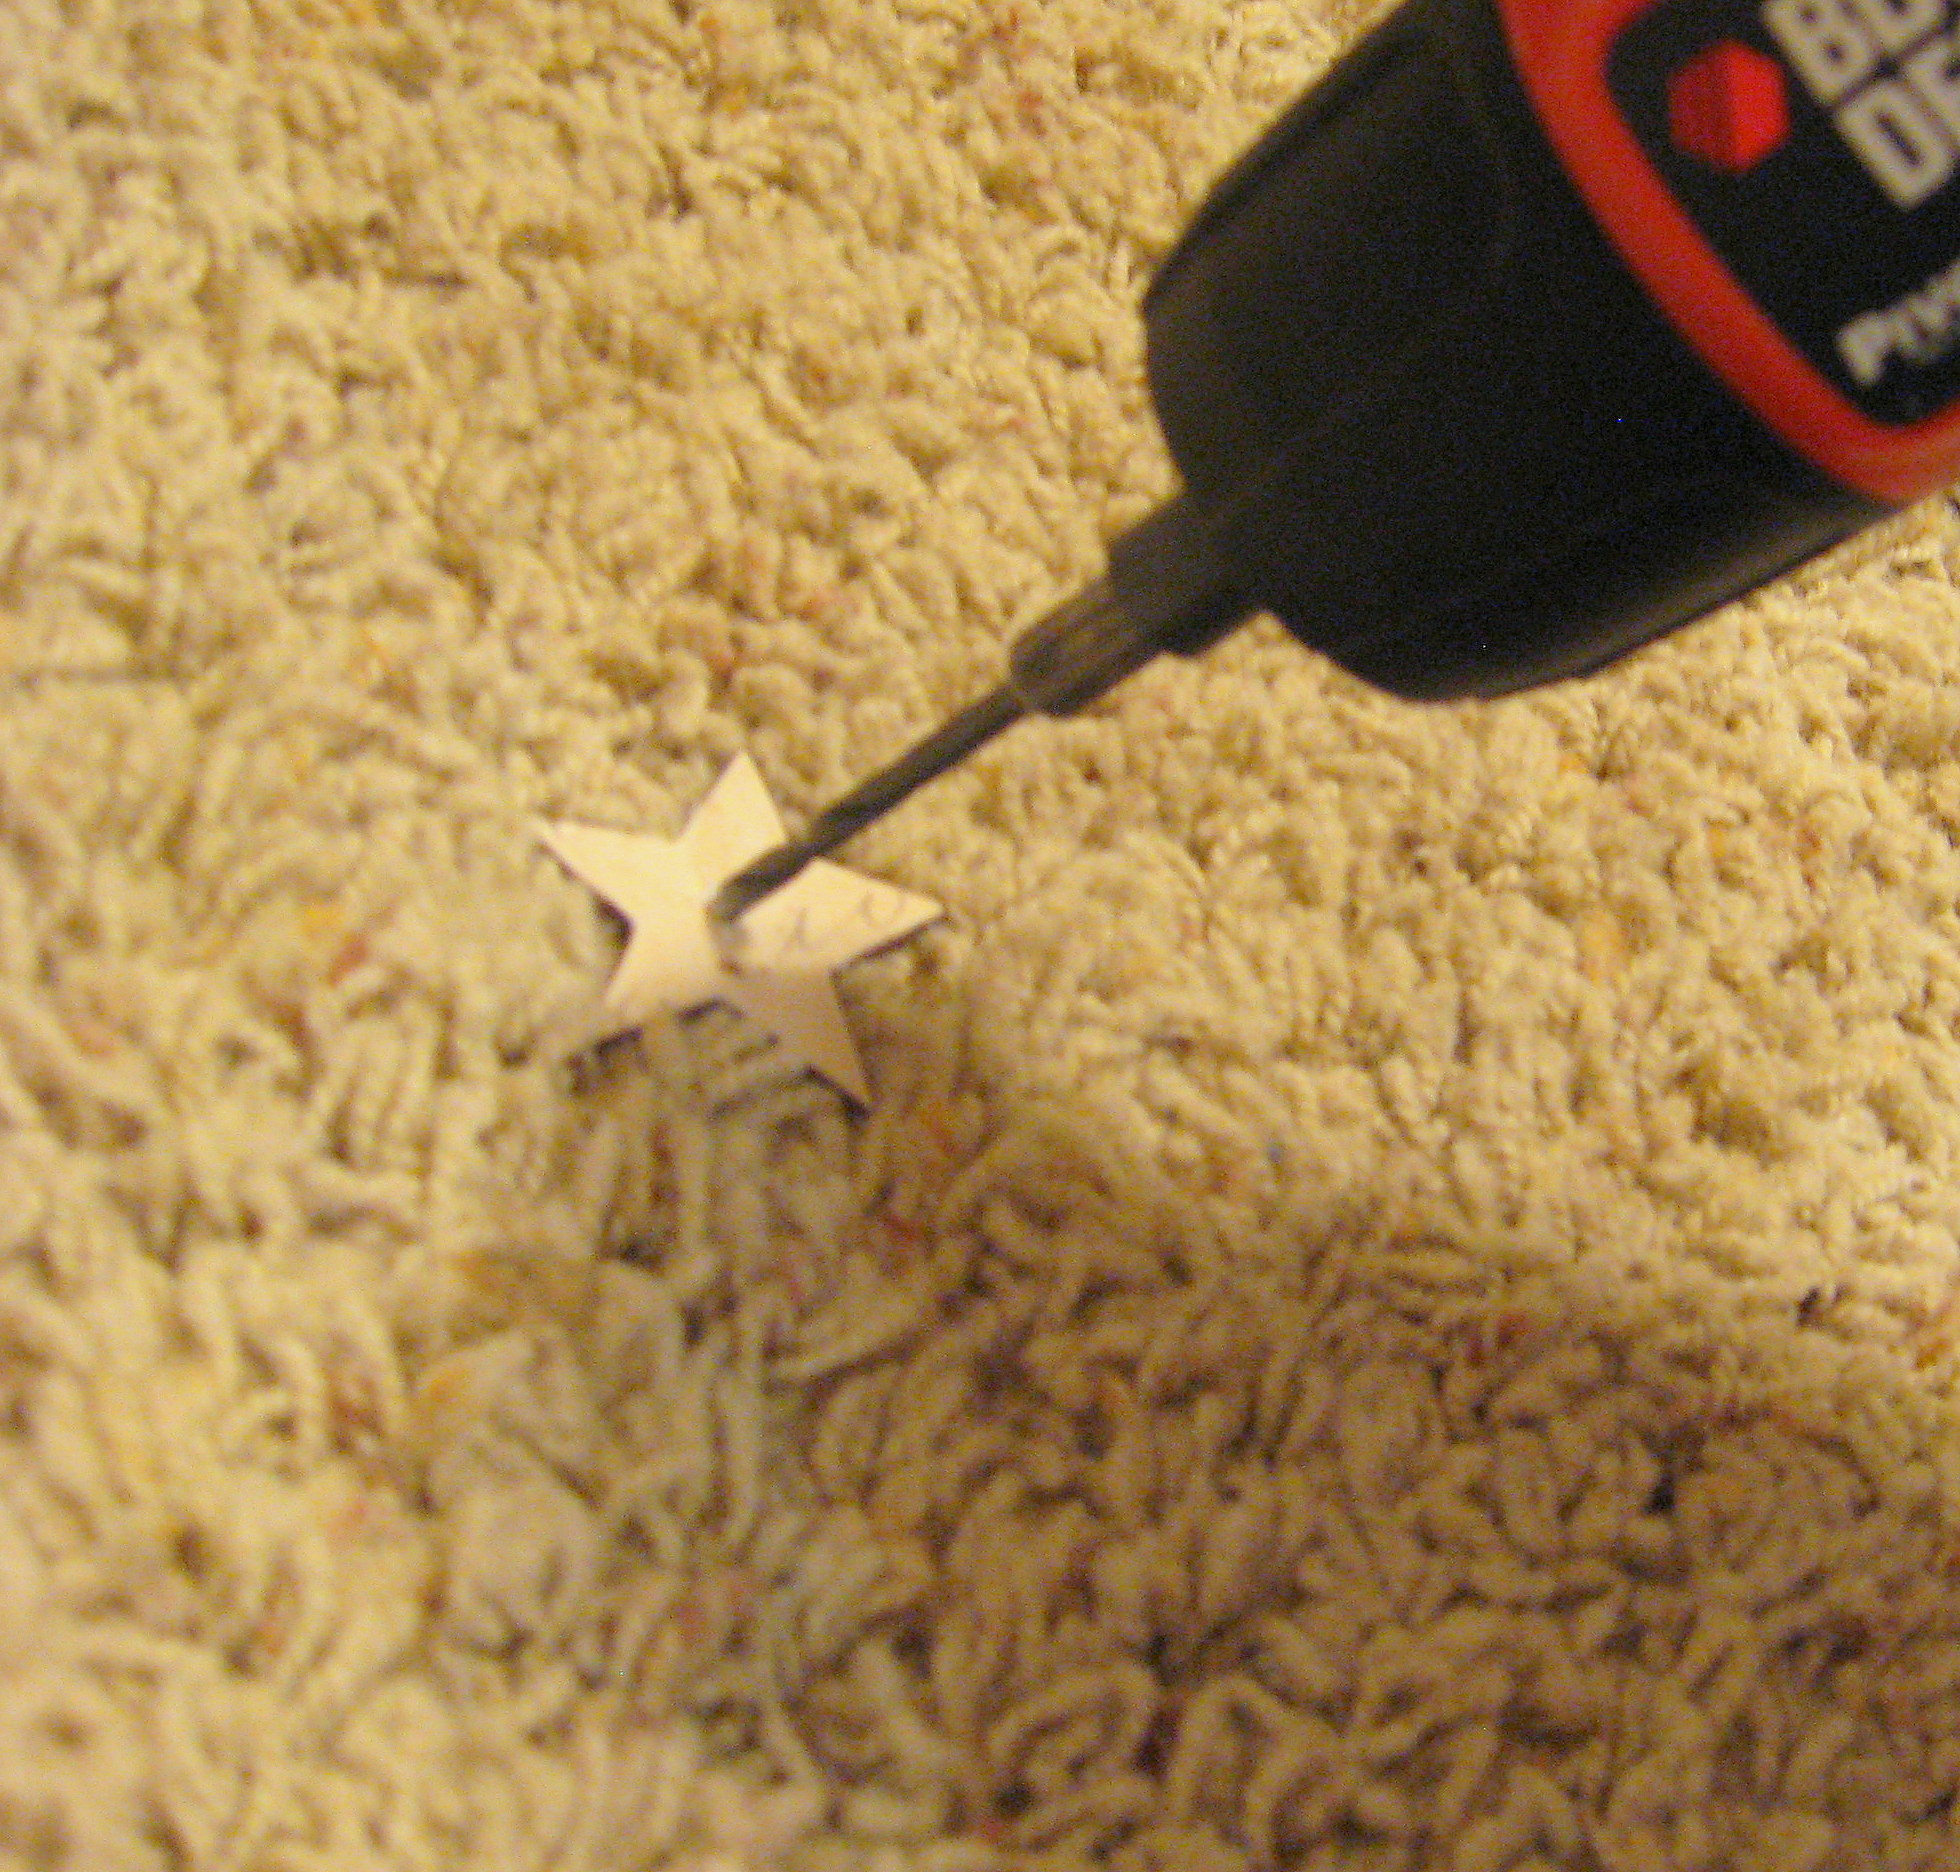
Seal the paper with Mod Podge and let them dry. Once they are dry, drill a hole through the middle of each star. BE CAREFUL! This wood will split easily, so go slow and don’t push too hard or you could break the whole star in half. Mine splintered off a little bit of wood on the back, so I just touched up the paint and it looks just fine.
Cut off a few inches of a heavy wire for each star. Using a pair of needle nose pliers, curl the end, then bend the curled part over about 90*
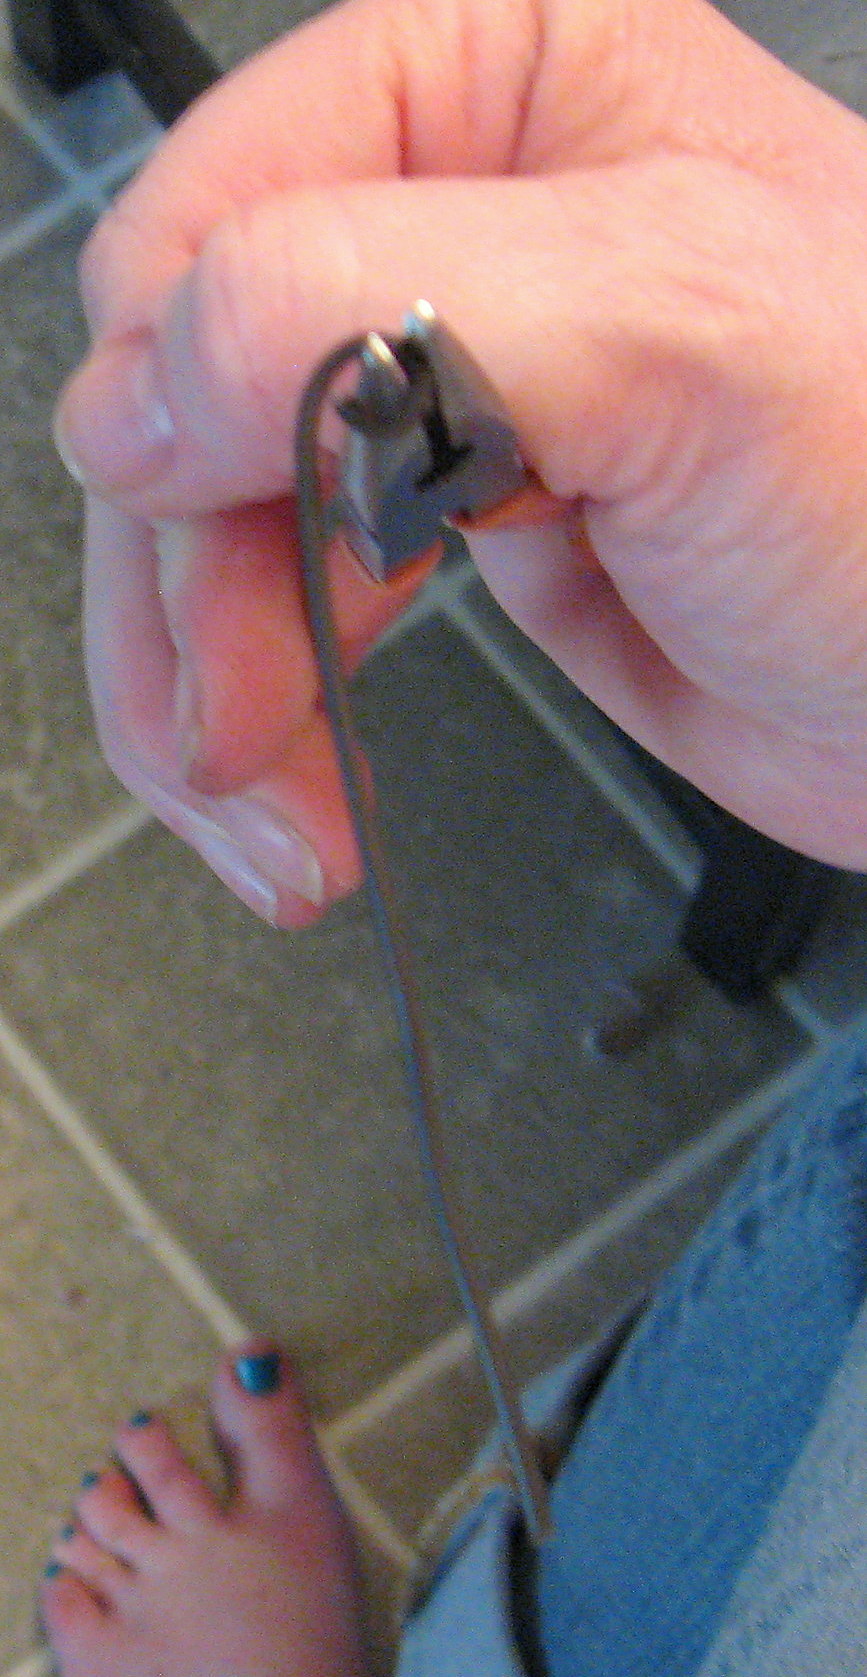
insert the other end through the hole in the star, position it how you want it, and – using the pliers – squeeze the wire together on either side of the star to hold it in place.
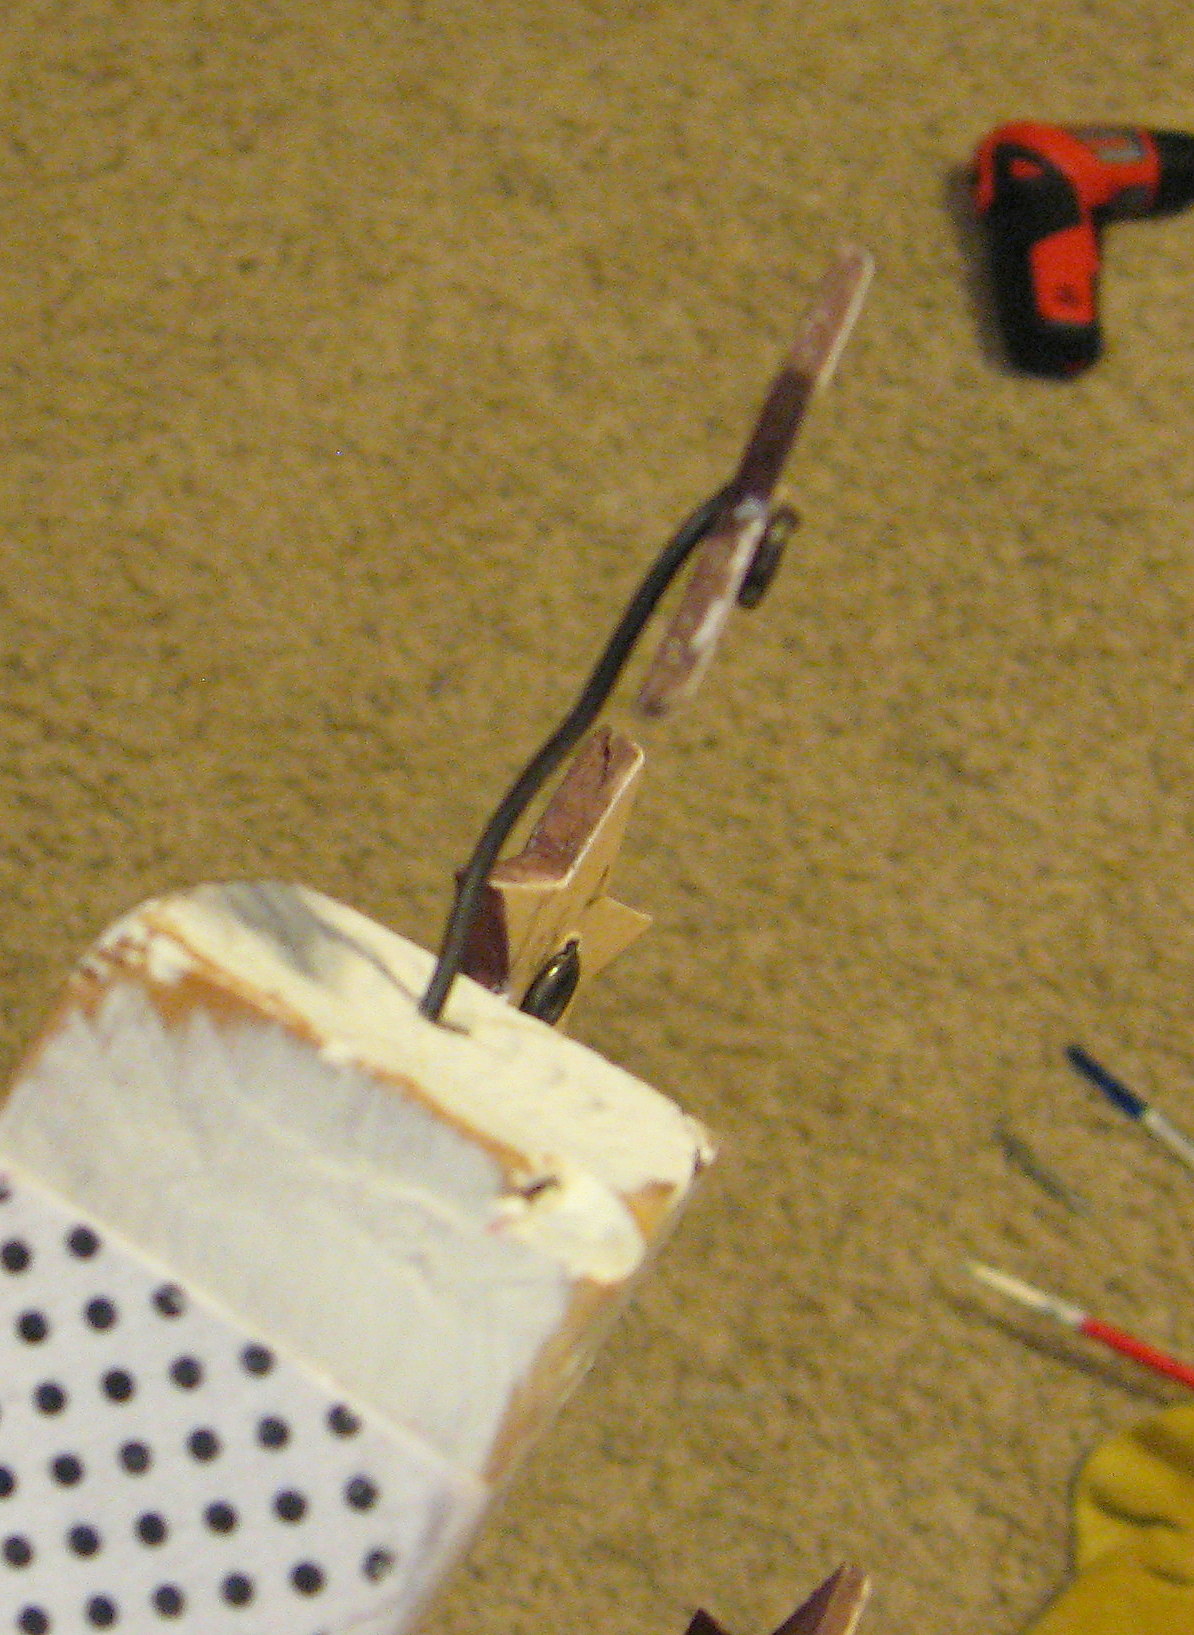
Cut the wire to the desired length, squirt a little glue into the hole you drilled in the stick and insert the finished fuse.
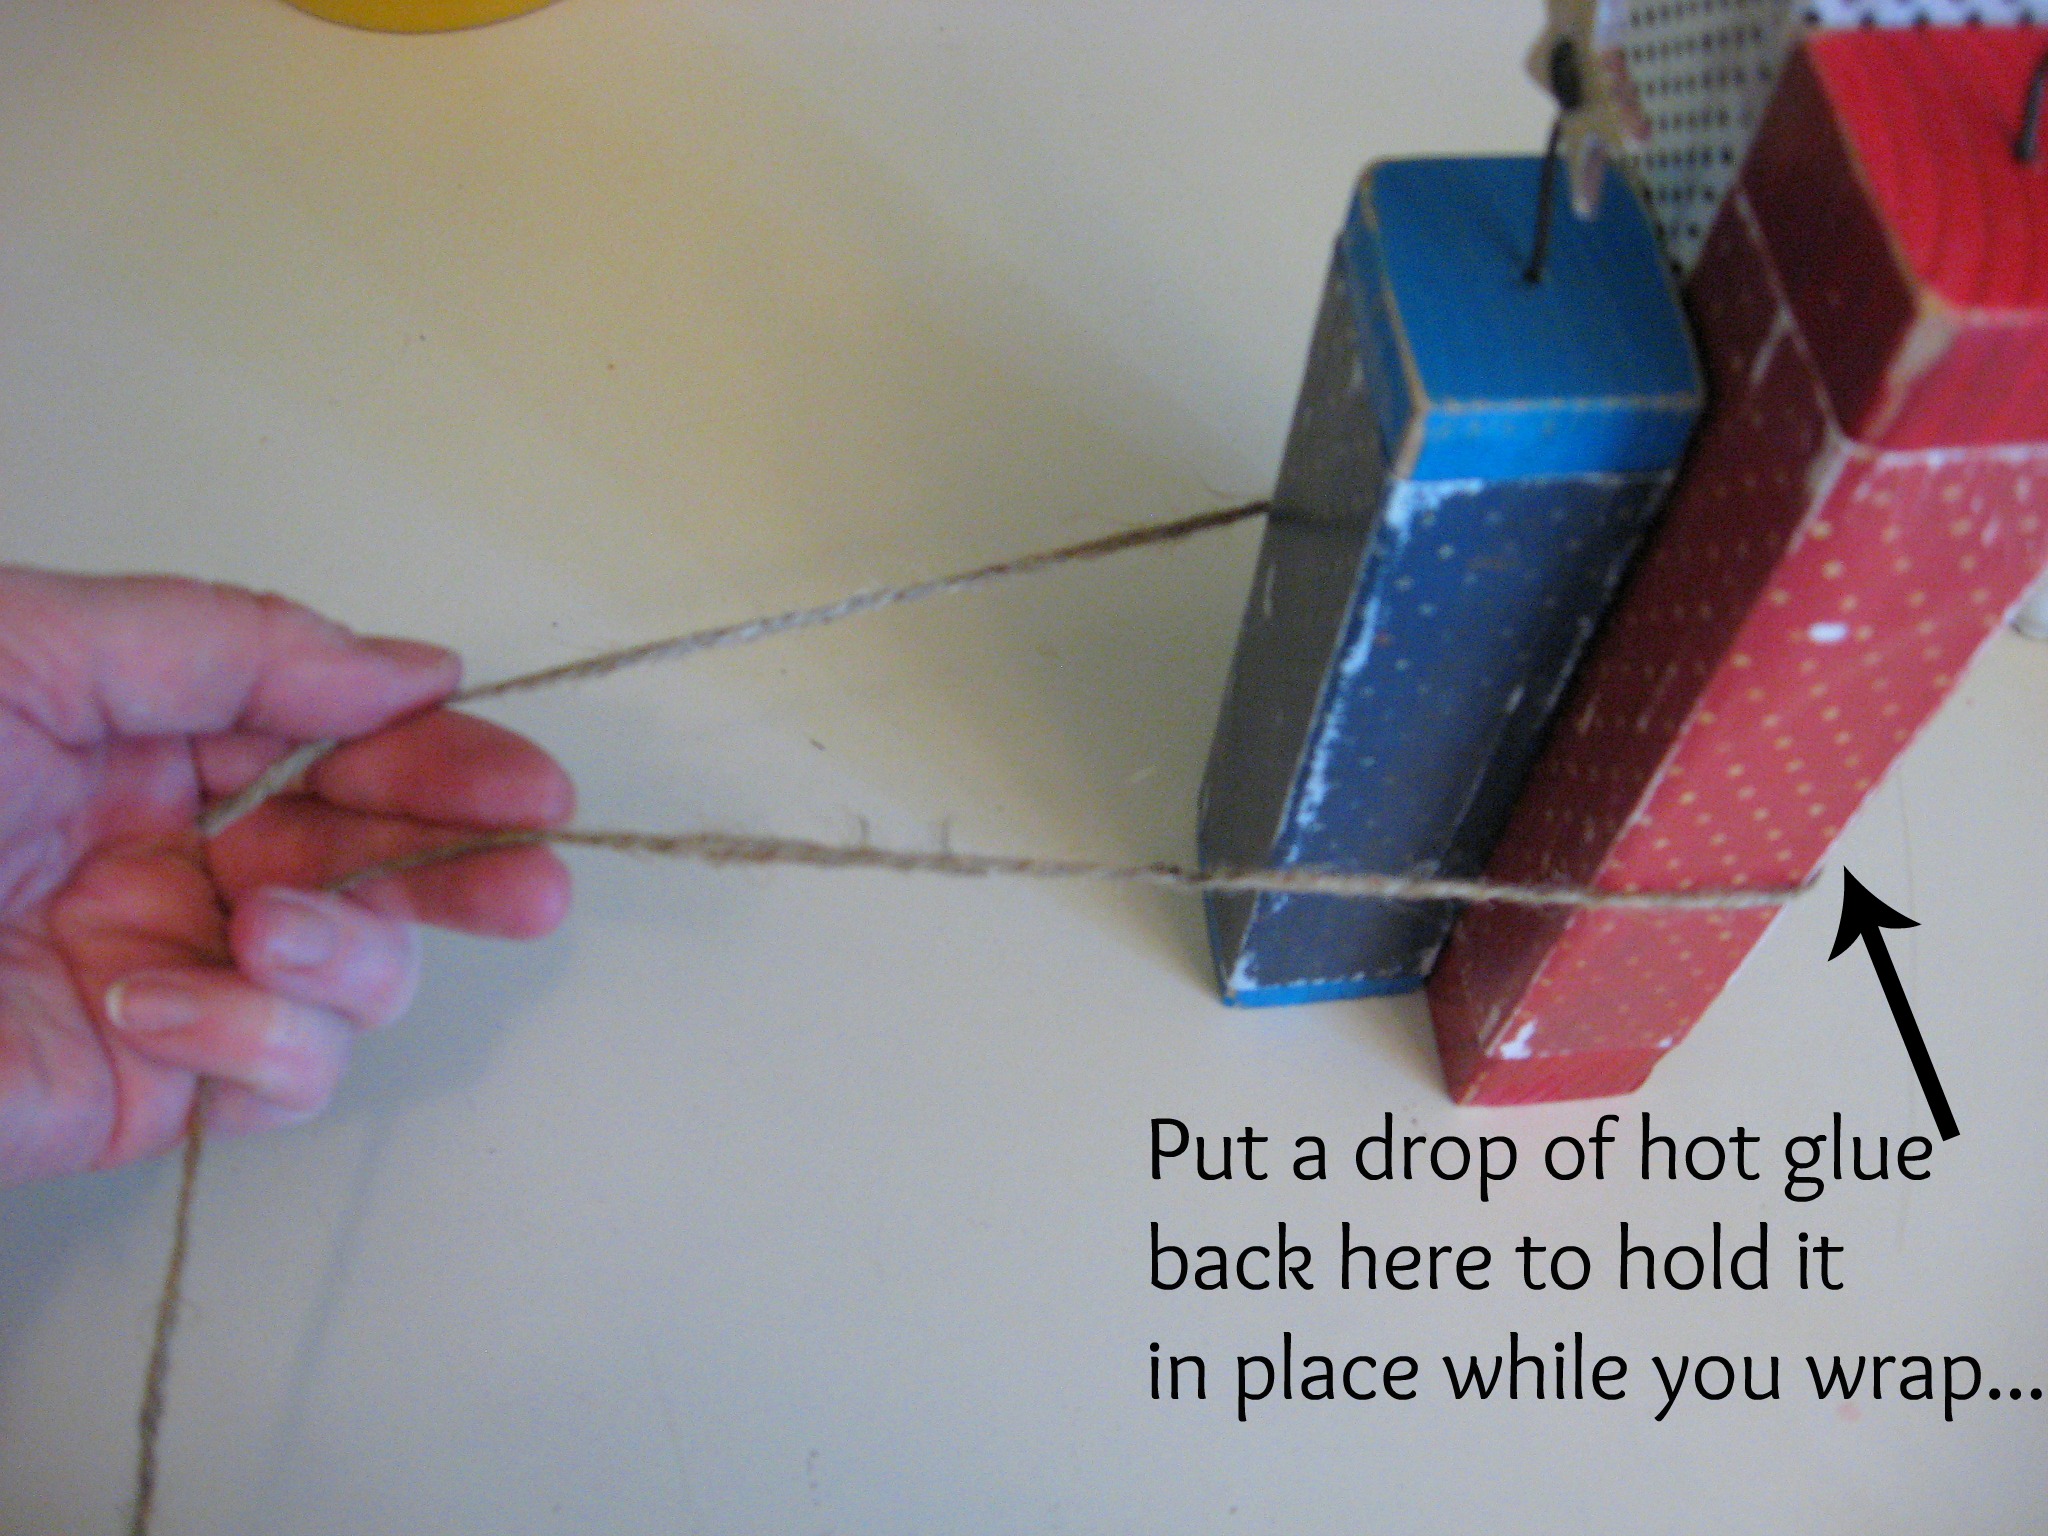
I stacked the three fireworks together and used a little dab of hot glue to hold them together so they wouldn’t shift around during this next step.
Wrap twine around them, leaving a tail, and using a dot of hot glue on the back to hold it in place.
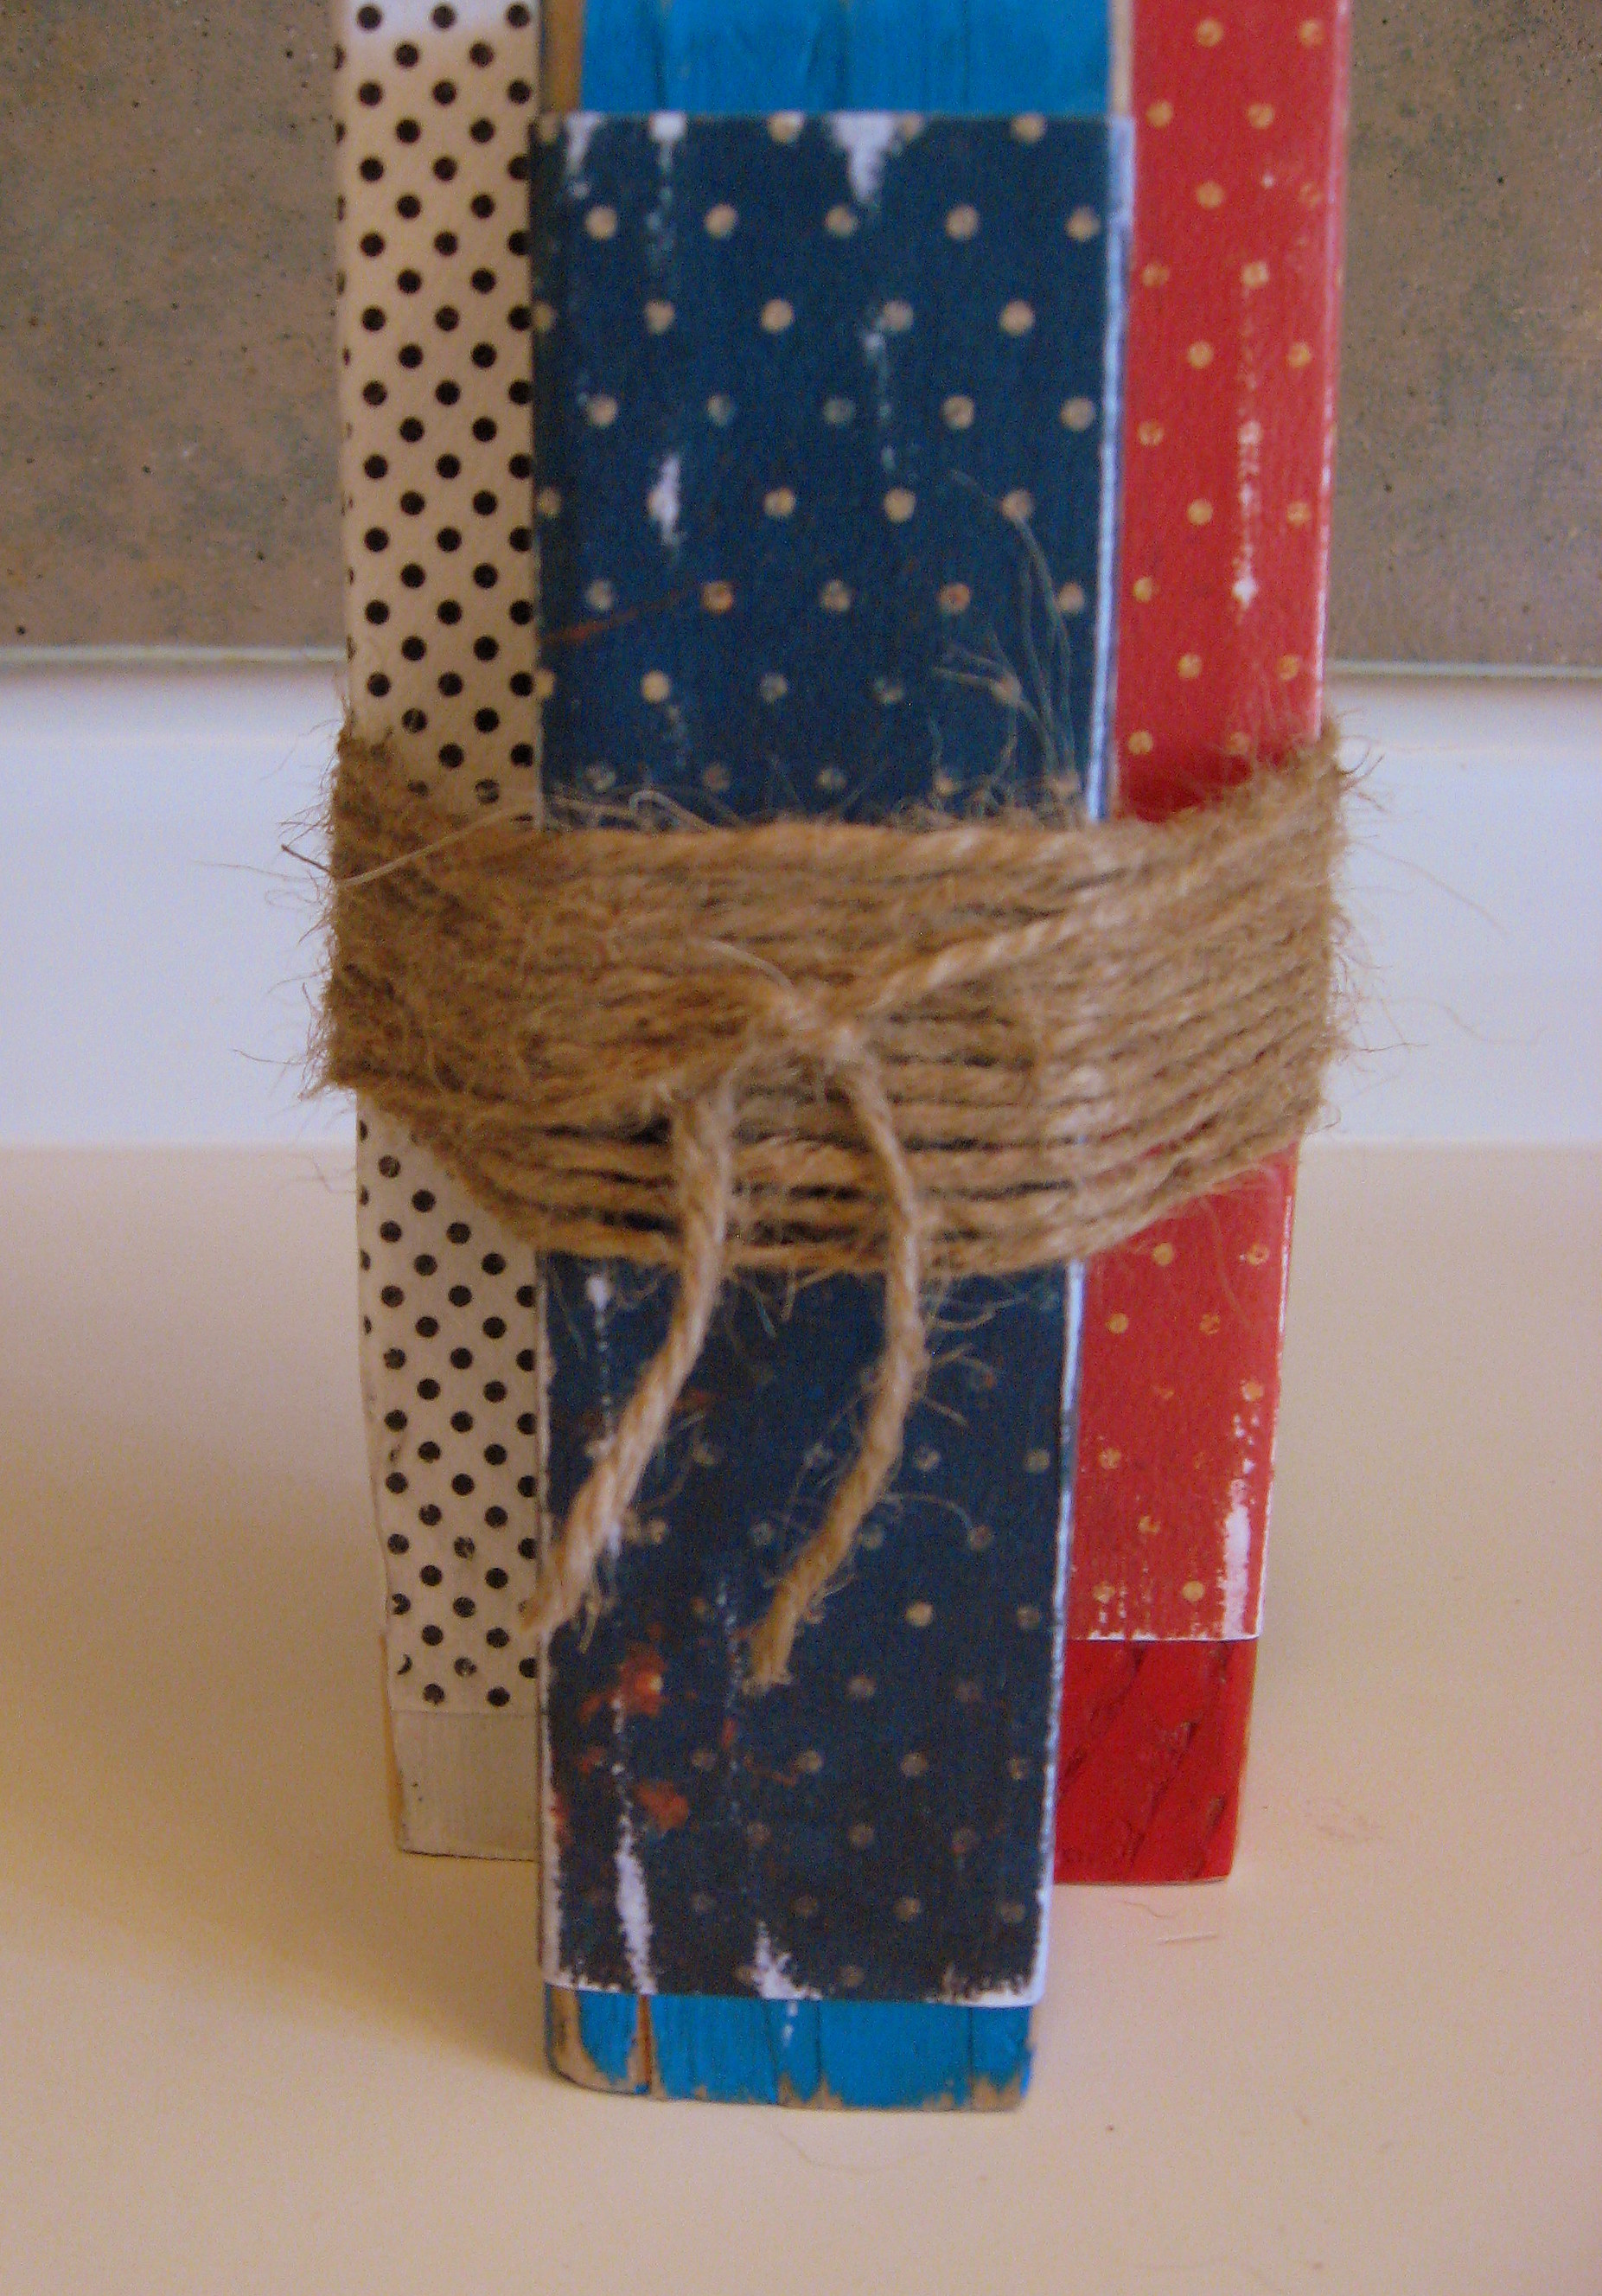
Wrap the other end of the twine around the whole bundle until it looks good, then cut the twine and tie the two ends together like this:
The last sentence is just as hard as the first….ummmm….
TA DA! Finished fireworks!
