
A PYP Best Blog! Homemade Smoothie Popsicles!
Just in case you missed this article on making homemade smoothie popsicles the first time we shared it a couple of years ago, we are republishing it. After we published this blog originally, we got an awesome response. This is one of the PYP Best Blogs!
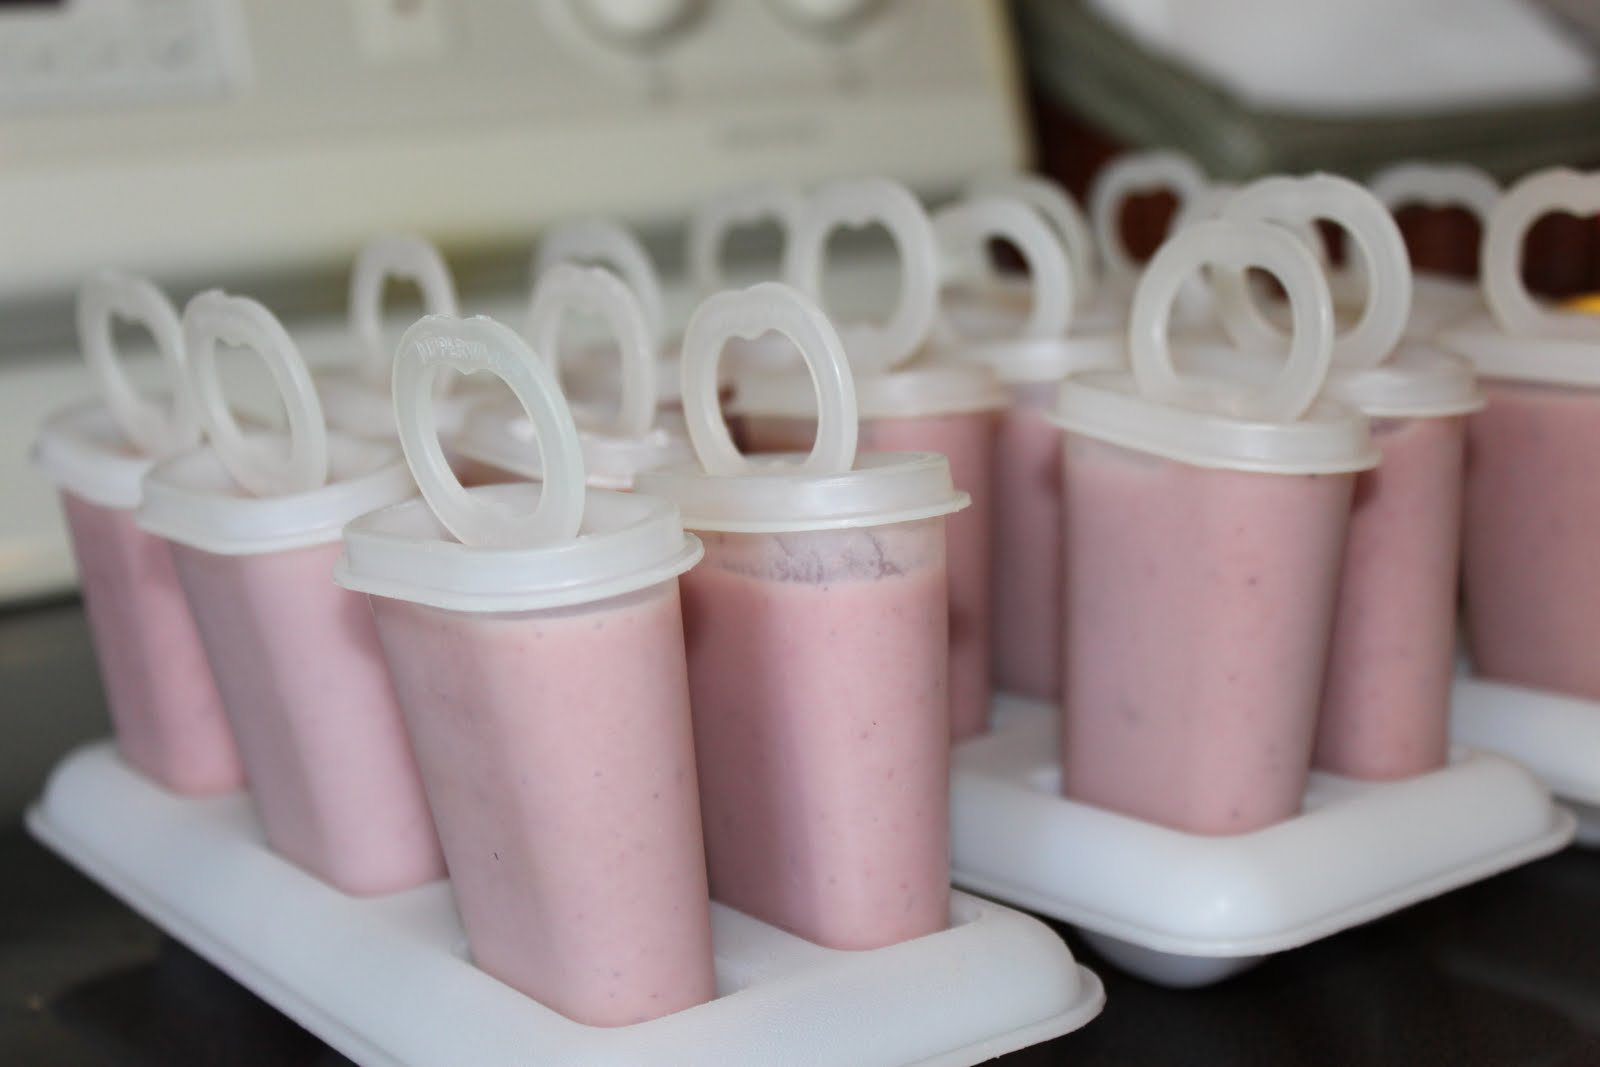
Warmer weather is upon us and it is time for cool snacks, like popsicles! What kid doesn’t like a popsicle? I really prefer to not give my kids Otter Pops and other cool treats that are just filled with sugar and coloring additives. So I make my own popsicles. Now you can just freeze juice or pudding, but blending up a mixture of fruit & vegetables mixed with yogurt or honey can make a really yummy snack…and much healthier too!
Here are some I made last week. They were gone in just a few days. My kids devour ’em!
I usually use whatever I have on hand, but I have written down a few of the smoothie recipes I make. Keep in mind these are only approximate portions, however, because I use what I have on hand or change my mind all the time. I never measure anything. It also depends on how much I want to make as to the portion sizes. They always turn out different, but good!
Orange Julius
1/4 c. orange juice concentrate
1 1/2 c. milk
1 or 2 bananas
3-4 raw baby carrots
handful of fresh pineapple
handful frozen peaches
half apple cut into chunks
1 c. vanilla yogurt
honey to sweeten (optional)
Blend until smooth! I use frozen fruit so I don’t add any ice. If you use canned or all fresh you will want to add ice. Can also add pears or any other yellow or orange fruit or veggie.
Purple Passion
1/2 c. vanilla yogurt
1 c. milk
handful of frozen blueberries & raspberries & strawberries
small handful raw baby spinach
3-4 baby carrots
1 banana
honey to sweeten
Blend until smooth! Like I said above, if you don’t use frozen fruit add ice.
Peanut Butter Blast (this one is more of a yummy treat!)
1 c. milk
1/2 c. peanut butter
1 banana
chocolate syrup
small handful of graham crackers
ice
Blend until smooth.
Do you make homemade popsicles? Let us know what you do.
A PYP Best Blog! Recipes: Homemade Syrup – Lots of recipes!
Just in case you missed this article on making homemade syrup the first time we shared it a couple of years ago, we are republishing it. After Marne wrote this blog originally, we got an awesome response. This is one of the PYP Best Blogs!
When I was growing up, my mother made many different types of syrup for us to put on our pancakes and waffles. I wanted to share a few of those recipes with you today. These are a few of my favorites for the past 30 years or so. I hope you enjoy them as much as we do. Note: They do work out just find using reduced sugar.
Contrary to popular belief, Kneaders Restaurant did not invent cinnamon syrup! I have been eating it since the late-1970’s and my mom always made it from scratch!
CINNAMON SYRUP
1 c. sugar
1/2 c. corn syrup
1/4 c. water
1/2 to 3/4 tsp. cinnamon
1/2 c. evaporated milk
Combine sugar, corn syrup, water and cinnamon. Boil over medium heat stirring constantly. Cook and stir for 2 minutes more. Cool for 5 minutes removed from heat. Stir in evaporated milk. Makes 1 2/3 cups.
ORANGE SYRUP
1/2 c. butter
3/4 c. sugar
1/2 c. orange juice concentrate
Heat almost to boiling. Serve over pancakes or waffles.
PEACH SYRUP
5 cups peach puree
2 cups sugar
2 TBSP lemon juice
2 tsp vanilla
Over medium heat in a heavy pot, combine the peach puree, sugar, and lemon juice. Heat to boiling then reduce to a simmer. Simmer, stirring frequently for five minutes. Remove from the heat and add the vanilla.
You can water bath can this syrup, or you can freeze it. If you choose to can it, pour into the sterilized jars, leaving 1/4″ headspace at the top of each jar. Wipe all the rims with a clean cloth and center the lids. Add the bands and tighten to finger tightness, and process in a boiling water bath for 25 minutes (less time if you live at a lower elevation. Check the Ball canning regulations for specifics). Makes approx. 3 pints of syrup.
A PYP Best Blog! Easy, Healthy Homemade Granola Bars!
Just in case you missed this article on making homemade granola bars the first time we shared it a couple of years ago, we are republishing it. After Trish wrote this blog originally, we got an awesome response. This is one of the PYP Best Blogs!
For a variety of reasons I won’t go into here, I have started packing lunches for my kids and husband every day.
When I decided to make the switch from school lunch to brown bagging, I sought the advice of PYP members in the forums. I was looking for wholesome, healthy, non processed options.
One suggestion I received was a Mark Bitman recipe for homemade granola bars.
They have been a huge hit! And I’ve made them so many times now that I can make them in my sleep.
I wanted to pass them on for others to enjoy.
I would guess that the approximate cost for a full recipe is about $2 for 16 bars.
Considering that I know exactly what’s in them (Nothing I can’t pronounce or identify!) and can customize the granola bars according to our tastes, I think that they are a good value.
Chewy Granola Bars
adapted from a Mark Bitman recipe
1/2 cup nut butter (almond or peanut)
1/2 cup honey
1 cup crispy rice cereal
1 cup oats (instant, quick or old fashioned)
1/2 chopped unsalted nuts and/or seeds (any combination you like)
1/2 cup chopped dried fruit (any that you like)
1/4 teaspoon salt (optional)
Place nut butter and honey in a small saucepan and heat over low heat just until melted enough to combine thoroughly with a whisk.
Lightly oil a 9X9 or 8X8 cake pan.
Center a piece of plastic wrap that is about 3 times the size of the pan over the pan and smooth it out to line the pan allowing the excess plastic wrap to hang over the sides.
Put the dry ingredients in a bowl. Add the combined nut butter and honey. Stir gently until well combined.
Pour mixture into pan and distribute as evenly as possible with the spoon you used to stir with.
Now fold the plastic wrap over the mixture and press firmly and evenly into the pan.
Refrigerate for at least one hour.
Lift the plastic wrap and granola mixture from the pan all at once.
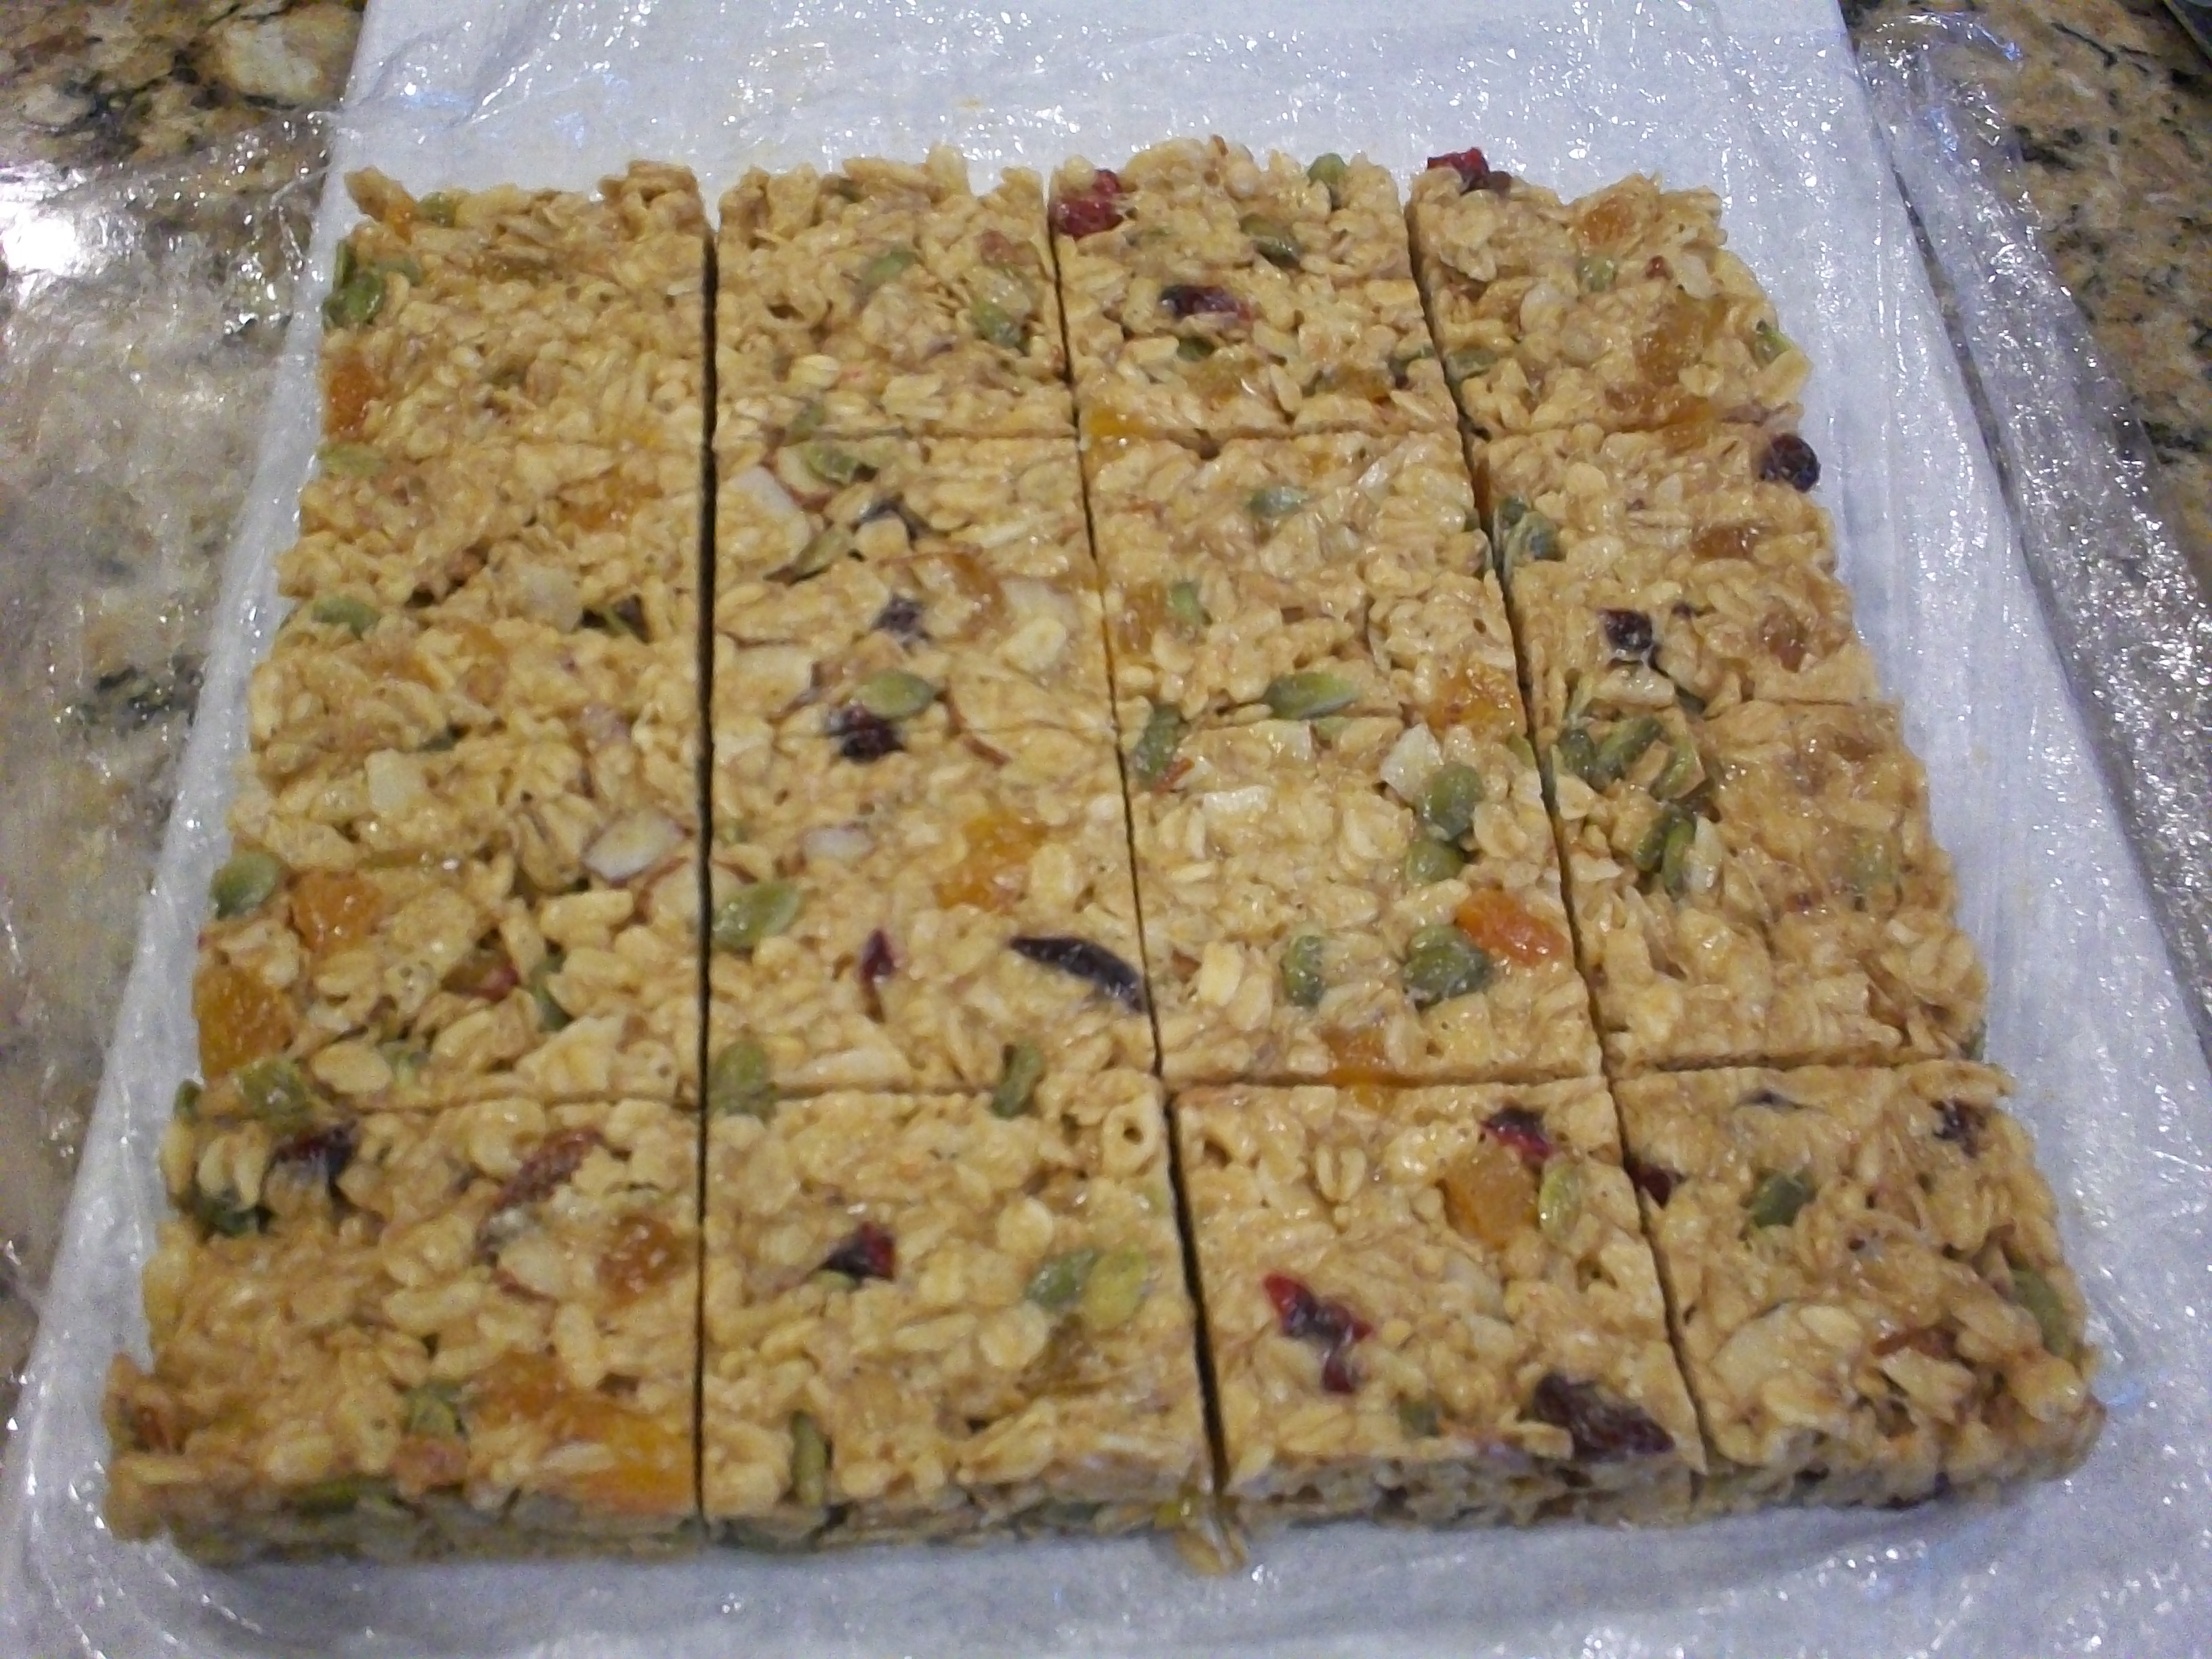
Place on cutting board and cut into 16 equal pieces.
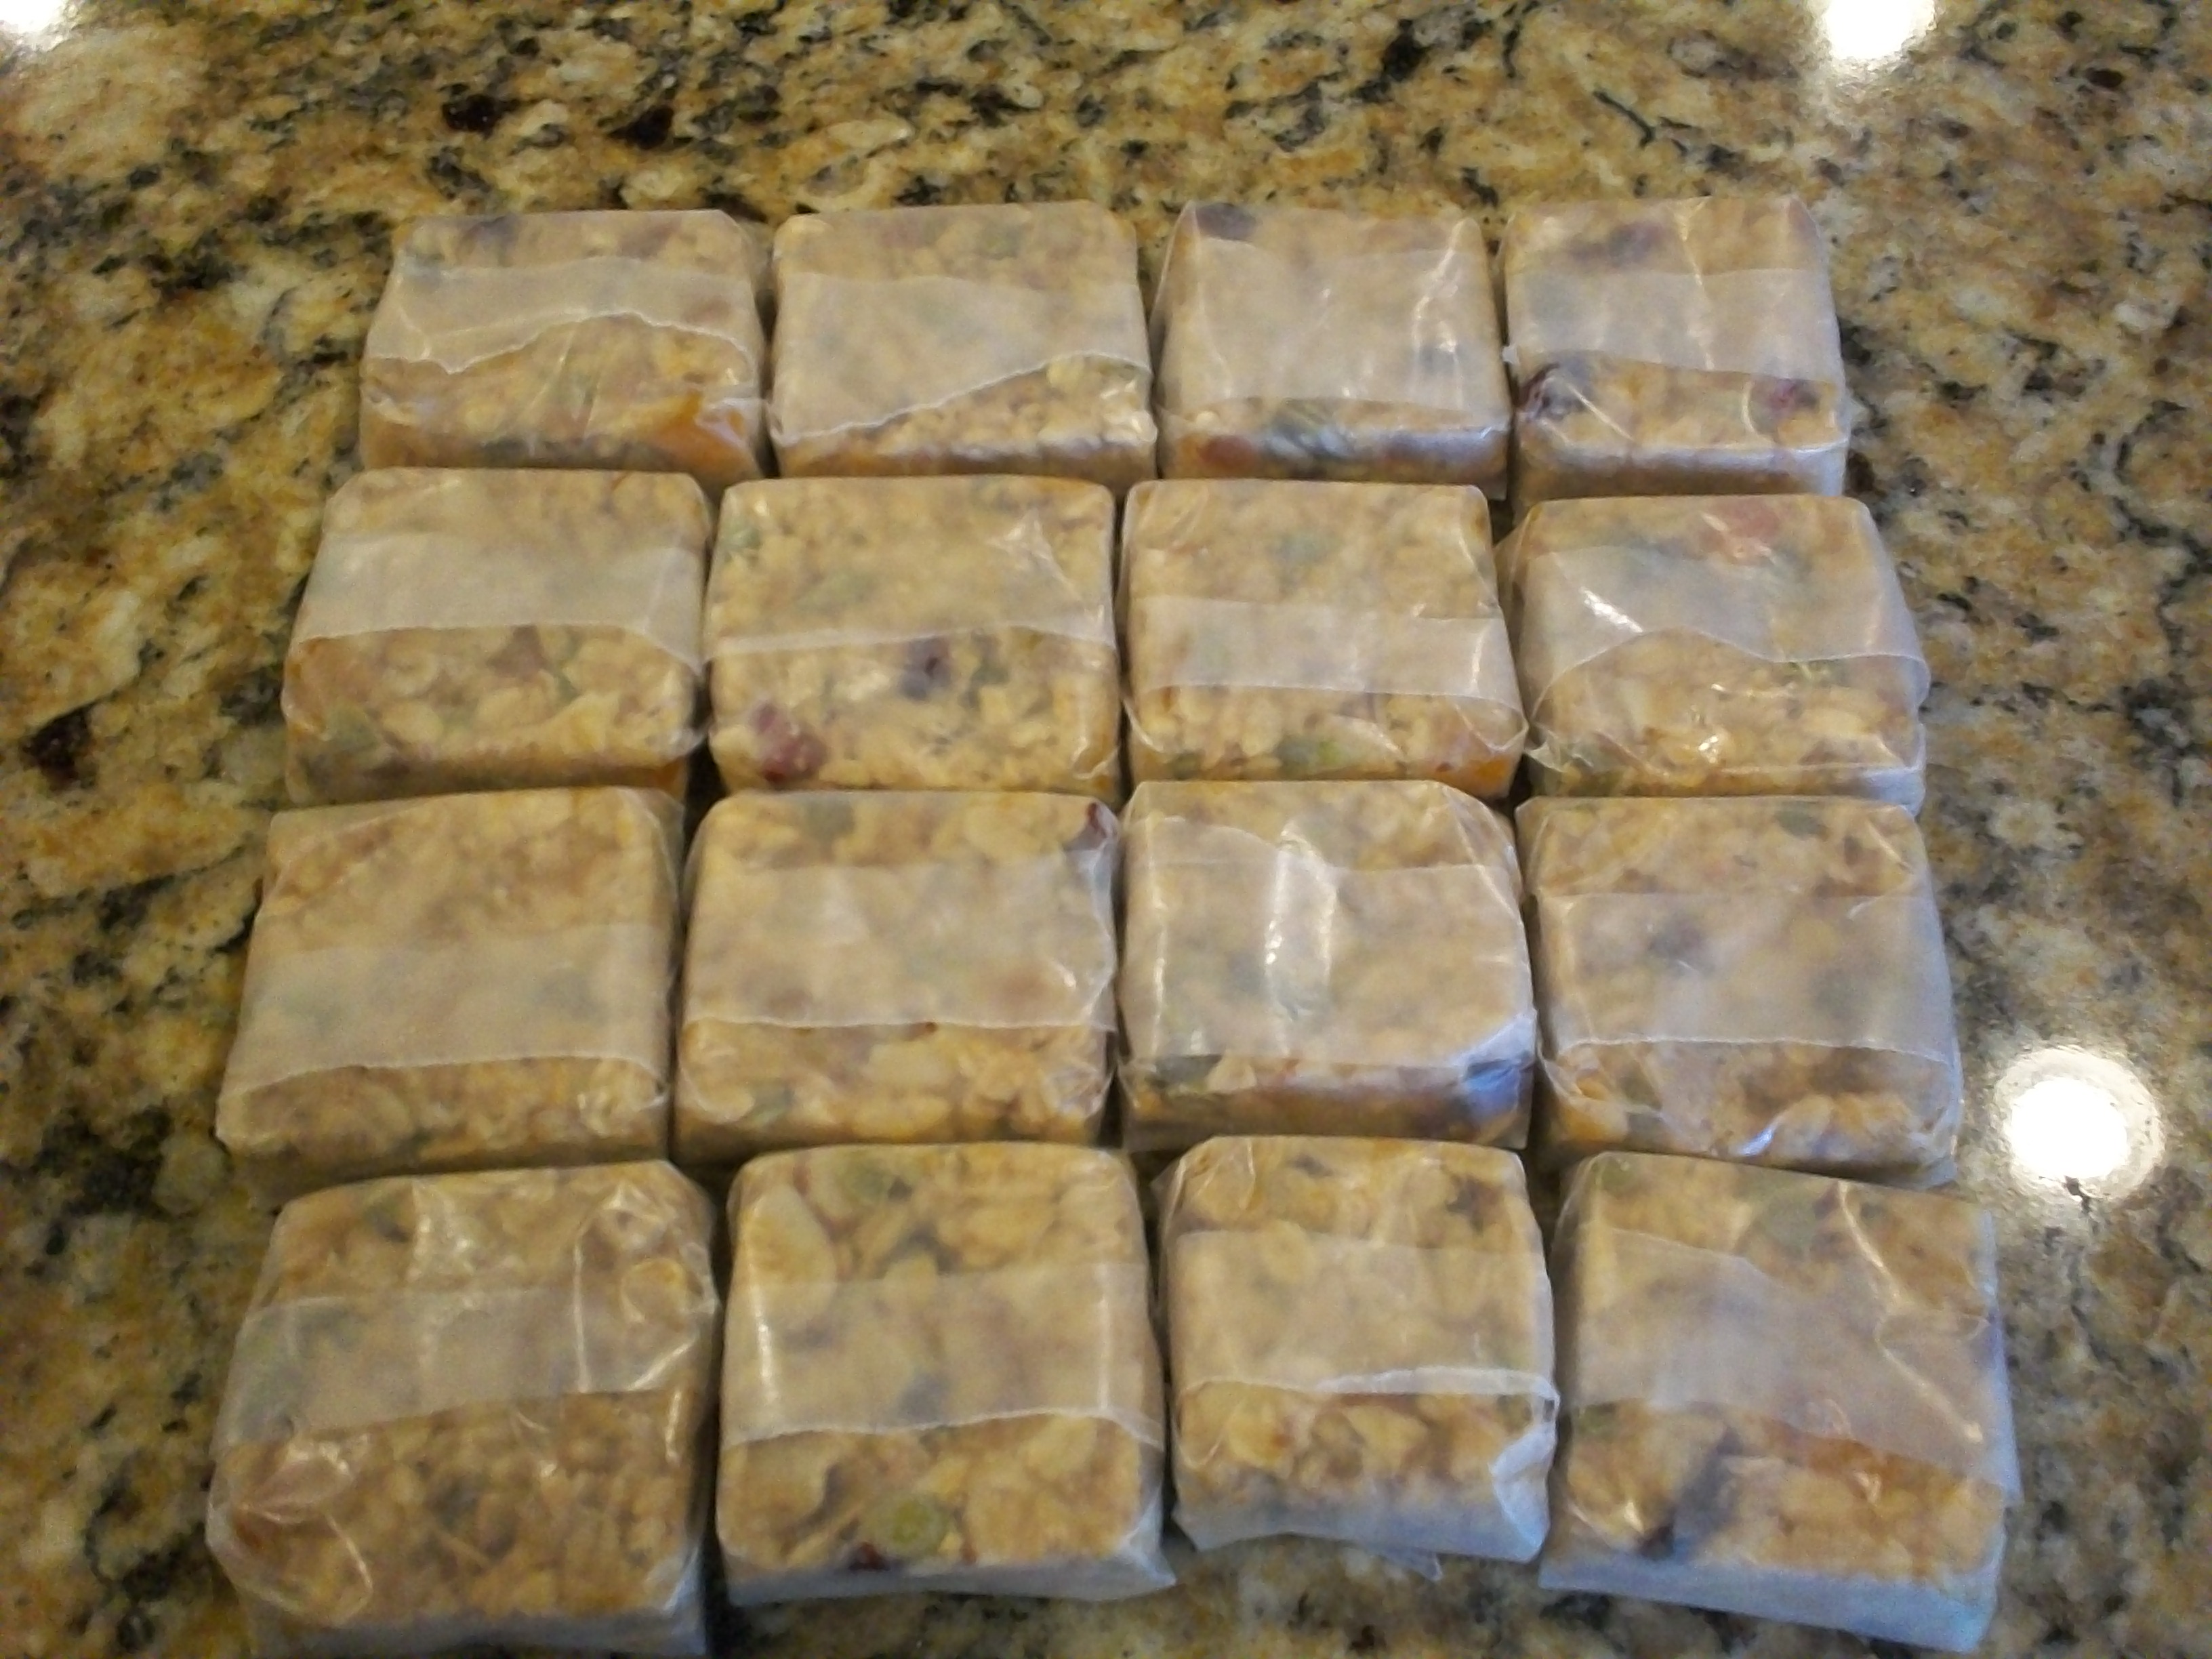
At this point I like to wrap each bar in waxed paper and put them into the freezer. When I’m packing lunches I can just grab one and add it to the lunches. It thaws perfectly for lunch.
For this batch I used natural peanut butter, almonds, raw pumpkin seeds, sunflower seeds, apricots and cranberries. YUM!
Pin It

A PYP Best Blog: Dairy-free, egg-free vegan chocolate chip cookies!
Just in case you missed this article on making dairy-free, egg-free vegan chocolate chip cookies the first time we shared it a couple of years ago, we are republishing it. After Candi wrote this blog originally, we got an awesome response. This is one of the PYP Best Blogs!
We have diary allergies in my family. I inherited it from my dad, and then passed it along to all of my kids. For the most part, it hasn’t been bad – in fact, I made it all the way to 16 before I was officially diagnosed. My kids have had symptoms to varying degrees, although one has now outgrown it and does fine with dairy. And for most of my life, I have just lived with it and not worried about following a special or strict diet. I just could not give up cheese and ice cream! 🙂
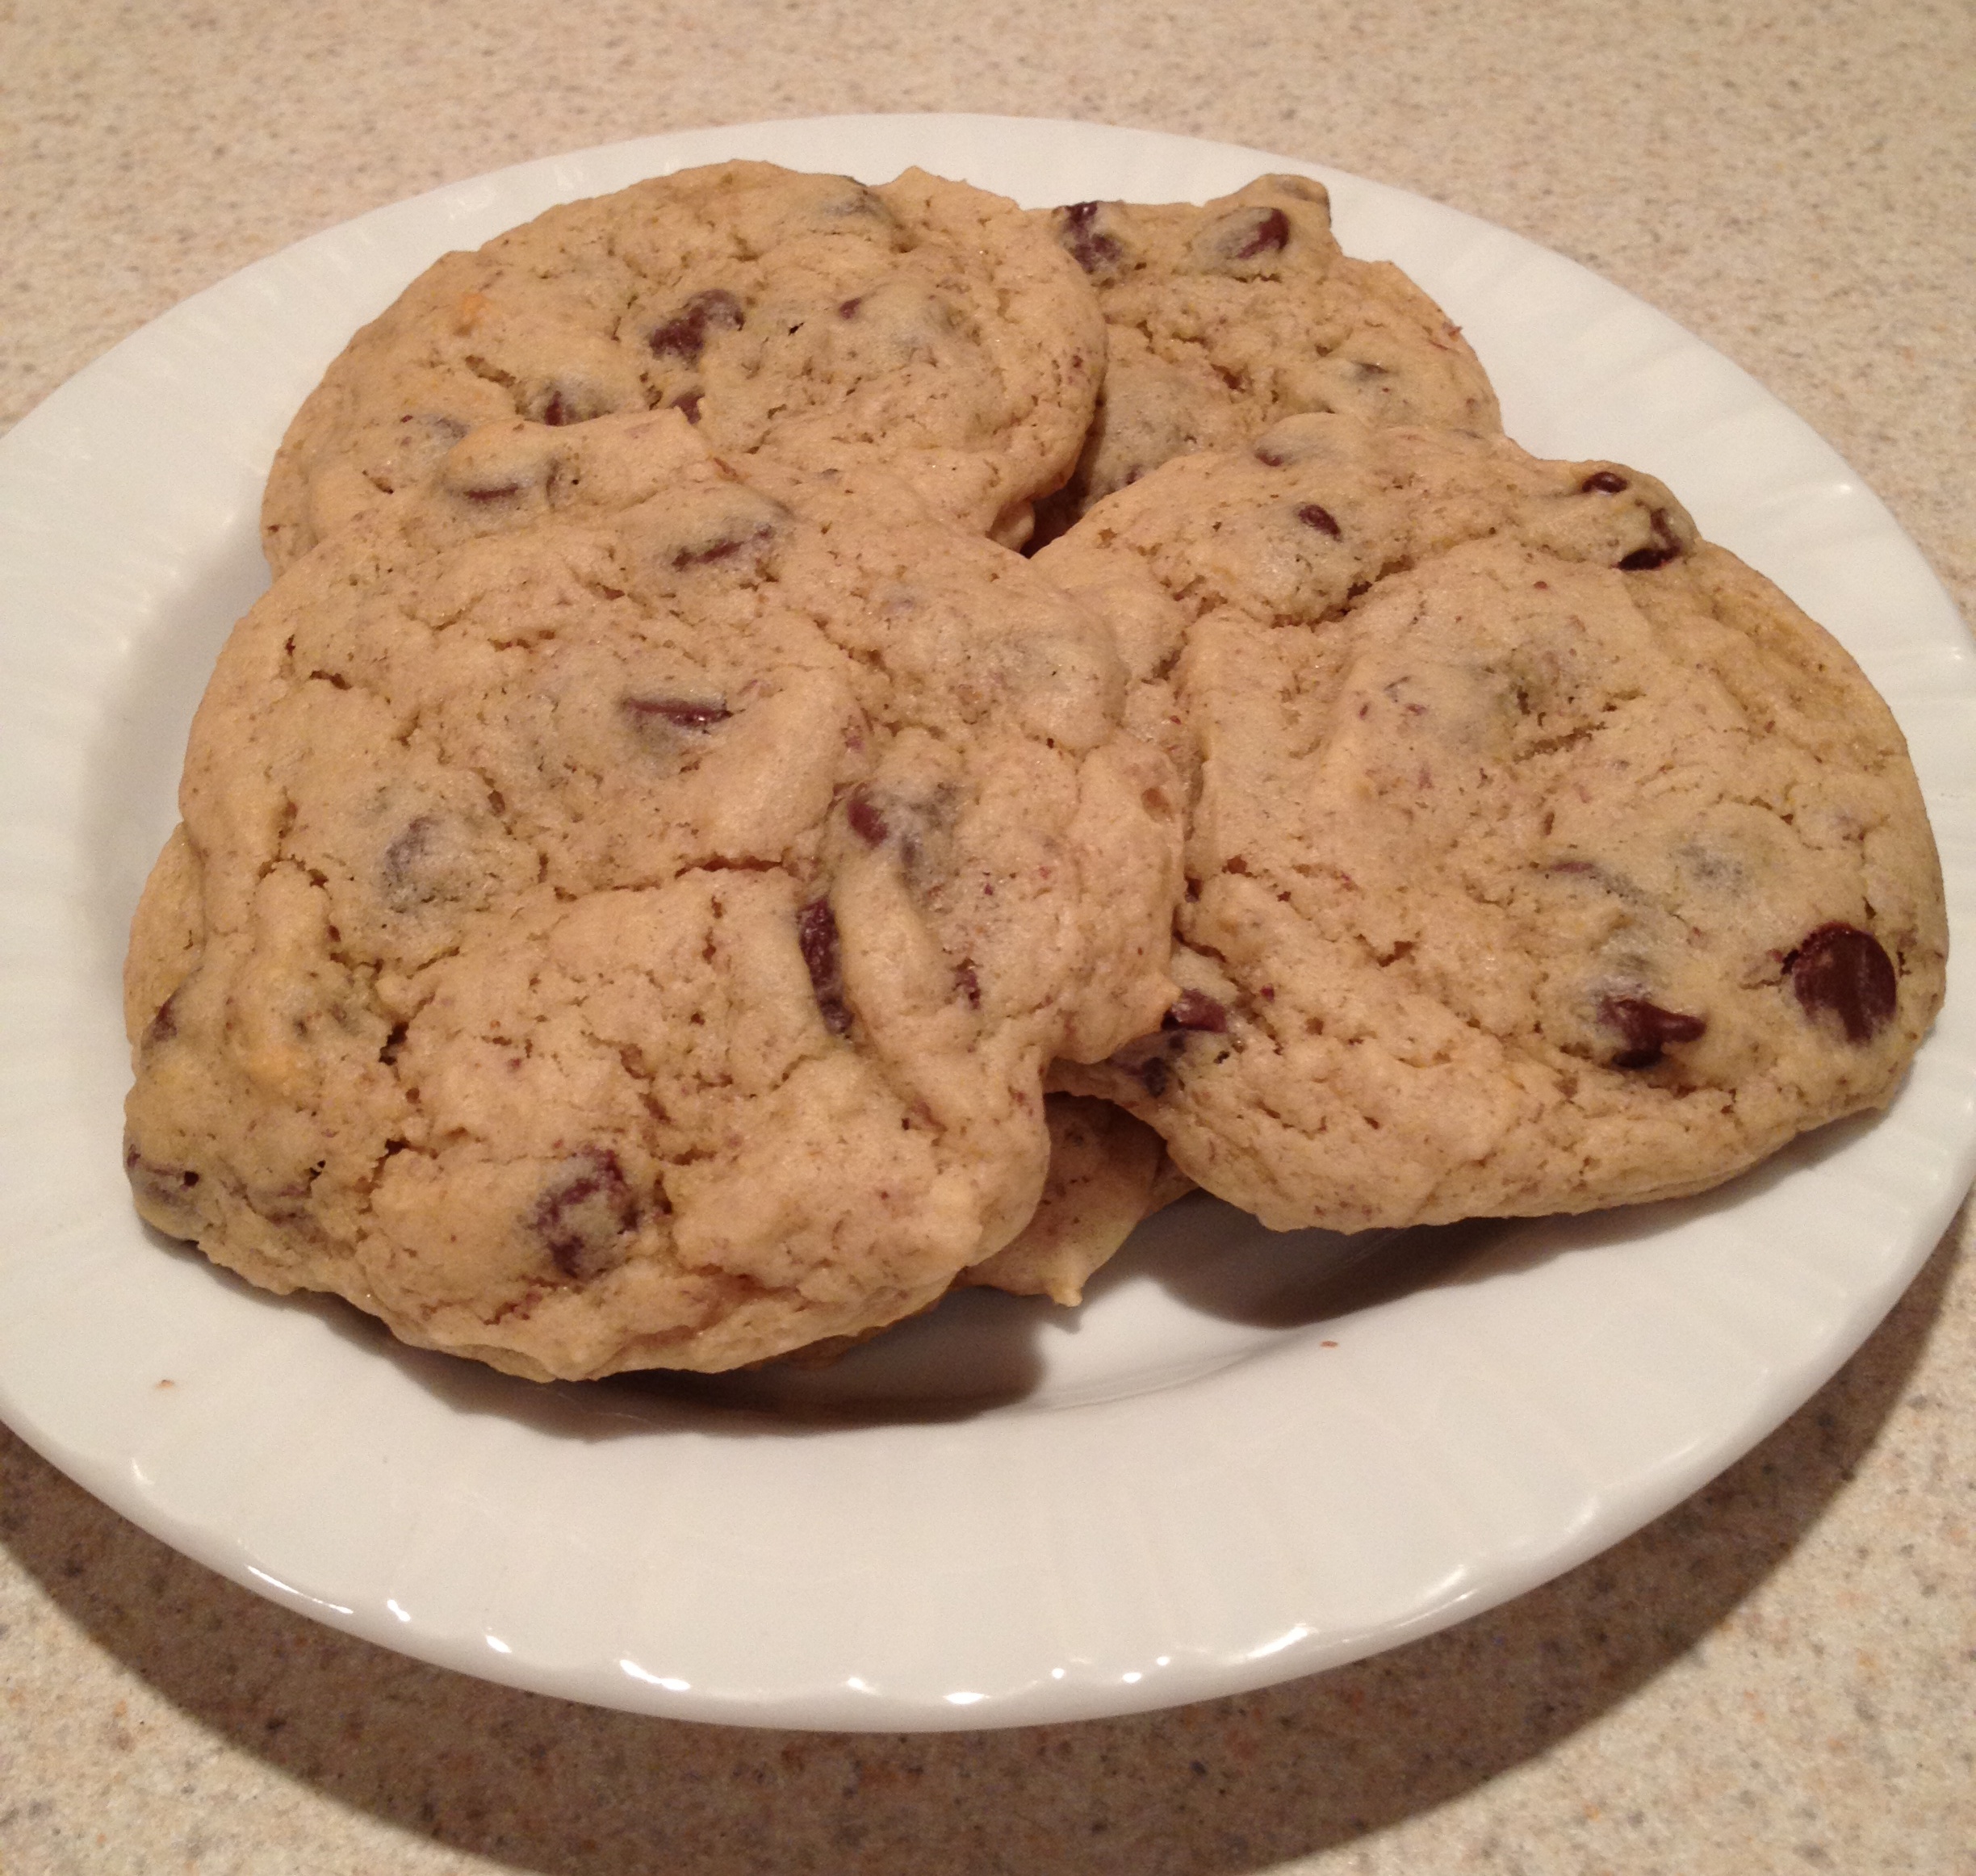
Dairy-free, Egg-free Vegan Chocolate Chip Cookies
(I believe these would qualify as vegan, as long as you use vegan chocolate chips)
1/2 c granulated sugar
1/2 c brown sugar, packed*
2 Tbsp whole flax seeds**
3 Tbsp plain milk alternative (I used So Delicious unsweetened coconut milk, no hint of coconut flavor in the cookies)
2 Tbsp plain dairy-free yogurt (I used Silk soy yogurt)
1/2 tsp vanilla extract
1/2 tsp apple cider vinegar
2 c bread flour***
1/2 tsp baking powder
1/2 tsp baking soda
3/4 tsp salt
1 1/2 cups semi-sweet chocolate chips (I used vegan semi-sweet chocolate chips from Whole Foods Market)
A PYP Best Blog: A Freezer Meal Plan – The Chicken Edition
Just in case you missed this article on making 9 freezer meals in 3 hours for about $50 the first time we shared it a couple of years ago, we are republishing it. After Trish wrote this blog originally, we got an awesome response. This is one of the PYP Best Blogs!
My daughter had a baby this week and I had the opportunity to prepare a few freezer meals for her family. I took the time to write out a plan that I thought would be of interest to our readers.
Keep reading to get the details to prepare 9 freezer meals in 3 hours for about $50.
You’ll find a complete grocery list and detailed step by step instructions to load your freezer with 9 chicken based meals such as…
Cheesy Chicken Shells
Chicken and Veggie Soup

Cheesy Chicken and Rice Bake
Honey Lime Chicken Enchiladas
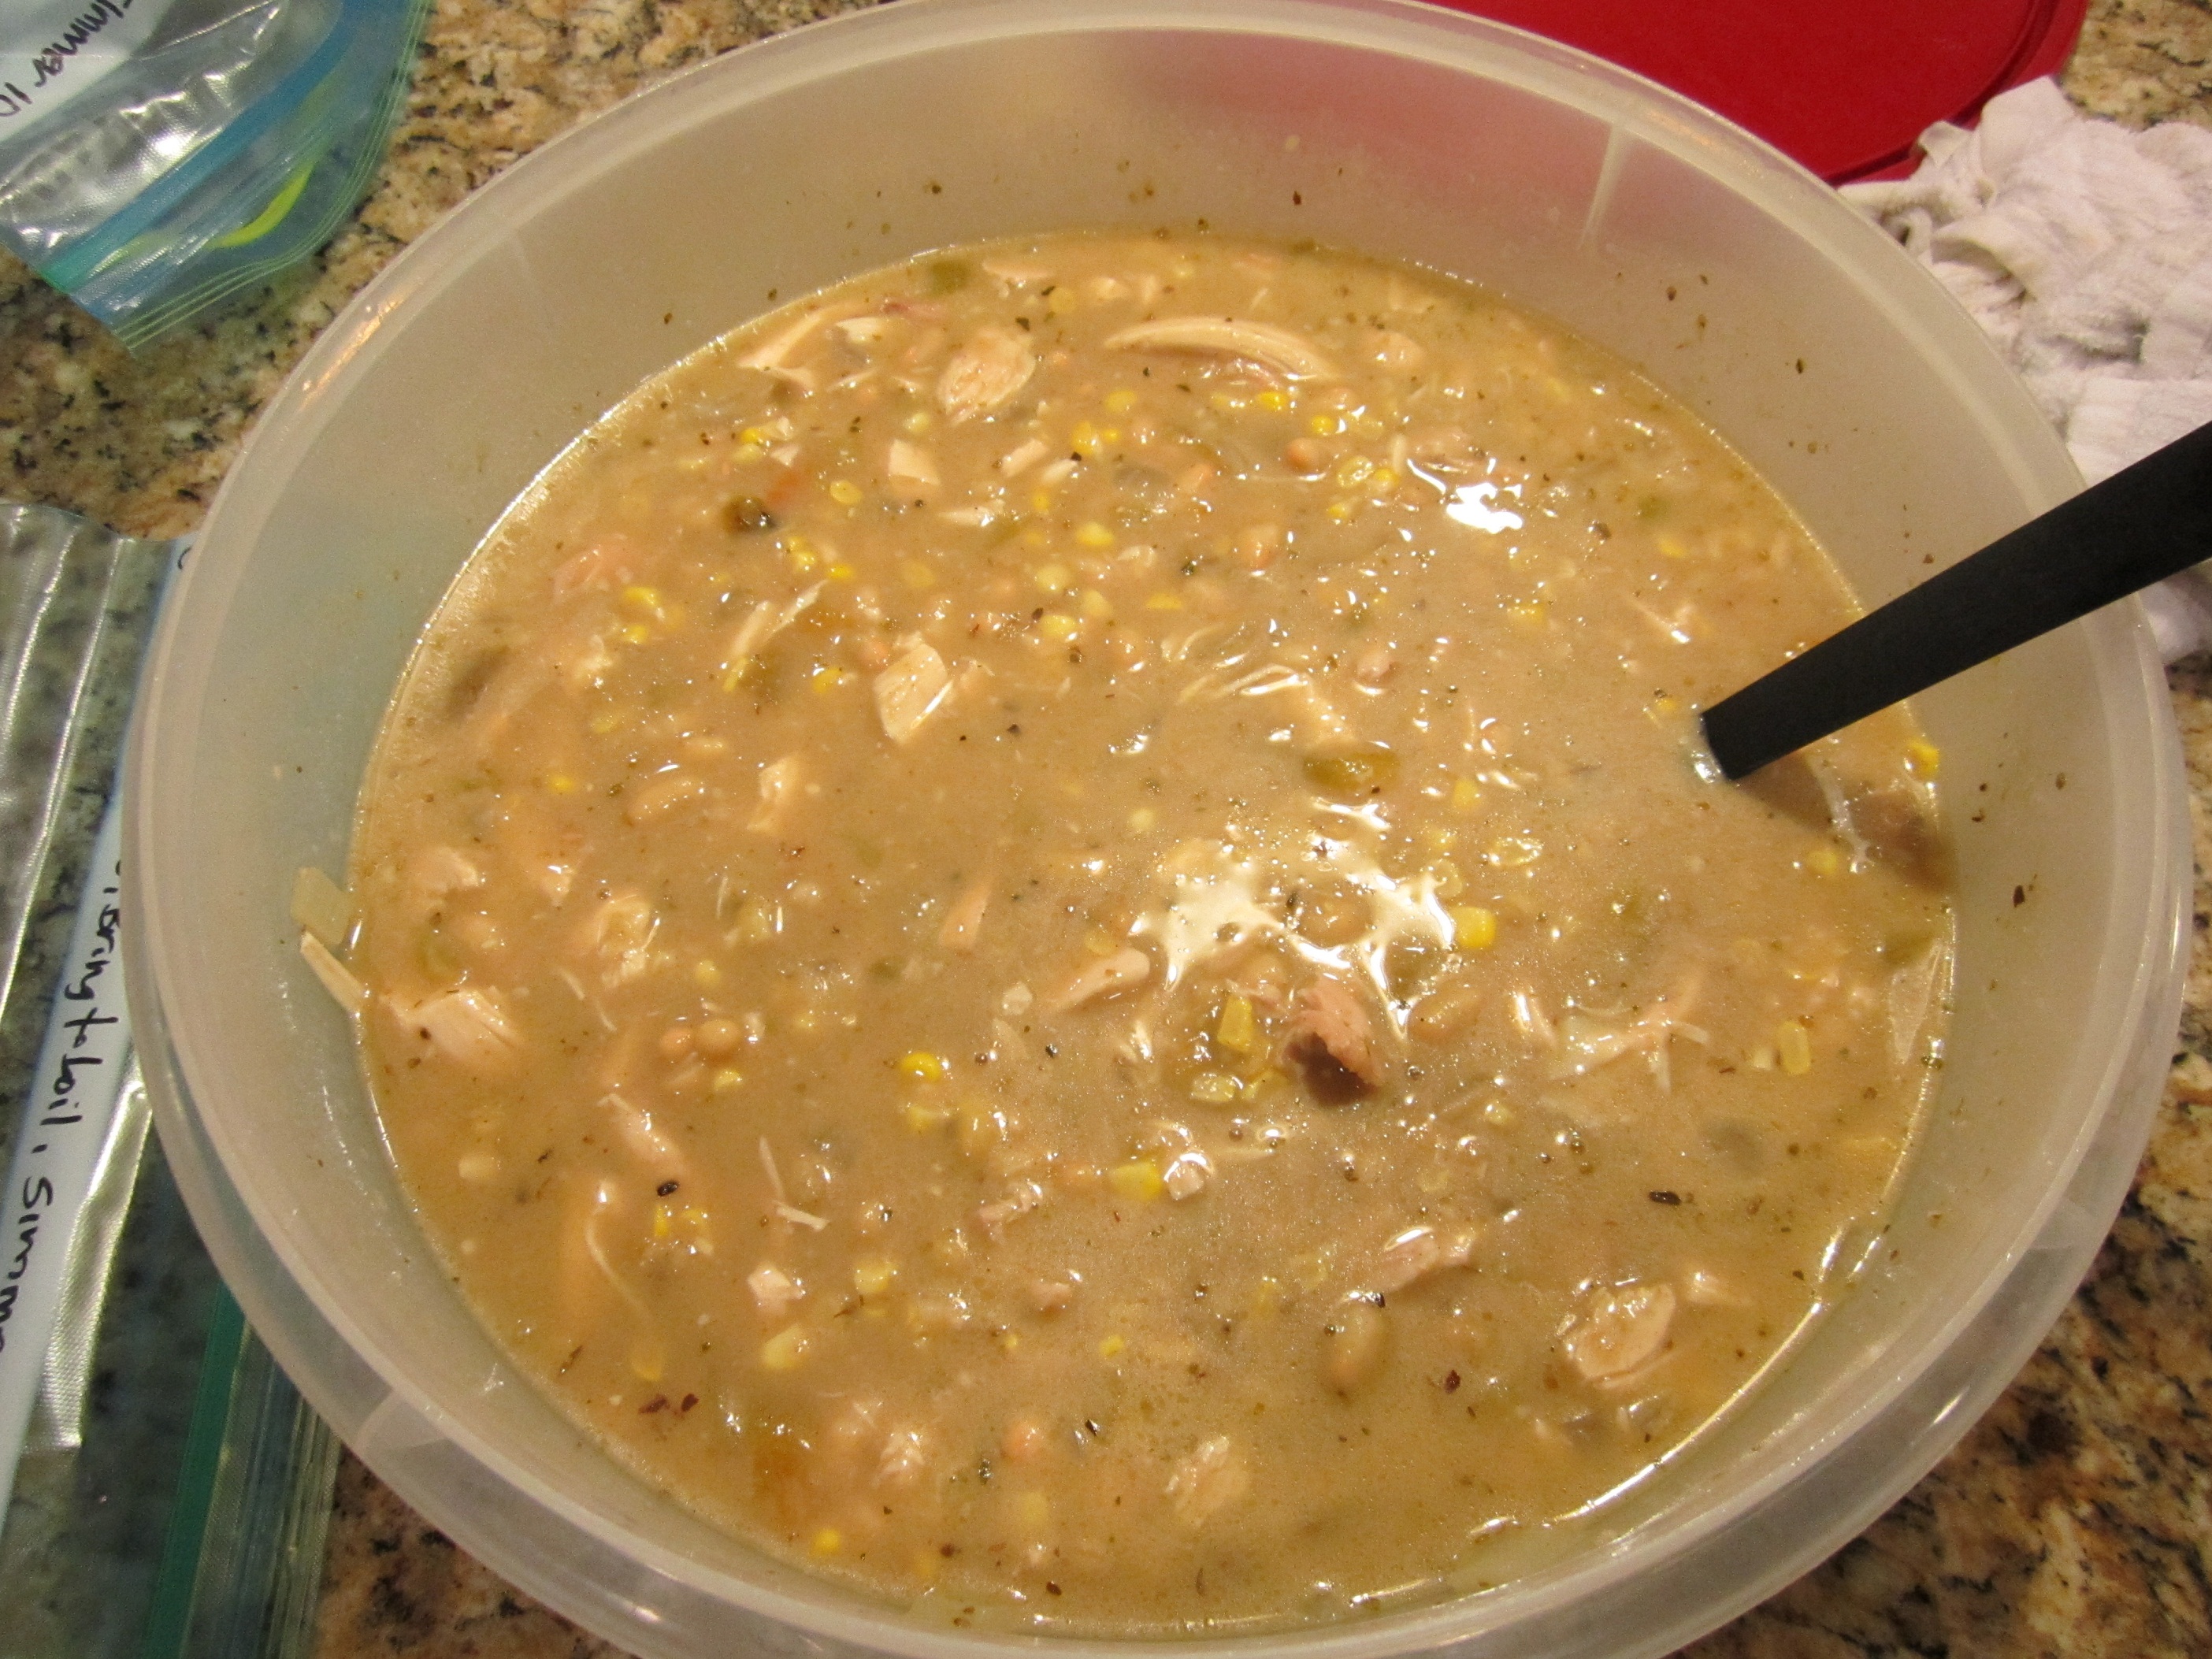
Chicken Chili
The Grocery List:
3 whole roasting chickens (Approx 4-5 pounds each)
1/3 cup parmesan cheese
4 cups (1 pound) shredded cheddar cheese
¾ cup shredded mozzarella
4 cups (1 pound) shredded Monterey jack cheese
15 oz ricotta cheese
10 oz package frozen spinach leaves, thawed
5 cups assorted veggies of your choice, finely diced. Example: green beans, corn, peas, broccoli, zucchini, cabbage, mushrooms. Check your fridge and freezer. You might already have them!
Small bag (9 oz) of fresh baby spinach leaves.
½ lb broccoli florets
1 green bell pepper
1 red bell pepper
4 small onions or 2 large
2 or 3 stalks of celery
1 large carrot
2 limes
1 lemon
1/3 cup raisins
3 – 15oz cans of white beans. Navy or cannellini.
7 oz can diced green chilies
5 quarts plus 1 can chicken broth I used this homemade veggie broth powder. BIG money saver!
1 – 8.75 oz can apricots
1 large or 2 small cans green enchilada sauce
15 oz can tomato sauce
1 can condensed cheddar cheese soup
2 cans cream of chicken soup
½ pound dried pasta in small shapes (stars, mini shells, etc)
12 oz package thin spaghetti noodles
12 uncooked jumbo pasta shells
10 flour tortillas
1 ½ cups uncooked long grain rice
Check the pantry to make sure you have:
1 egg
garlic
honey
oil
Creole seasoning
Ground white pepper (black is fine if you don’t have white)
Cumin
Dried oregano
Cinnamon
Garlic powder
Seasoned salt
Cayenne pepper
Chili powder
Curry powder
Dried basil
Bay leaves
You’ll need a few gallon sized Ziploc bags and at least one 8X8 pan and one 9X13 pan that can go into the freezer.
For less stress and best results, start with a clean kitchen and an empty dishwasher.
You should be able to pull these all together within 3 hours or as soon as you can handle the chicken to remove it from the bones.
Preheat the oven to 400 degrees while you rinse and pat dry the chickens.
Place them in a large roasting pan. Rub them down with some olive oil or vegetable oil and sprinkle them with some Creole seasoning or seasoned salt, your choice. Just trying to give them a hint of flavor and retain the juices by crisping up the skin.
Place the chickens in the oven and roast for 30 minutes. Then reduce the oven temperature to 350 and continue roasting for 45 minutes to an hour, until juices run clear or thermometer placed in thickest part of thigh reaches 165 degrees.
When they’re done, remove from oven and place the pan on a cooling rack to help them cool off faster.
While the chickens are roasting and cooling put together each meal.
Meal 1 and 2:
Start the Chicken and Veggie Soup.
In a very large stock pot, heat 2 tablespoons of oil, over medium heat.
Chop one onion, the celery, the carrot, half of the green bell pepper and half of the red pepper. Toss them in the pot with the heated oil. Add 2 Tablespoons of minced garlic, 1 Tablespoon dried basil, 2 teaspoons Creole seasoning, and 2 bay leaves.
Sauté veggies for about 4 minutes.
Add the 5 cups of finely diced assorted veggies and a pinch of red pepper flakes. Sauté for 1 minute.
Add 3 quarts of chicken broth.
Turn off the heat and let stand.
Meal 3:
Start the Chicken Chili.
Heat 1 Tablespoon oil in large pot over medium heat. Add 1 chopped onion and 3 cloves minced garlic and sauté until onions are soft, about 5 minutes. Add the canned green chilies, 1 Tablespoon ground cumin, 1 Tablespoon dried oregano, ½ teaspoon cinnamon, dash of cayenne pepper and dash of white pepper. Saute 5 more minutes. Drain 2 cans of white beans and add them to the onion and spice mixture. Add five cups chicken broth.
Take the third can of white beans and puree the beans with their liquid in a blender or food processor. Add this to the pot. Bring to a boil.
Remove from heat, stir in 2 cups shredded Monterey jack cheese. Stir until cheese is melted.
Let stand.
Put a large pot of water on to boil for the pasta shells.
If you need a pot, you can put the chicken chili in a large bowl to cool and rinse and reuse that pot.
While you wait for the water to boil and the shells to cook…
Meal 4:
Mix the ingredients for the Cheesy Chicken and Rice Bake
In a large bowl combine the cheddar cheese soup, 2 cups water, 1 cup shredded cheddar cheese, ¾ cup uncooked long grain rice, ½ pound broccoli florets.
Set aside.
When the pasta shells are done, rinse with cold water and lay out on waxed paper so they won’t stick together.
Fill that pot with water again and bring to a boil for the spaghetti. Break the spaghetti into fourths and cook according to package directions. Do not overcook! When it’s done, drain and rinse with cold water.
While you wait for the water to boil and the spaghetti to cook…
Meal 5:
Make the filling for the Cheesy Chicken Shells
Squeeze the water from the thawed spinach and then chop it finely.
In a medium bowl, combine the ricotta, 1 egg (slightly beaten), the thawed spinach, 1 teaspoon garlic powder, and 1 Tablespoon dried oregano. Mix until well combined. Stir in ¼ cup parmesan and ¼ cup shredded mozzarella cheese.
Set aside.
Meal 6 and 7:
Make the Chicken Spaghetti
In a large bowl combine the 2 cans cream of chicken soup, 2 cups shredded cheddar cheese, the other half of the red bell pepper (chopped), the other half of the green bell pepper (chopped), one chopped onion, 2 cups chicken broth, 1 teaspoon seasoned salt, black pepper, pinch of cayenne pepper and the cooked spaghetti. Mix well. Set aside.
Meal 8:
Fruity Curried Chicken
In a medium saucepan, heat ¾ cup long grain white rice, 1 chopped onion and 2 ½ cups chicken broth to a boil. Stir, cover and reduce heat to low. Simmer on low for 18 minutes without lifting lid. Then turn off the heat.
While the rice cooks, it’s time to pick all that chicken off the bones. Get as much chicken off as you can and put it in a big bowl. No need to worry about the size for now. Just get it off the bones.
Save all the skin and bones for later. Just leave them in the roasting pan for now.
Now let’s finish a few things up.
Turn the Chicken and veggie soup back on. Bring it to a boil and add the ½ pound of small pasta. Continue to boil until the pasta is slightly underdone. Turn off heat.
Meanwhile, Grab a couple of handfuls of chicken and chop it in large chunks (1/2 to 1 inch sized pieces). Add 2 cups of the chunks to the Chicken Chili. Mix well.
Divide the Chicken Chili between two gallon size freezer bags. Seal tightly, expelling as much air as possible.
Label bags as follows – Chicken Chili: Thaw in fridge. Bring to boil, reduce heat, simmer 10 minutes.
Lay bags flat and place in freezer. Both bags = 1 meal. I like to tape the bags together since they are for one meal.
Back to the Fruity Curried Chicken –
Grab another couple of handfuls of chicken and chop it into large chunks. Put 2 cups of the chunks into the pan of cooked rice. Drain the can of apricots and cut them into chunks. Put the apricots, ¾ teaspoon salt, 1 teaspoon curry powder, ¼ teaspoon black pepper, juice from half the lemon, and 1/3 cup raisins in the saucepan with the rice and chicken. Gently stir till combined.
Place in gallon sized Ziploc bag. Seal tightly, expelling as much air as possible without smashing the rice too much. Flatten the bag to conserve freezer space.
Label bag as follows – Fruity Curried Chicken: Thaw, place in baking dish treated with non stick spray. Cover with foil. Bake for 1 hour at 350 degrees. Check the dish at 30 minutes. Add small amount of water if the rice is becoming too dry.
Place in freezer.
Finish up the Chicken and Veggie Soup –
Grab a couple of handfuls of chicken and chop into large chunks. Add 3 cups to the soup. Stir in the fresh spinach leaves until wilted. Let the soup cool while you finish other dishes.
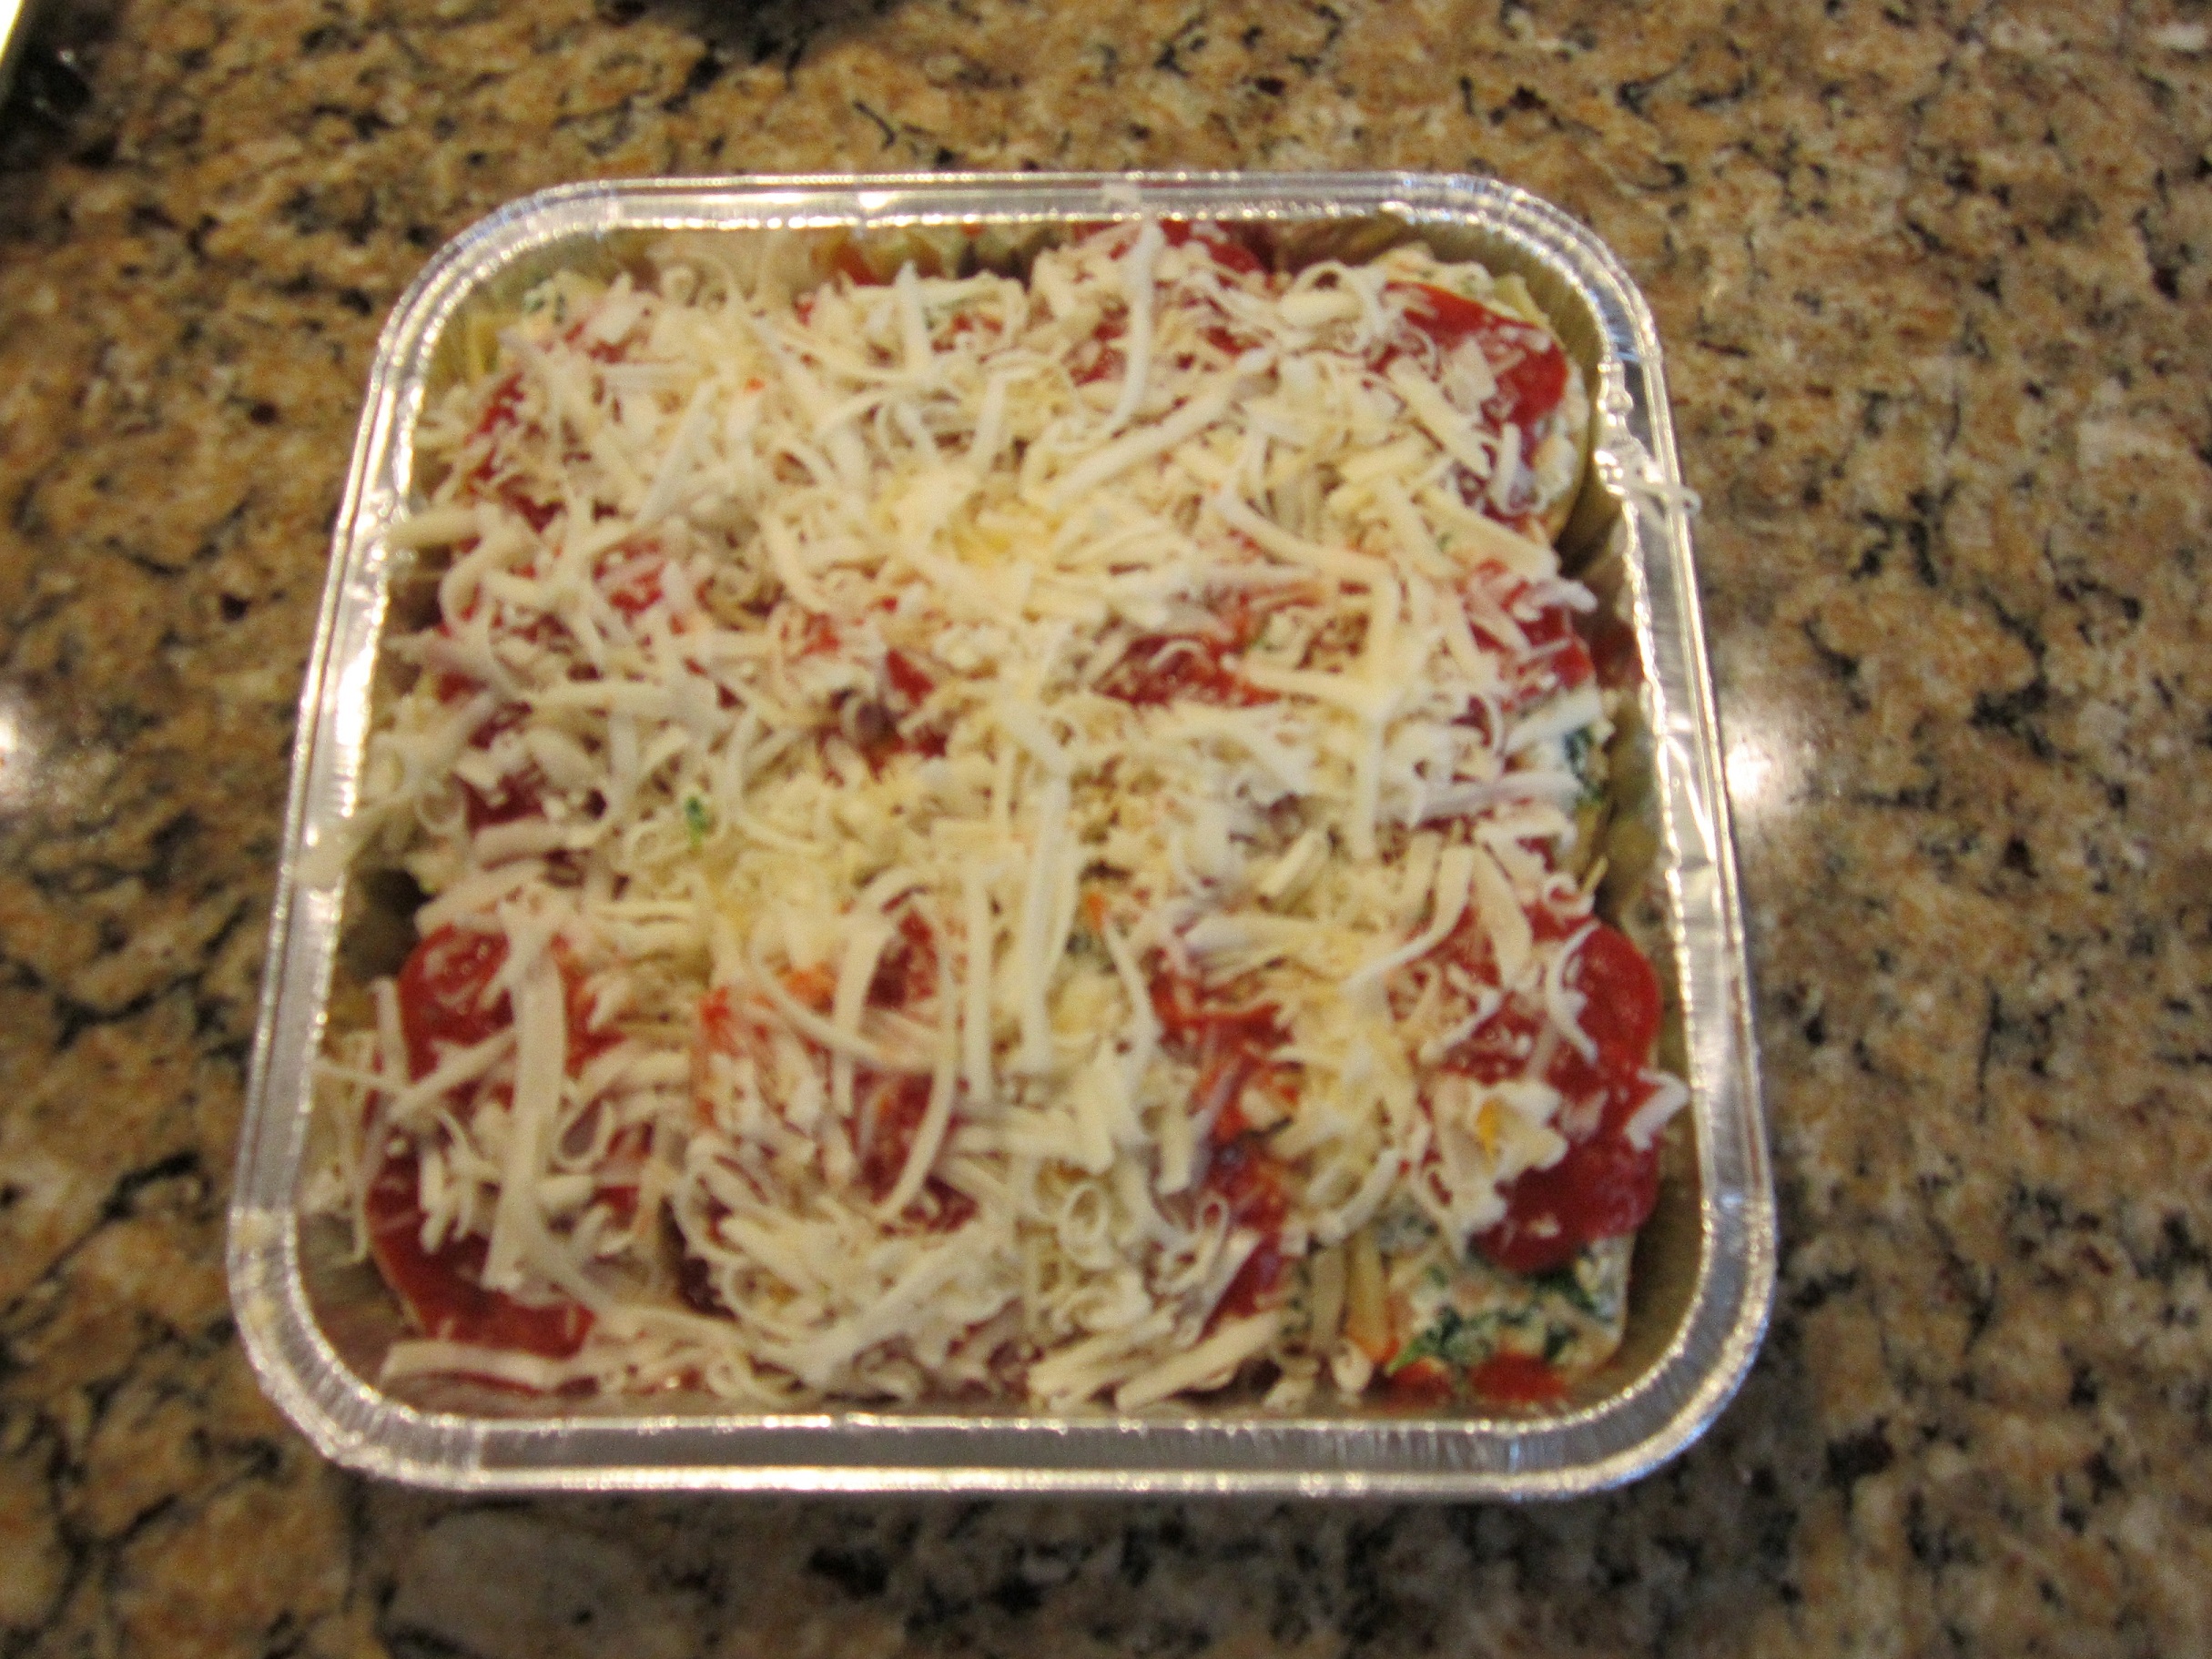
Finish up the Cheesy Chicken Shells –
Grab one hand full of the chicken. Chop it very finely. Add 1 cup to the ricotta mixture and mix well.
In 8X8 baking dish (foil pan if you prefer) pour half the can of tomato sauce. Fill the cooked shells with the ricotta mixture. Place the stuffed shells in the pan, on top of the tomato sauce. Pour remaining tomato sauce evenly over the stuffed shells. Sprinkle ½ cup shredded mozzarella cheese and the remaining parmesan over the shells. Cover tightly with foil and label as follows – Cheesy Chicken Shells: Thaw, remove foil, bake 30 – 45 minutes at 350 degrees, until center shells are heated through.
Place pan in freezer.
Finish up the Chicken Spaghetti-
Grab a couple of handfuls of chicken and chop into smallish pieces, ½ inch or less. Add two cups of chicken pieces to the bowl of chicken spaghetti. Mix well. Divide in half between two 8X8 baking dishes (foil pans if you prefer). Top each pan with ½ cup shredded cheddar cheese. Cover tightly with foil. Label as follows:
Chicken Spaghetti: Thaw, Remove foil, bake at 350 degrees for 45 minutes or until hot and bubbly throughout.
Place pans in freezer.
Note: You can also put each half of the recipe into a gallon bag. Place the additional cheese for topping in smaller bags and tape one to each of the gallon sized bags.
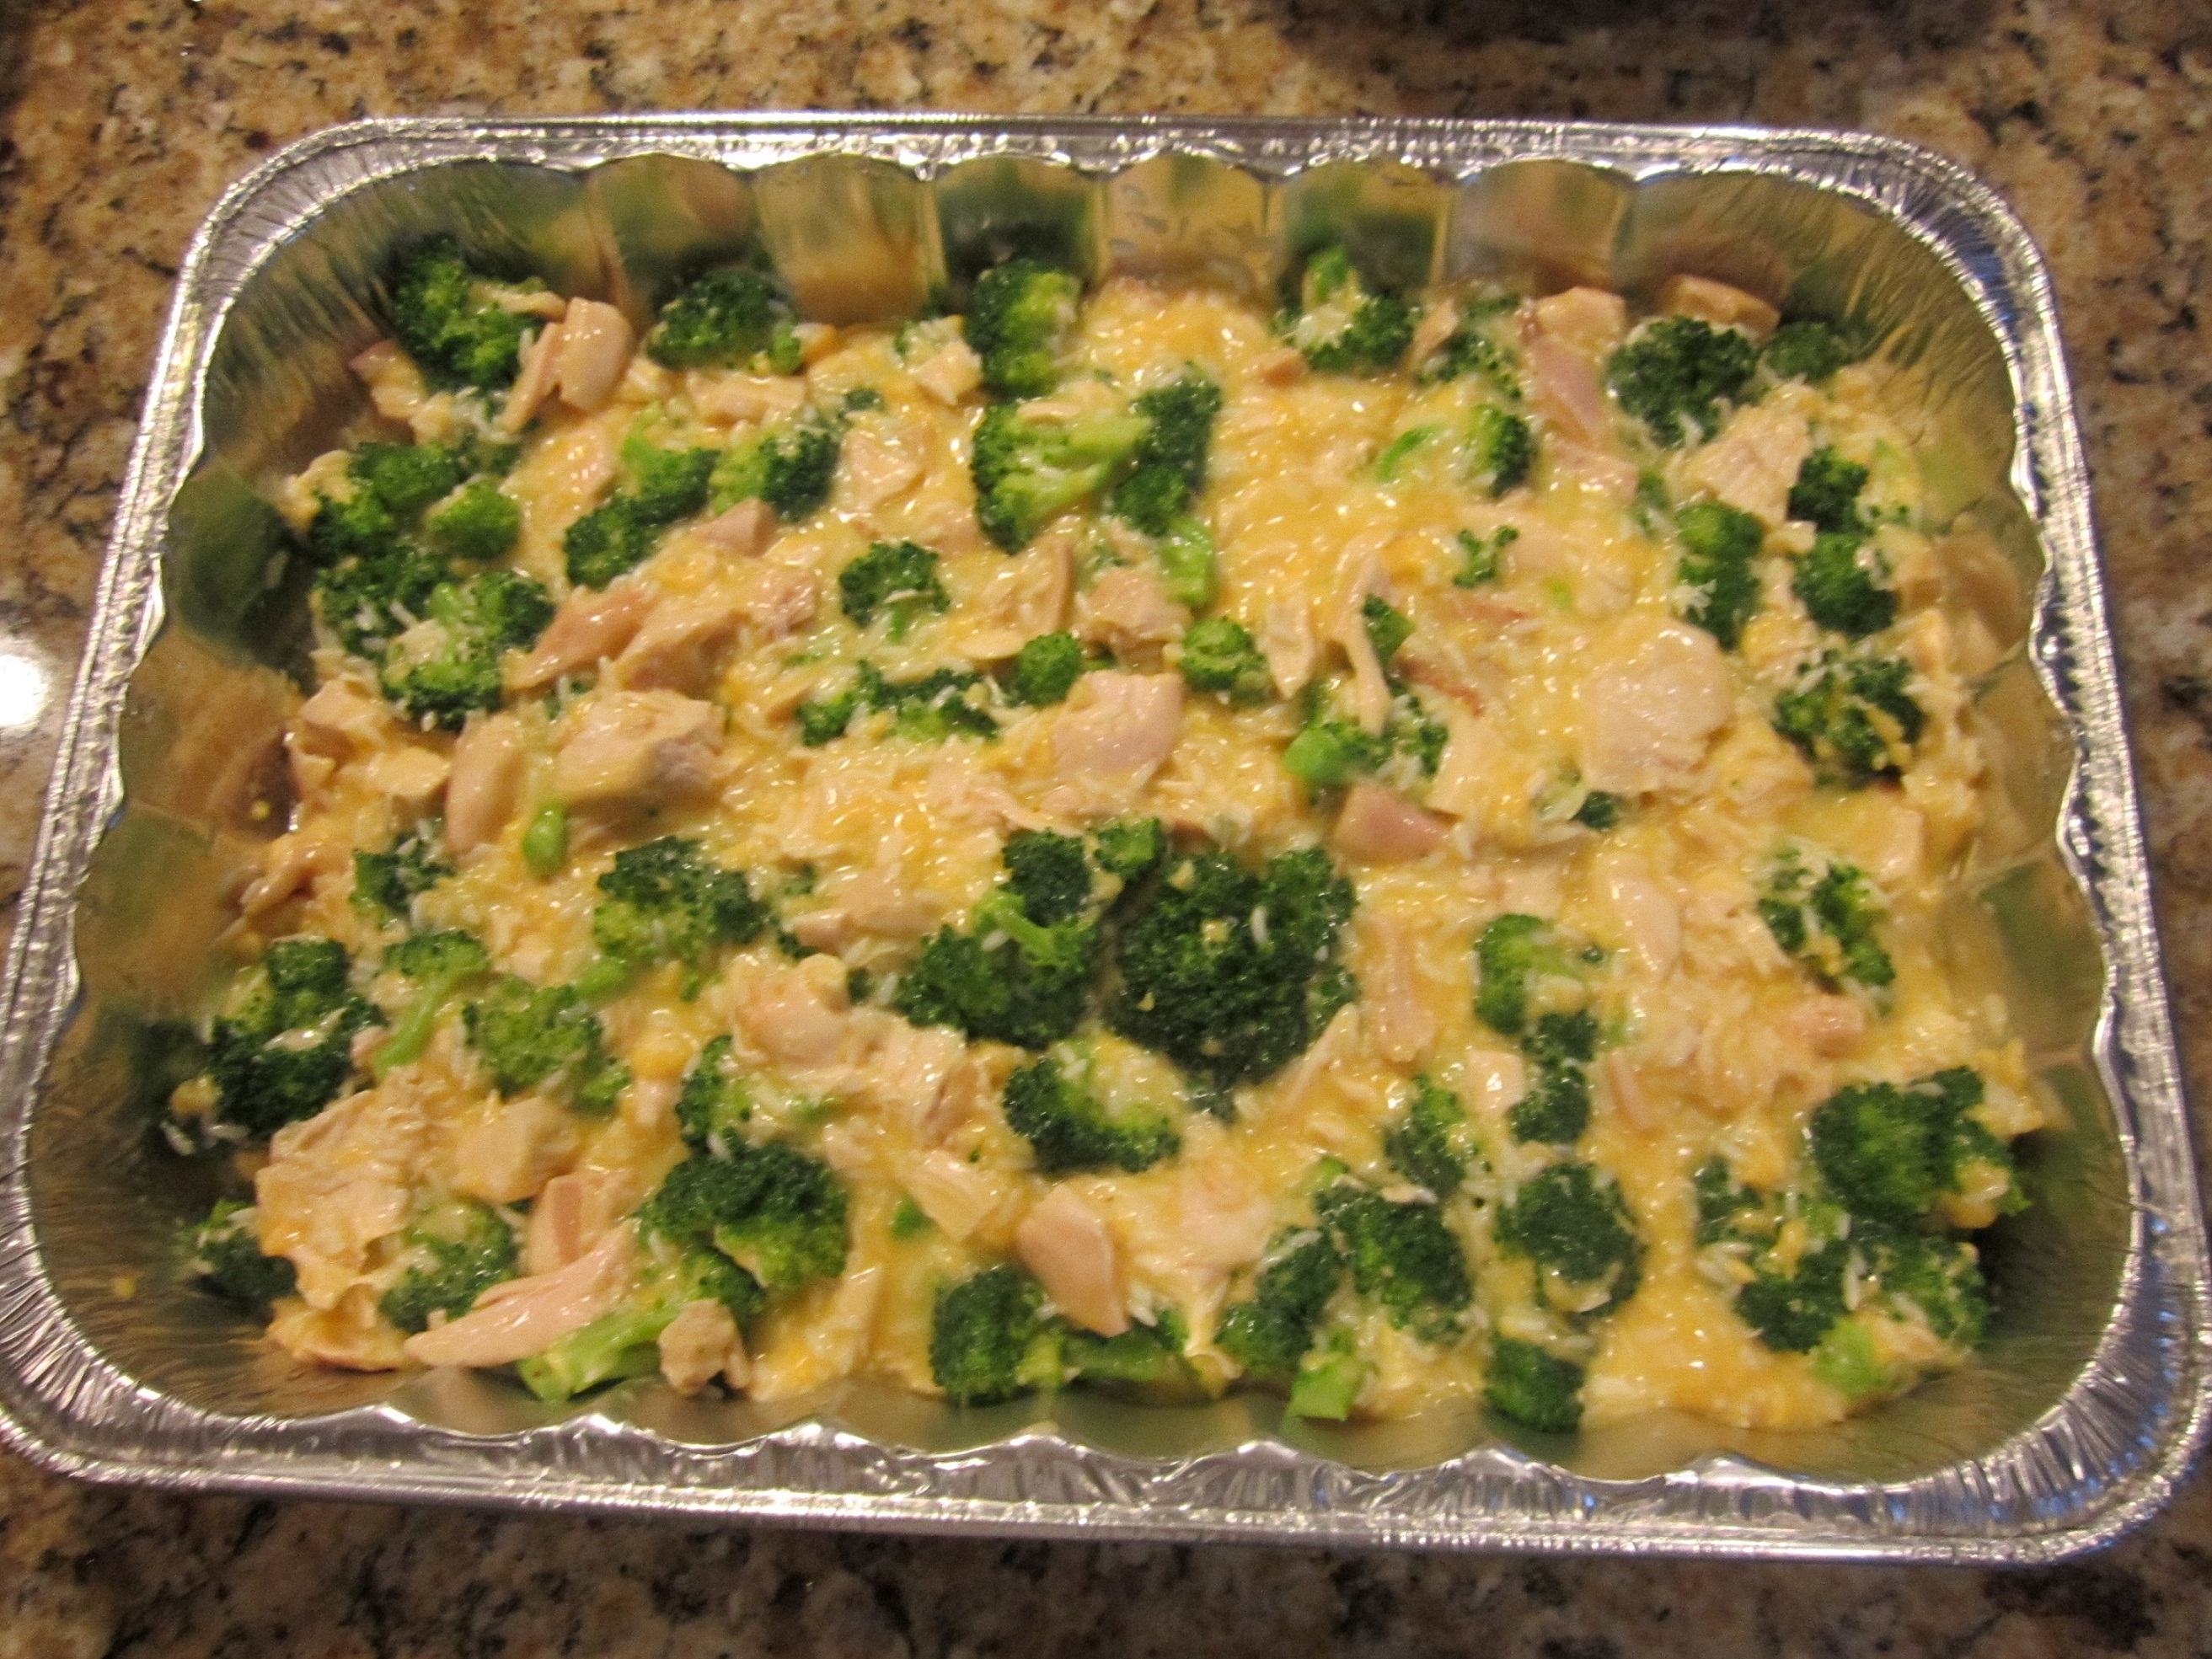
Finish up the Cheesy Chicken and Rice Bake –
Grab two handfuls of chicken and chop it into large chunks.
Add 2 cups of chicken to the bowl of broccoli, rice and soup mixture. Mix well.
Place in gallon sized Ziploc bag. Seal tightly, expelling as much air as possible and flattening the bag to save freezer space. Label as follows:
Cheesy Chicken and Rice Bake: Thaw, place in 9X13 pan treated with nonstick spray, cover tightly with foil, bake 45 minutes at 375 degrees.
Place bag in freezer.
Note: This could also be frozen in a pan rather than a bag.
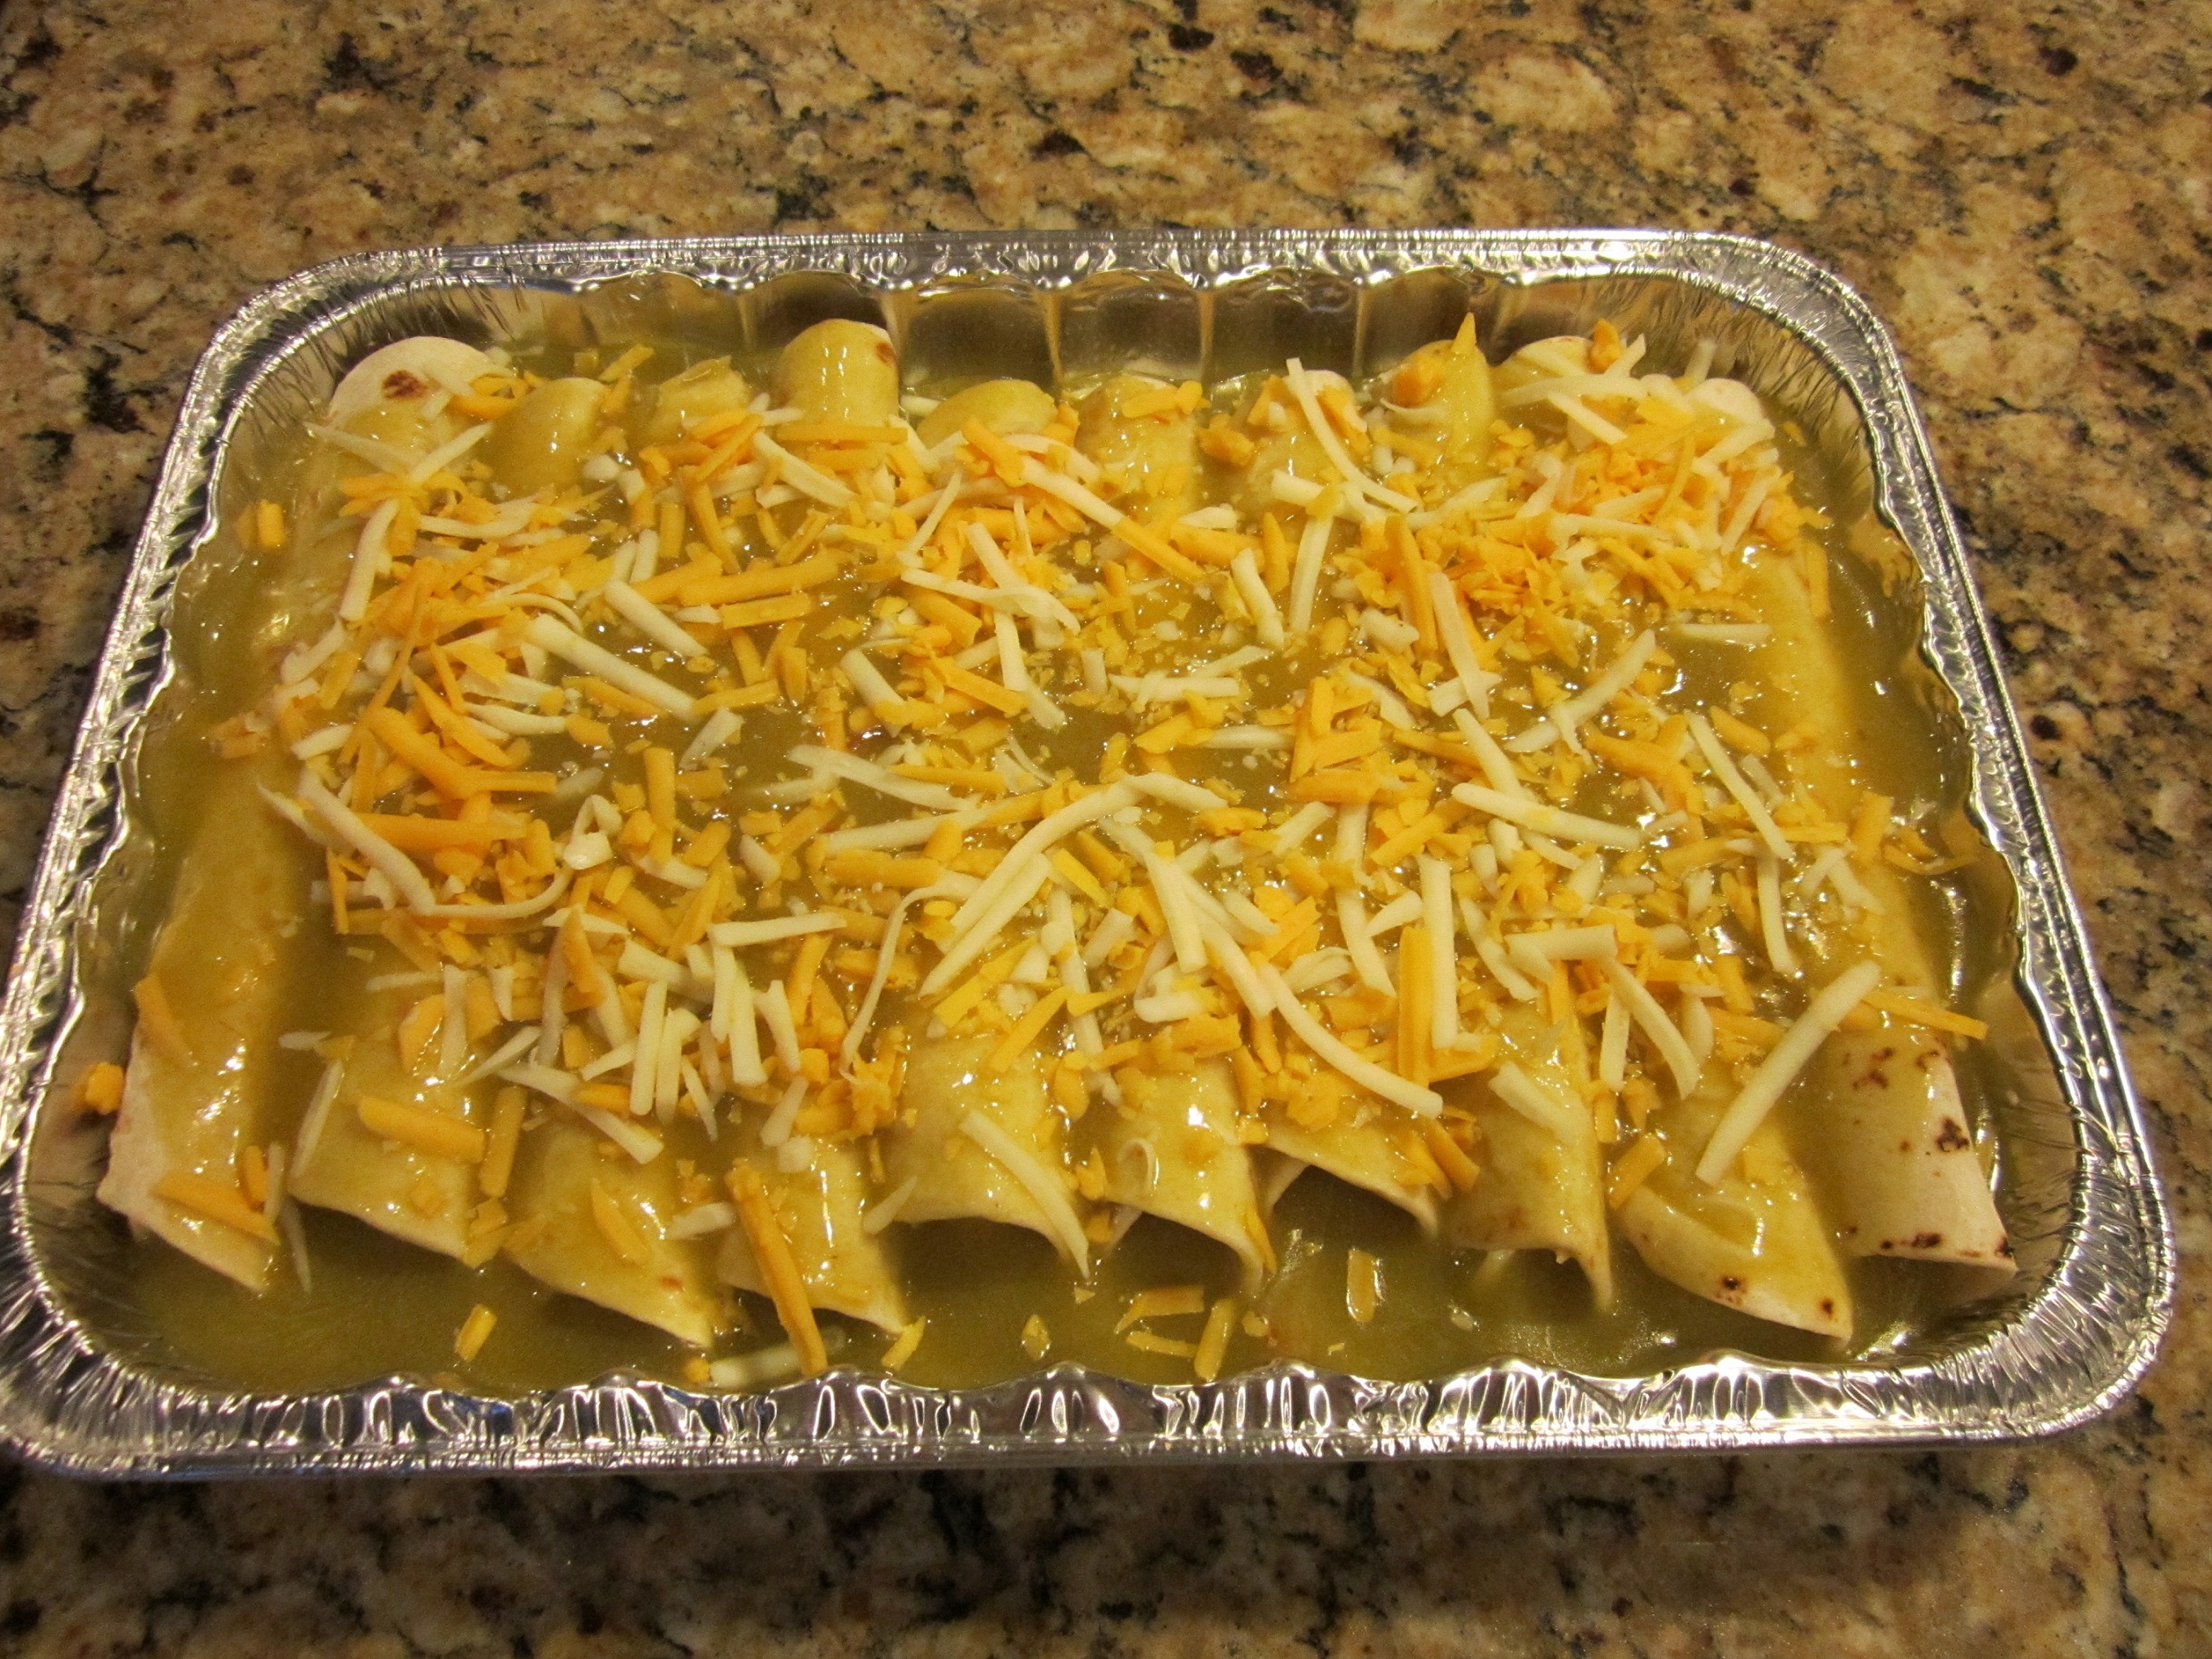
Meal 9: Make the Honey Lime Chicken Enchiladas.
Combine 6 Tablespoons honey, 4 ½ Tablespoons lime juice, 1 Tablespoon chili powder, ½ teaspoon garlic powder. Mix completely.
Chop the remaining chicken very finely. Add it to the above mixture and stir well.
Let that marinate while you package the Chicken and Veggie Soup.
Divide the Chicken and Veggie Soup evenly between two gallon sized freezer bags. Seal tightly, expelling as much air as possible. Label as follows:
Chicken and Veggie Soup: Thaw, Bring to a boil and simmer 10 minutes.
Each bag is one meal. Two bags = two meals.
Place bags in freezer.
Finish up the Enchiladas.
Pour half the large can (or 1 small can) enchilada sauce on the bottom of a 9X13 baking dish which has been treated with non stick spray.
Place 10 flour tortillas on counter top.
Evenly divide the marinated chicken among the tortillas.
Top each one with a bit of shredded Monterey Jack cheese, reserving about a 1 cup of cheese.
Roll each tortilla tightly and place in pan on top of enchilada sauce.
Pour remaining enchilada sauce on top of rolled tortillas.
Top with remaining Monterey Jack Cheese.
Cover tightly with foil and label as follows:
Honey Lime Chicken Enchiladas: Thaw, Remove foil, bake at 350 degrees for 30 minutes or until heated completely through.
You’re done!
Now, about those bones…you can turn them into delicious broth for the next time you do this. See this link for instructions.
If you don’t want to do that right now, you can put all the bones and the drippings from the pan into freezer bags and put them in the freezer to make broth another day.
Chicken and Veggie Soup – my original recipe
Chicken Chili – my original recipe
Honey Lime Chicken Enchiladas – posted by Wengmama and a popular favorite here on PYP
Cheesy Chicken and Rice Bake – adapted from a recipe here on PYP
Chicken Spaghetti – adapted from Pioneer Woman Cooks website
Cheesy Chicken Shells – adapted from a Weight Watcher’s recipe
Fruity Curried Chicken – from Once a Month Cooking by Mimi Wilson and Mary Beth Lagerborg
Simple & Delicious Magazine Just $8.89 for 1 Year!

Deal of the Day – Simple & Delicious Magazine Just $8.89 for 1 Year!
July 2nd Only – Use Coupon Code 15CJ0713 and Save an Additional 15%!
The Healthy Green Drink Diet: Advice and Recipes to Energize, Alkalize, Lose Weight, and Feel Great – $9.60!
One juice or smoothie a day—made from green vegetables such as kale, cucumber, celery, and spinach—works wonders for organ health, immune system strength, and weight loss. Now the founder of heathygreendrink offers a persuasive argument for adding a green drink to your day, as well as recipes for dozens of different variations.
![]()
The Healthy Green Drink Diet: Advice and Recipes to Energize, Alkalize, Lose Weight, and Feel Great
List Price: $16.95
Save: $7.35 (43%)
$9.60
Eligible for free shipping on $35+ orders or on ANY order with Amazon Prime.
Don’t have a Prime membership? Get a one month free trial! Click here for details!
10-Day Green Smoothie Cleanse: Lose Up to 15 Pounds in 10 Days – $10.19!
#1 Best Seller! “The 10-Day Green Smoothie Cleanse will jump-start your weight loss, increase your energy level, clear your mind, and improve your overall health.”
![]() 10-Day Green Smoothie Cleanse: Lose Up to 15 Pounds in 10 Days
10-Day Green Smoothie Cleanse: Lose Up to 15 Pounds in 10 Days
List Price: $16.99
Save: $6.80 (40%)
$10.19
Eligible for free shipping on $35+ orders or on ANY order with Amazon Prime.
Don’t have a Prime membership? Get a one month free trial! Click here for details!
A PYP Best Blog: Make Your Own Ketchup
Just in case you missed this article on making your own ketchup the first time we shared it a couple of years ago, we are republishing it. After Trish wrote this blog originally, we got an awesome response. This is one of the PYP Best Blogs!
This is a penny pinching recipe in that it cost me nearly nothing to make. My garden has been abundant with Roma tomatoes.
But, of course, time has a value and this does take an investment of time.
This was my first time making homemade ketchup and I really think the flavor is worth the effort. It’s not at all like store bought ketchup. Much more complex flavor, which is wonderful for me since I don’t much care for regular ketchup.
This is adapted from a Jamie Oliver recipe based on the ingredients I had on hand today.
For 2 pints of ketchup you will need:
3 pounds of peeled, diced, Roma tomatoes
(Roma are best for this because of their low water content. You can use others but you’ll need an extra pound or so and after chopping them, allow them to drain in a colander for a bit. I’d like to try this next time with some of the different colored heirloom varieties. I’ll bet the colors and flavors would be quite unique.)
1 1/2 cups water
1 stalk celery, coarsely chopped
1 large onion, coarsely chopped
one inch piece of fresh ginger, coarsely chopped
2 cloves garlic, chopped
1/4 teaspoon red pepper flakes
1/4 teaspoon fennel seeds
1 Tablespoon dried basil
1 teaspoon ground coriander
2 whole cloves
salt (start with 2 teaspoons and adjust later)
1 teaspoon ground black pepper
3/4 cup plus 2 Tablespoons red wine vinegar
1/3 cup packed brown sugar
2 Tablespoons olive oil
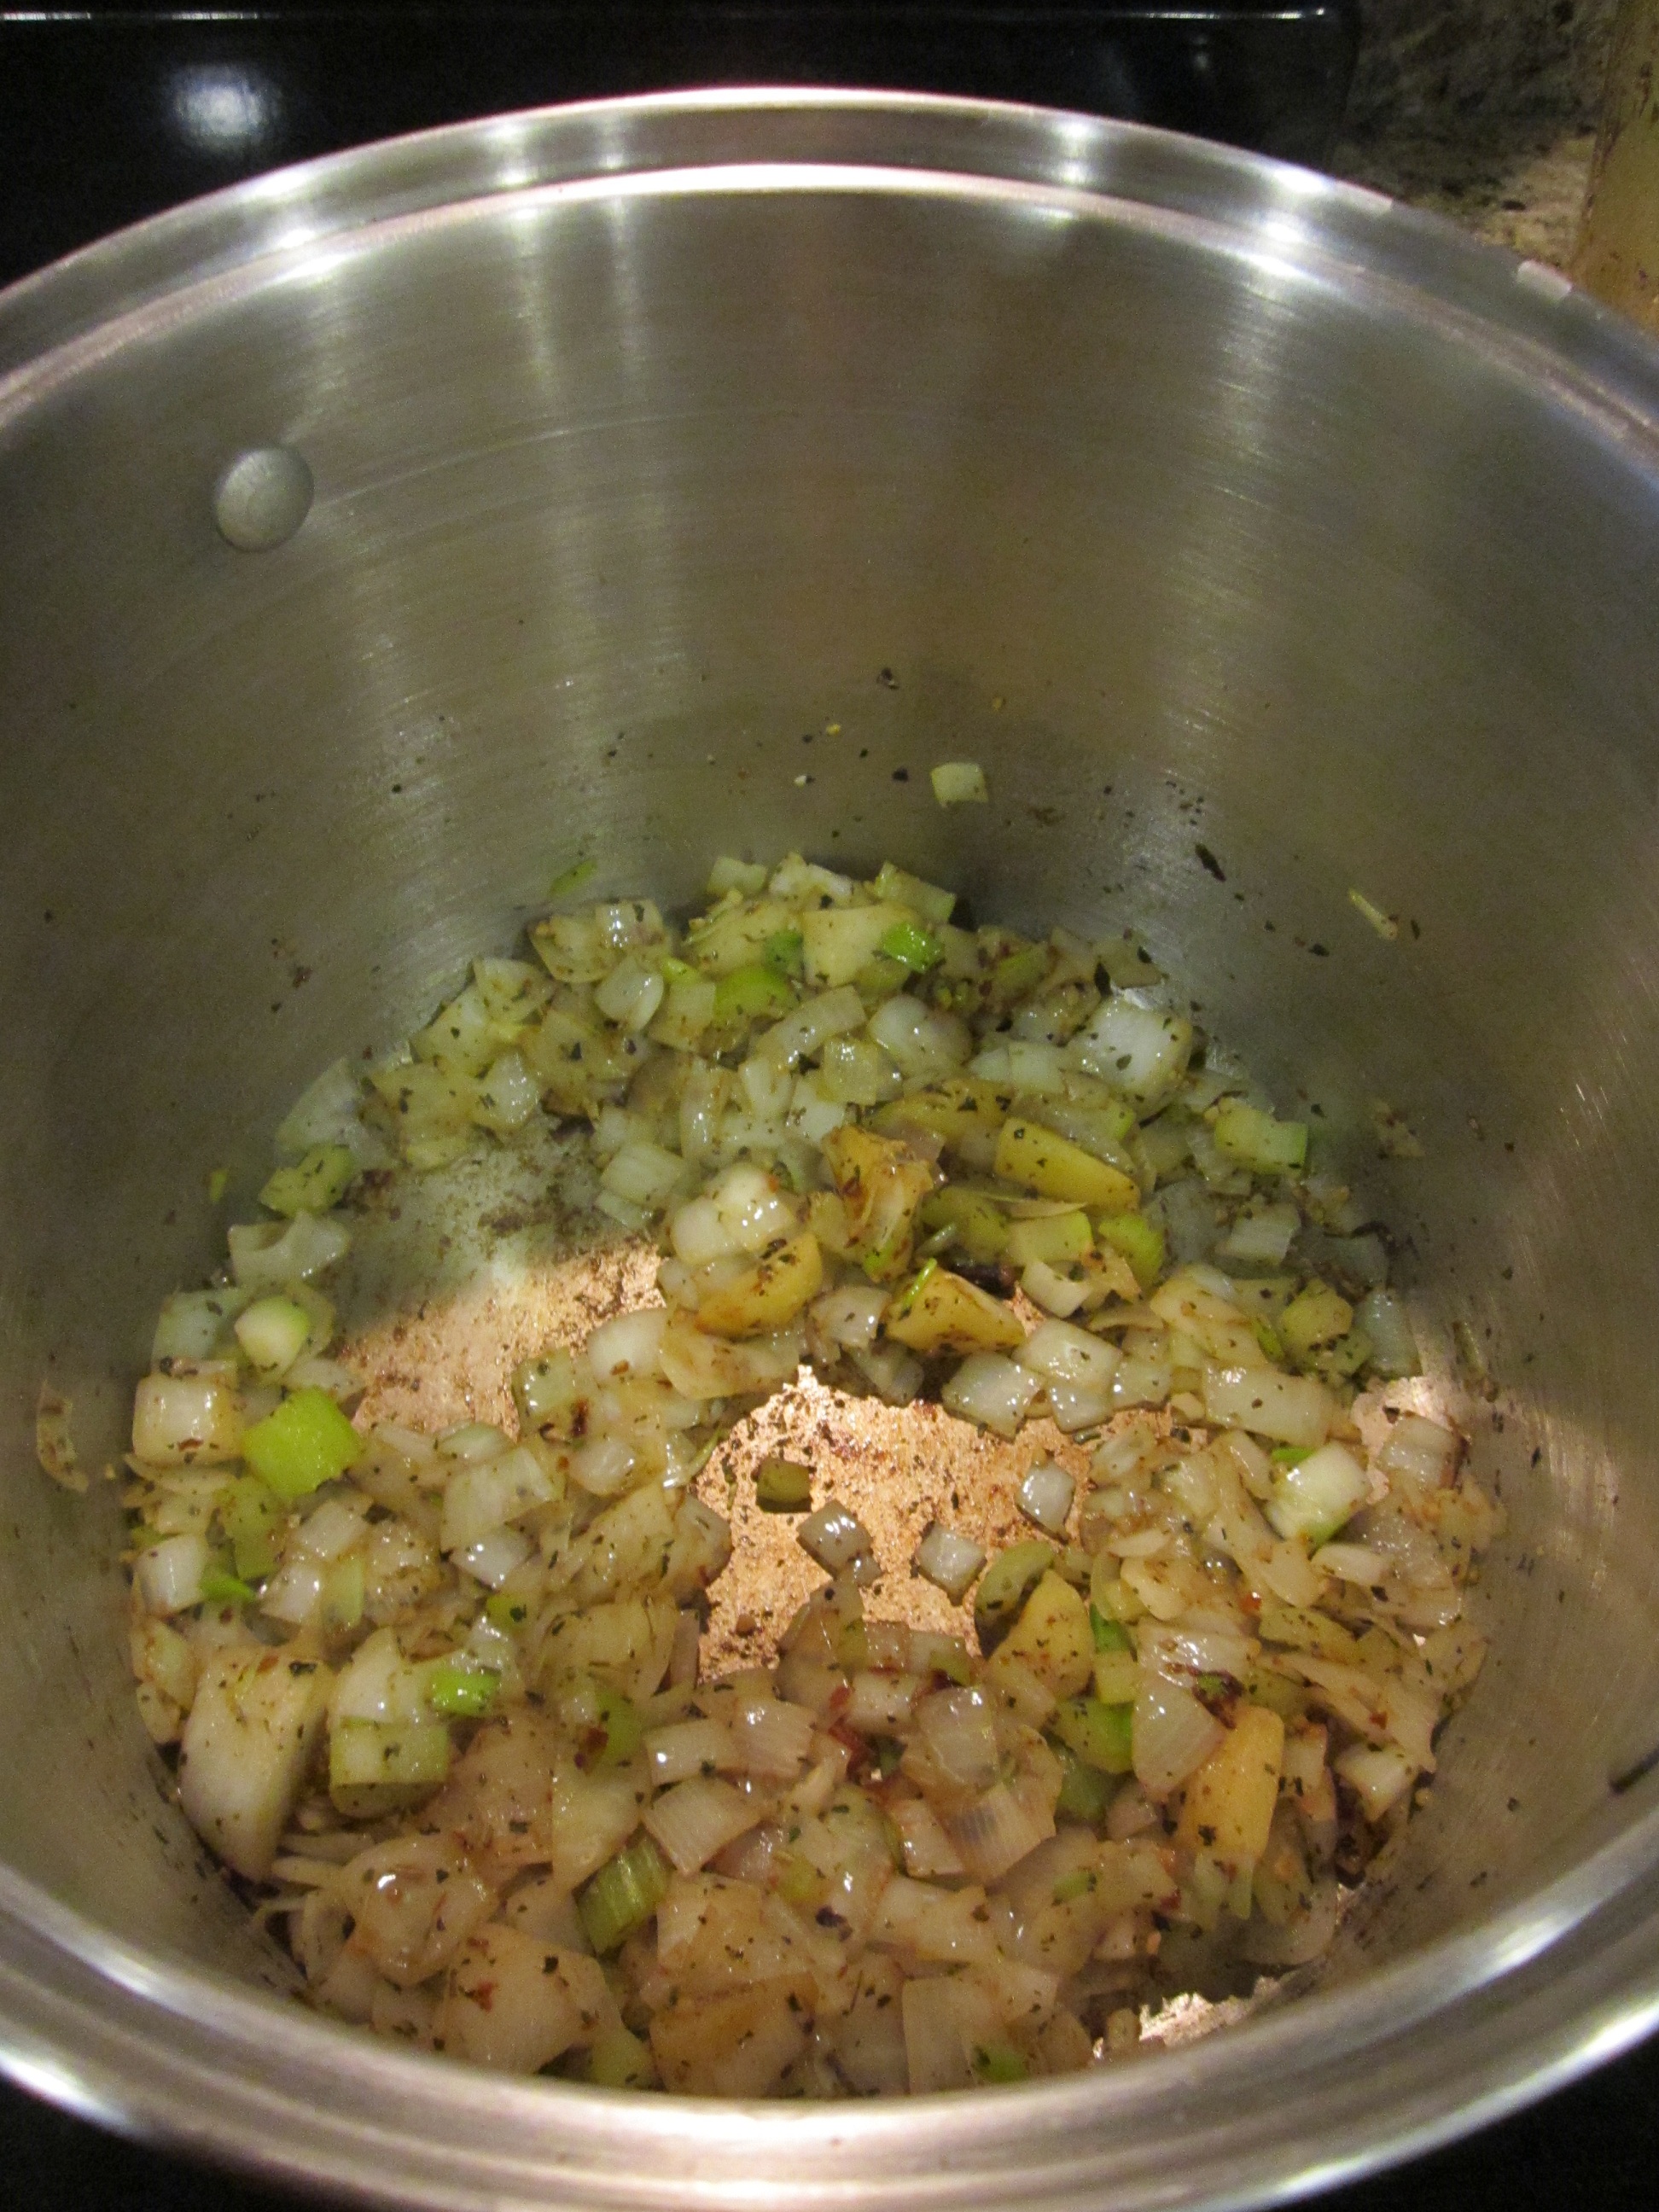
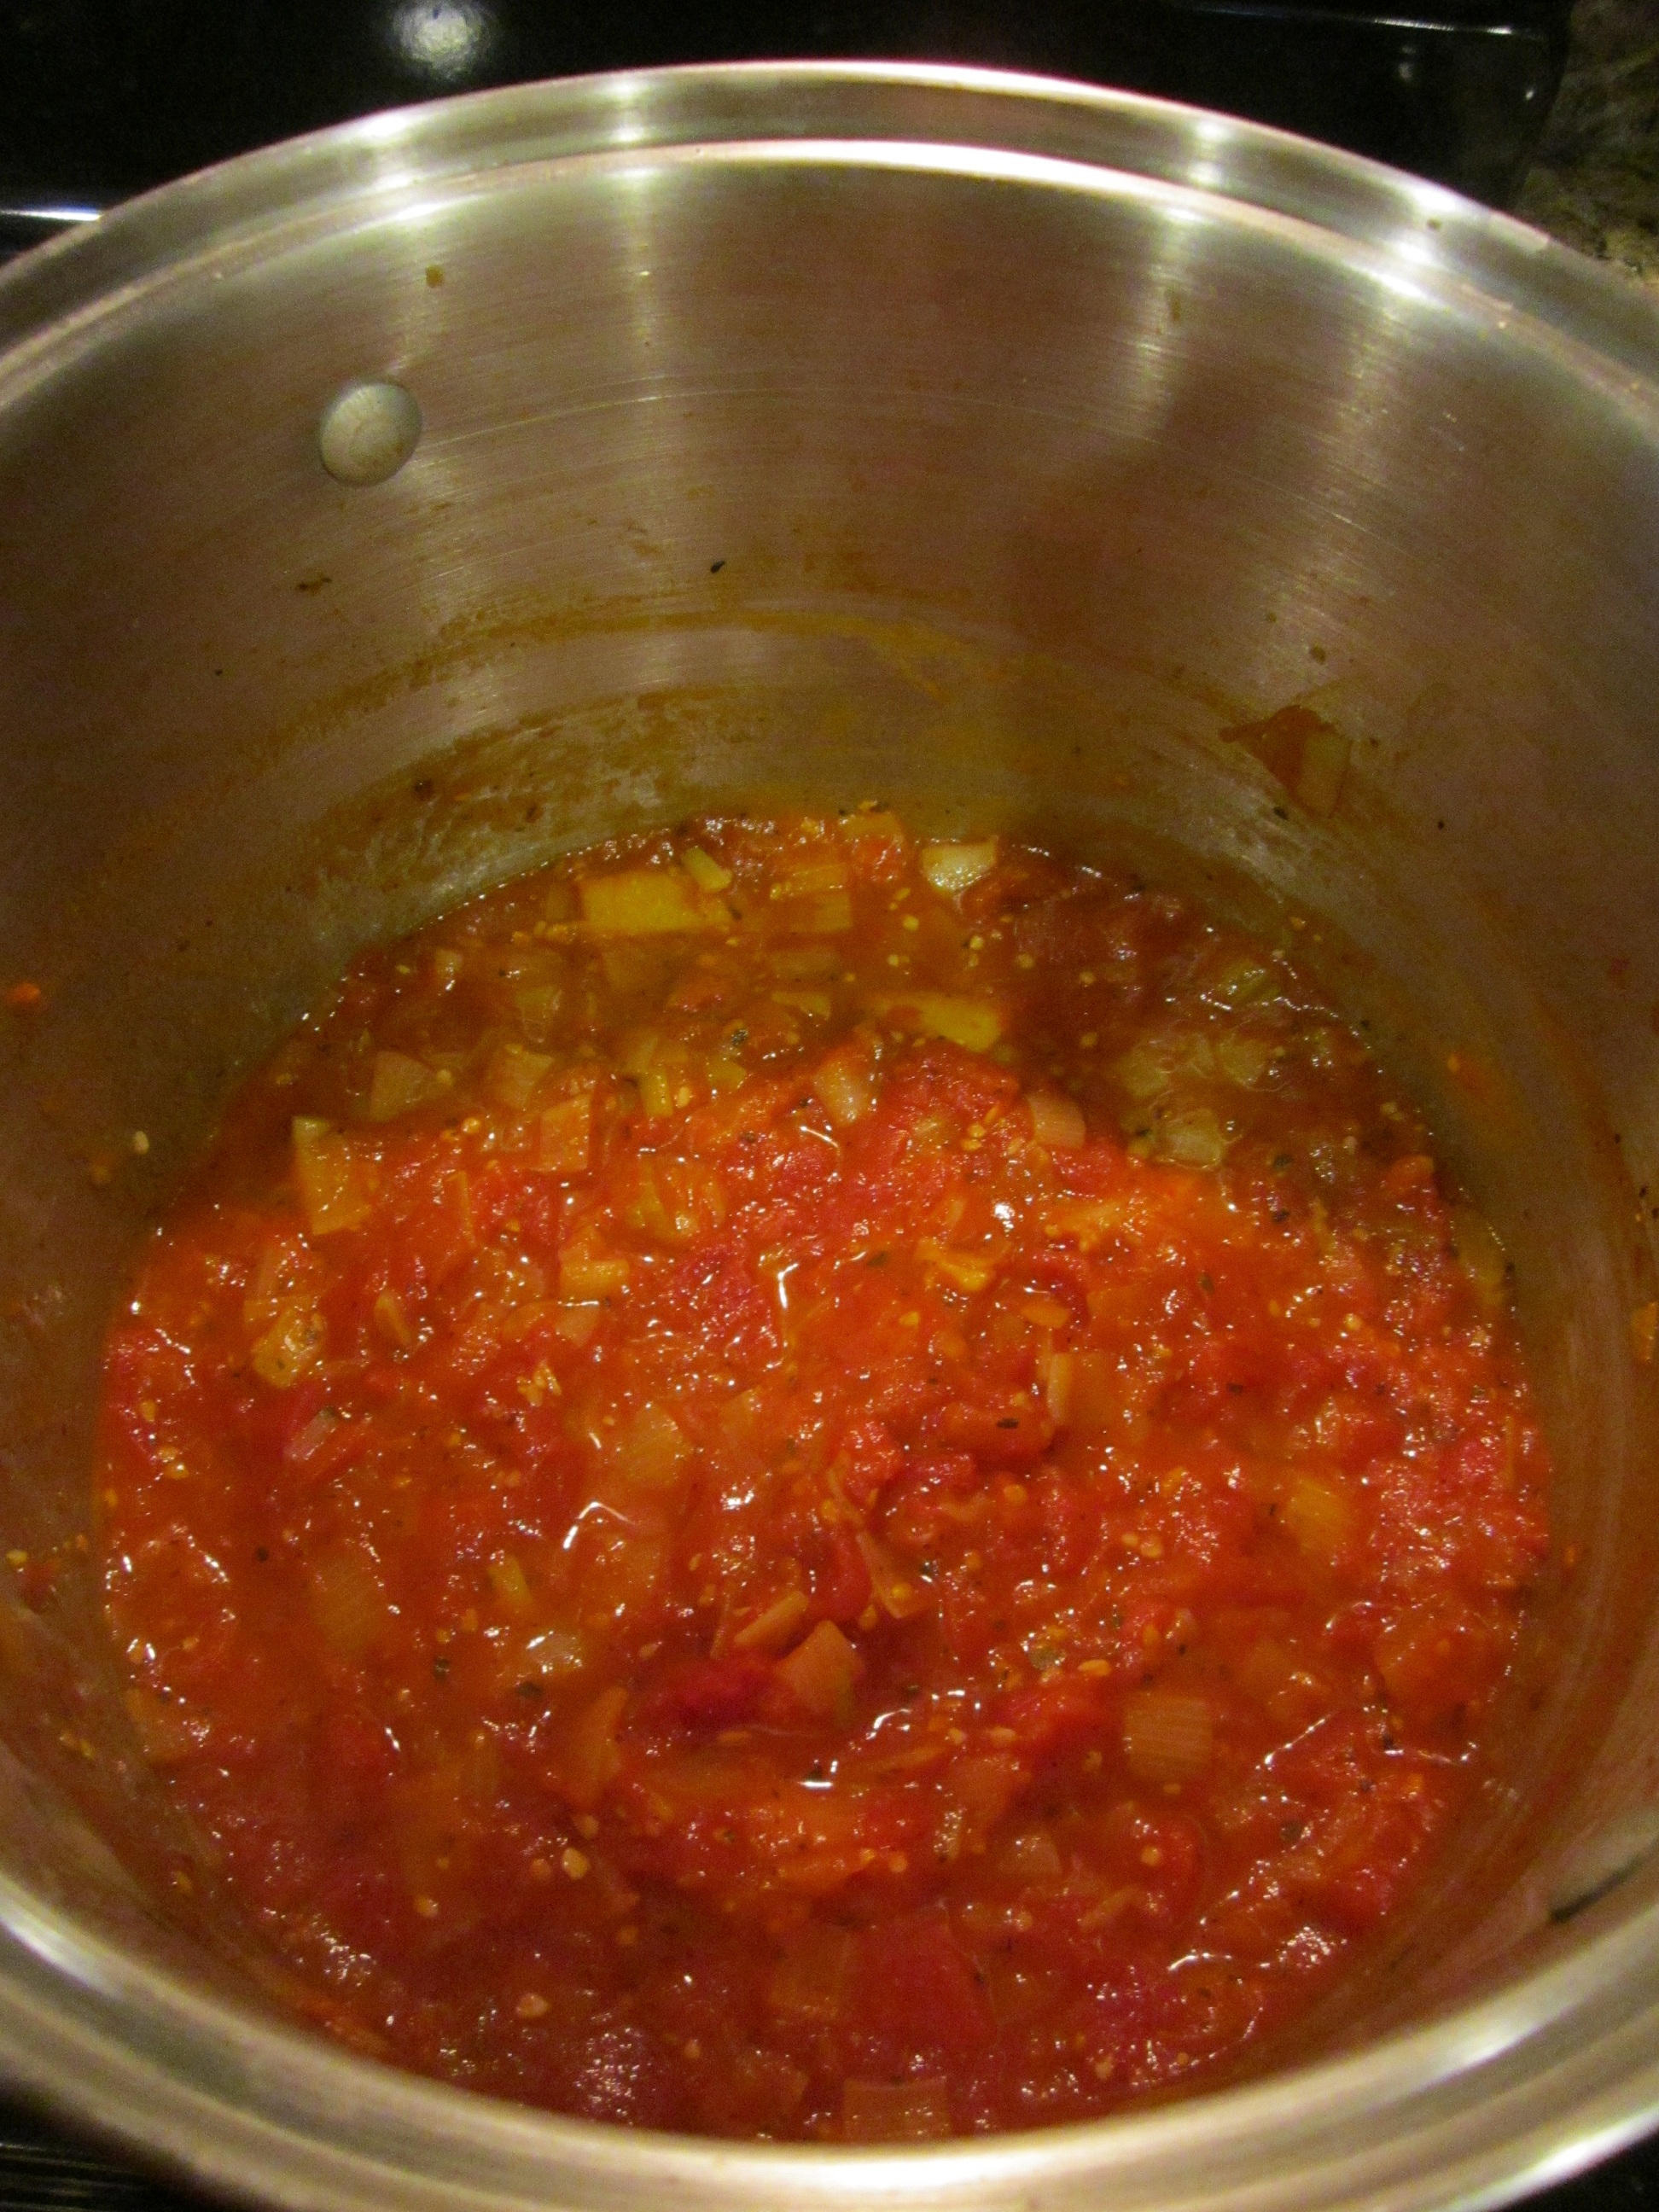
Heat the olive oil in a large stock pot, over medium heat. Add the celery, onion, ginger, garlic, red pepper flakes, basil, coriander, fennel, cloves, salt and pepper. Cook until veggies are soft, about 10 minutes.
It’s okay to let them brown a bit. That’s flavor!
Now add the tomatoes and the water. Stir, scraping the bottom of the pot to deglaze the pot and get all the flavor stirred in.
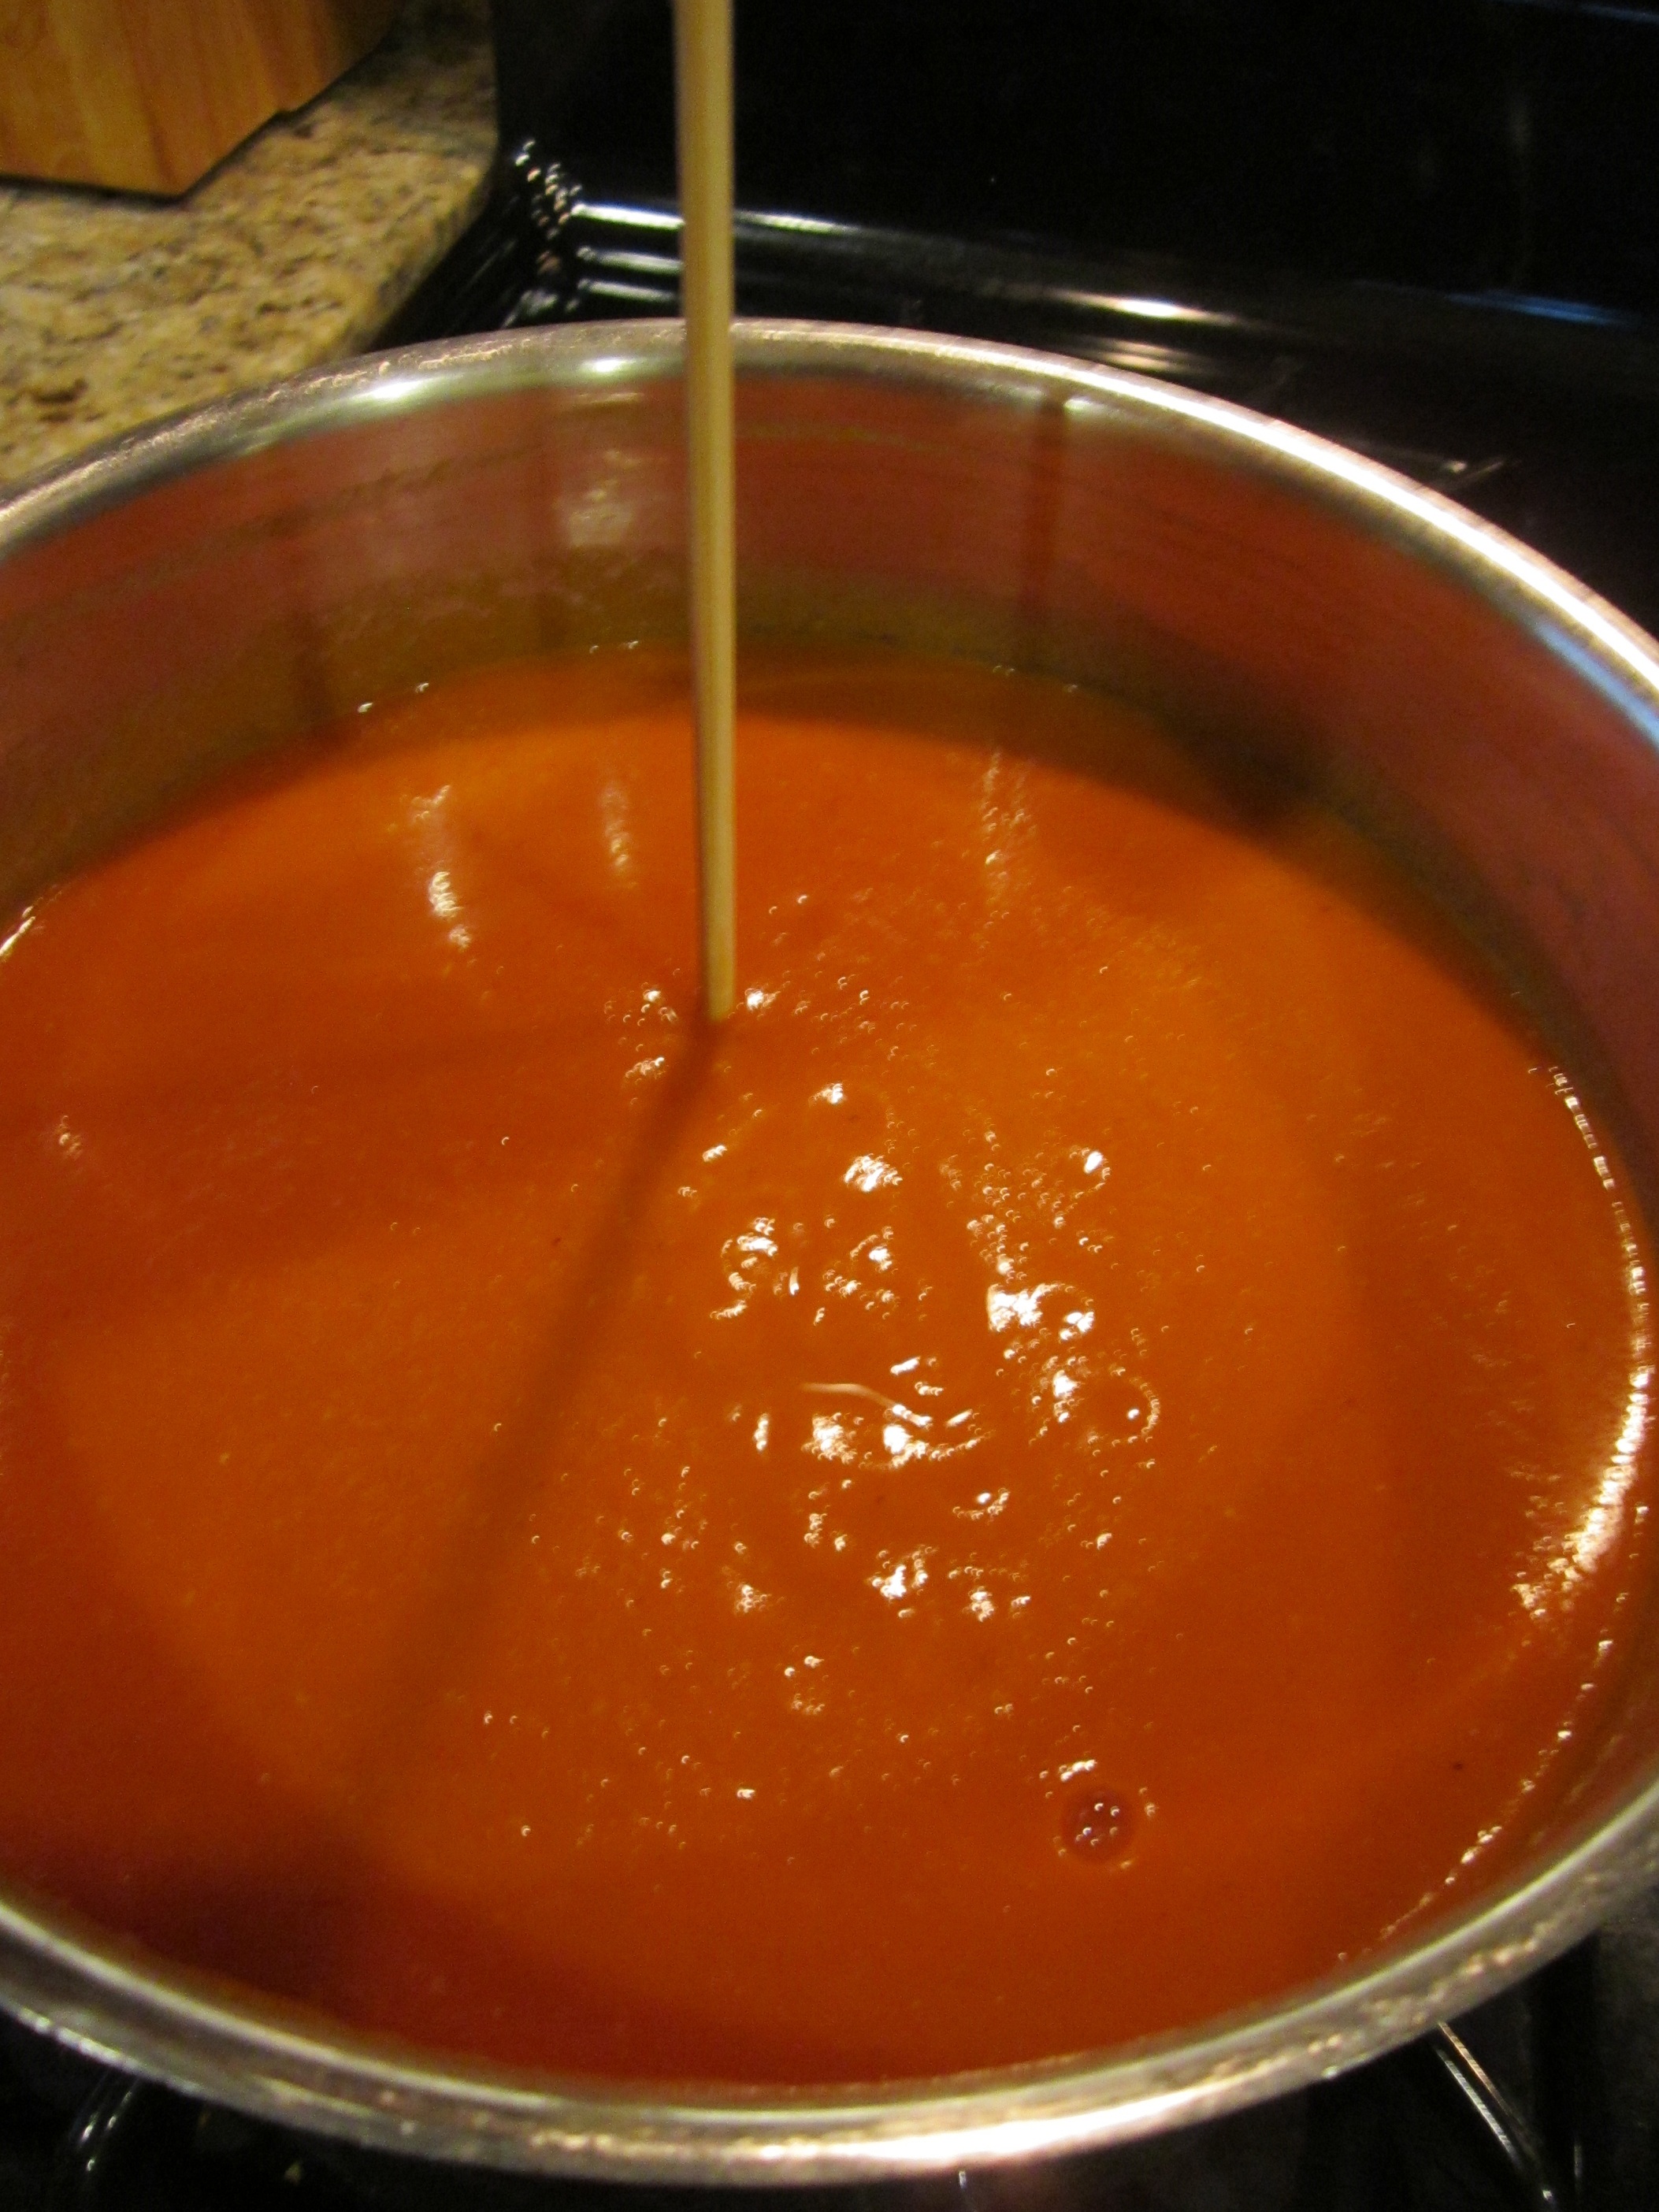
Now you will reduce this by half. Here’s a little (admittedly OCD) trick that I use to judge when it has been reduced by half.
Put a skewer into the pot, all the way to the bottom.
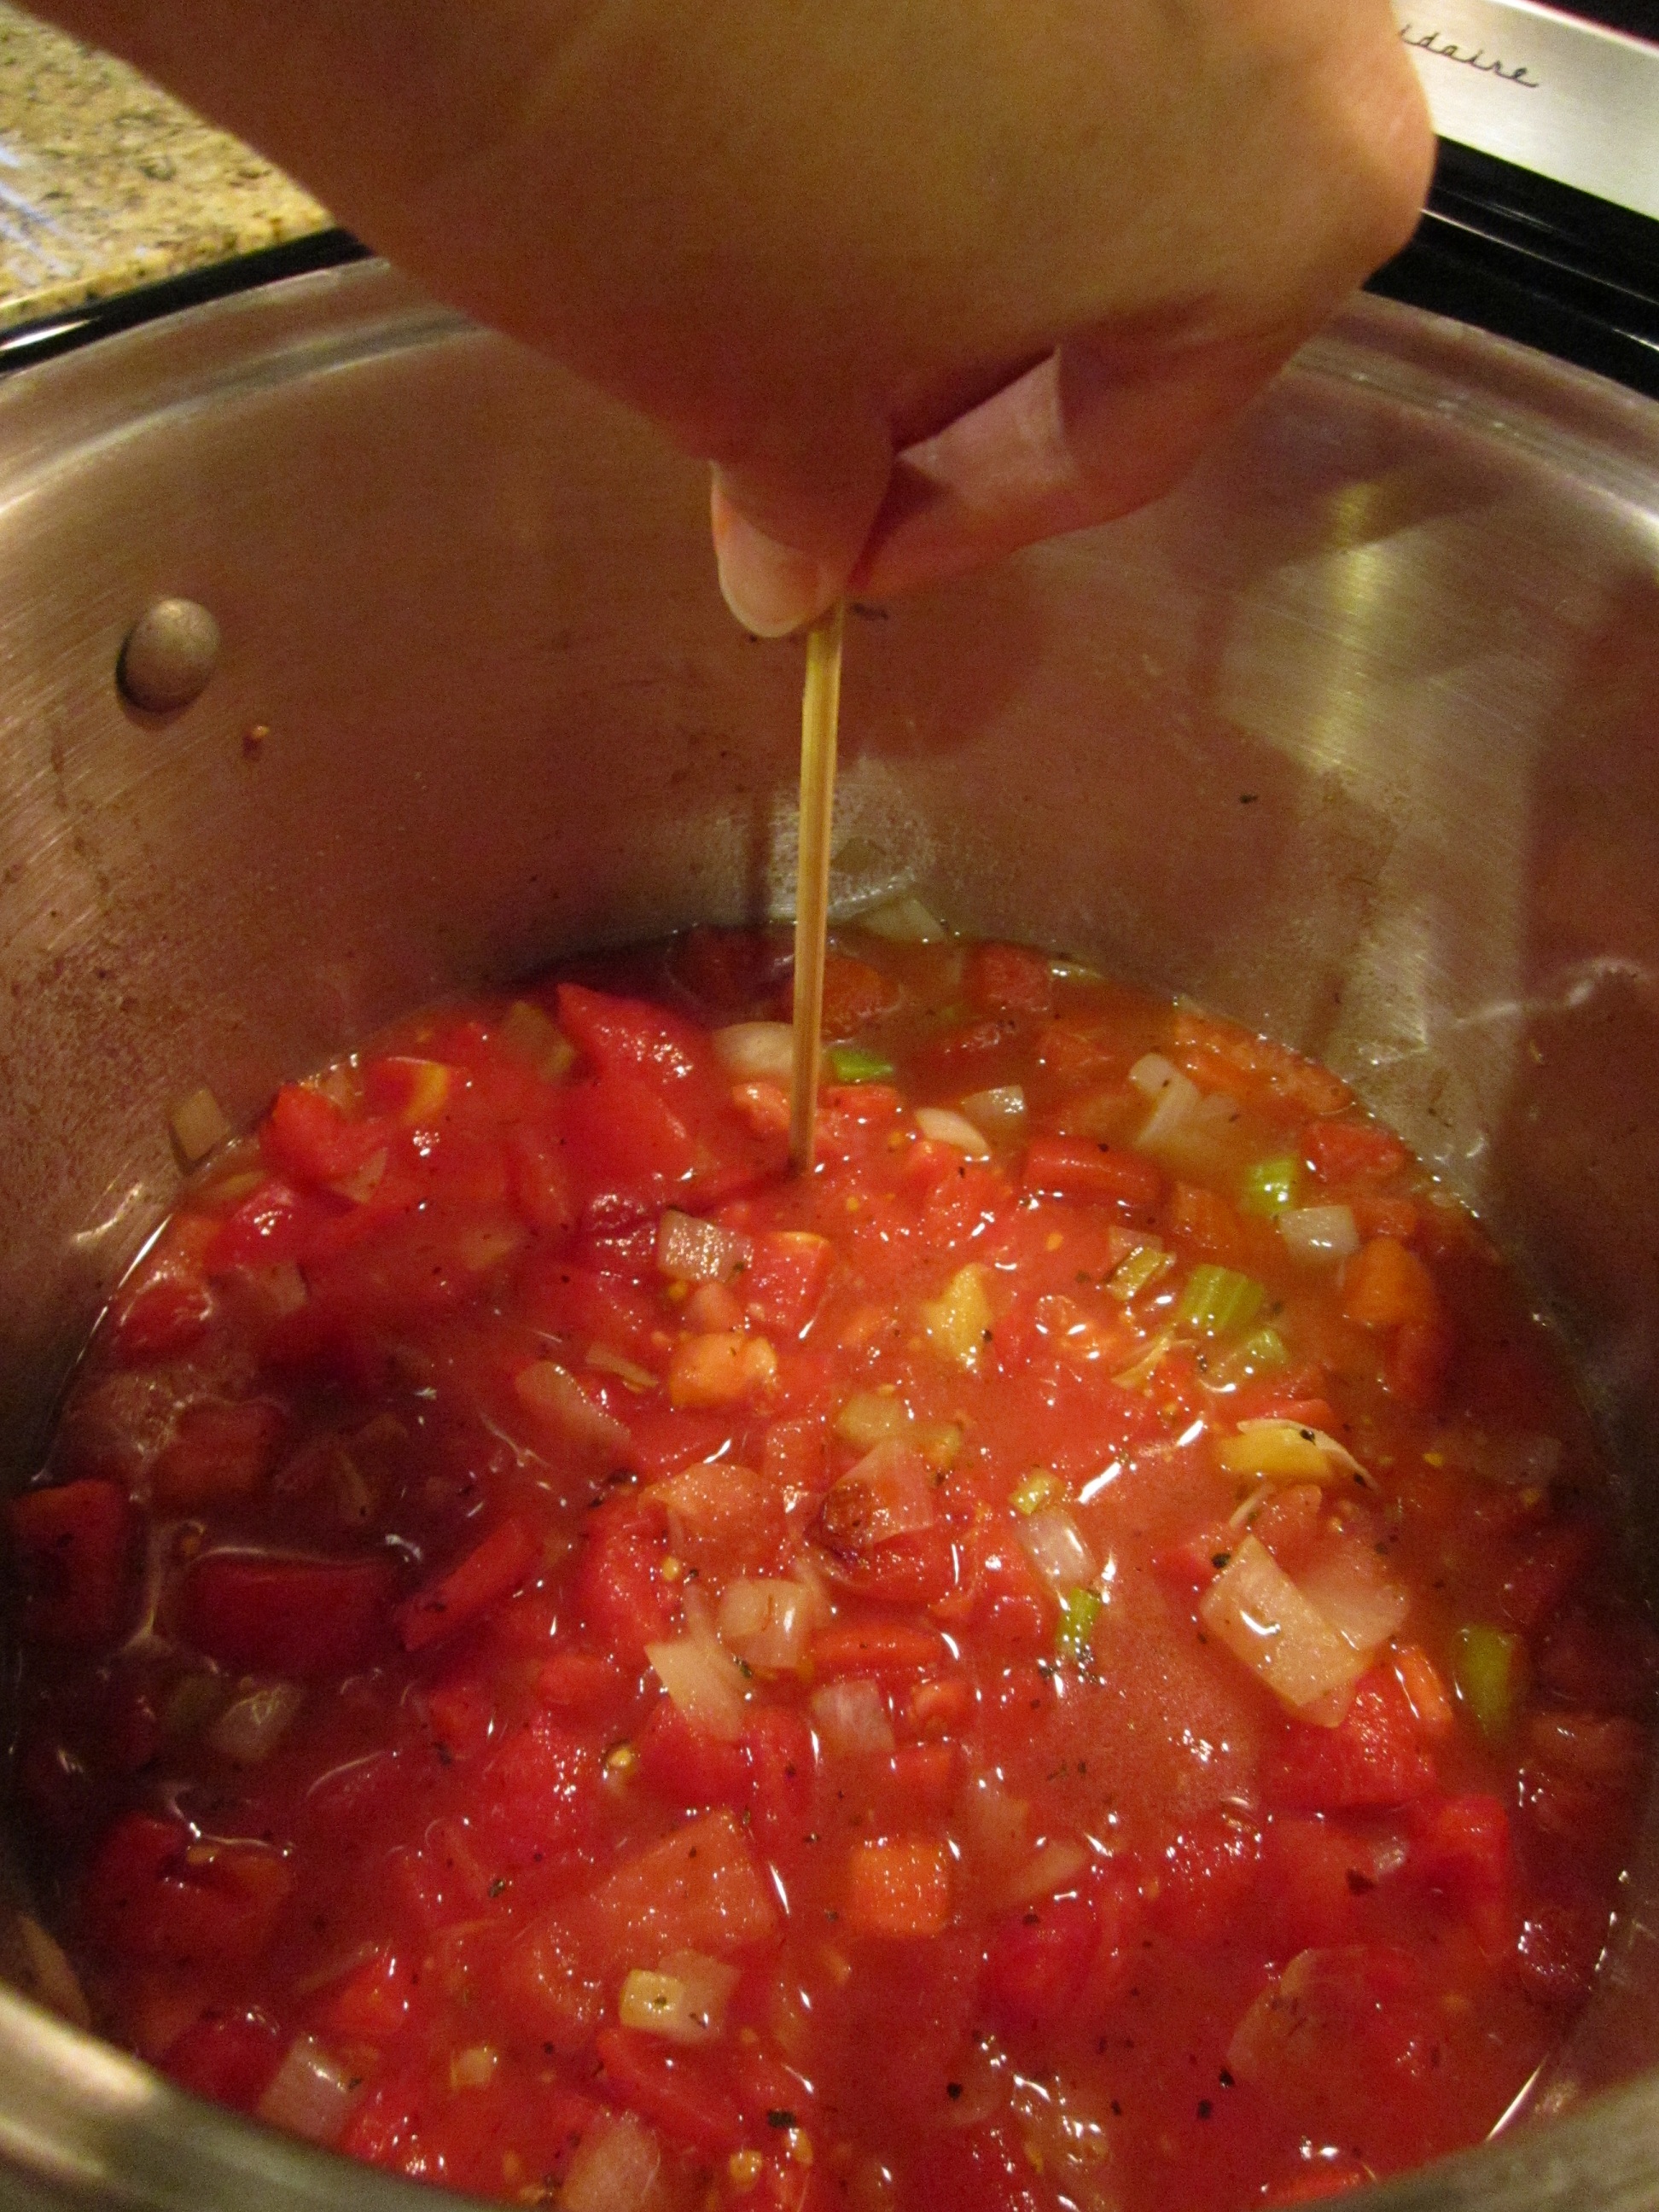
Now mark that skewer where the top of the sauce was so you’ll have a way to judge when it has reduced enough. I use a sharpie.
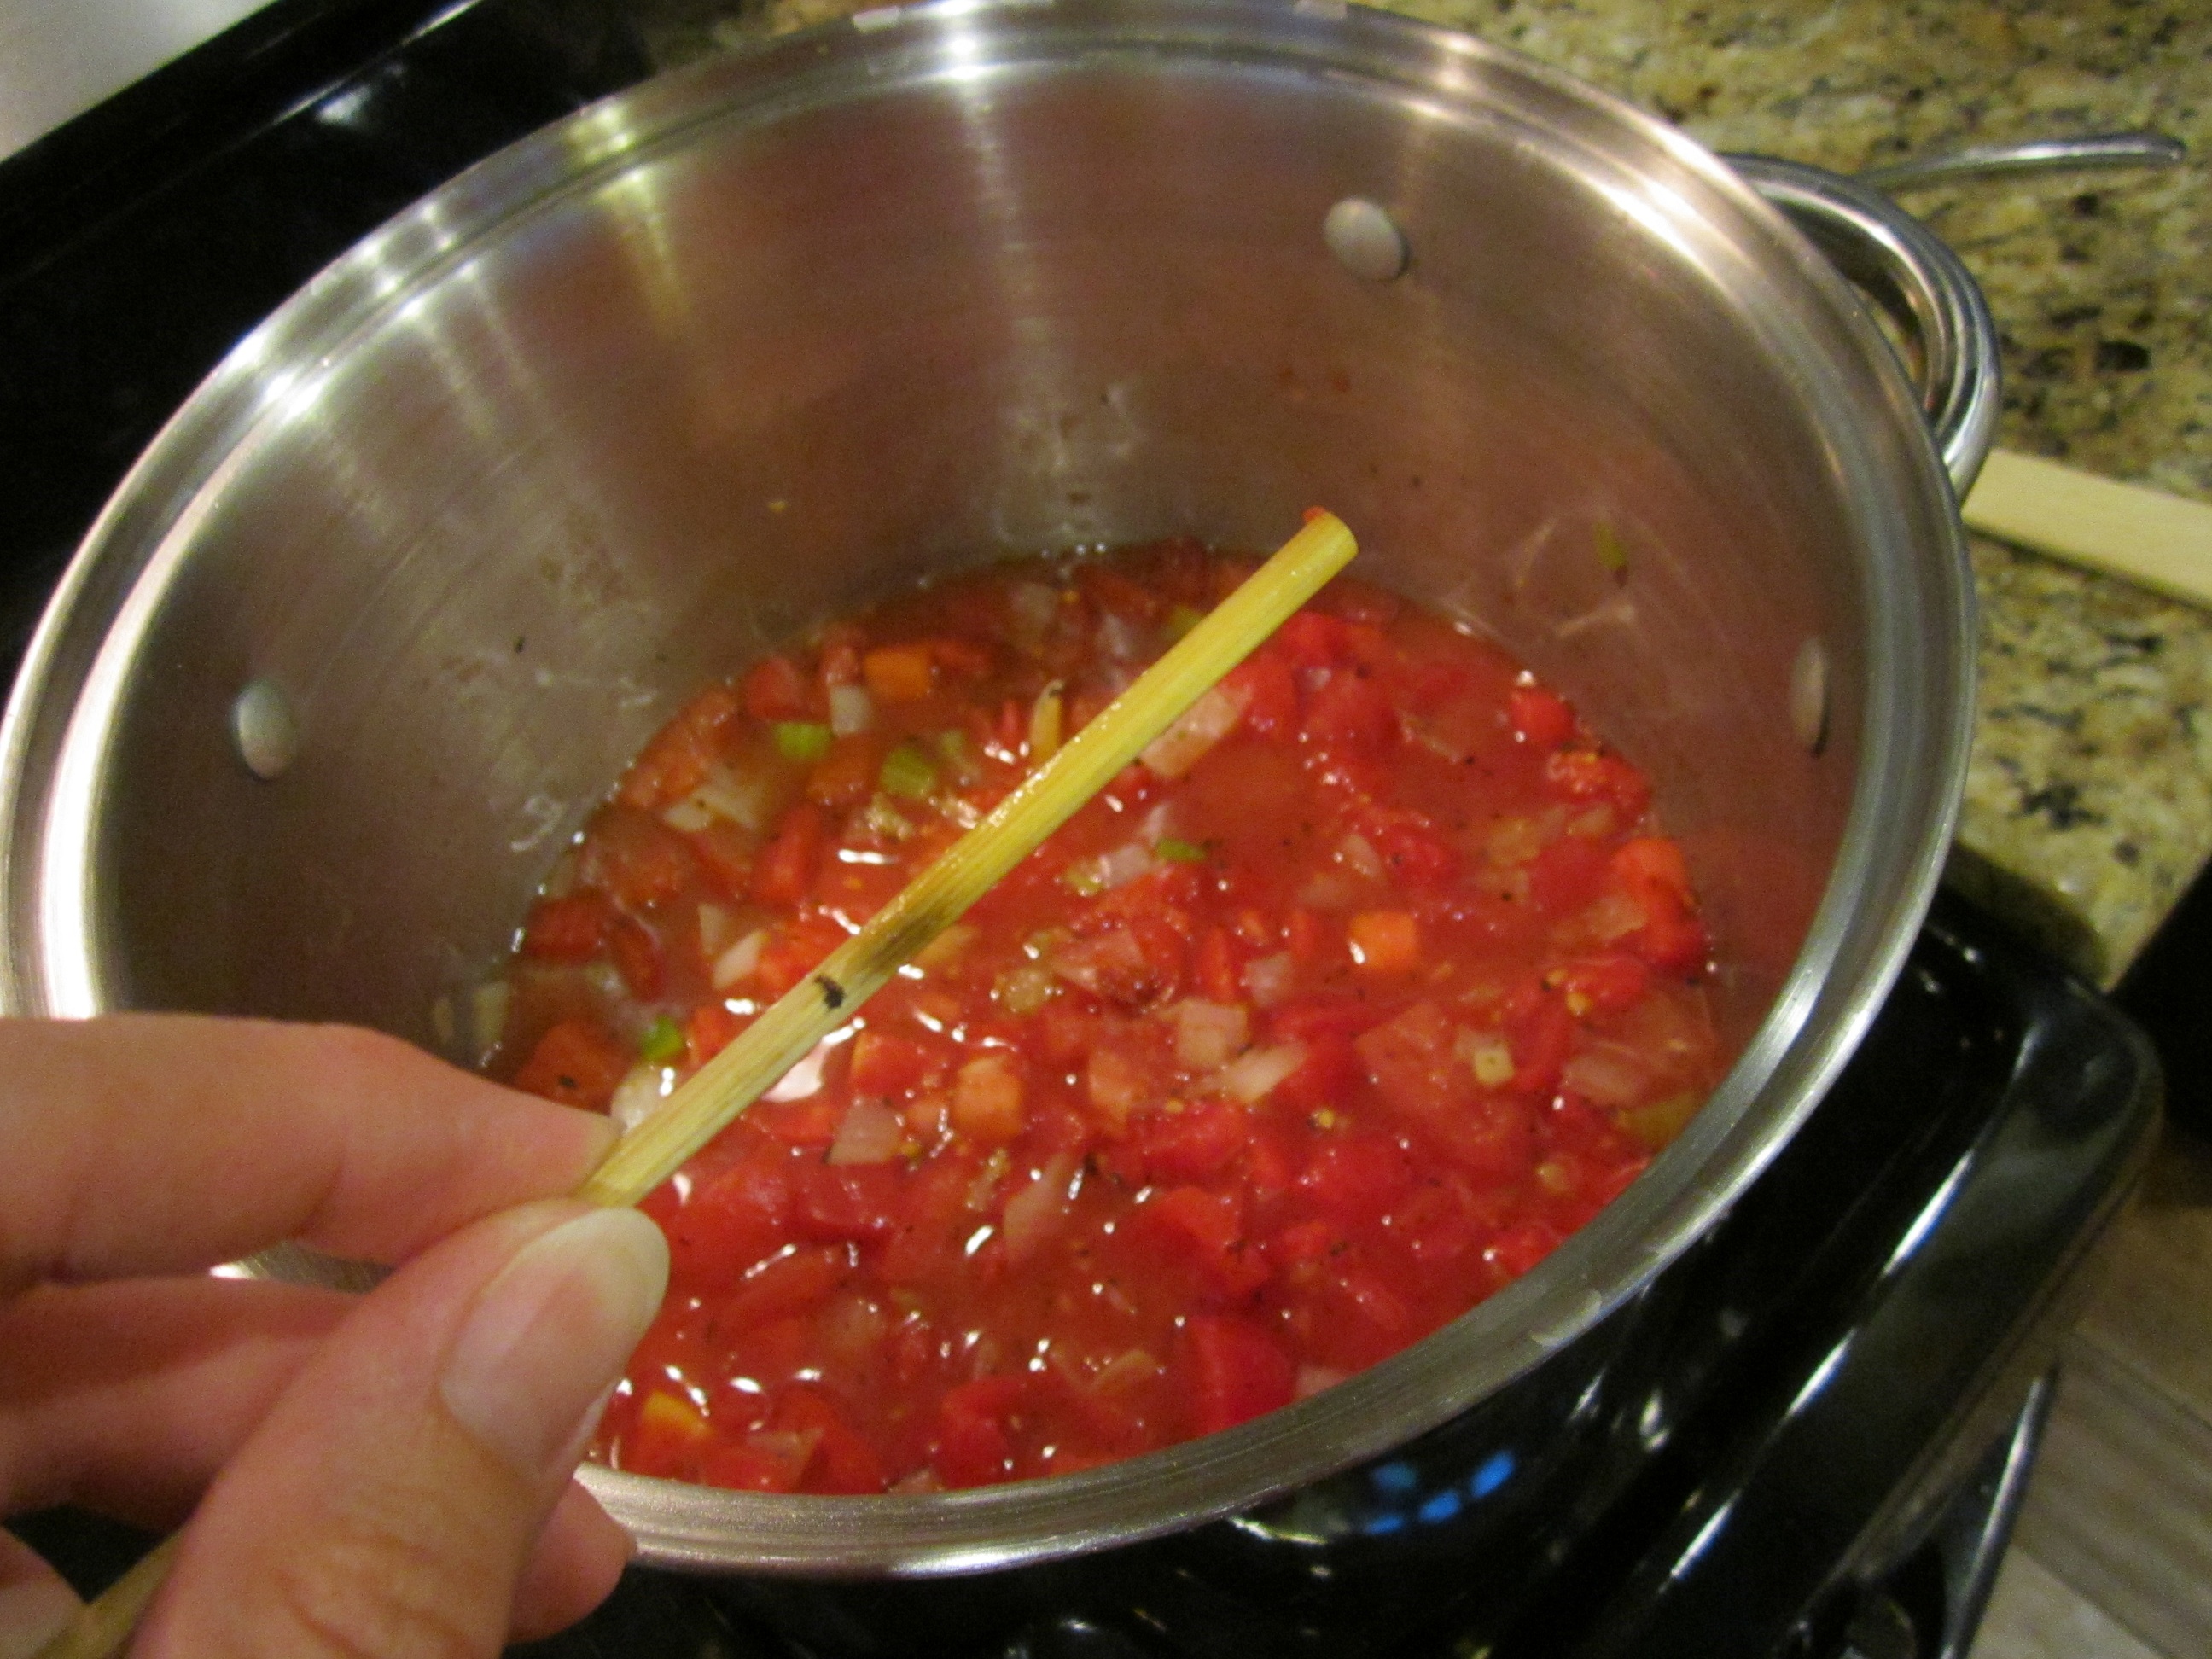
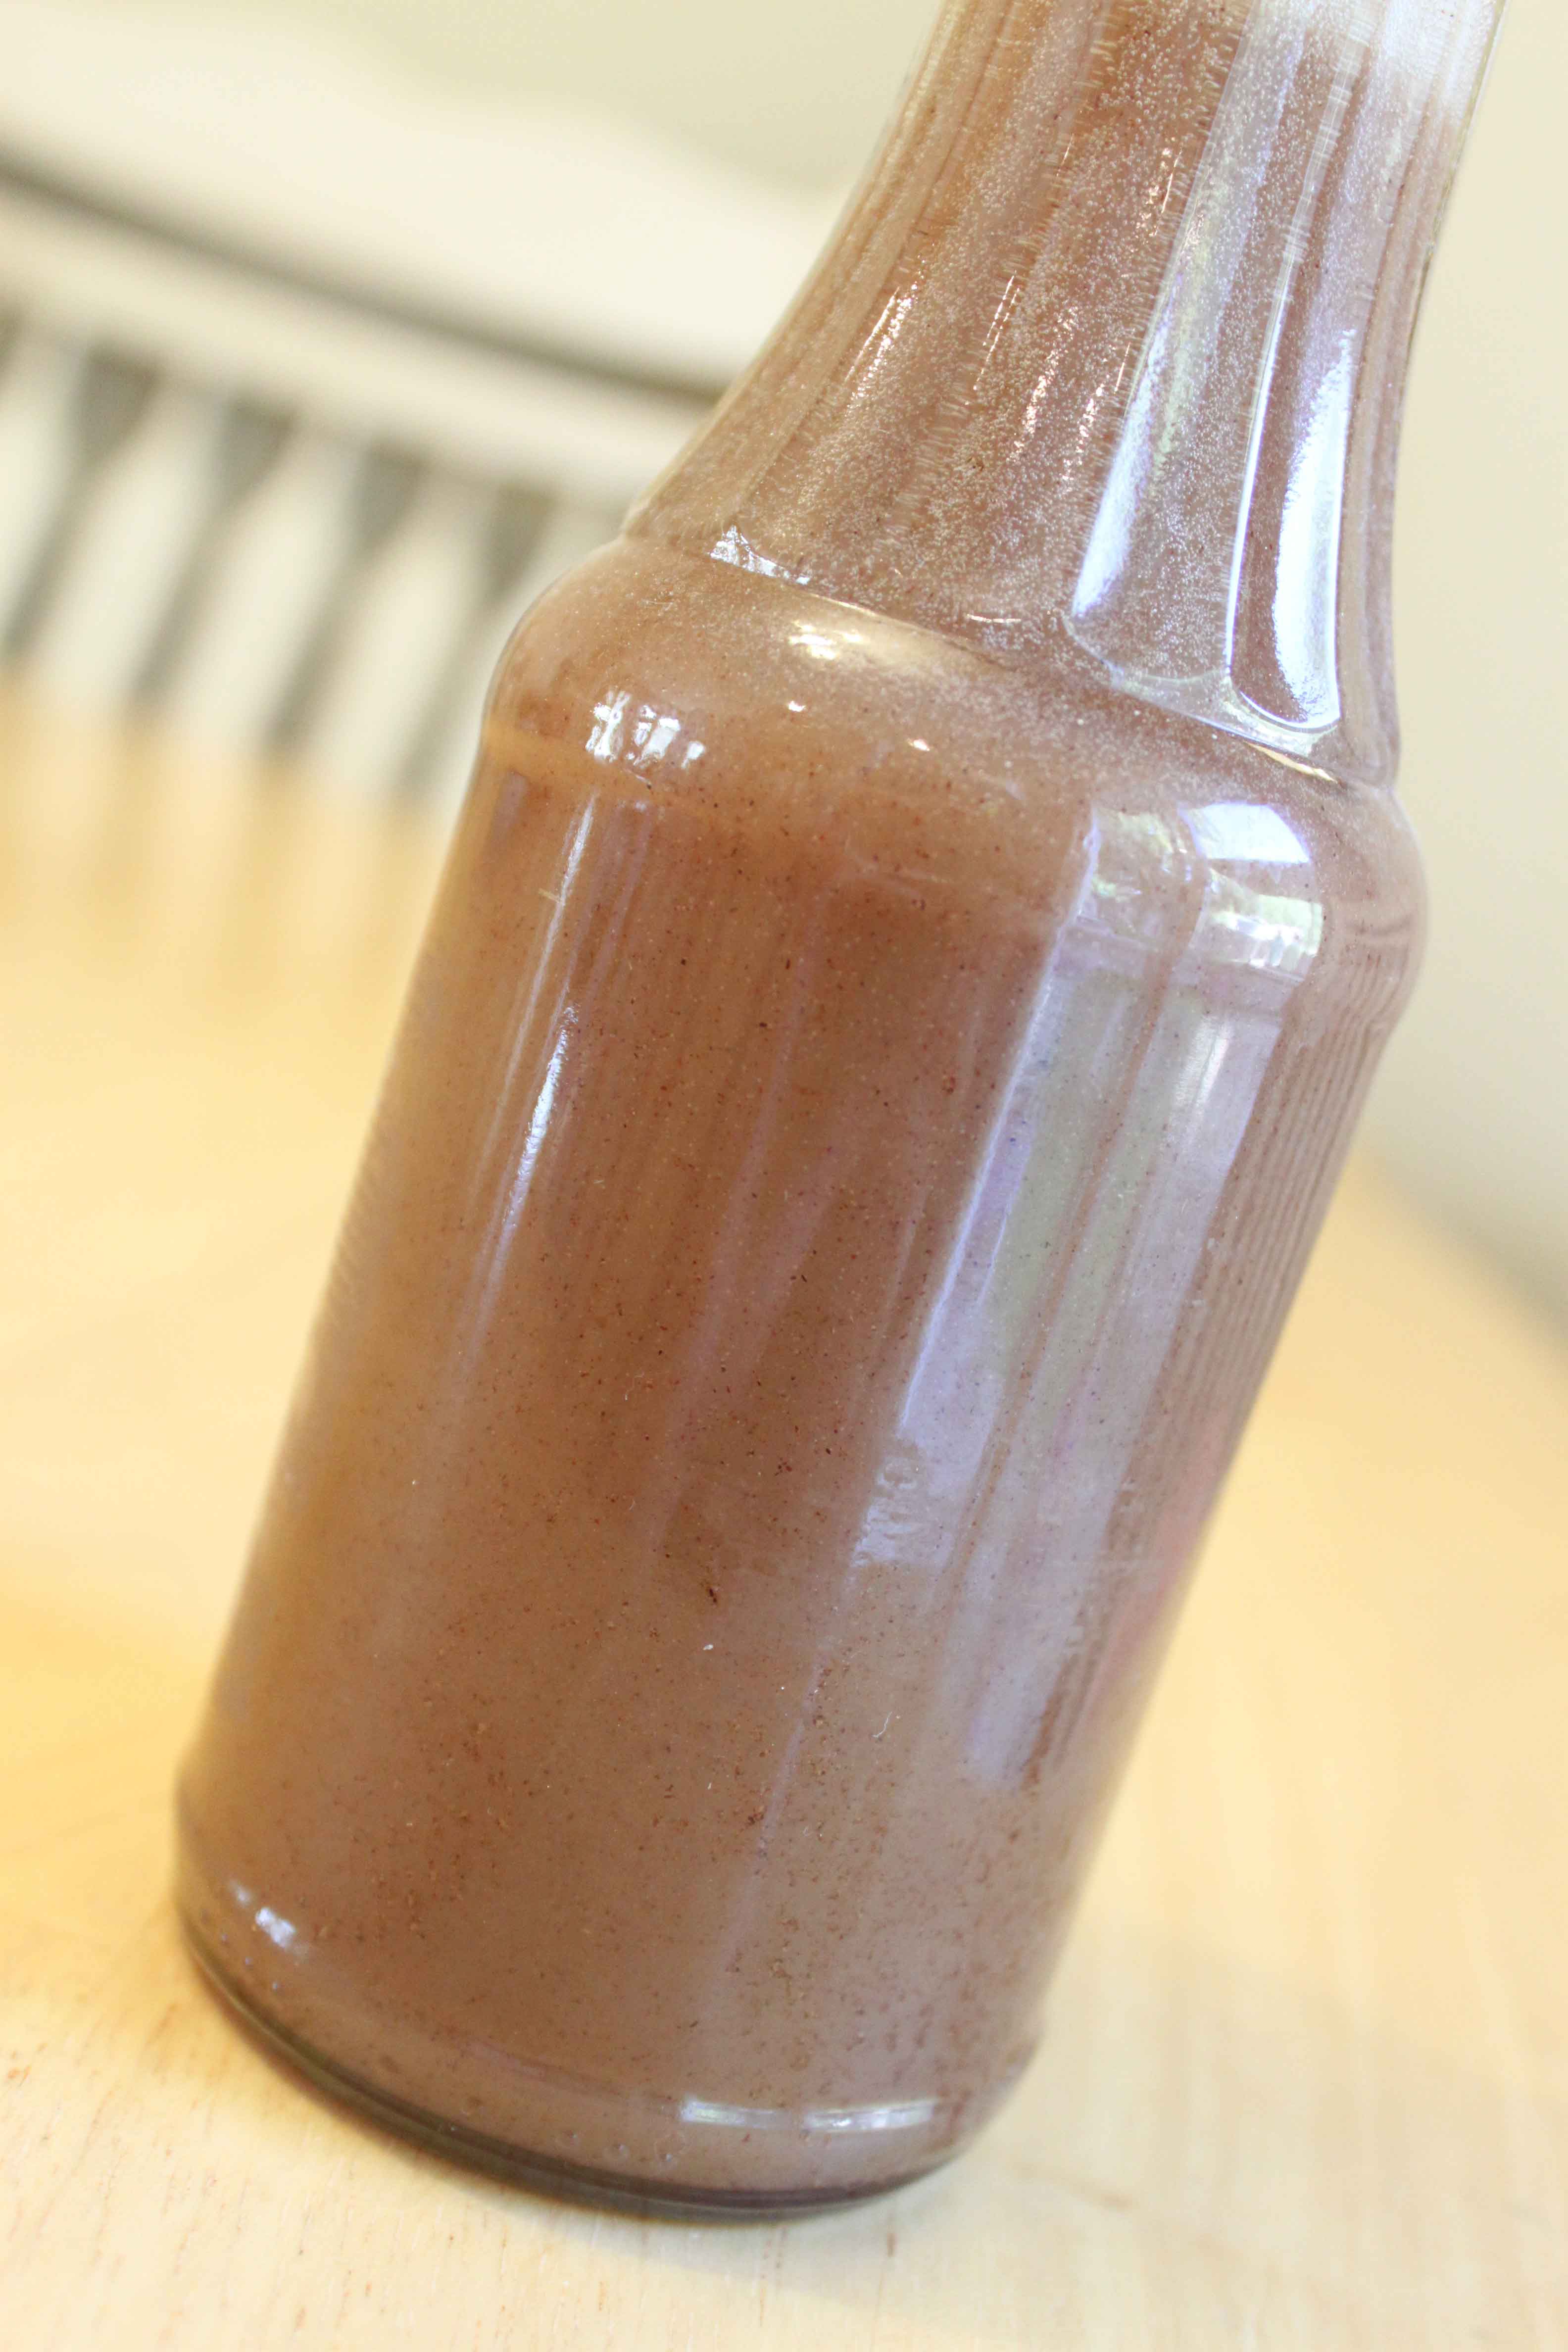
Bring the sauce to a boil over high heat. Reduce the heat and let it simmer, uncovered until it has reduced by half, stirring occasionally. This took abut an hour for me. And it looked like this when it was done.
At this point, you can push the sauce through a food mill or a fine sieve to make the sauce as smooth as possible and remove the fennel seeds and cloves.
I have a powerful blender and don’t have a problem with a little texture to my ketchup so I just put it through the blender, in two batches, until it was as smooth as possible.
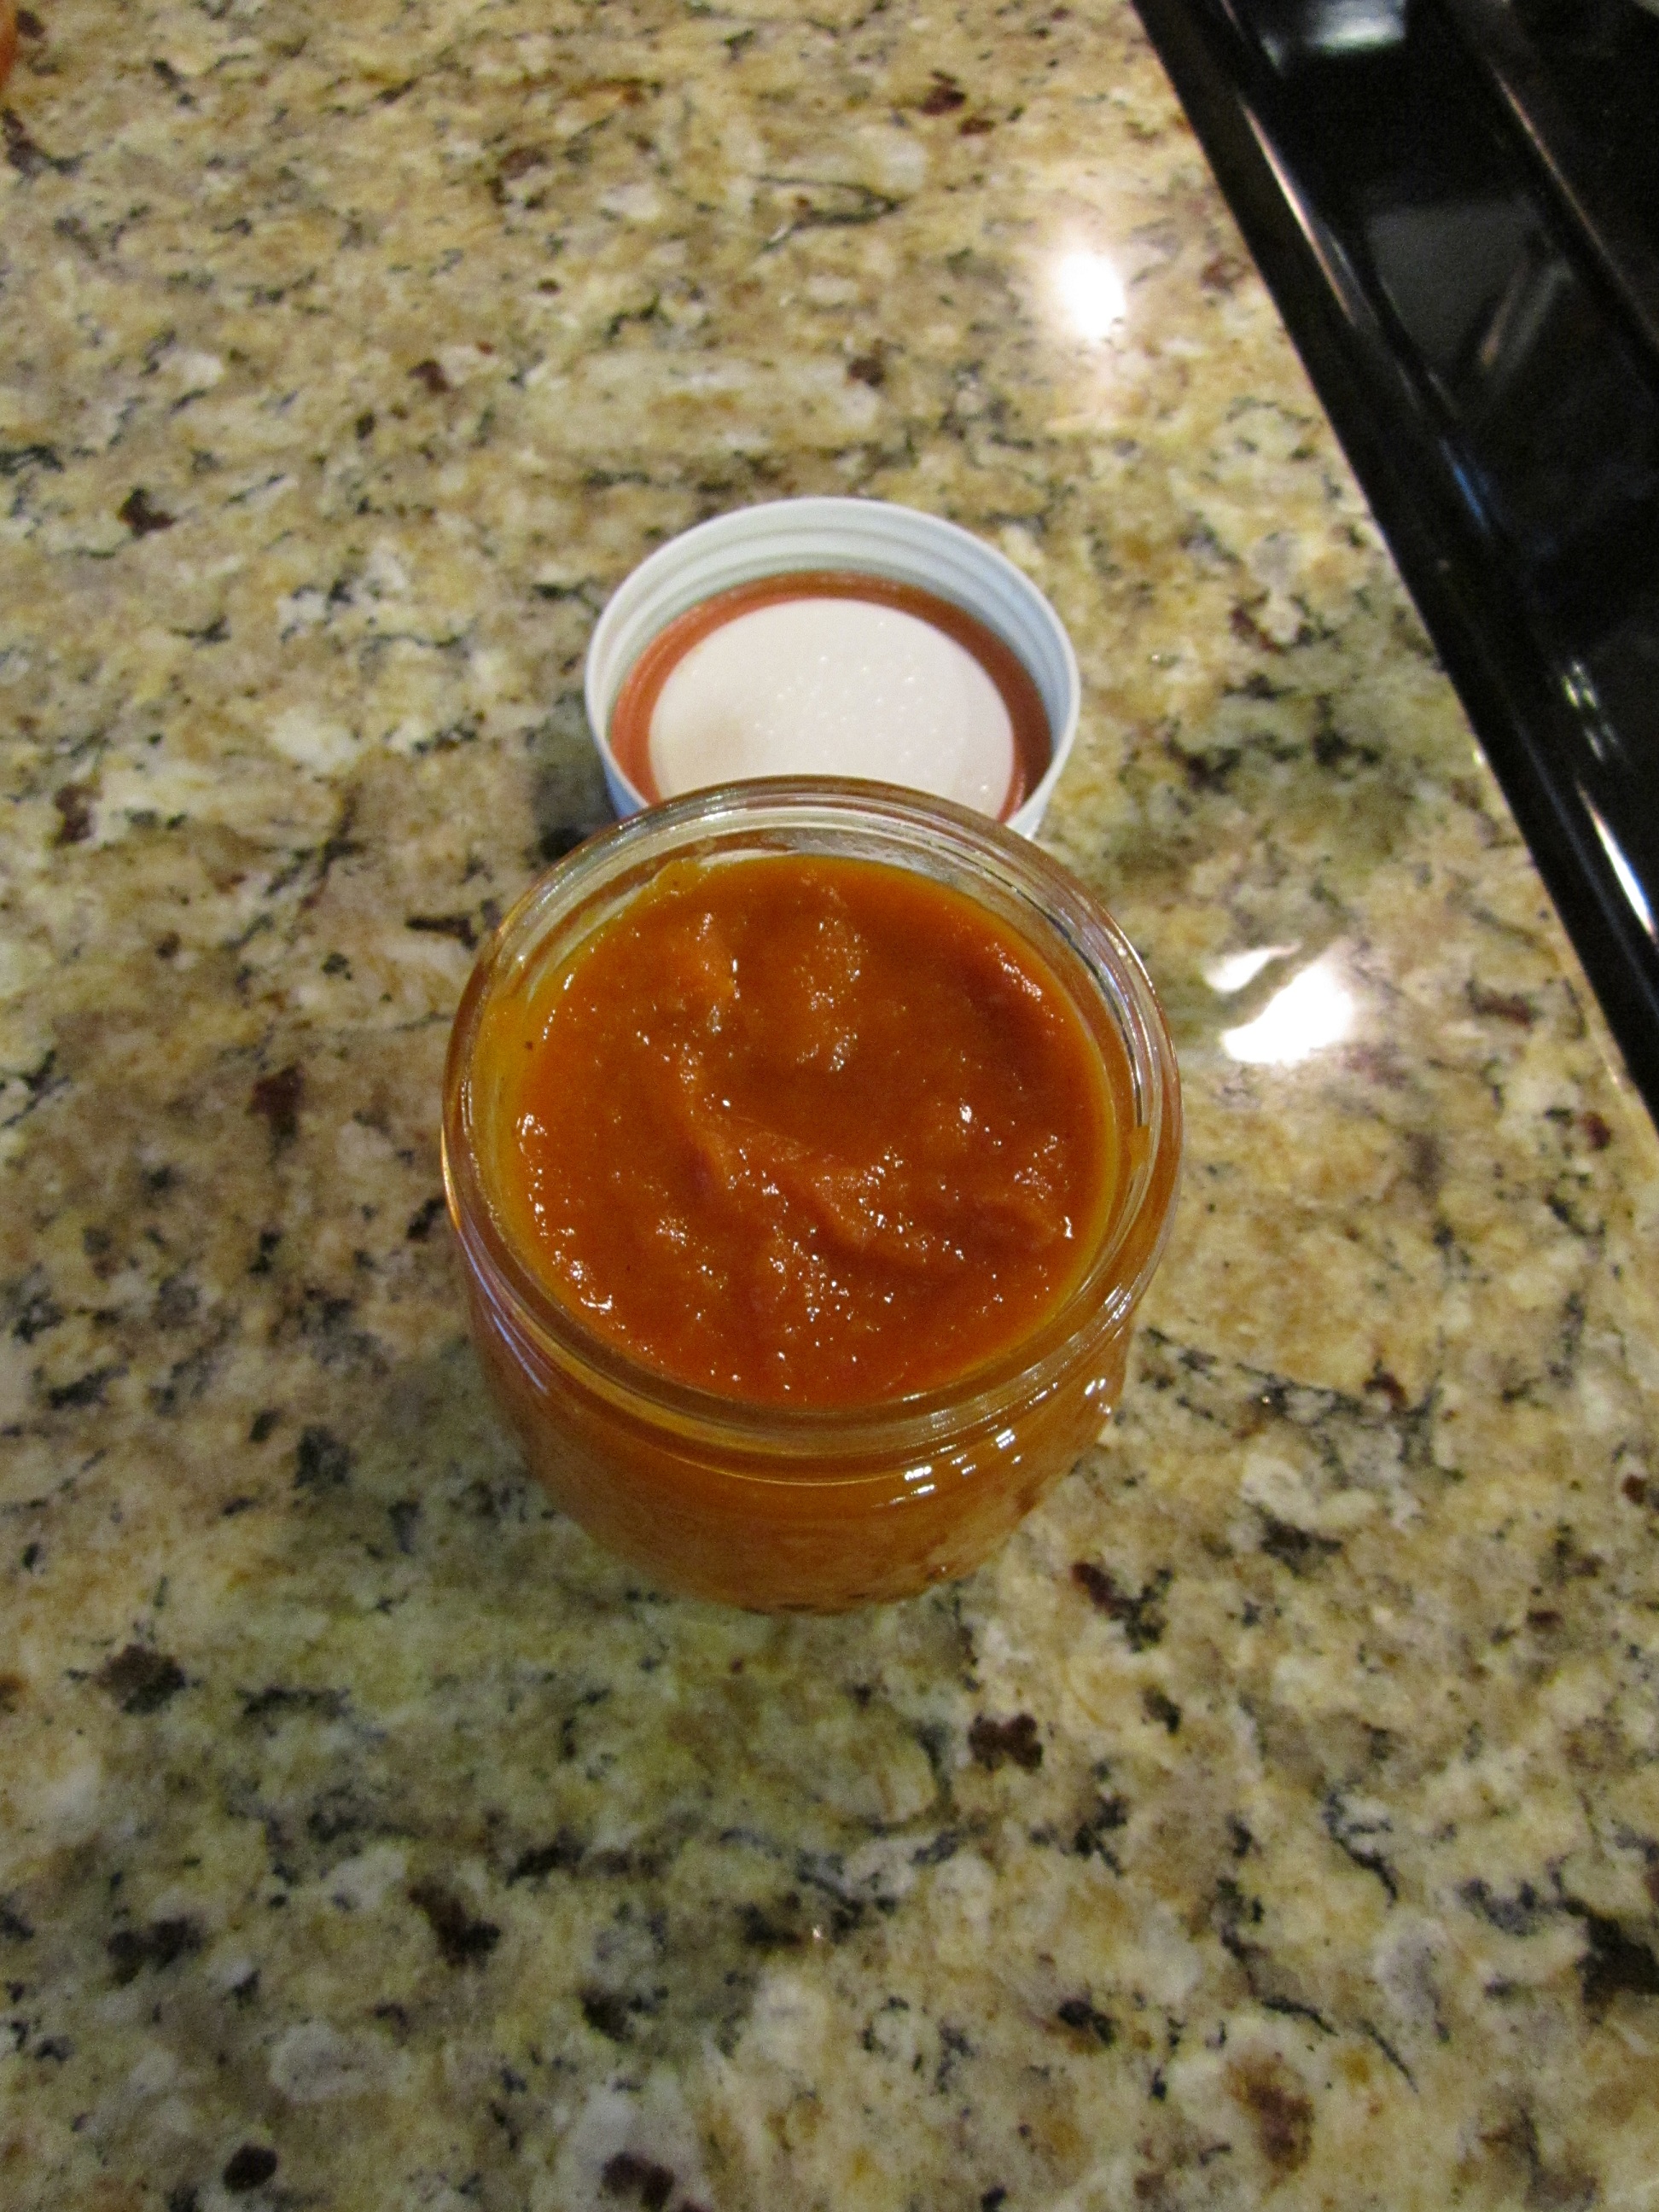
Put the sauce into a clean pan and stir in the red wine vinegar and the brown sugar.
Mark your skewer again, because it needs to reduce by half again.
Bring the sauce to a boil over high heat, reduce heat and simmer, stirring occasionally until reduced by half or as thick as you want your ketchup to be. It will thicken a little more as it cools.
This is a good time to check for seasoning and add more salt if you like. If it tastes a little too tart form the vinegar, a little more salt will tone that down.
This took another hour for me and the last half hour needed more frequent stirring as it was getting very thick by that time.
When the ketchup is finished, it can be kept in the refrigerator for several weeks.
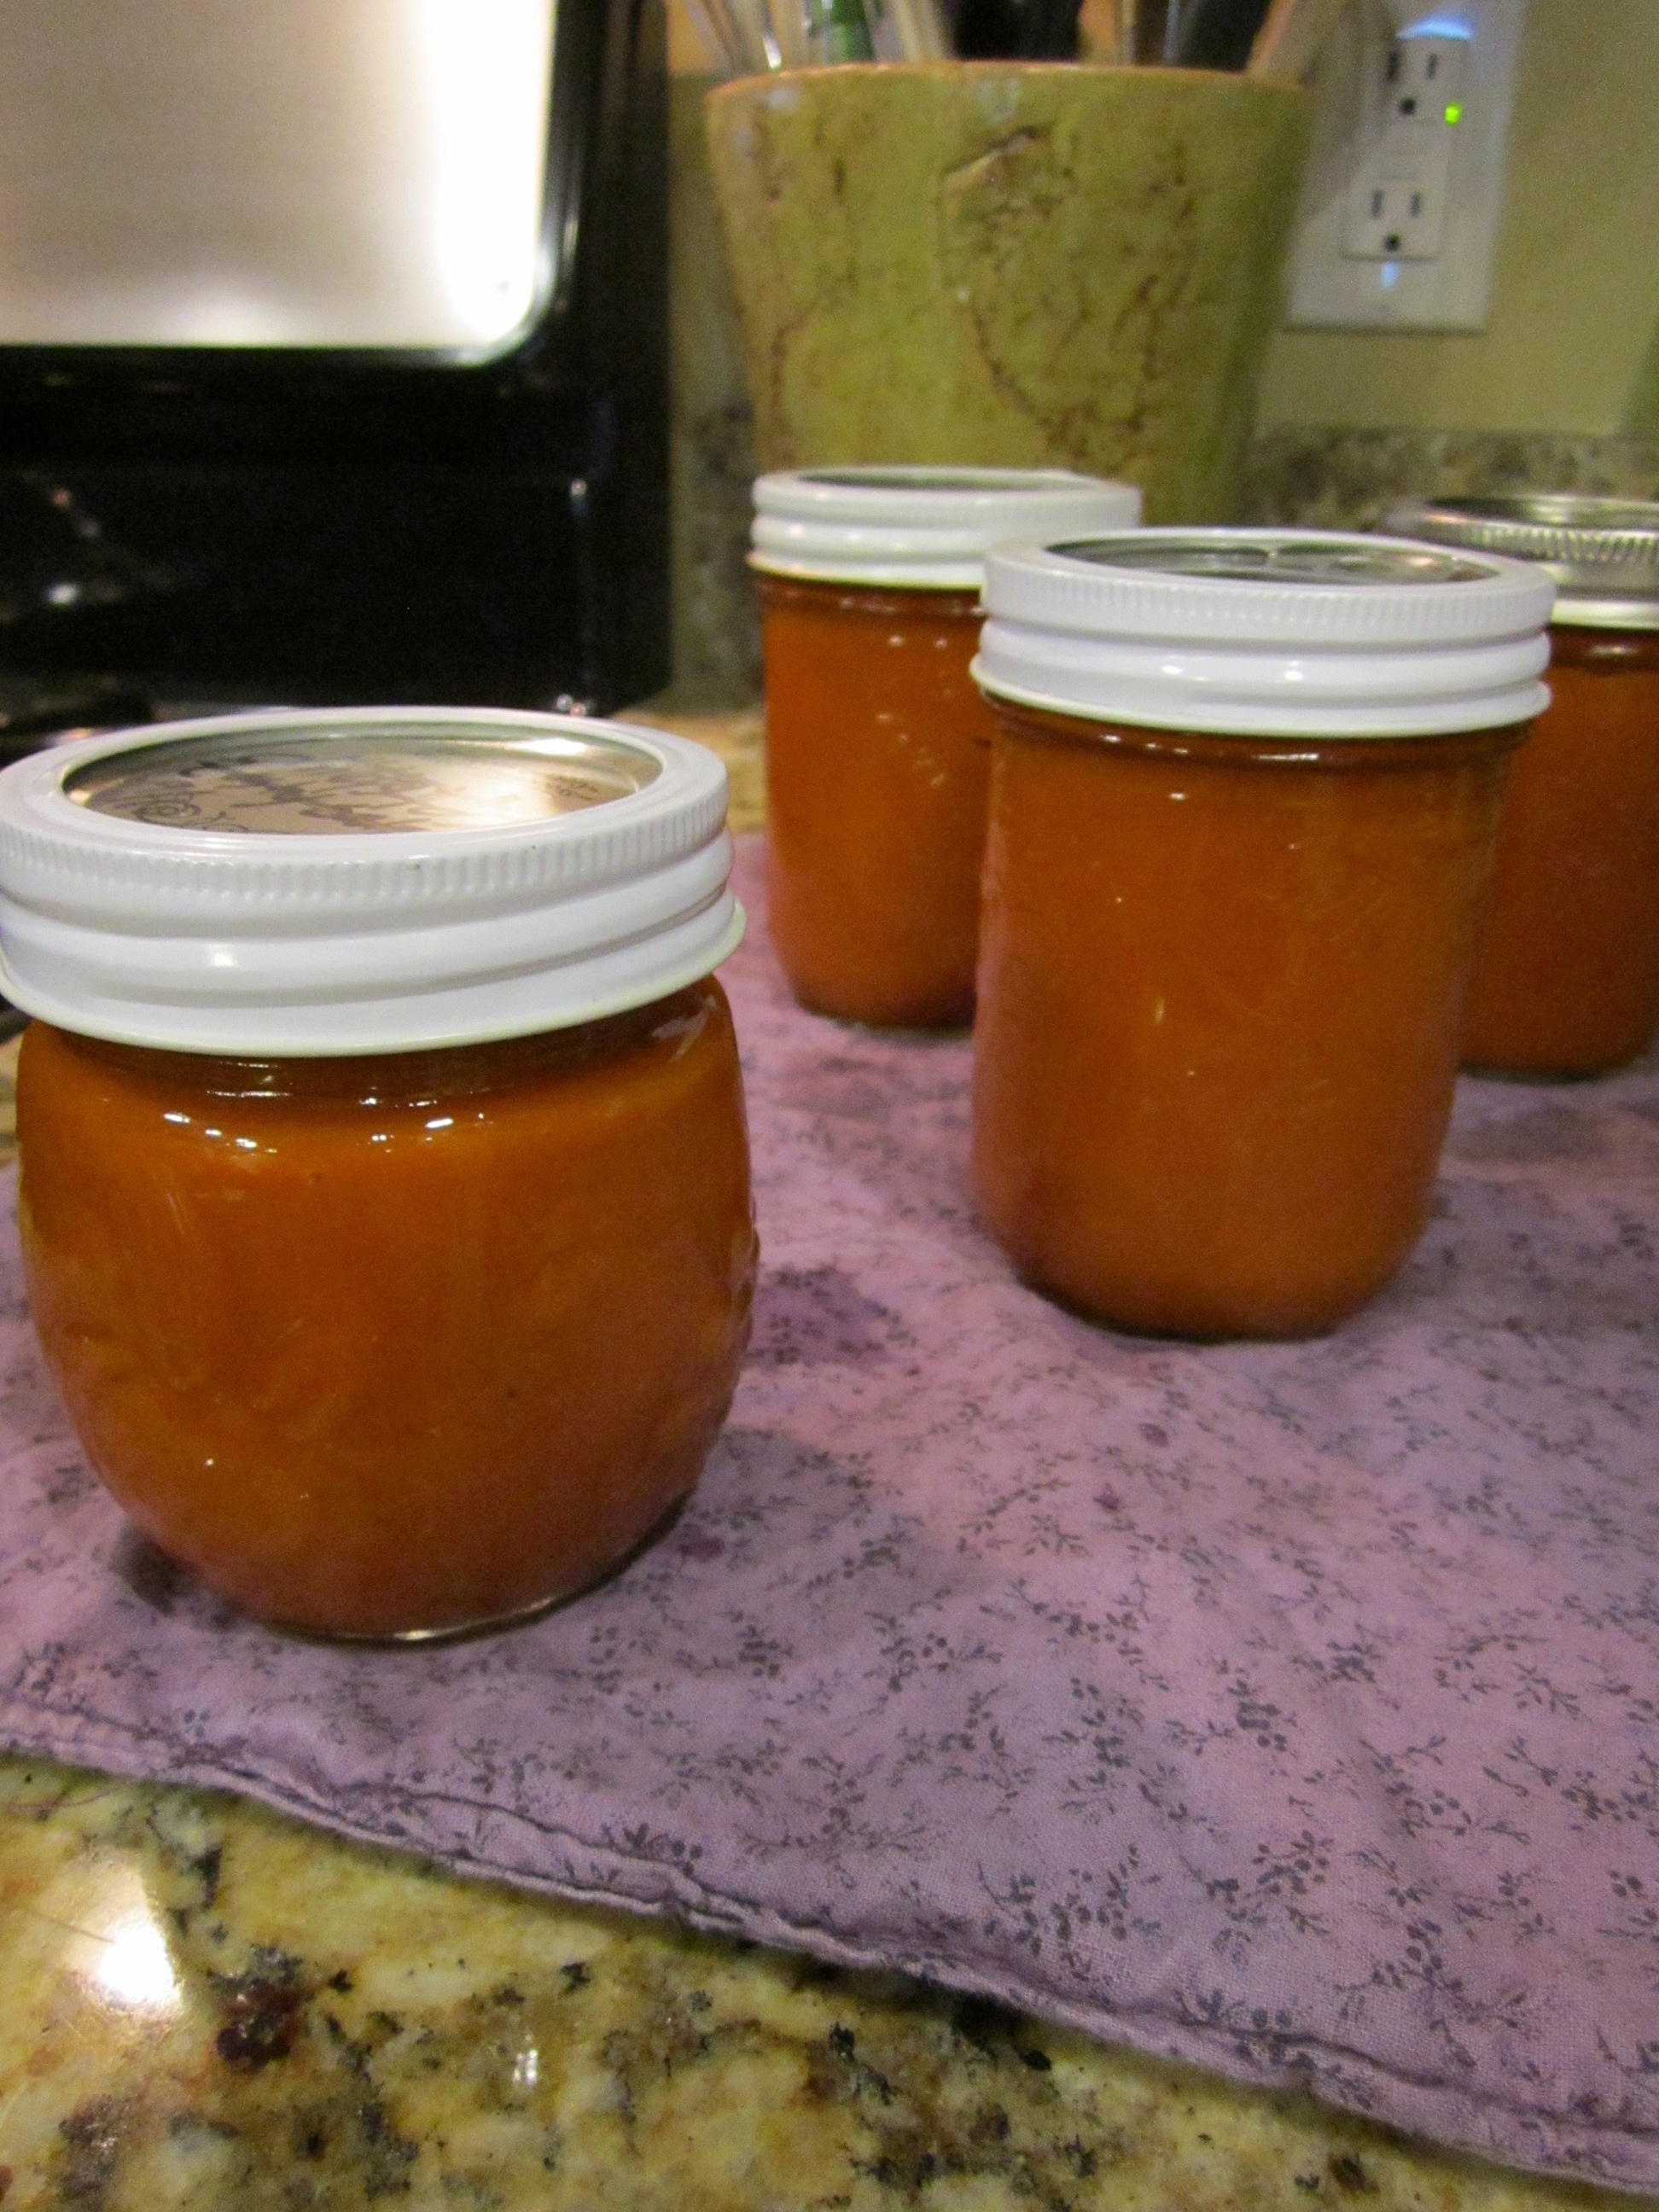
I have no delusions that my two kids will choose this gourmet delight over the shiny, bright red gel that comes from the store. So I chose to can mine. This recipe yielded 4 half pints. I processed 3 and put one in the fridge. I’m excited to get some gourmet burgers and fries on the menu this week for my ketchup’s grand premiere!
If you want to can yours, put your water bath canner on to boil during the last half hour of reducing the ketchup.
Heat jars and lids in simmering water until ready to use. Do not boil.
Ladle hot ketchup into hot jars leaving 1/2 inch headspace. Remove air bubbles. Wipe rim. Center lid on jar. Apply band until fit is fingertip tight.
Process jars in boiling water canner for 15 minutes, adjusting for altitude. Remove jars and cool. Check lids for seal after 24 hours. Lid should not flex when pressed in center. Enjoy!
Pin It
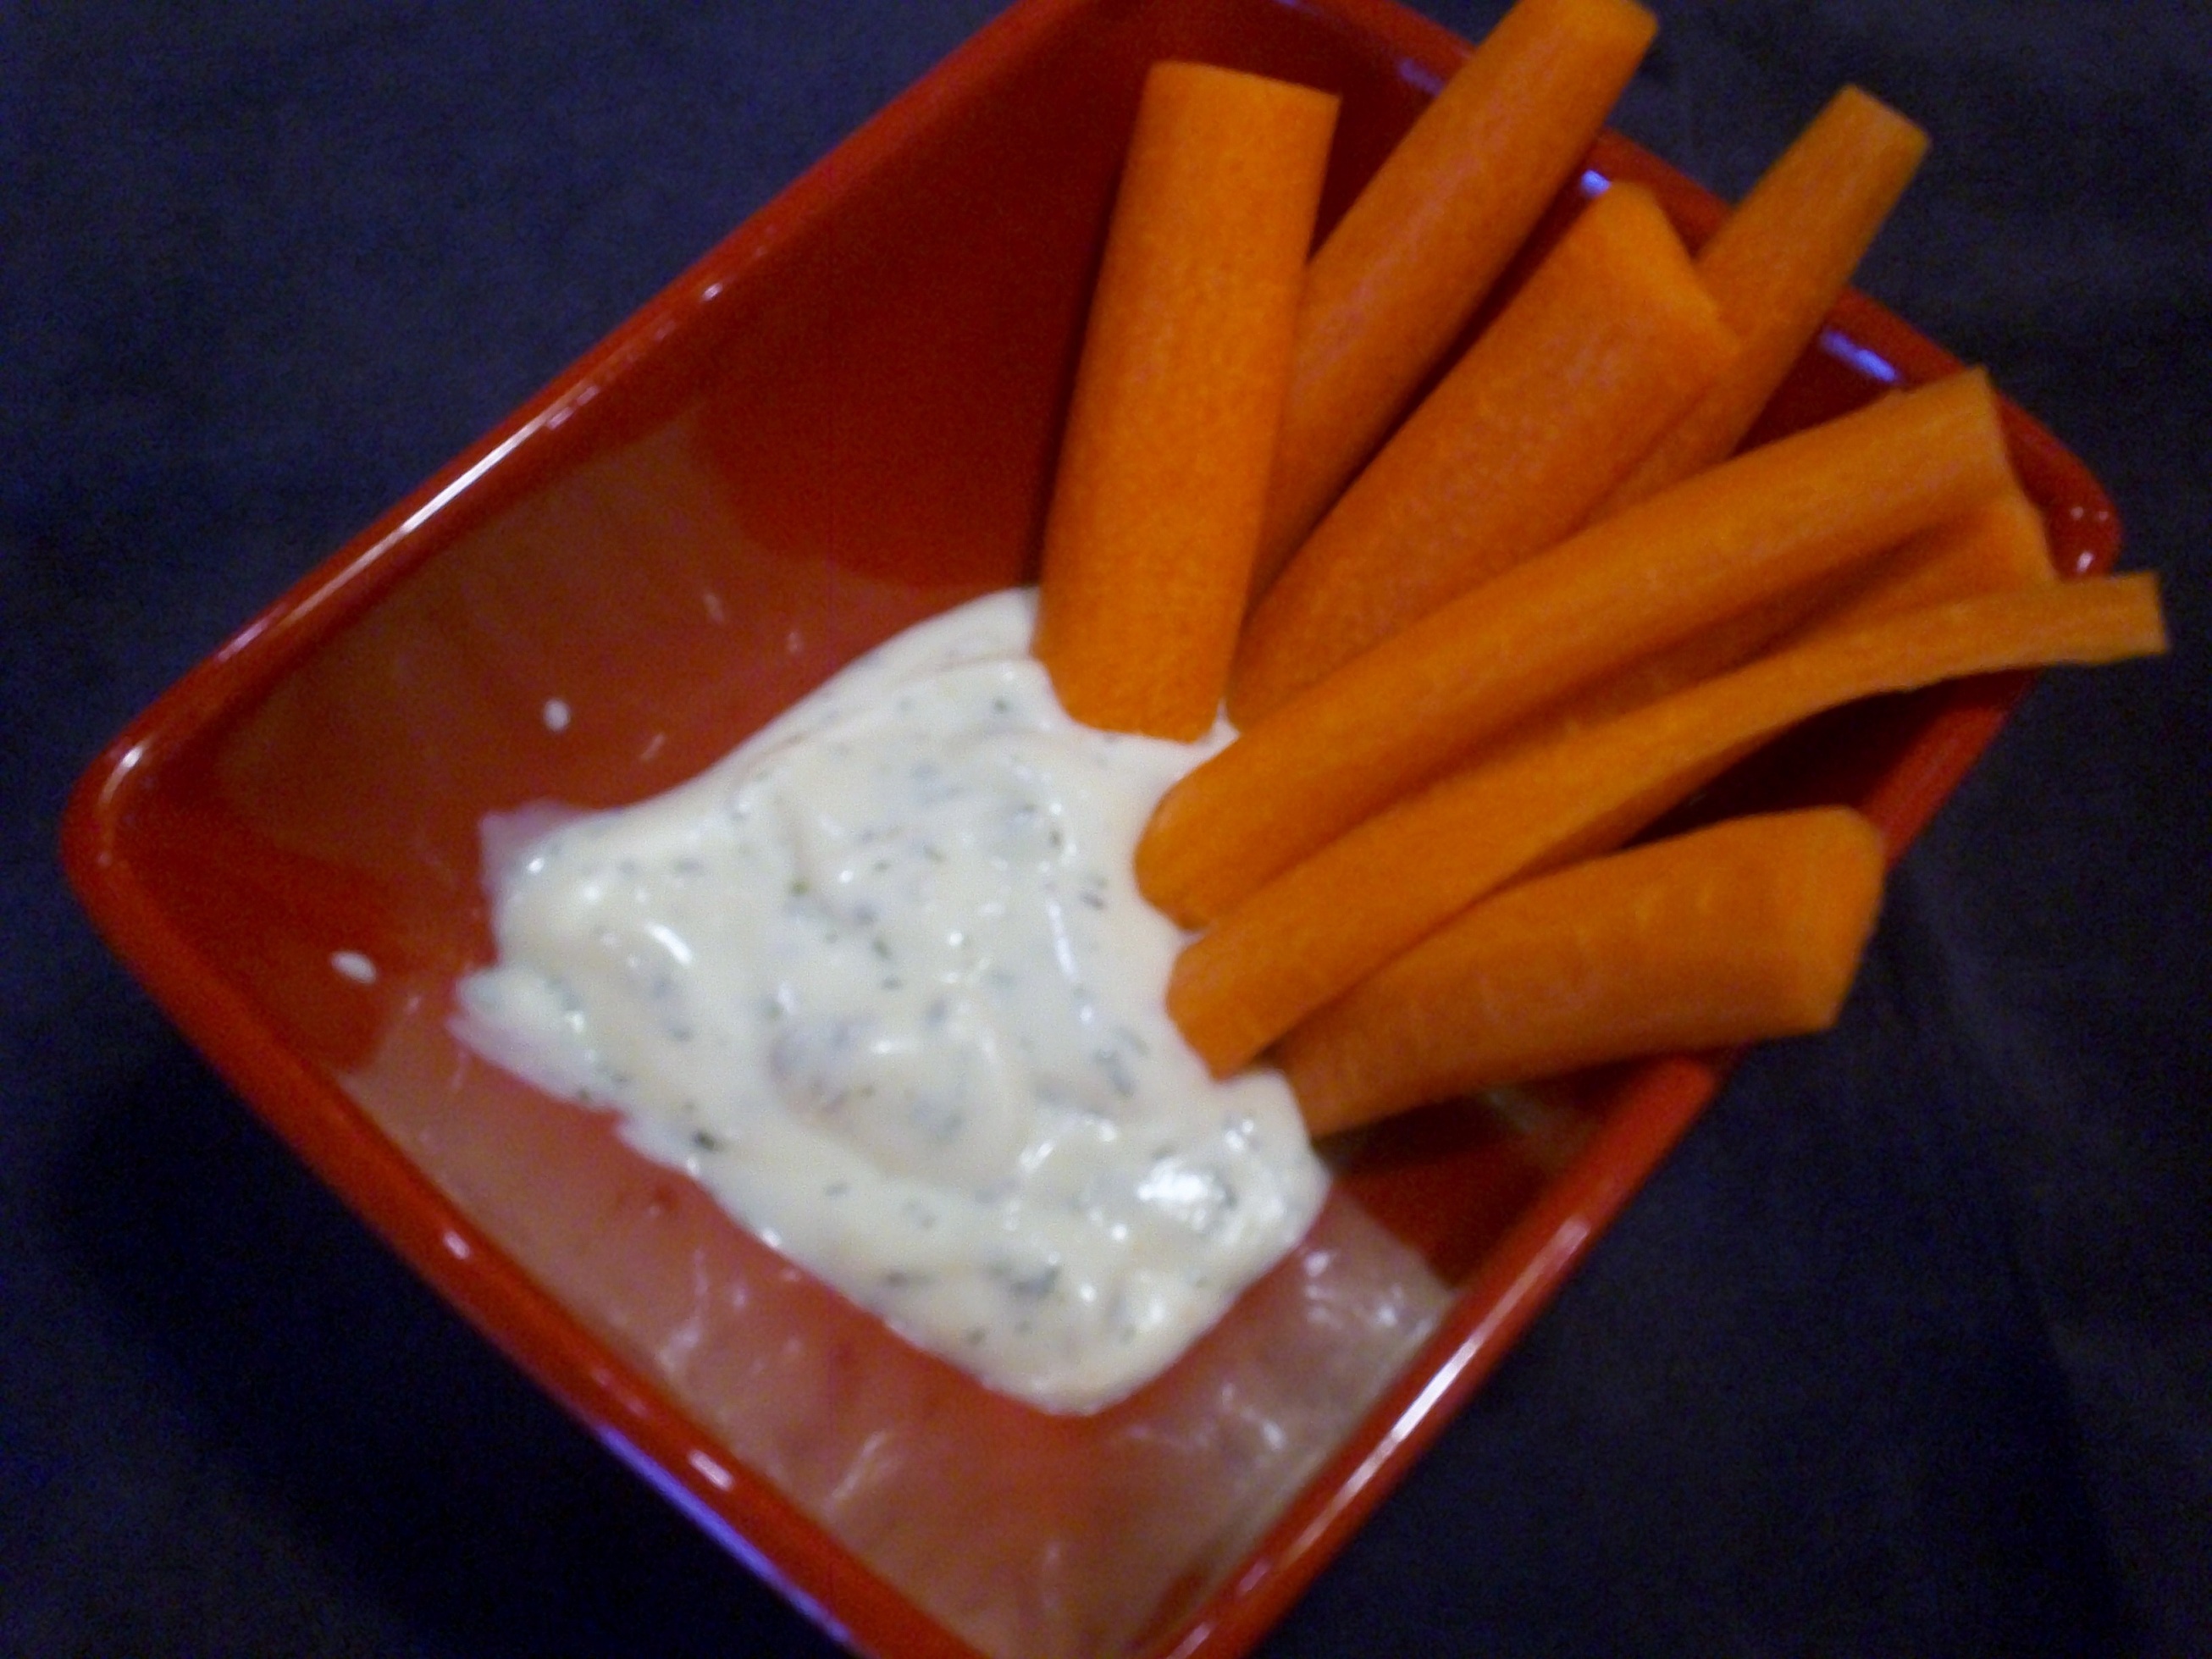
A PYP Best Blog! Make It Yourself: Buttermilk Ranch Dressing
 Just in case you missed this article on making your own ranch dressing mix the first time we shared it a couple of years ago, we are republishing it. After Trish wrote this blog originally, we got an awesome response. This is one of the PYP Best Blogs!
“Restaurant Ranch” is the preferred salad dressing/dip at our house.
It has to be Hidden Valley Buttermilk Ranch made from the packet, not the bottle.
I’ve got some discerning taste buds gathered ’round my table.
In my never ending effort to not buy anything that I don’t have to, I decided to finally ditch the little magic packet of ranch dressing mix and make my own.
After reviewing many recipes, I adapted several of them into this one. And it was a hit!
I had all the spices in my cupboard so the only costs were the buttermilk and mayo which I would have used to make the packet anyway. So about… $1 for 16 ounces of veggie dipping goodness. Saving myself the dollar something that the ranch dressing packet would have cost. And a trip to the store. Which would have meant getting out of my comfy pajamas. Who needs that?
I mix this up in a special shaker bottle that I got about a hundred years ago. It was part of a “bonus offer” when I bought a packet of Hidden Valley mix. But good news! The shaker is made by Tupperware. There are also lots of shaker bottles for sale everywhere from Amazon, to WalMart to Dollar Tree.
You could also just whisk it up in a bowl and store in the fridge in any container that suits your fancy.
Now let’s make some dressing!
It’s simple! Just put these ingredients in your shaker and shake! Or put them in a bowl and whisk!
Homemade Buttermilk Ranch Dressing
1 cup mayo (We use reduced fat)
1 cup buttermilk (We use lowfat, which is the most common kind you’ll see in the store.)
1/8 teaspoon paprika
1/8 teaspoon black pepper
1/4 teaspoon mustard powder
1/4 teaspoon salt
1/4 teaspoon onion powder
1/4 teaspoon dried dill
1/4 teaspoon garlic powder
1 Tablespoon dried parsley flakes
This will keep in the fridge for a couple of weeks.
Enjoy!
Pin It
Easy Mac And Cheese Recipe
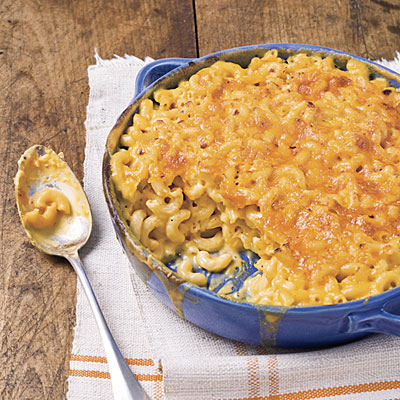
Macaroni and cheese is one of those dishes that most everyone loves. Not only is it a comfort food but it’s one of America’s favorite side dishes as well. That’s why we put up a delicious and easy mac and cheese recipe. We wanted you guys to have a recipe that’s not only delicious but is easy to make and as well as affordable. So, with that being said, we hope that you’ll take the time to write down (or print) off the ingredients and instructions found below. We know that you won’t regret it and your family is going to love this dish!
Ingredients
1lb Package of Macaroni
1 Can of Campbell’s Condensed Cheddar Cheese Soup
Half Cup of Milk
1lb Shredded Colby cheese
Pepper
Instructions
The first thing that you will want to do is pre-heat your oven to 350 degrees and lightly grease an oven safe casserole dish. Once you do that, bring a pot of water to a boil. Add macaroni noodles to pot and cook for around 10 minutes or until done. Make sure you stir the macaroni every few minutes to avoid clumping. Once done, drain the water and add the macaroni to your casserole dish. Stir in the half cup of milk and cheddar cheese soup. Sprinkle the Colby shredded cheese all over the dish and place it in the oven for 30 min.
And then enjoy the dish! This dish will only take you around 40 to 45 minutes to prepare but there’s very little work involved. This dish goes well by itself but it’s also a great dish to make on Thanksgiving day. Show up with this and a delicious meat loaf if you want to be the talk of the town. Now, what are you waiting for? Get out there and try this recipe!
Yep, it really is that easy.
Easy Fried Pork Chops Recipe
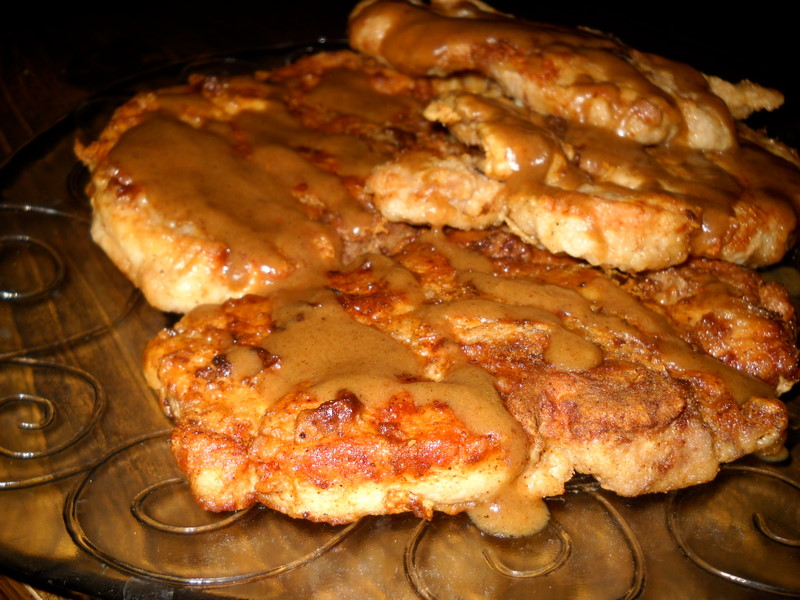
Okay, so there’s no denying this but fried pork chops is a comfort dish. It tastes great, it smells great, and best of all, it is extremely easy to prepare. We put our own spin on this classic recipe and think that you will really enjoy it. It won’t cost a ton of money to make, the ingredients are fairly common, and finally, it’s going to taste absolutely delicious. So, with that being said, we hope that you’ll take the time to check out this easy recipe!
Ingredients
Pork Chops (your choice of cut)
All purpose Flour
Pepper
Vegetable Oil
Lawry’s Seasoned Salt
Brown Gravy
Instructions
The first thing that you will want to do is, is warm up a frying pan over medium high heat. Once the pan is hot, add a cup or so of vegetable oil (enough for the pork chops to sit in). While you’re waiting on the oil to heat up as well, go ahead and mix a generous portion of flour in a large mixing bowl with a little bit of pepper and some Lawry’s seasoned salt. Mix it until it basically gives the flour some new color. Then, roll the pork chops in the mixture.
From there, you’ll want to cook the pork chops for a total of about 10 minutes or 5 minutes on each side. Once they’re crispy and have a golden color to them, they are ready to eat. Serve with heated brown gravy on the side or pour over the pork chops. Be careful with this though as it will make the chops soggy if you end up having any extra food left over.
Now, what are you waiting for? We hope you’ll take the time to give this easy fried pork chops recipe a shot. We promise you that it’s absolutely delicious and your family will love it. Play around with the seasoning some to get a flavor that you like and this easy fried pork chops recipe will really start to come to life. Also, let us know how you liked them.
Easy Cube Steak Recipe
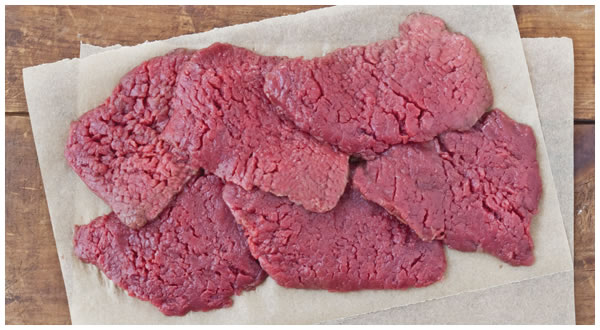
It’s been a little while since we last posted a recipe for you guys so we decided to up the stakes (literally) and post another one. Today’s recipe is for an easy but delicious cube steak that the whole family will love. Not only are cube steaks pretty affordable when comparing them to other types of steak but they’re one of our favorite. Take a look at the easy cube steak recipe below and see what you think. We promise you it’s delicious!
Ingredients
Cube Steak (as many as desired)
Butter
Flour
Salt and Pepper
Onion
Worcestershire sauce
Vegetable oil
Instructions
First, you’ll want to marinade your cube steaks in Worcestershire sauce for a few hours. If you have to thaw your steaks, this is a great time to do this. Once ready, lightly season them on both sides with salt and pepper (80% pepper, 20% salt). Add flour to a large mixing bowl and roll each cube steak in the flower until lightly coated. Then, add a small amount of oil to a frying pan and turn the heat up to medium or medium high. Once hot, throw in a spoonful of butter, add cube steak, and cook on each side until done. Usually, this will take anywhere from 3 to 7 minutes per side. Just make sure you keep a very close eye on it.
And this is all you have to do to make a delicious, easy cube steak recipe. We find this recipe to not only be delicious but it’s very affordable and simple. If you prefer a little spice with your steaks, try serving it with a little bit of Texas Pete hot sauce on the side. Either way, we’re very confident that you’re going to love this easy cube steak recipe!
Now, go enjoy it and check back often for more delicious, easy to make recipes! Need a good place to start? Try this easy baked spaghetti recipe that we put together this year!
Diabetic Cooking Magazine Just $5.35 for 1 Year!

Deal of the Day – Diabetic Cooking Magazine Just $6.29 for 1 Year!
April 9th Only – Use Coupon Code 15CJ0413 and Save an Additional 15%!