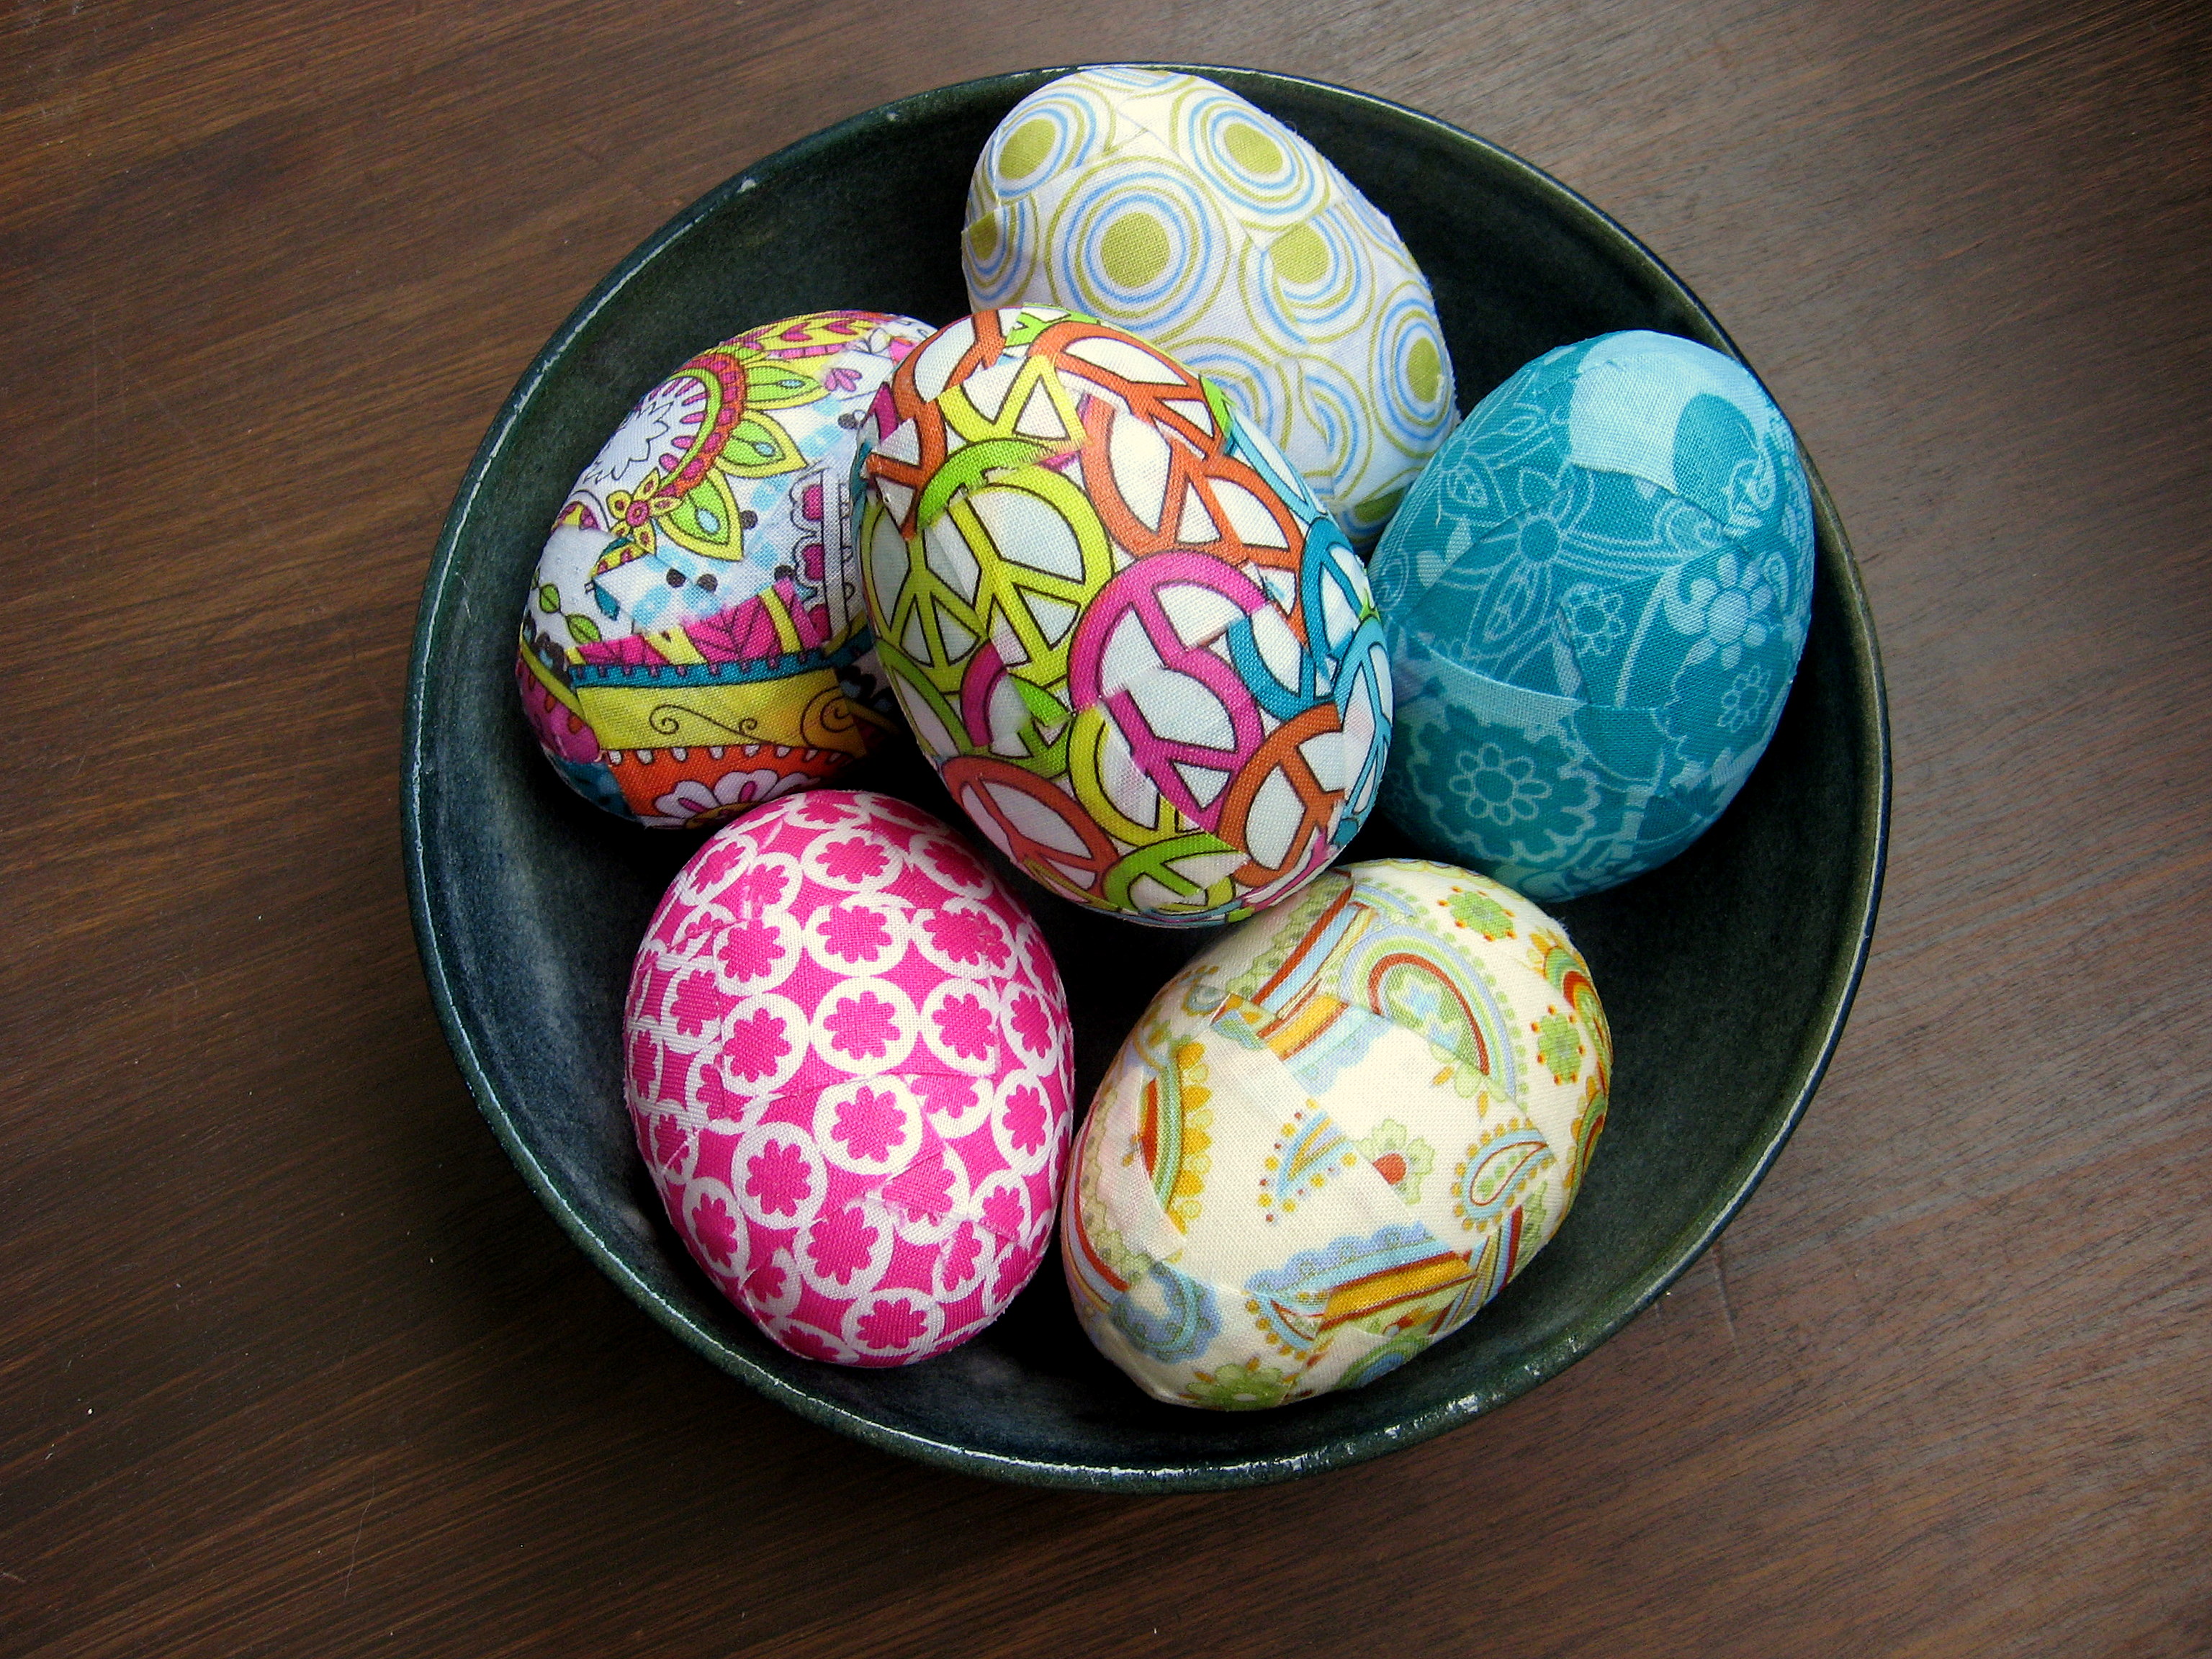
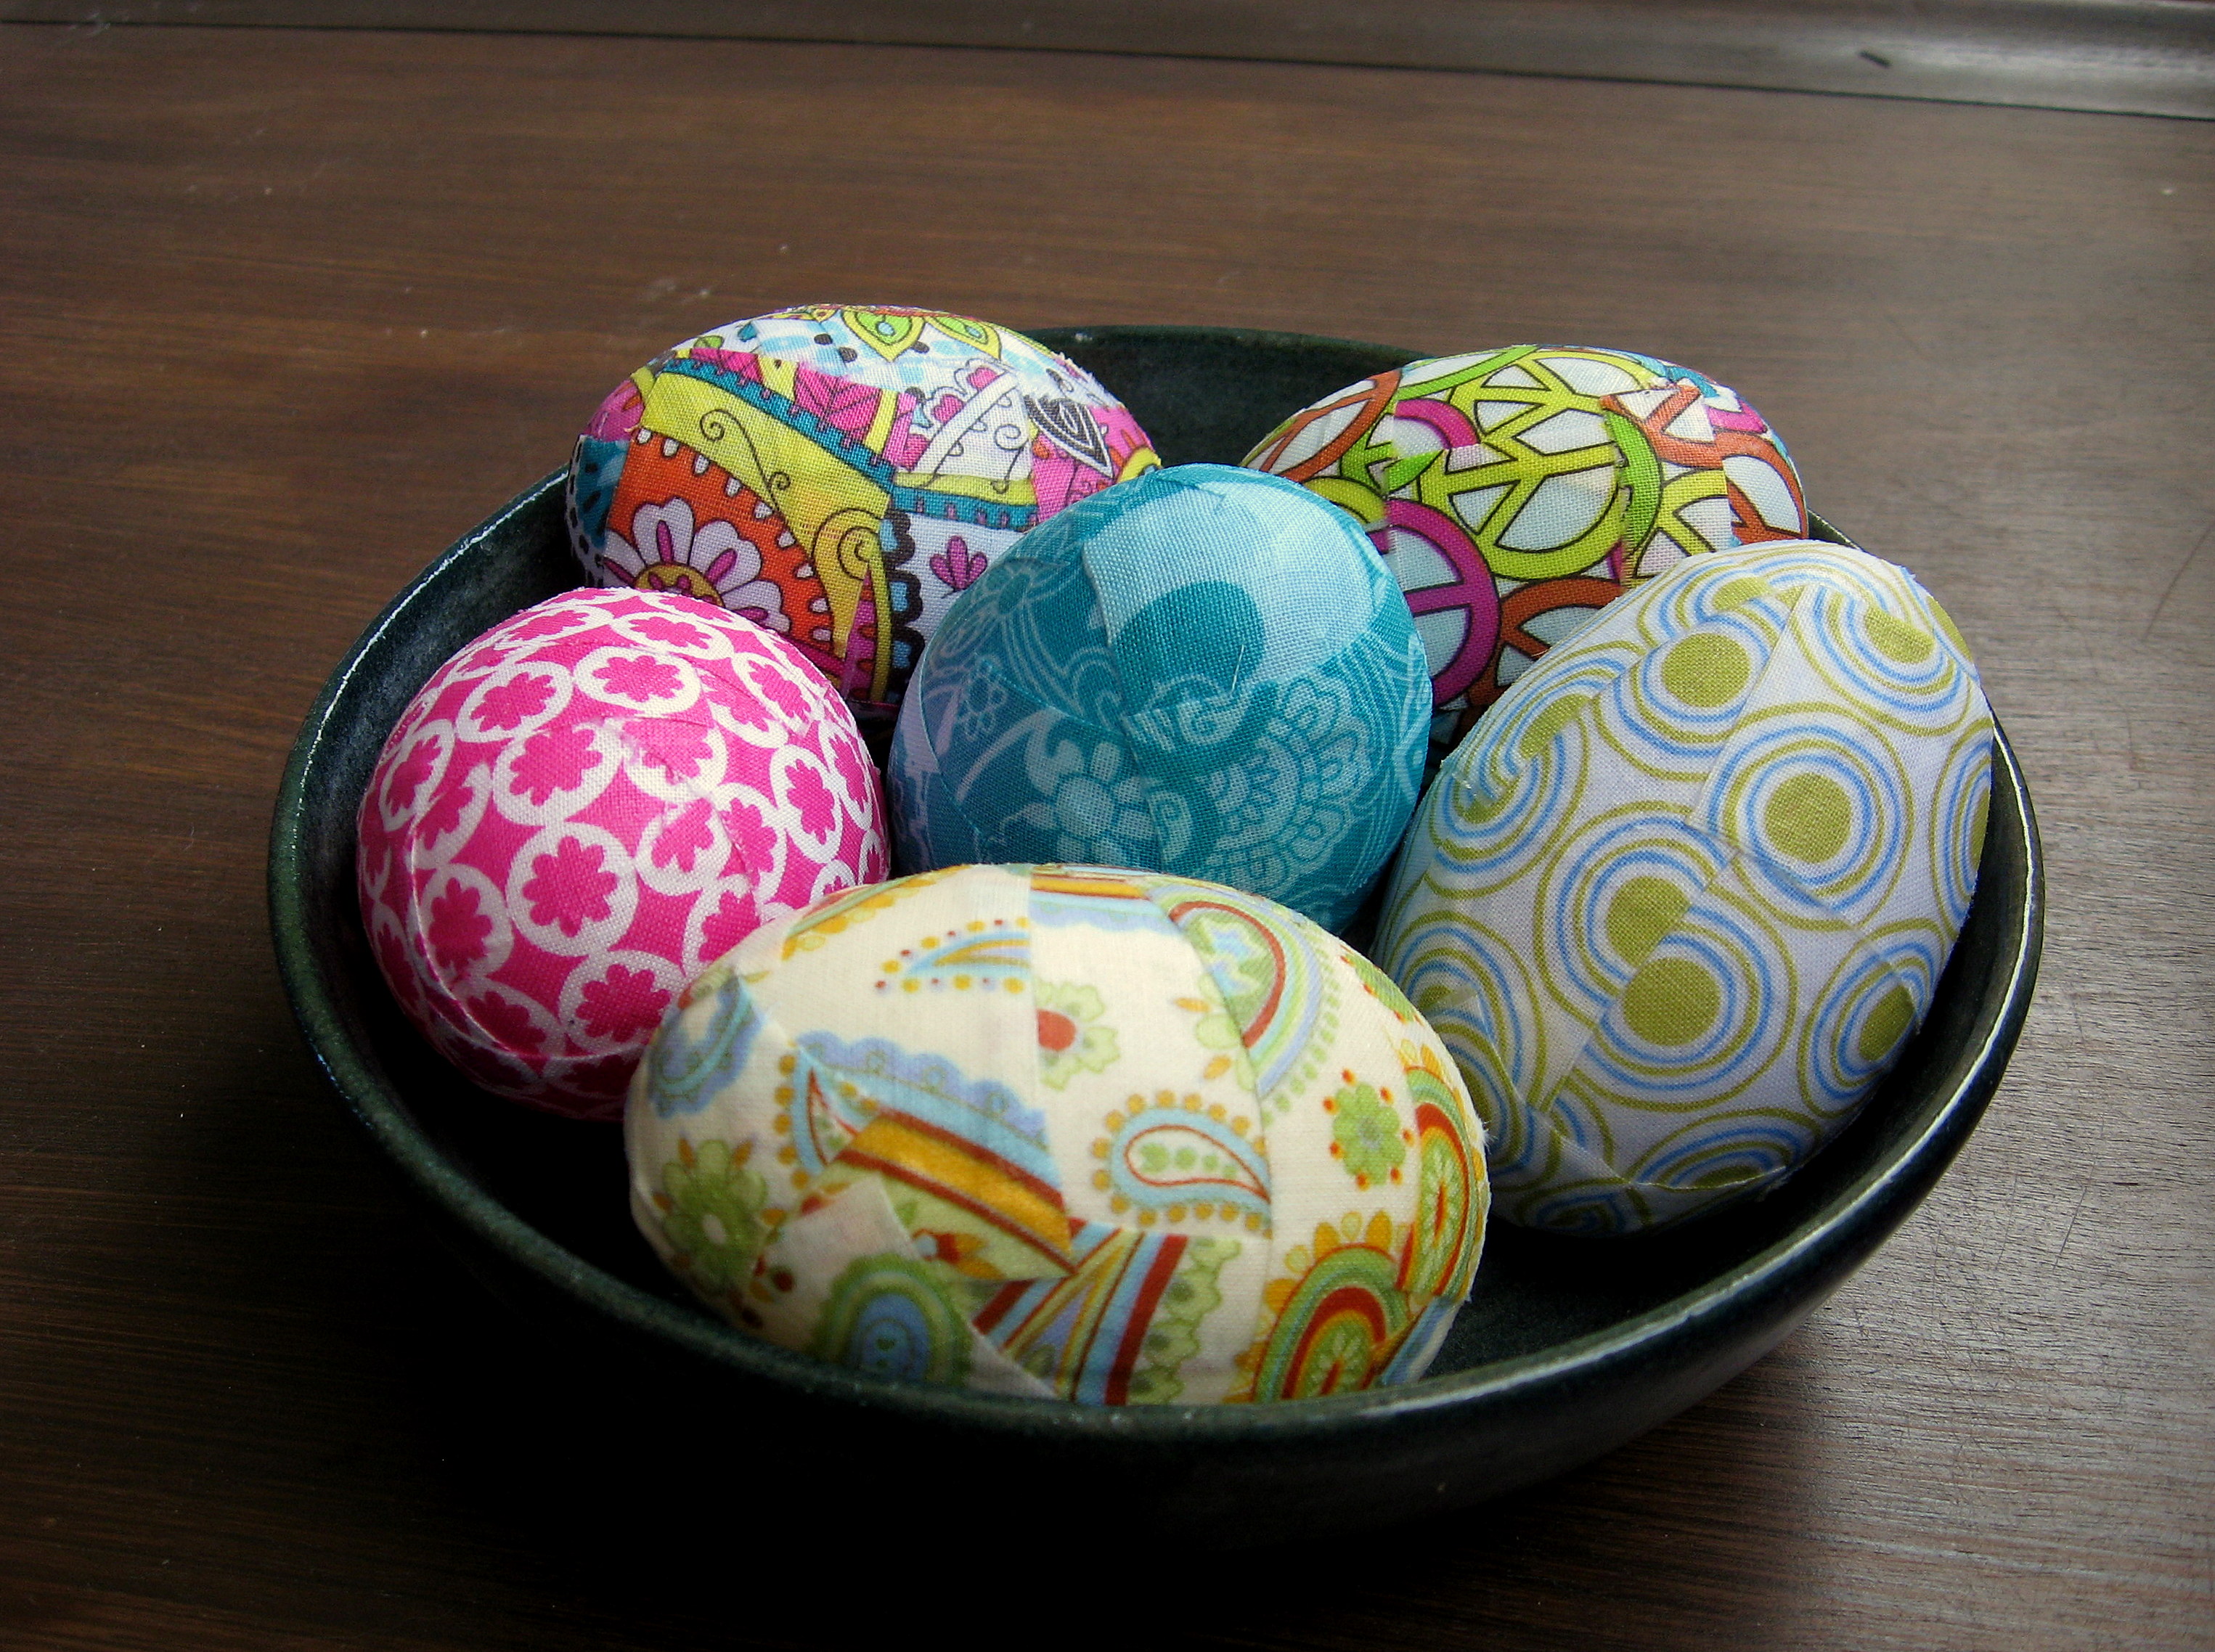
One last post about Easter Egg decor, and you’ll be all set for the big day!
Materials needed:
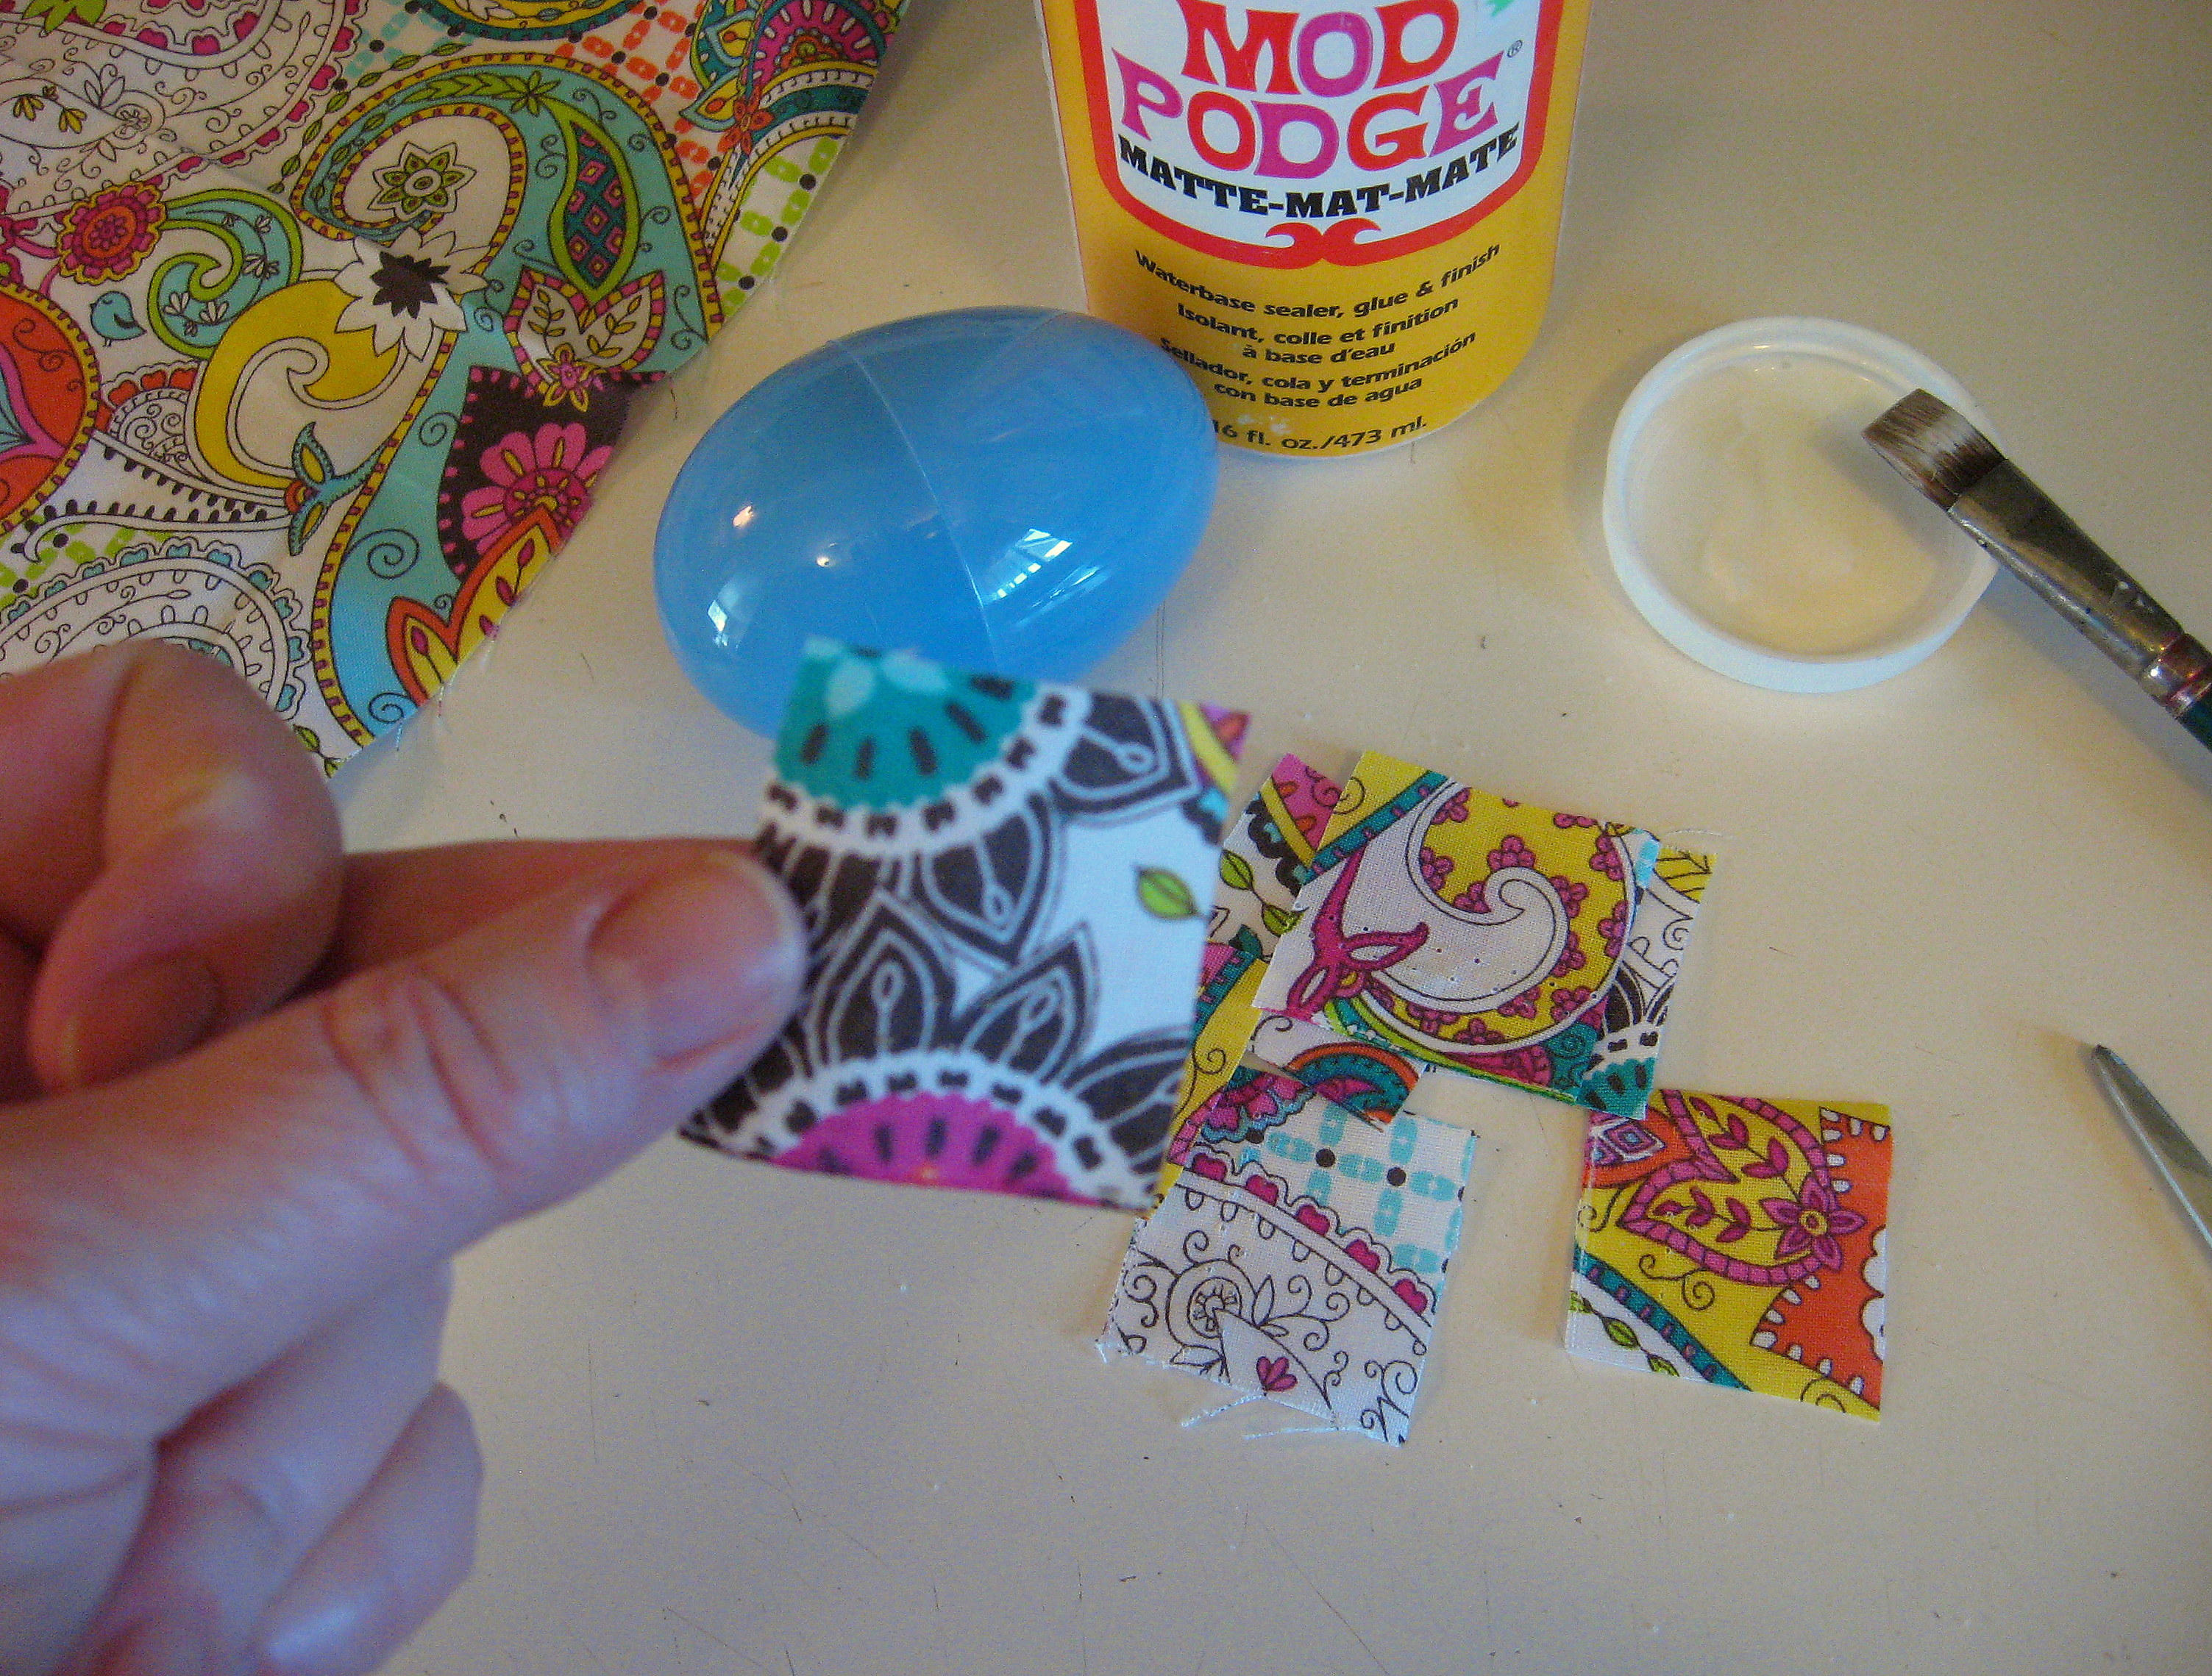
Fabric; it only takes a small bit to cover an egg, so this is a great project for using up those fabric scraps!
Mod Podge – comes in matte or glossy finish, so whichever you prefer. These are matte.
Paintbrush
Plastic Easter Eggs
Start by cutting the fabric into squares about an inch square. Don’t measure – just eyeball it. You are going for a casual patchwork look; you don’t need to be exact at all.
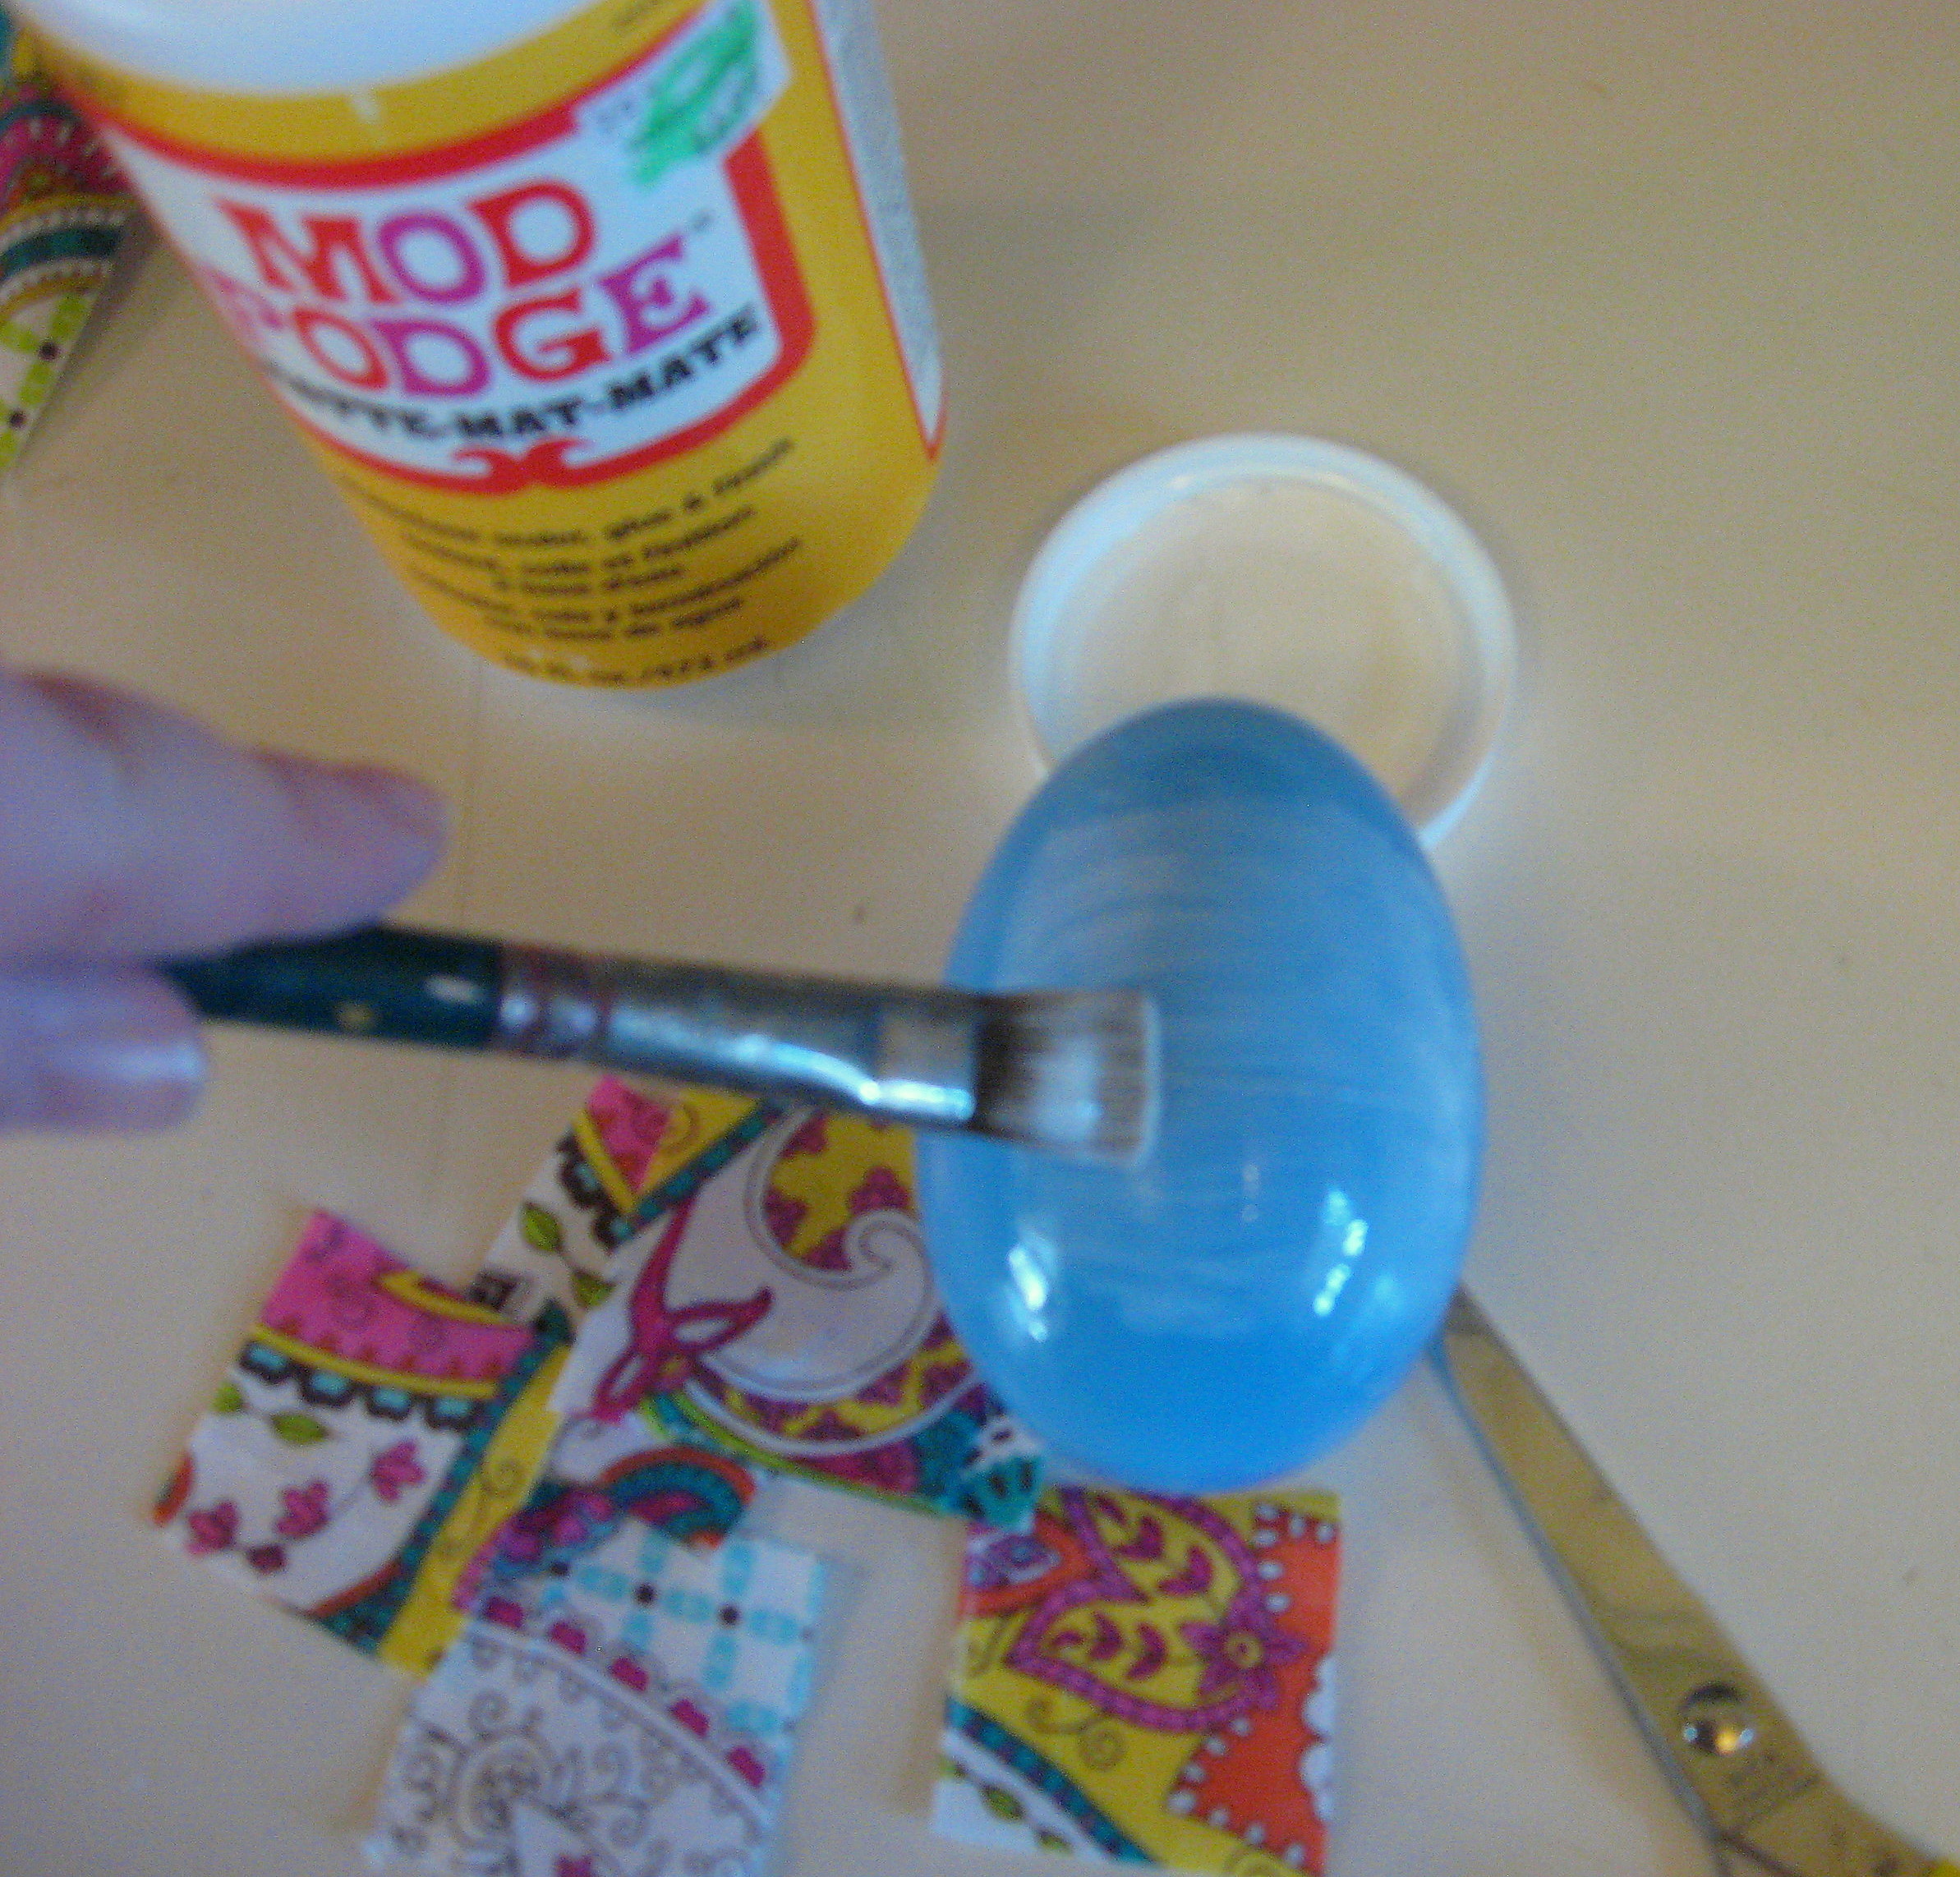
With the paintbrush, brush Mod Podge onto the egg in a square. Make the Mod Podge bigger than the fabric; you don’t want to have any part of the fabric squares that don’t get Mod Podge on them. Don’t worry about extra Mod Podge; it will all dry and work out in the end.
Lay a fabric square on top of it and smooth it flat with your fingers, making sure to go all the way to the edges to make sure it all sticks. The fabric is pliable enough that it will lay flat on the curves of the egg with no bubbles or wrinkles as you work it with your fingers, everywhere but the very ends of the egg.
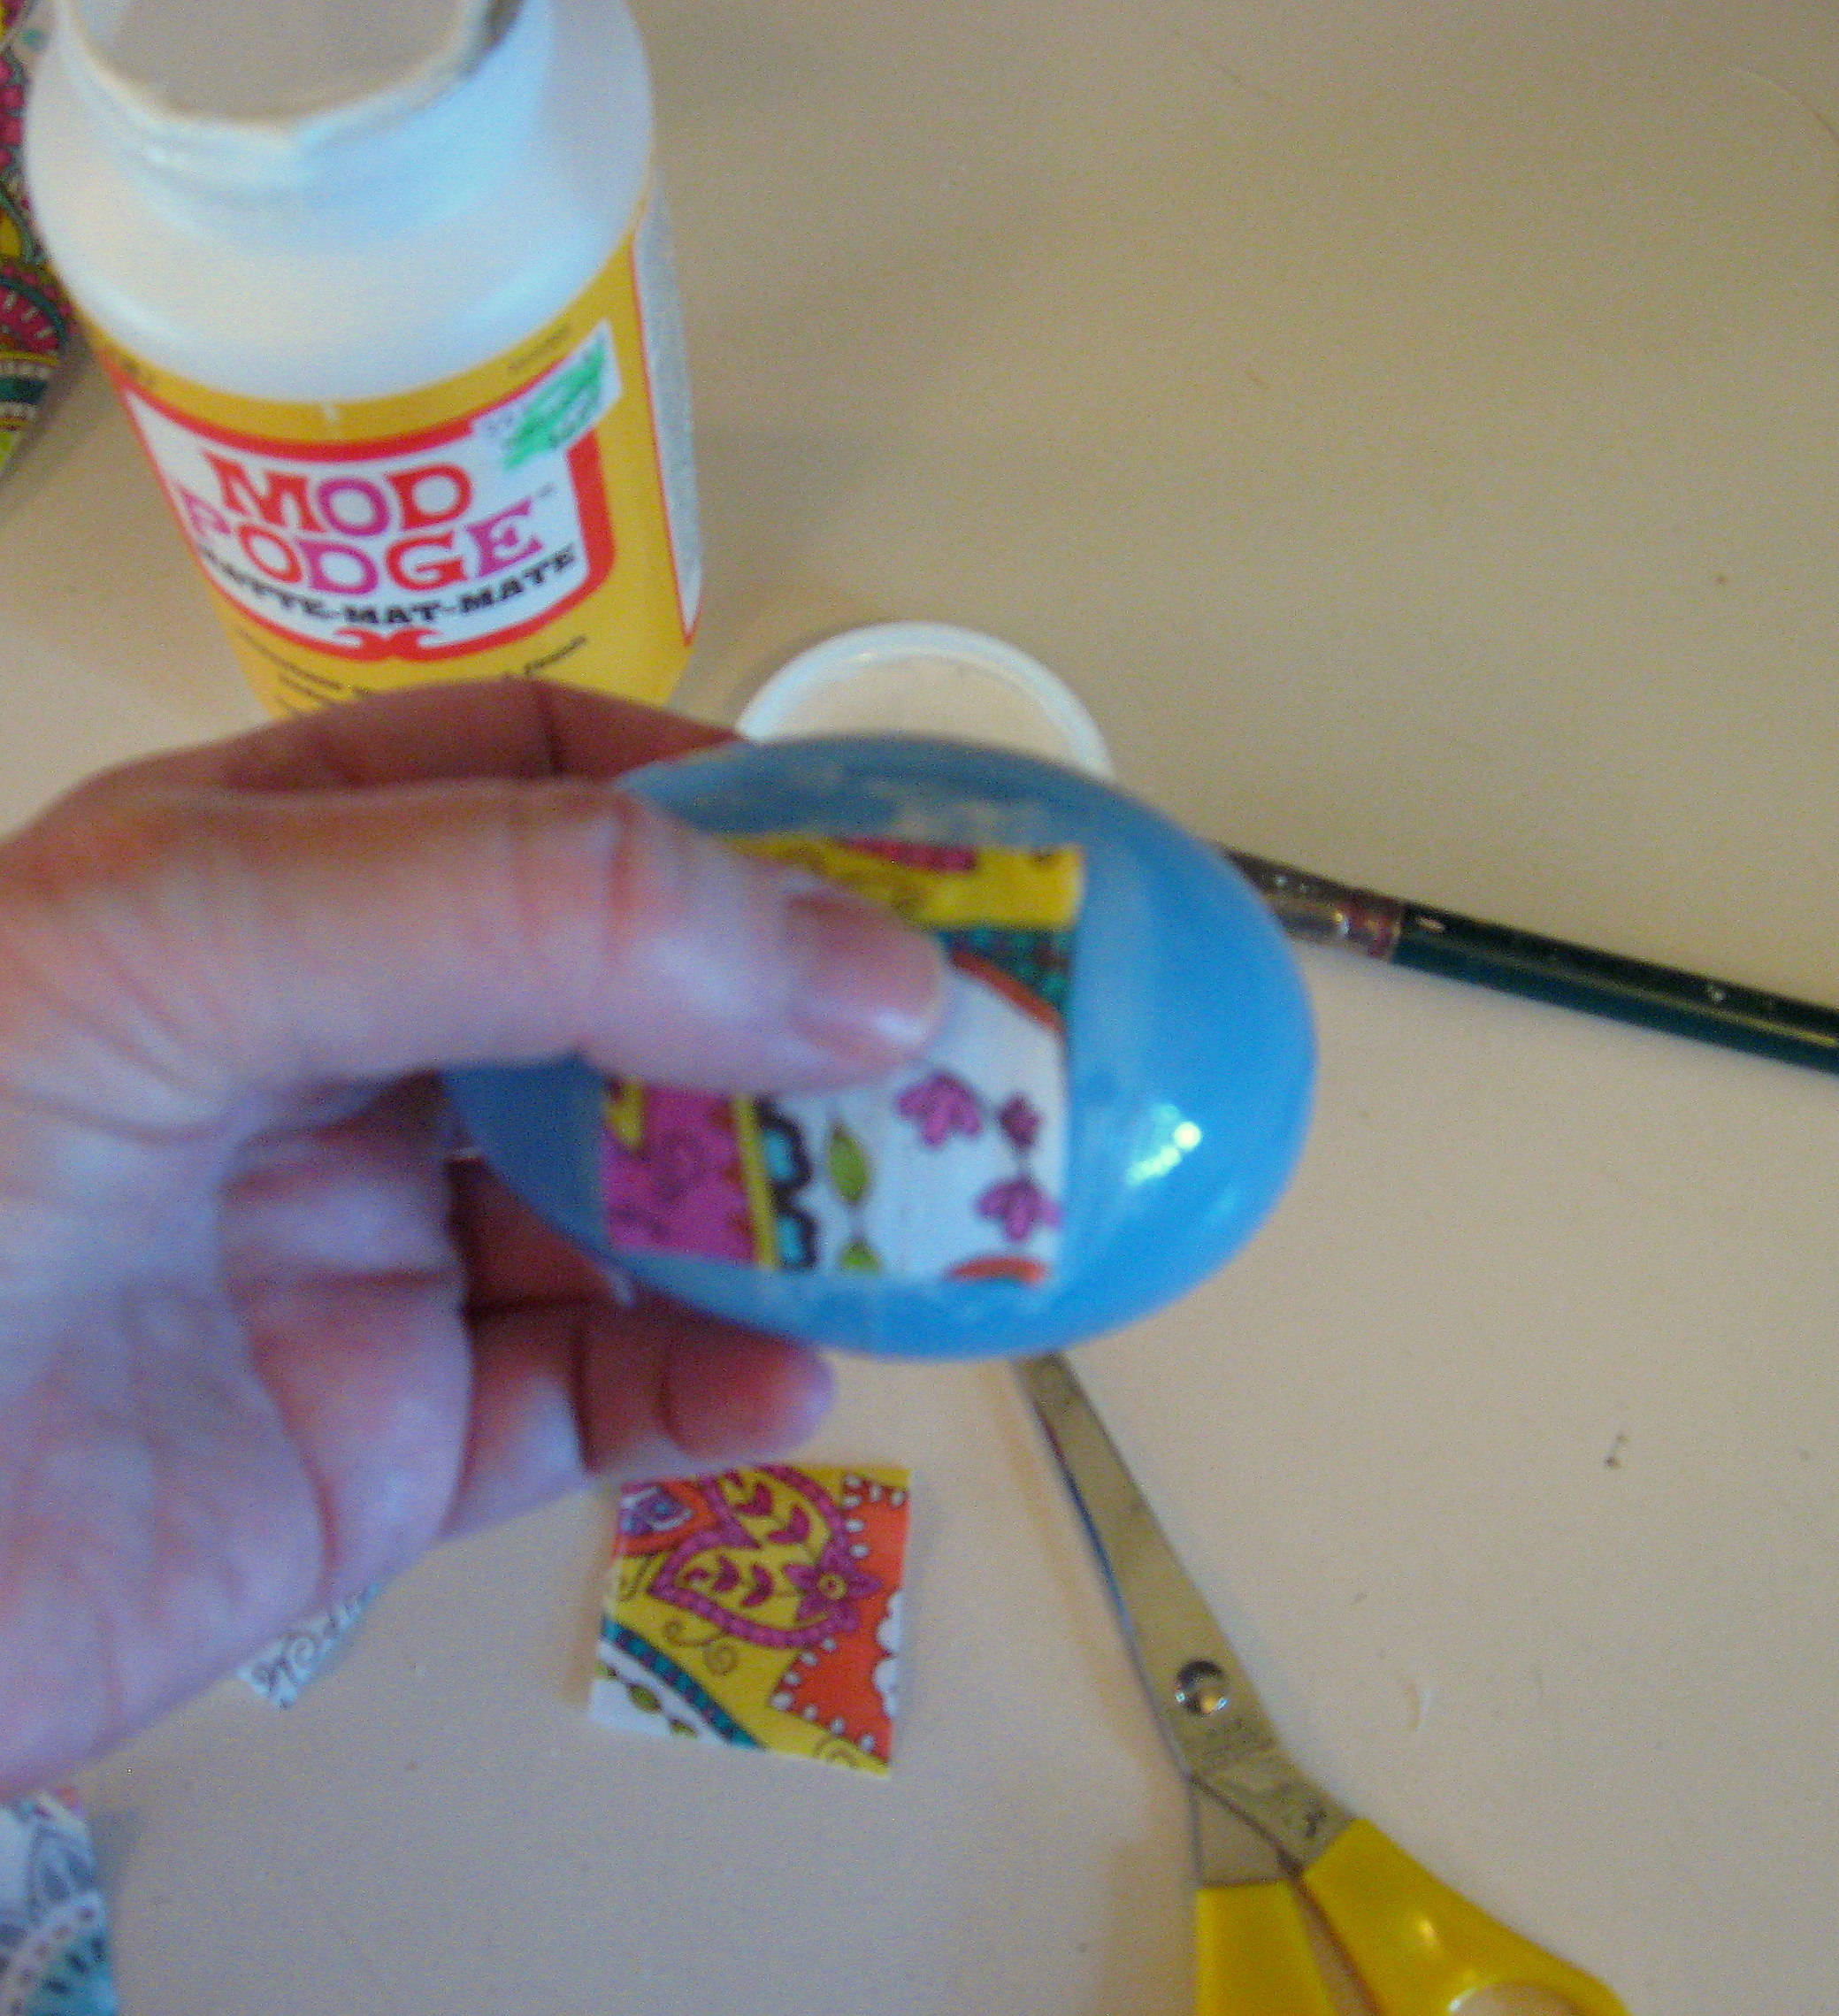
Continue on as above, painting on Mod Podge and covering with fabric squares, overlapping them as you go. Don’t try to stay in a line or anything – just make them random. When you get to the ends, paint on the Mod Podge, and lay a square on the very end, smoothing down two of the sides, which will cause the other two sides to stick out and create a little “tunnel”. You will clip into that “tunnel” with a pair of small sharp scissors.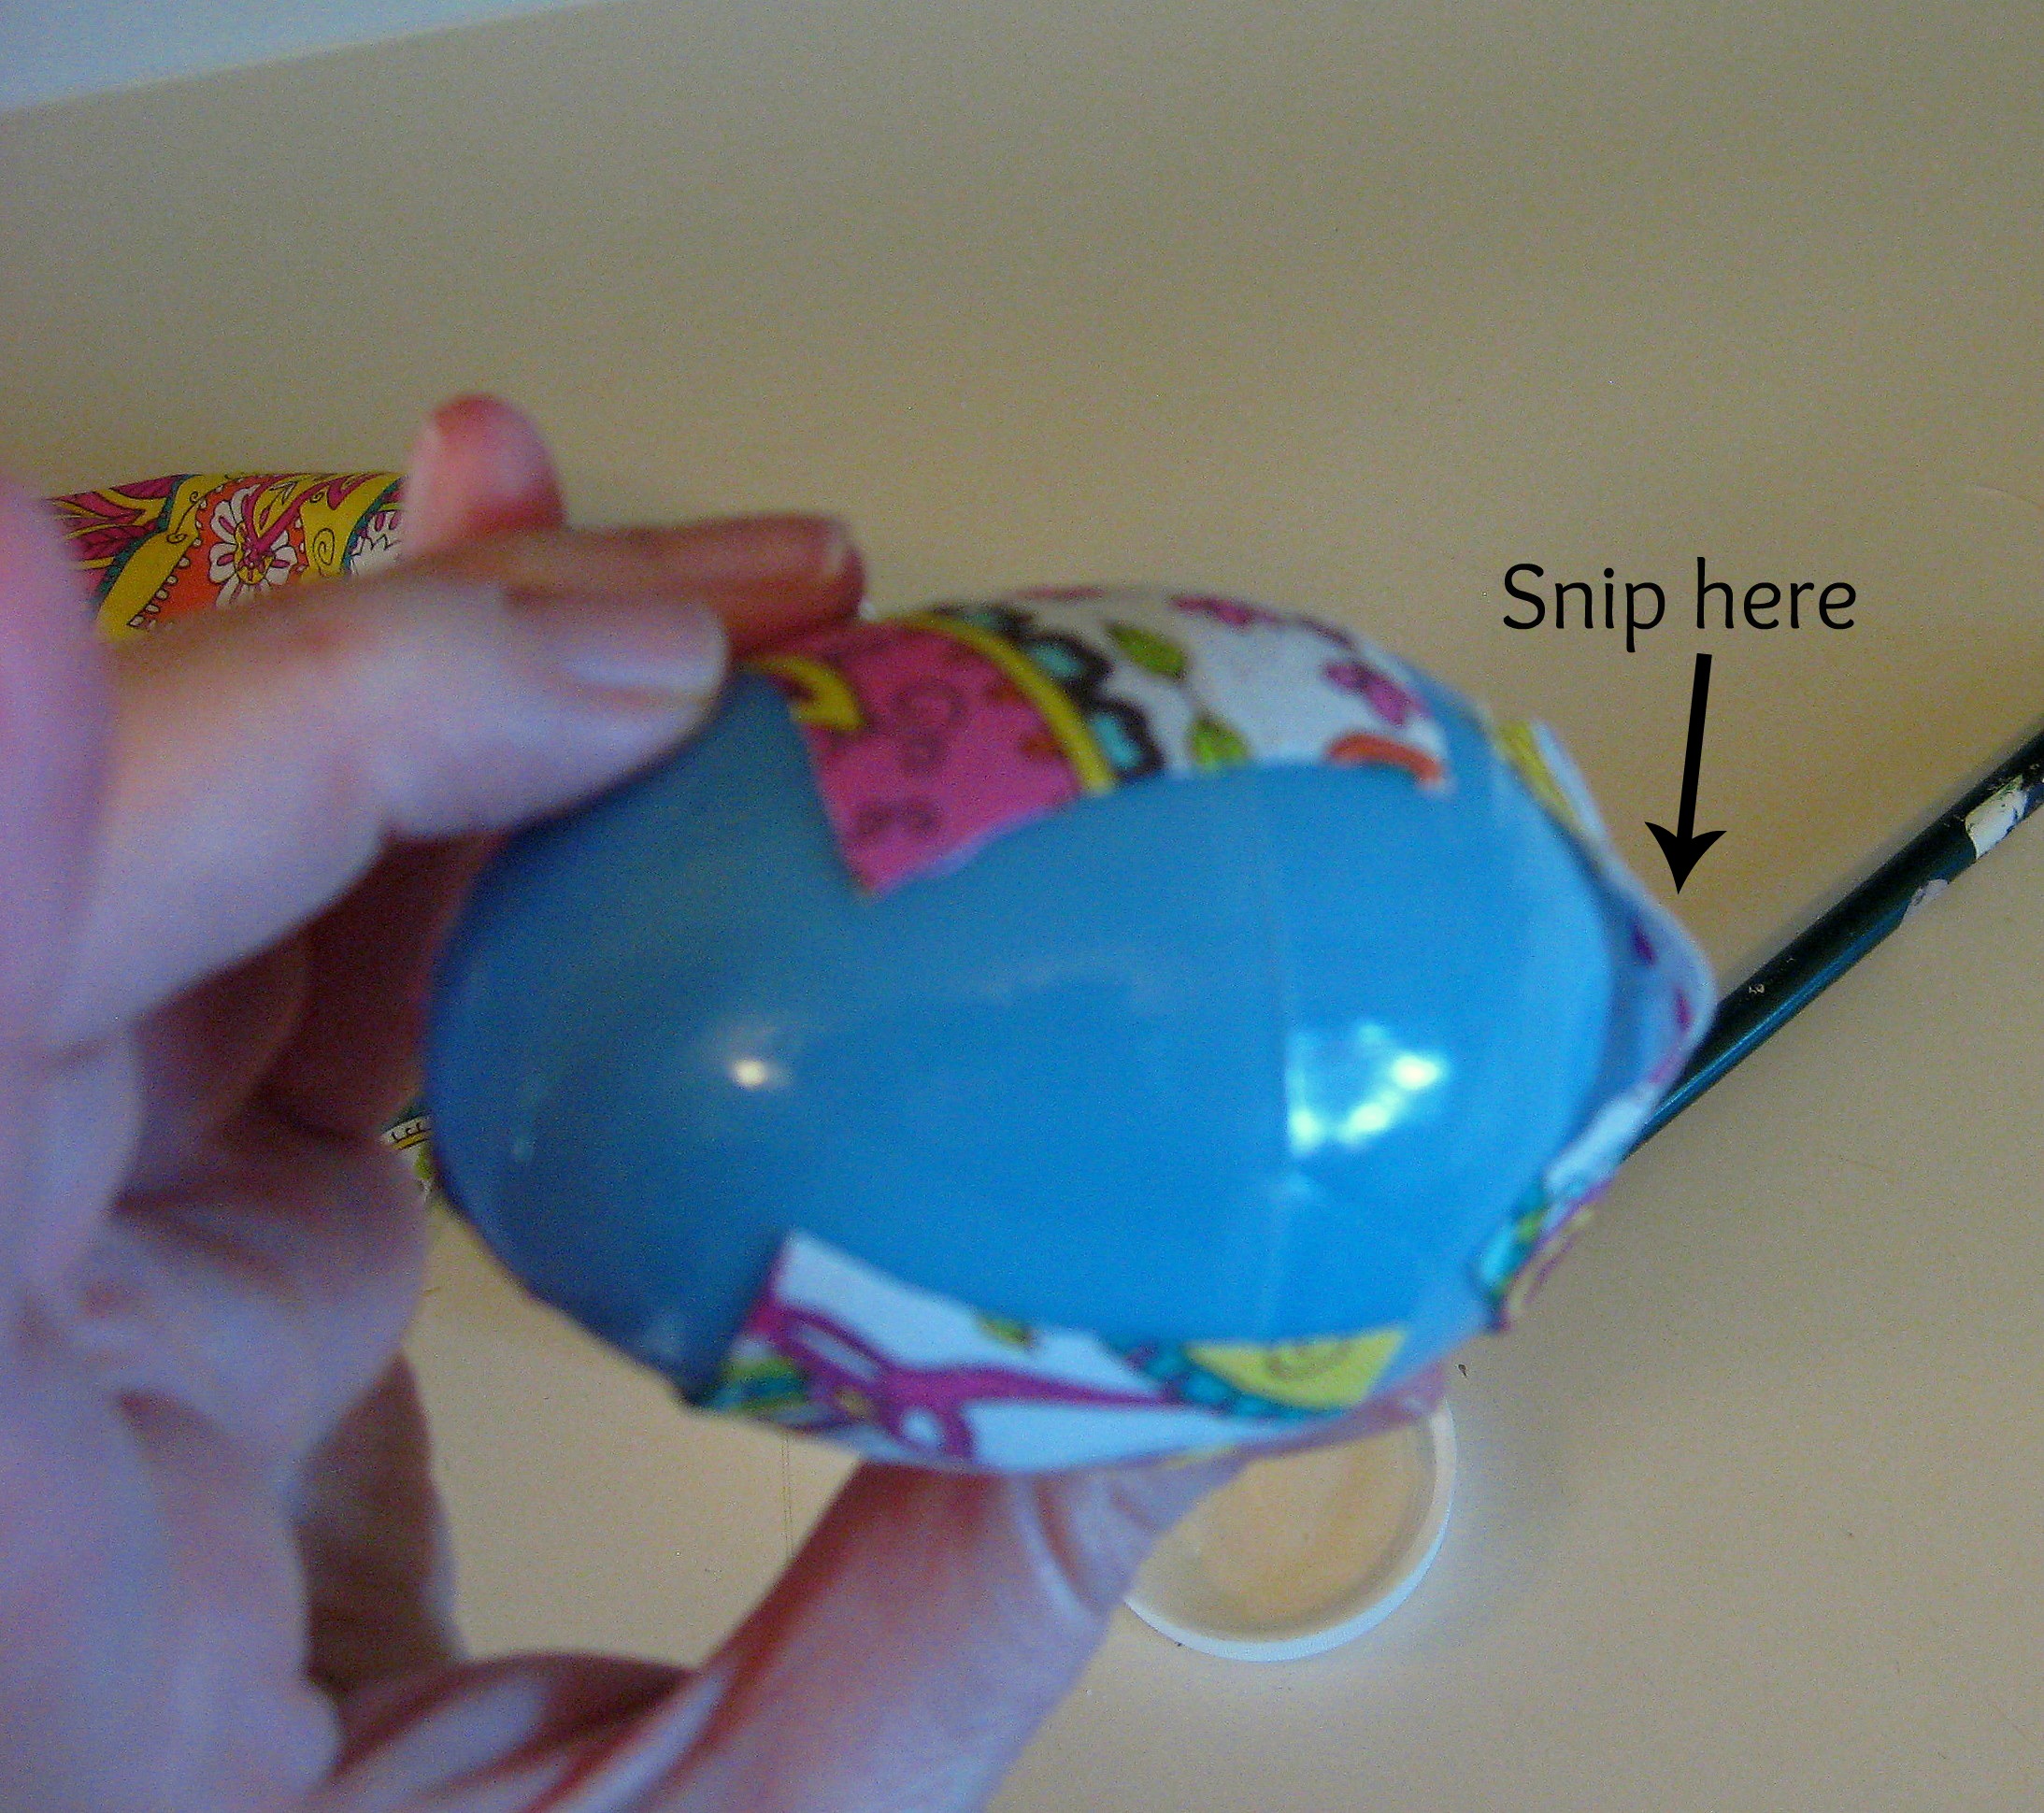
Now flatten one “flap” that you just created by cutting, apply a little Mod Podge under the remaining flap and smooth is down on top of the first one. Take a second to really work it down flat with your fingers so you’re not left with a ridge where the two flaps meet. Do the same thing on the other end of the “tunnel” and you’ll have a perfectly smooth end.
When you are almost done covering the egg, you’ll be left with smaller holes to cover. Feel free to cut the squares into smaller squares or rectangles to cover the last bits if you like. Once the entire egg is covered with fabric, give the whole thing a coat of Mod Podge.
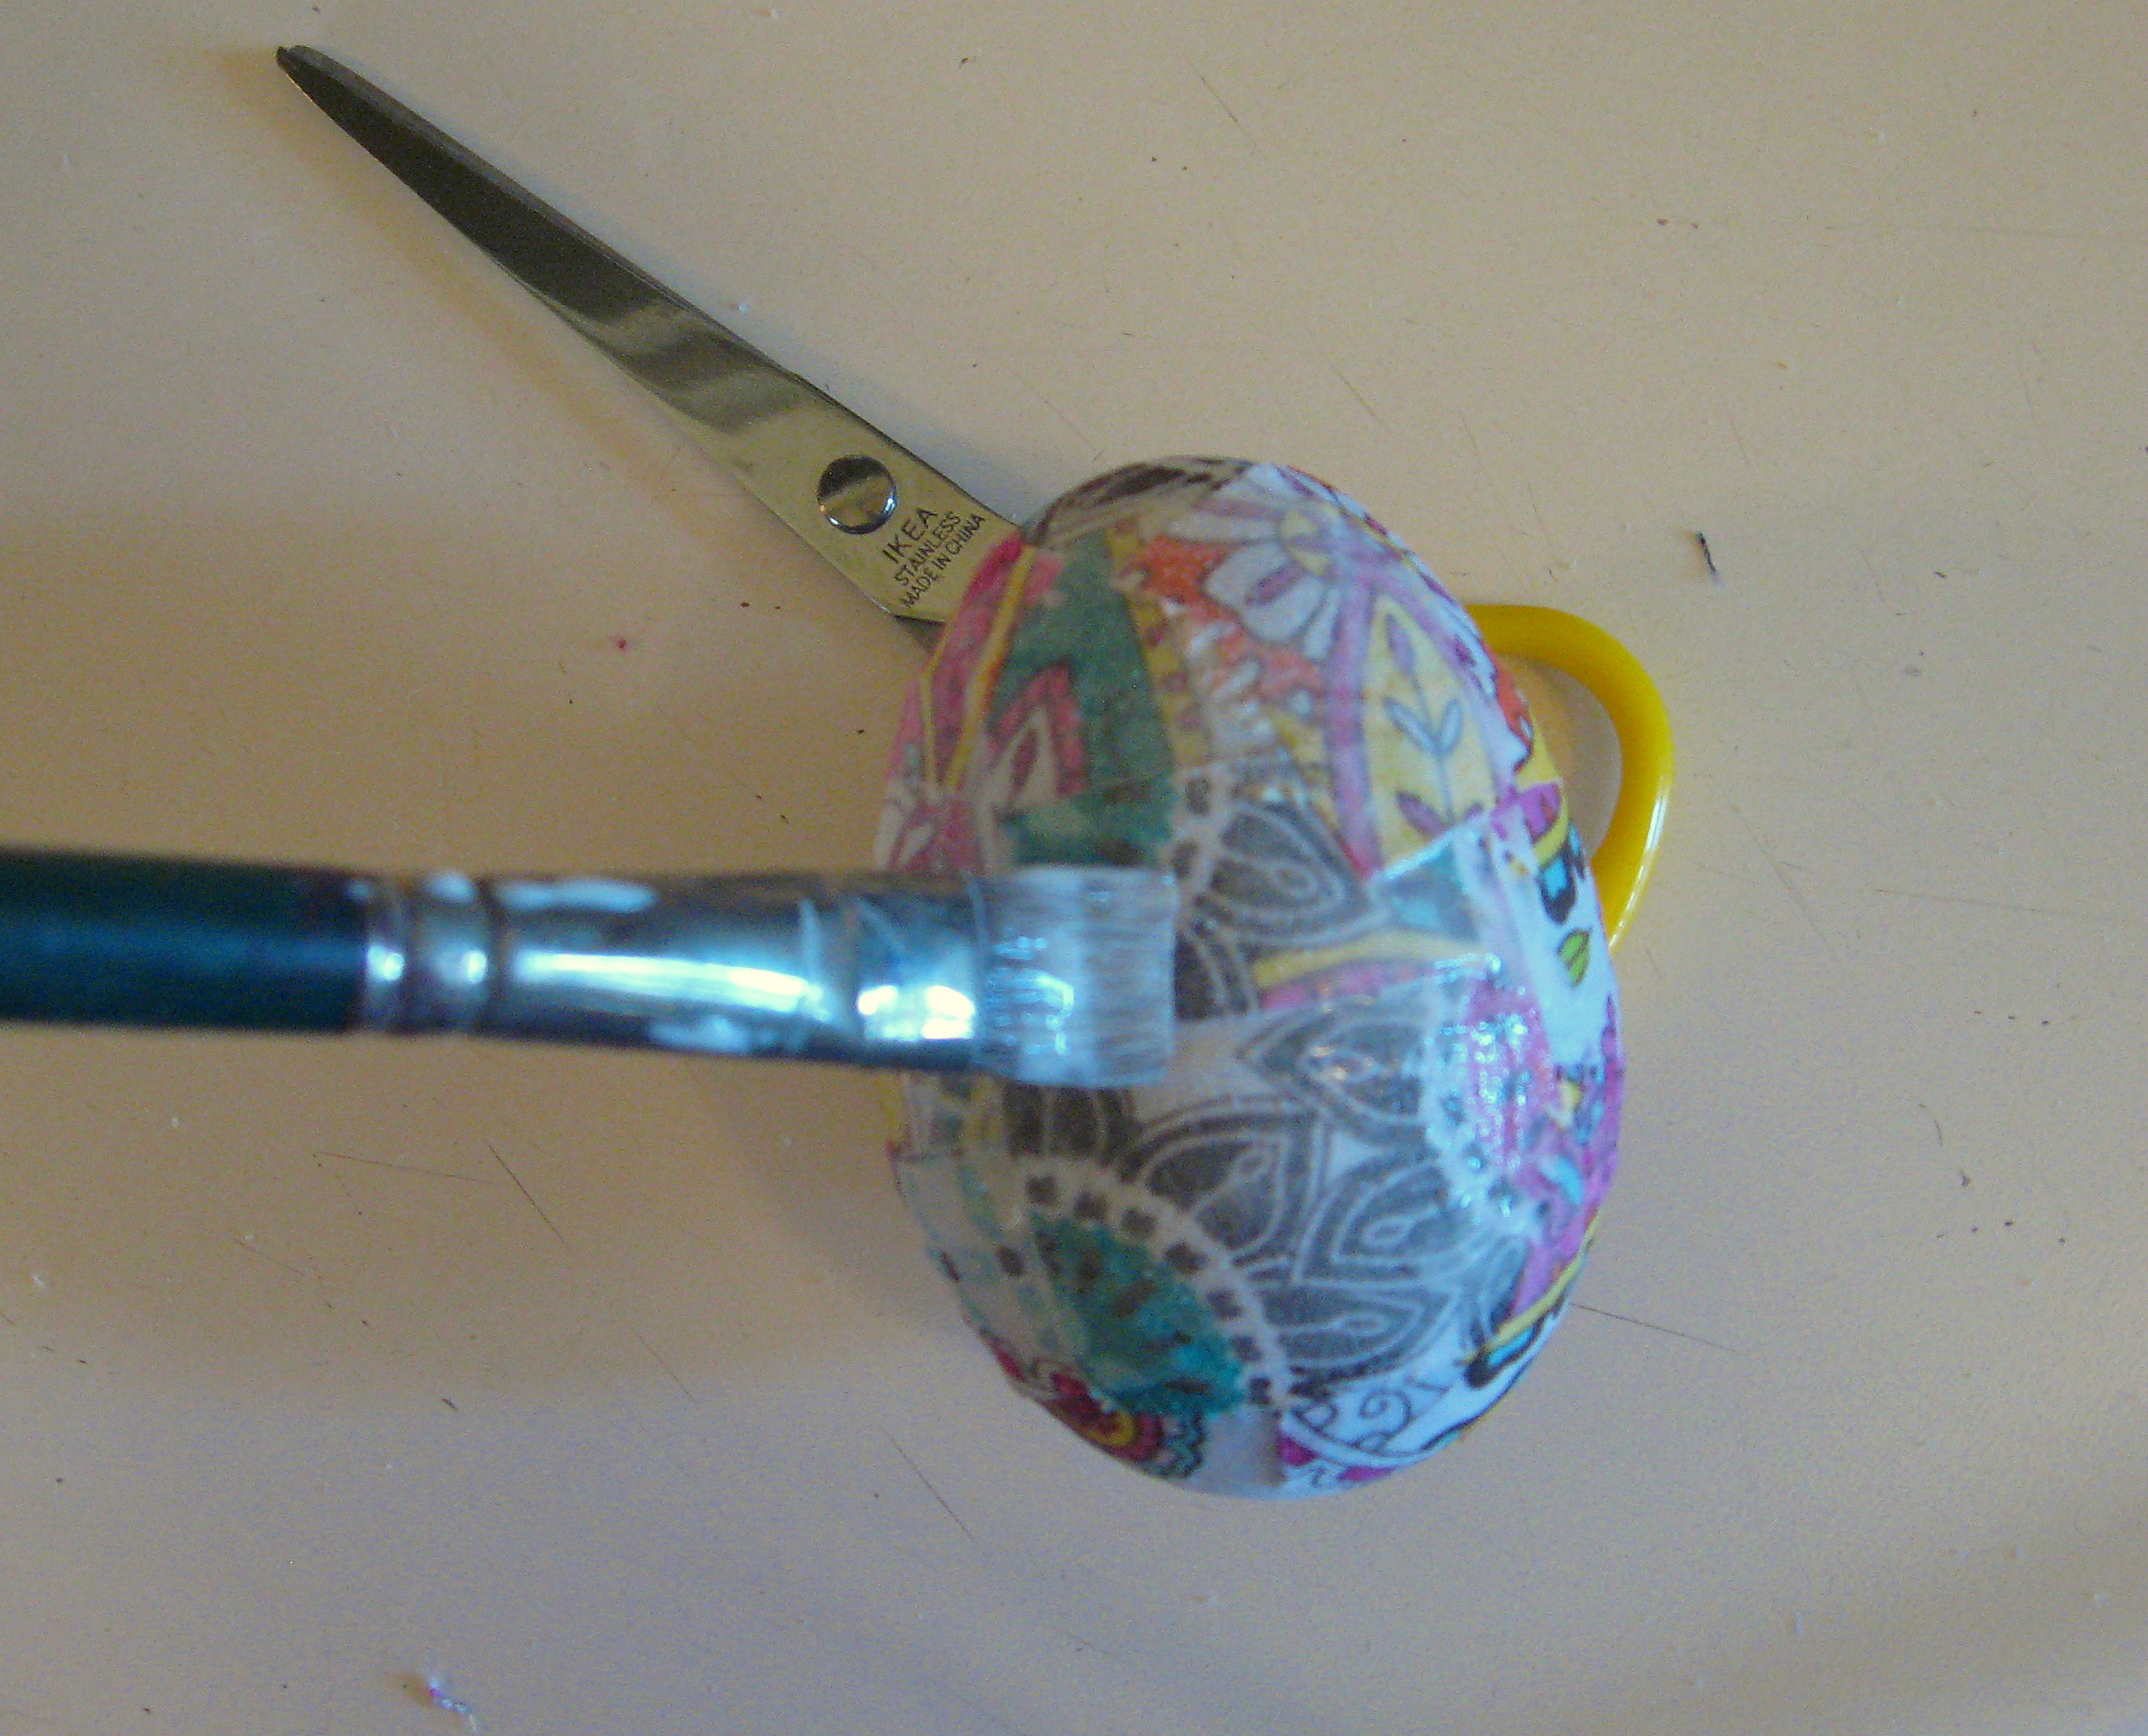
I did this by holding the ends and painting around the middle. I stood that up in an empty egg carton to dry while I started the next egg. Then come back and hold it in the middle to paint the ends, and lay it on its side to dry. When it’s completely dry, it will have a hard, durable finish.