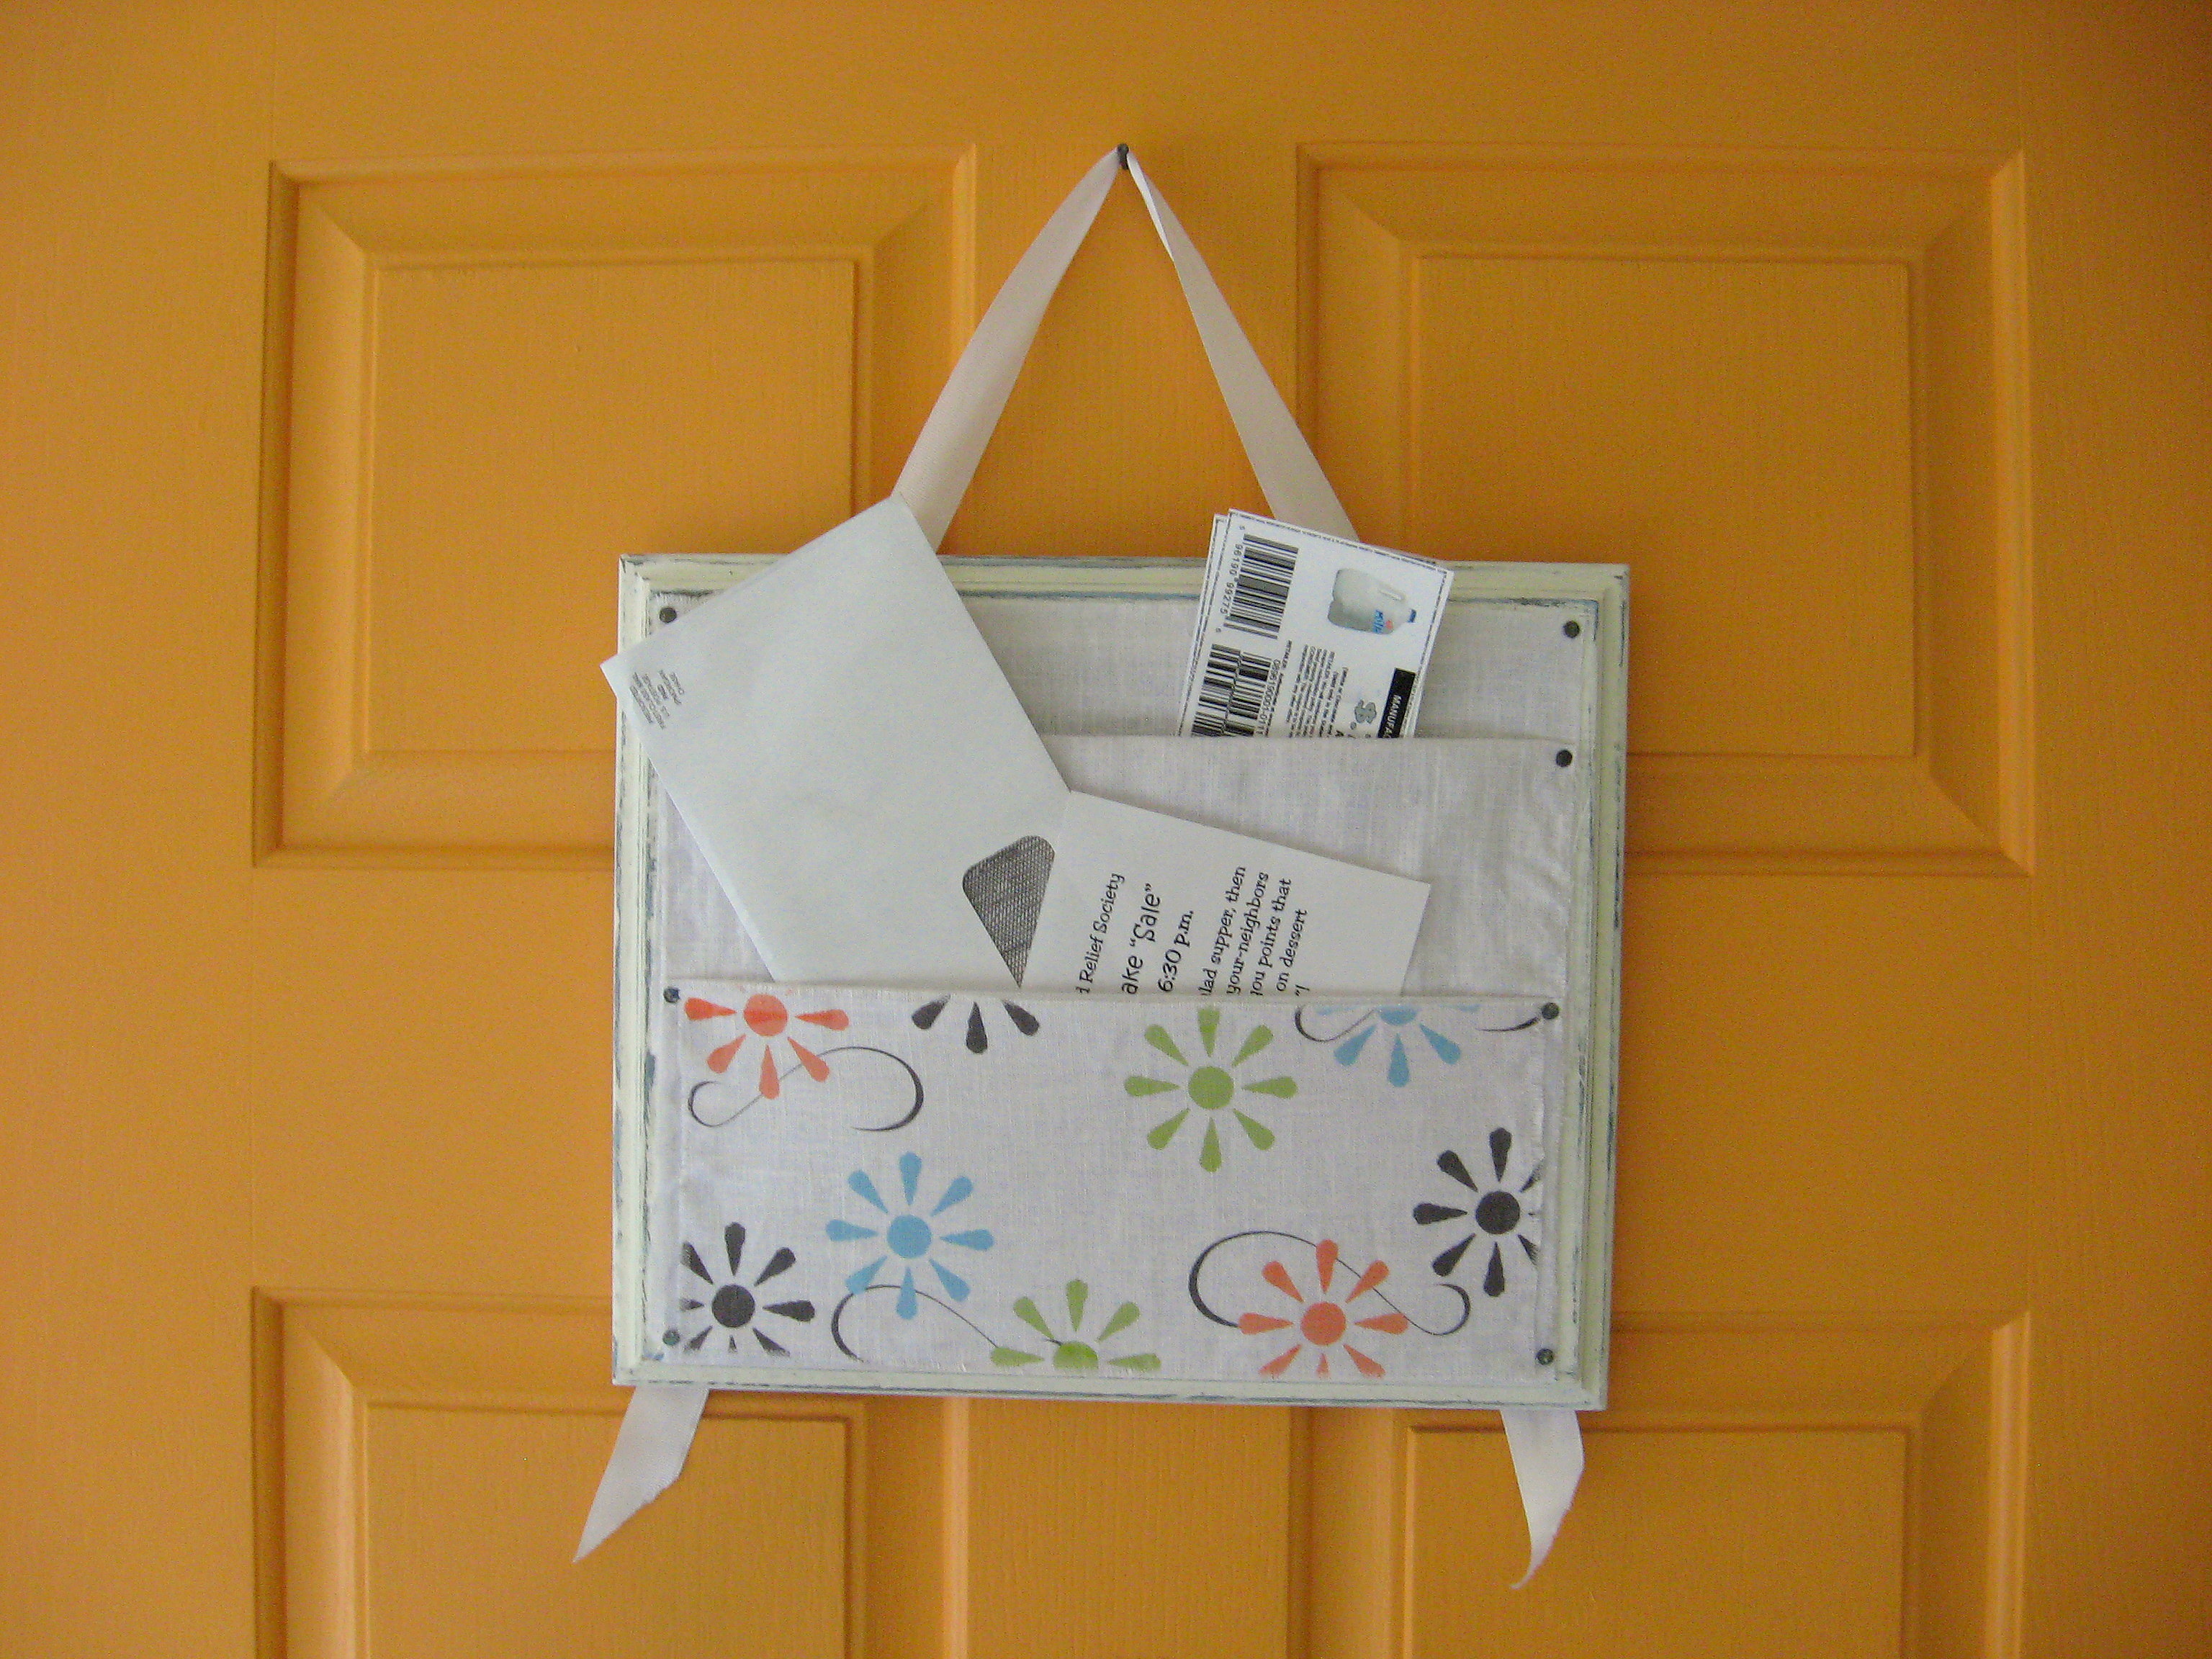
Every apartment we’ve lived in had a metal front door. Now, I don’t care much what my doors are made of, except that it meant that I could magnet things to the back of the door that needed to go out–permission slips, coupons, bills to be mailed, etc. The door in our current home is not metal and so for years I’ve not had a good place to put these things and therefore, years of very important mail (read Netflix dvd’s) have not been mailed out in a timely manner. I finally could live like this no more! and made an organizer to hang on the back of my front door.
I think this project was very easy and pretty fast, not counting the dry time of the paint and the glue. I also apologize for some of the fuzzy pictures; my camera was having a hard time with the white.
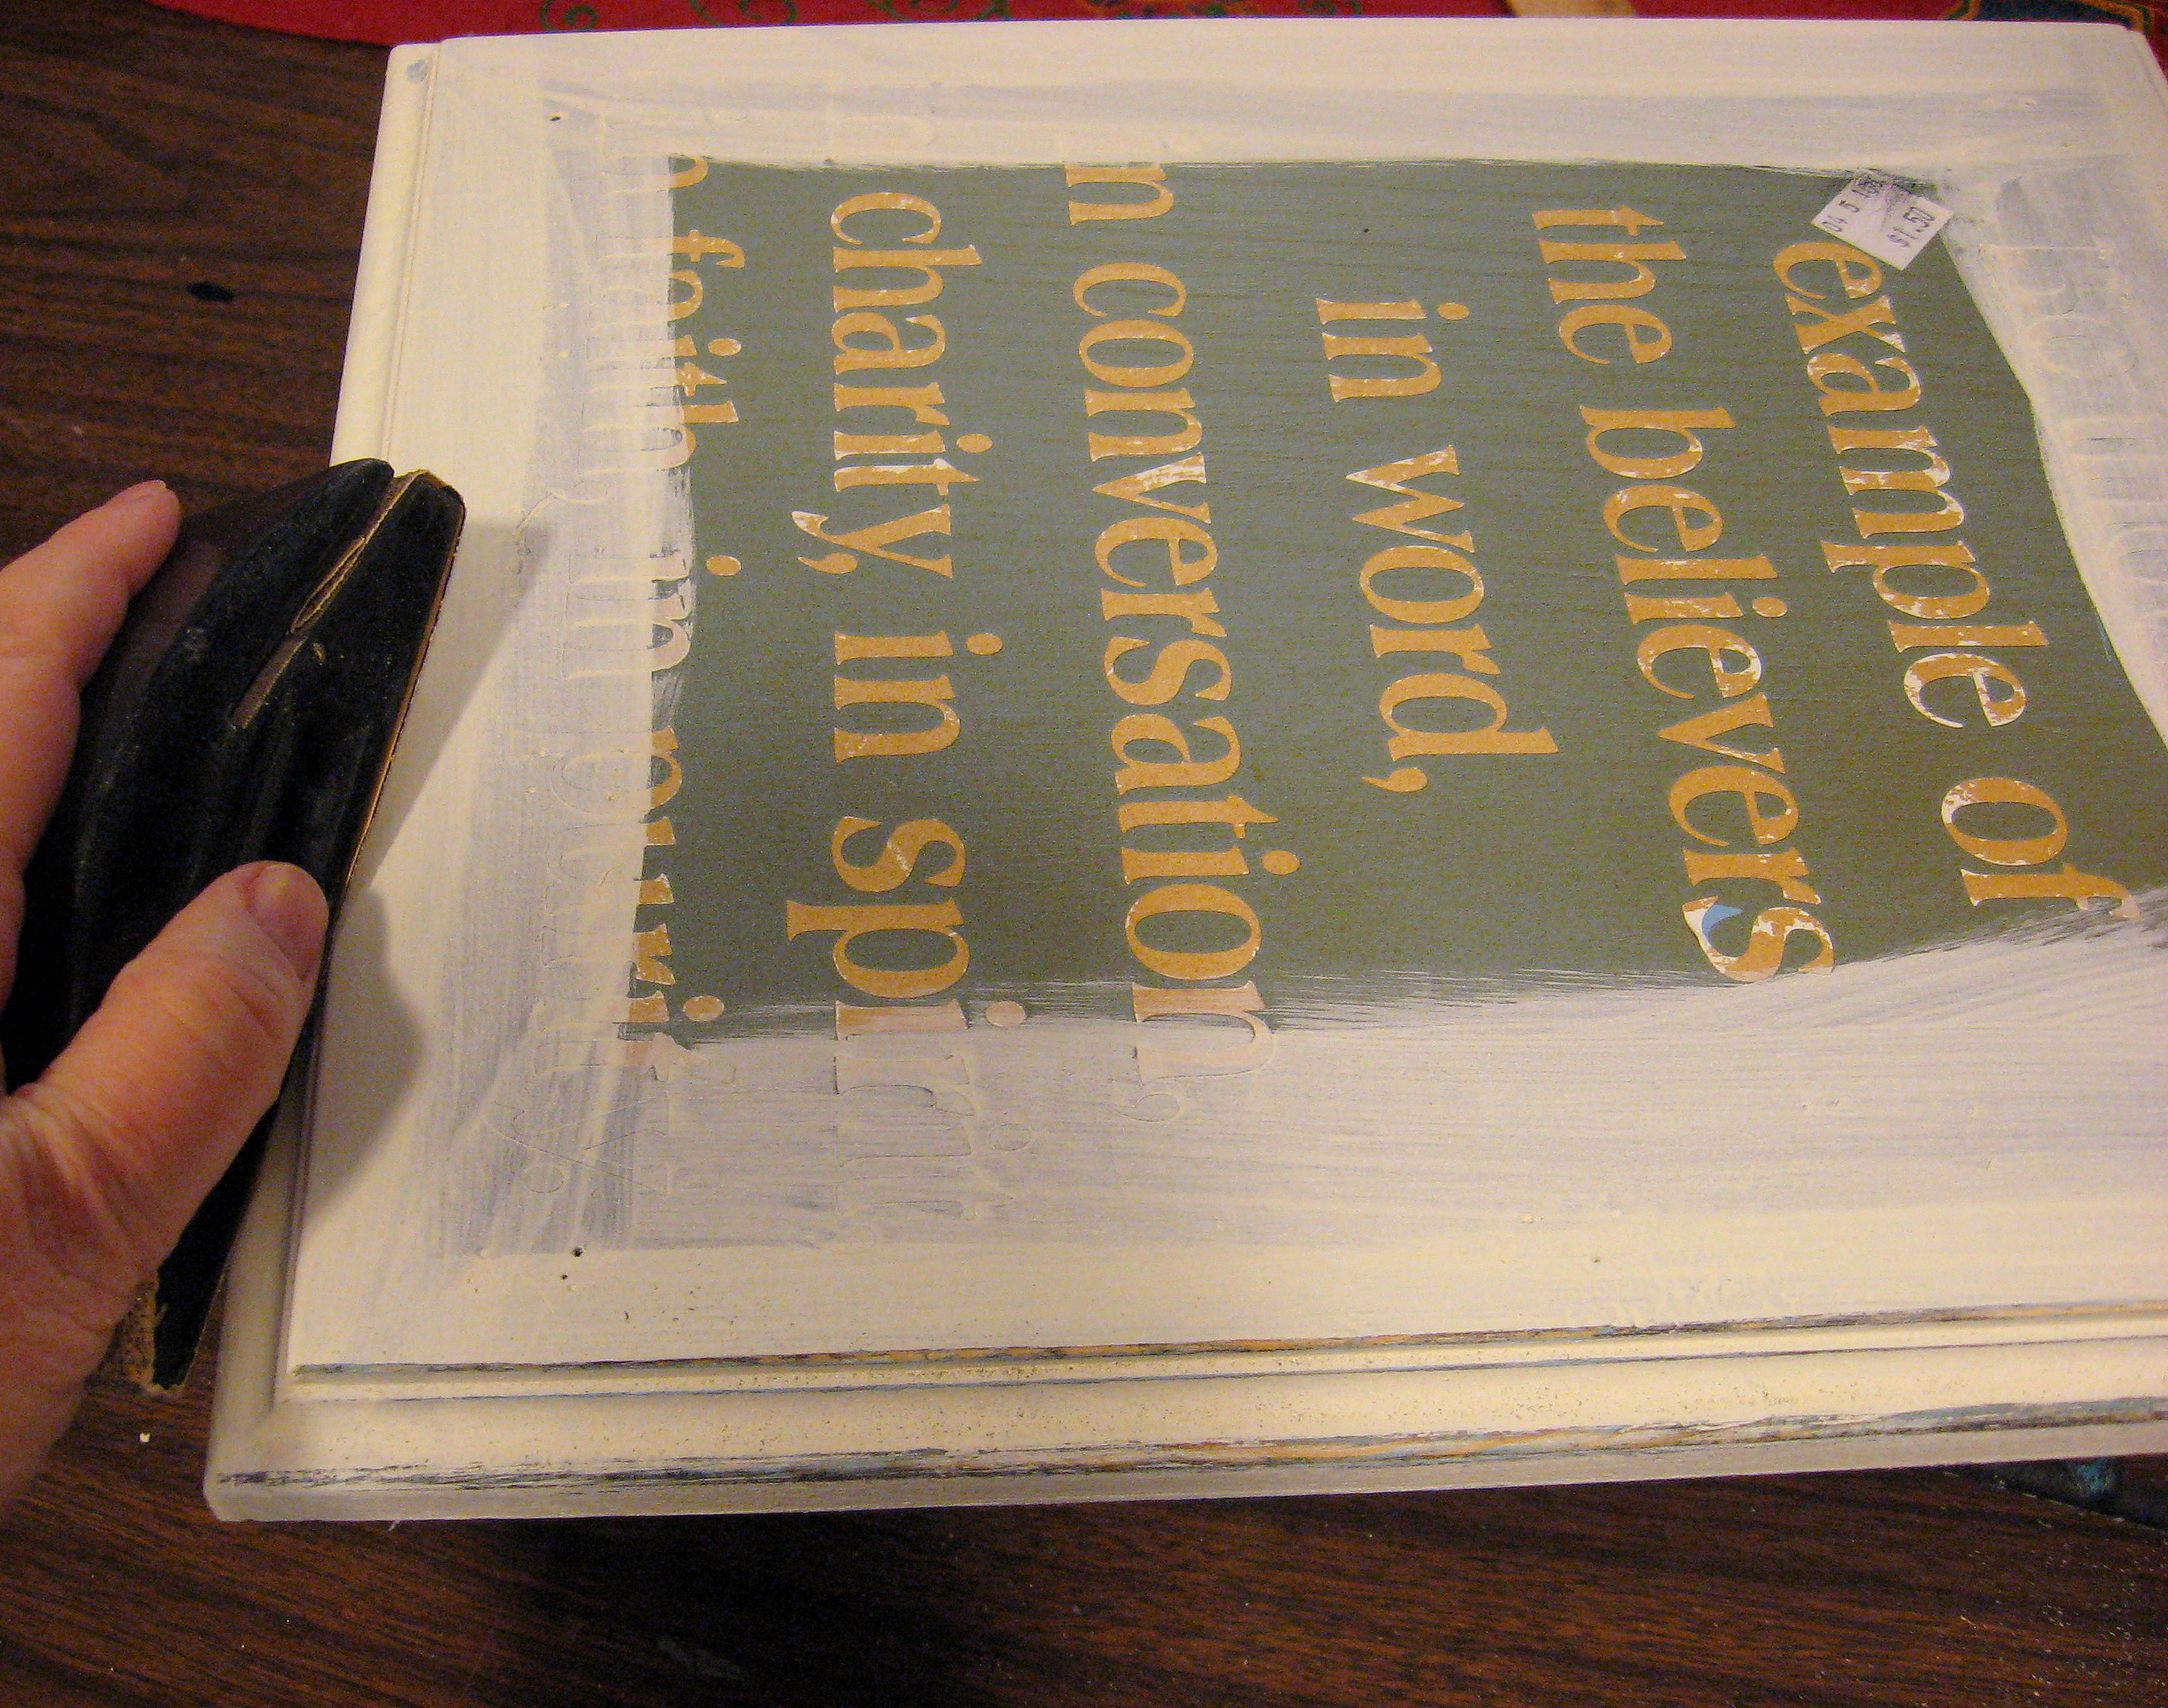
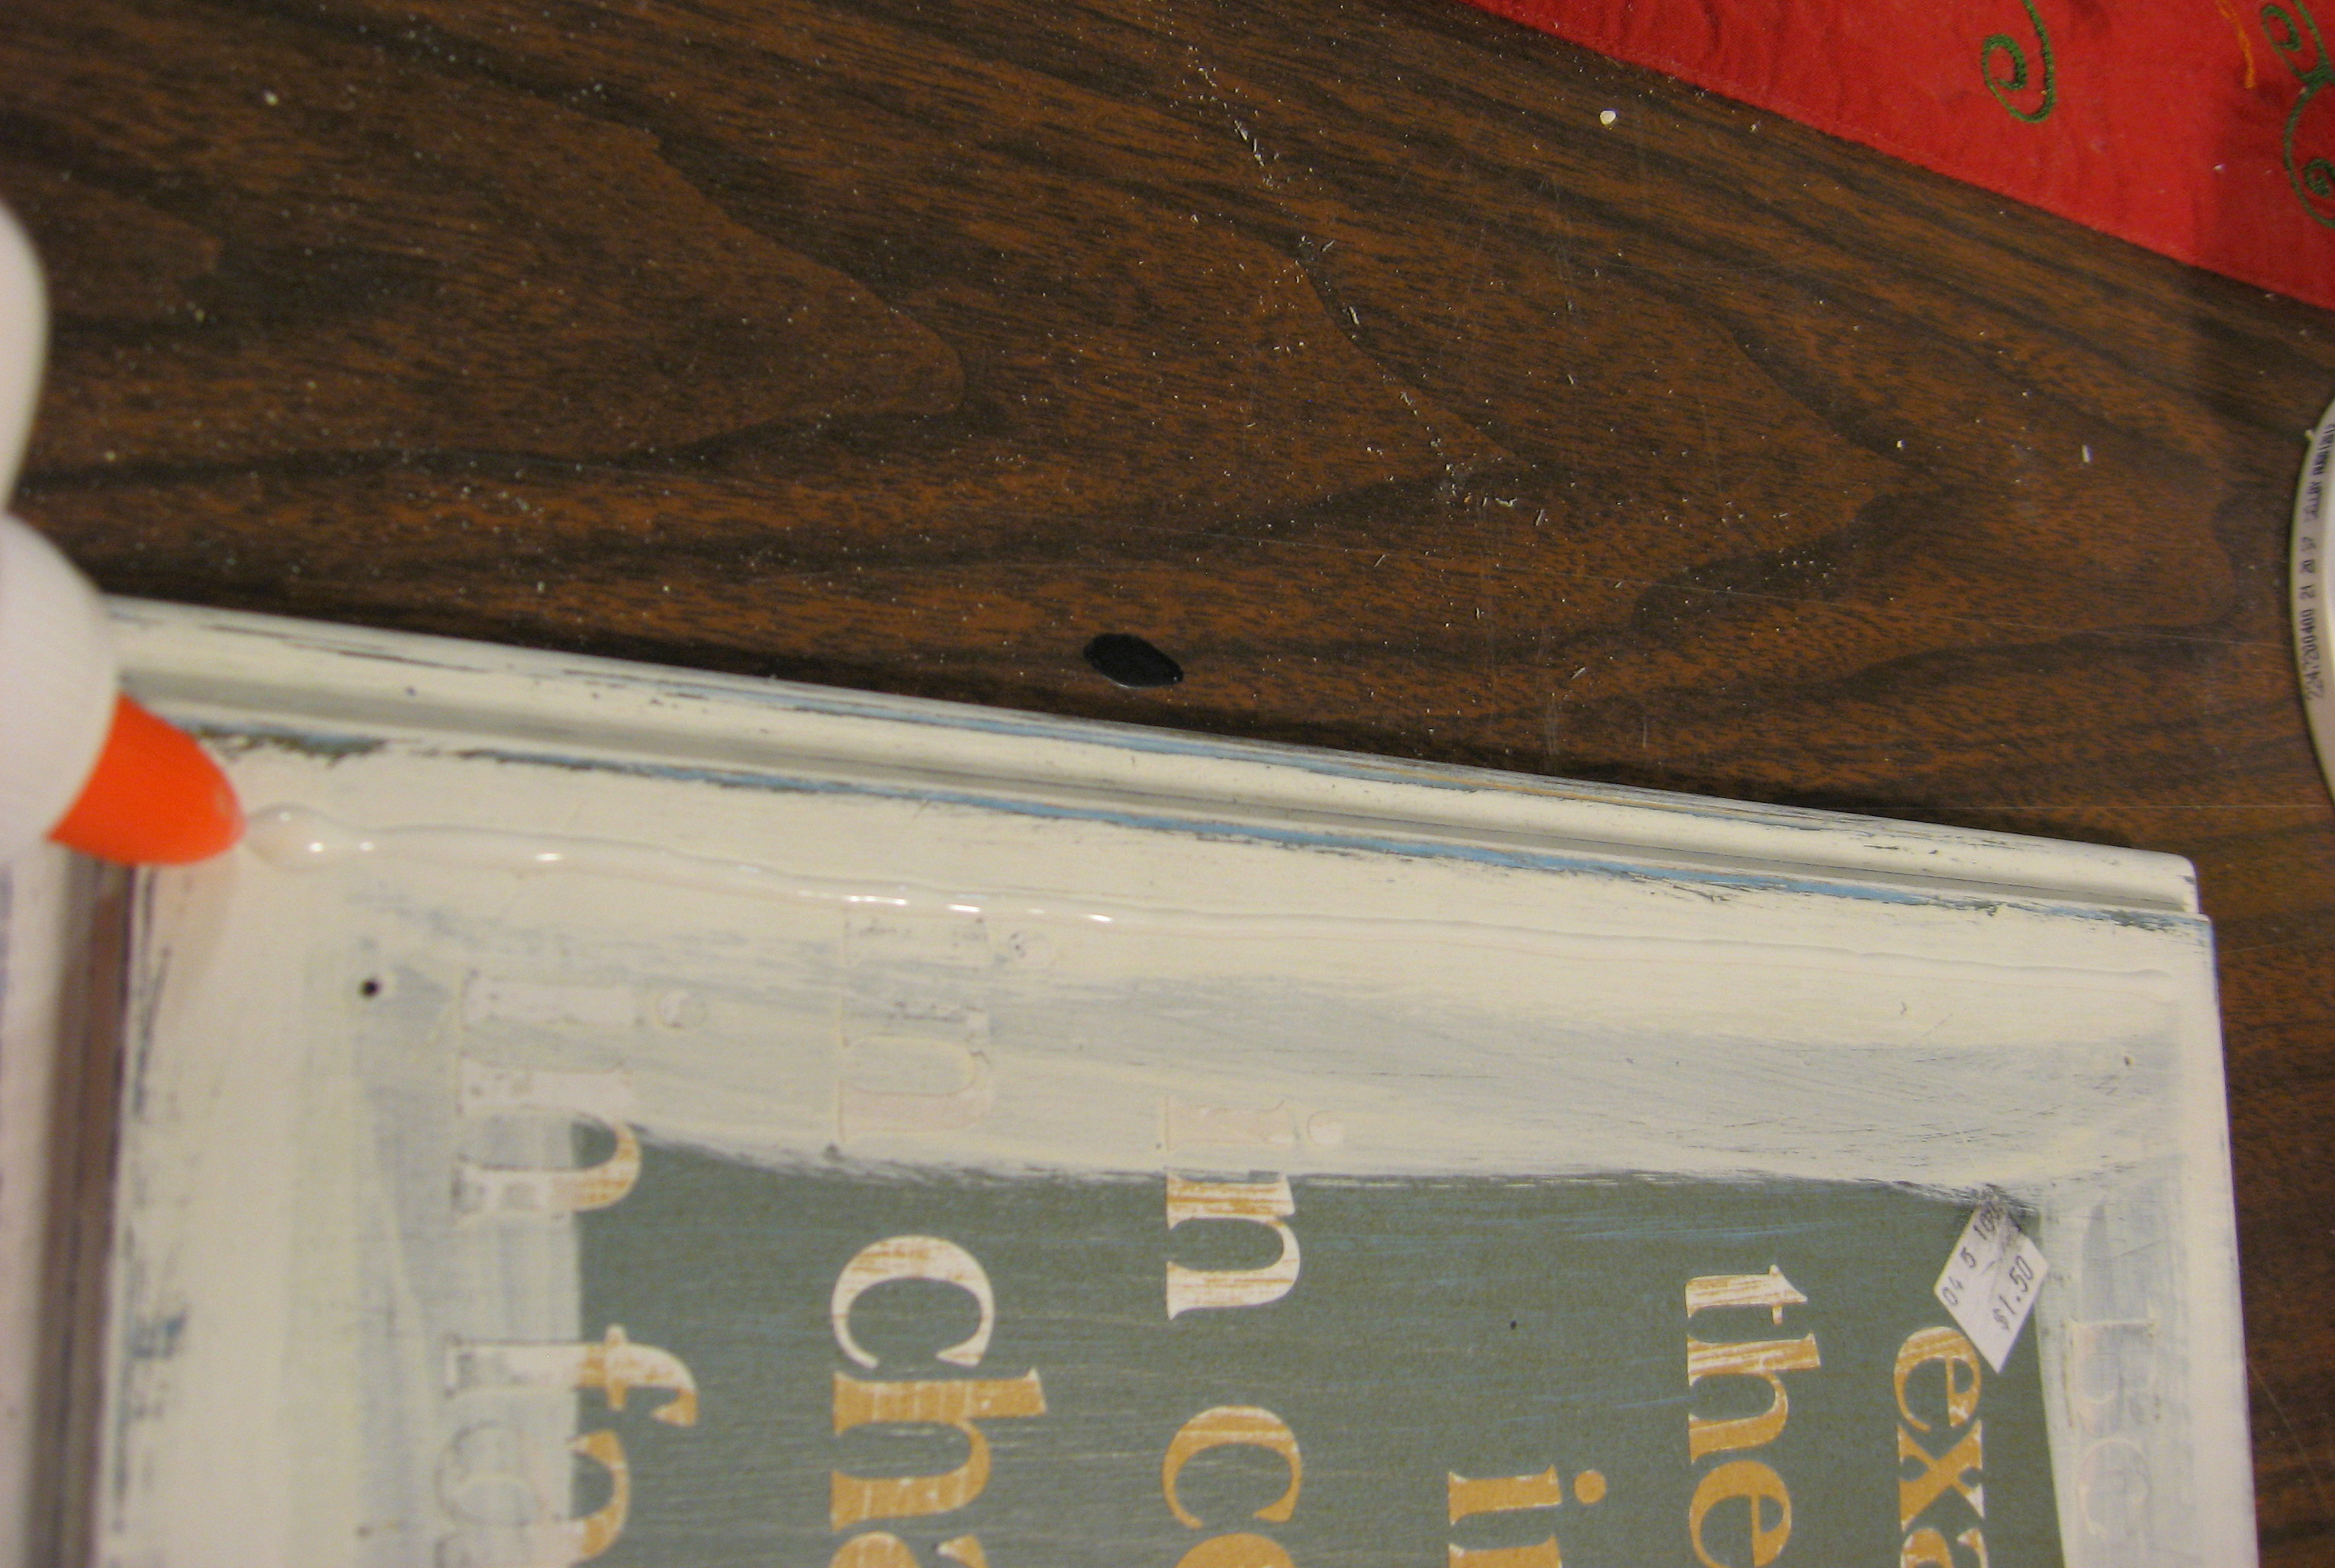
Here is the before, as picked up for $1.50 at a local thrift store. 
The words are vinyl, so you could pull them off (they peel up easily), but I left them on since I knew they wouldn’t show.
Paint the edges of the wood in your color of choice using craft paint. Once dry, use a sanding block on the edges for a distressed look; I love the blue peeking out here and there under the white.
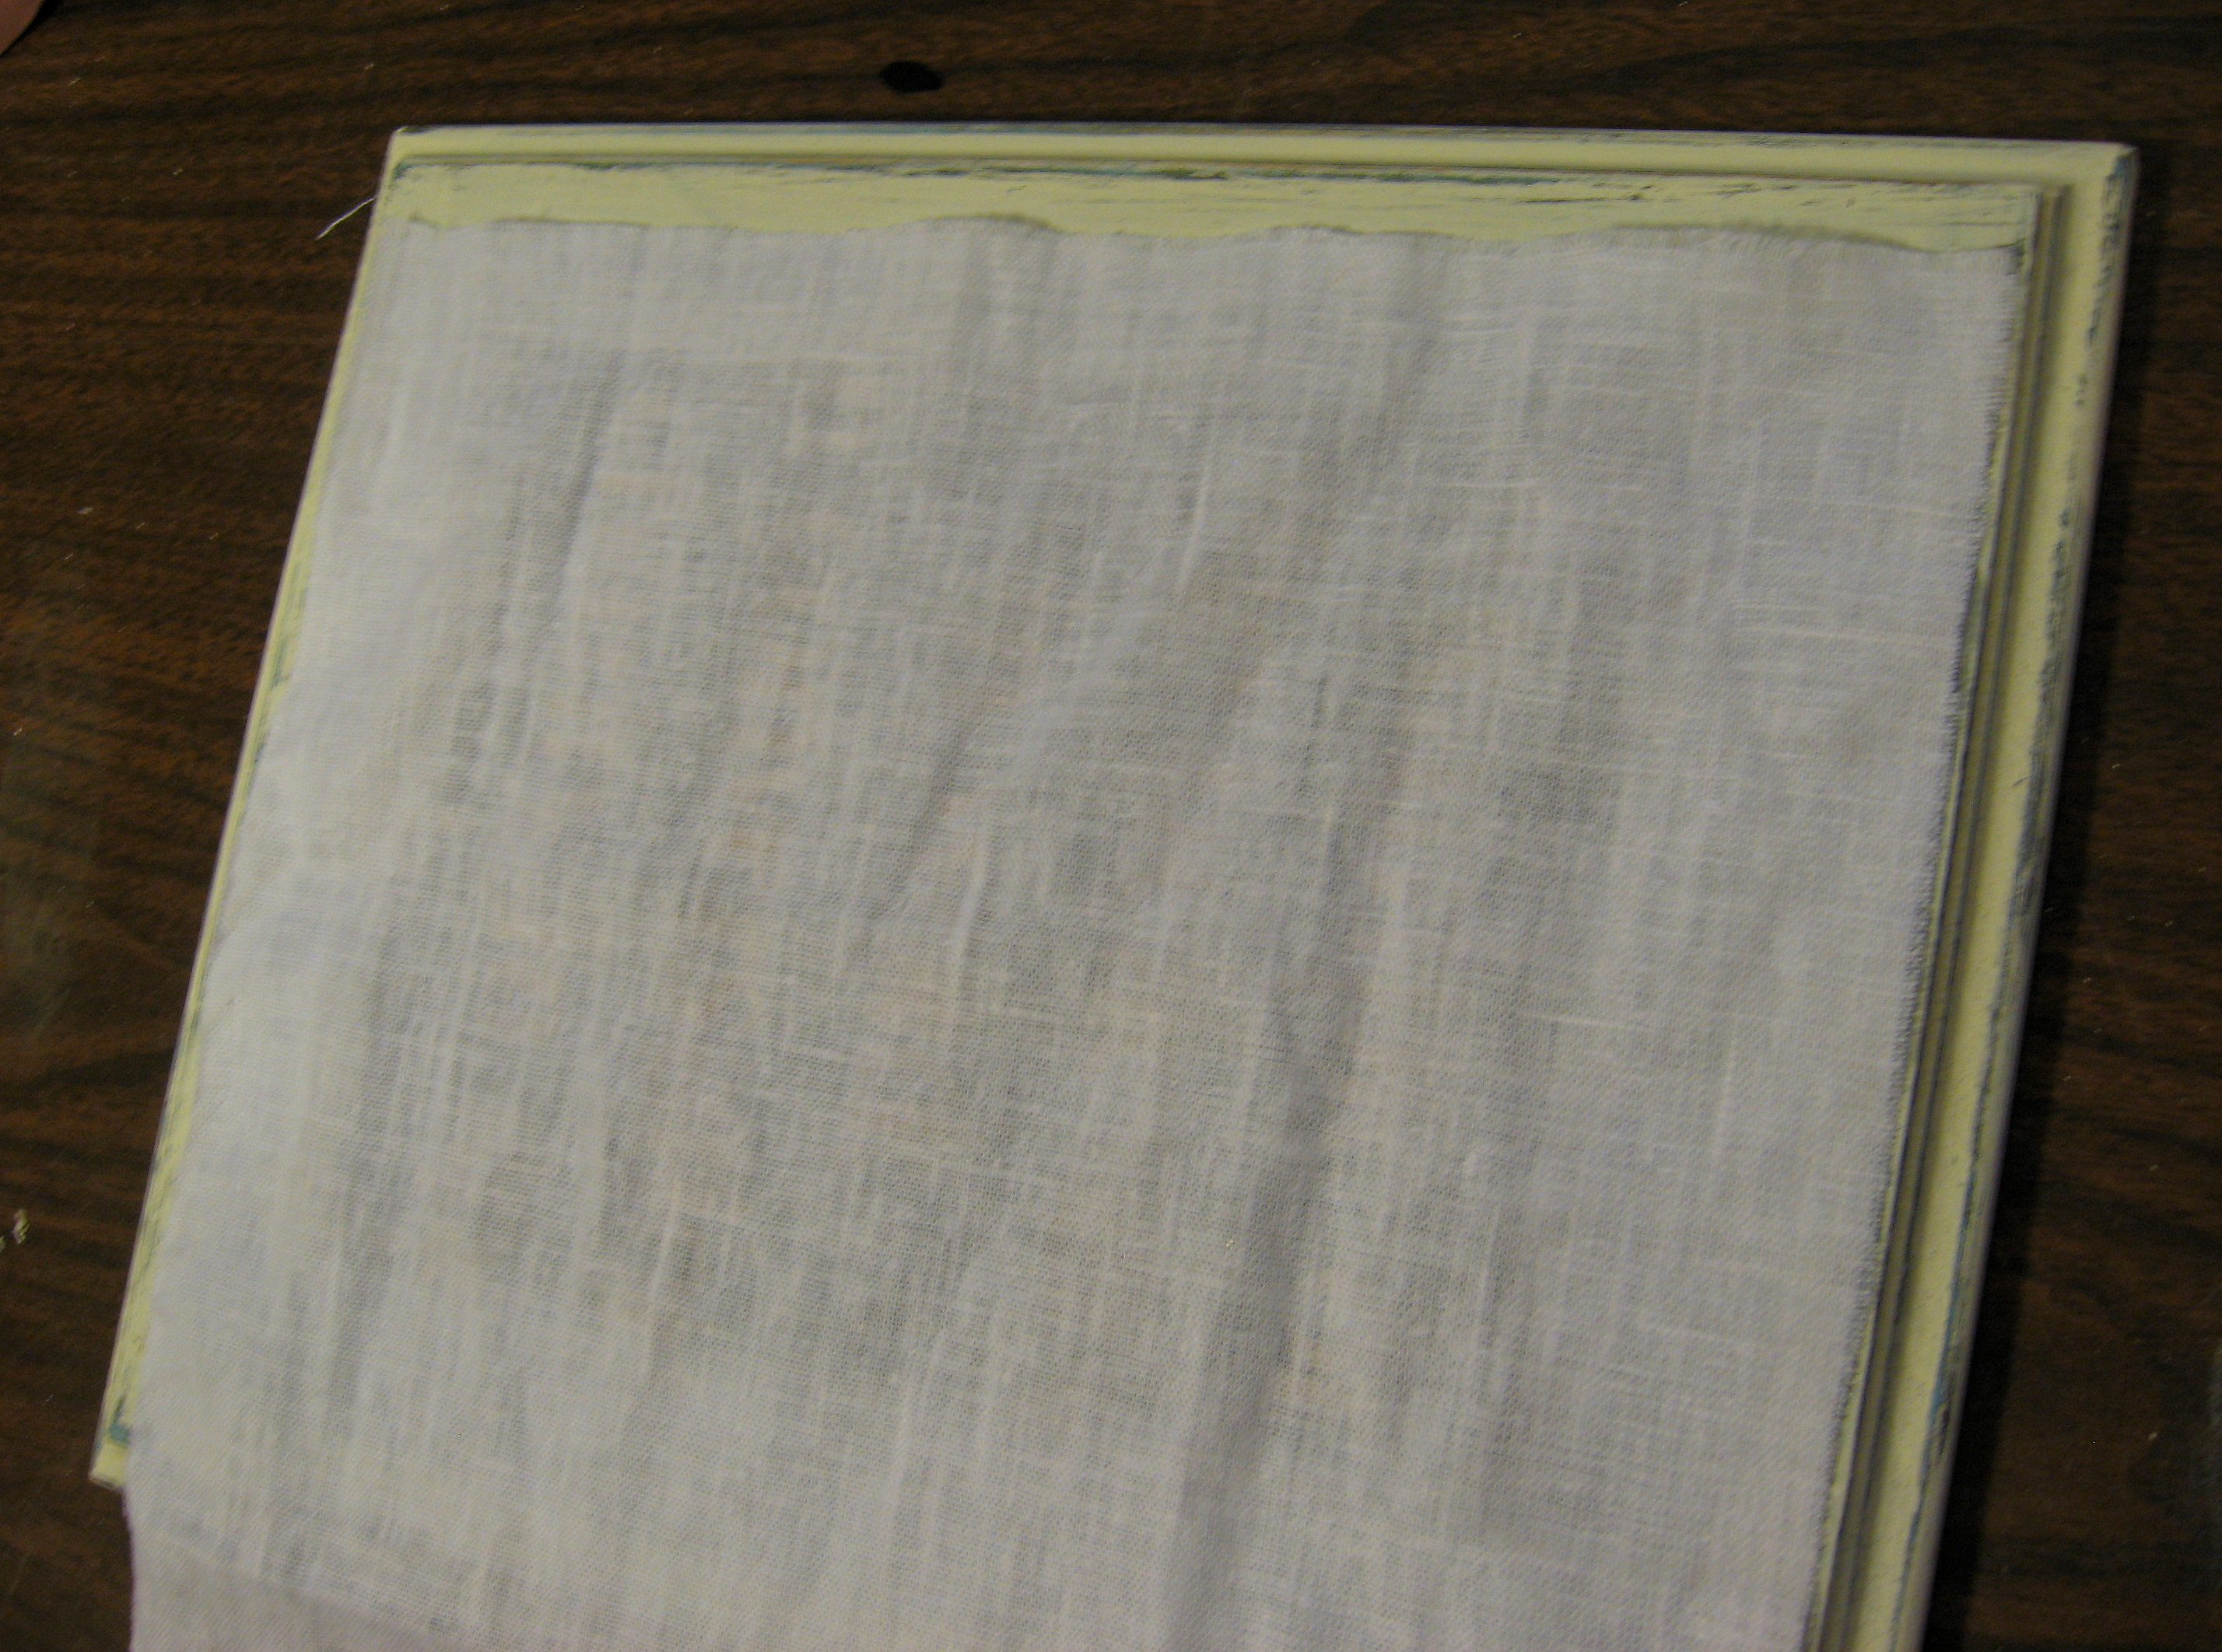
The fabric I used is a scrap of white linen that I had in my fabric stash, but you could use any fabric you like.
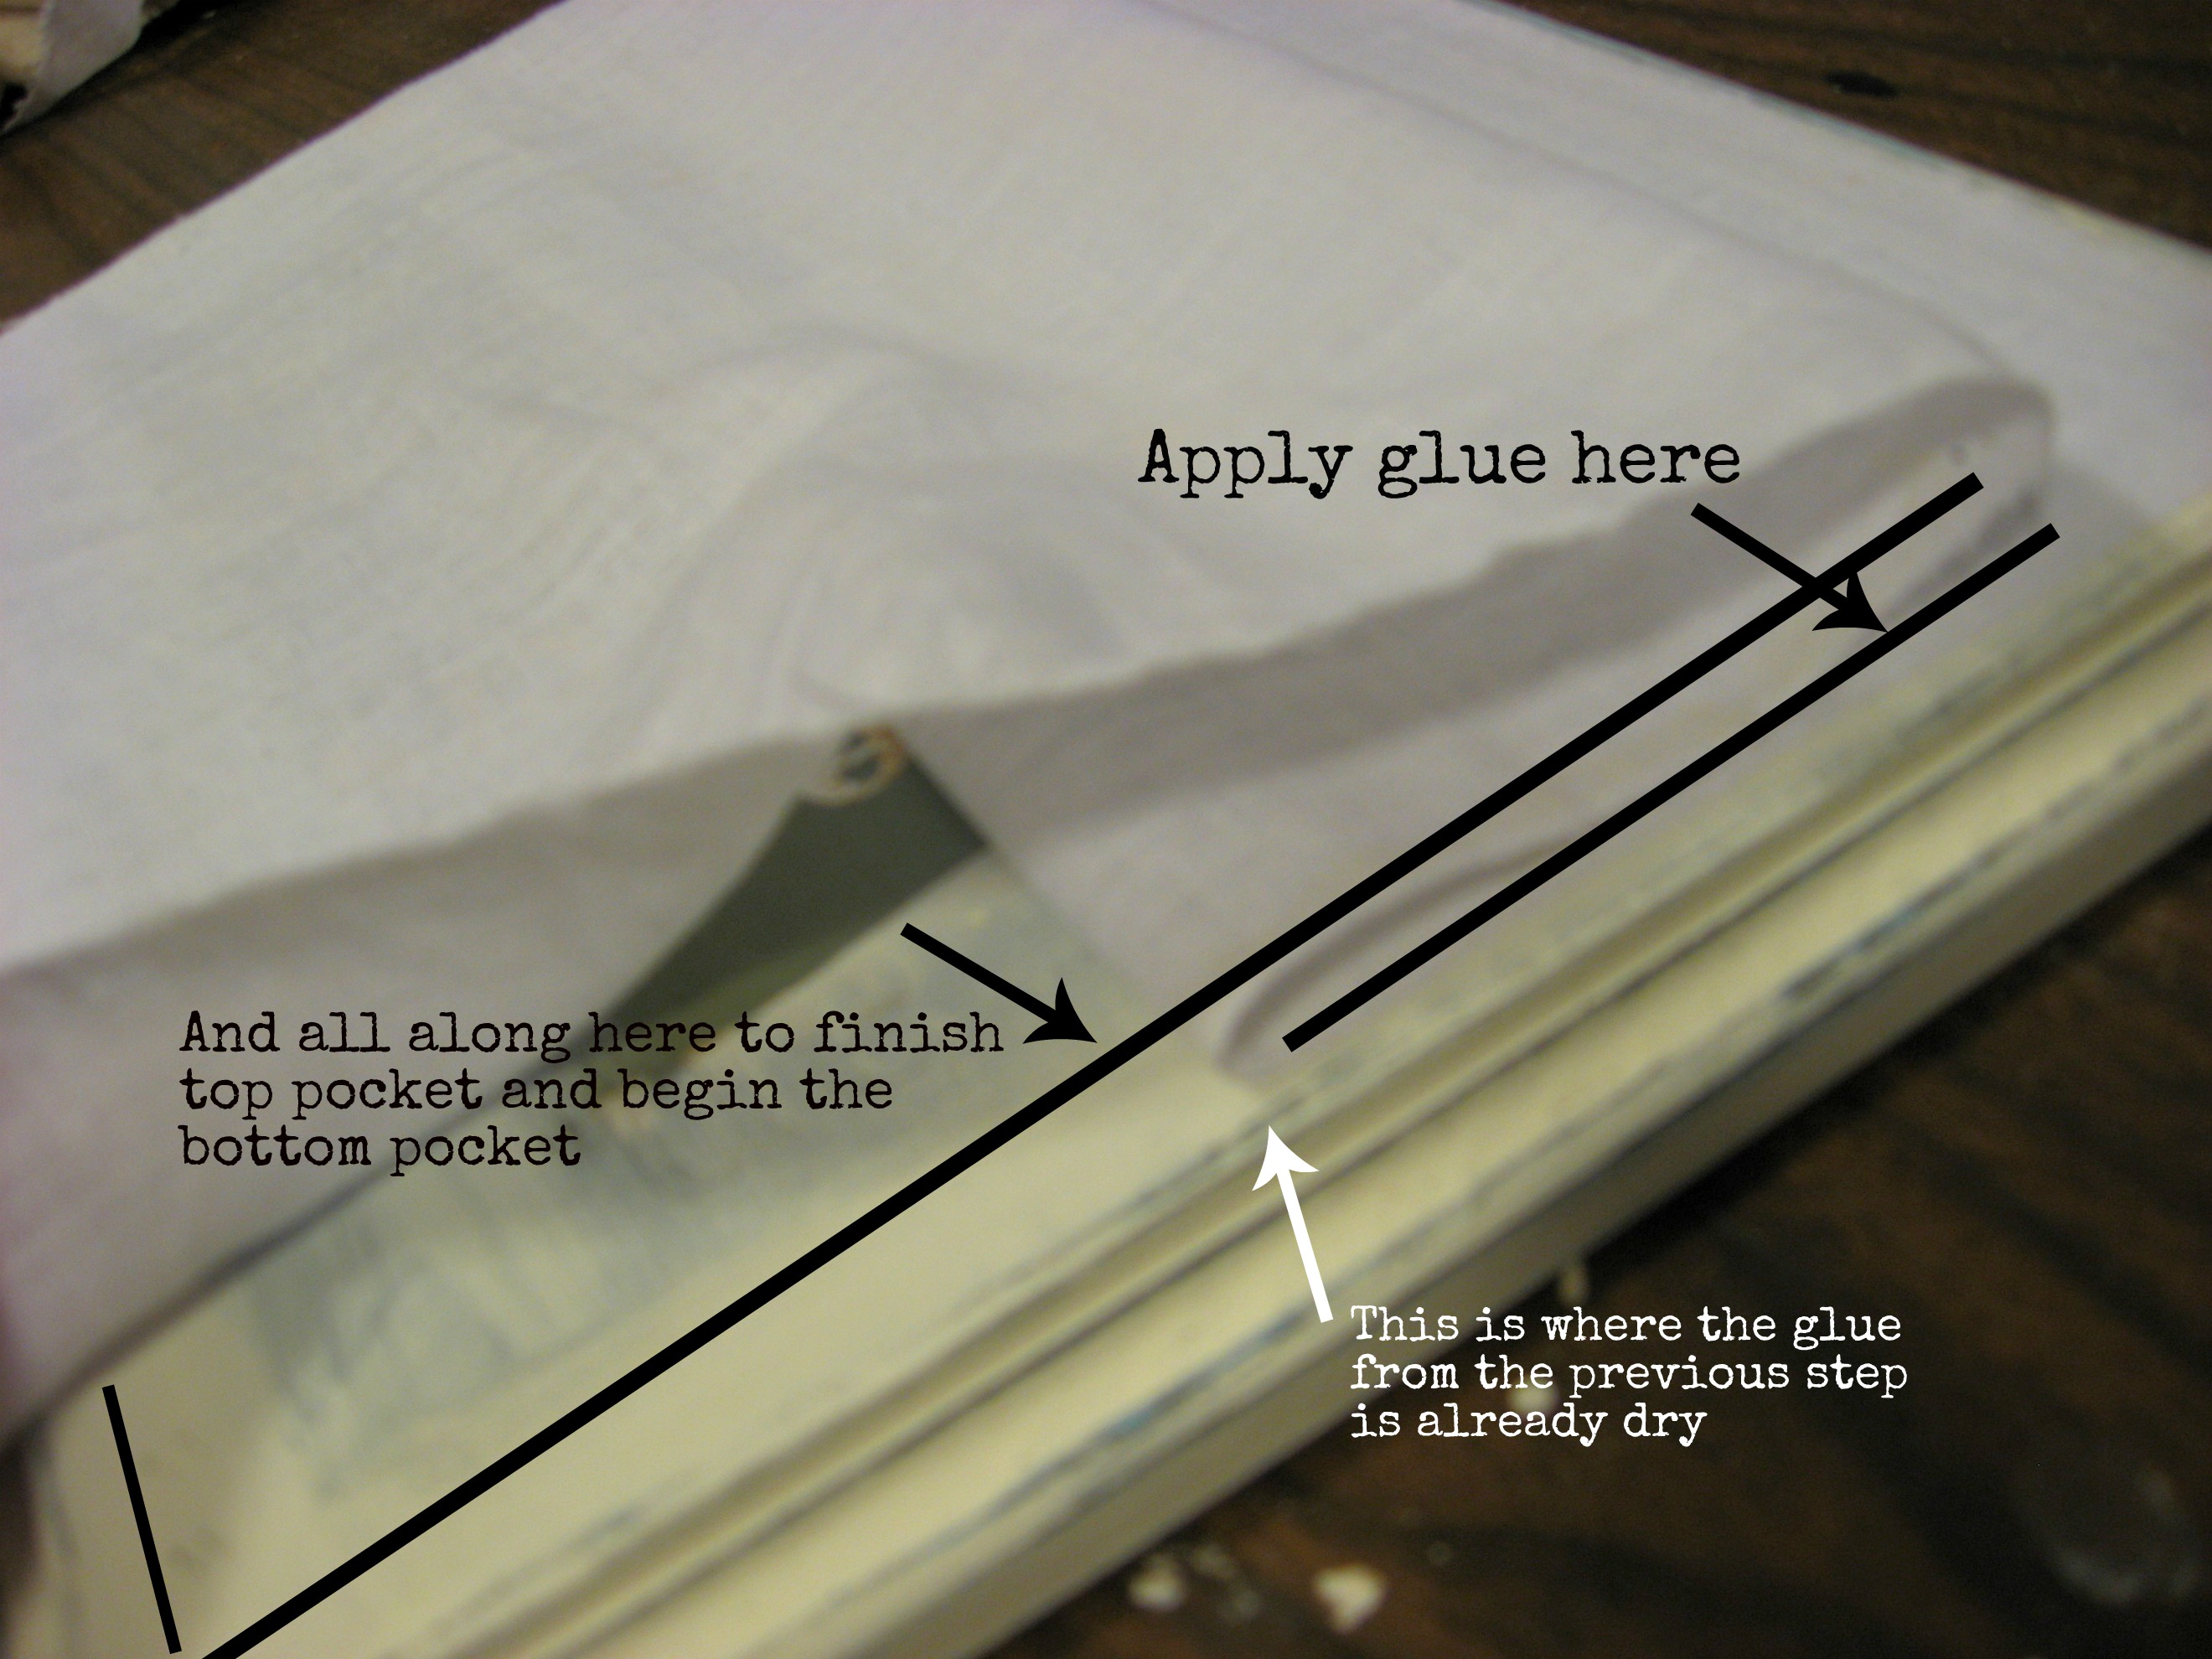
Basically, you will fold the fabric and glue it to the board to make two pockets. Follow the numbered arrows on this pic to see what I mean:
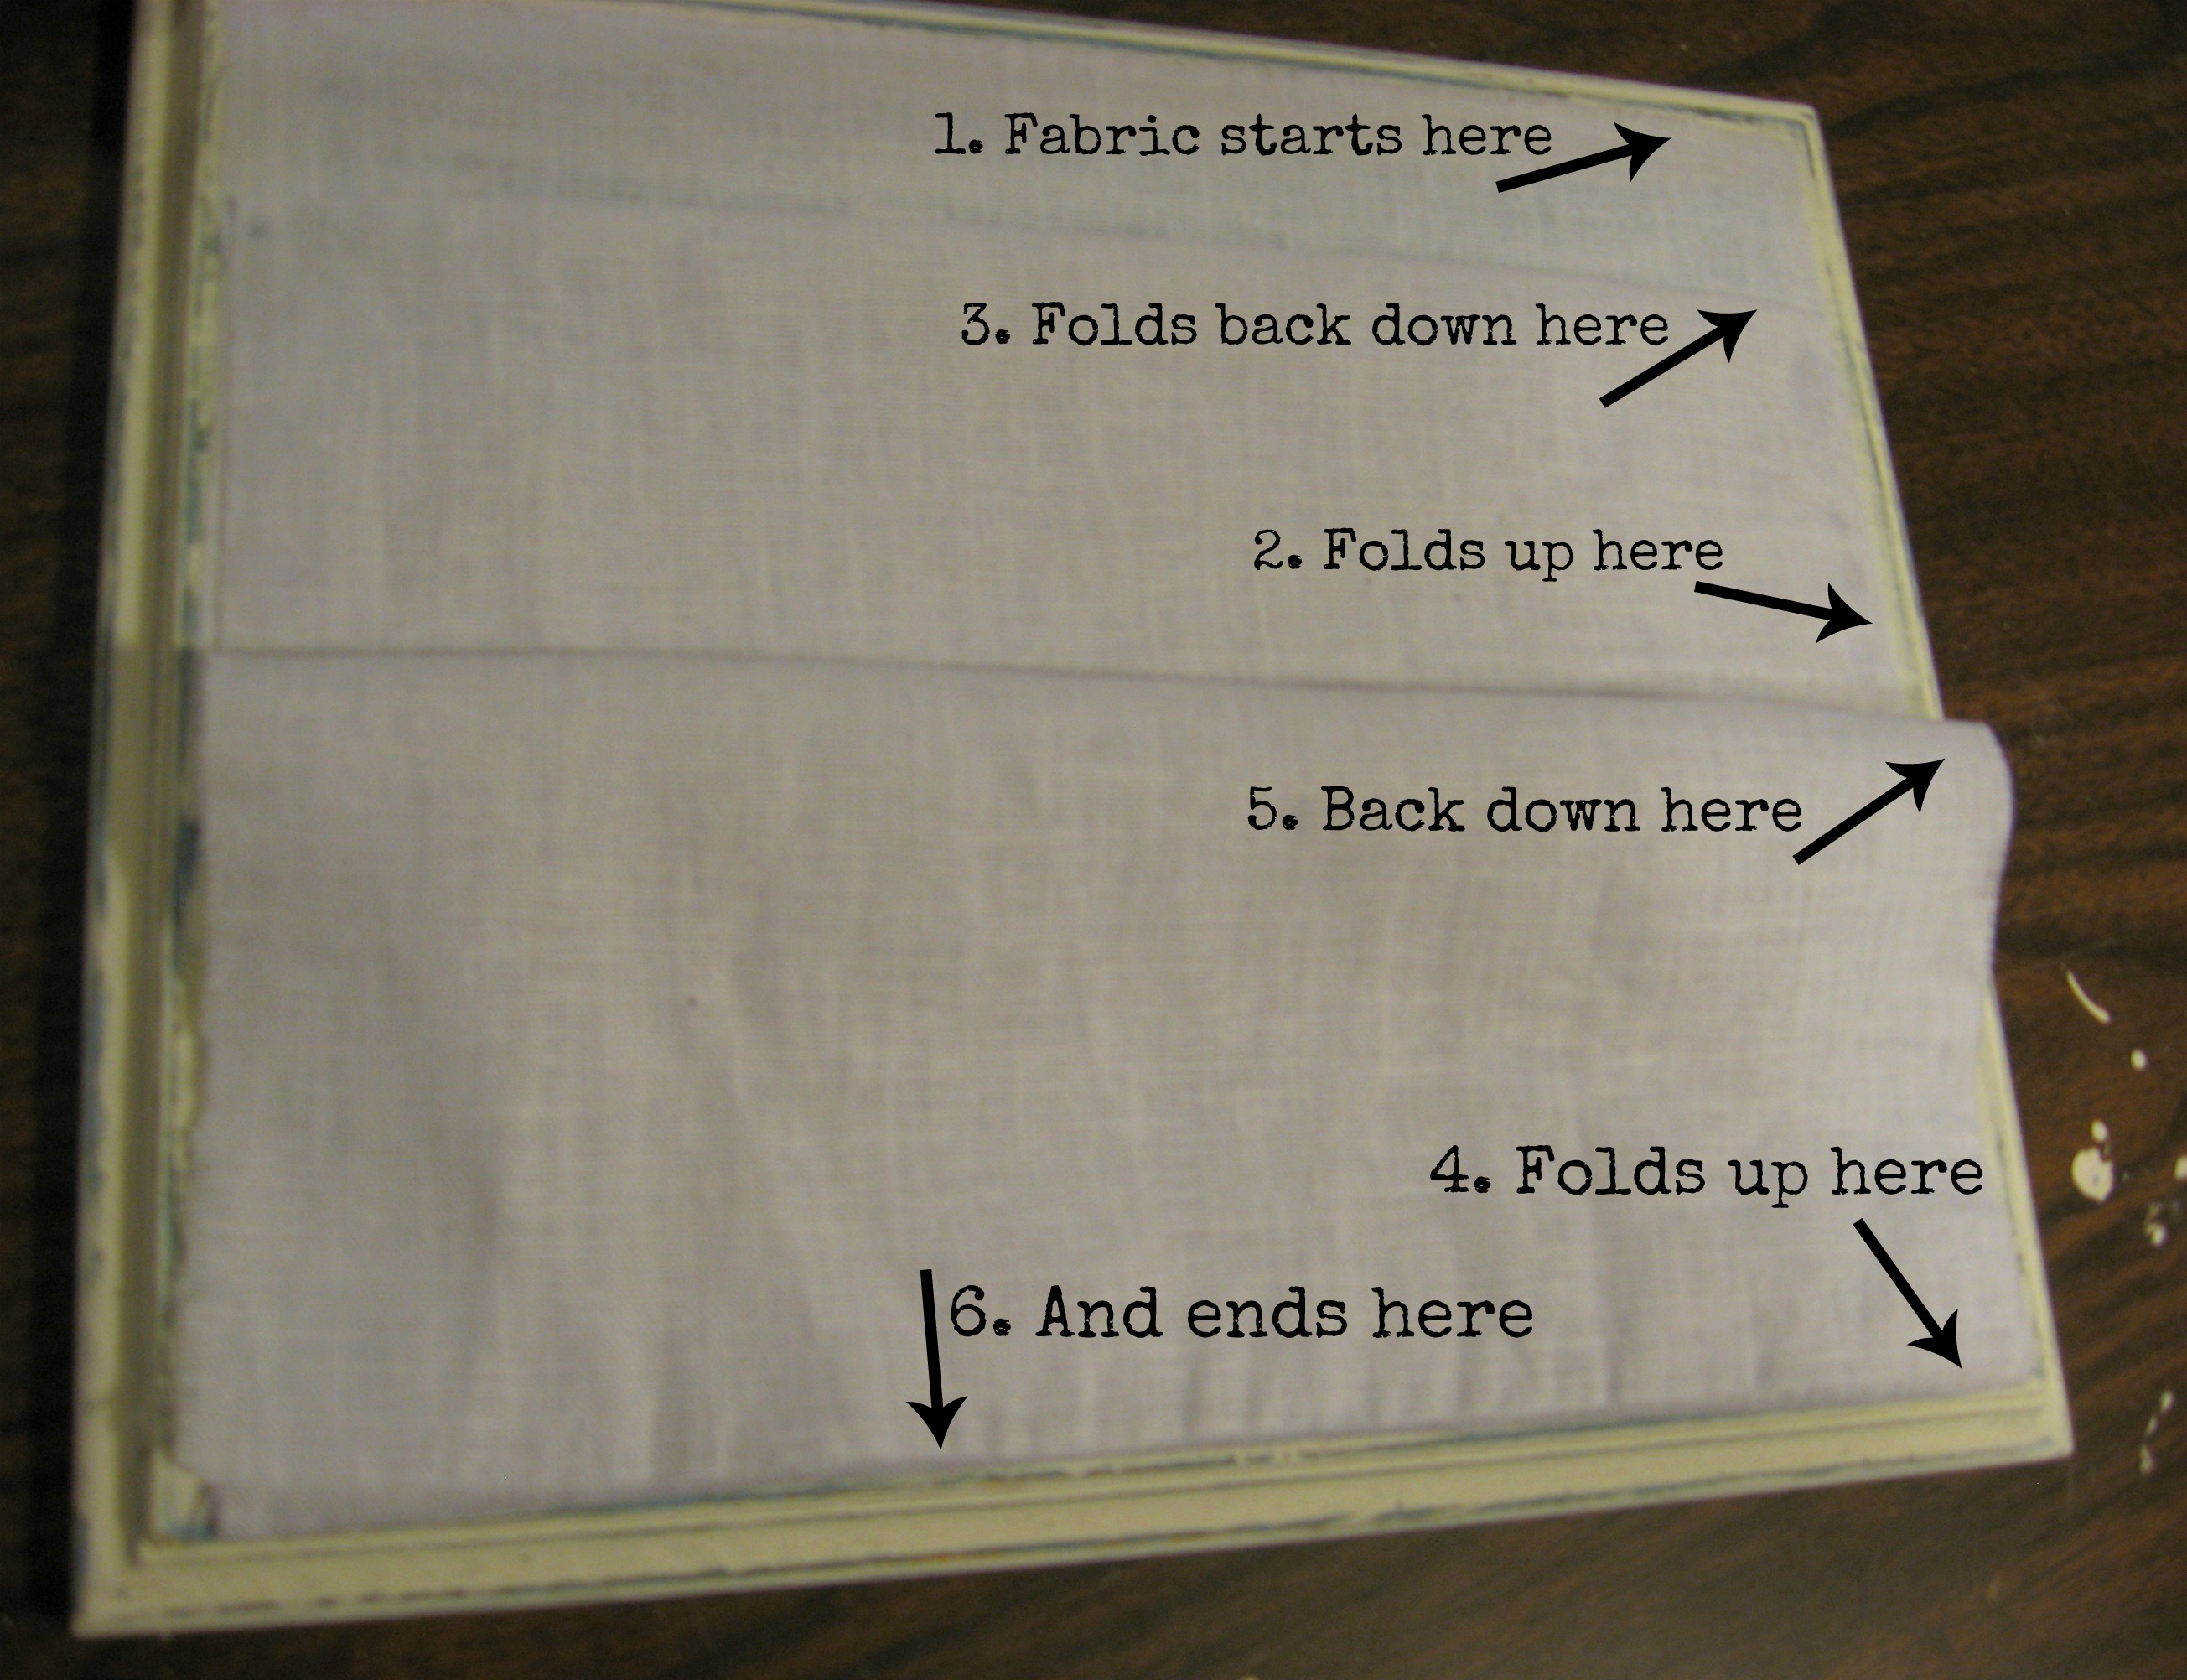
Start by laying the fabric out as shown above on the board and folding it as you would like the finished pockets to be to determine how long your fabric needs to be (I did two pockets, and they are both shallow. You can make as many or as few pockets as you like, and if I were doing it over again, I would make the back pocket deeper).
Cut the length (add an inch or two just to be safe; you can easily trim it later). Now cut the width of that entire piece of fabric to fit the width of your board – mine is just narrower than the board -being careful to cut very straight (if you are using a loose weave fabric like this here, pull a thread out along the length, then use it as a cutting line). Iron your fabric if needed.
Apply a bead of glue – I used Elmers –
around the edge of the board at the top and sides down to where your top pocket will stop, and where the bottom of the pocket will be. Carefully lay the fabric out on the board, being careful to make it straight and even. Once the fabric is where you want it to be, you’ll let it dry. I carefully placed a piece of craft paper-waxy side down- on top of the fabric and weighted it down with a large bowl while it was drying.

Once that is dry, then fold the fabric up to create the bottom of this pocket. Apply glue to attach the sides of this pocket, then glue all the way down to the bottom.
Apply glue also along the bottom edge of the board. Carefully fold the fabric, being careful to line everything up and keep it straight. Weight down as before and let dry.
Now do the same thing to create the bottom pocket; gluing around the sides and bottom, folding carefully and weighting it down to dry.
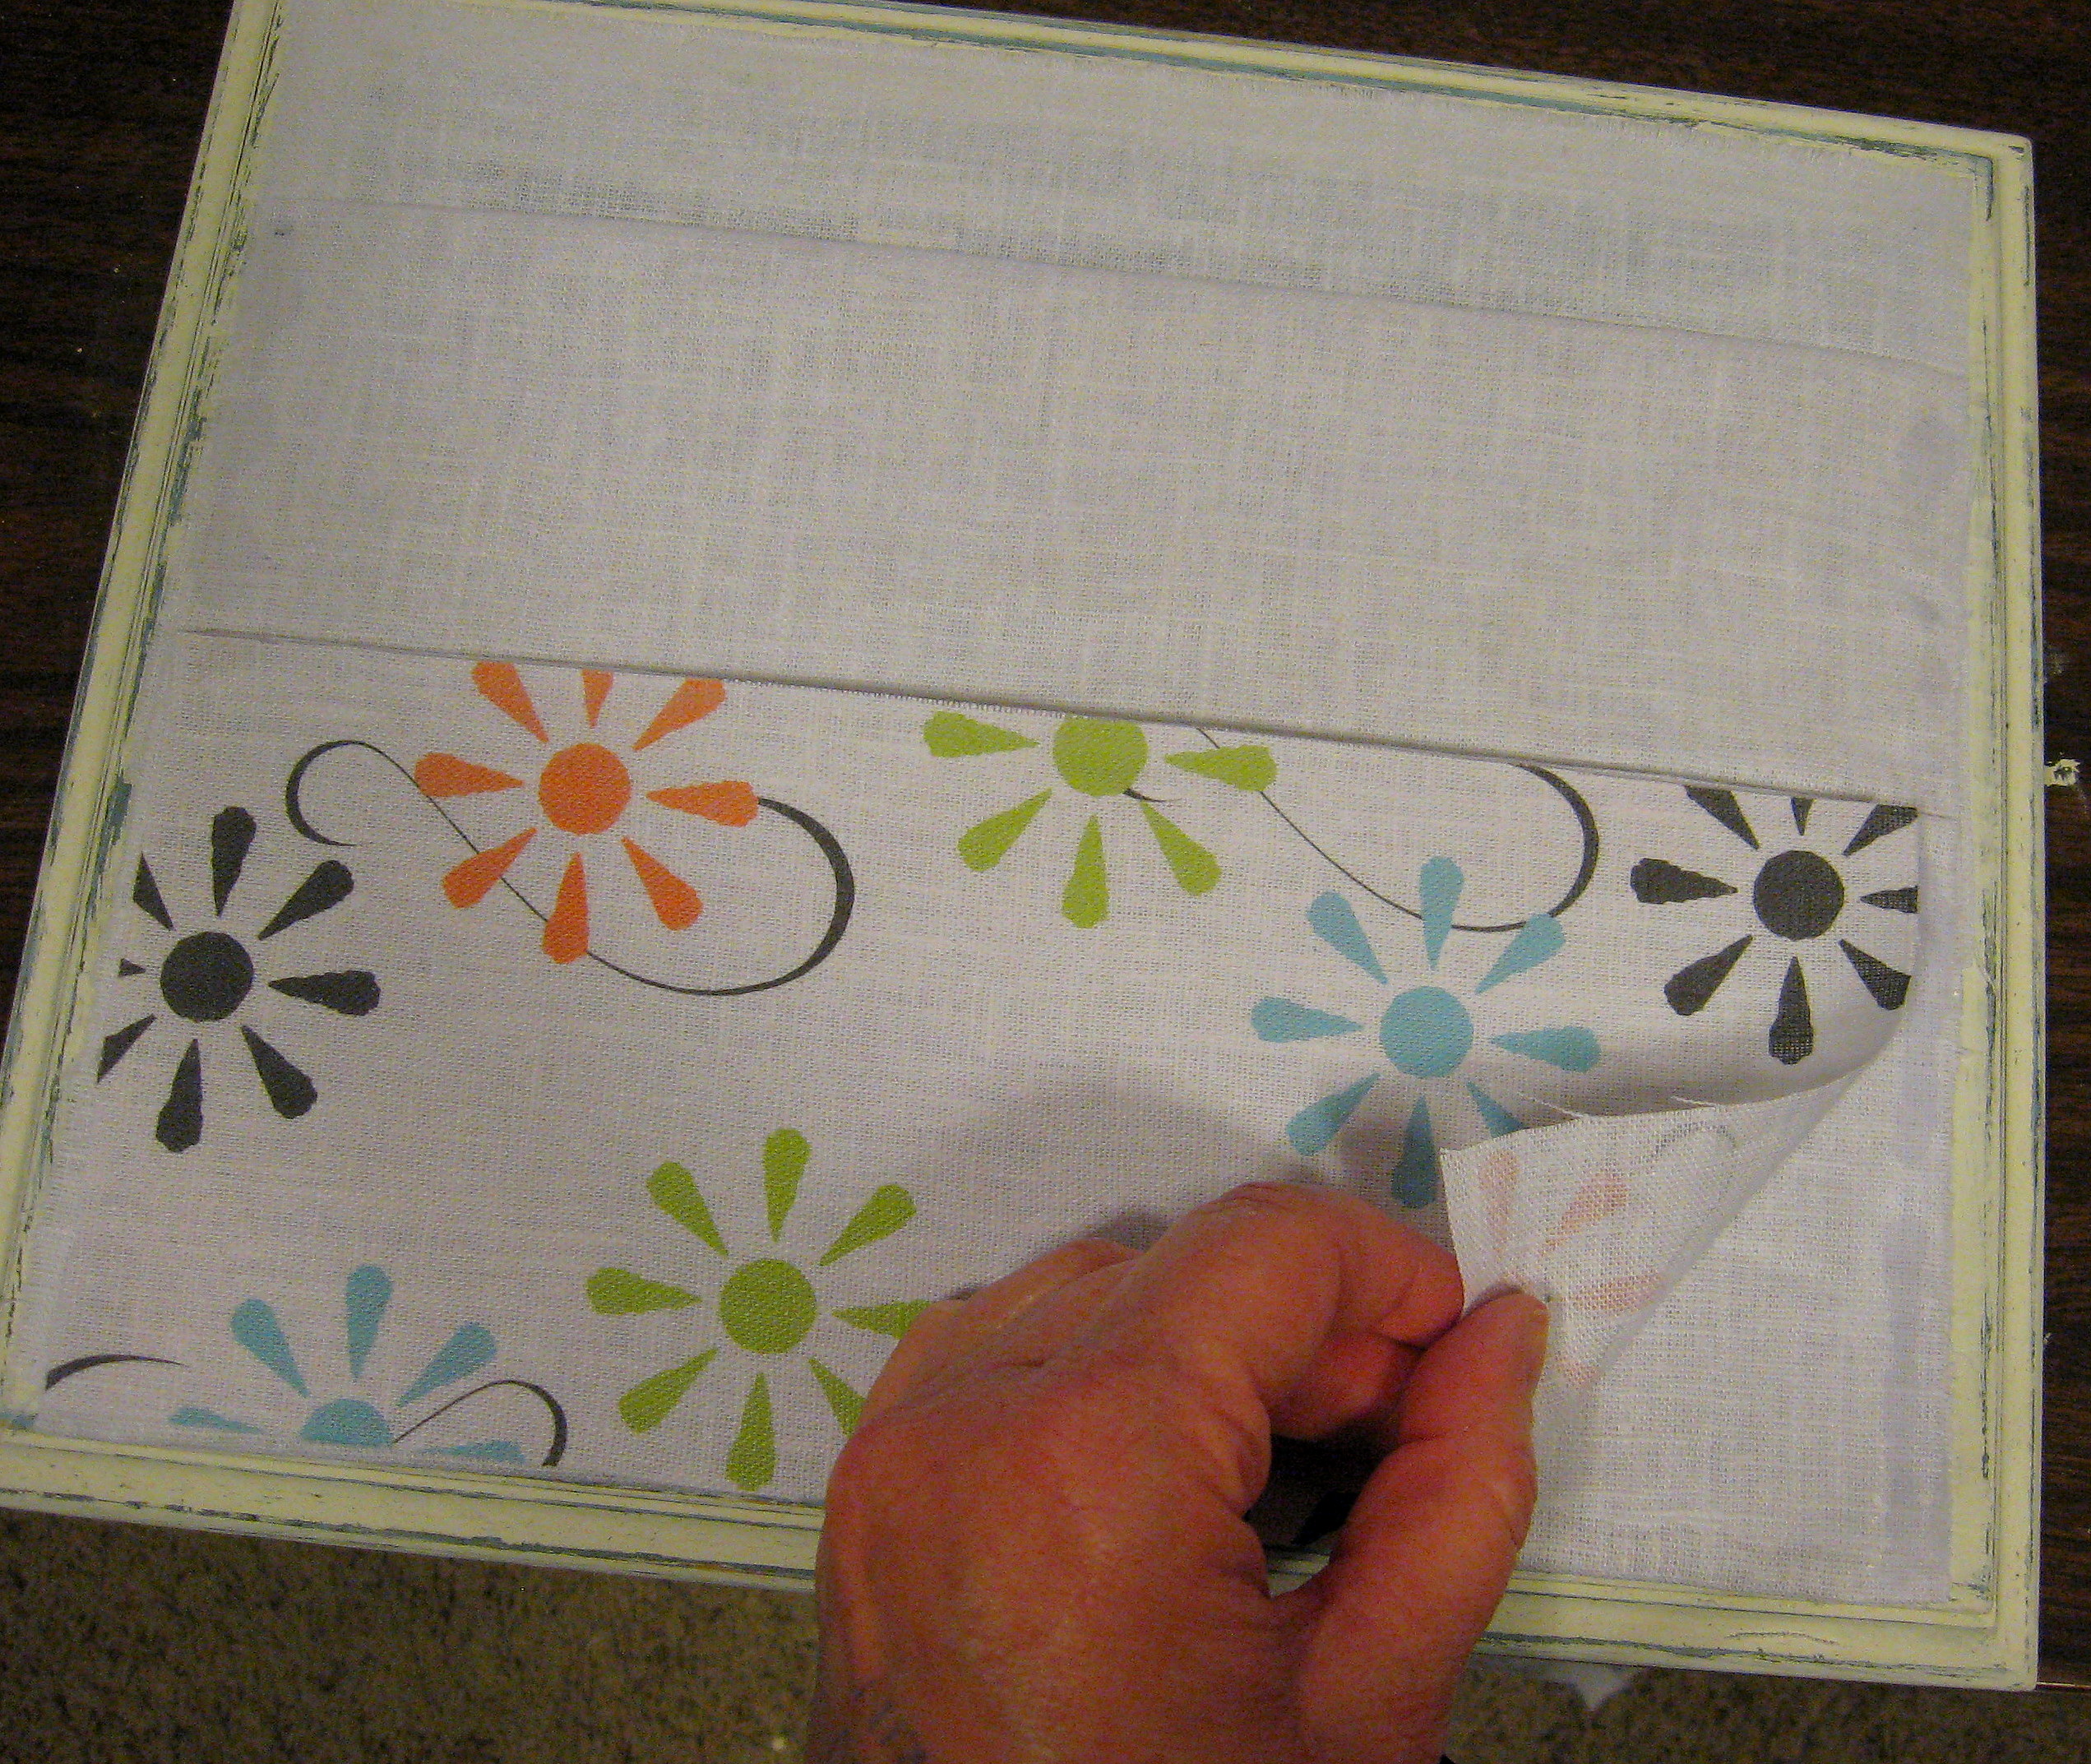
You could be done at this point, but I wanted mine a little more embellished. I used the fabric piece that I printed on (see that tutorial here) and glued it onto the front of the bottom pocket.
Then I added small nails at the corners and at the folds of the pockets, both to strengthen those stress points, and to add visual interest.
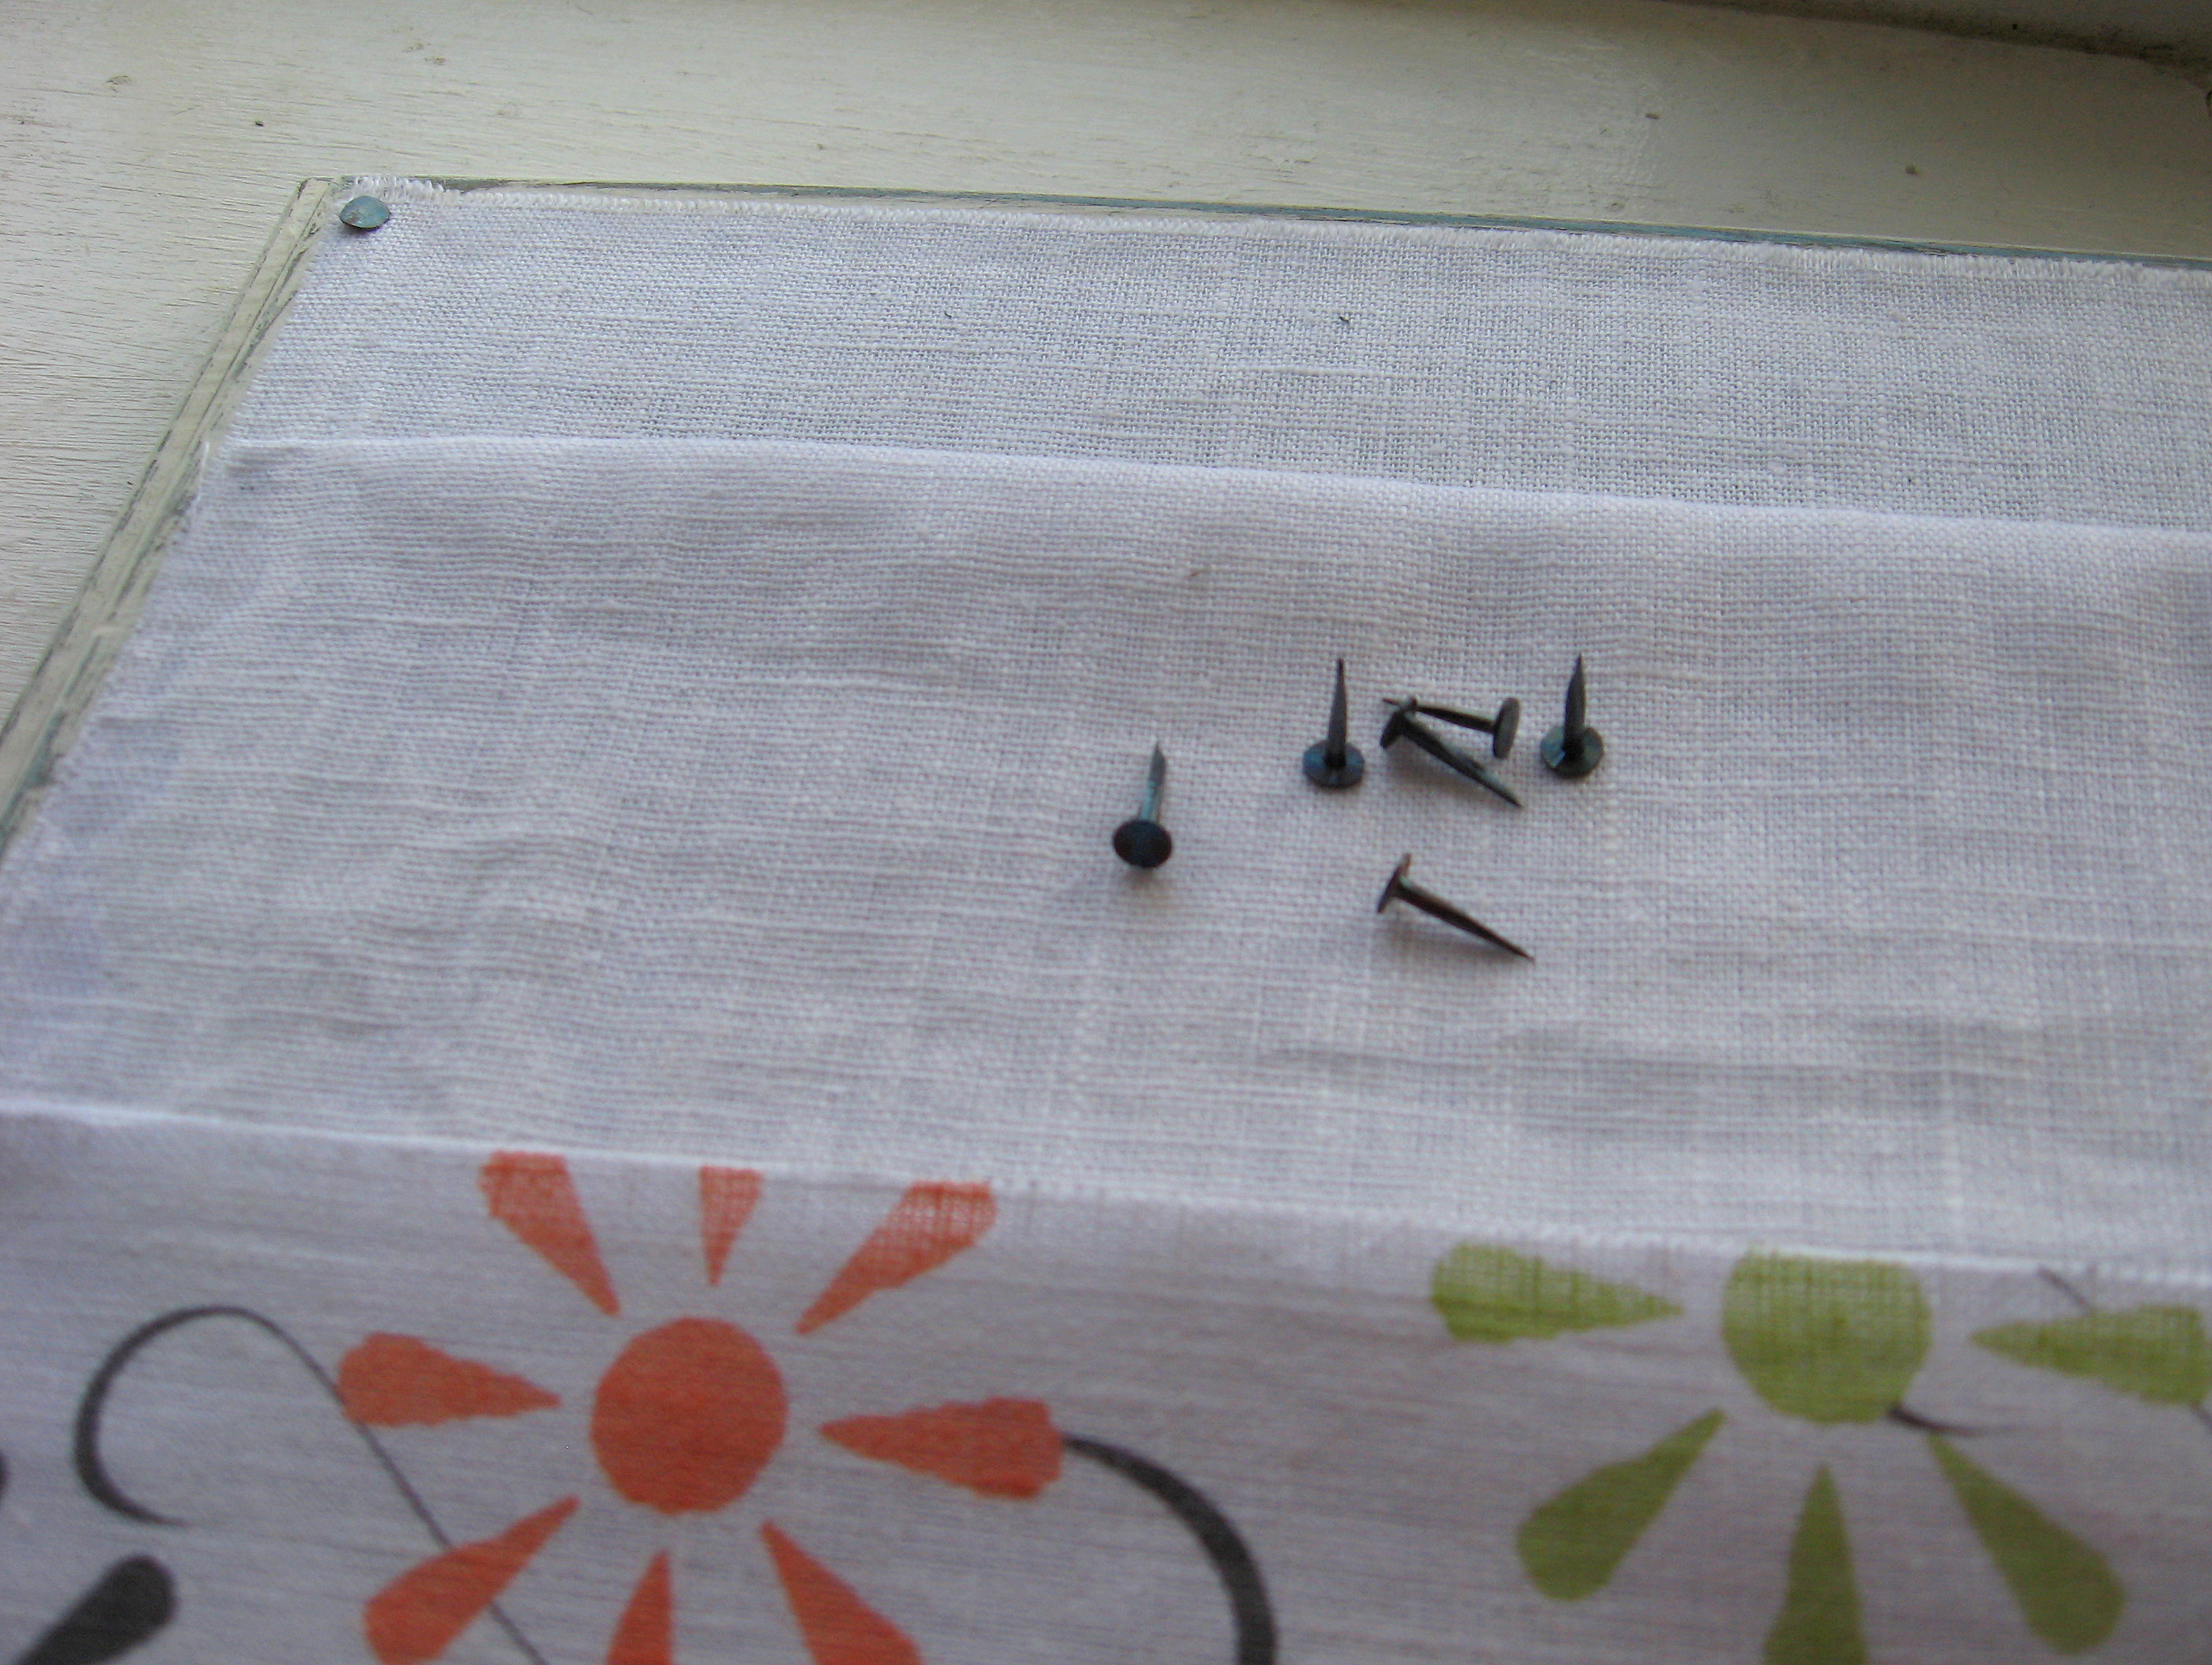
These are called carpet tacks and I just think they’re cute! You can get them in a small plastic package in the aisle with nails and screws at any home improvement store.
To hang, I stapled a piece of ribbon to the back.
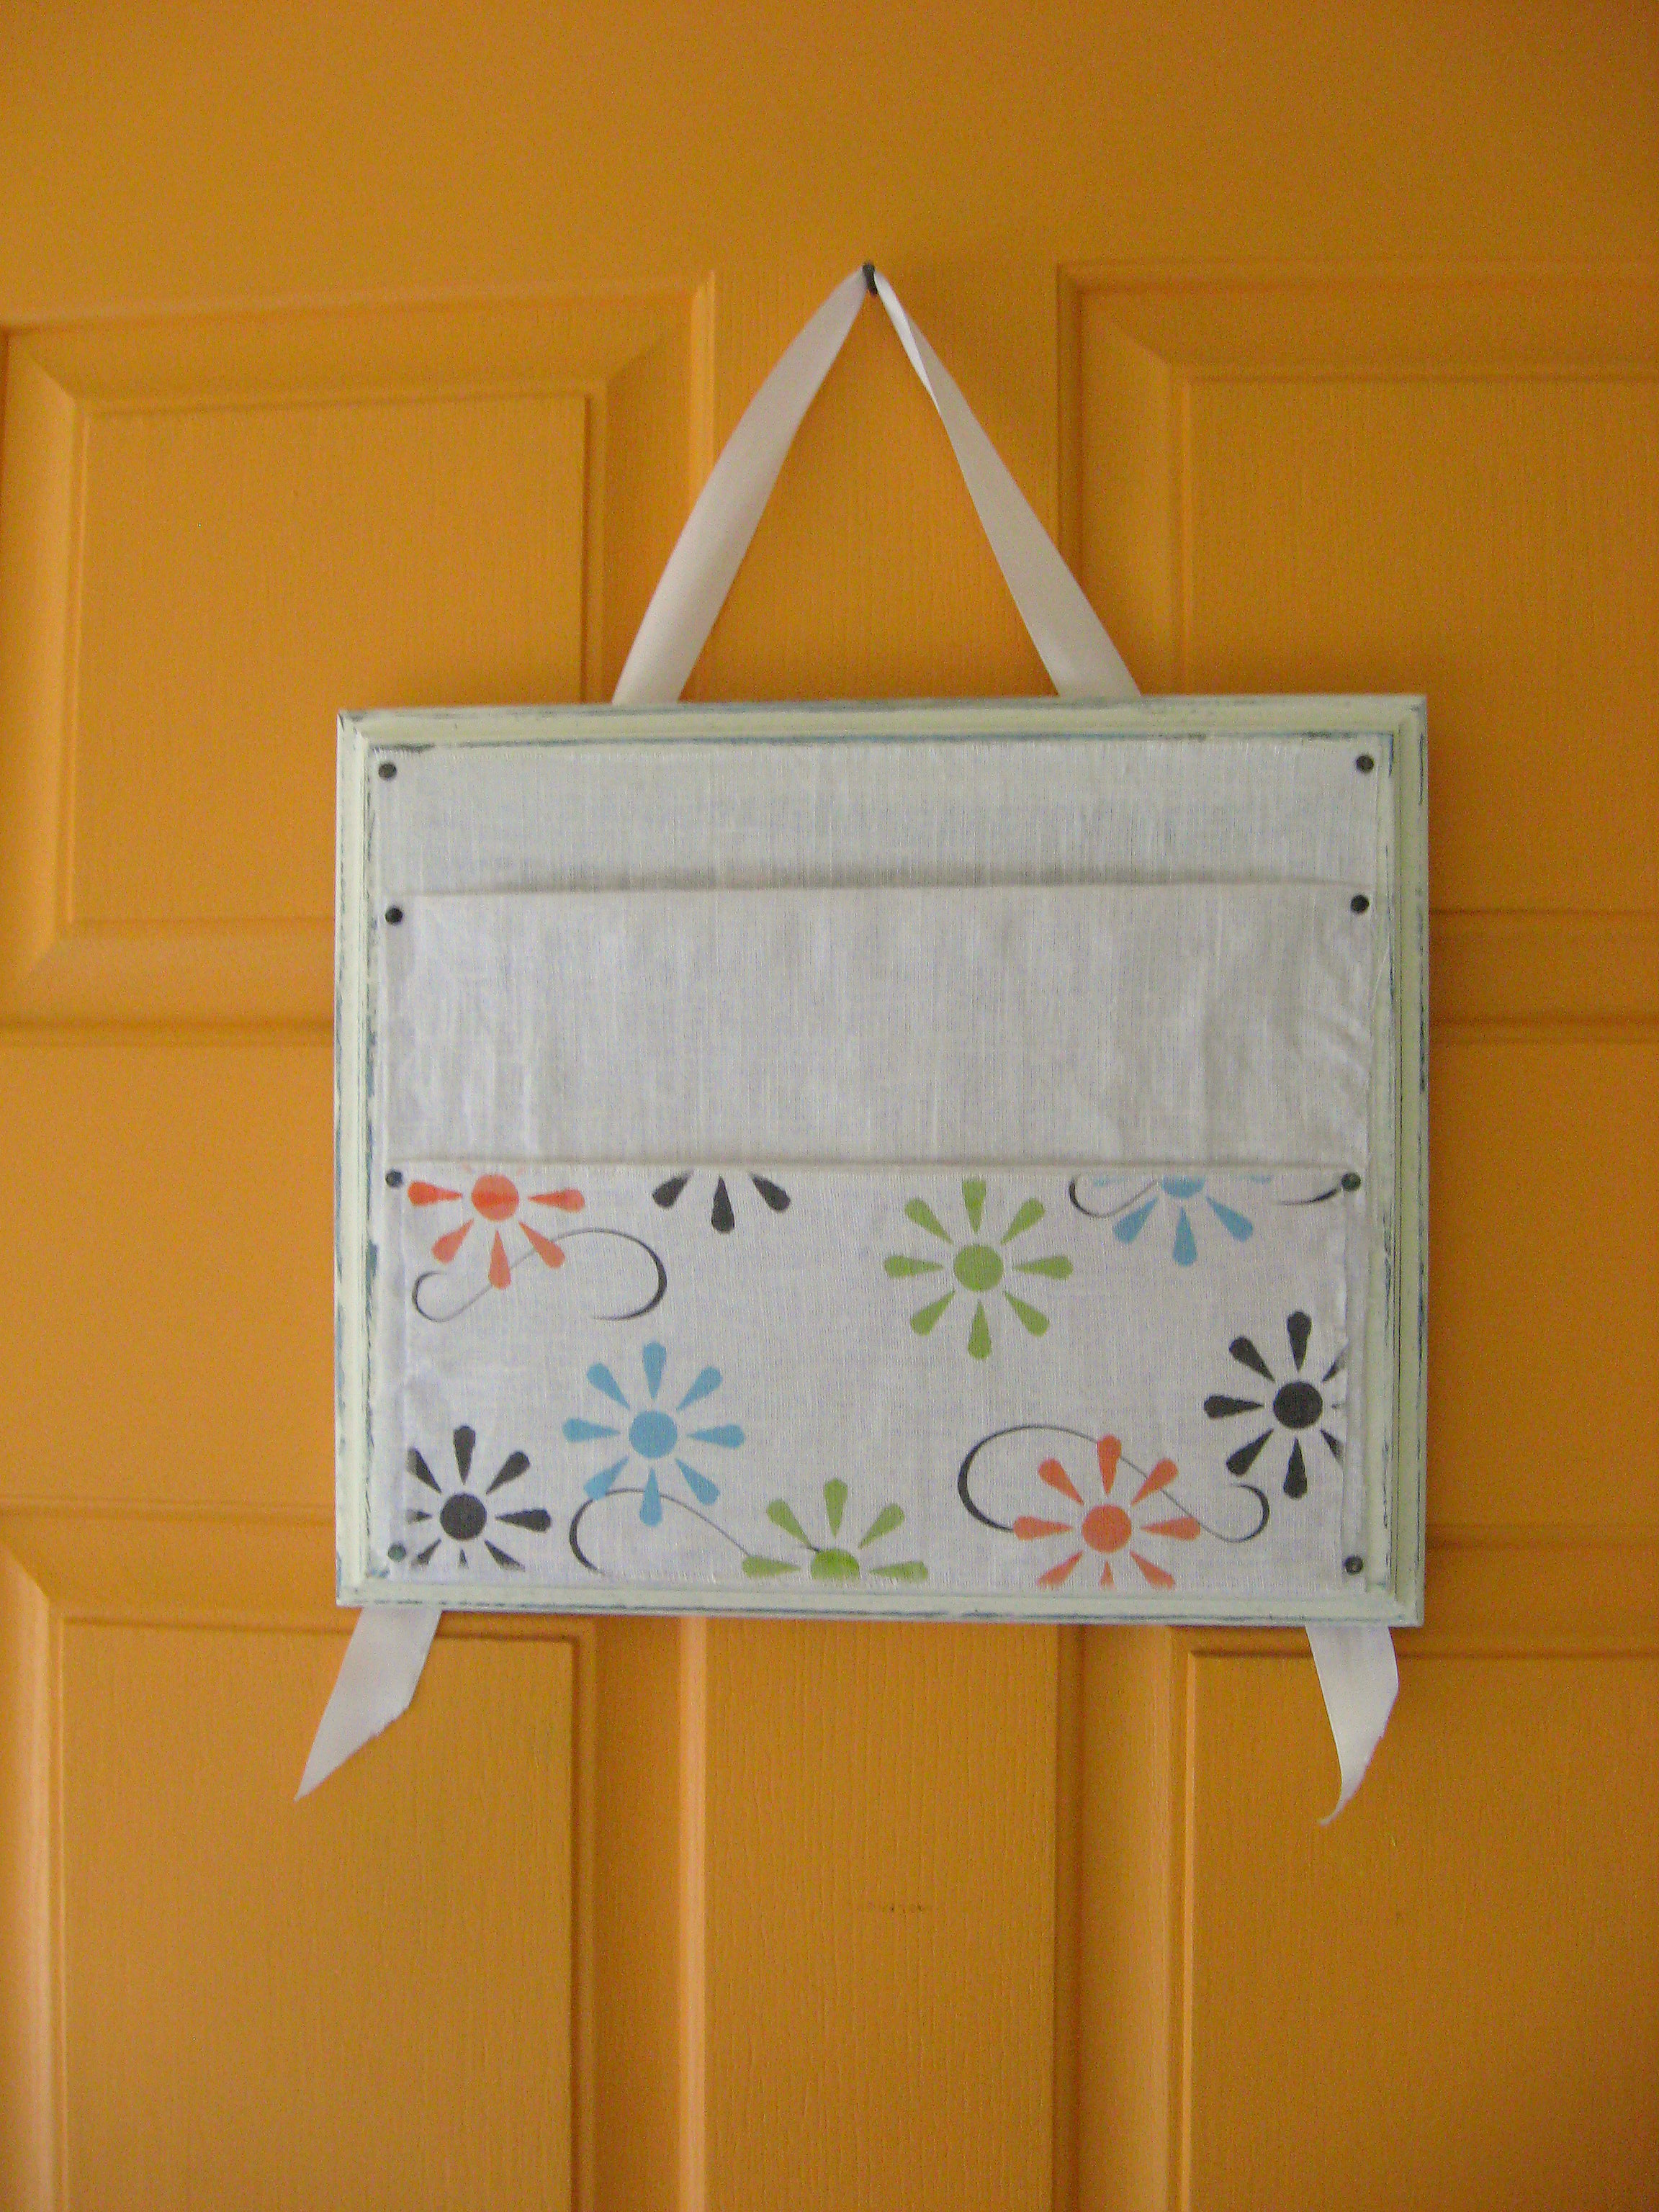
All done!