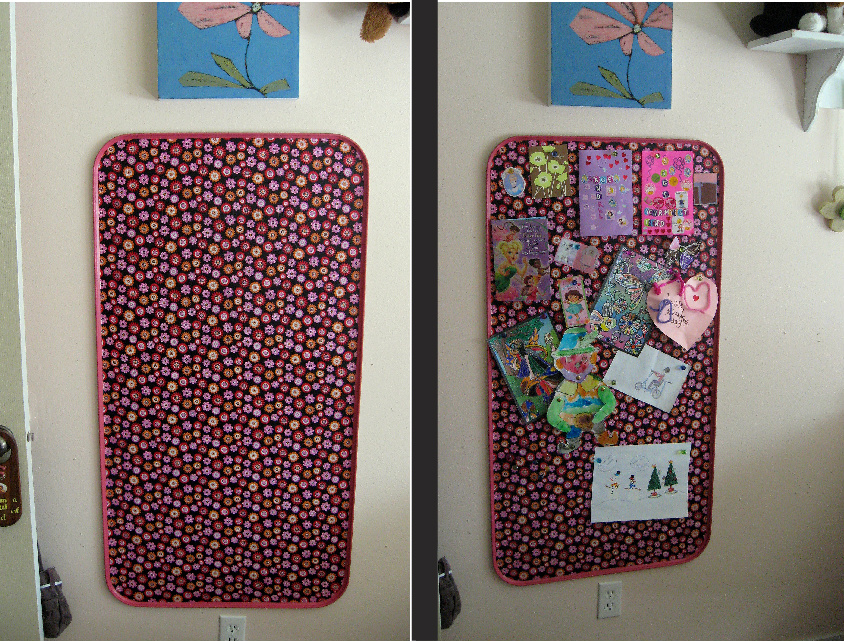
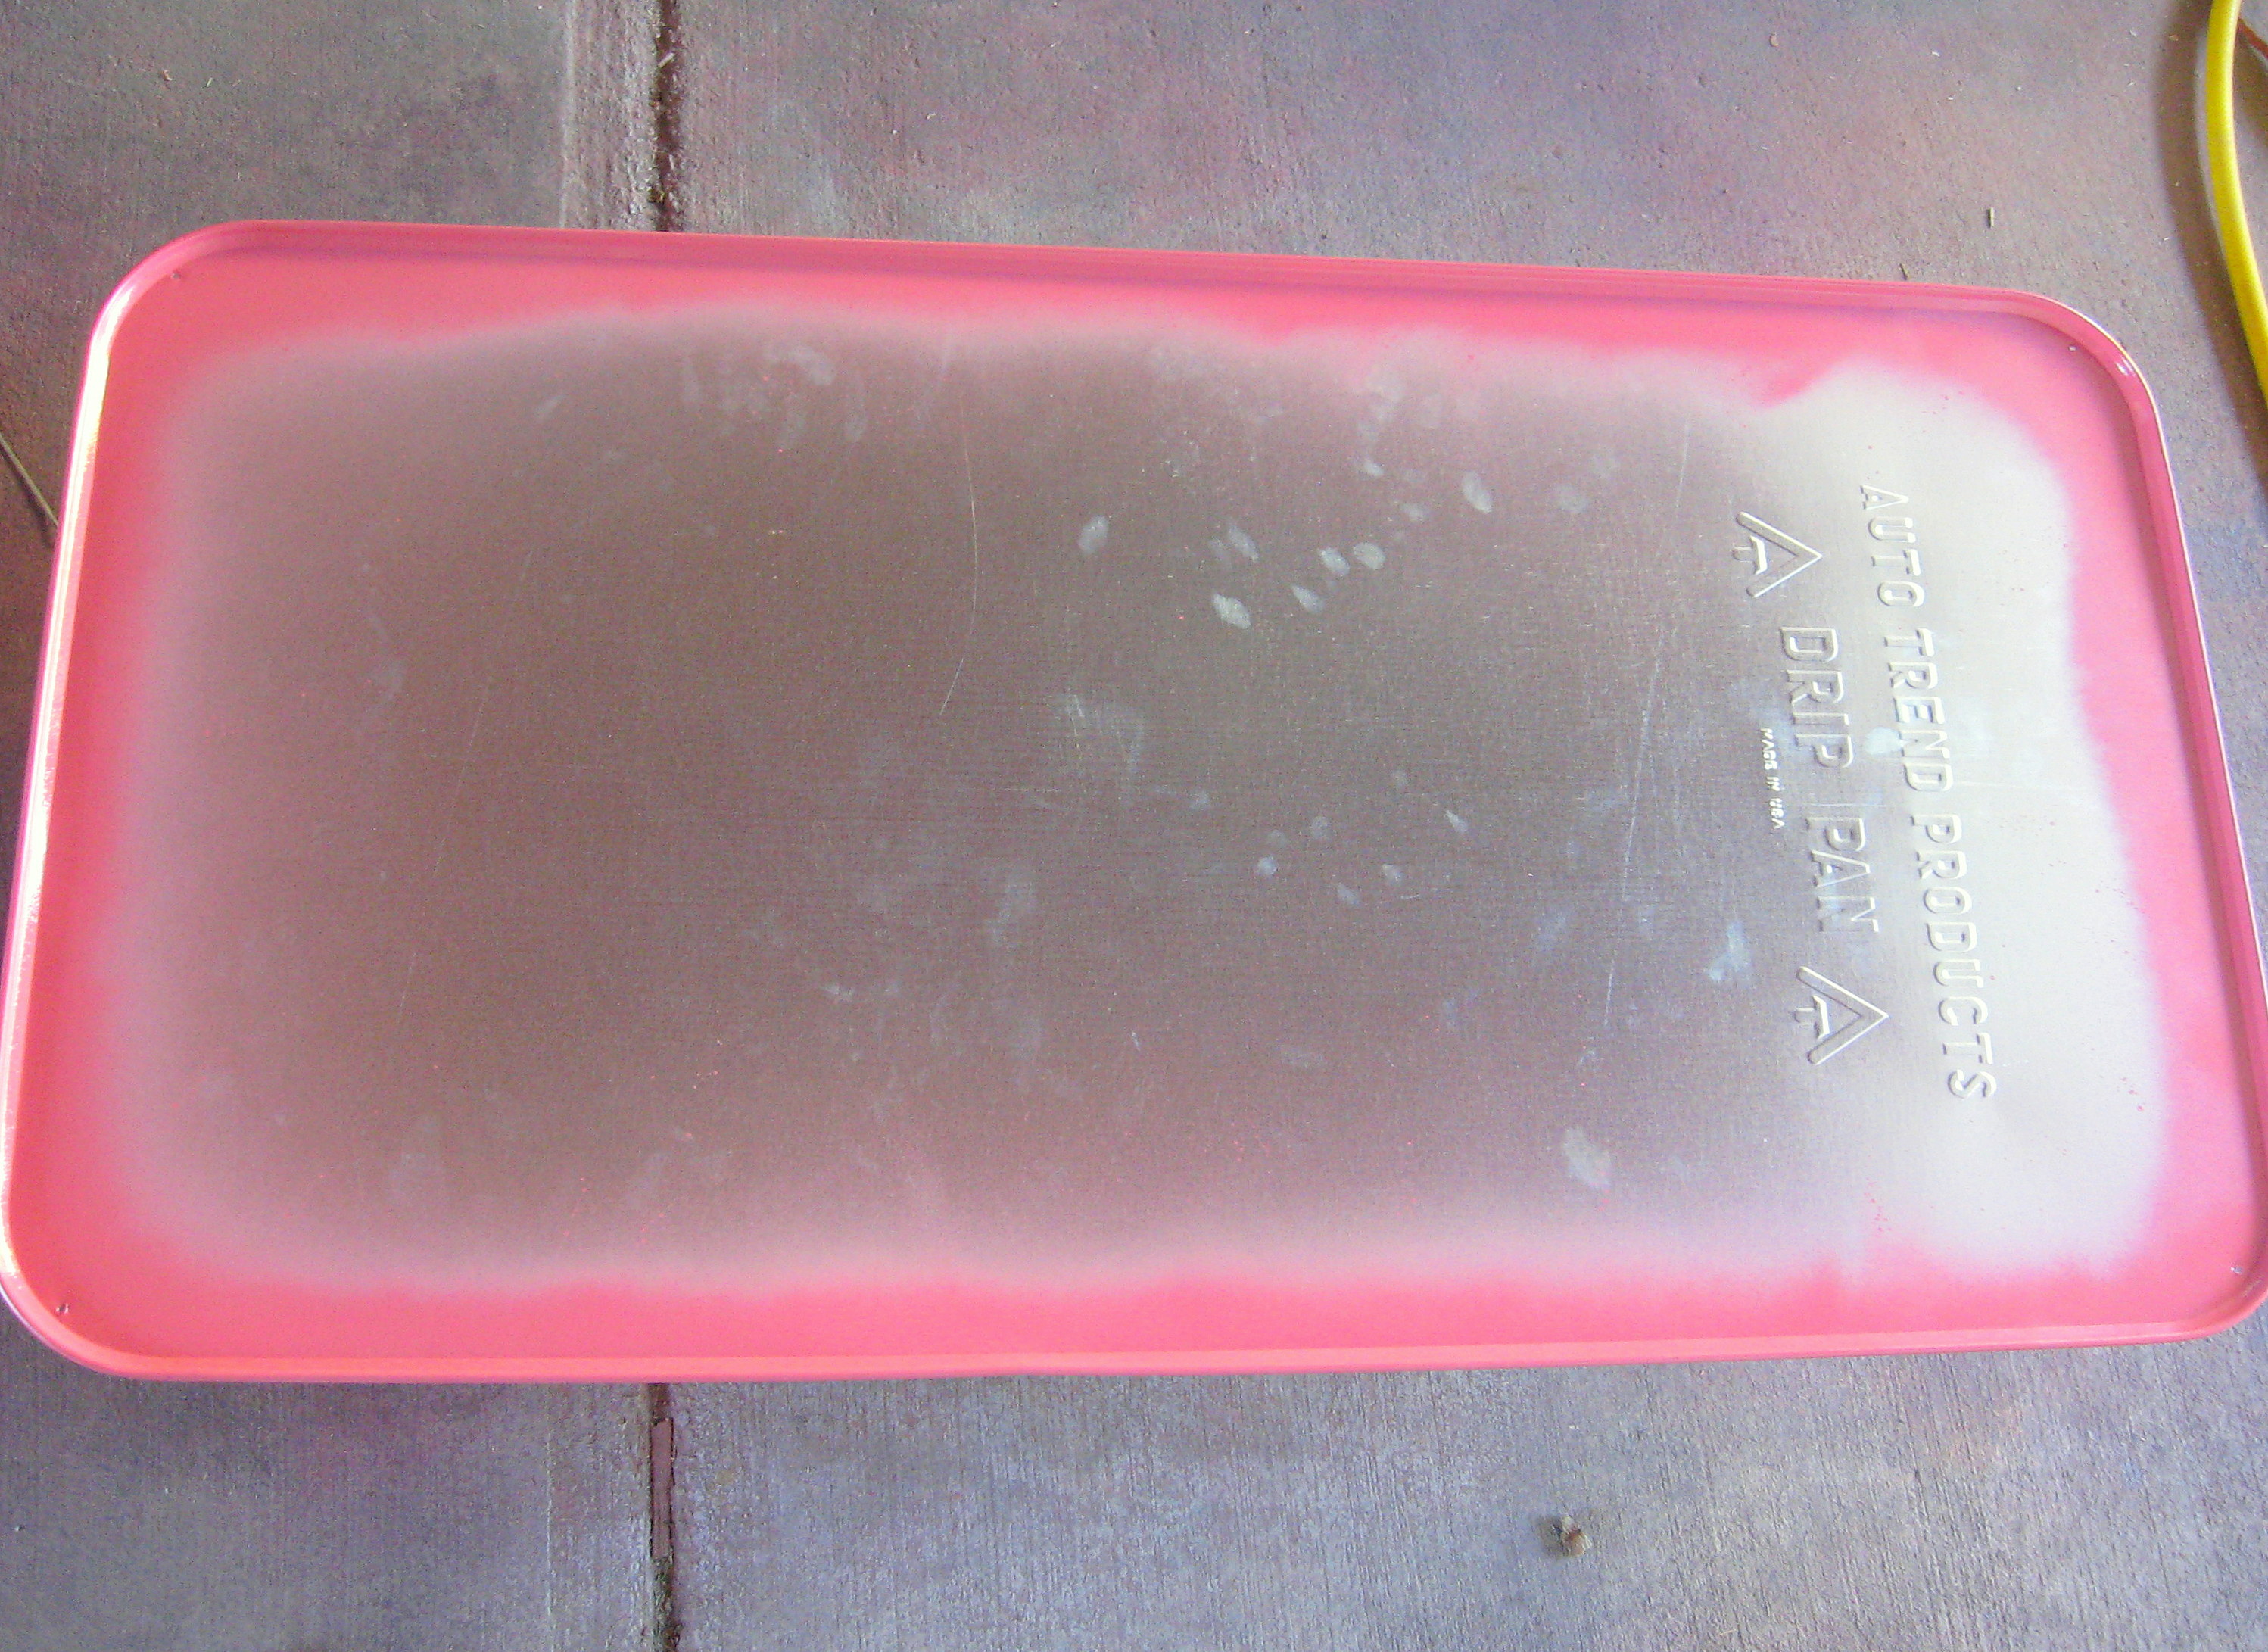
Have you seen these?
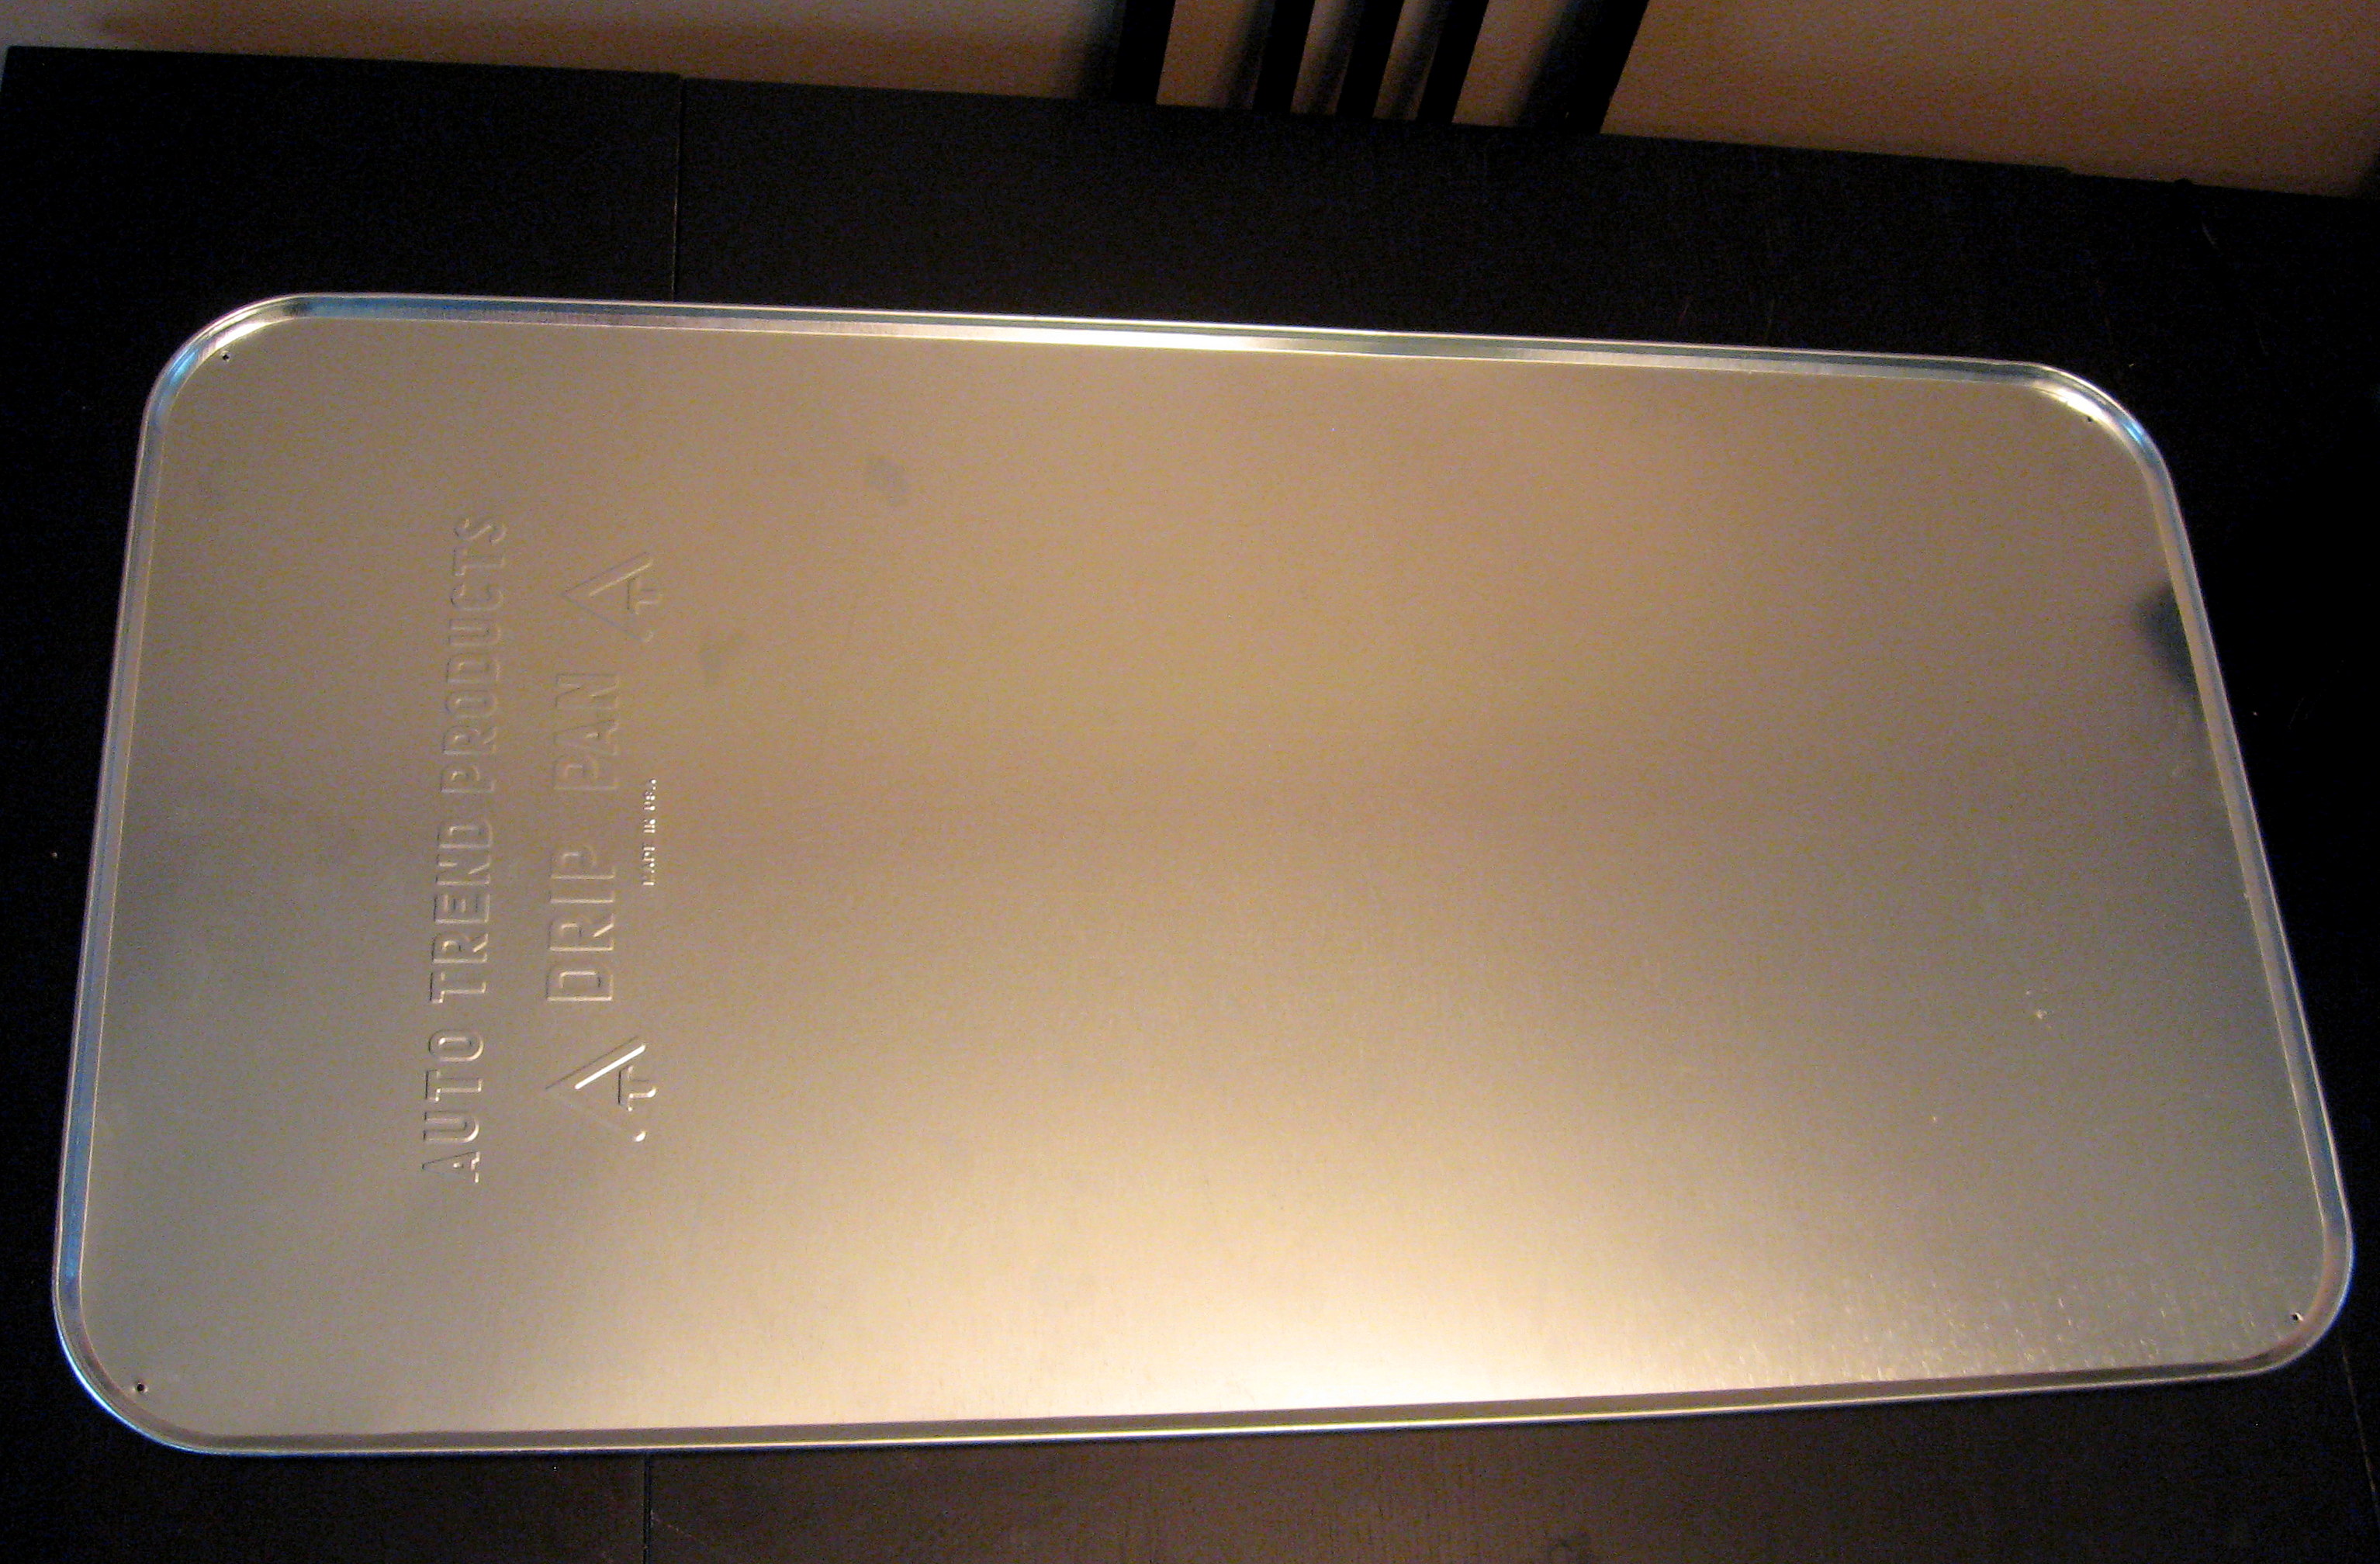
They look like an enormous cookie sheet, but they are drip pans to put under your car. They are big – about 2′ X 4′ – and you can get them at Walmart for about $11. I have had one in my craft area for awhile that I use as a magnet board. I needed one for my daughter’s room, and loved the size of these, but I knew the silver wouldn’t work in her pink room, so I pulled out my trusty Mod Podge and went for it!
You’ll need:
Drip Pan
Spray Paint
Fabric
Mod Podge
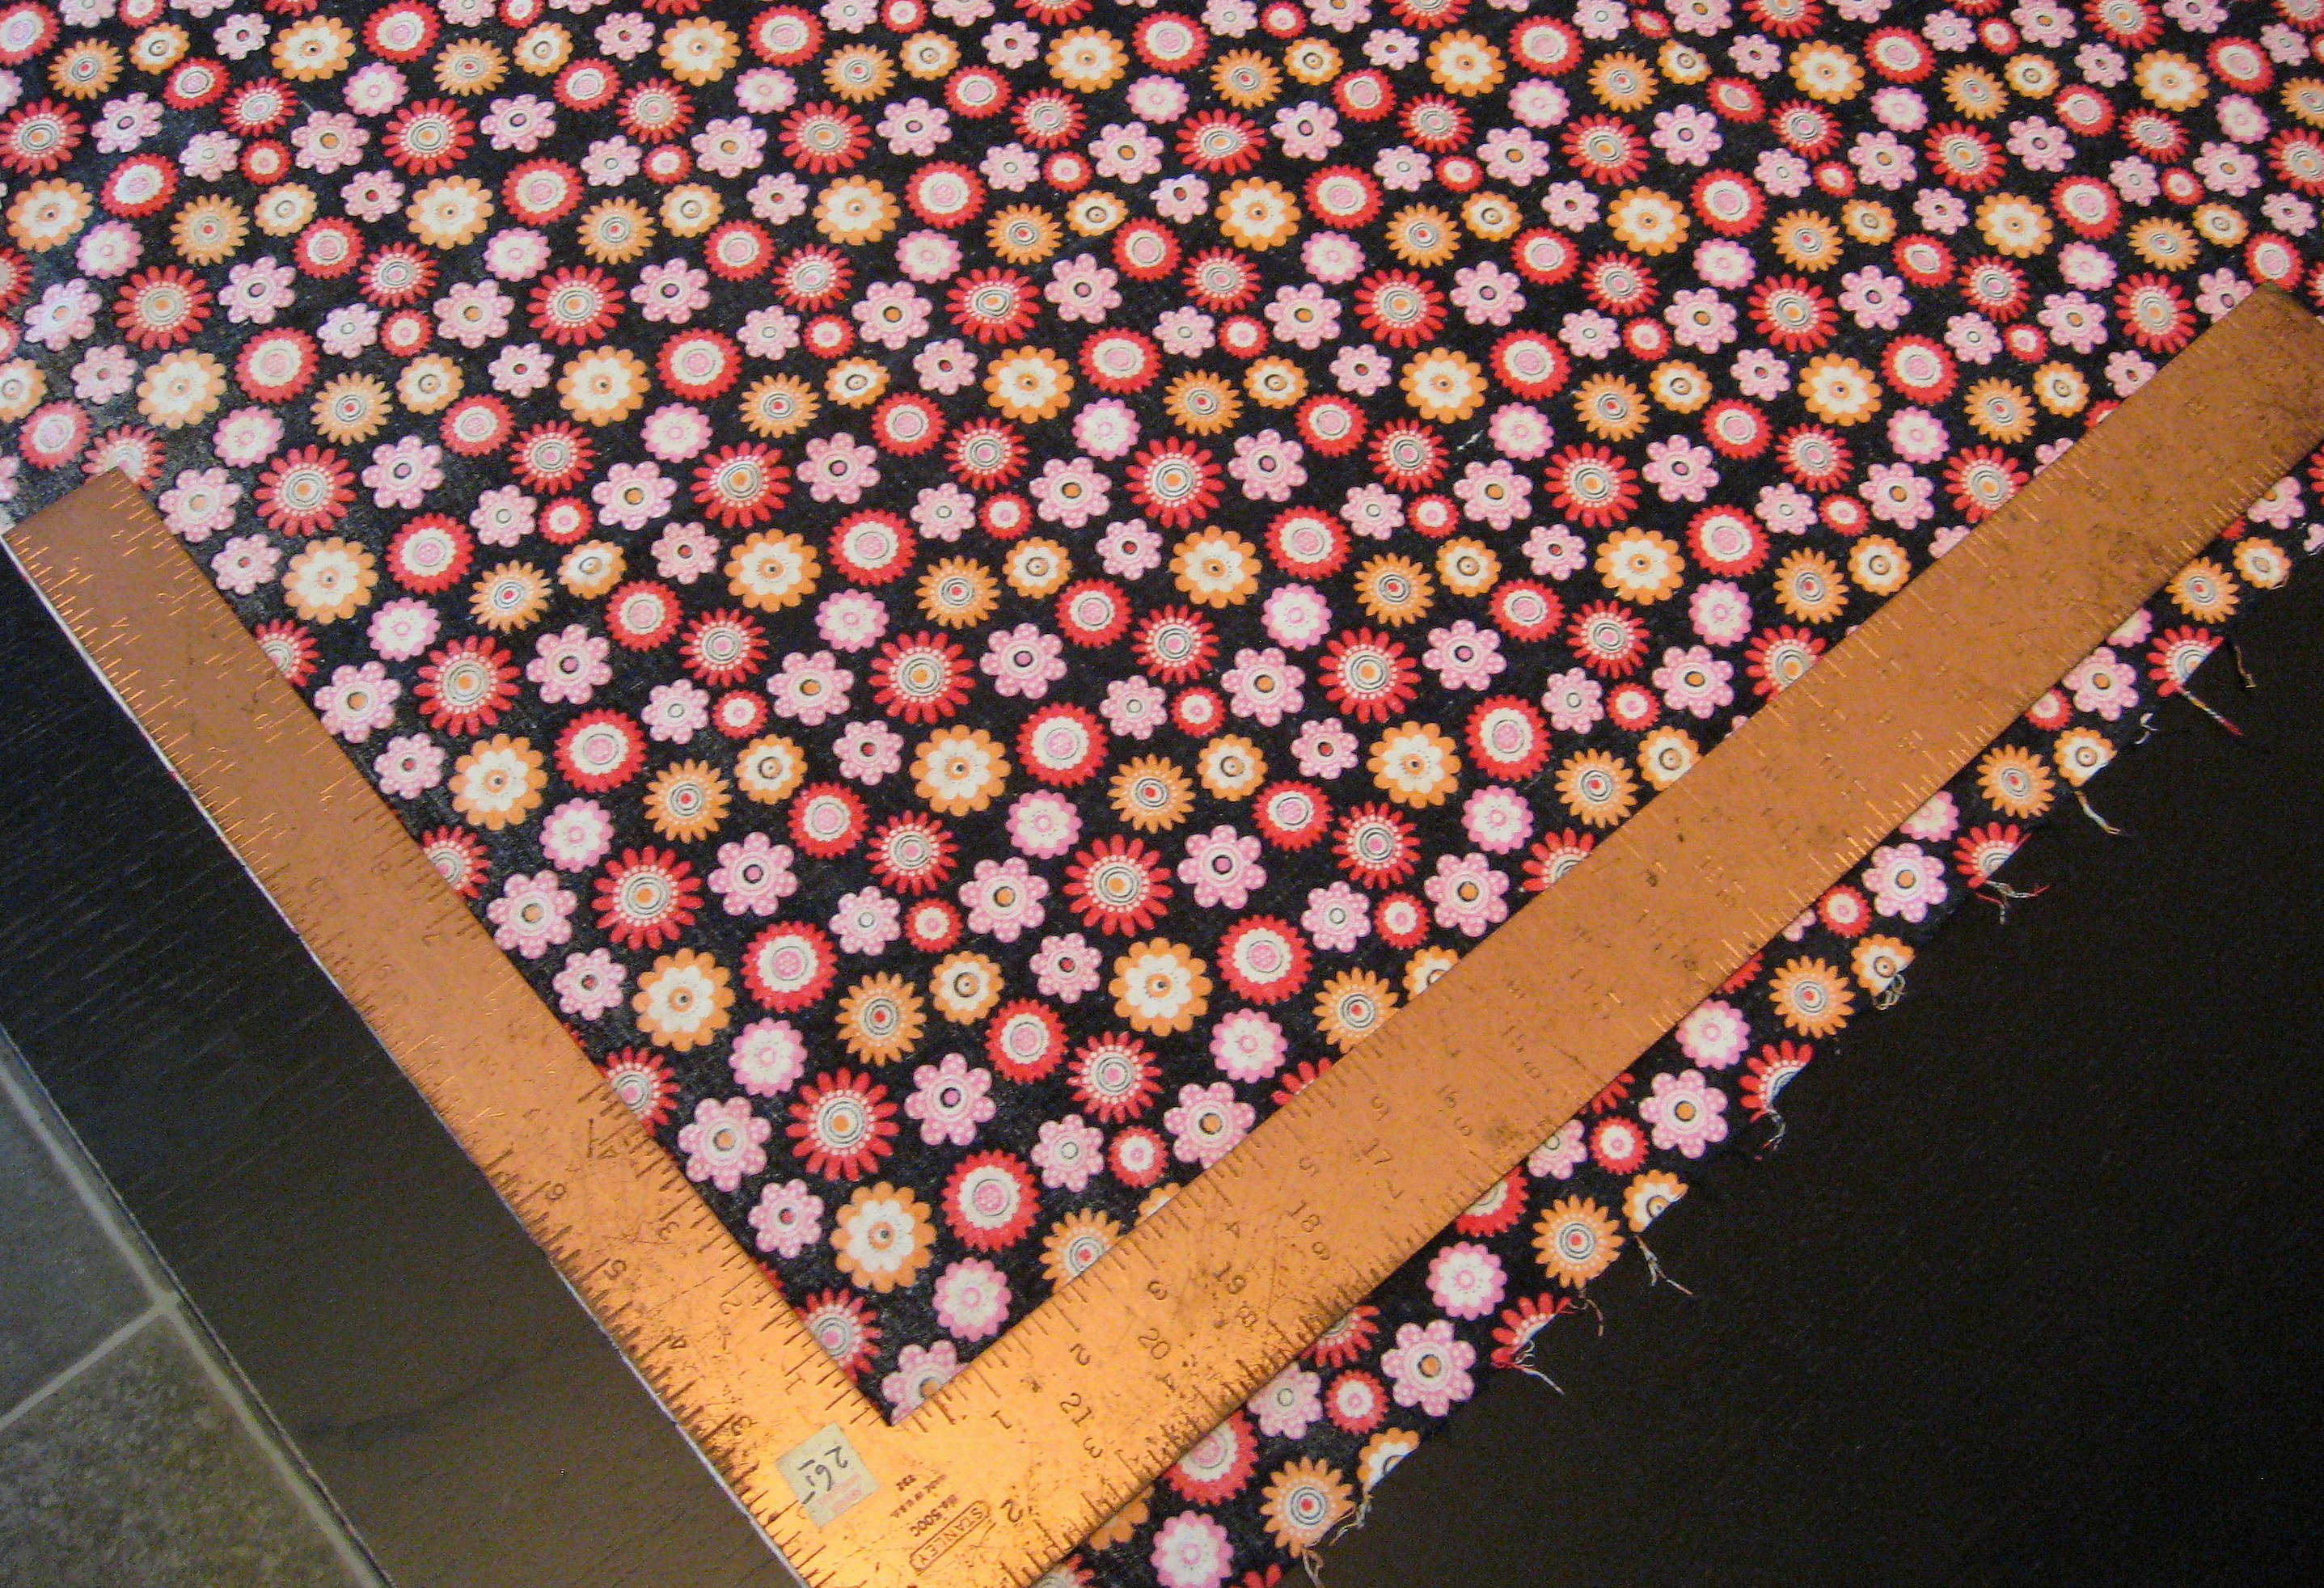
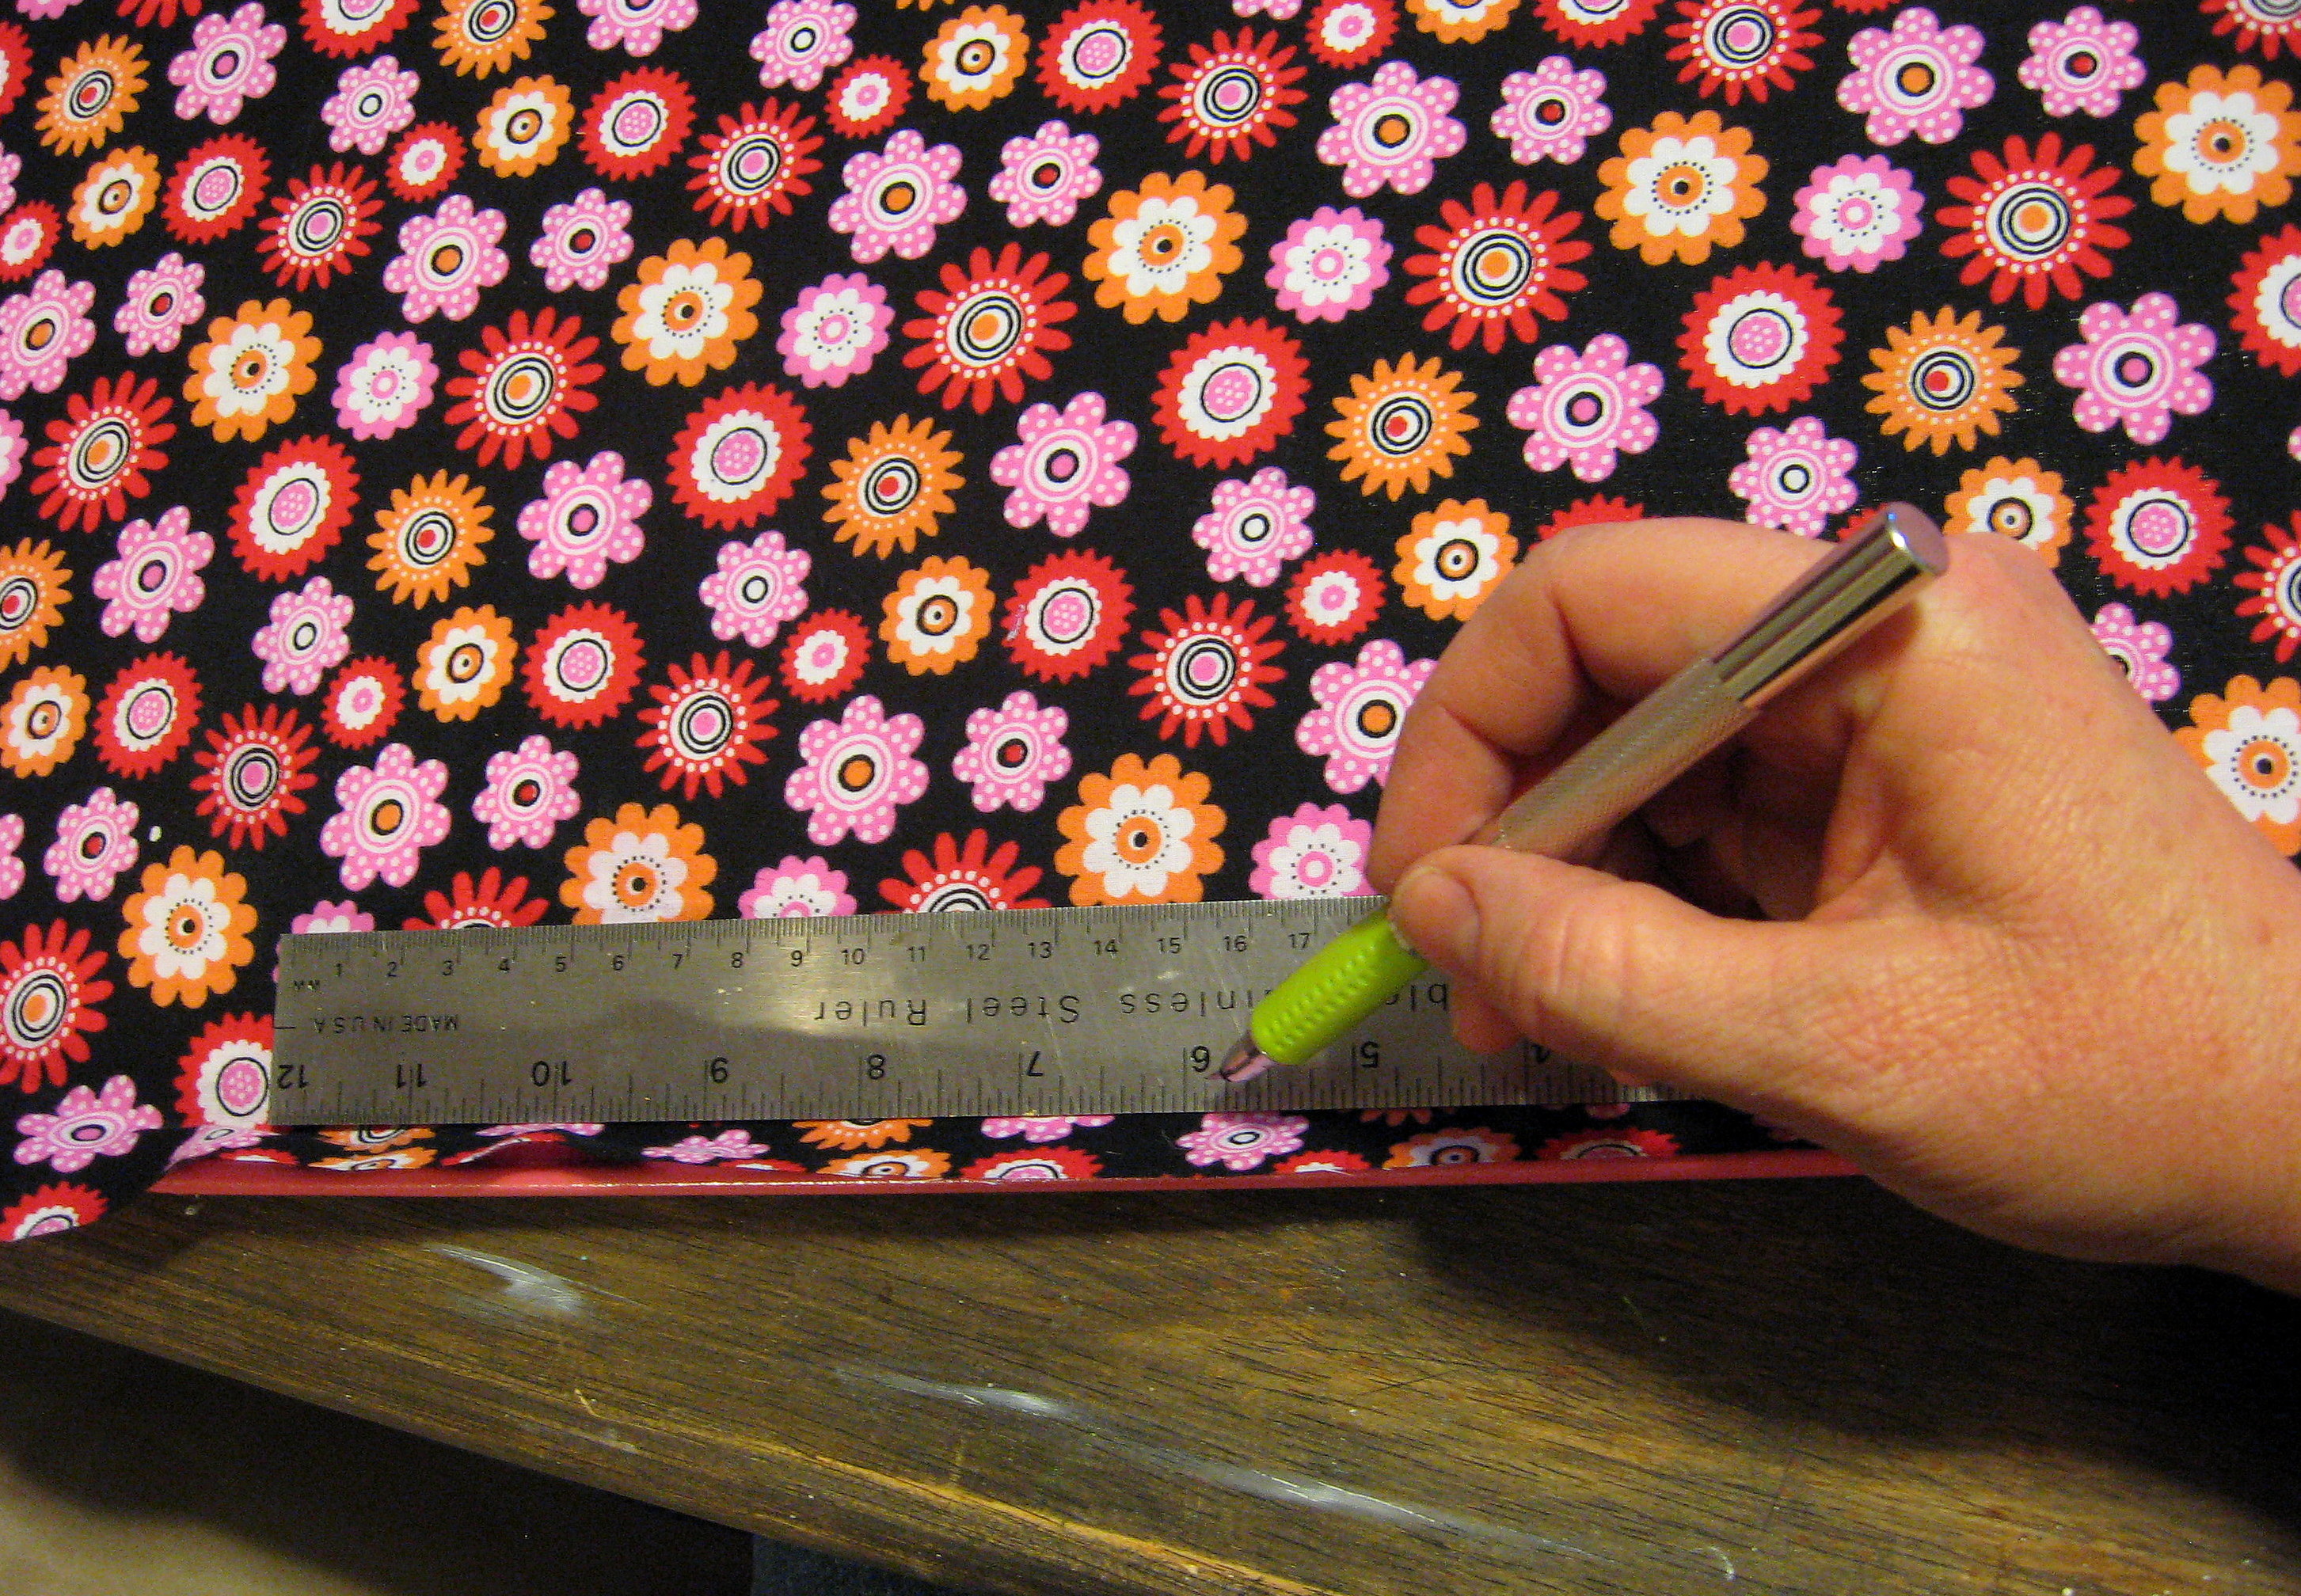
I started by cutting my fabric into a rectangle just a little bit larger than the dimensions of the drip pan – maybe an inch or so. The fabric will stretch a little as you Mod Podge it on, and you will cut off the extra when you’re finished, so you really only need to make sure that two adjacent sides are square and straight. If you have a rotary cutter and mat, you’ll want to use that. I don’t, so I used a carpenter’s square to mark it, then cut with scissors.
Put the fabric aside and paint the edges of the pan (you could save yourself this step by wrapping the fabric all the way around the edges to the back of the pan if you wanted to.)
You only need to do the edges, since the middle will be covered with fabric. I recommend using a high quality paint to lessen the chance of it scratching off of the metal. I like Krylon.
Once the paint is dry, find a big work space, make sure your kids are occupied and pop in a movie. Mod Podging fabric is a little trickier than paper and will take a little time and patience to get it all straight.
Start by lining up the two edges of your fabric that you cut straight with two adjacent sides of the pan. The corner will extend over; don’t worry about that yet.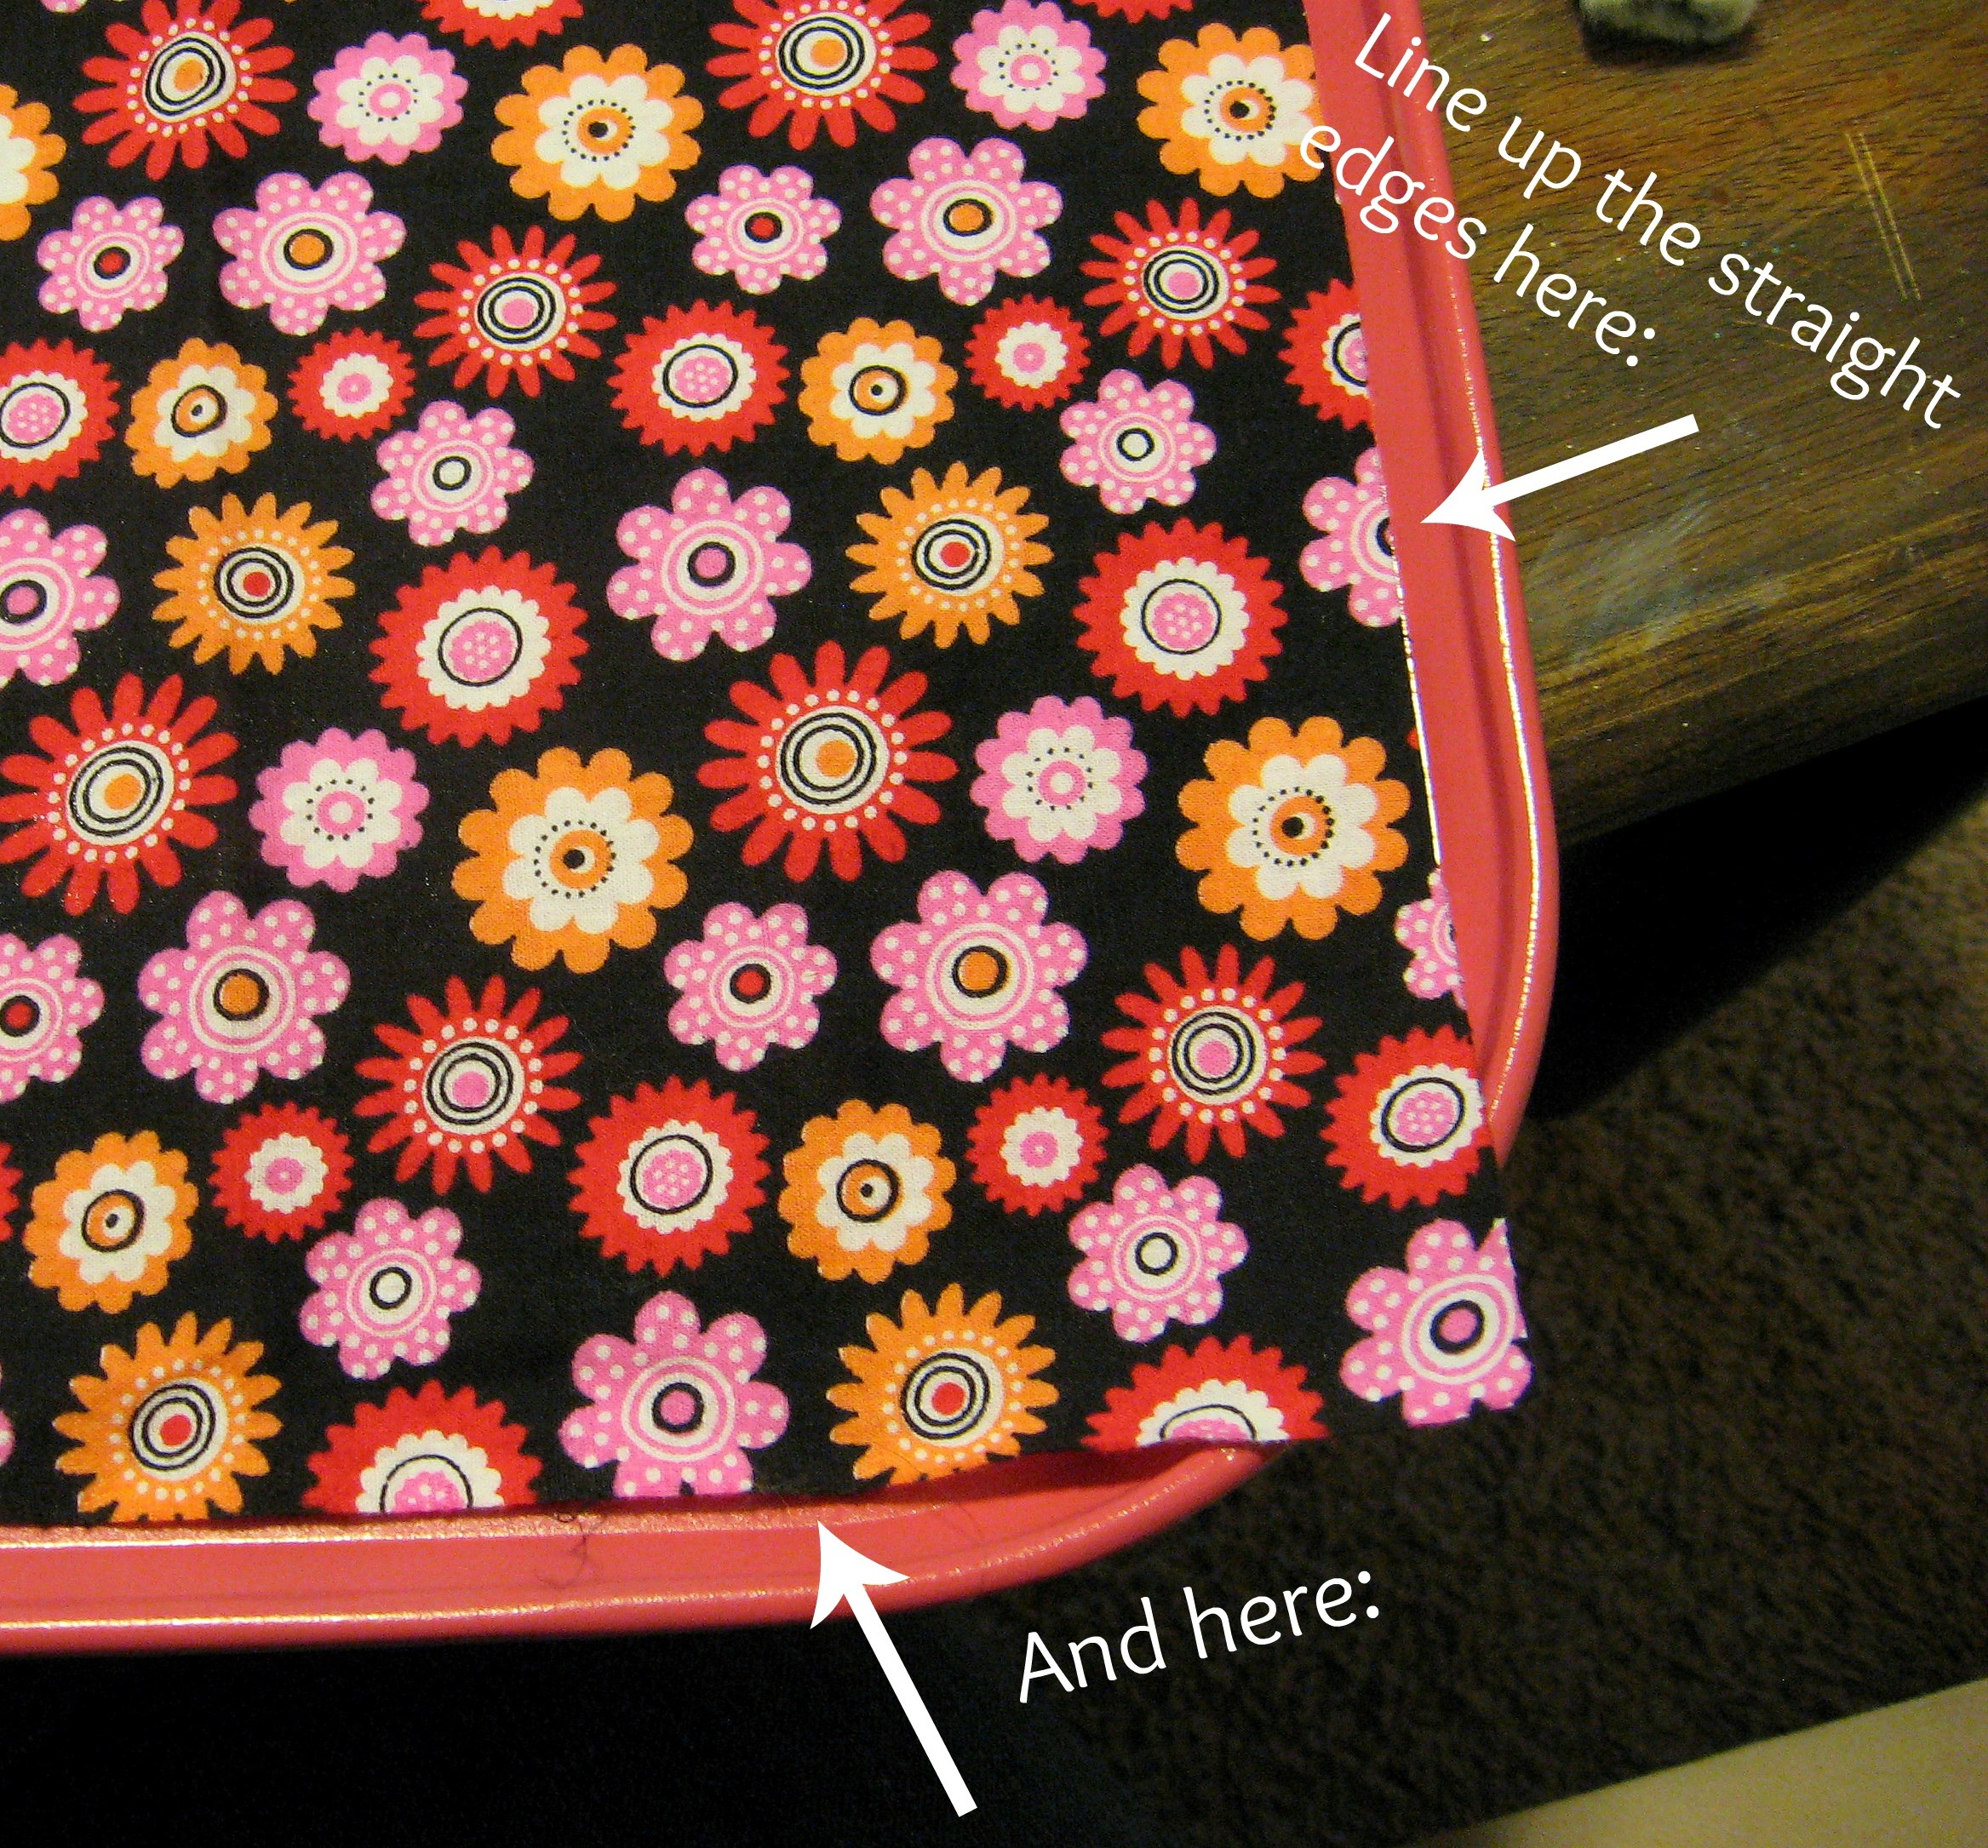
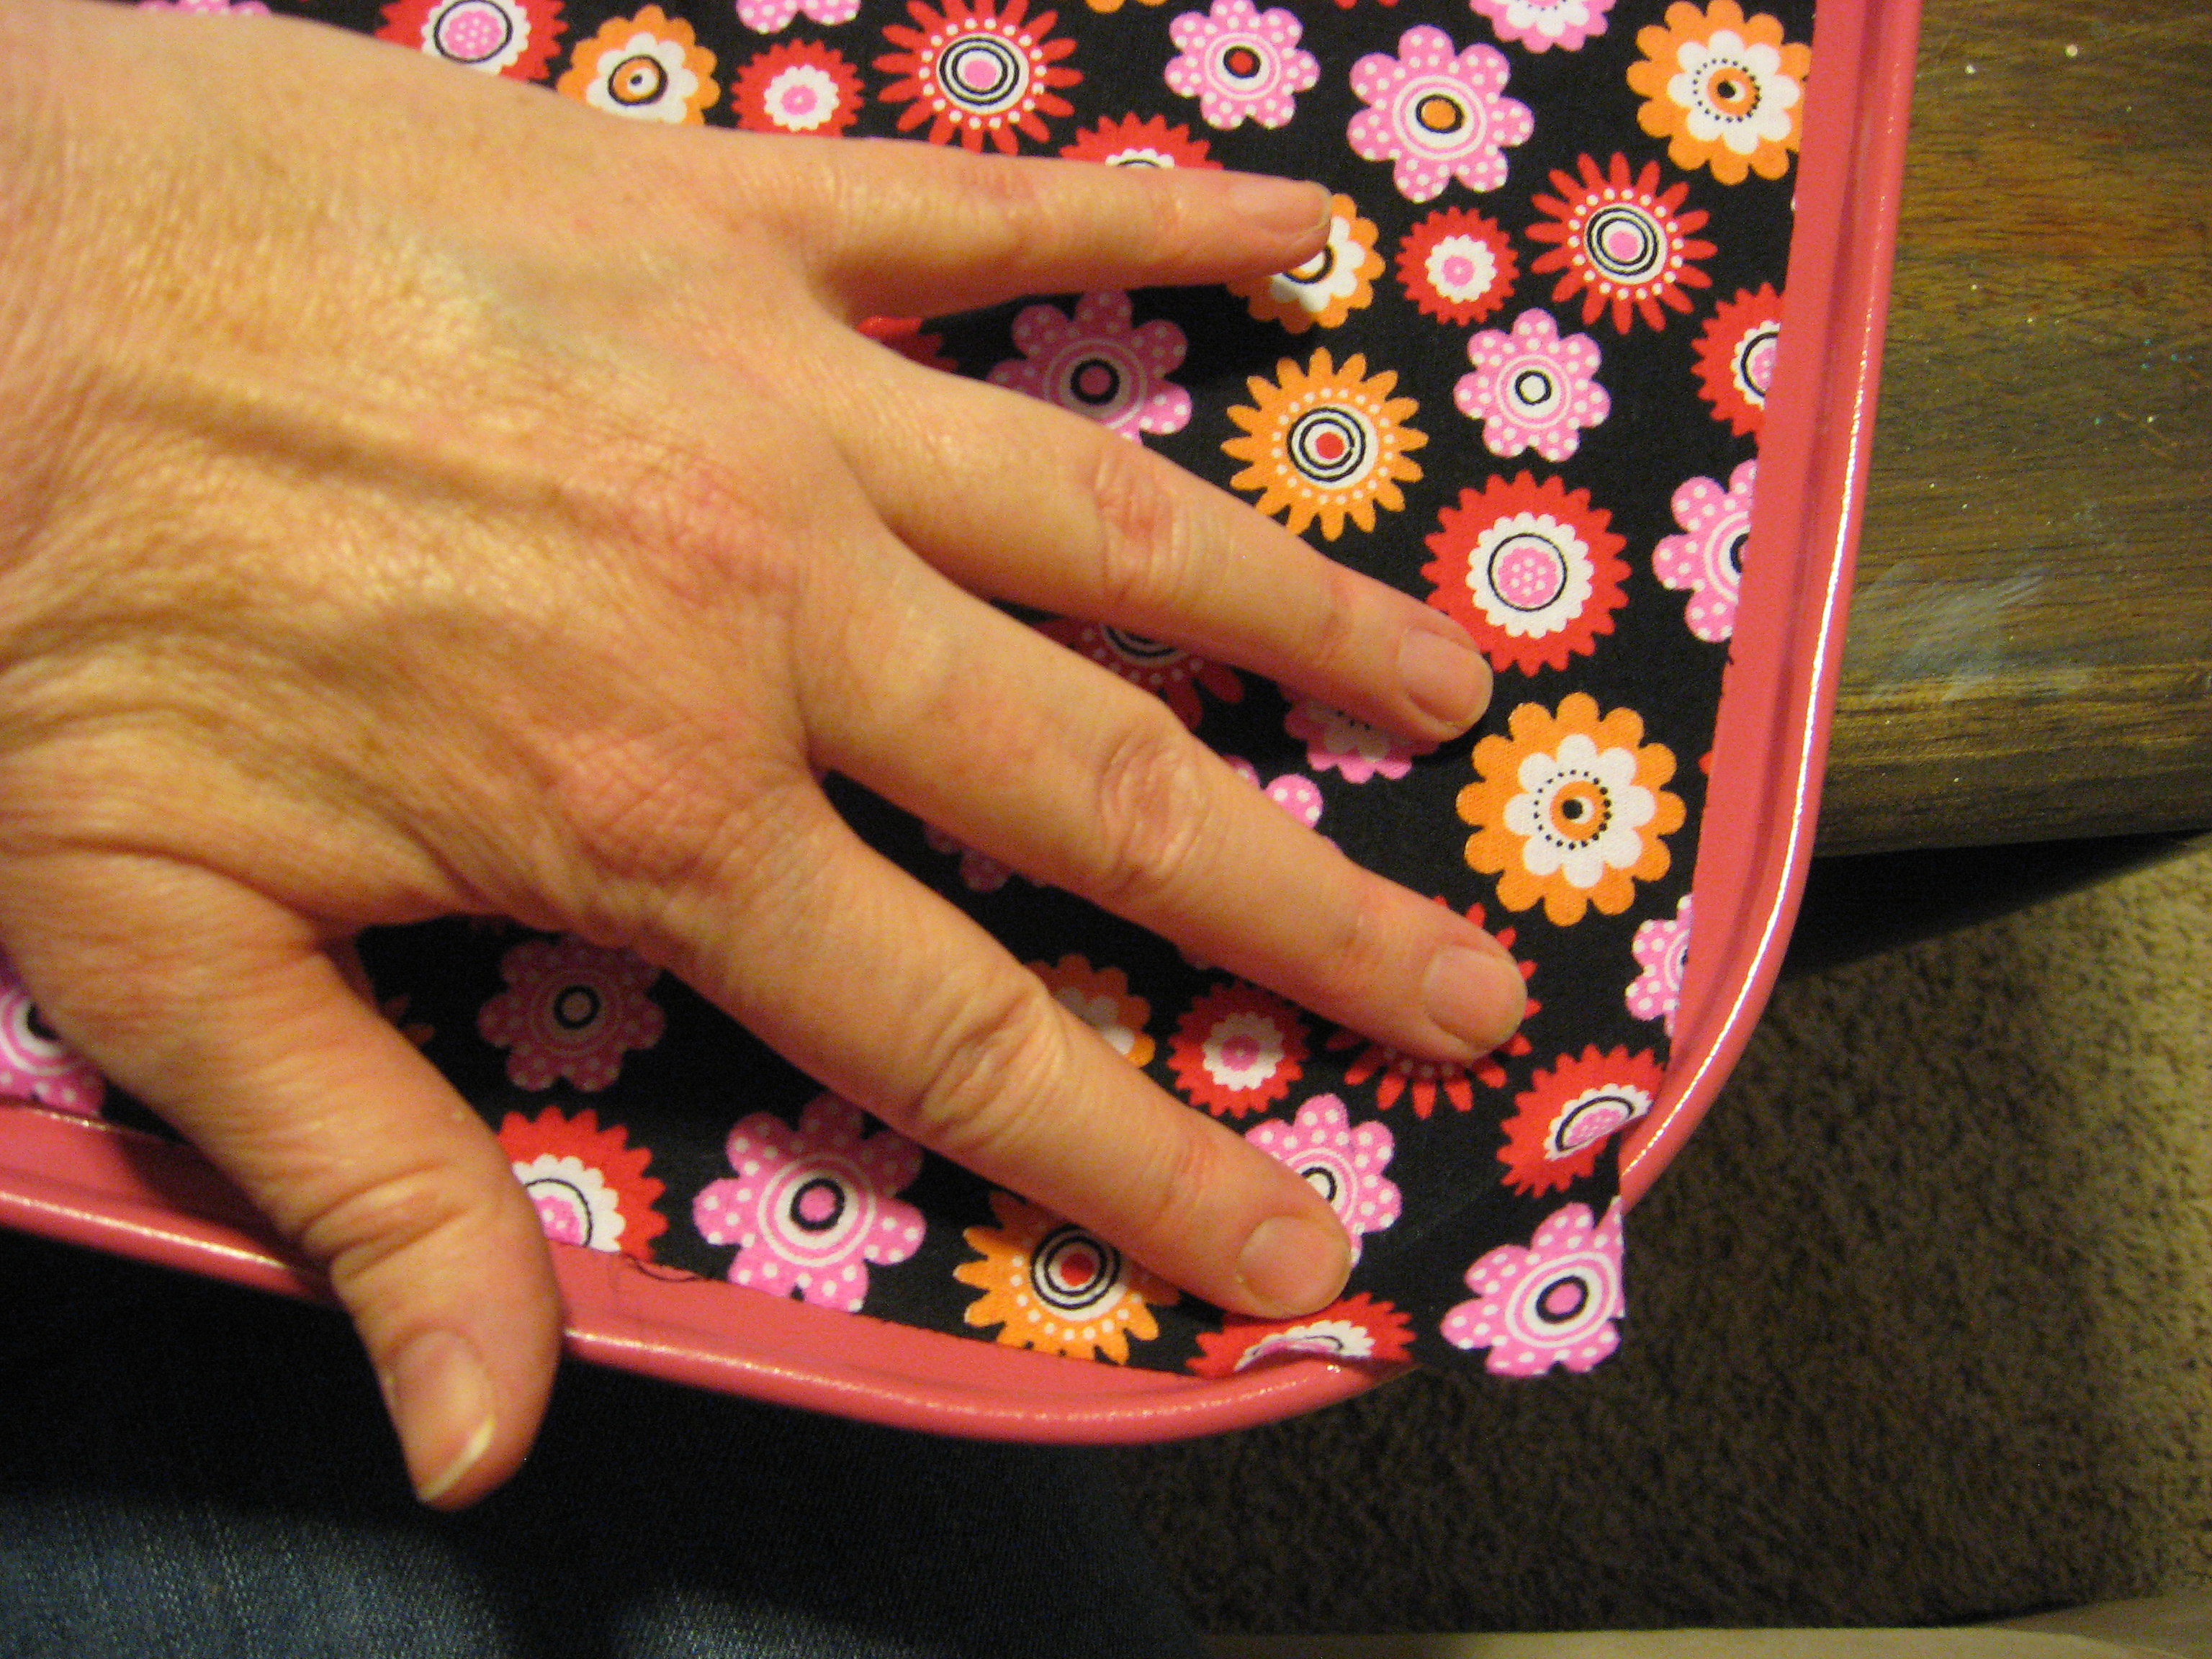
Once the fabric is all laid out and lined up with the edges, gently fold back the end and start applying the Mod Podge to the tray.
Start with the corner that you just lined up, then work your way across the short end of the tray until you get the fabric on that whole end adhered. Apply a few inches of the Mod Podge, then rub it down with your fingers until it is stuck.
Then gently fold back more fabric, apply more Mod Podge, rub and repeat. Make sure you are not leaving any spots under the fabric without Mod Podge. Once you get a strip across the whole short end adhered, leave it for 15 minutes to dry before you continue. If that first strip is lined up and attached well, the rest of it will be easier. Continue rubbing it with your hands (or a brayer) as it dries to make sure it dries flat and smooth.
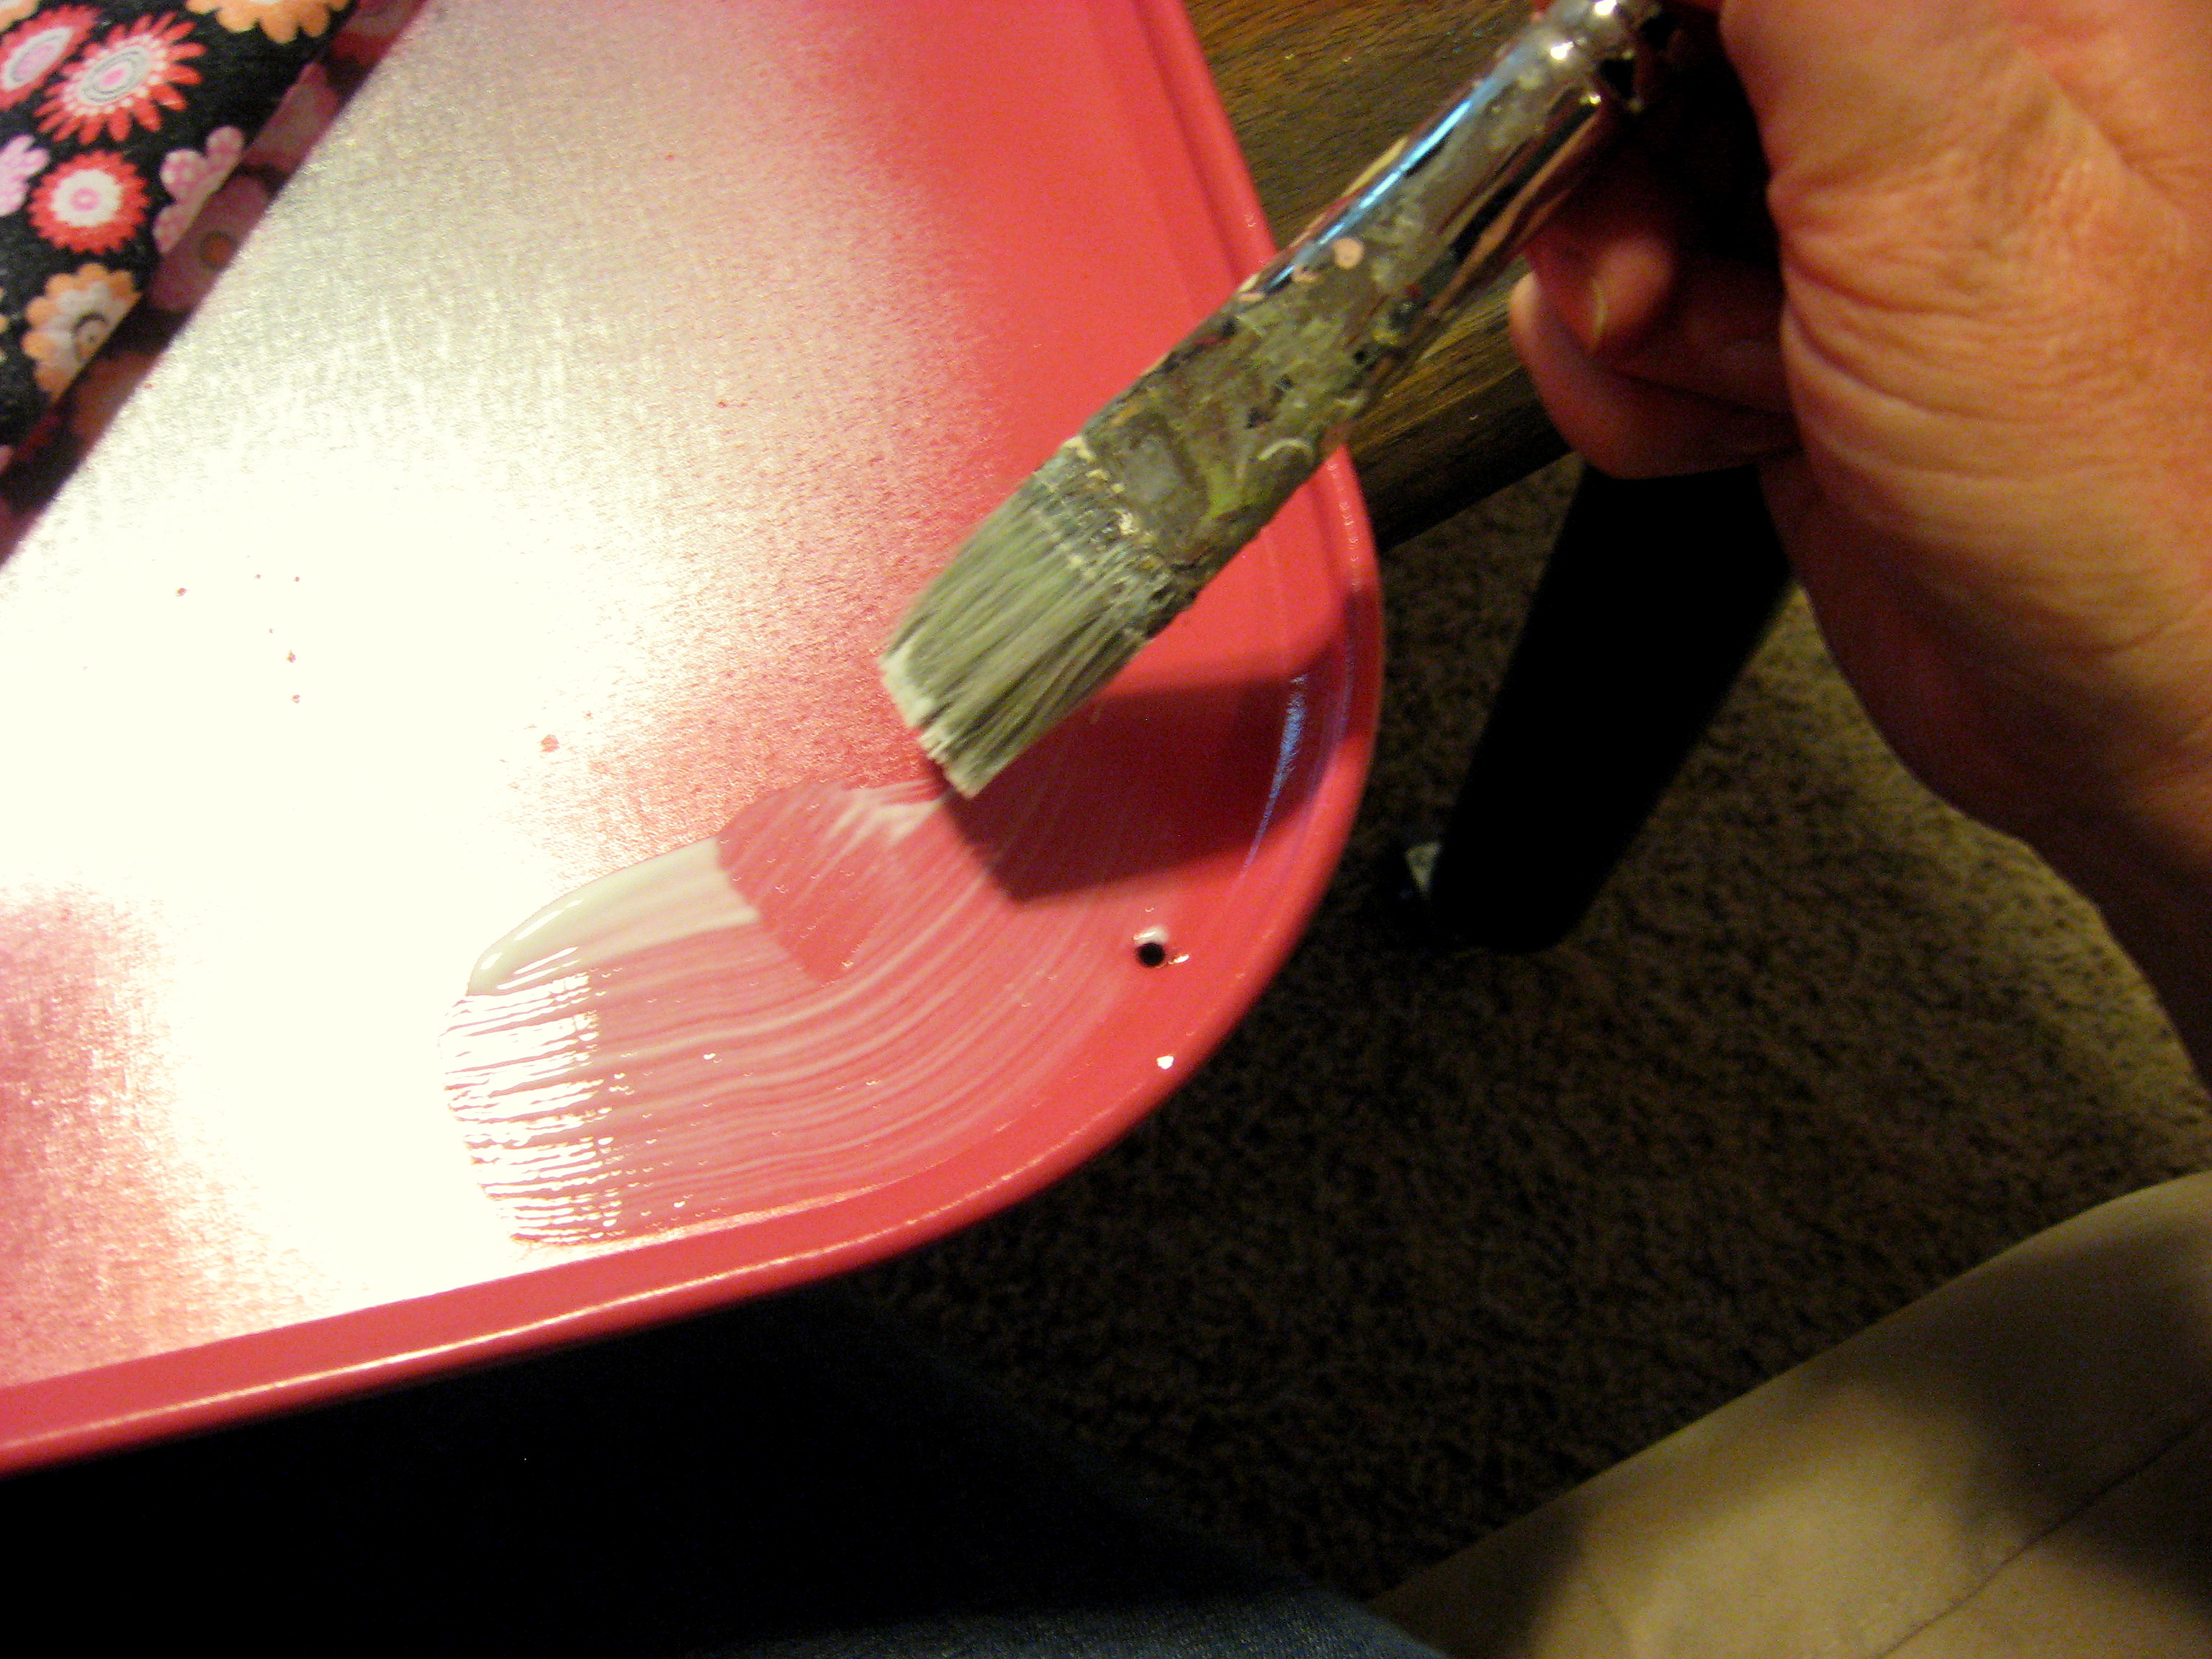
Once that first strip is dry, you can work the rest of the way down the pan in strips. Fold the fabric back, apply enough Mod Podge to cover 4 or 5 inches. I just poured it on
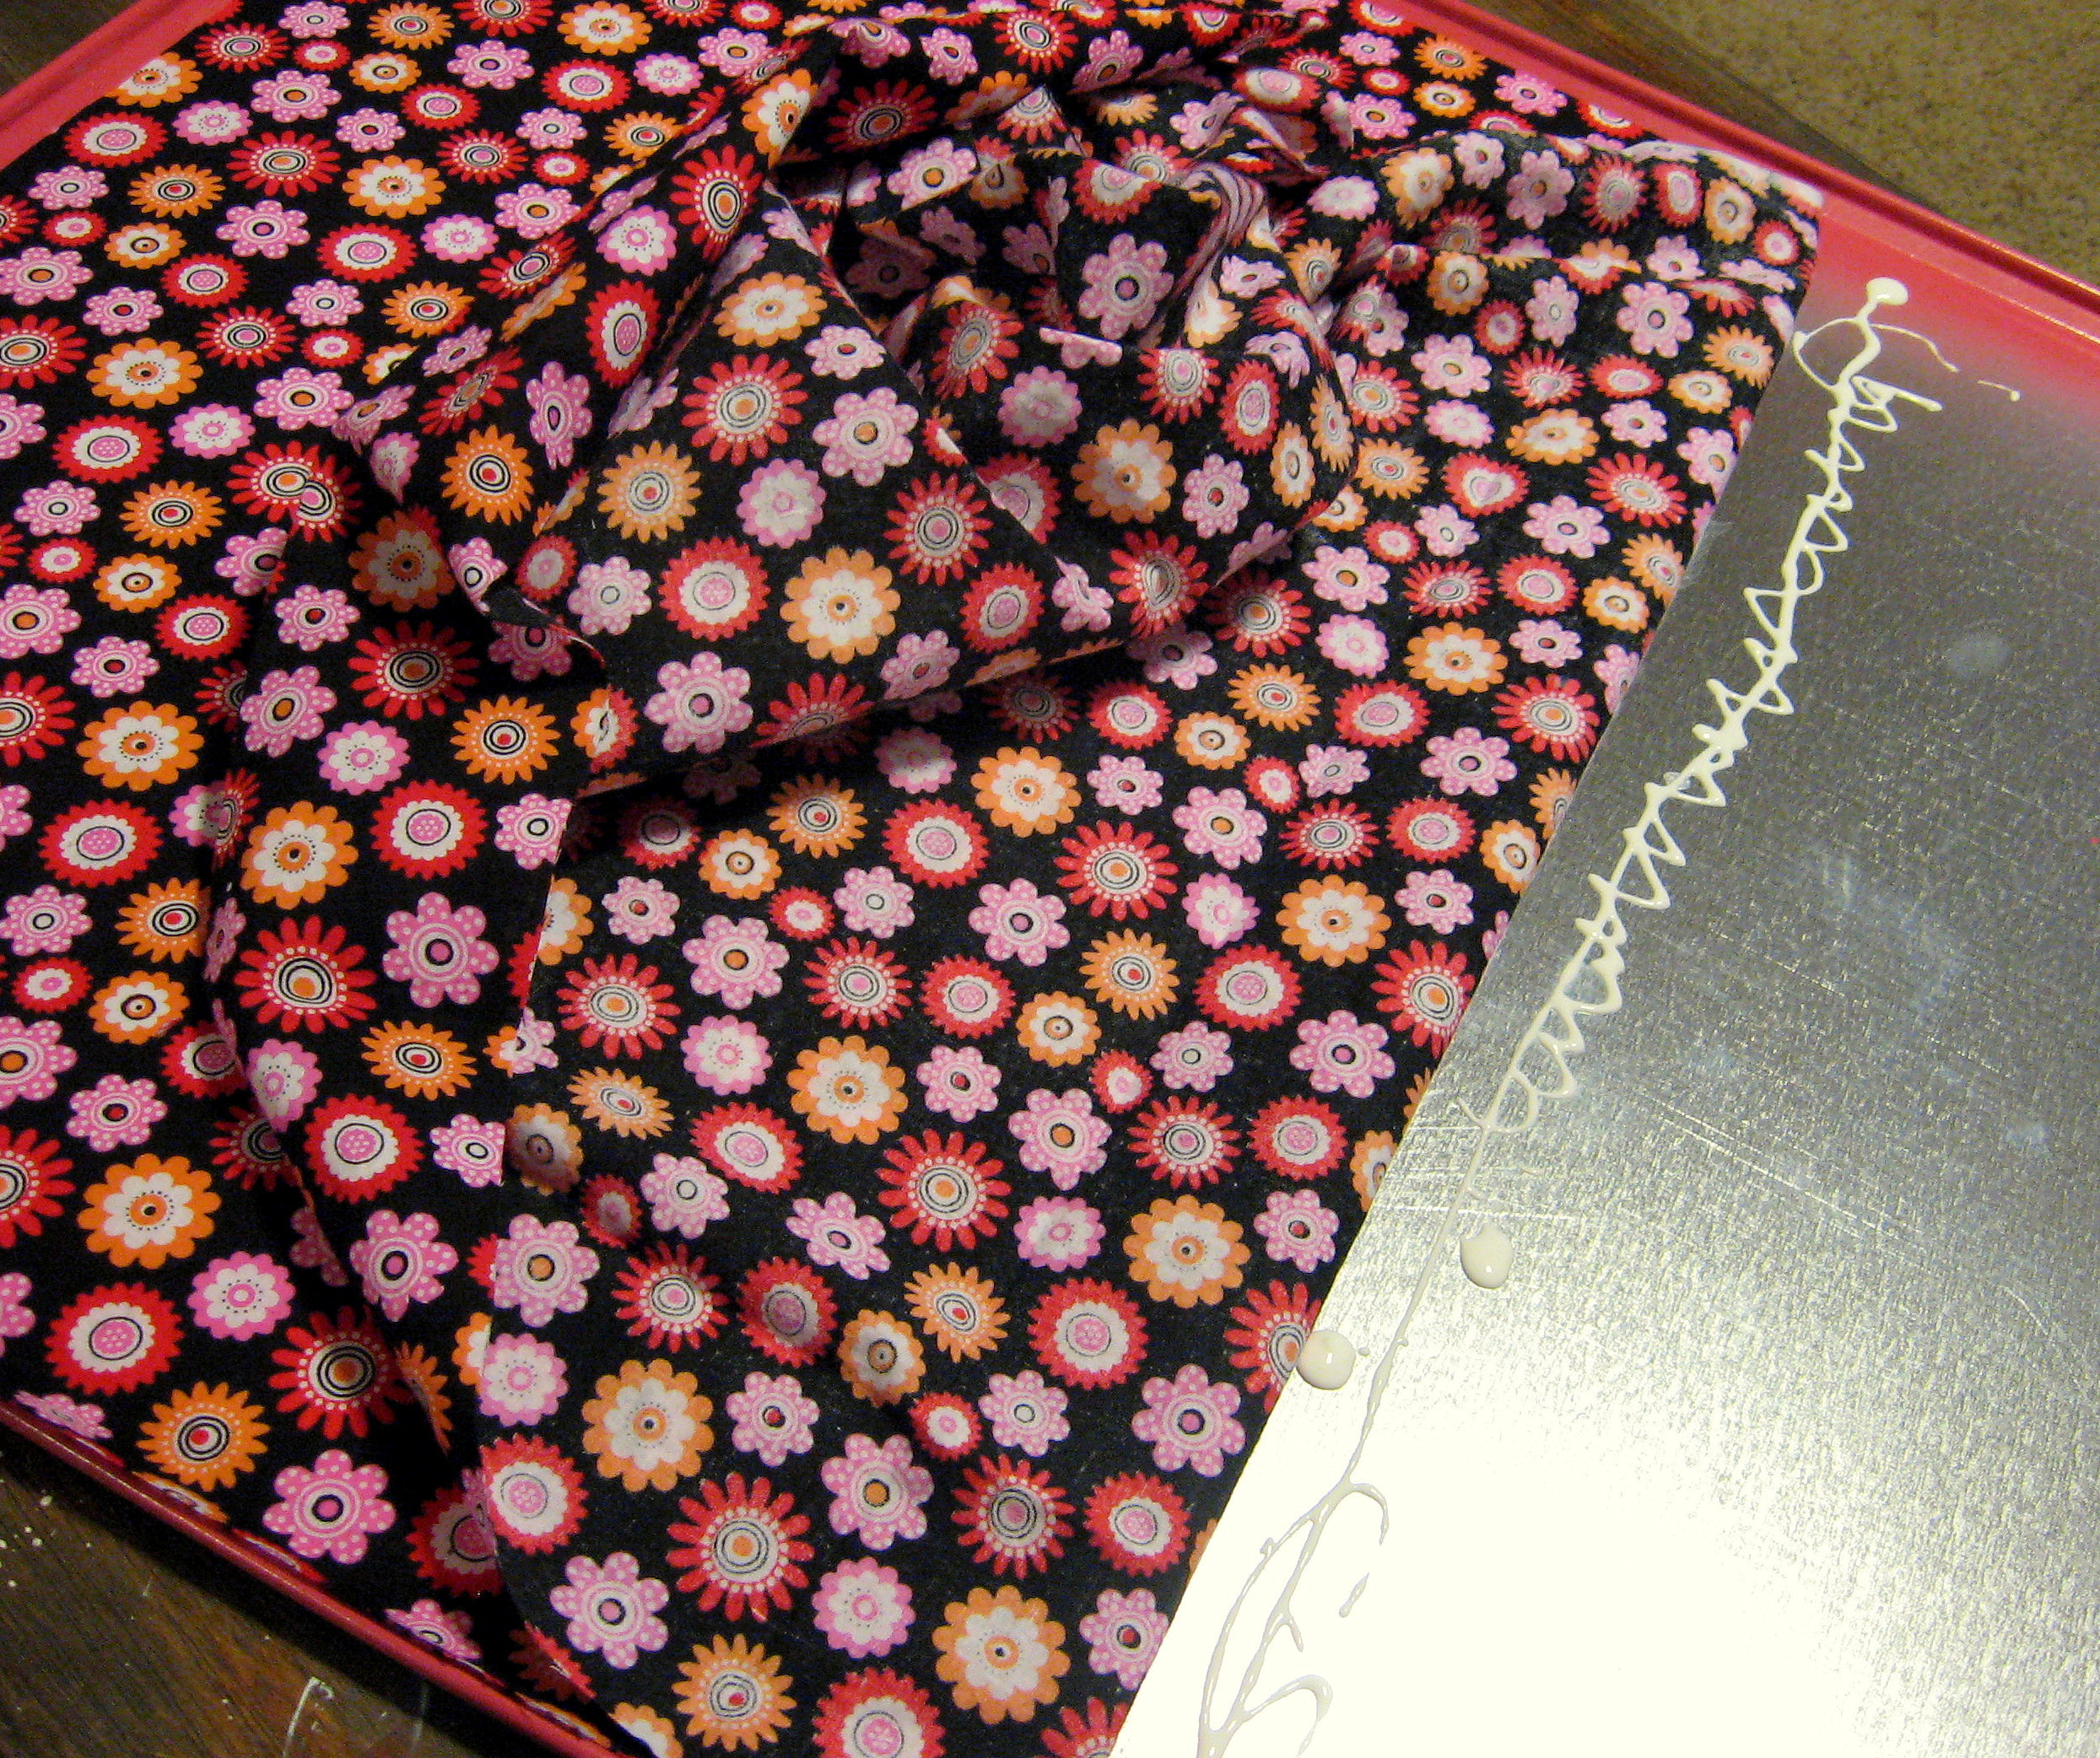
and then spread it with a paint brush.
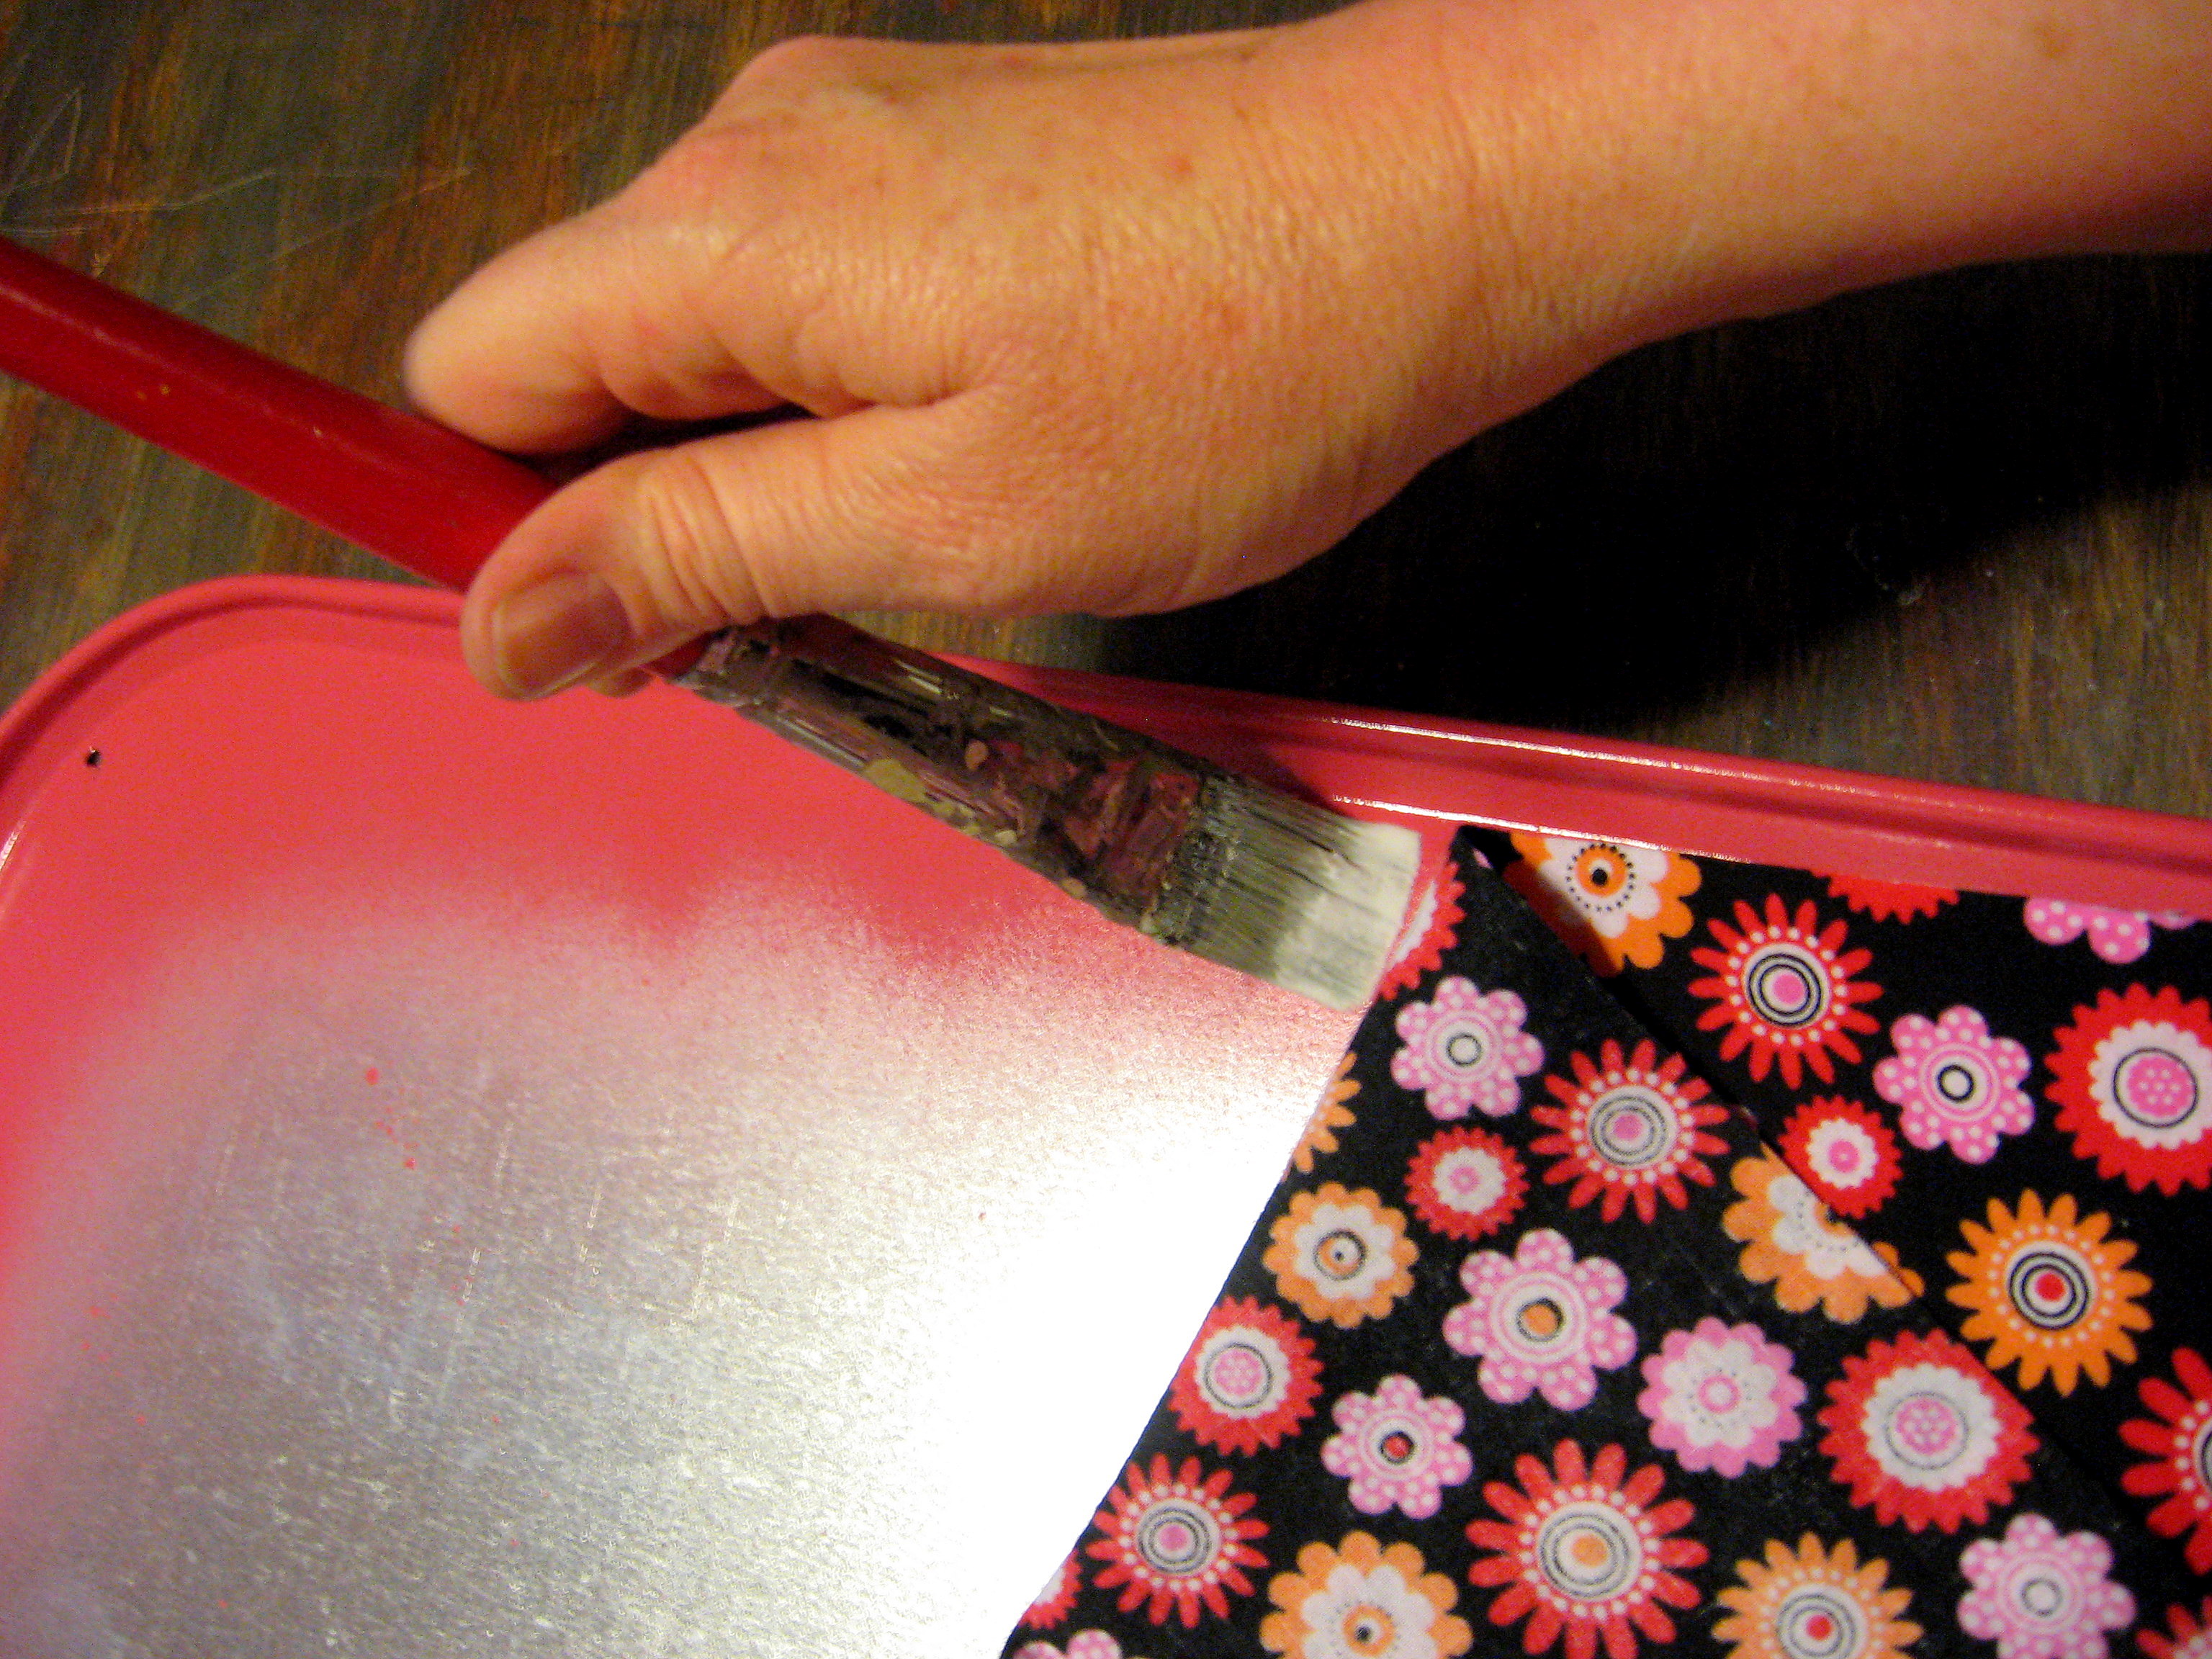
again, making sure not to miss any spots. Fold the fabric over the Mod Podge – carefully lining up the straight edge (remember the other edge will extend over at this point) and rub until it starts to dry.
Let that dry thoroughly, then you are ready to cut off the excess fabric. I used an exacto knife and a metal straight edge on the straight parts, but I just free handed it around the curved corners.
Once I pulled the excess fabric off, I discovered this:
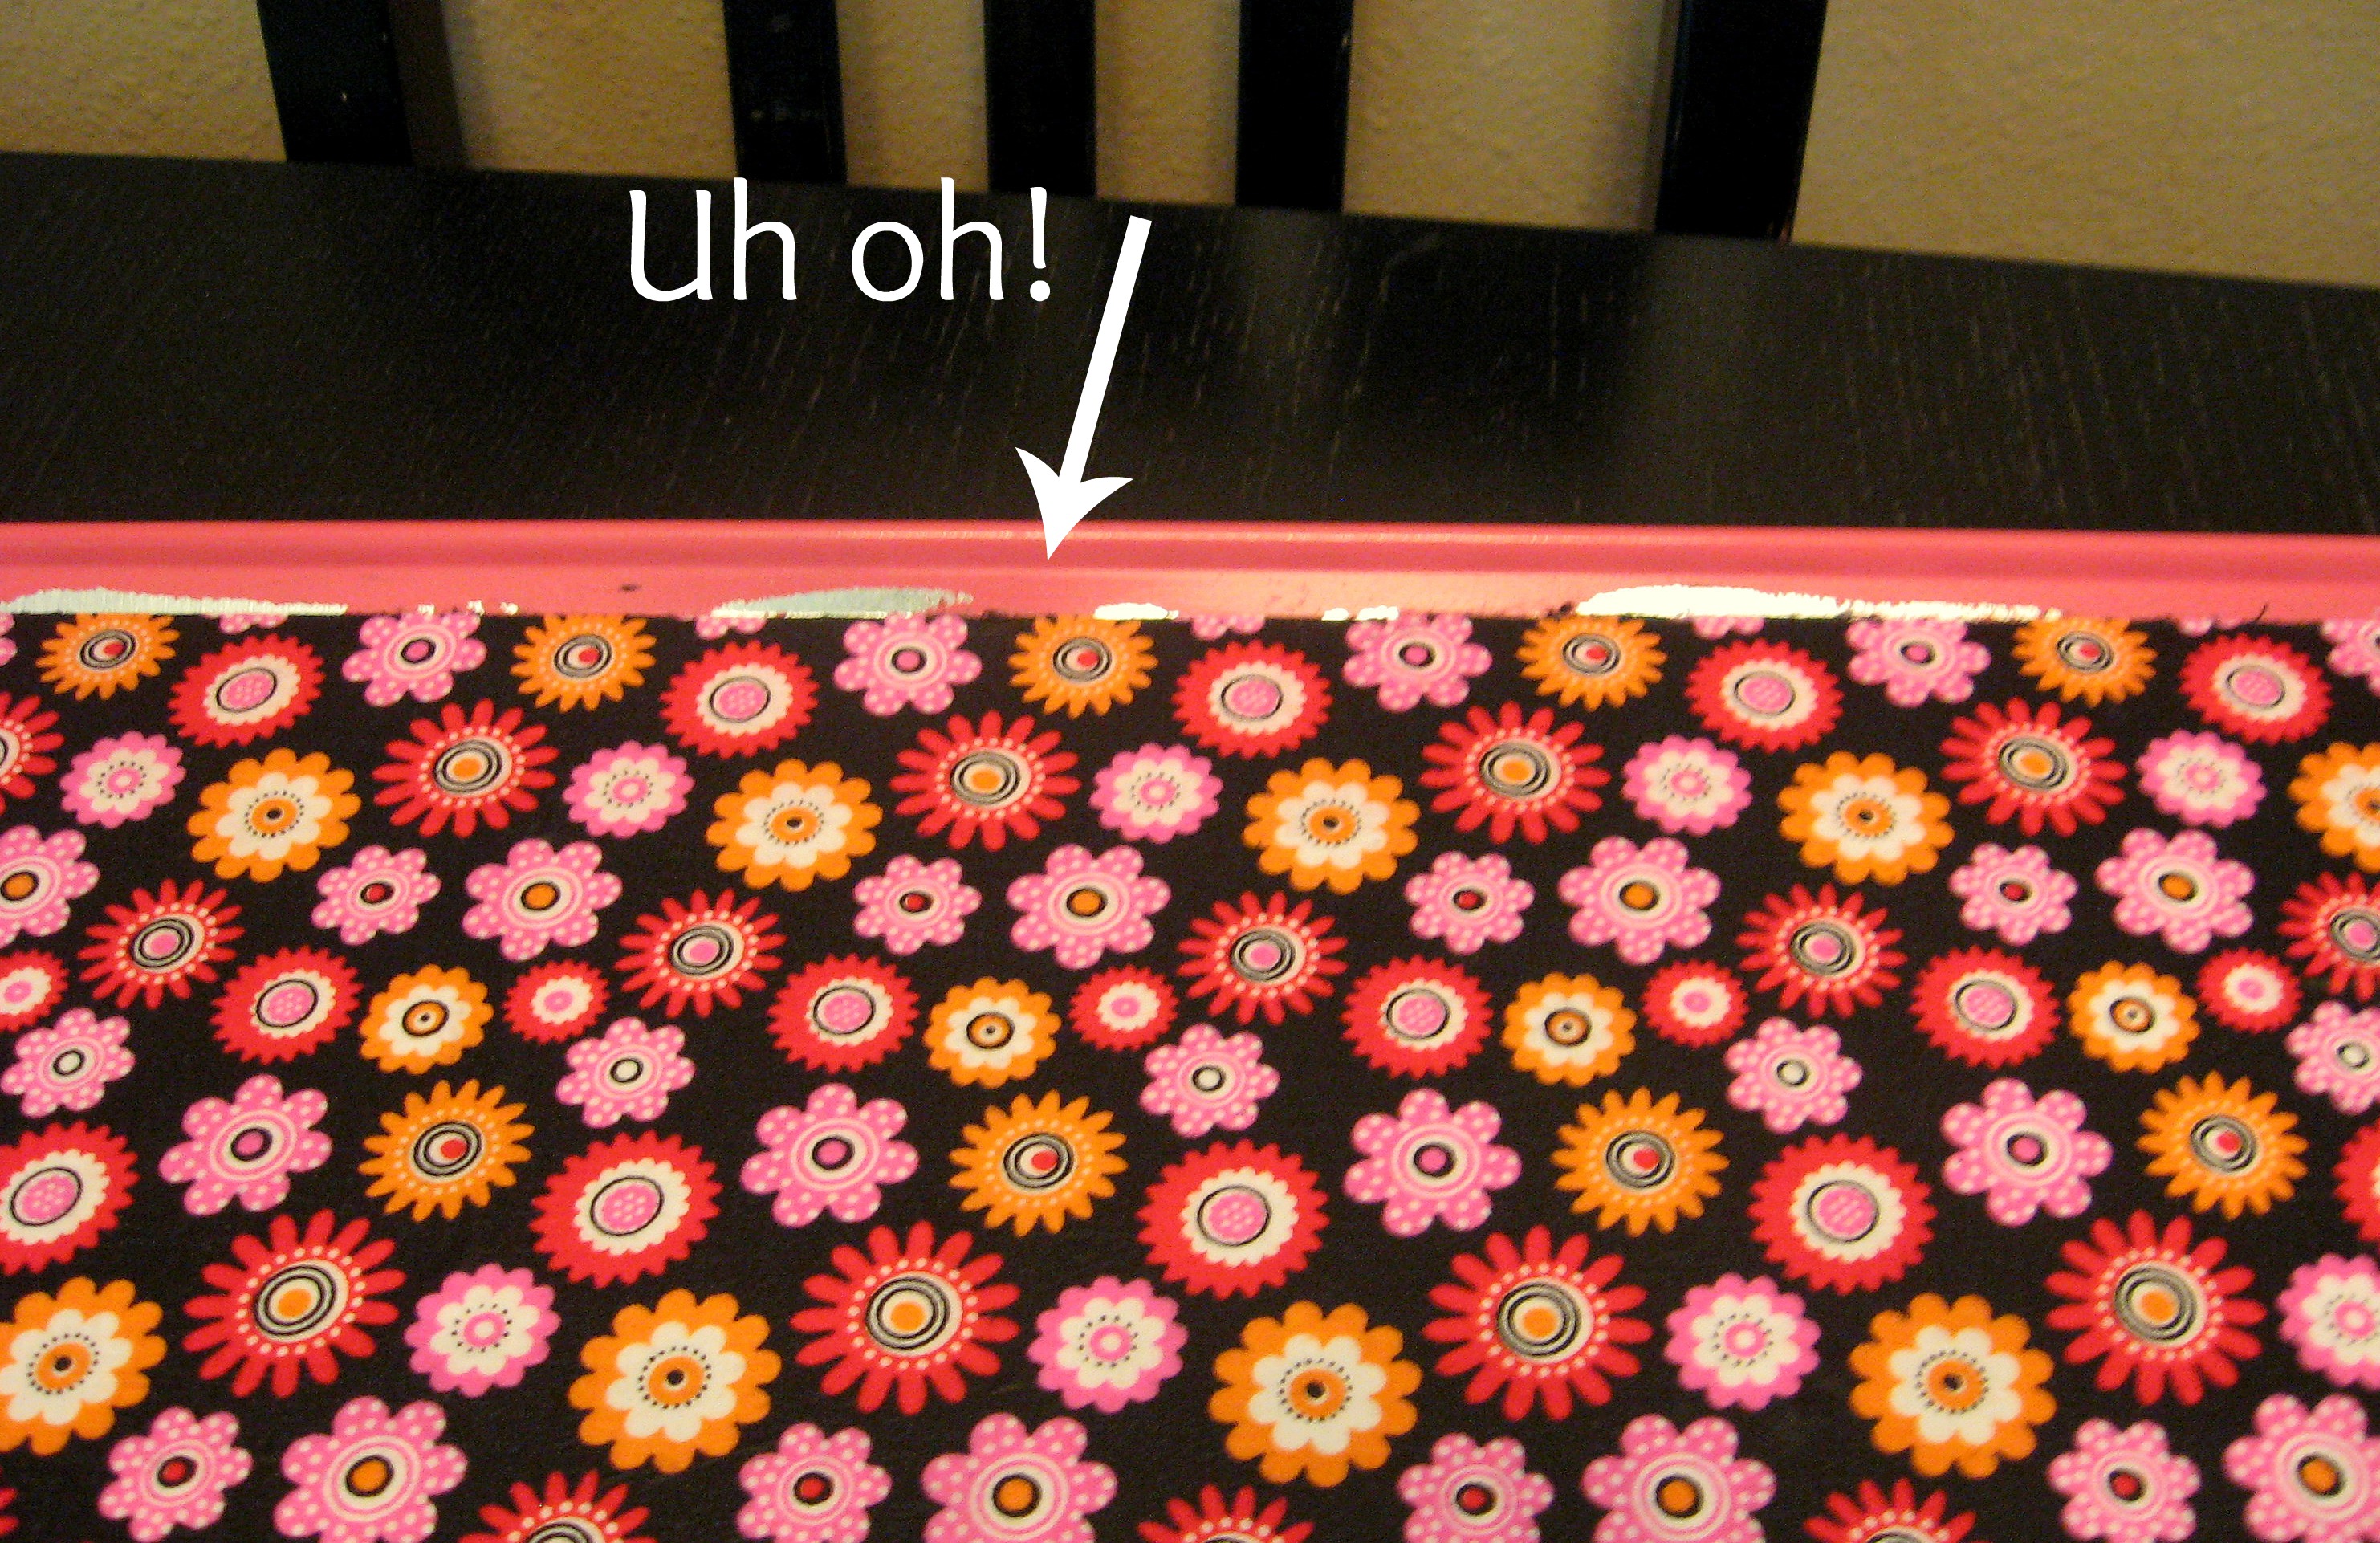
Oops. Fabric pulled the spray paint off with it in some spots.
SO – learn from me when you make yours and either 1) Mod Podge the fabric on first, then tape it off well and spray paint second. or 2) Be very careful as you are brushing the Mod Podge on and don’t let it go up the sides of the pan.
But, in case you find yourself in a similar place and need to fix it, this is what I did. I sprayed some spray paint into the bottom of an empty butter tub- hold it close to the bottom and spray for a minute so that you get a really concentrated stream and end up with some liquid paint. Then I just used it like regular paint with a small paintbrush to paint over the mistakes.
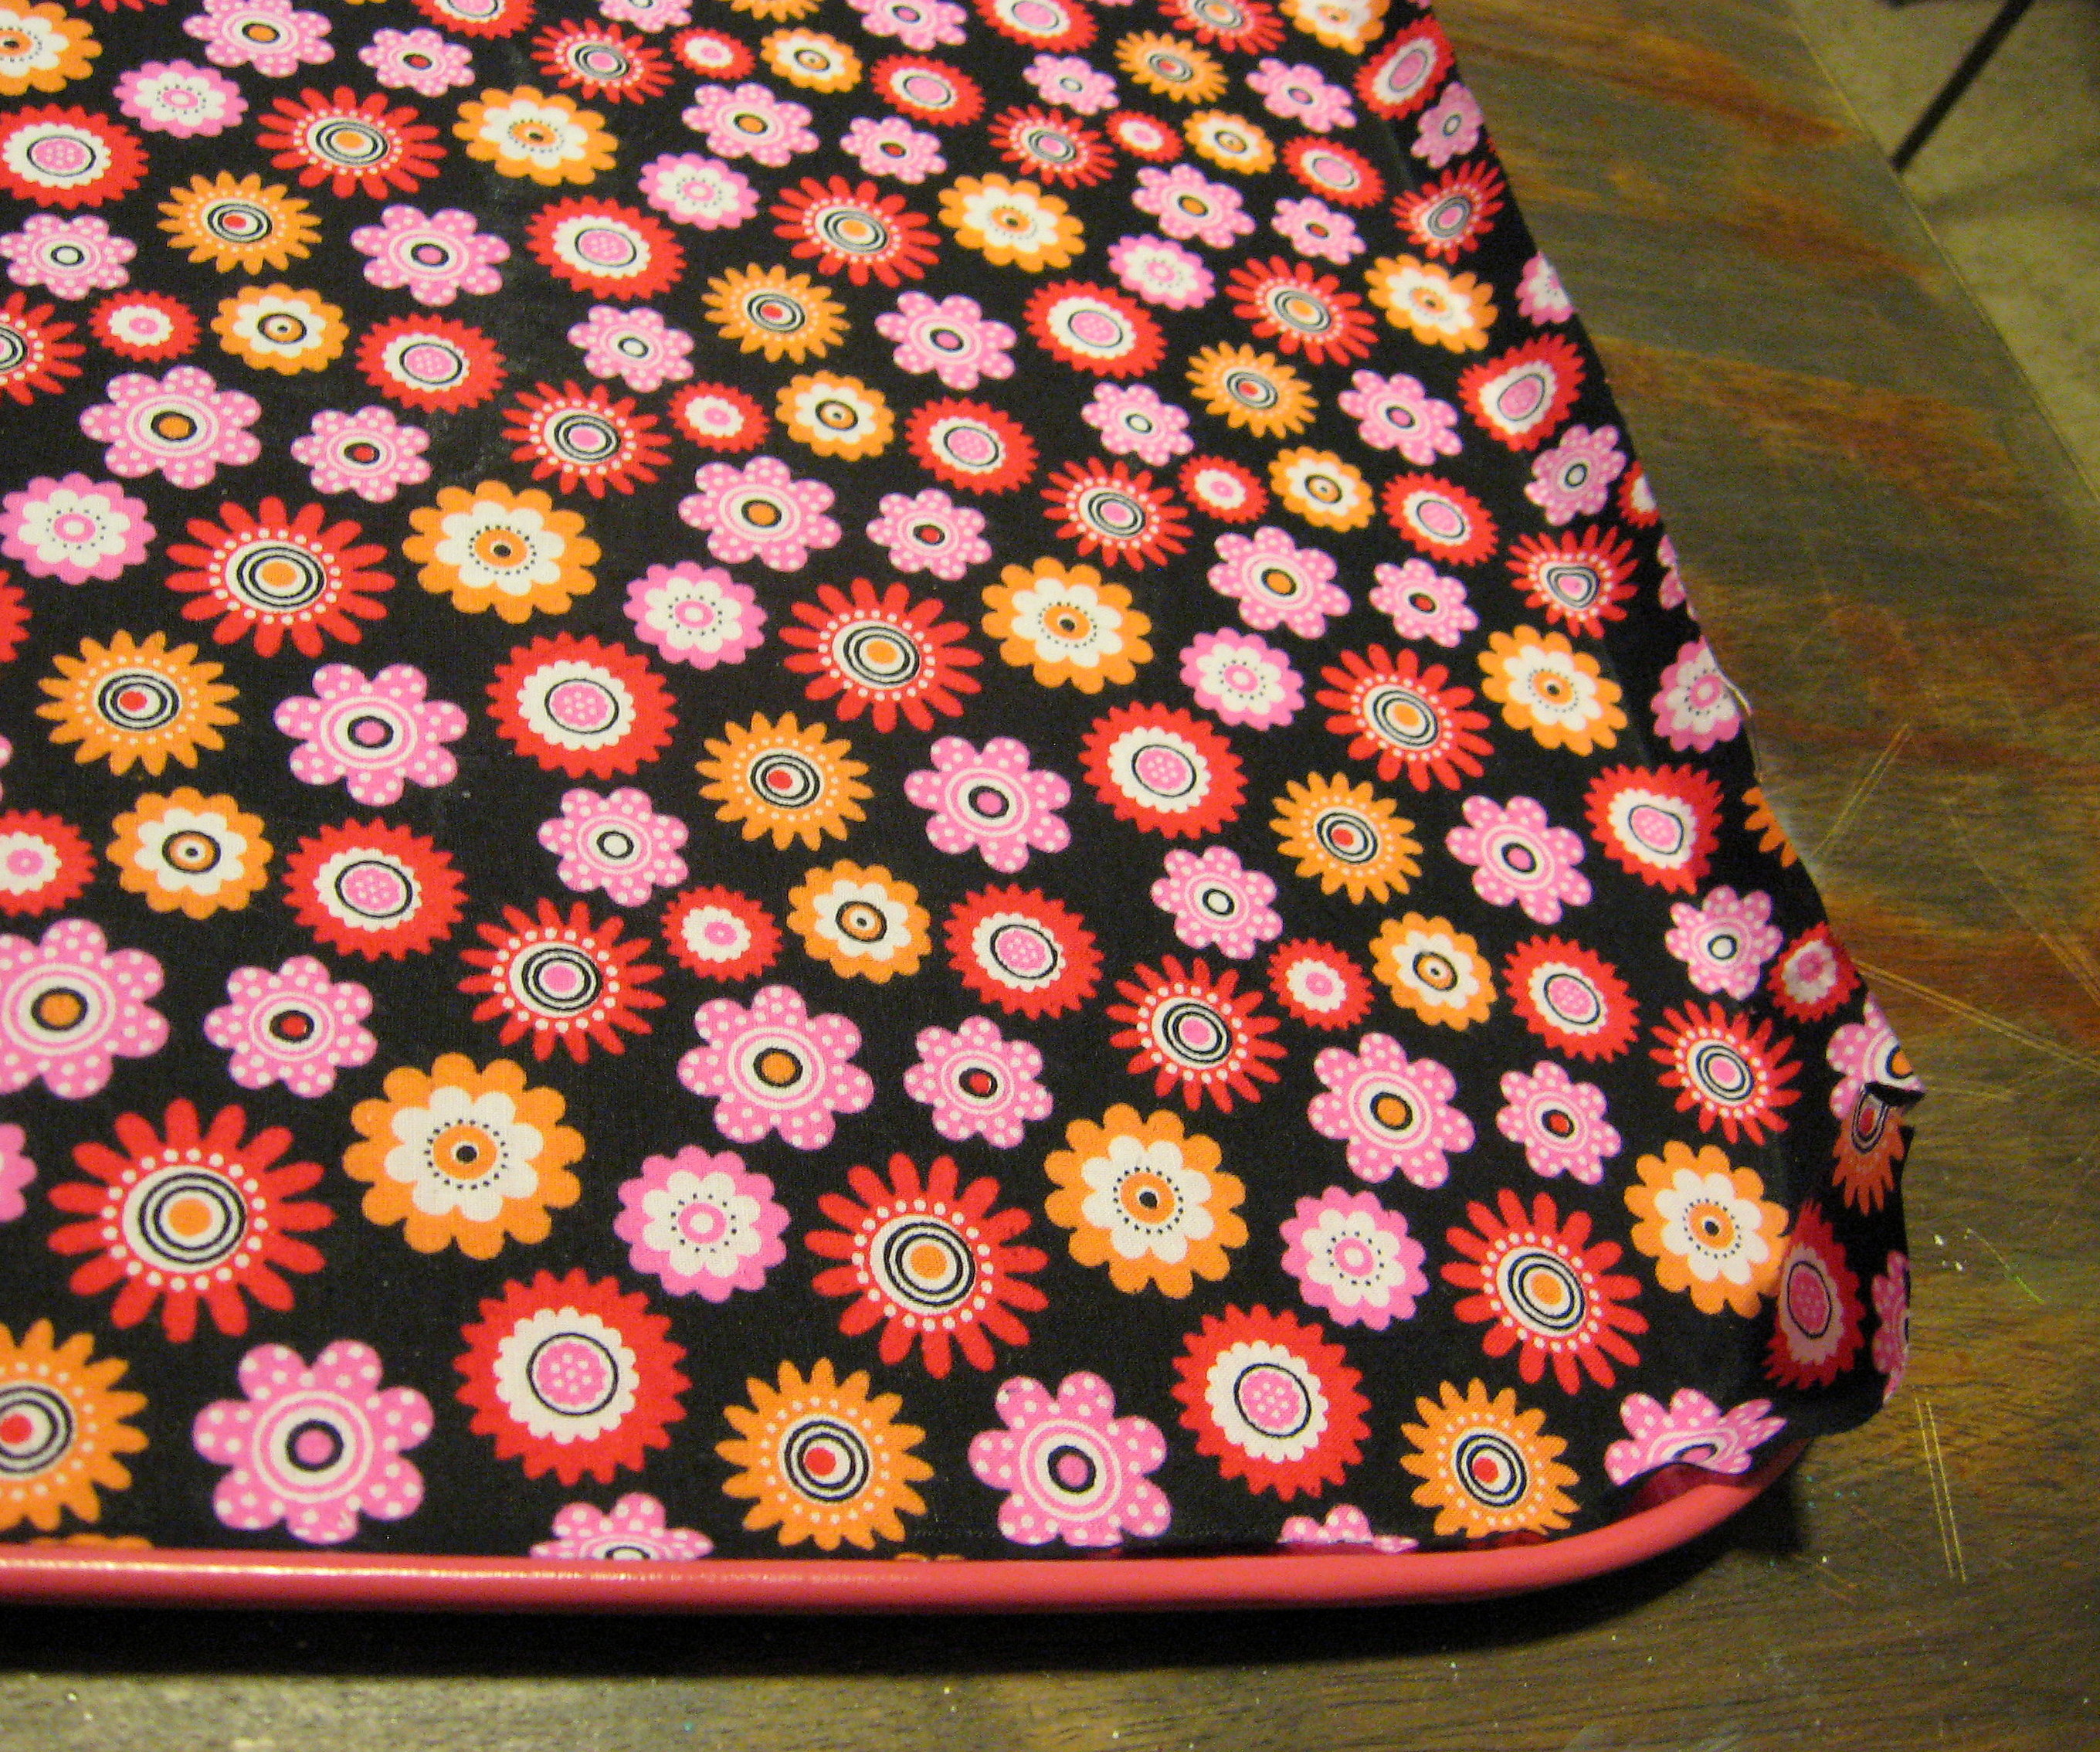
Once that’s dry, give the entire pan a top coat of Mod Podge. Be sure you go up on the sides of the pan too to protect the paint from scratching off.
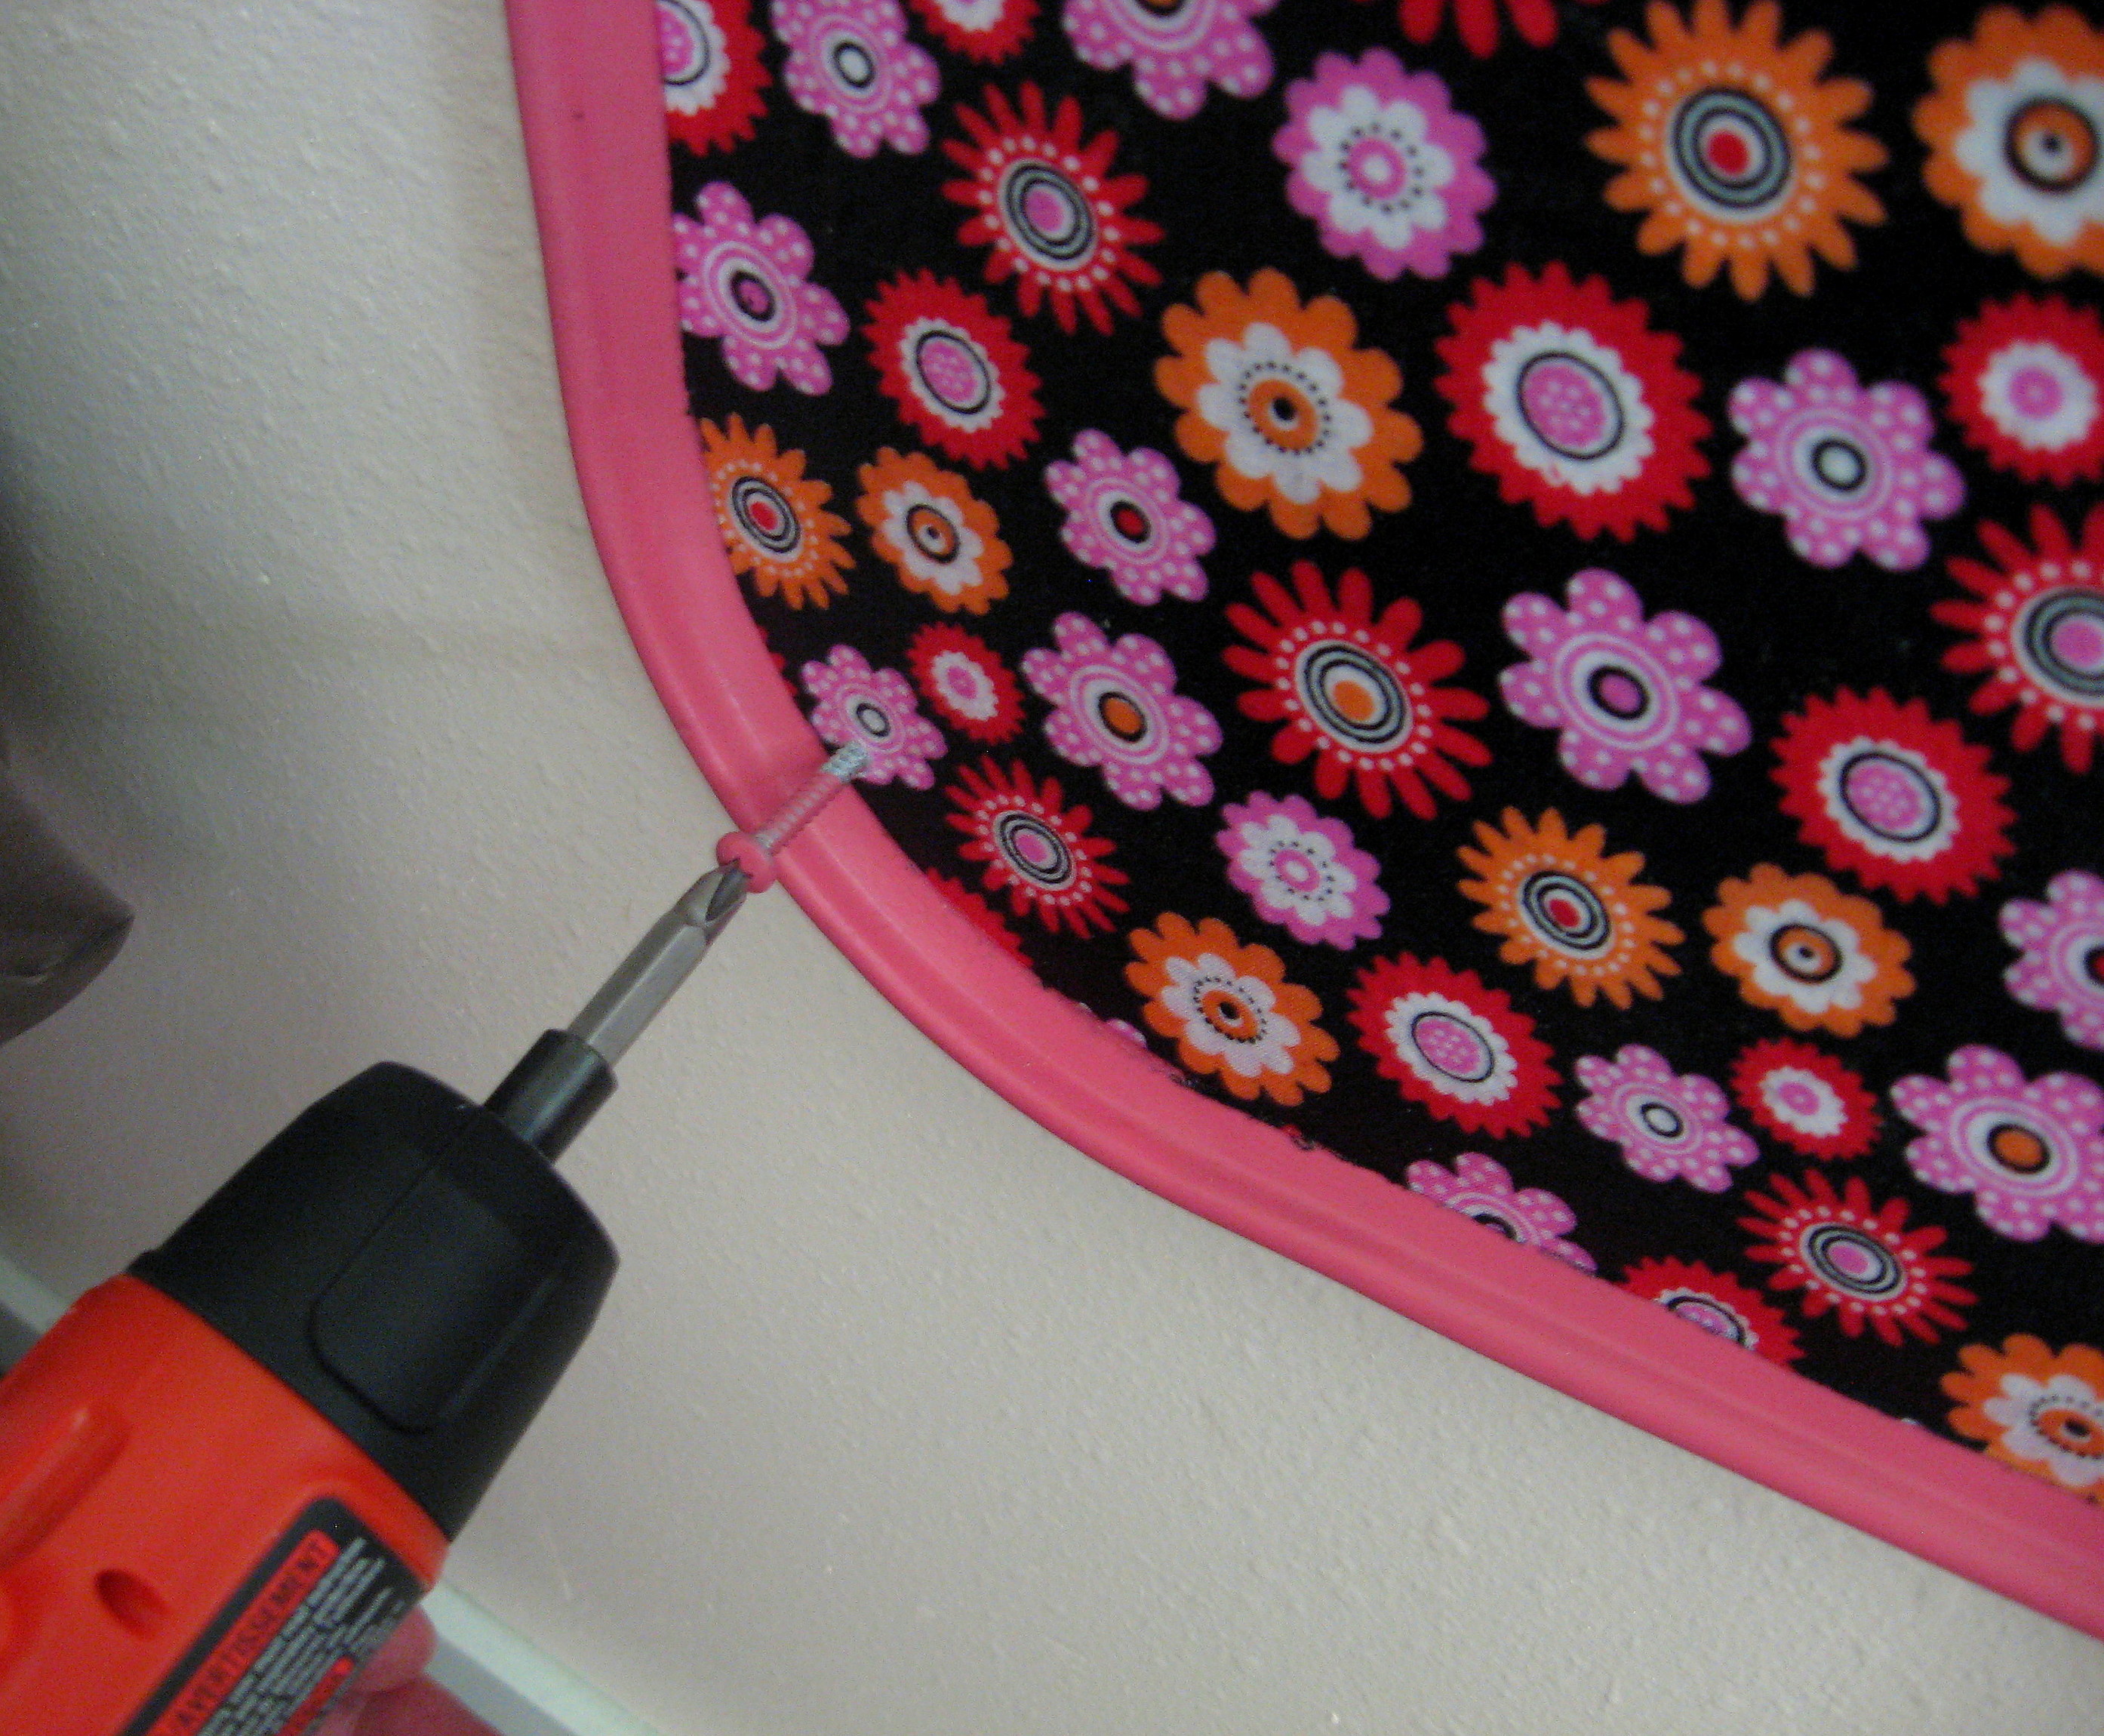
I spray painted the heads of the screws so they would match
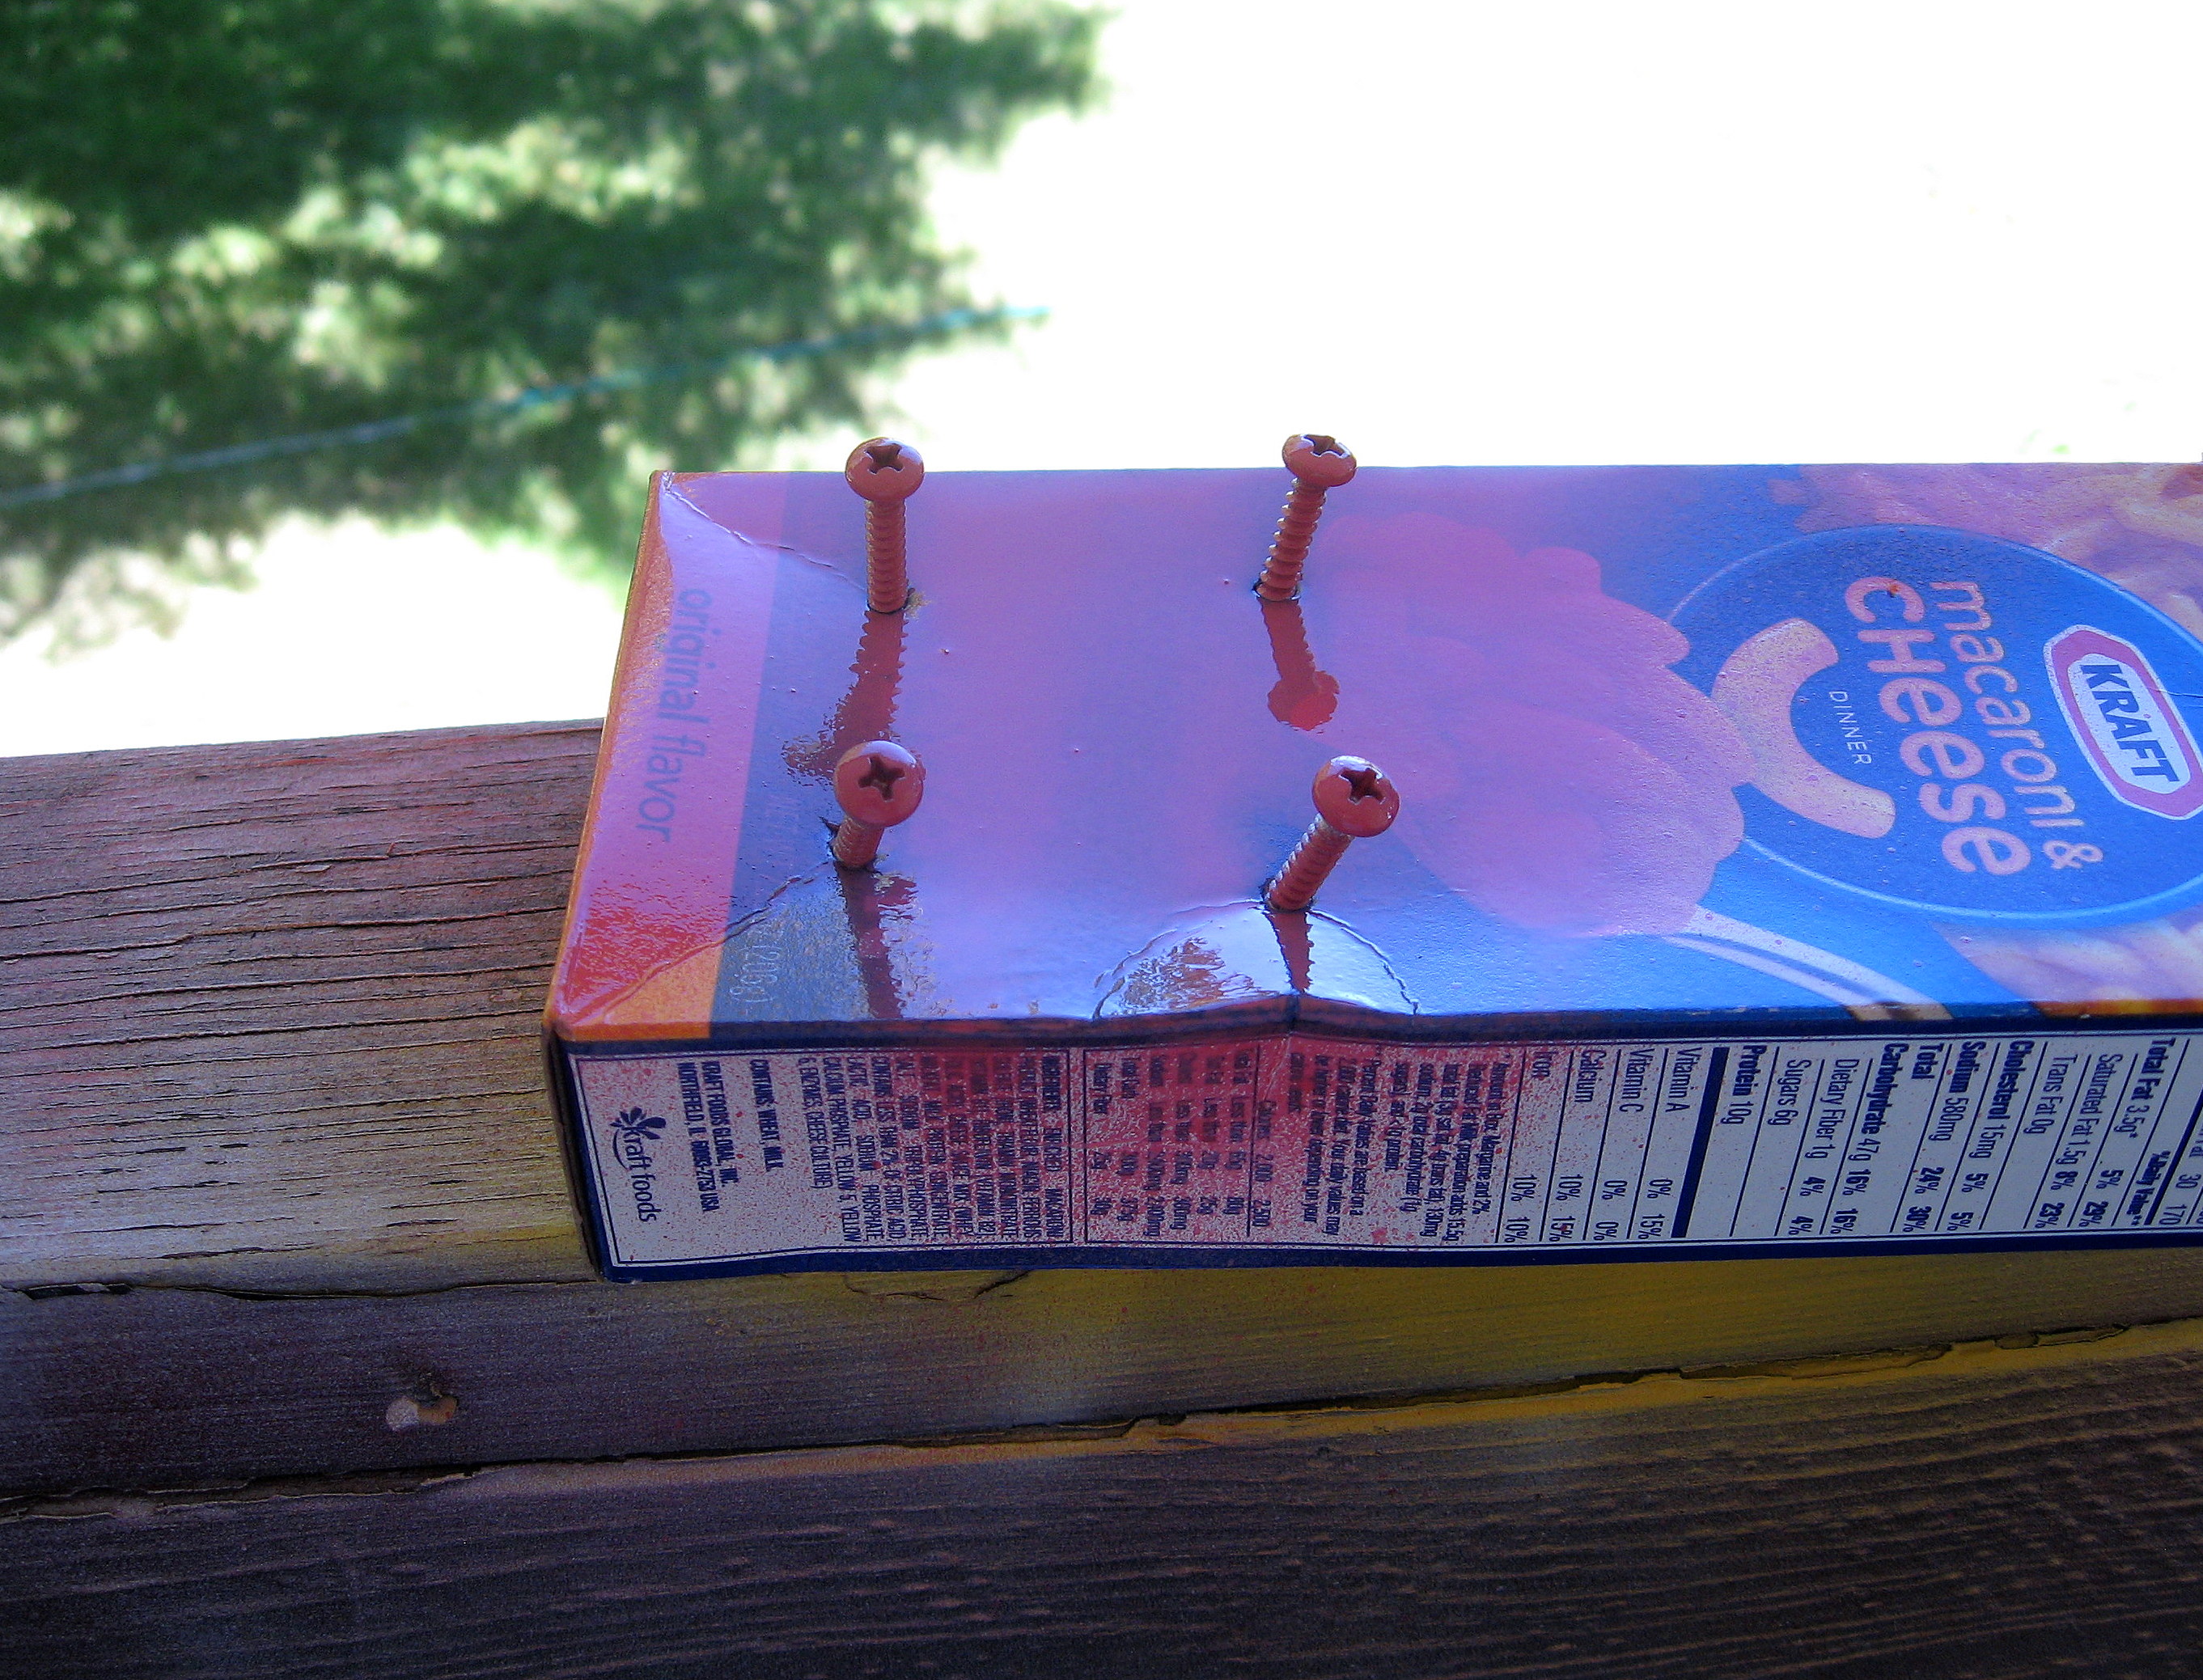
then just screwed it into the wall (a drill bit in an electric drill will go right through the soft metal of the drip pan).
Done! I was worried that the layer of fabric would compromise how strong of a bond I would get with the magnets, but it didn’t; even the heavy birthday card from Grandma that plays that annoying charming and delightful song stayed put.