
Just in case you missed this article on DIY an update on making your own laundry detergent the first time we shared it a couple of years ago, we are republishing it. After Candi wrote this blog originally, we got an awesome response. This is one of the PYP Best Blogs!
There are many reasons why you might want to learn how to “churn” your own butter – self-reliance, avoiding preservatives, just for the fun of it, etc. 🙂
It’s actually pretty easy (although not necessarily any cheaper than buying it already made). Anyone remember doing this as an experiment in elementary school – passing around the glass jar with the cream and having everyone shake it until it turned into butter?
This is only my second time doing my own butter, but I thought I would take some pictures through the process in case it might help anyone else.
Here’s the skinny on the butter-making. The basic instructions? Take your cream and whip (churn) it until you can no longer do so. That’s it. 😉
I did mine in my KitchenAid, but you could also use a handheld mixer, or even do it by hand or in a glass jar (add marbles) if you wanted to. The instructions below will assume you are using a mixer of some kind. (If you’re doing it in a glass jar, just shake until you can’t shake any more.)
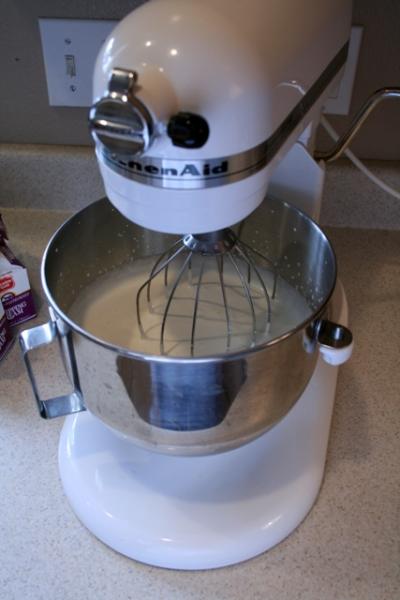
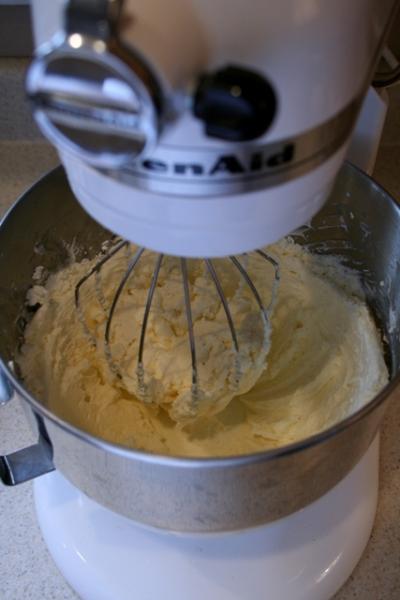
Start with this, just as if you were going to make whipped cream (but do not add any sugar or vanilla):
(I had actually whipped this for about a minute before I stopped to take a picture)
You’ll get to what they call the soft-peak stage:
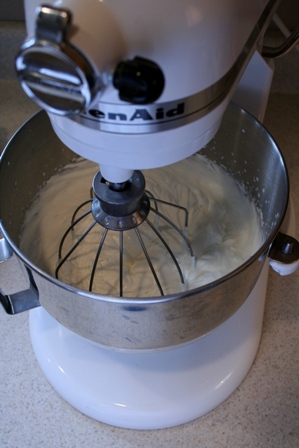
Then the stiff-peak stage:
You’ll go through those first steps quite quickly. Just keep whipping…
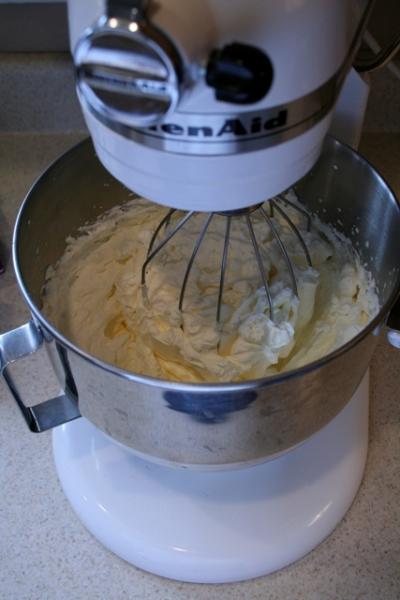
Then the cream will start to turn from white to a pale yellow:
It will start to look like really thick whipped cream (clotted cream anyone?) and will start to cling thickly to the sides of your bowl:
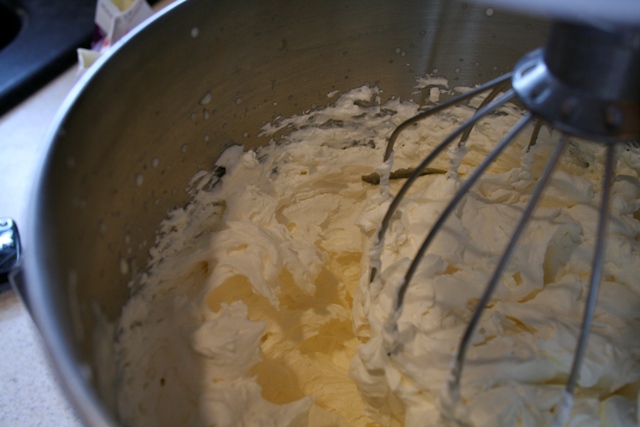
Keep going. (You might want to stop every few minutes to scrape down the sides of your bowl.) As you continue, you’ll start to see it turn a little grainy:
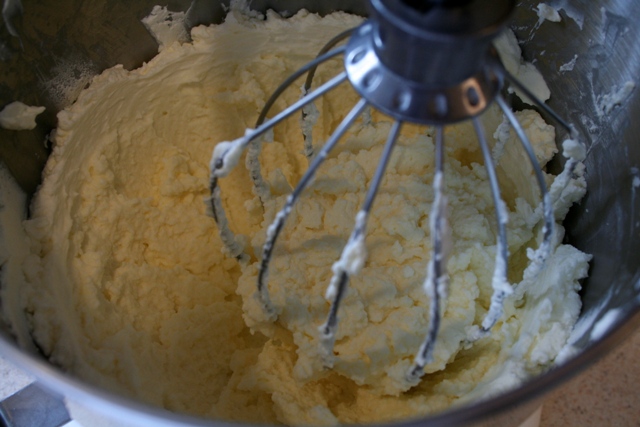
…and get grainier:
…and grainier. And you’ll start to see a little bit of “shine” on the top – it will begin to look “wet”:
(you can sortof see little spots of “shine” in the picture – that is the liquid being squeezed out as the fats and proteins coagulate)
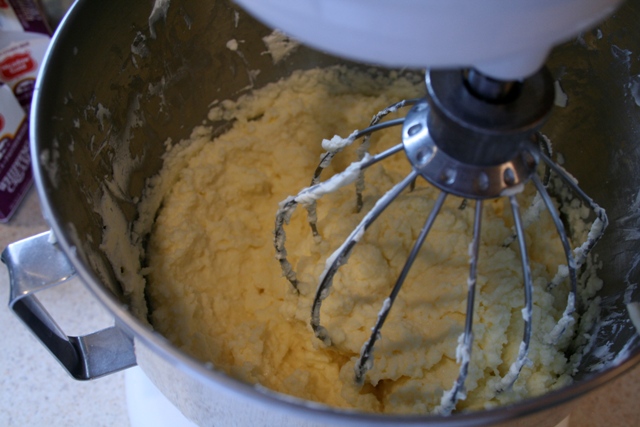
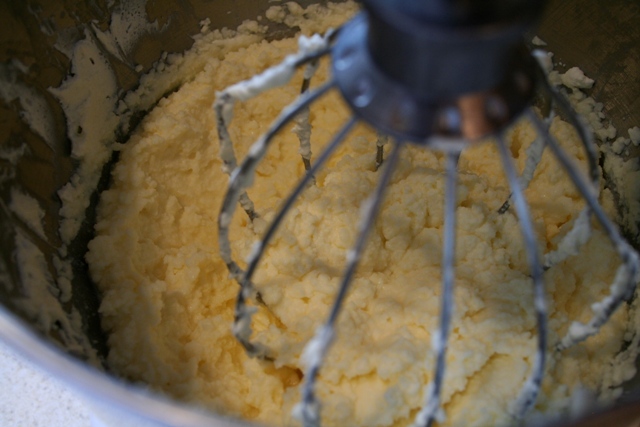
It will start to look almost like bread crumbs or cottage cheese or when you cut-in butter to a crumb topping:
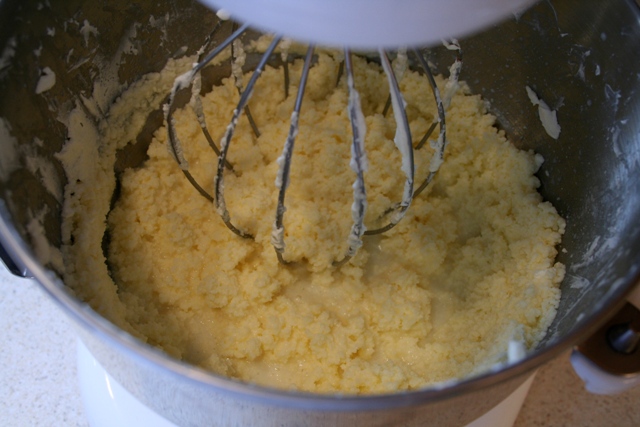
At this point you’ll want to turn your machine down a bit (I turned mine down from 10 to about 7 or 6) because it will start to spit liquid at you. [These last steps happen very quickly, and you’ll go from the crumb topping look to a big chunk of butter in a puddle of buttermilk in about 5 seconds, literally. If you’re machine is still zipping away at highest speed, you’ll slosh buttermilk all over the kitchen before you have time to turn it off.]
You’ll start to see more and more liquid accumulate on the top:
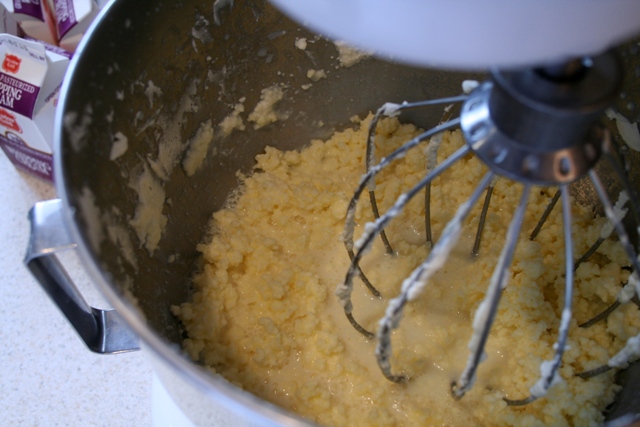
Keep going for another minute or two, at a medium speed, and watch carefully because in a matter of about 5 seconds it will go from the picture above, to THIS:
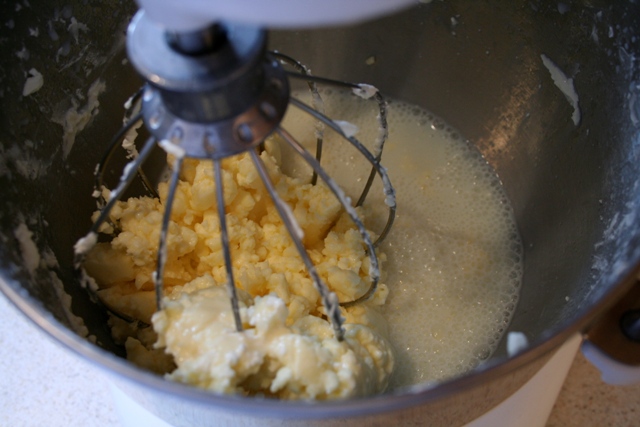
It will clump up all together in your whip attachment and you wont be able to whip it any longer. You’re now done (with the churning part, that is)!
You can now either pour off the buttermilk and save it (think cornbread, buttermilk pancakes, buttermilk biscuits, etc.) or you can just discard it.
With clean hands, press all of the butter solids into a ball. Squeeze it a little to get more buttermilk to drain out.
You can put it in a container in the refrigerator at this point, but I’ve read that it can still have buttermilk in it and that can tend to make it go rancid, so many places suggested to wash it.
I filled my mixed bowl with cold water (if you use warm you’ll melt the butter) and then kneaded it a few times under the water. Pour off the water, and repeat one more time, or until you feel like you’ve gotten most of the buttermilk out.
You’ll then end up with this:
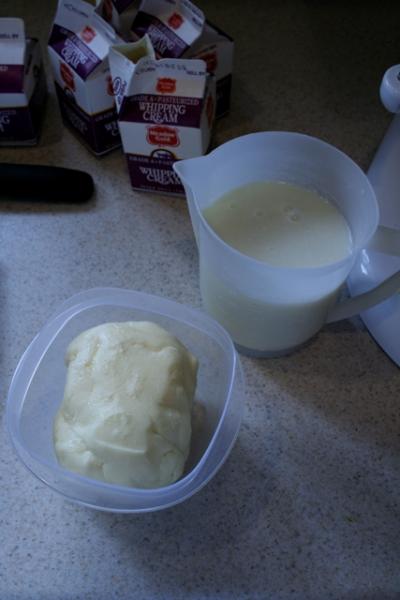
I started with 2.5 pints of whipping cream, and ended up with 11.2 ounces of butter and just under 2 cups of buttermilk. If you use heavy whipping cream (with a higher fat content) you’ll get slightly more butter.
The half-pints of whipping cream were .50 each on clearance after Christmas. I used 5 of them, for a total of $2.50. Extrapolating that out would give me the equivalent of 1 lb of butter for $3.63, definitely not cheaper than just buying it already made at the store. BUT, I also got buttermilk out of it, so I think when you add in that I’d have to buy that at the store as well, I think I come out about even, maybe just a little higher than the store-bought option.
If you have a source where you can get shelf-stable boxed whipping cream (Ultra High Temperature pasteurized), like through Gossner’s here in Utah, you can use that in place of the fresh stuff from the store, with the same results. However, you cannot use whipping cream that has been previously frozen (it denatures the proteins and fats and they will no longer coagulate or “whip” once thawed).
Have any of you ever tried making your own butter? What advice would you give to us newbies? Does anyone make specialty butters this way by adding additional ingredients? I’d love to hear about some of the possibilities!