Boring title? Yes. The discussion that took place in my house about what to call this project may have lasted a long time and just might have gotten a little heated. Never mind, call it whatever you like – I LOVE this project!
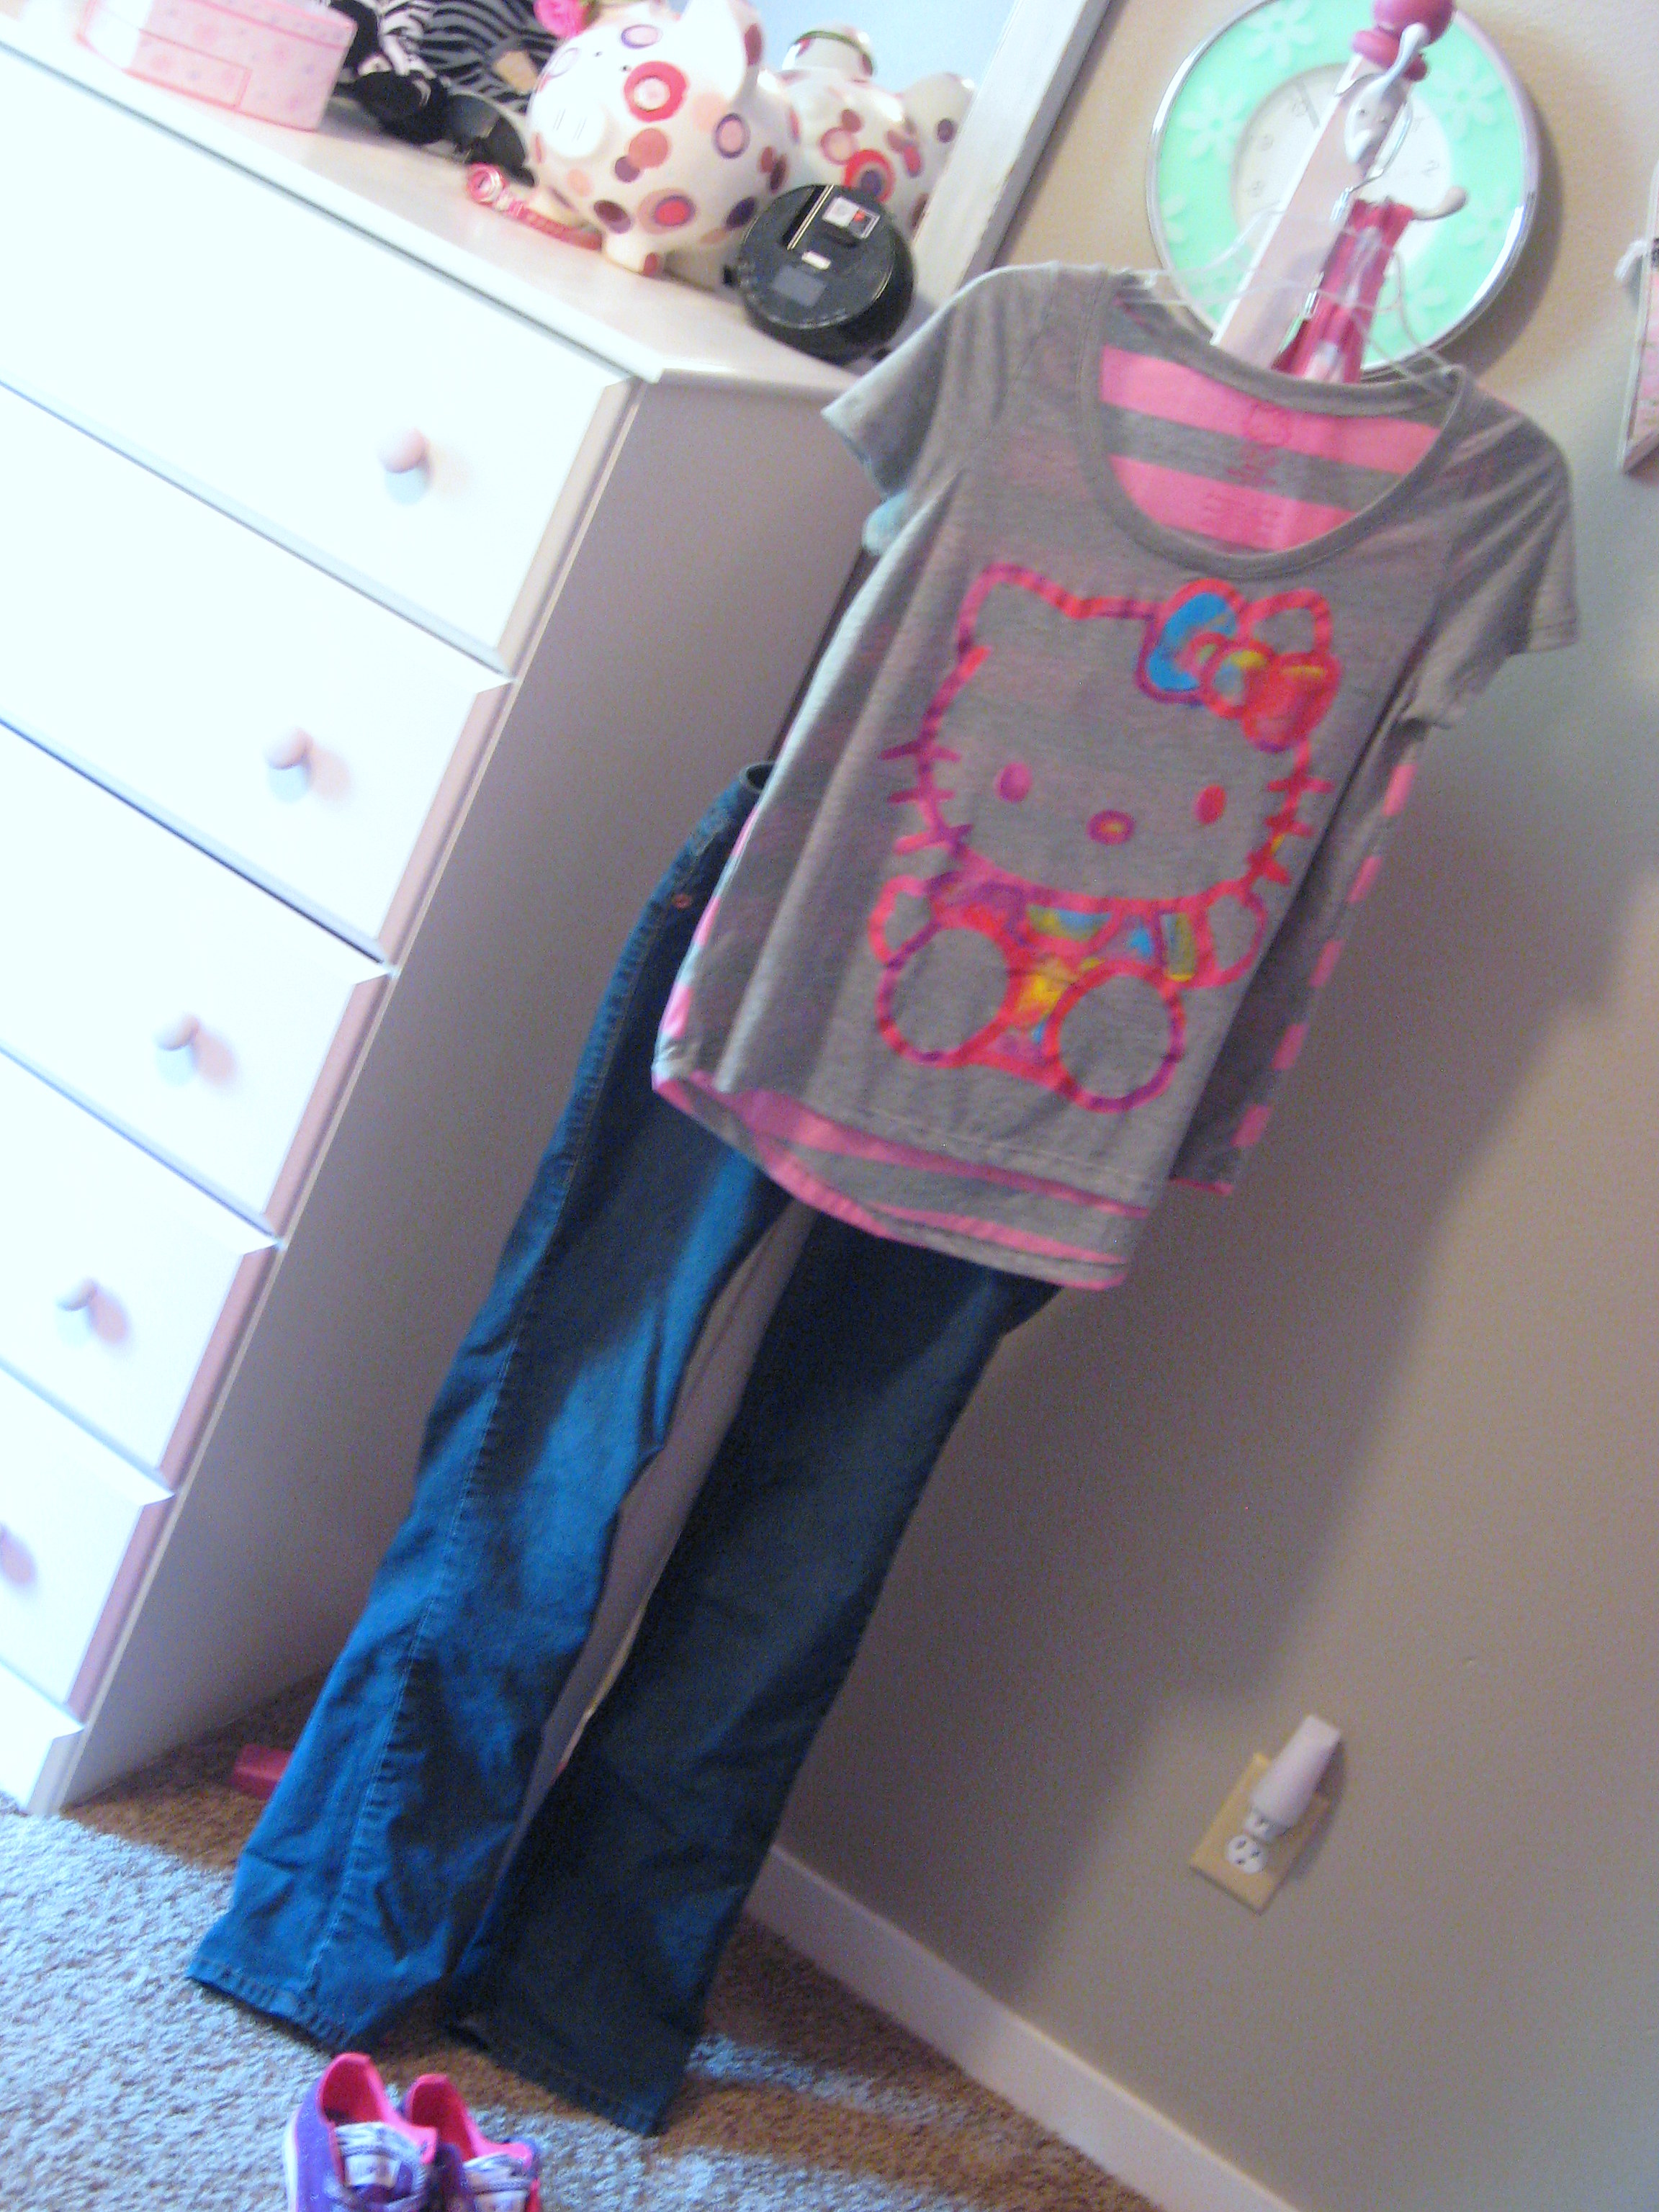
My daughter started middle school this year, and as we all know – wardrobe choices are of UTMOST importance. We were spending time at night picking out clothes, only to find out the next morning when we put them on, that maybe they didn’t quite look as good together as we wanted them to, and I thought how nice it would be to have somewhere in her room for the complete outfit to hang. You can easily finish this project in a day and it is very inexpensive.
Start with a board like this from a home improvement store. It is 2 inches square by 8 feet long and cost less than a dollar. They can often be very bowed, so take your time to find one that is pretty straight.
Cut it into 5 pieces – one is 5 ft. long and the small pieces are each 9 inches long. If you are making this for someone taller or shorter, you could adjust your measurements to better reflect the size of their clothes. Sand everything down to get rid of any rough spots.
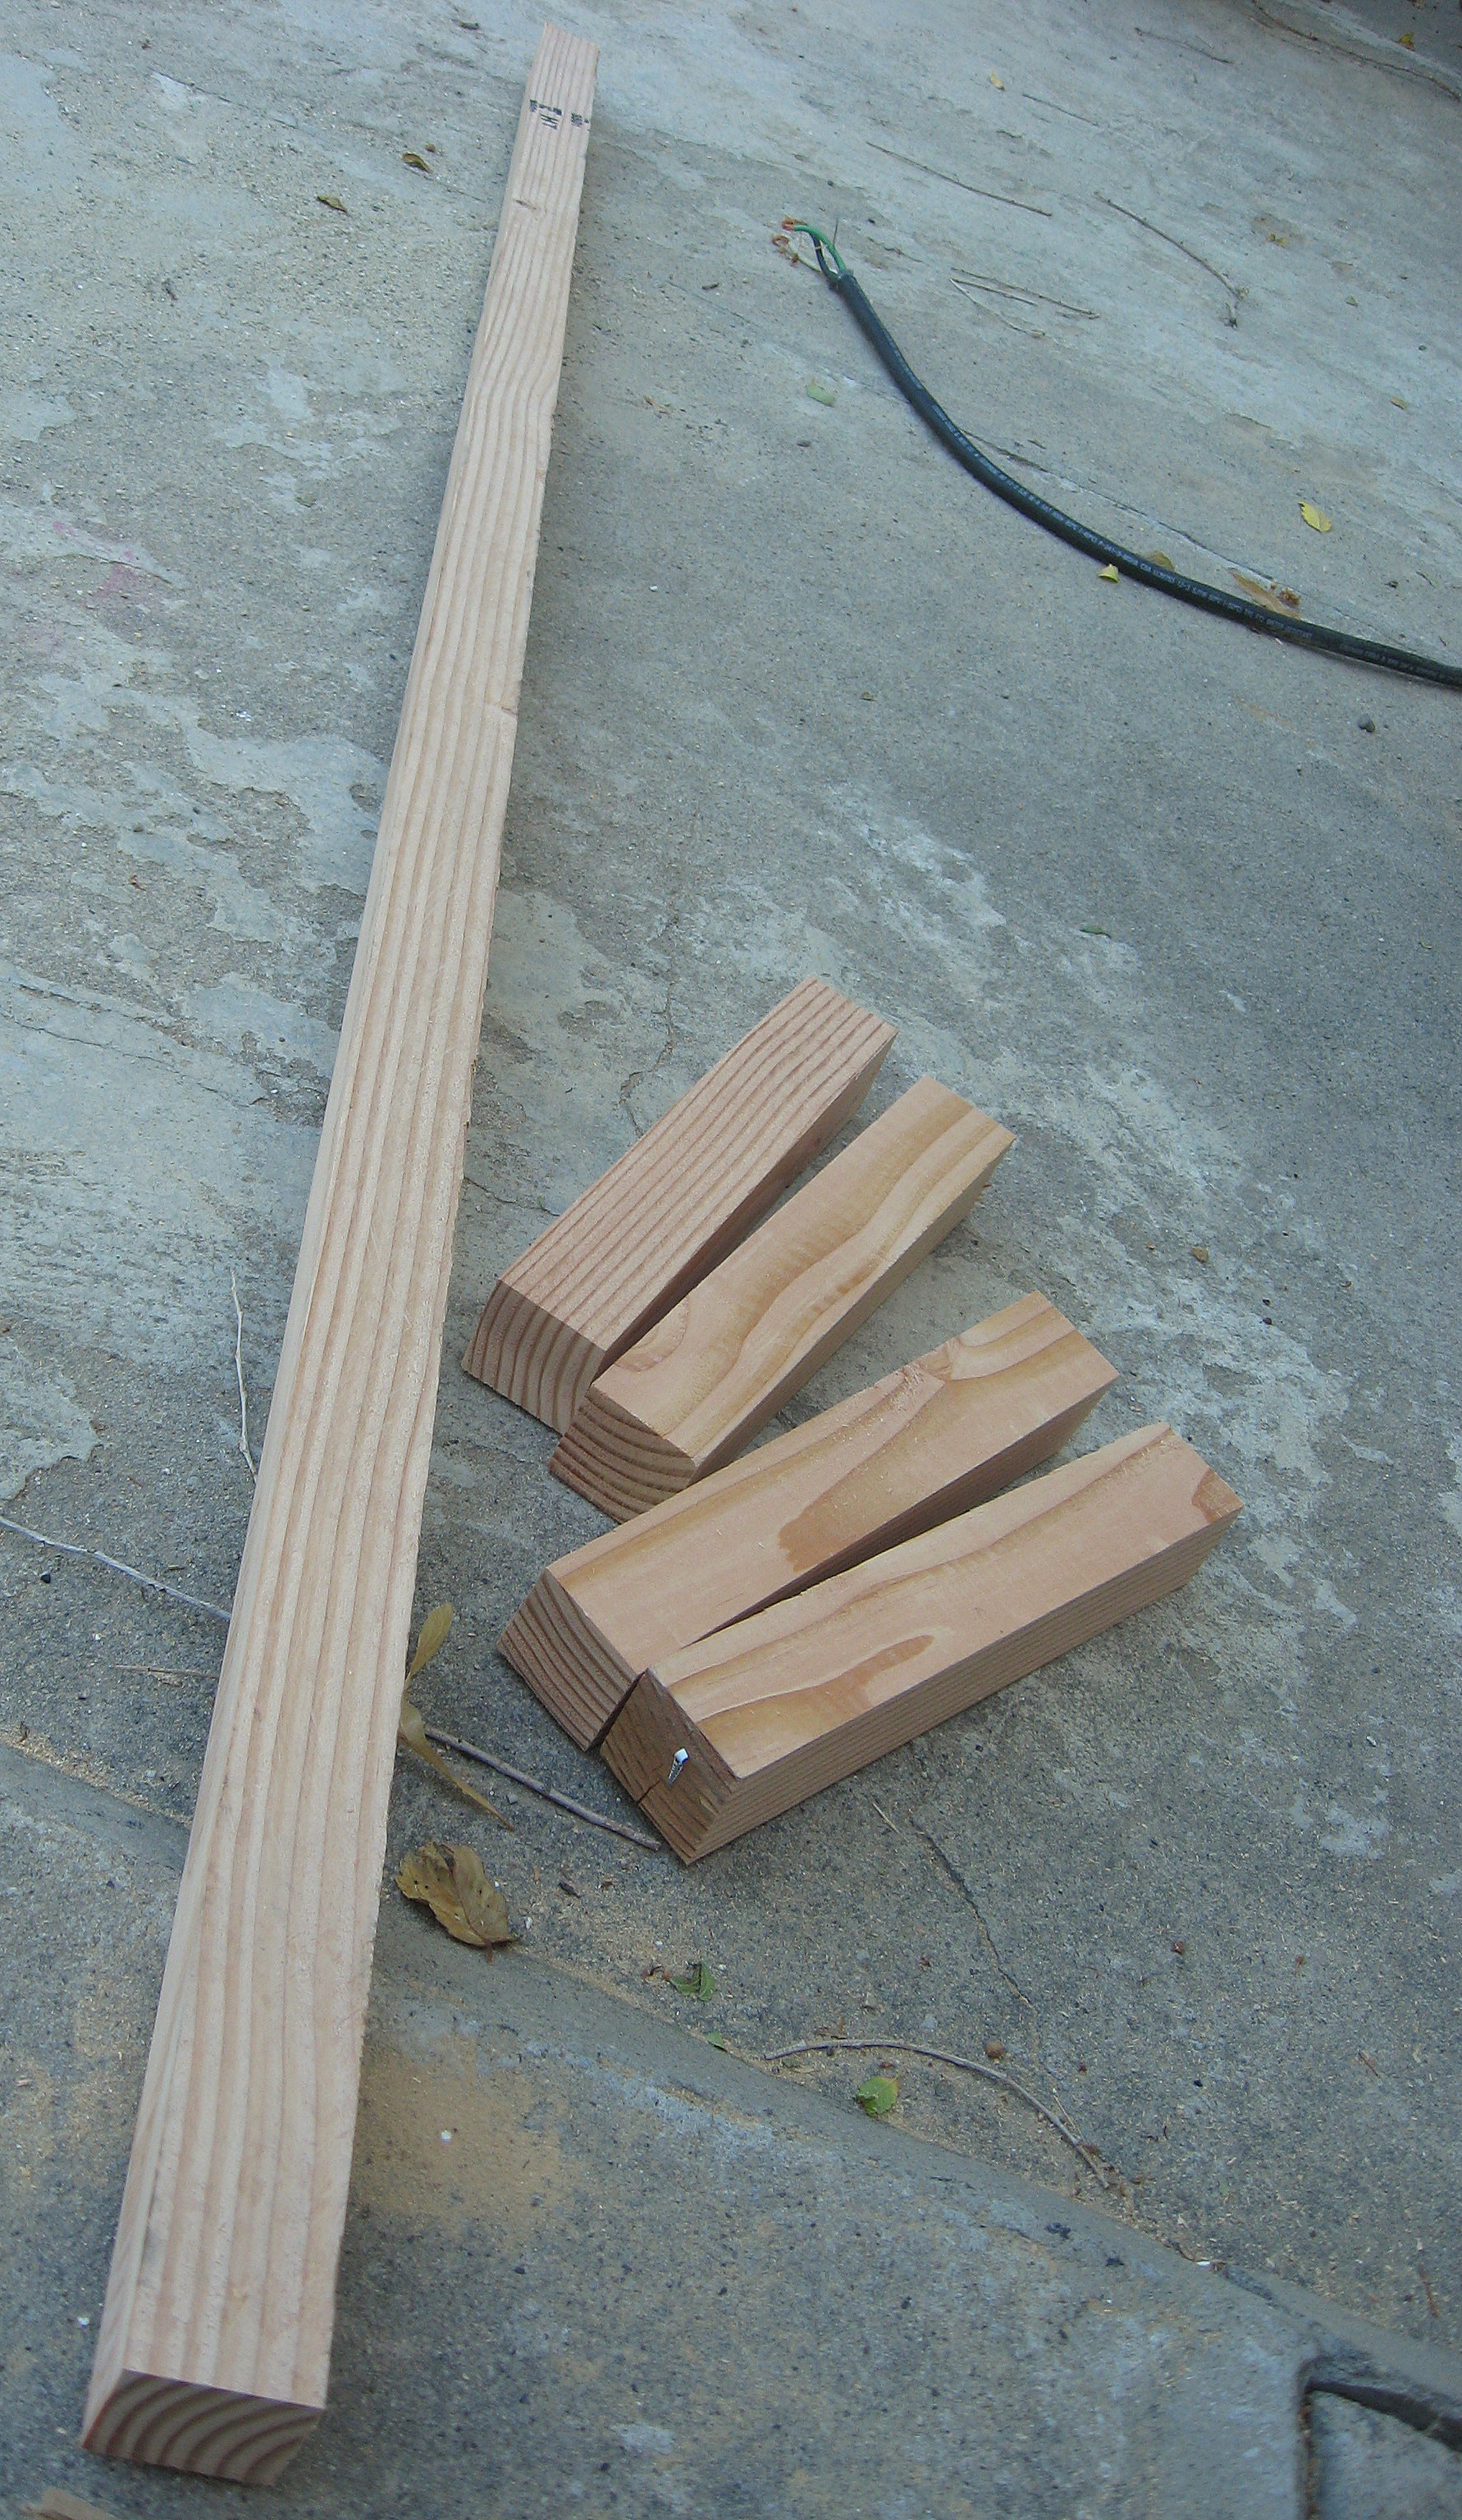
I cut my feet so they tapered at an angle, as you can see in the photo below, but that isn’t necessary if you don’t want to do it.
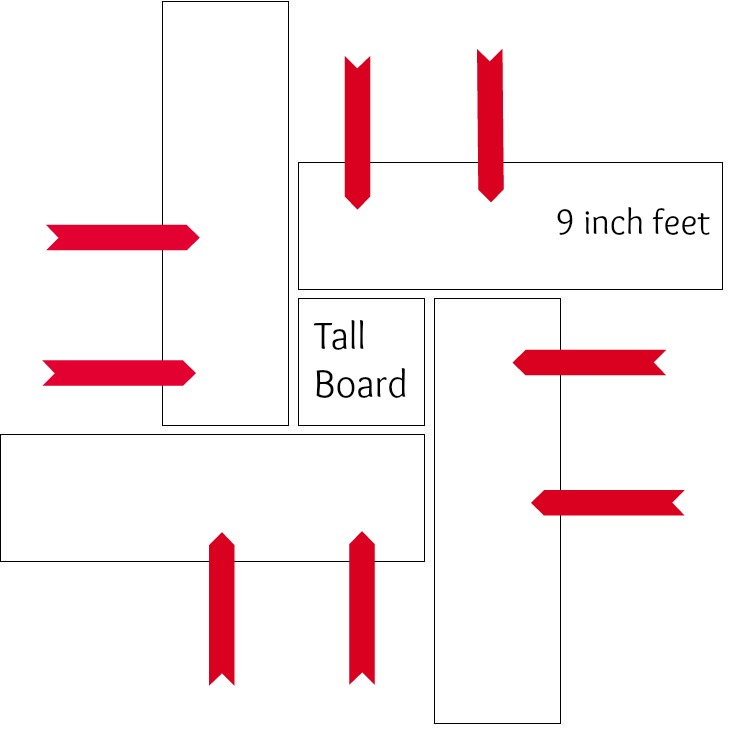
Now you will start attaching the feet to the longer board. Here is a diagram that shows what it would look like if you looked at it from the bottom. The red arrows indicate where you will put each screw.
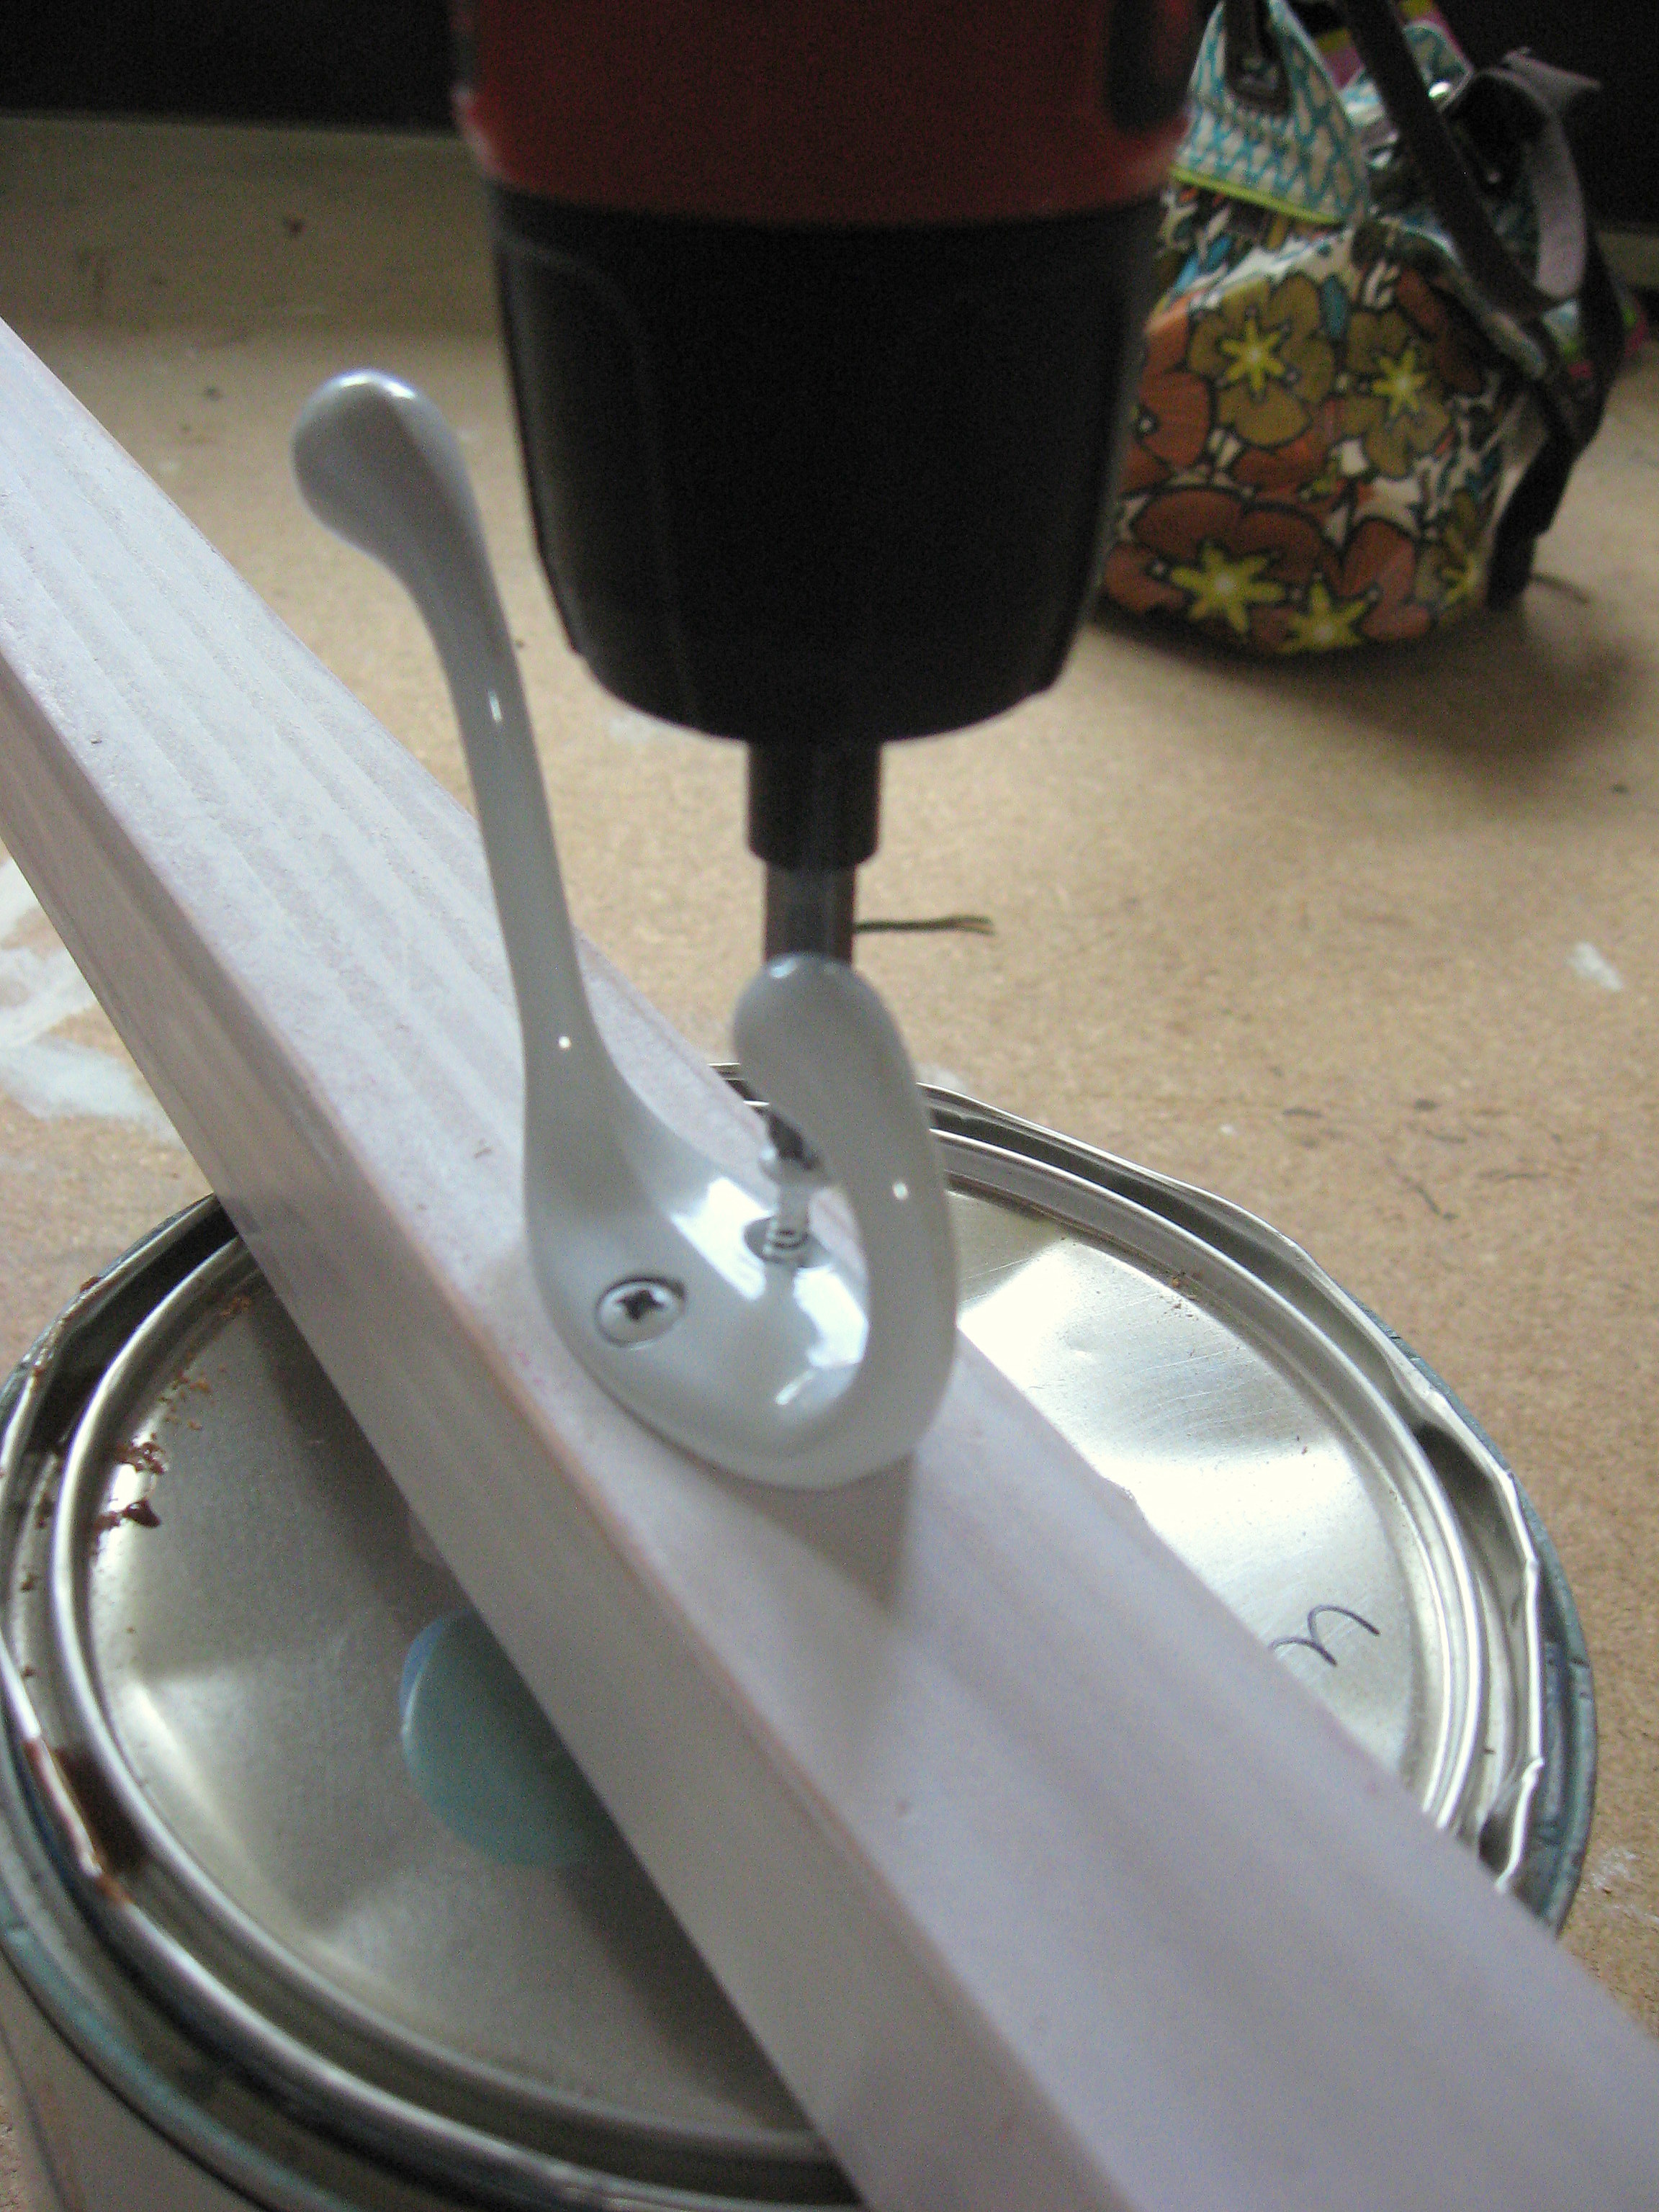
Pre drill the holes to make it easier, and counter sink the screws in. The first two feet were pretty easy to attach, but for 3 and 4, it will help to have a second person. Keep checking to make sure that you are keeping it level so that it will sit flat on the ground when you’re done.
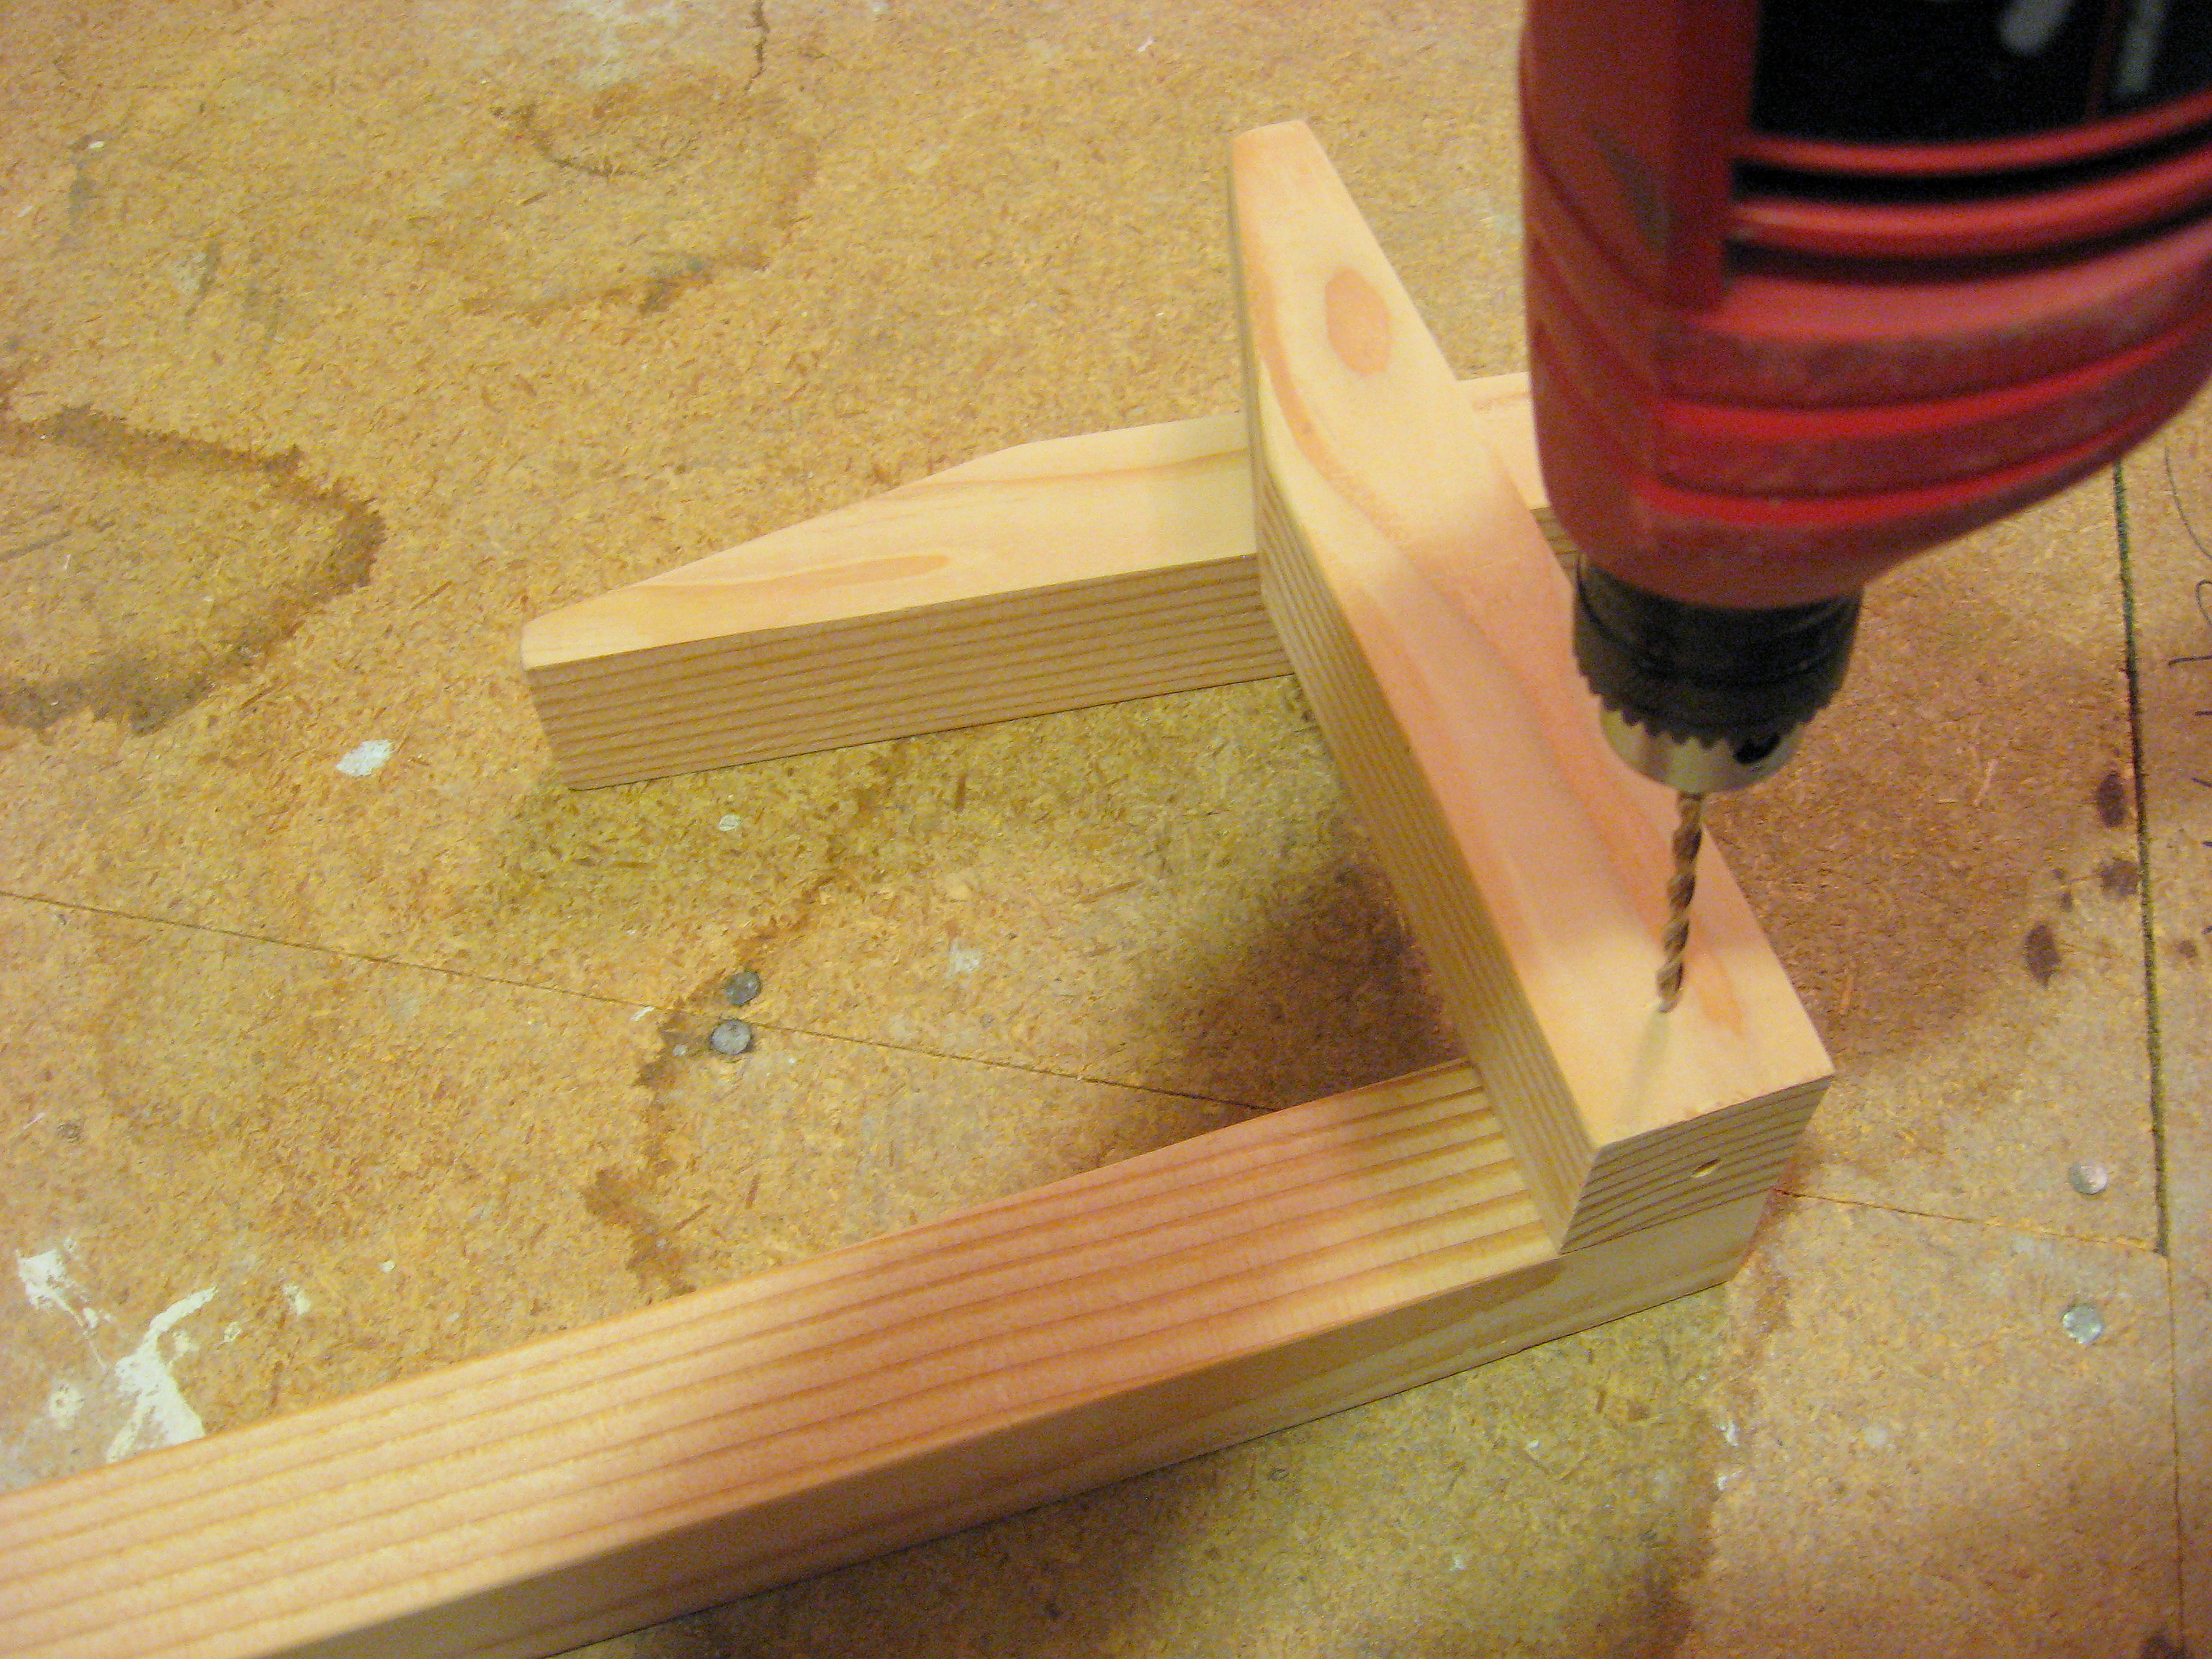
Here’s a view just as I’m about to put in the last screw. It is lying on top to show you kind of where it will go.
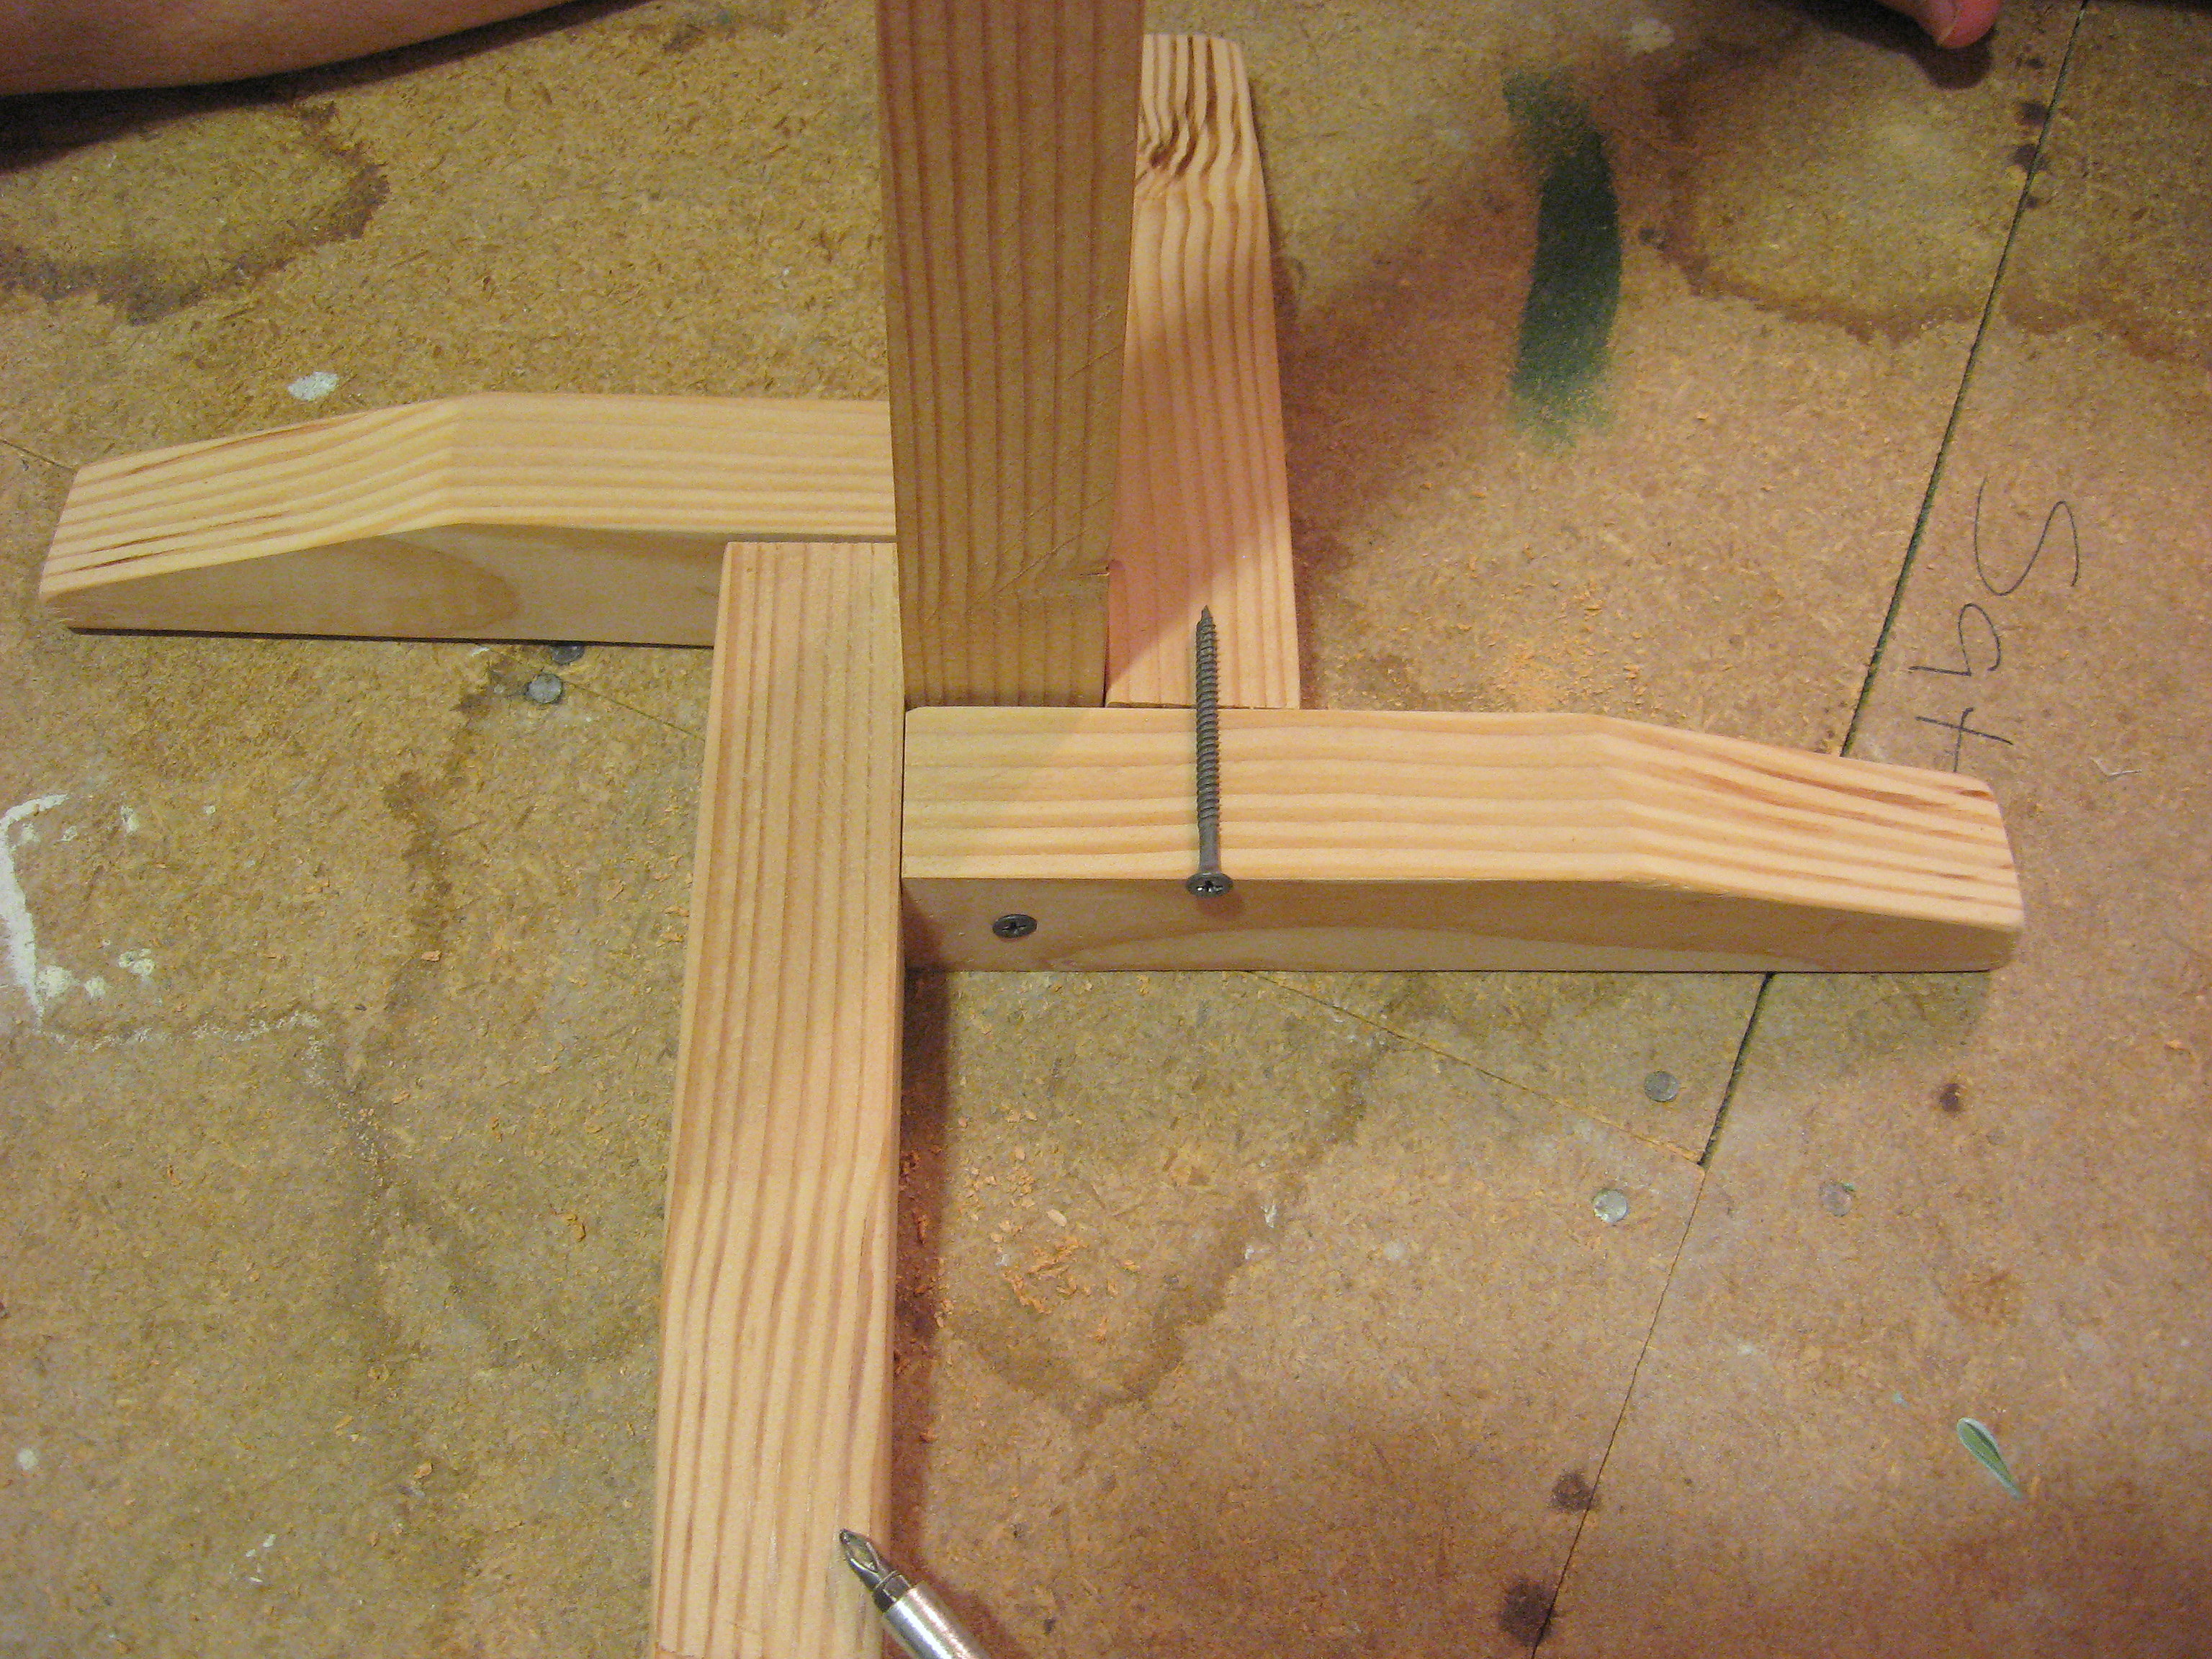
At this point, double check the whole thing for stability and levelness. Make any adjustments needed to the screws and make sure everything is good and tight.
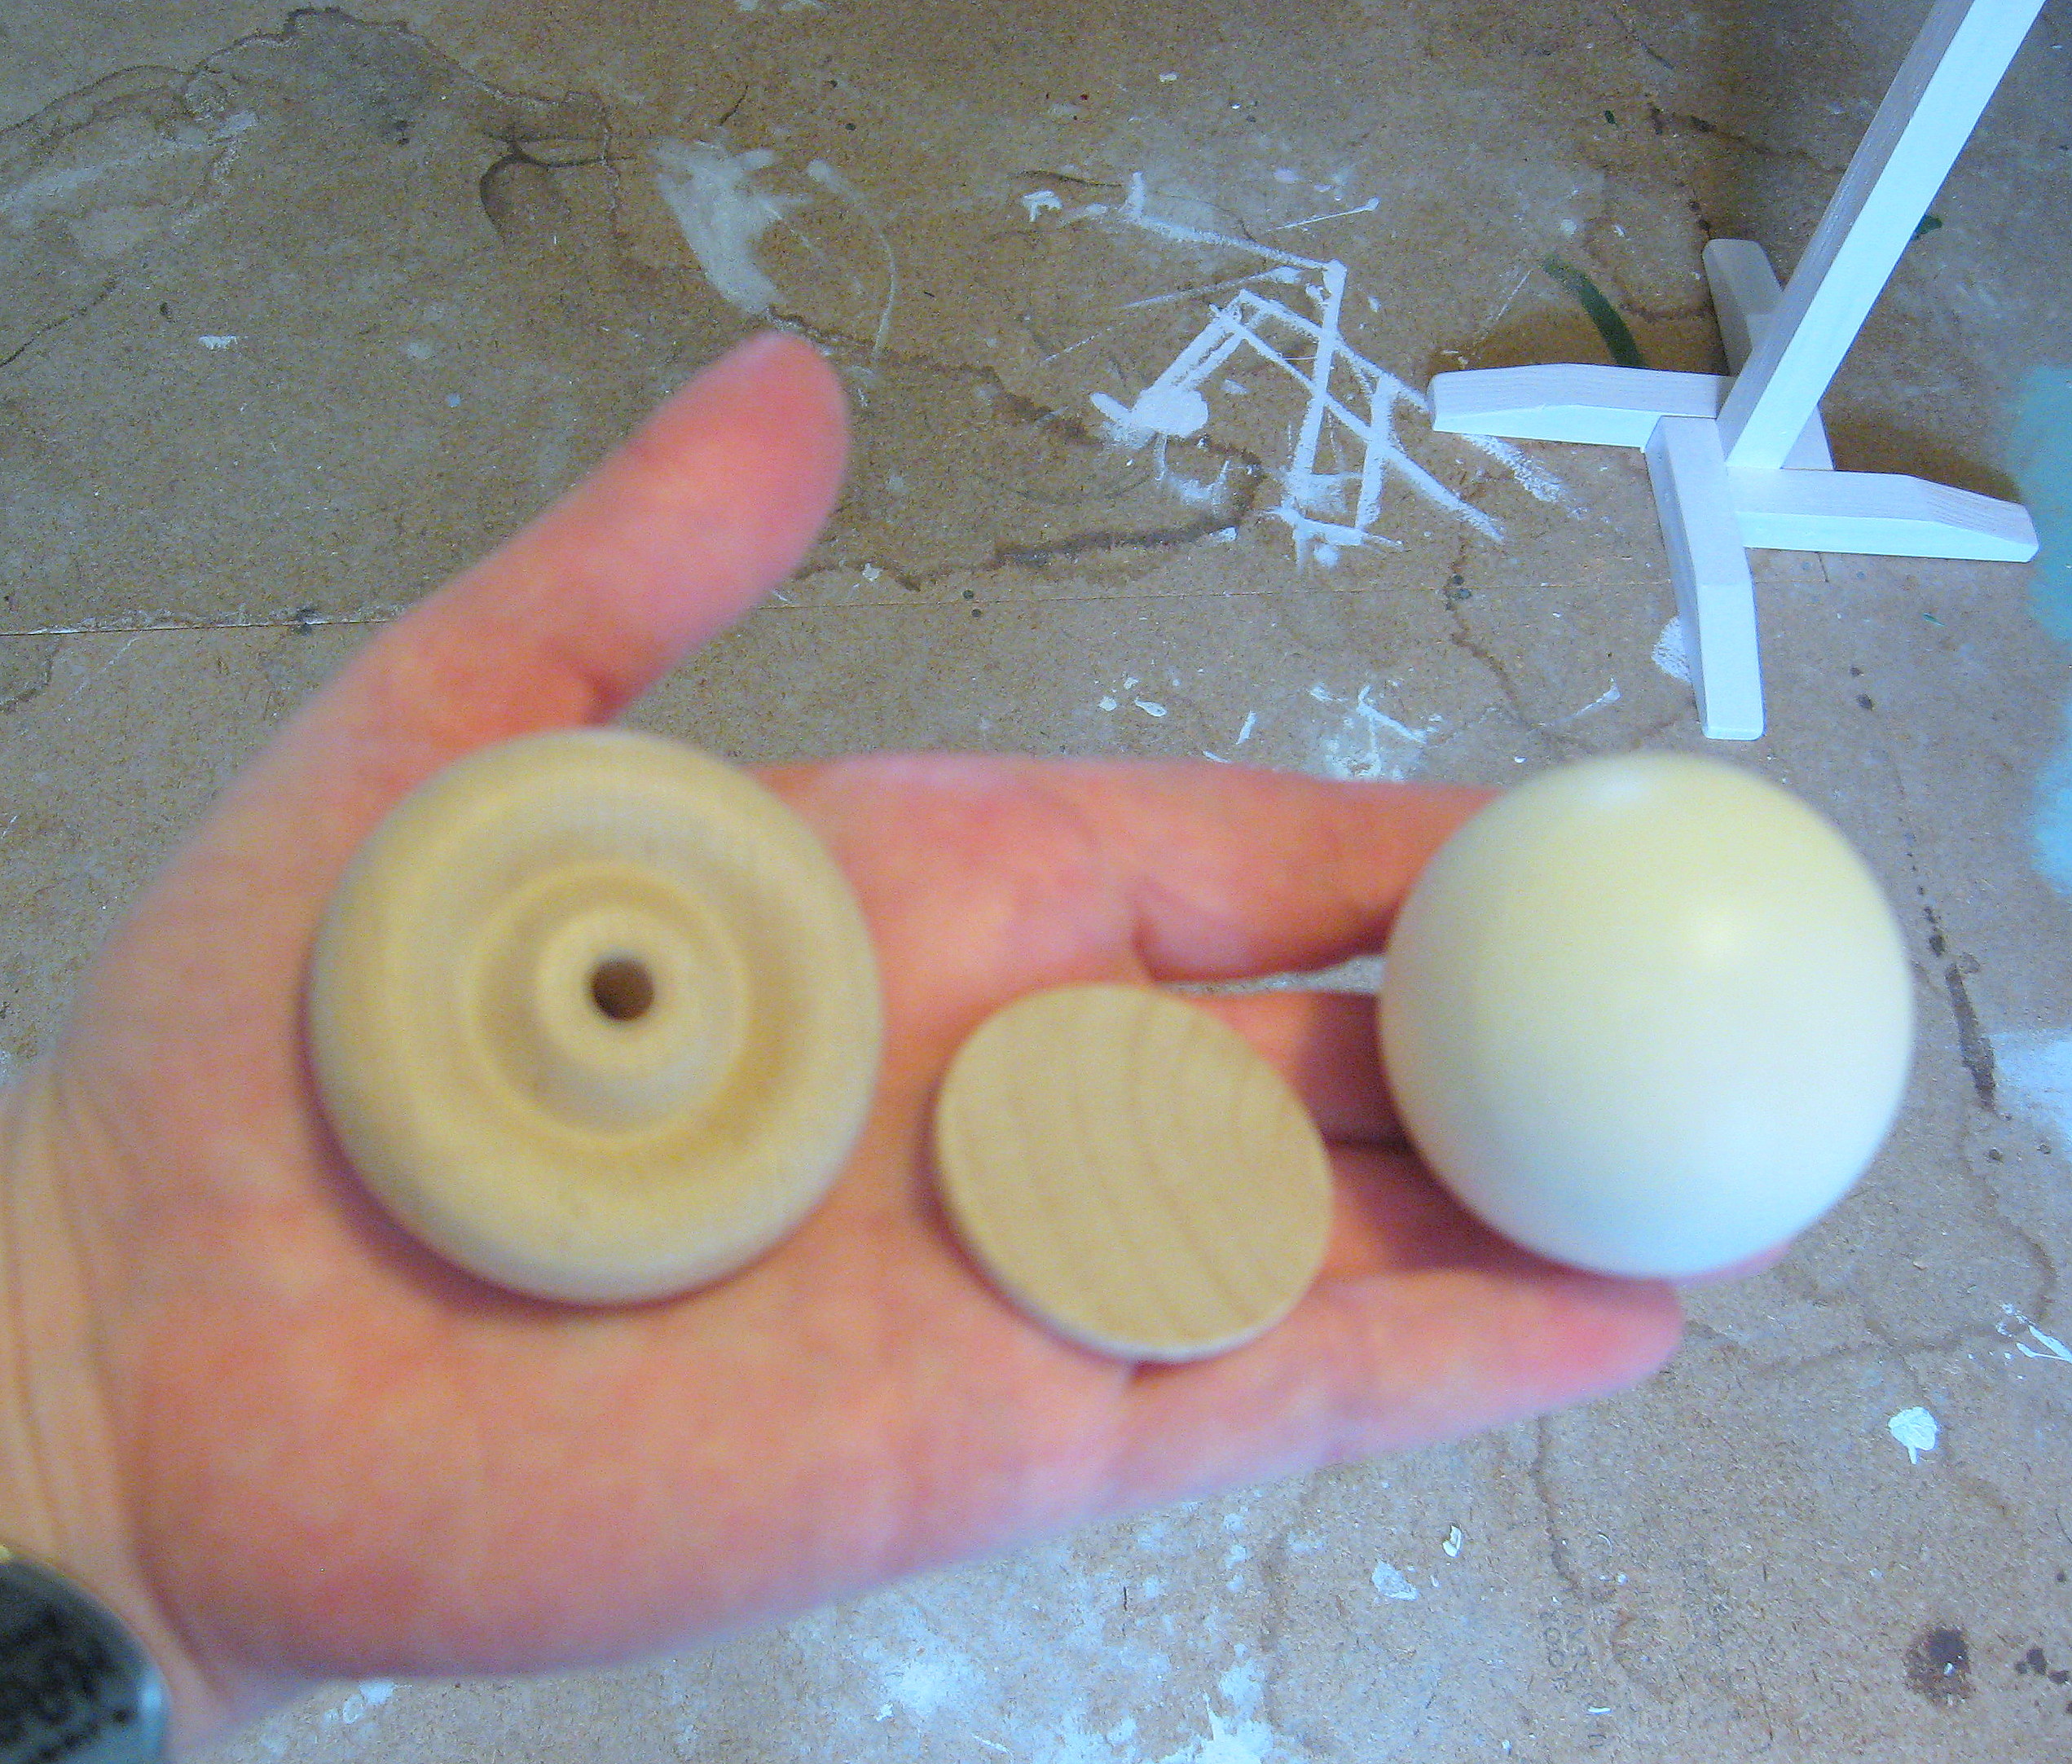
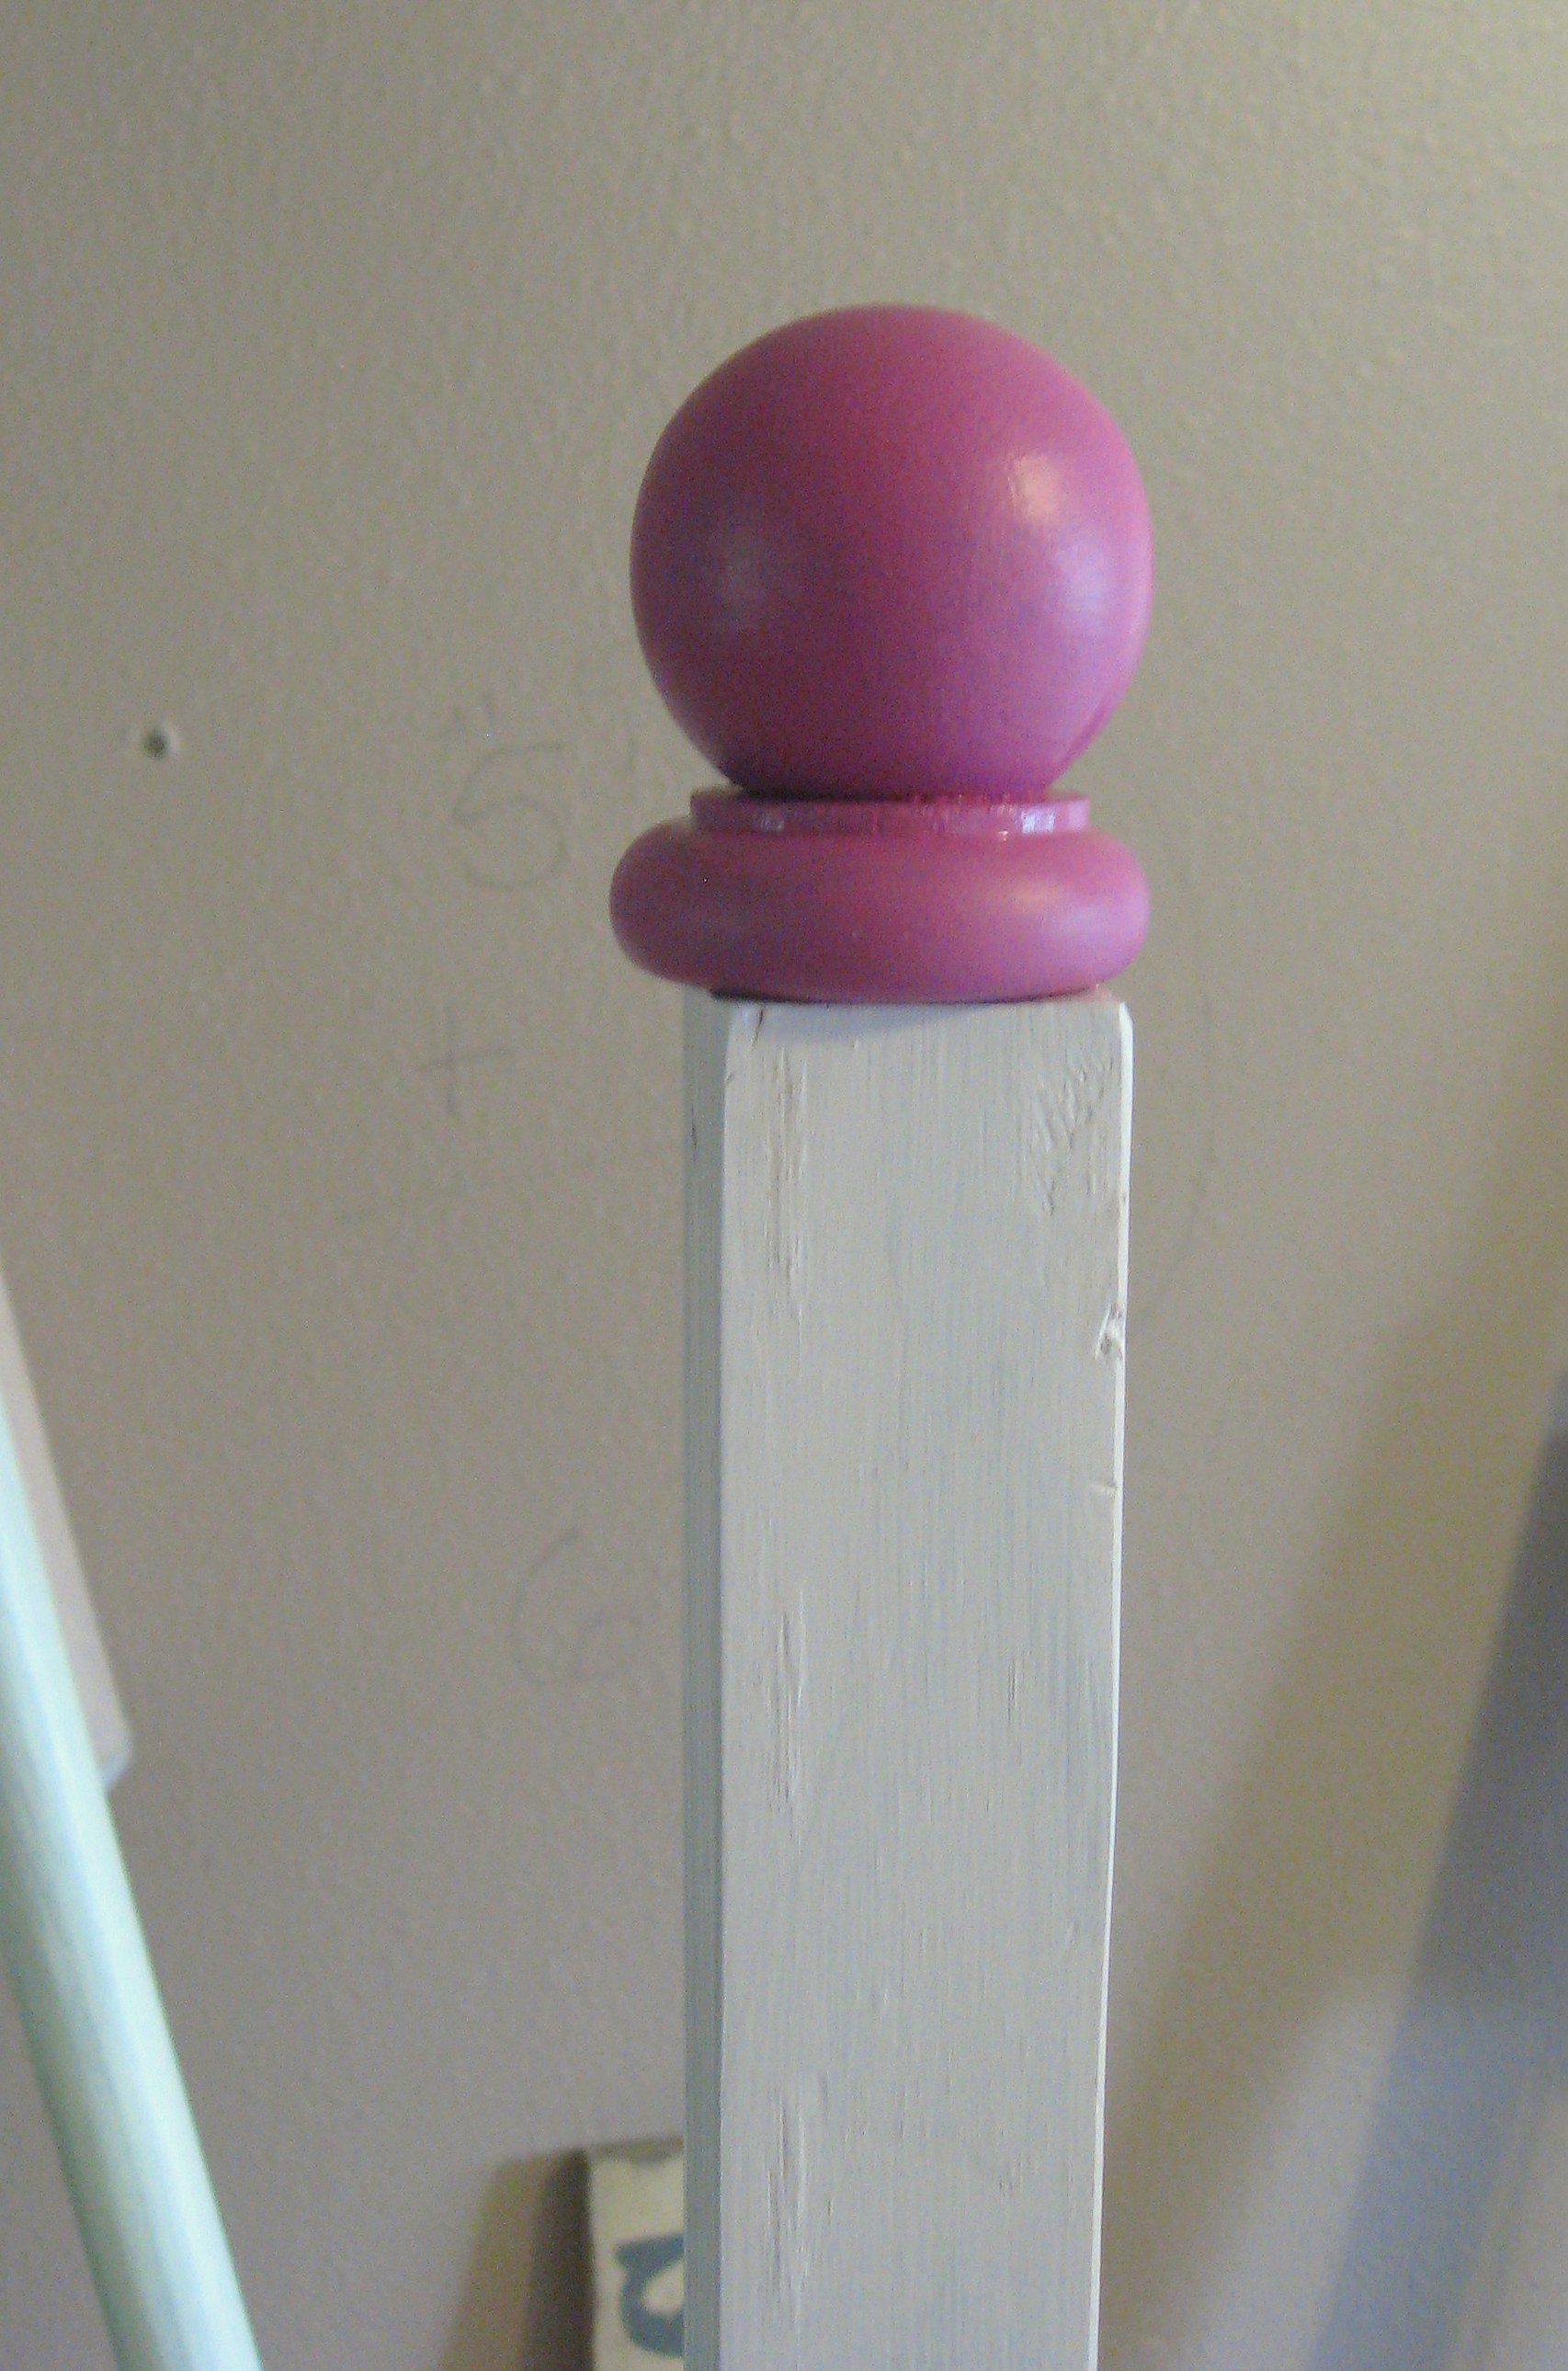
Now you can paint it. I chose to paint the long board white and the feet a dark pink. I also decided I wanted something to embellish the top, so I made a finial to go there. You can easily buy a simple finial – or even just a wood ball – at any craft store to finish it off, but since I had these parts on hand, I just put them together
and attached them with Gorilla Glue. Once they are dry, you can paint it and once that’s dry, drive a screw part way into the bottom.

Drill a hole (large enough to accommodate the head of the screw) centered into the top of the long board. Apply some gorilla glue to the screw and bottom of the finial (sorry for the fuzzy pic)
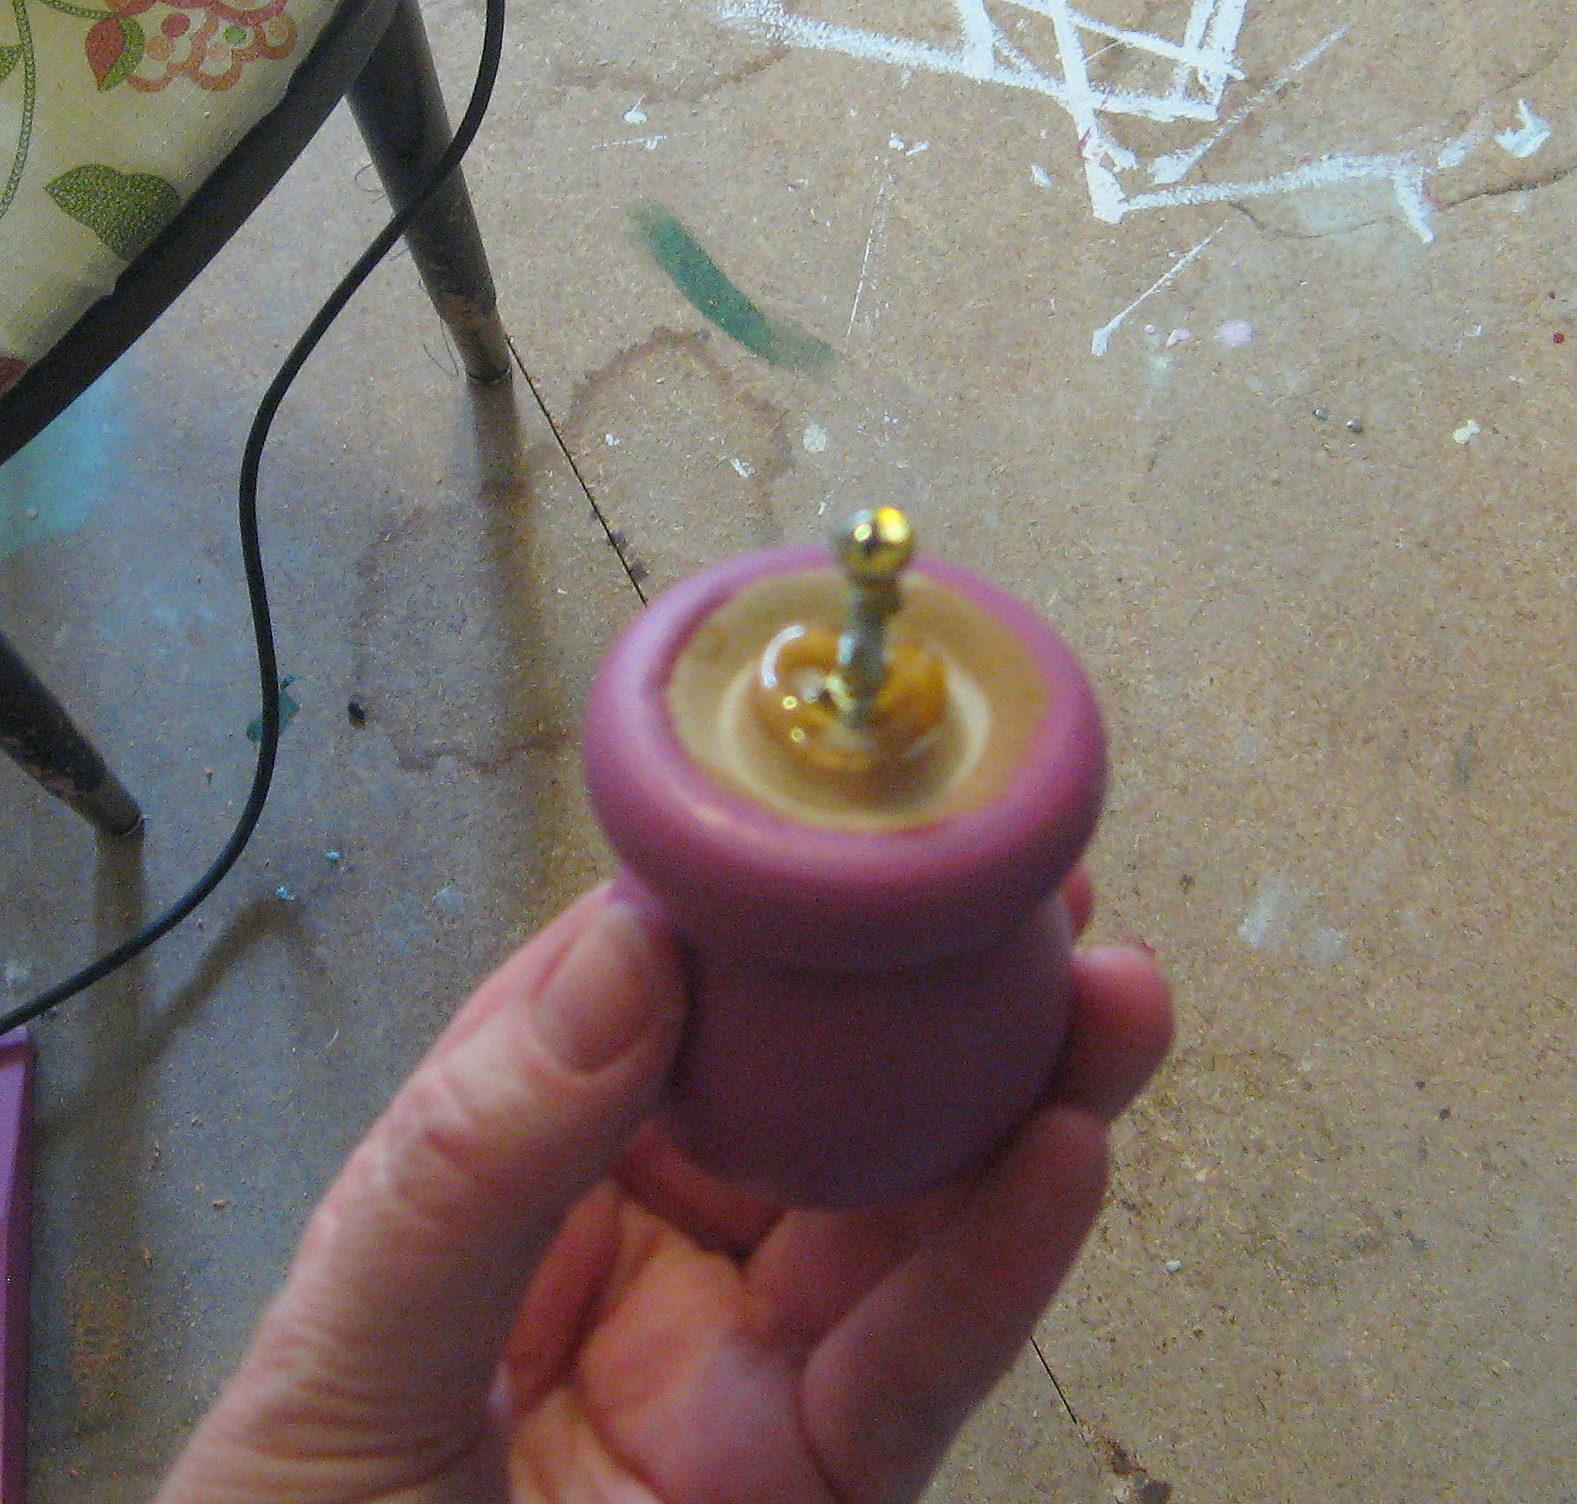
and insert the screw into the hole. Once that glue sets that should be all you need to keep it in place.
Now you will need some hooks to hang the clothes from. I used white metal coat hooks, because that is what I had leftover from another project. I grabbed some of my daughters pants – hung them on a clippy pants hanger – and held them up to the board to determine where I wanted the hook for the pants. Drill it in, then do the same for the top hook for the shirt.
I added a third hook on the side, which she uses to hang anything else she needs for the outfit – tanks or camis to go under the shirt, belt, etc.
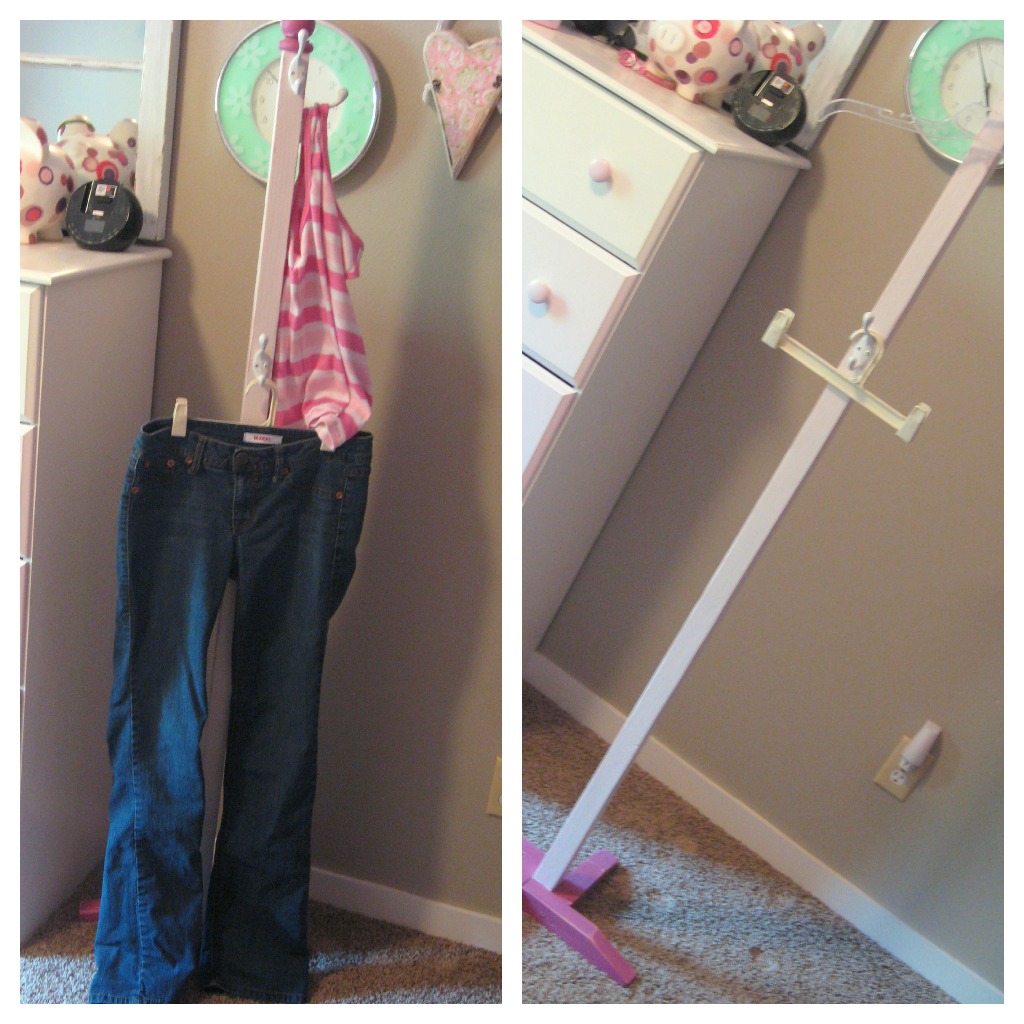
Everything is ready to go the next morning and she can get dressed quickly knowing that it will look great.