
*HOT* Bausch & Lomb Renu Multi-Purpose Solution $2/1 Printable Coupon = $2.99 at Walgreens starting 1/20!
 Print this Bausch & Lomb Renu Multi-Purpose Solution 8 oz or larger $2/1 coupon quickly, before it disppears. Starting tomorrow, Jan 20th, Walgreens will have these for $5.99, use the Renu $1/1 store coupon found in the January Savings Book AND this $2/1 manufacturer coupon to get these for $2.99 each! Remember, you can print each coupon twice.
Making Custom Purses and Bags
I love purses. And bags. And totes. And purses. And bags. I may have a problem.
I am kind of picky about them though…if they don’t meet certain requirements, they find themselves on a one way trip to the local donation center sooner rather than later. For me, those criteria are that they:
- have to be roomy enough to throw in all the stuff required by a busy mom on the go (lotion, gloves, notebook, random medicine, books for waiting rooms, stuffties, snacks, kleenex…),
- have to have pockets to keep my keys and cell phone from joining the bottomless pit of aforementioned stuff,
- have a long enough shoulder strap to wear across my body,
- have to be washable,
- have to be affordable, and
- have to be cute.
That doesn’t seem like an unreasonable list to me, but I have found that it is difficult to find a purse that fits all of those criteria. Several years ago, I bought a pattern at the fabric store and decided to try my hand at making one on my own. Once I made that first one and saw how easy it was, I’ve been making my own bags ever since. I decide what I want and draw the basic pattern out on craft paper. I absolutely LOVE that they are endlessly customizable. My purses can all have pockets to fit exactly the things I need them to fit. Library bags don’t need pockets, but they do need to be sturdy, so I use a heavy fabric. A purse can get away with a less sturdy fabric, as long as it’s washable. I experiment with size, shape, inside and outside pockets, appliqued designs, flaps, closures, long straps, shorter straps – no two bags look the same and they all follow the same basic instructions and only a very beginning sewing ability. I now have a stack of patterns with different- and interchangeable – sizes and shapes of bodies and straps.
I will walk you through how I made my latest bag and then show you some examples of others to get your creative juices flowing. Once you understand the idea, you should be able to make a bag in a couple of hours. I didn’t use a pattern for this one, because I started with a skirt, but you will get the idea, and if you have any questions, ask!
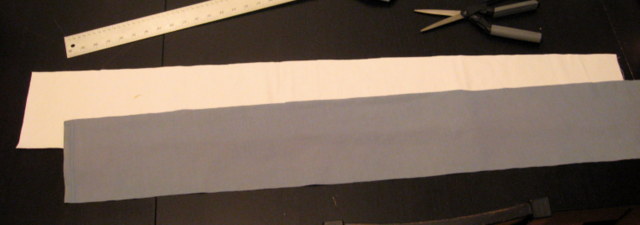
I started with this skirt that I picked up at a thrift store:
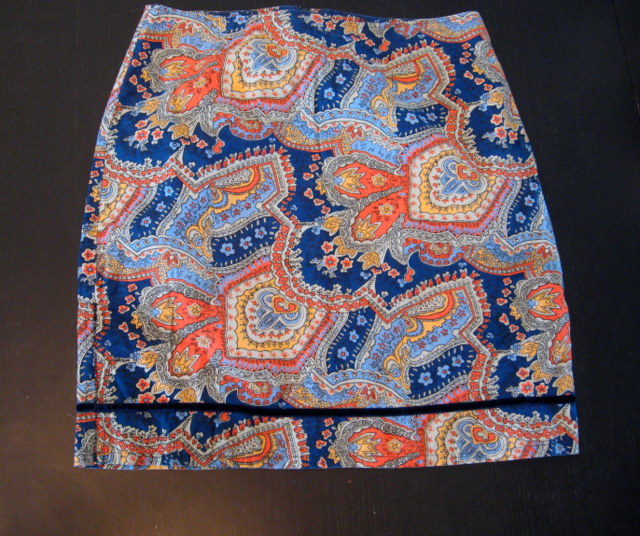
Much too small for me – and too short even if it did fit – but I just fell in love with the fabric. I toyed with the idea of making it into a pillow, but then decided it would be better as a purse.
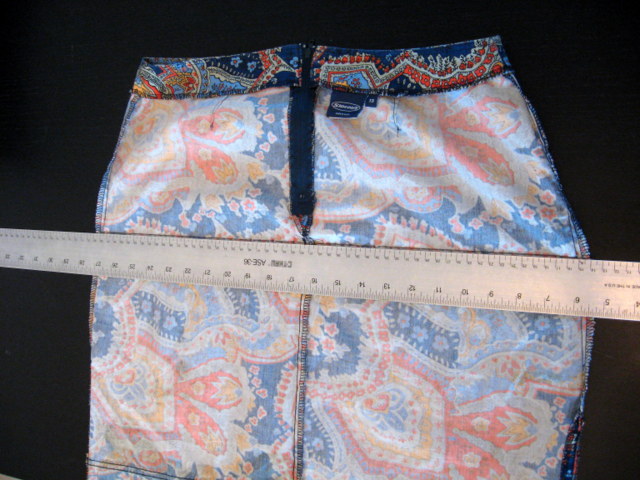
I turned it inside out and lined up a straight edge along the width of it, just under the zipper. Draw a line and cut – making sure that you keep the bottom hem even and straight. I discarded the top part, but you could use that fabric to make pockets.
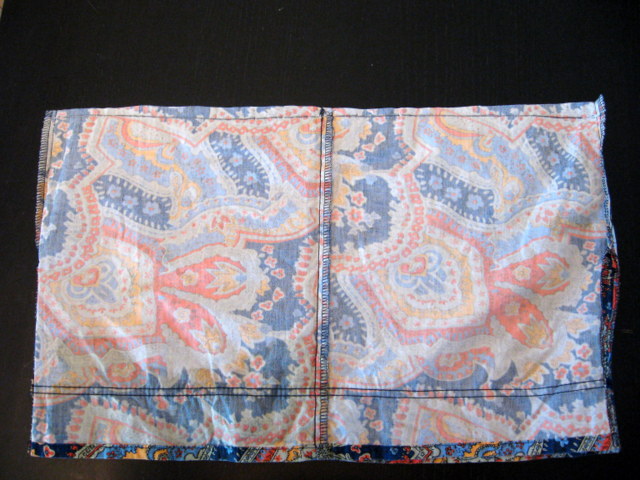
Sew straight across the newly cut edge, forming the bottom seam of your bag. I like to sew this seam twice, just to make sure it is strong.
You can leave it like this if you want, but I like to sew across the corners to give the bag a little shape. Take one bottom corner and pinch it together then lay it out flat, being sure to line up the bottom seam and the side seam. Measure in from the point (I did 2 inches, but experiment with making it smaller or larger to change the look of the bag) and draw a line across it. Pin it in place, then sew along the line. Do this on both corners.

That leaves you with these little floppy ‘ears’
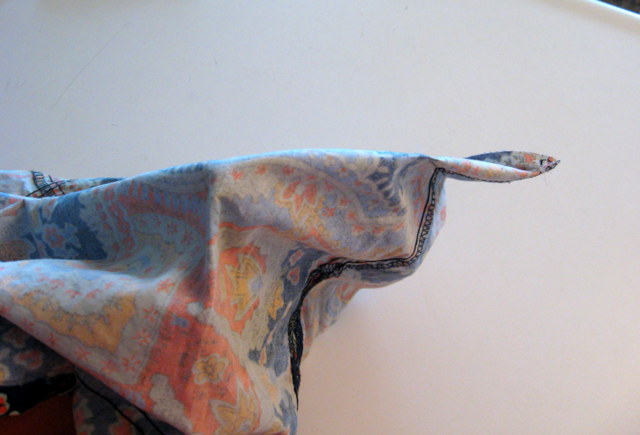
that make a nice, neat bottom when turned right side out.
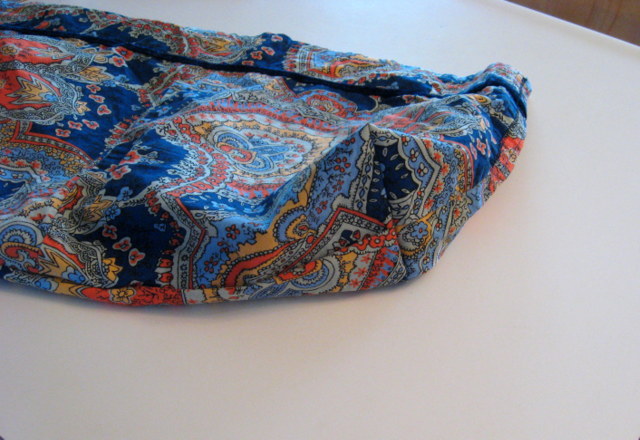
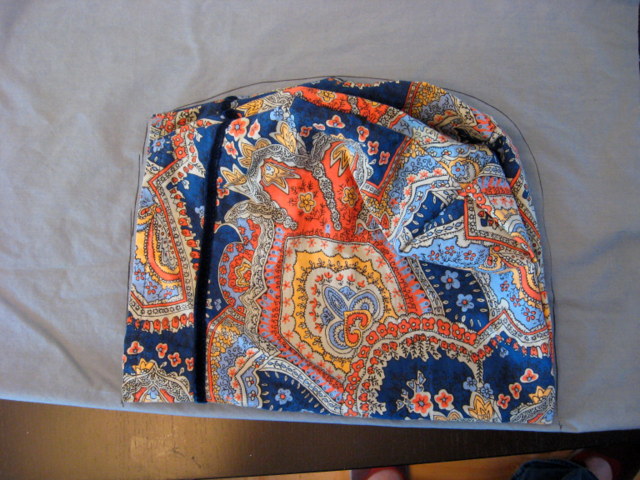
Again, you could stop here if you like the shape, but I thought it was too wide at the top, so I measured down the top inside seams a few inches on both sides and sewed a triangle to taper the top sides in a little, like this:
There; I like that shape better.
Now, if you don’t want your bag to be lined, you can stop there and add straps. I will leave the inside unfinished occasionally on tote bags or shopping bags, but generally, I prefer my bags to be lined and it really is quite simple!
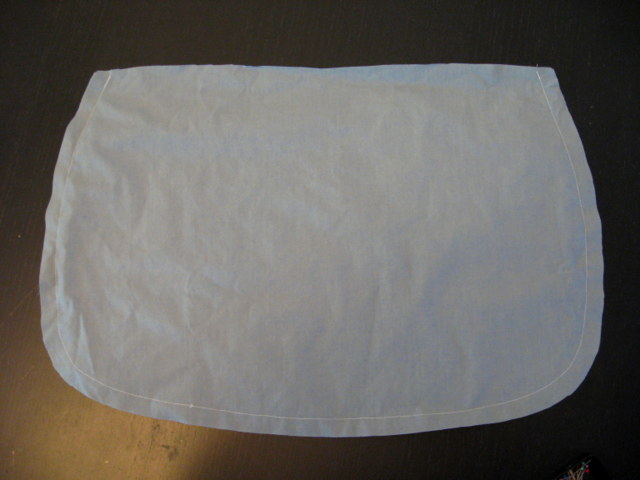
I folded my bag in half and layed it out on the fold of my lining fabric, then I drew around the shape of the bag and cut out two.
**If you are making your bag from scratch from flat fabric, then just cut out all four of these shapes at the beginning – 2 outside pieces and 2 inside pieces, all the same size.
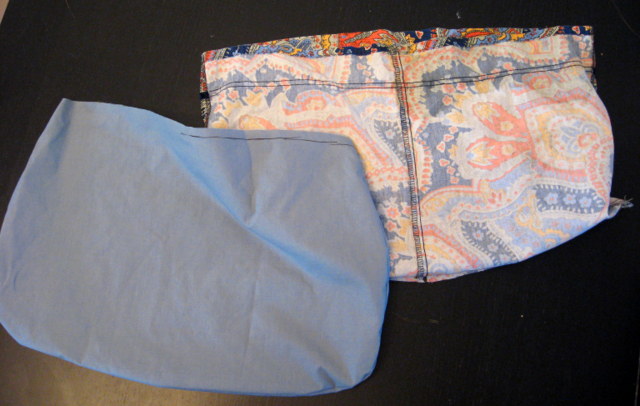
Sew the two lining pieces together, all the way around, but leaving the top open. Make sure you have right sides together!
Now you have two fabric pouches that we will stitch together once we make the straps and pockets…
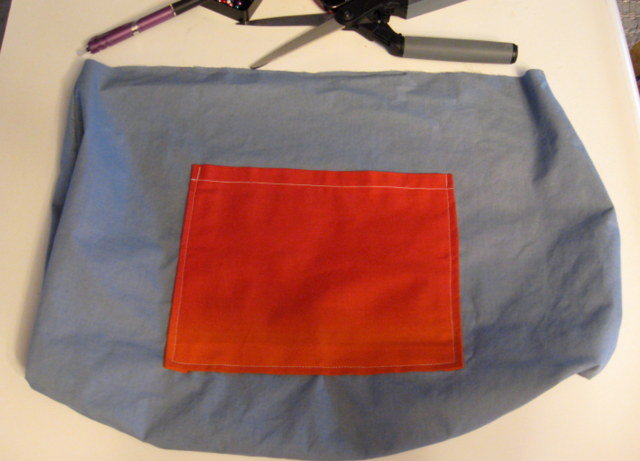
For my pockets, I like to make two; one big one on one side, to catch the random small stuff that tends to get lost in the bottom of my purse, and one on the other side, split into two pockets for my keys and phone. Decide how big you want your pockets to be, and cut the squares out of fabric – about an inch or so bigger than you want the finished pocket.
Press down a small seam on the top and stitch across it.
Then you will press a seam allowance on both sides and the bottom, but don’t sew it.

Pin the pocket centered in place on lining of the bag – make sure that the “up” side of the pocket is facing the “up” side of the bag. Also, don’t put it up too high…you will lose a little at the top of the bag when you sew the lining to the outside.
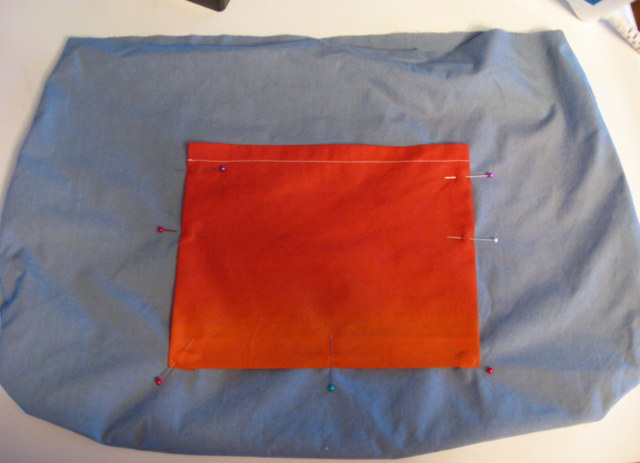
Sew the pocket onto the lining along the three edges, leaving the top open.
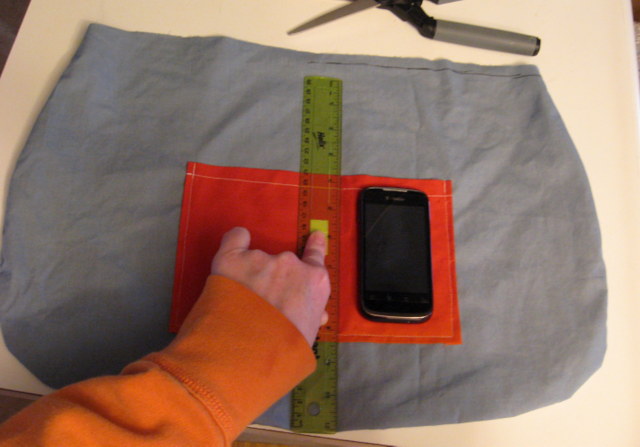
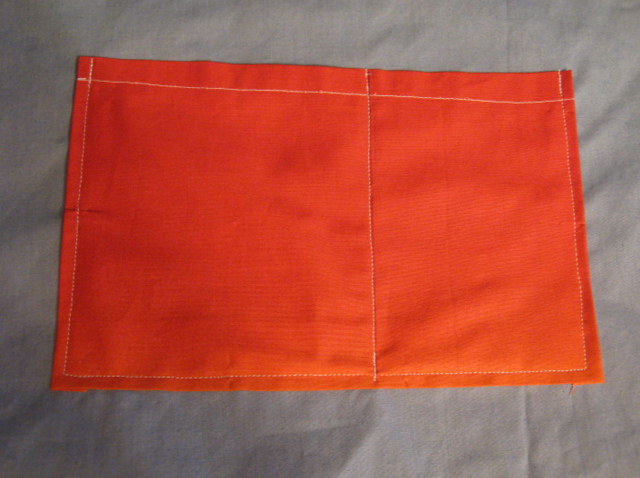
Now repeat with the pocket on the other side. Once it’s attached, you can just sew a line right down the middle to separate it into two pockets. I used my phone to decide exactly how big I needed it to be, since that is what will go in there!
Now for the strap. Determine how long of a strap you would like. The first couple of times might take some trial and error until you find exactly what you love. Use a bag you already have or have someone help you with a measuring tape to get a good measurement to start with. For me, I like a 42 inch strap – short enough to carry on my shoulder, but still long enough to sling across my body. I cut out a long rectangle of fabric about 4 inches longer than the finished size (so 46 inches long) and about 6 inches wide.
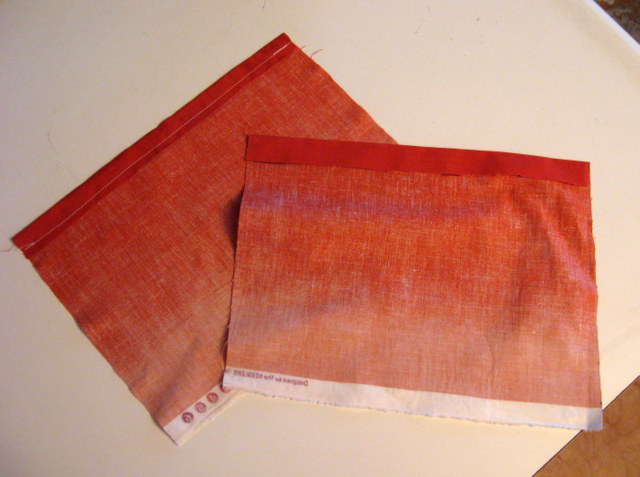
Again, depending on what you’re going for, you can decide how you want the finished strap to be. If it is a small or delicate bag, you might choose to use just one layer of fabric for the strap. If it is a heavy bag, you will want to make the strap heavier. You can do that by using iron on interfacing, or by just using two pieces of fabric, which is what I did here.
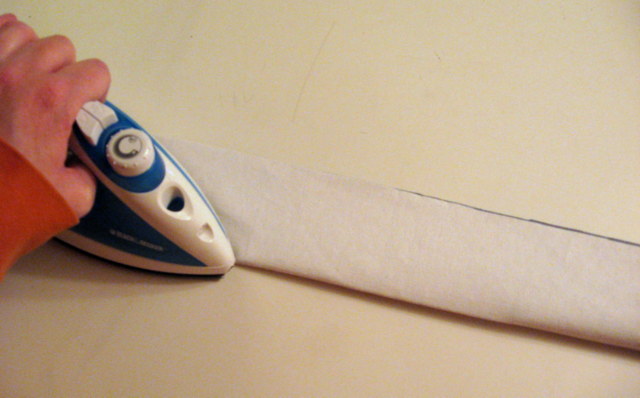
Lay them out on top of each other, and fold them in half lengthwise, with the right side of the outside fabric on the inside of the fold. Press it all flat, then sew up the long edge. Turn it all right side out, smooth it all flat and press it again.
Now, here comes the trickiest part – I still mess up on this part once in awhile if I’m not paying attention, so go slow, take a breath and think it through before you sew and you’ll be fine, I promise!
With the OUTSIDE pouch turned inside out, lay the strap along the bottom of the pouch and up the sides. Make sure that the strap isn’t twisted. Now check again. Really.
Center the strap with the side seam of the pouch and sticking up beyond the top about 2 inches and pin it. Now do the same on the other side. Now check again to make sure it isn’t twisted – just to be safe 🙂
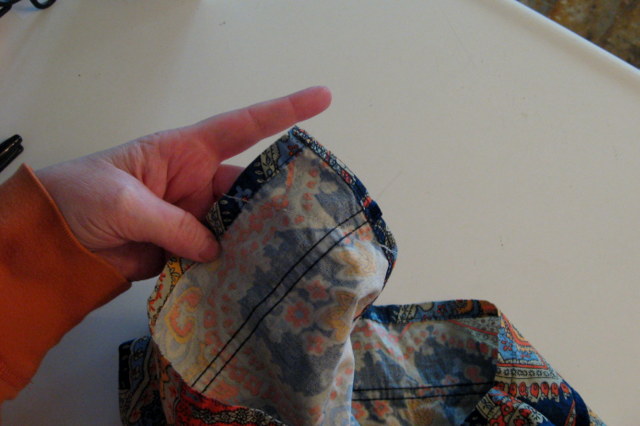
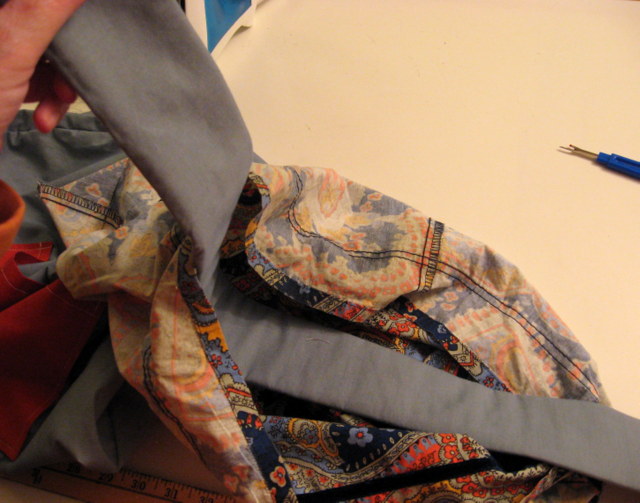
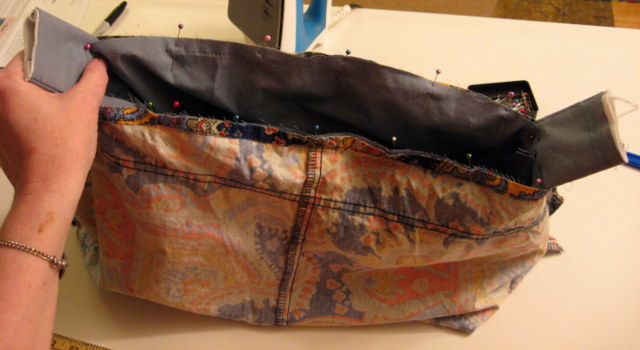
Now with the INSIDE pouch also turned inside out, put it down inside the outer pouch. So, you will have a “pouch sandwich” with the strap between them. Line up the side seams and the front and back centers and pin them together, stretching to ease in any excess fabric (you shouldn’t have a lot, but you will likely have a little). You will now sew around the whole top where you just pinned, but you will have to leave a space so that you can turn them inside out. The smaller the opening you leave, the harder it will be to get it turned, but the larger the opening, the more work you will have to do to close it up. I probably leave about 3 inches. I have been known to forget and just keep sewing, so when I pin, I will pin an X where I want to leave the opening just to remind myself.
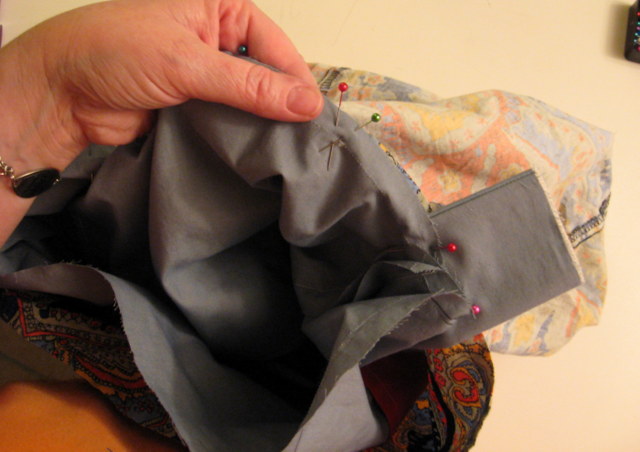
Take a minute to look at it and make sure you have everything assembled the way it should be; it should look like this:
Then, sew around the top edge, backstitching at the beginning and end. Carefully reach into the opening that you left and pull out the strap, then work the rest of the purse through until the whole thing is turned right side out. Now press around the top where you just sewed, to make it look nice and neat, and press down the edges of the opening as you go. Slip stitch or blind stitch the opening closed by hand – or you can topstitch around the entire top edge, closing the opening in the process.
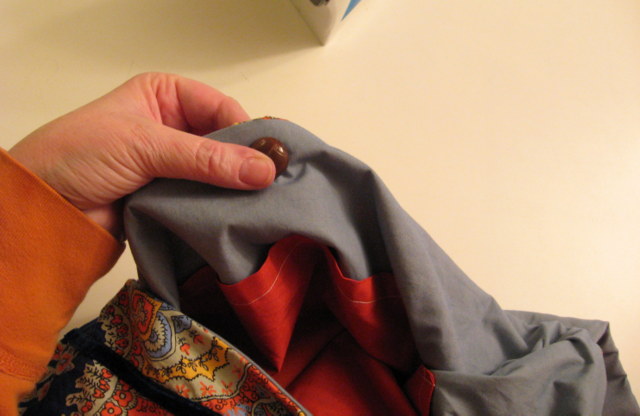
I chose to close this bag with a button, so I found the center of one side and attached a big vintage button, sewing it just to the lining so the stitches don’t show on the outside. Then I lined it up with the center on the other side of the bag and made a buttonhole.
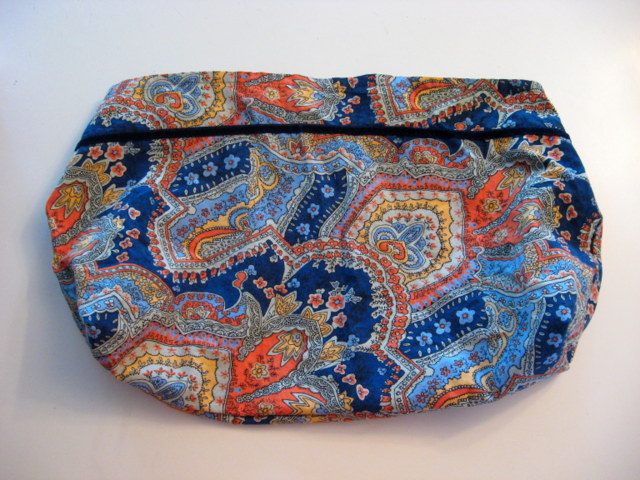
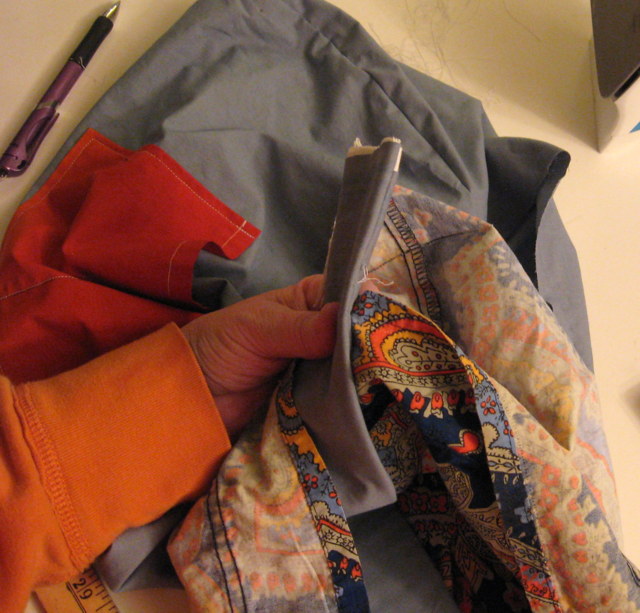
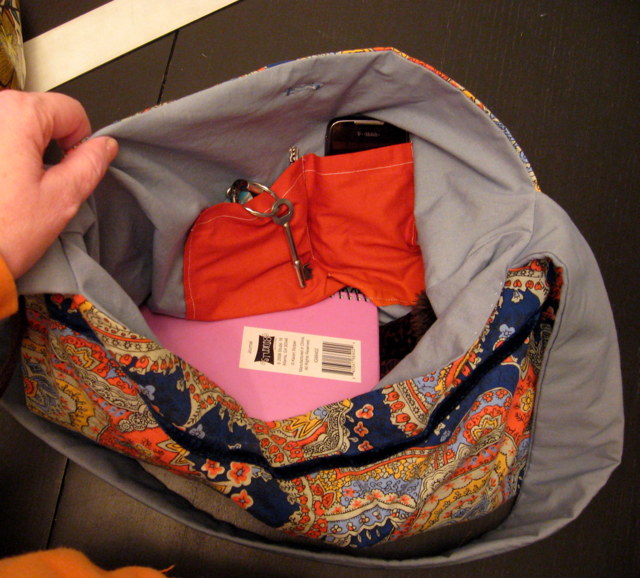
Here’s a shot of the inside of the finished bag:
And the outside:
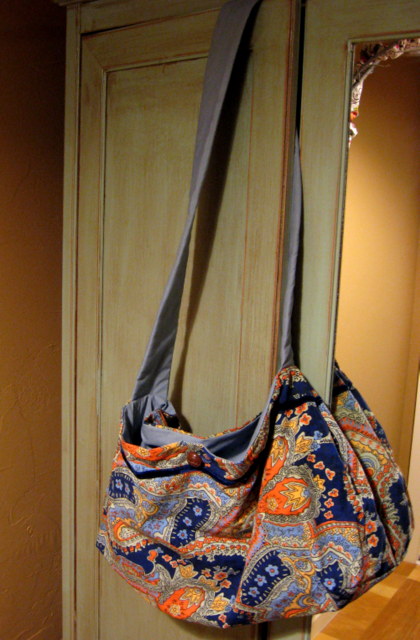
And a few of my other favorites…
My favorite overall tote bag, made from an old pair of curtains.
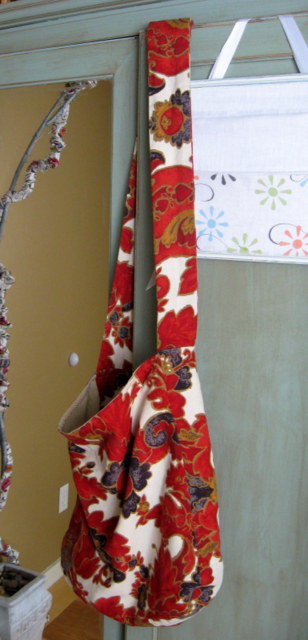
And a simple scripture bag: 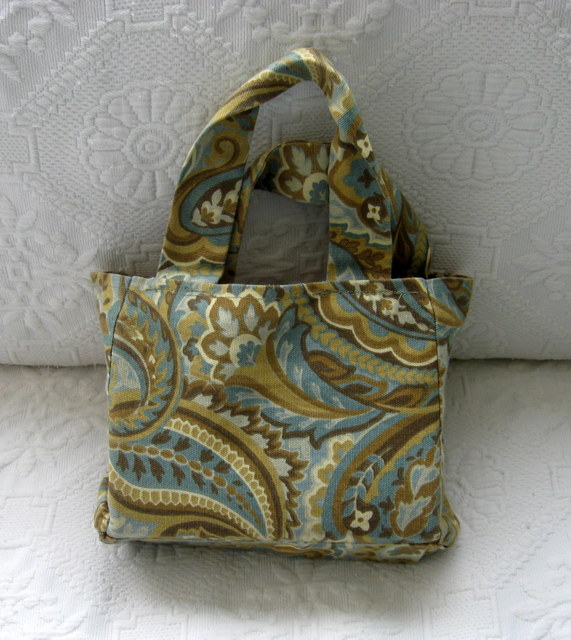
And my library bag – two straps instead of one – and made from a heavy duty upholstery fabric that I picked up for pennies on clearance.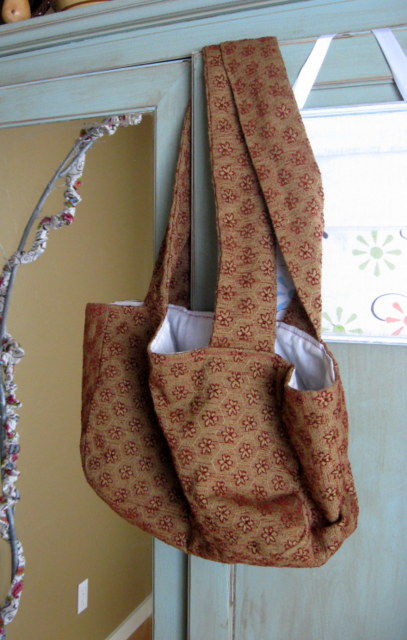
Work out DVDs $5 shipped!
These are $5 and have free shipping. List $12.99

Billy Blanks: Tae Bo Cardio Explosion – DVD

Leslie Sansone: Walk at Home – 3 Mile Weight Loss Walk – Fullscreen – DVD

Personal Training with Jackie: Crunch-Free Xtreme Abs – DVD

Personal Training with Jackie: Xtreme Timesaver Training – DVD
Bonus 11×14 Same Day Poster with purchase of Same Day Products from $10 and up

Bonus 11×14 Same Day Poster with purchase of Same Day Products from $10 and up
$10.00
Weight Watchers Magazine – $3.99/year!!

Weight Watchers Magazine Subscription
Original Price: $26.55
Tanga Price: $14.99
$3.99 w/code: PYPENNIES
Please allow 8-14 weeks for your first issue to arrive!
The most practical weight-losing program has a practical magazine to match. Weight Watchers diet magazine is a helpful guide for every man and woman’s challenge to achieve their health and fitness goals. When you purchase this cheap discount price Weight Watchers magazine subscription, you are purchasing one of the best Health & Fitness Magazines that will be accommodating to your own personal lifestyle.
Rather than struggling with complex, rigorous diets and exercise methods, Weight Watchers magazine seeks to make weight losing accessible and simple. Each month, the magazine will act as a supportive friend to help you succeed in realizing what you envision as your ideal weight. It includes easy-to-make recipes of delicious meals and goodies, exercise workouts to feel energized and to love, and inspirational success stories that will help you keep track and stay motivated.
Staying fit is about enjoying your lifestyle and a Weight Watchers magazine subscription will help you mold the eating and exercising lifestyle you wish you always had.
This is a bi-monthly subscription that has 6 issues per year and you can purchase up to a 3-year subscription.
You can renew your subscription by using the exact same name and address as your existing subscription on your order.
Recipe: Hearty Tuscan White Bean Soup
January is national soup month! Earlier this week I posted some links to soup recipes already shared here on PYP. Make sure you check it out, some of my favorite recipes are listed there.
Also, each week this month I will be sharing a new soup recipe for you to try. This is a new recipe I want to make, but haven’t yet. I found the recipe on Food.com, one of my favorite recipe sites. It looks delicious!

1/4 cup olive oil
1 medium onion, chopped
4 garlic cloves, minced
2 carrots, chopped
2 stalks celery, chopped
1/4 teaspoon dried thyme
1 bay leaf
3 (14 ounce) cans chicken broth
1 (14 ounce) can diced tomatoes, undrained
2 (15 ounce) cans white beans, any variety
1 (10 ounce) packaged frozen chopped spinach, thawed
3/4 cup macaroni, uncooked
salt and pepper grated parmesan cheese, and or pecorino romano cheese, to serve
Heat the oil in a 4 quart soup pot over medium heat.
Add the onion, garlic, carrots, celery and thyme and cook until the vegetables are tender, about 10 minutes.
Add the chicken broth, tomatoes and bay leaf.
Drain the beans and roughly mash 1/2 a can of beans. Add the beans and mashed beans to the pot.
Squeeze the water from the thawed spinach and add to the pot.
Season with salt and pepper and simmer for at least 10 minutes and up to 30 minutes.
Add the macaroni and cook until tender according to package directions. (About 10 minutes.).
Serve sprinkled with grated parmesan and/or pecorino romano.
*HOT* Neo-Synephrine $2/1 Printable Coupon = $0.85 at Walgreens starting 1/20 ~ Print before its gone!
 Print this Neo-Synephrine $2/1 coupon quickly, before it disappears.
Walgreens will have these on sale starting 1/20 for Buy 1 Get 1 50% off (reg price $5.79).
They are also part of a Buy 2 Get 3,000 Points Promo!
Here’s the math:
Buy 2 for $8.69
USE: (2) Neo-Synephrine $2/1 coupons = $4.69
Earn 3,000 points ($3.00) = $1.69 for 2 or $0.85 each!
Remember, you can print each coupon twice.


TARGET Clearance Deals – Friday (1/18)


This weekend only FREE 2oz. Bottle of Bath & Body Works America’s Sweethearts Body Lotion
 Get a FREE 2oz. Bottle of Bath & Body Works America’s Sweethearts Body Lotion, a $3.50 value! Choose from 3 different scents. Print out the coupon the coupon, or show it to them on your phone.
Expires Sunday 1/20!
Children’s Place Monster Sale + Extra 20% off!


PJs and Robes
reg – $24.95
$14.39
*$11.51 after code!
Code:
Extra 20% off V5K1413AF – exp 1/21/13
Free shipping on $75 orders or flat rate $5 shipping on all other orders.
|
Administrator
|
Join Date: Mar 2004
Location: Hyde Park, UT
Posts: 21,647
|


cotton pjs
was $14.95
now $8.39
*$6.71 after code!


slippers
was $12.95
now $5.99
*$4.79 after code!
20% off all orders with code V5K1413AF – exp 1/21

Crayola 30ct Twistables Colored Pencils – $5.97! & More!

Crayola 30ct Twistables Colored Pencils
List Price: $12.99
Price: $5.97
You Save: $7.02 (54%)
Eligible for free shipping on $25 orders or on ANY order with Amazon Prime.
Don’t have a Prime membership? Get a one month free trial! Click here for details!
Plus these great finds!
|
|
|


