
Rite Aid 4/10-4/16
* Check out the PYP Navigating Rite Aid posts to help you along your shopping journey at Rite Aid.
* Read the Rite Aid coupon policy and keep it in your coupon binder.
* These are the BEST offers this week. Always check your local ad to verify prices as they change by region.
* Participate in Rite Aid’s Video Values to be able to print valuable coupons, like $4/$20 purchase!
* Sign up for the Wellness Program to get special discounts, offers and rewards.
AMO Complete Multipurpose Solution $7.99
Get a $7.99 SCR
Final Price: FREE after rebate!
Easter Single Serve Candy $.50 each
Use Mars Easter Products, any listed $1/2 (4-24-11) RP-3/20 OR
Mars Easter Products, any listed $1/2 (4-24-11) RP-4/10 AND
$.50/2 Reese’s Eggs Video Values coupon
Final Price: FREE after coupon!
Air Wick Plugin Warmer $.88 each
Use $1/1 printable coupon
Final Price: FREE after coupon!
Gillette or Old Spice Body Wash $2.99
Use Gillette Bodywash, excludes trial size Buy 1 Get 1 FREE up to $4.99 (4-30-11) PG-4/3
Get a $2 +Up Reward (limit two per household)
Final Price: FREE plus overage after coupon and rewards!
John Frieda 4/$20
Use (4)John Frieda Full Repair Styling Aid, any excluding trial size $2/1 (4-30-11) SS-3/6
John Frieda Product, any full size $2/1 (4-30-11) SS-3/6
Get a $10 +Up Reward on four
Final Price: $.50 each after coupons and reward!
Cruise! Adriatic Sea – Italy! 7 Nights for $479 + FREE Gratuities if book by tomorrow

Royal Caribbean – 7 Night Adriatic Sea Coastal
Best Deals:
Interior: $479 (departure date: June, September & October)
Oceanview: $679 (departure date: May, June & October)
Balcony: $829 (departure date: October)
Suite: $1079 (departure date: June)
EXCLUSIVE: Enjoy truly carefree cruising — we will pre-pay the standard service gratuities for you and an additional guest in your stateroom when you book an Oceanview or higher category on ANY 2011 5+ night Royal Caribbean sailing departing between June 1 and December 31. Hurry – ends April 14!

ASICS – up to 60% off!
6PM.com LINK
$6.95 flat rate shipping

ASICS Gel-Dirt Diva™ 3
$32.00 (60% off MSRP $80.00)

ASICS GEL-1150™
$29.98 (60% off MSRP $74.95)

ASICS Gel-Harumi® 2
$31.50 (55% off MSRP $70.00)


ASICS Gel-Naomi™
$45.00 (55% off MSRP $100.00)


ASICS Gel-Lyte Speed
$38.25 (55% off MSRP $85.00)

ASICS Gel-Excel™
$50.00 (50% off MSRP $100.00)
6PM.com LINK
$6.95 flat rate shipping
Alaska Cruise – 7 Nights – $765 (Seattle Port) + FREE Gratuities if book by tomorrow!

Royal Carribean – 7 Night Alaska Sawyer Glacier
Best Deals:
Interior: $765 (Jun 24-Jul 01, 2011)
Oceanview: $965 (May 27-Jun 03, 2011)
Balcony: $1815 (May 20-27, 2011 or Jun 03-10, 2011)
Suite: $1915 (Jun 03-10, 2011)
EXCLUSIVE: Enjoy truly carefree cruising — we will pre-pay the standard service gratuities for you and an additional guest in your stateroom when you book an Oceanview or higher category on ANY 2011 5+ night Royal Caribbean sailing departing between June 1 and December 31. Hurry – ends April 14!
Barnes & Noble NOOK 3G + WiFi eReader – refurbished $99.99
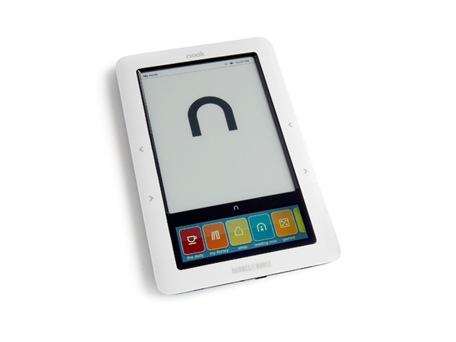
Barnes & Noble NOOK 3G + WiFi eReader
Condition: Refurbished
$99.99
+ $5 shipping (for up to 3)
Scrubbing Bubbles Facebook Freebies Today (4/13)??!!

Scrubbing Bubbles posted this on their Facebook wall:
“We think “13” gets a bad rap and we plan to change that this month. Keep an eye on our wall on this lucky day and you just might get some freebies!”
So, keep an eye on their wall HERE throughout the day today and hopefully you will score some FREEBIES!!
Free Ream of HP Multipurpose Paper after Easy Rebate at Staples (w/printable coupon)

Click here to print coupon to get a Free HP Multipurpose Paper Ream after easy rebate at Staples. Valid 4/13/11-4/16/11 in Staples US stores only.
Spring Taste of Sam’s Club Open House = No Upcharge for Non-Members
Shop at Sam’s Club with no upcharge during the Spring Taste of Sam’s Club Open House.
Friday April 15 – Sunday, April 17 from 11 am – 6pm
Click here for more information.
Clearance up to 78% off + Extra 15% off + Free Shipping @ FamousFootwear.com

Rocket Dog Kids’ Memories
original price: $39.99
now: $10.99
73% OFF
*$9.34 shipped after code

Unlisted Kids’ Love To Sing
original price: $39.99
now: $14.99
63% OFF
*$12.74 shipped after code

Buster Brown Kids’ Conner
original price: $34.99
now: $14.99
57% OFF
*$12.74 shipped after code

Buster Brown Kids’ Flurry
original price: $49.99
now: $15.00
70% OFF
*$12.75 shipped after code
Code:
15% off + Free Shipping RAIN – exp 5/8/11

IRONMAN Kids’ Iron Man 2 3pk Photo
was $6.99
now $2.99
*$2.54 shipped after code

Famous Footwear Kids’ Ultra Thin NS 6-8.5
original price: $7.99
now: $2.99
*$2.54 shipped after code


Skechers XOXO Doodle Backpack
was $27.99
now: $12.99
*$11.04 shipped after code

Skechers Shining Stars Backpack
was $27.99
now: $16.99
*$14.44 shipped after code


Jessica Simpson Women’s Runway Bow Xbody
was $29.99
now $17.99
*$15.29 shipped after code
Code:
15% off + Free Shipping RAIN – exp 5/8/11
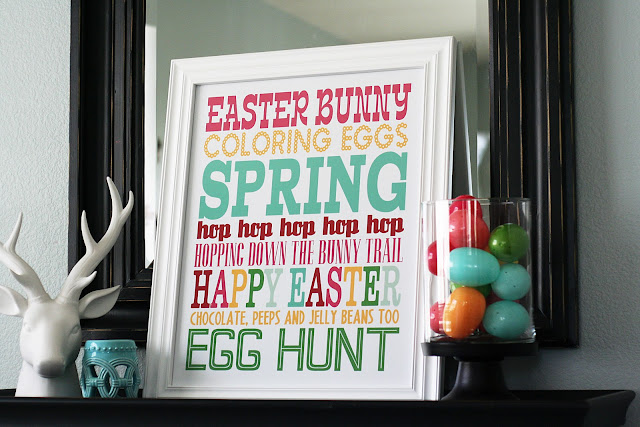
Spring & Easter Subway Art Printables
Today I found over ten FREE subway art printables that would be cute to spruce up your home. Some are for Easter, some are more spring decor.
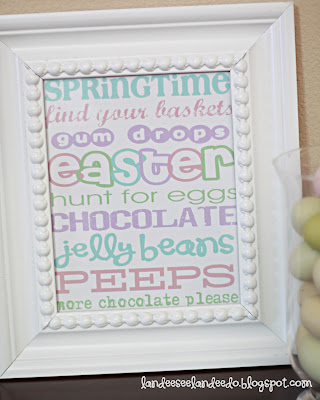
 The gals at Eighteen25 have a super cute print that also works for spring decor.
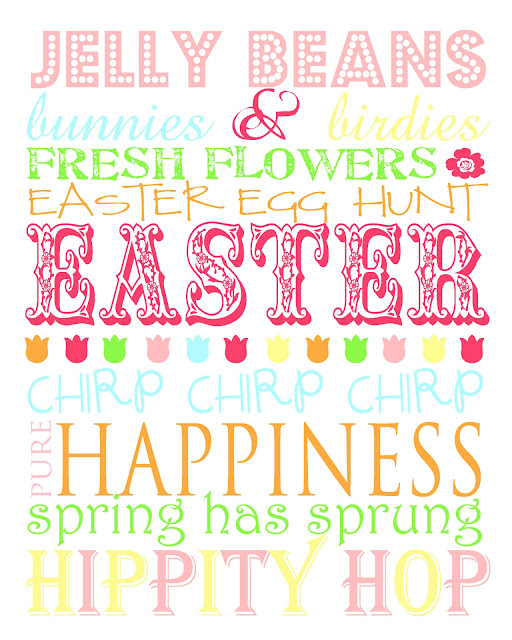
 Chessa has made a beautiful Easter print for those of you that celebrate Jesus and Easter.
 The Mozzie’s Way of Life also has an Easter Subway Art in fun spring colors.
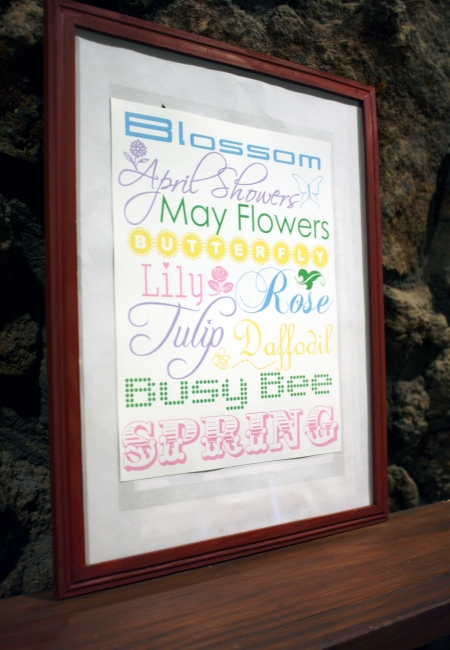
 The Simple Crafter always has prints that are beautiful and simple.
 This one is smaller if you want to make a grouping. Landee picked some great spring colors.
 This one from Hopscotch Studio Designs reminds me of others I have seen…I love her font choices.
 The Giving Madam has one that would be perfect in a child’s room. It is also available in gray.
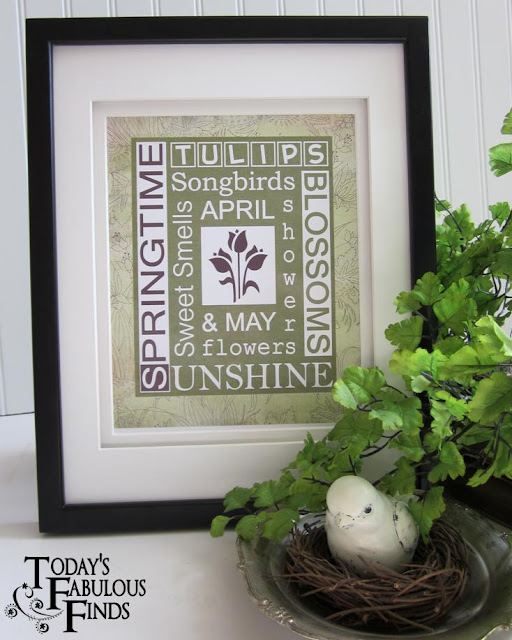 Fabulous Finds has a different type of block subway art. Unique!
 This one from Agape Love Designs reminds me of stitchery.
 Making Messes adds some fun graphics to this subway art.

This one isn’t Subway Art, but who can resist an Easter version of the popular Keep Calm prints?
Private Sale – Flat Iron Sets up to 70% off & MORE @ Folica.com
Folica Private Sale to start today at Noon

Solia Complete Flat Iron Set
Was $234.99
Now $79.99
The Solia Complete Flat Iron Set includes the Solia Tourmaline Ceramic 1 1/4 inch flat iron, Sedu Smoothing Boost, Amika Olive Oil shampoo and conditioner, a heat mat, and Folica Umbrella and Tote.

Sedu Pro Ionic Flat Iron Smoothing Set
Was $334.99
Now $99.99
This Sedu Smothing set includes Sedu Pro Ionic inch flat iron, Sedu Ant-frizz Polishing treatment, Sedu Smoothing Boost, Folica umbrella and tote, and Amika olive oil shampoo and conditioner.
& MORE
Converse & Vans – $20 @ Hot Topic + Code!

HotTopic.com LINK
*Select Vans & Converse on sale for $19.99! Shipping adds $4.95-$6.95

Use code:HTA20OFFAP for 20% off $50 or more! You can get THREE pair for $58 shipped w/code!
50% off + Free Shipping on Keepsake Boxes & Tins @ SeeHere.com
Keepsake Box
Price $29.99
*$14.99 shipped after code

5” w x 5” h x 21/2” d
Cherry wood with tile image

Keepsake Tin
Price $15.99
*$7.99 shipped after code
7 1/4″ diameter by 2 2/3” h
Code:
50% off keepsake boxes & tins plus Free Shipping kbt-1 – exp 4/13/11
Free Eyeglasses Giveaway Again Tomorrow 4/13 ~ CoastalContacts!

Coastal Contacts is giving away free glasses again TOMORROW at 12:00 (noon) EST.
CoastalContacts.com LINK
Use code: FREEAPR13
Have your prescription & size ready and please use our link when you shop. Thanks!
Residents of The United States only. Promotion starts at 12pm (Noon) EST on April 13th, 2011.
Free glasses include the frame and standard 1.5 index lenses.
All upgrades including coatings, progressives, bifocals, tints, and high index lenses are not included with this offer, but are available at 25% off.
Shipping and handling applies. Some frames may not be eligible. Limit 1 per household.
Previous free glasses recipients excluded.
CoastalContacts.com LINK
Use code: FREEAPR13