
Just in case you missed this article on how to can peaches the easy way the first time we shared it a couple of years ago, we are republishing it. After Marne wrote this blog originally, we got an awesome response. This is one of the PYP Best Blogs!
It is almost canning season! And peach season too. I love canning peaches. There is more than one way to can peaches. I grew up canning peaches using this method, and I still can this way myself. It is traditionally called the ‘cold pack’ method, but also called the no-syrup method too. I wanted to share it with you today, I really enjoy canning my peaches this way. Easy, not a lot of mess (no sticky!) and fast. Plus, I think it is a little healthier as I am not cooking my peaches in heavy sugar syrup.
1. Gather your peaches. I blanche my peaches for about 20-25 seconds to loosen the skin. I use a blancher and can do about 8 peaches at a time. Fill a sink full of cold water, then put the peaches in the sink to cool off. The skins just slide off, its so simple this way!
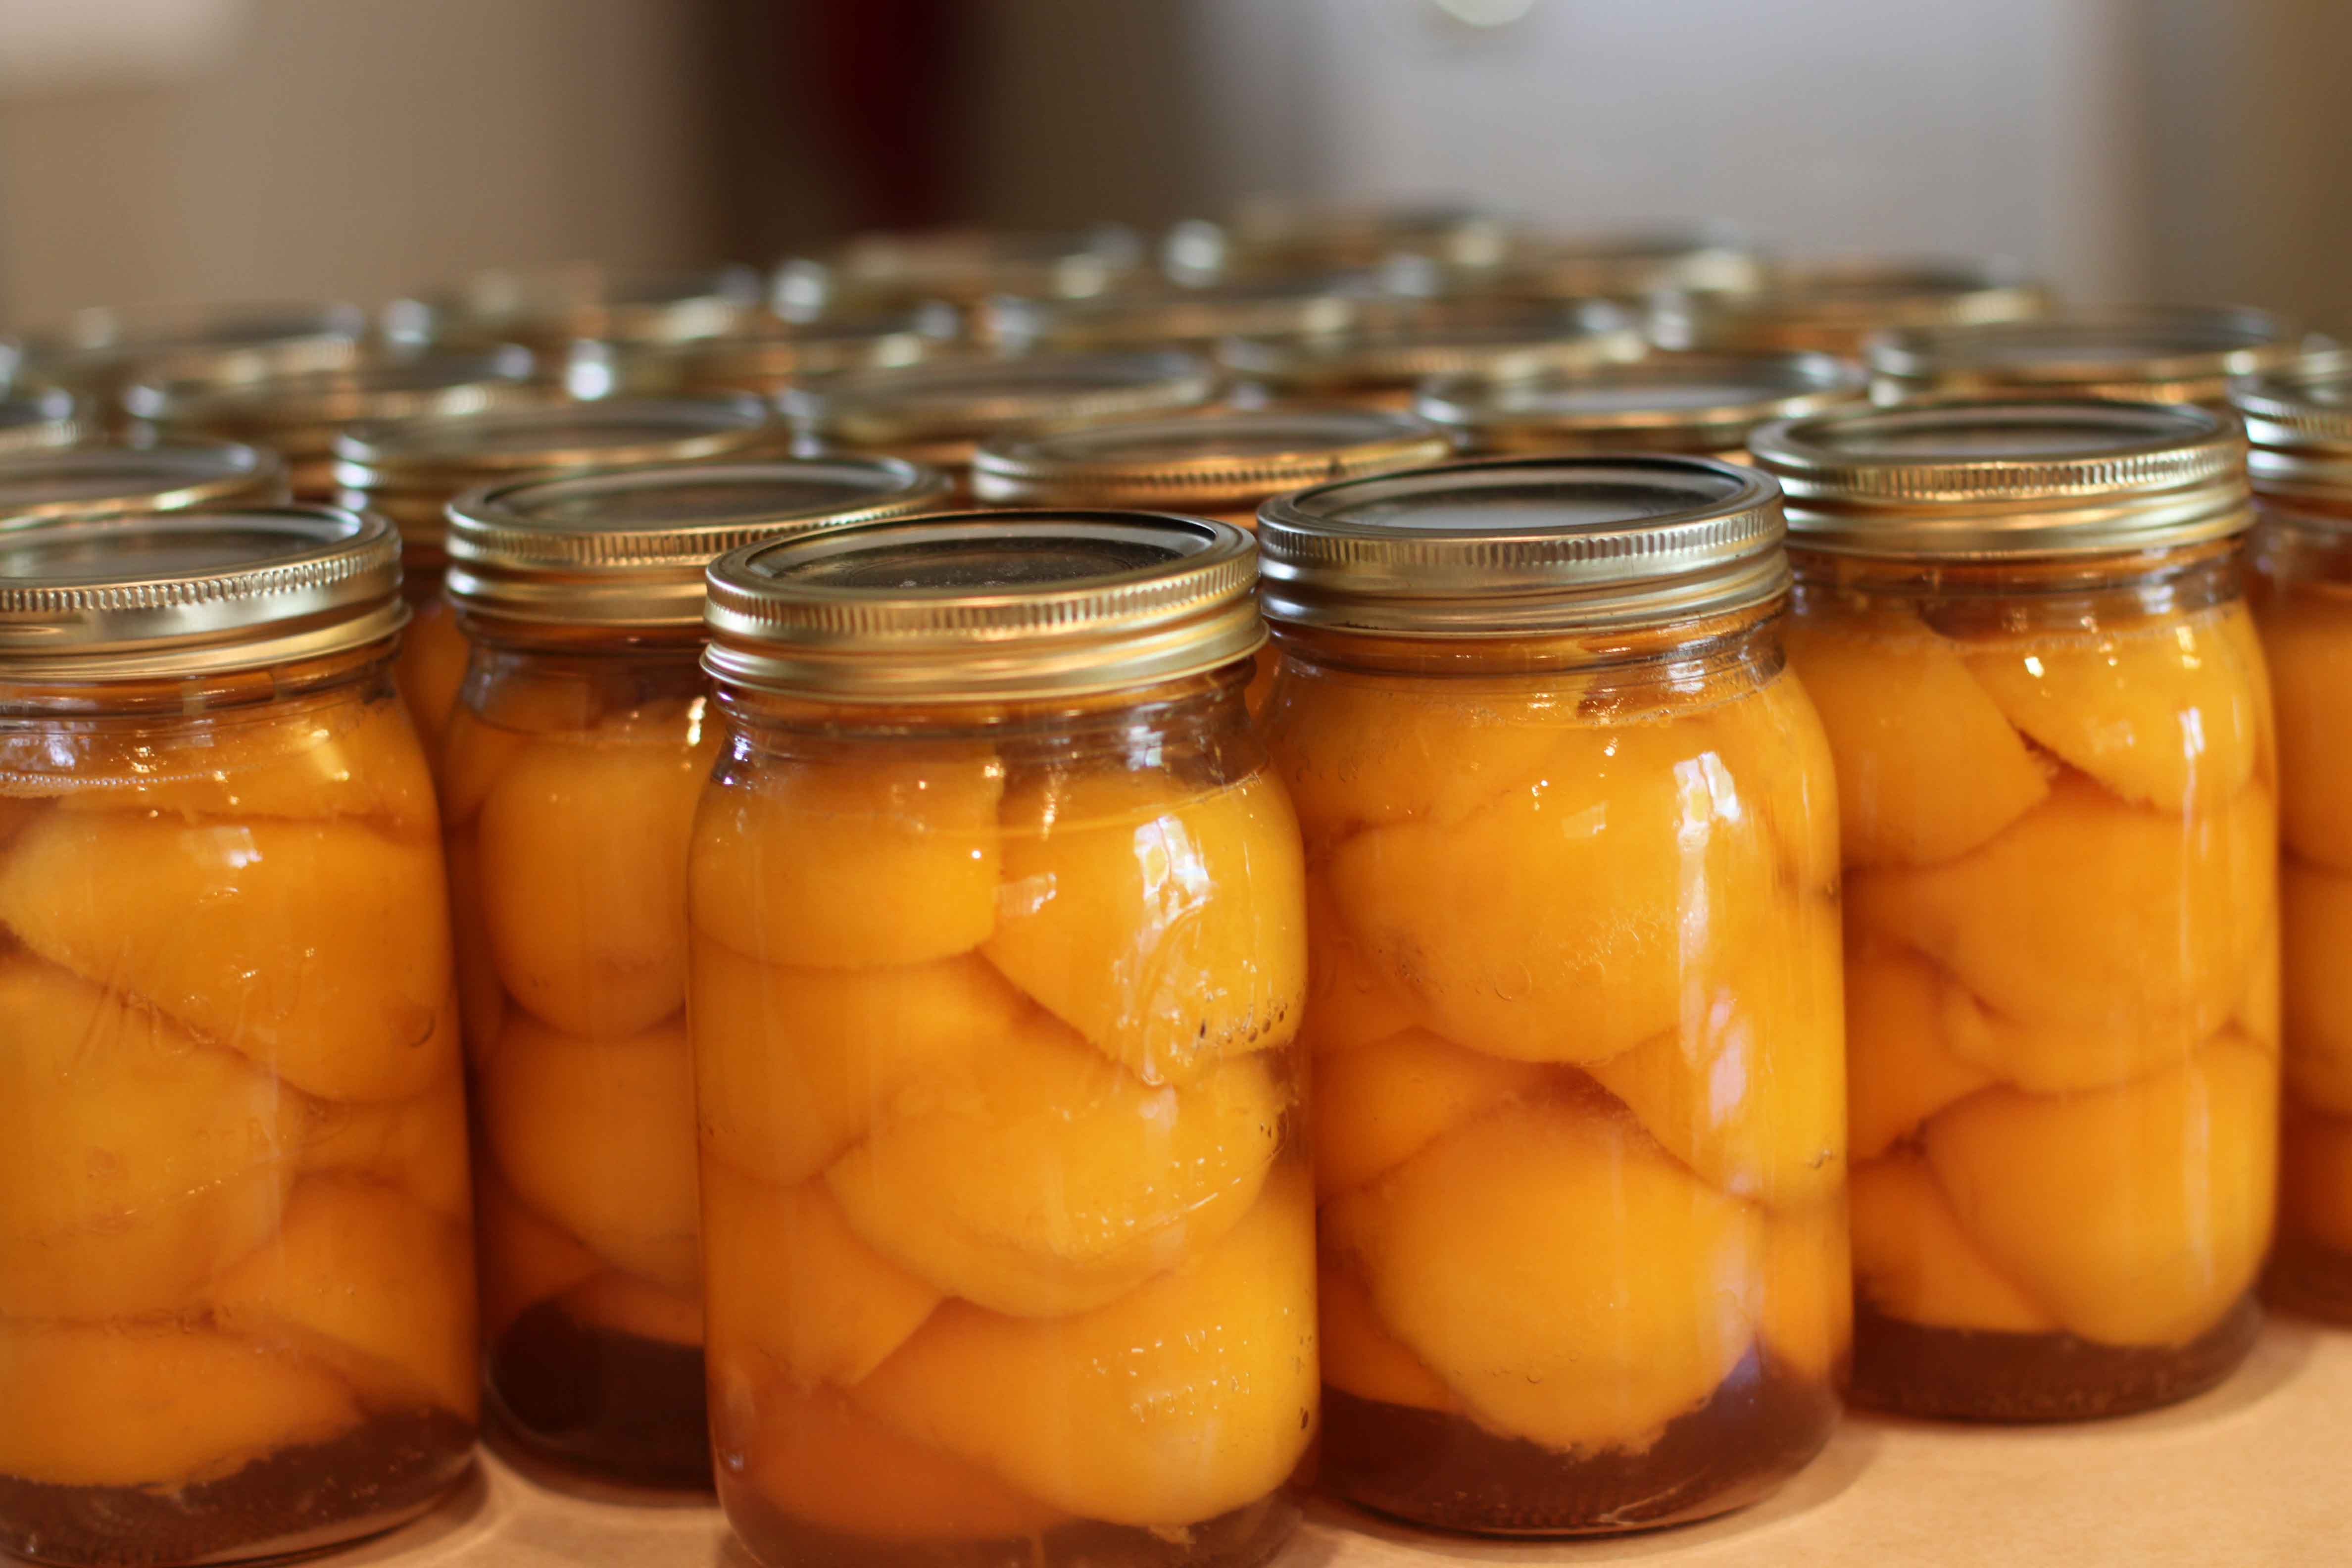
2. When you have a sink full of blanched peaches, begin slipping the skins off and cutting them in half. Put the cut halves in a large bowl. When a have a good amount in the bowl, I start filling my jars with the peach halves. (I have previously washed and sterilized my jars in the dishwasher prior to this step). Leave about 1.5 inches of space at the top.
3. After you have packed your jar full of peaches, put in 1 tsp. Ball Fruit Fresh (keeps them from turning brown) and as much sugar as you like in your canned peaches. I don’t use a lot of sugar in ours, I usually put in about 1-2 Tbl., depending on the sweetness of the peach. Just put those right on top of the peaches in each jar.
4. Take HOT water and using a pitcher or other pouring device, pour the hot water into each canning jar, up to about 1 inch head space. The hot water will dissolve the fruit fresh and sugar and fill in all the areas around the peaches. Once you fill the jars, wipe off the mouth of the jar WELL, making sure there is nothing on it. Put hot canning lids (that have been sitting in HOT water on the stove all this time) on each jar, and finish with a ring.
5. Put into a water bath canner for about 25 minutes (check your elevation for correct canning times). Remove and let sit for 24 hours before testing if the jar sealed. Now you can be proud of your hard work!
Once you get a system down it is easy for just one person, but if you are just beginning you might want someone to can with you. One person can be blanching and cutting while the other is packing. Makes it fun too!