Just in case you missed this article on making paper stars the first time we shared it a couple of years ago, we are republishing it. After Sharon wrote this blog originally, we got an awesome response. This is one of the PYP Best Blogs!
I’ll show you two different ways to fold a paper star. They are both fun projects to do with your kids and they make cute and easy 4th of July decor when you use red, white and blue paper.
Star #1
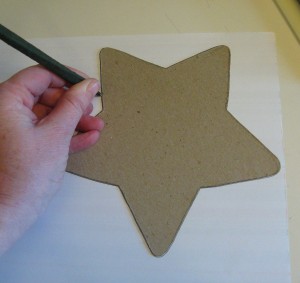
Start with any paper, and any size and shape of star. Trace the star shape onto the paper and cut it out.
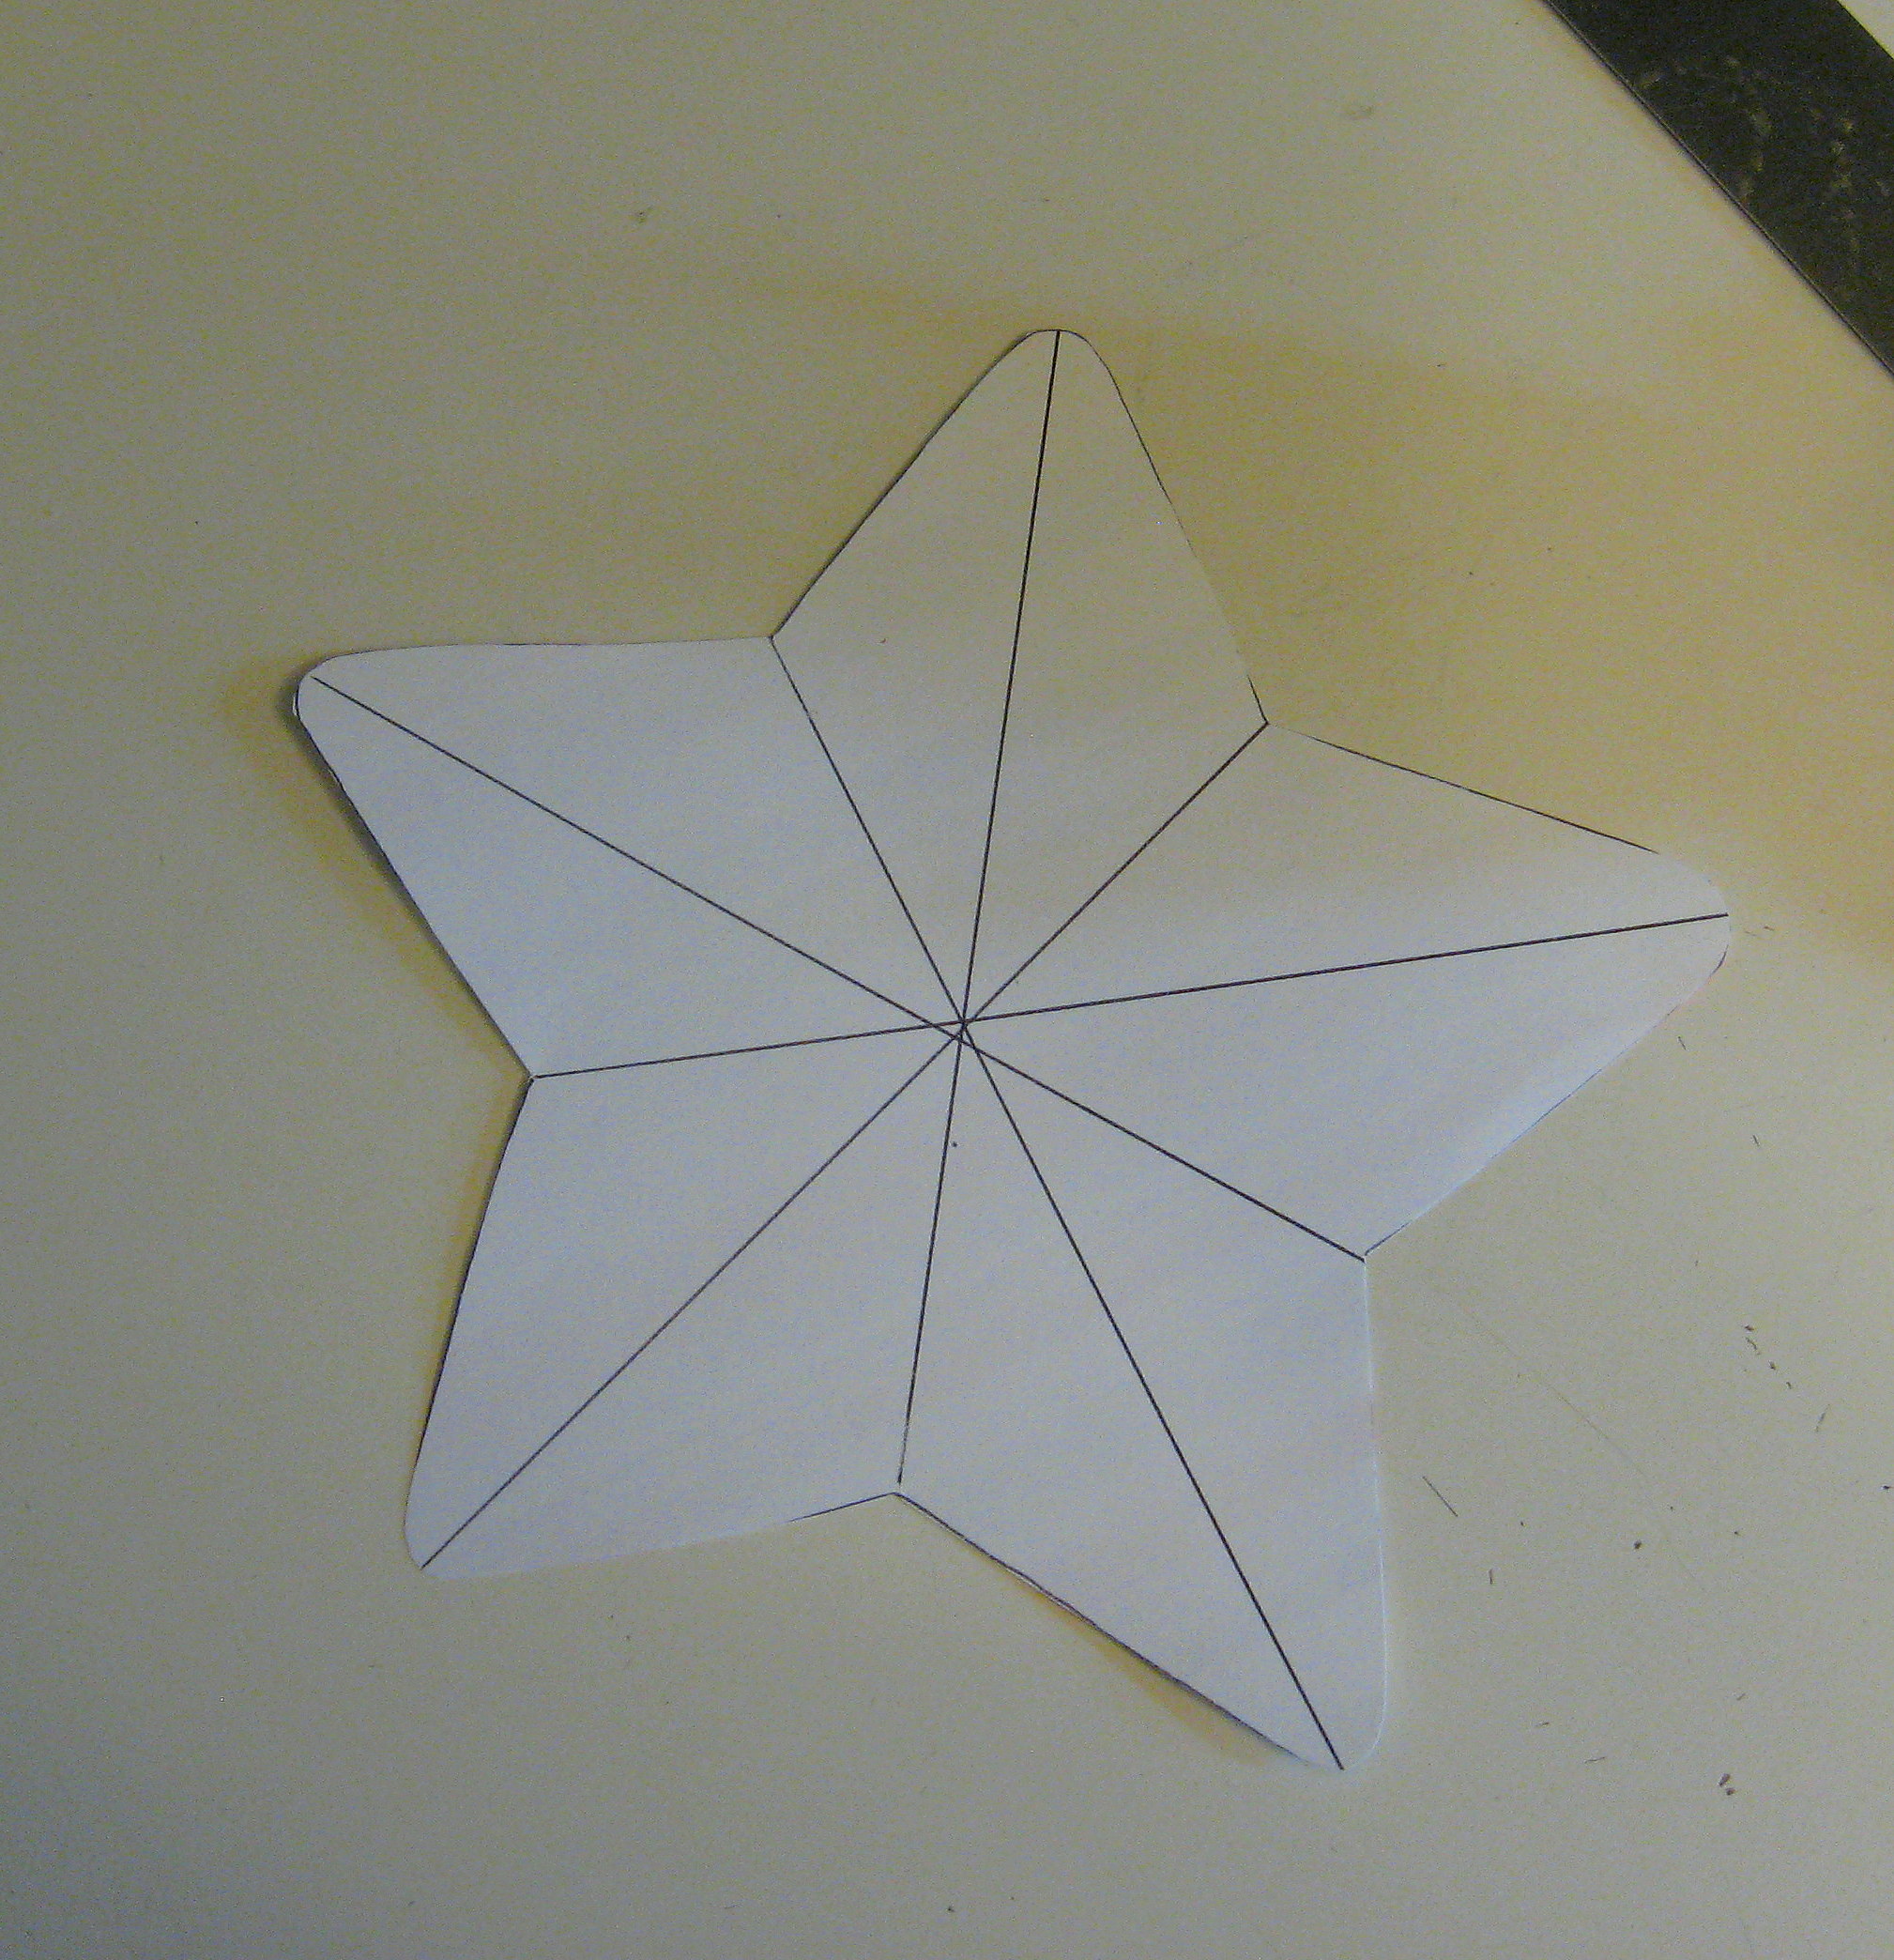
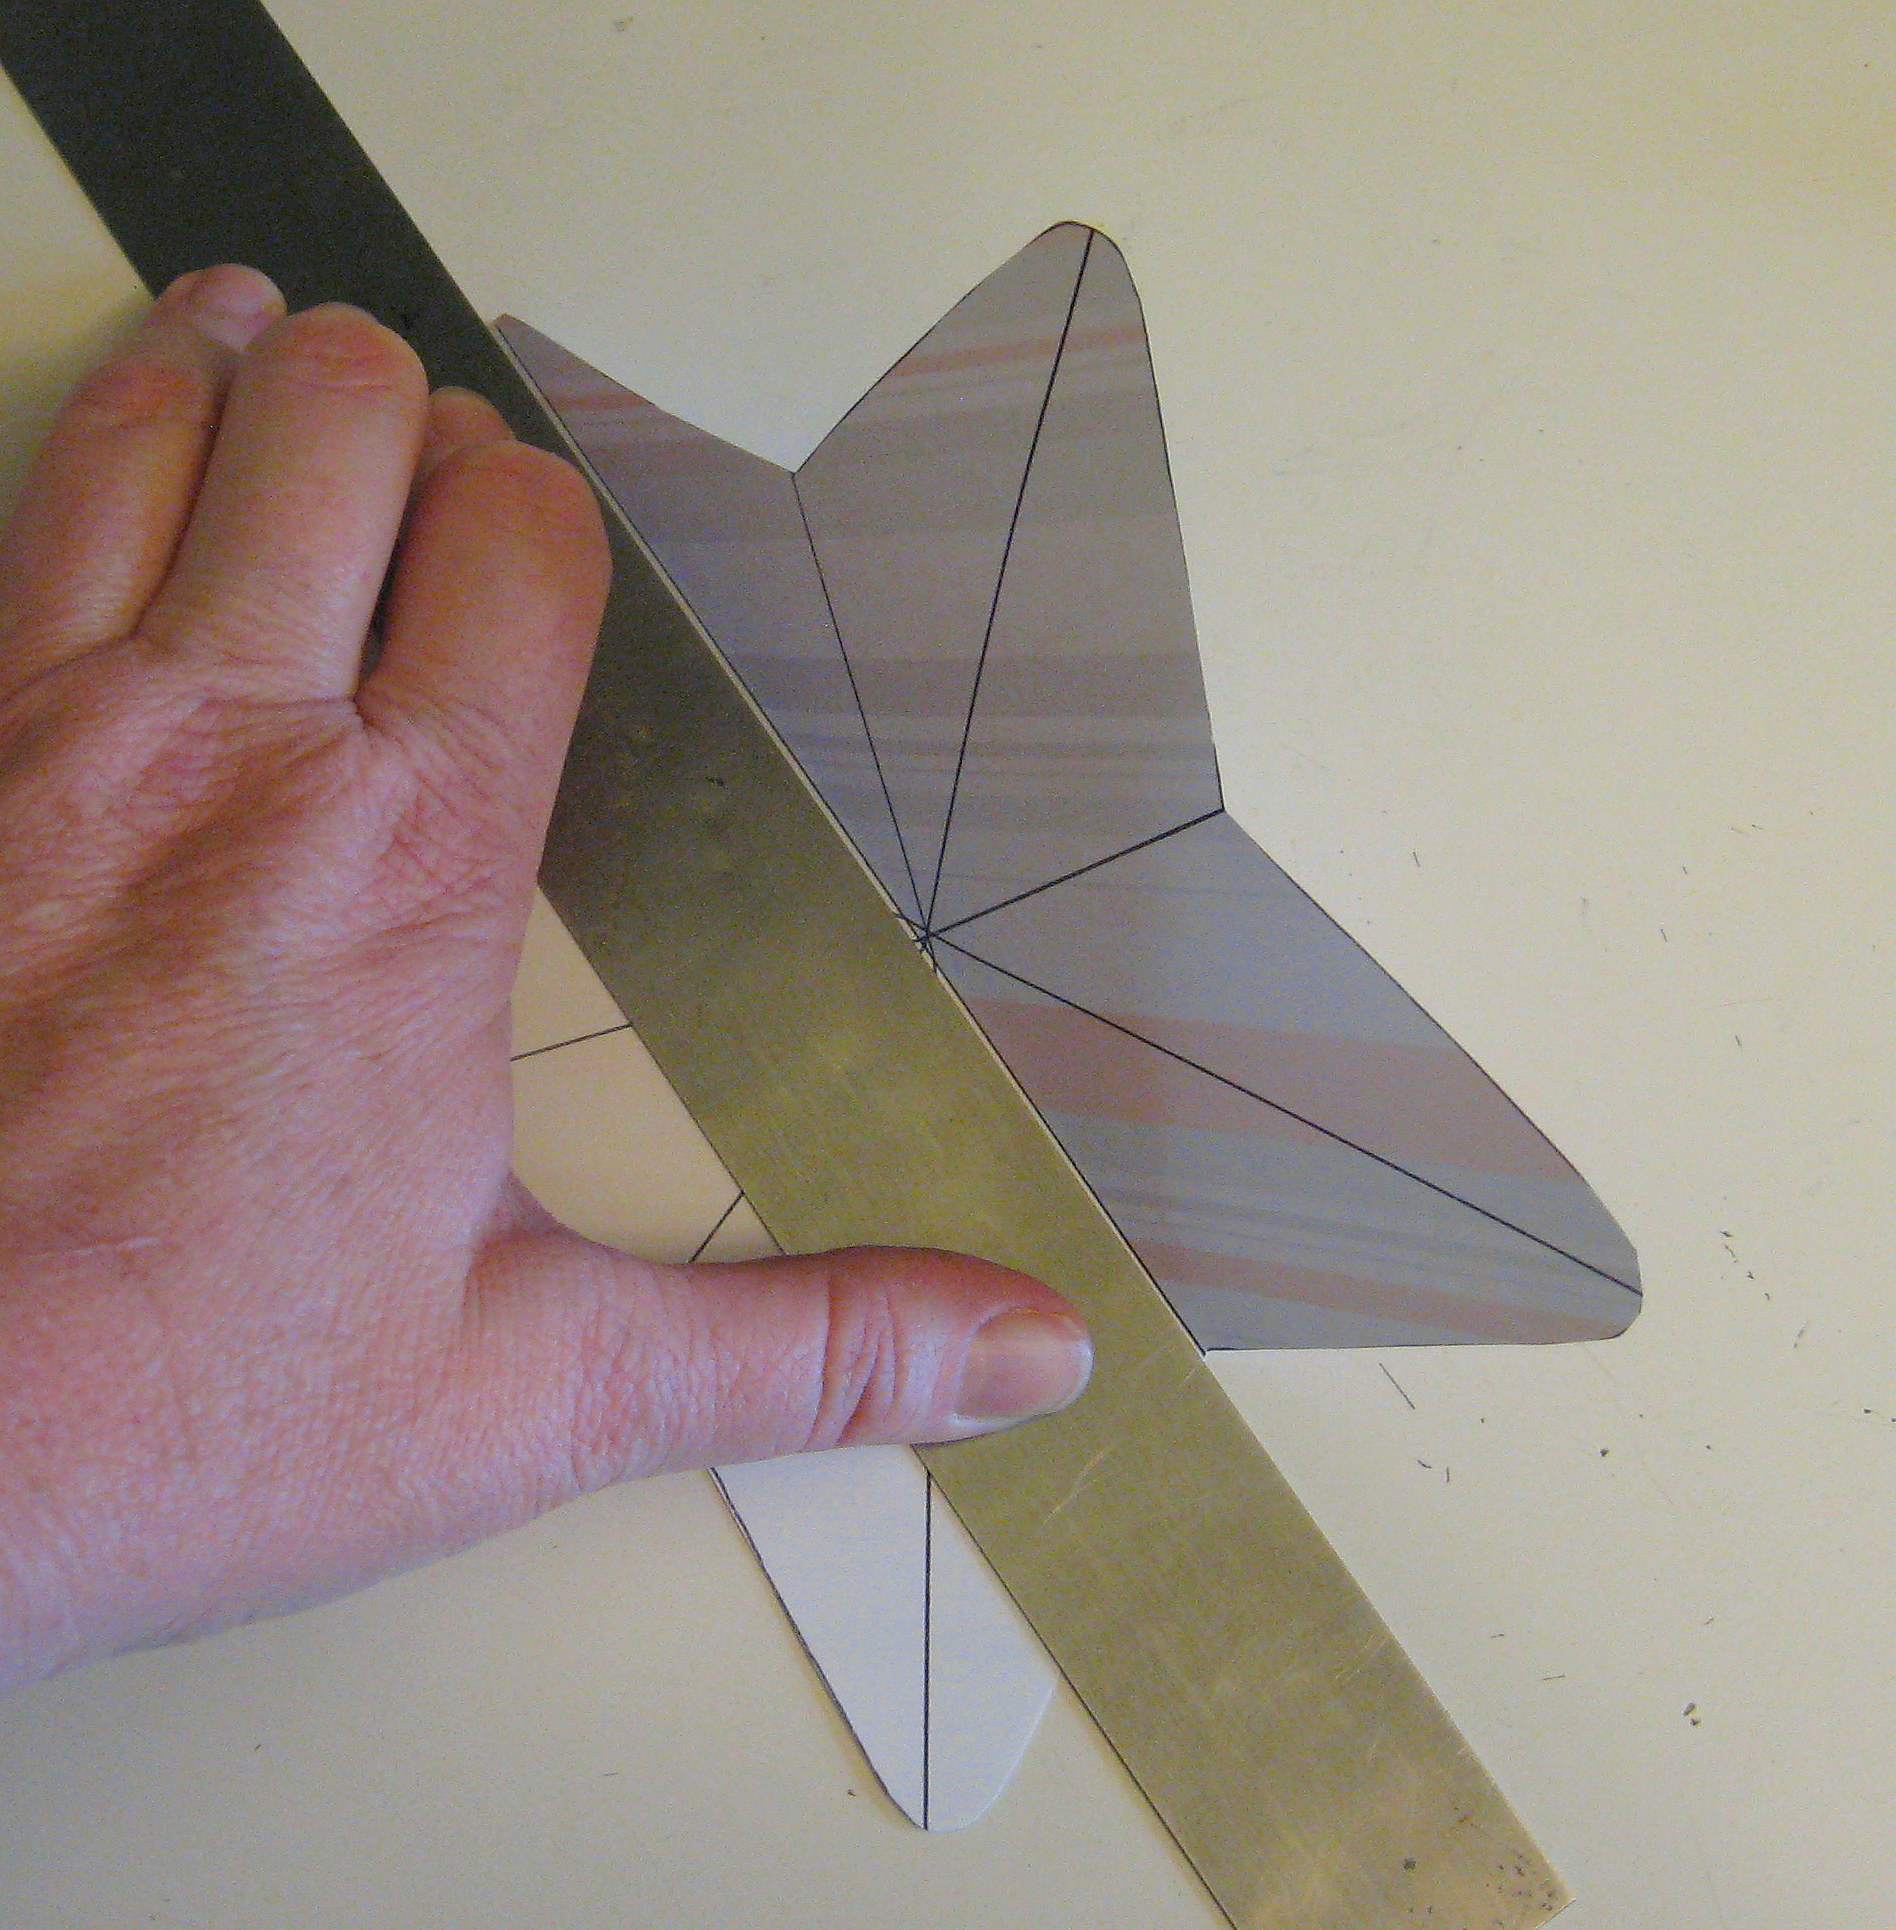
Using a ruler, connect each star point with the “valley” opposite it and fold.
I have drawn lines here to show you where you will fold – you don’t need to draw the lines (you should, though, probably be more careful to make sure all folds meet in the middle!)
Make a nice sharp crease by using a bone folder, or if you don’t have one, you can use a pen cap or another ruler.
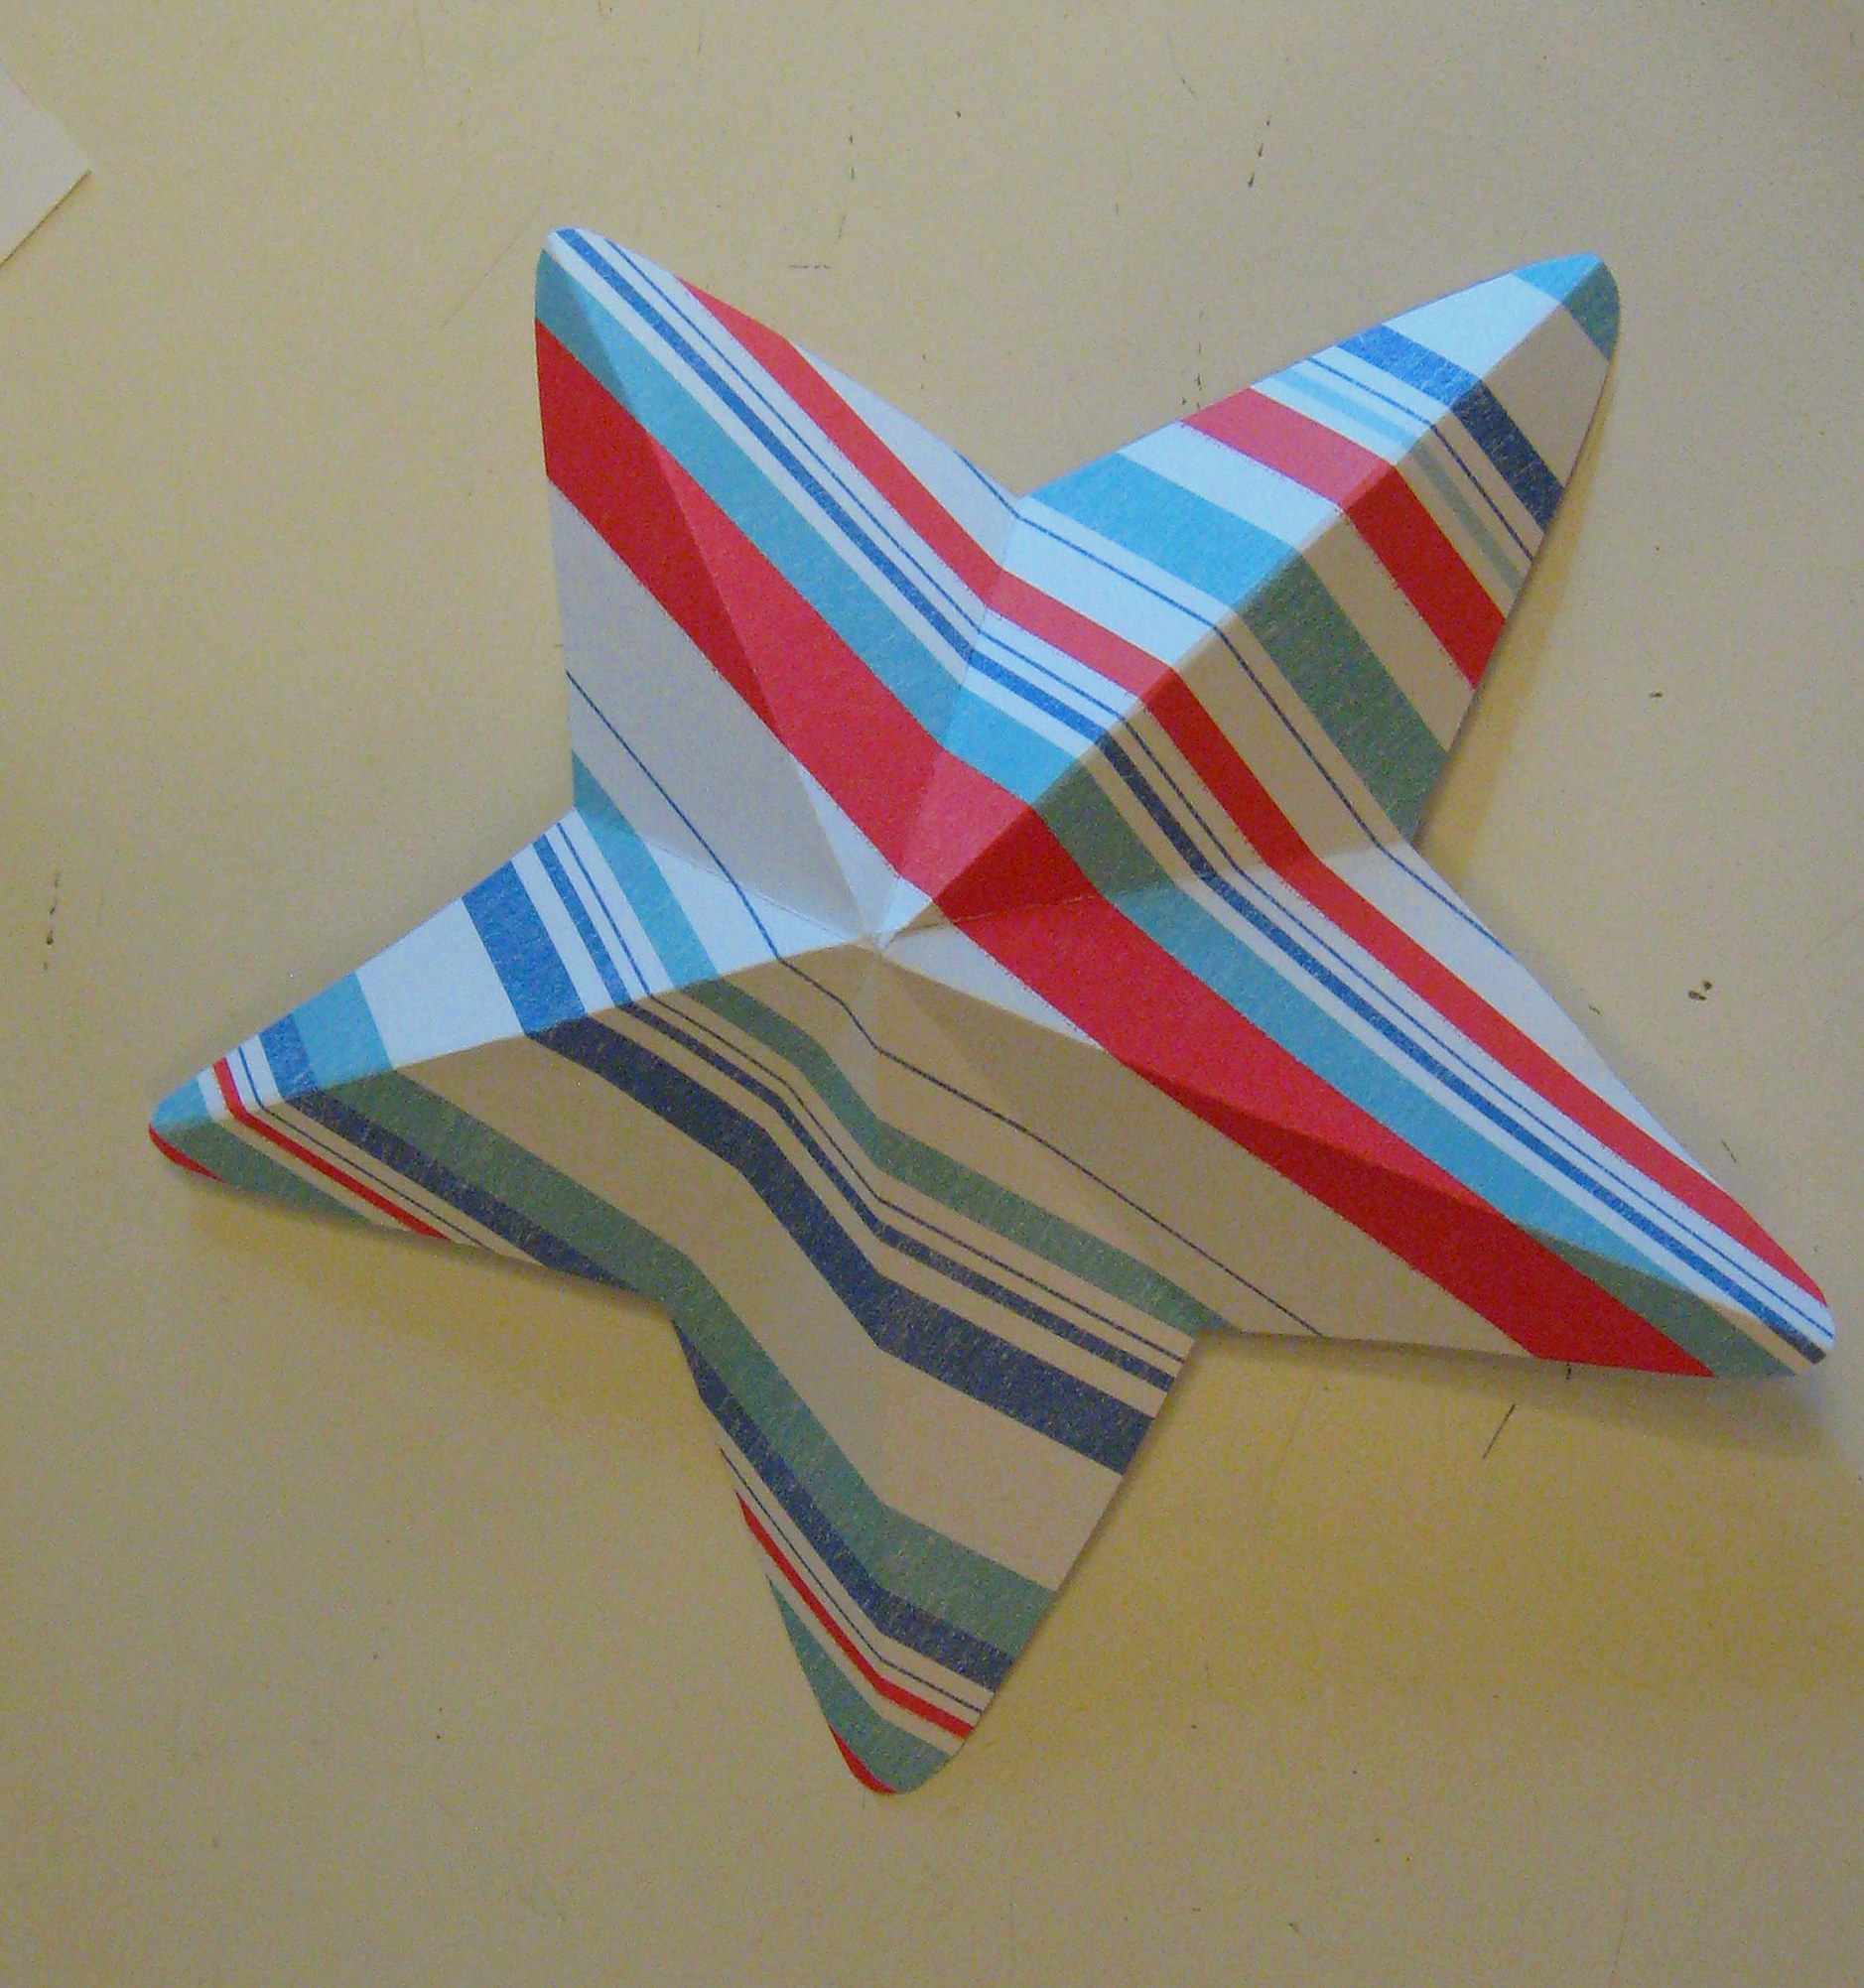
Now flip the star over to the right side and make the folds go the way you want them to go – folds from the center to a point will point up and the folds from the center to a “valley” will point down – like this:
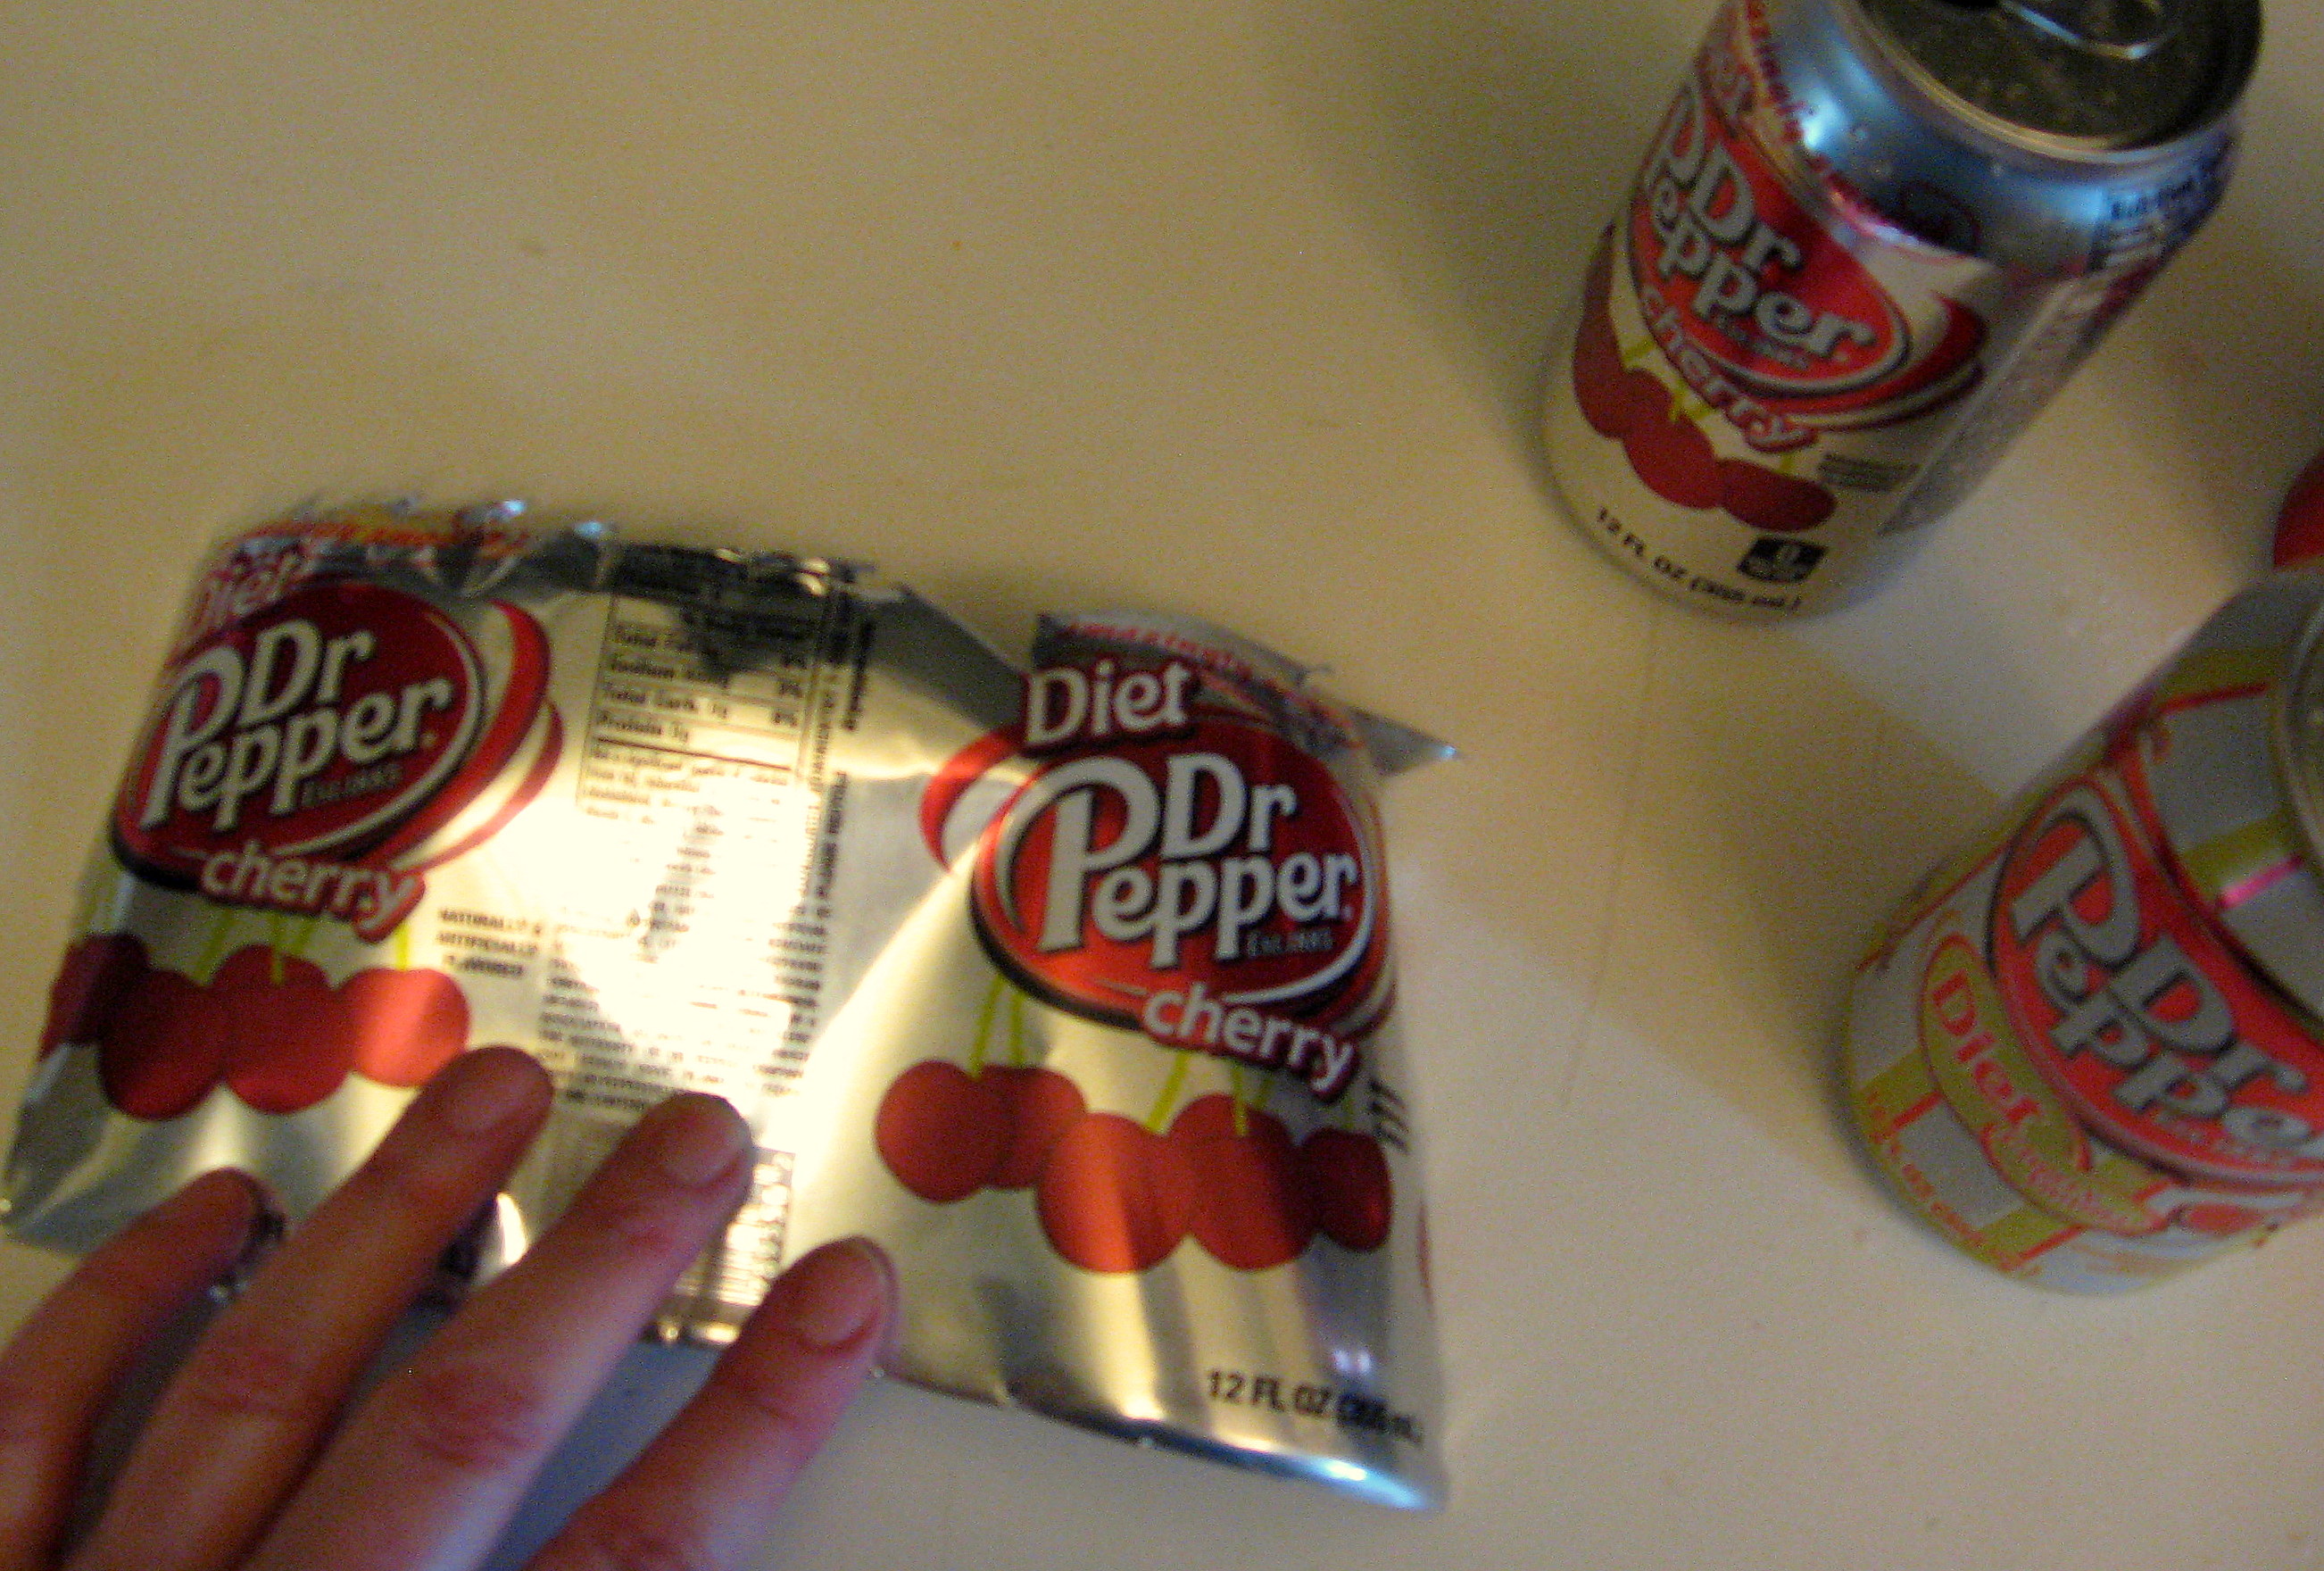
Once you’ve perfected it with paper, try it with metal! I cut apart some pop cans and folded them the same way.
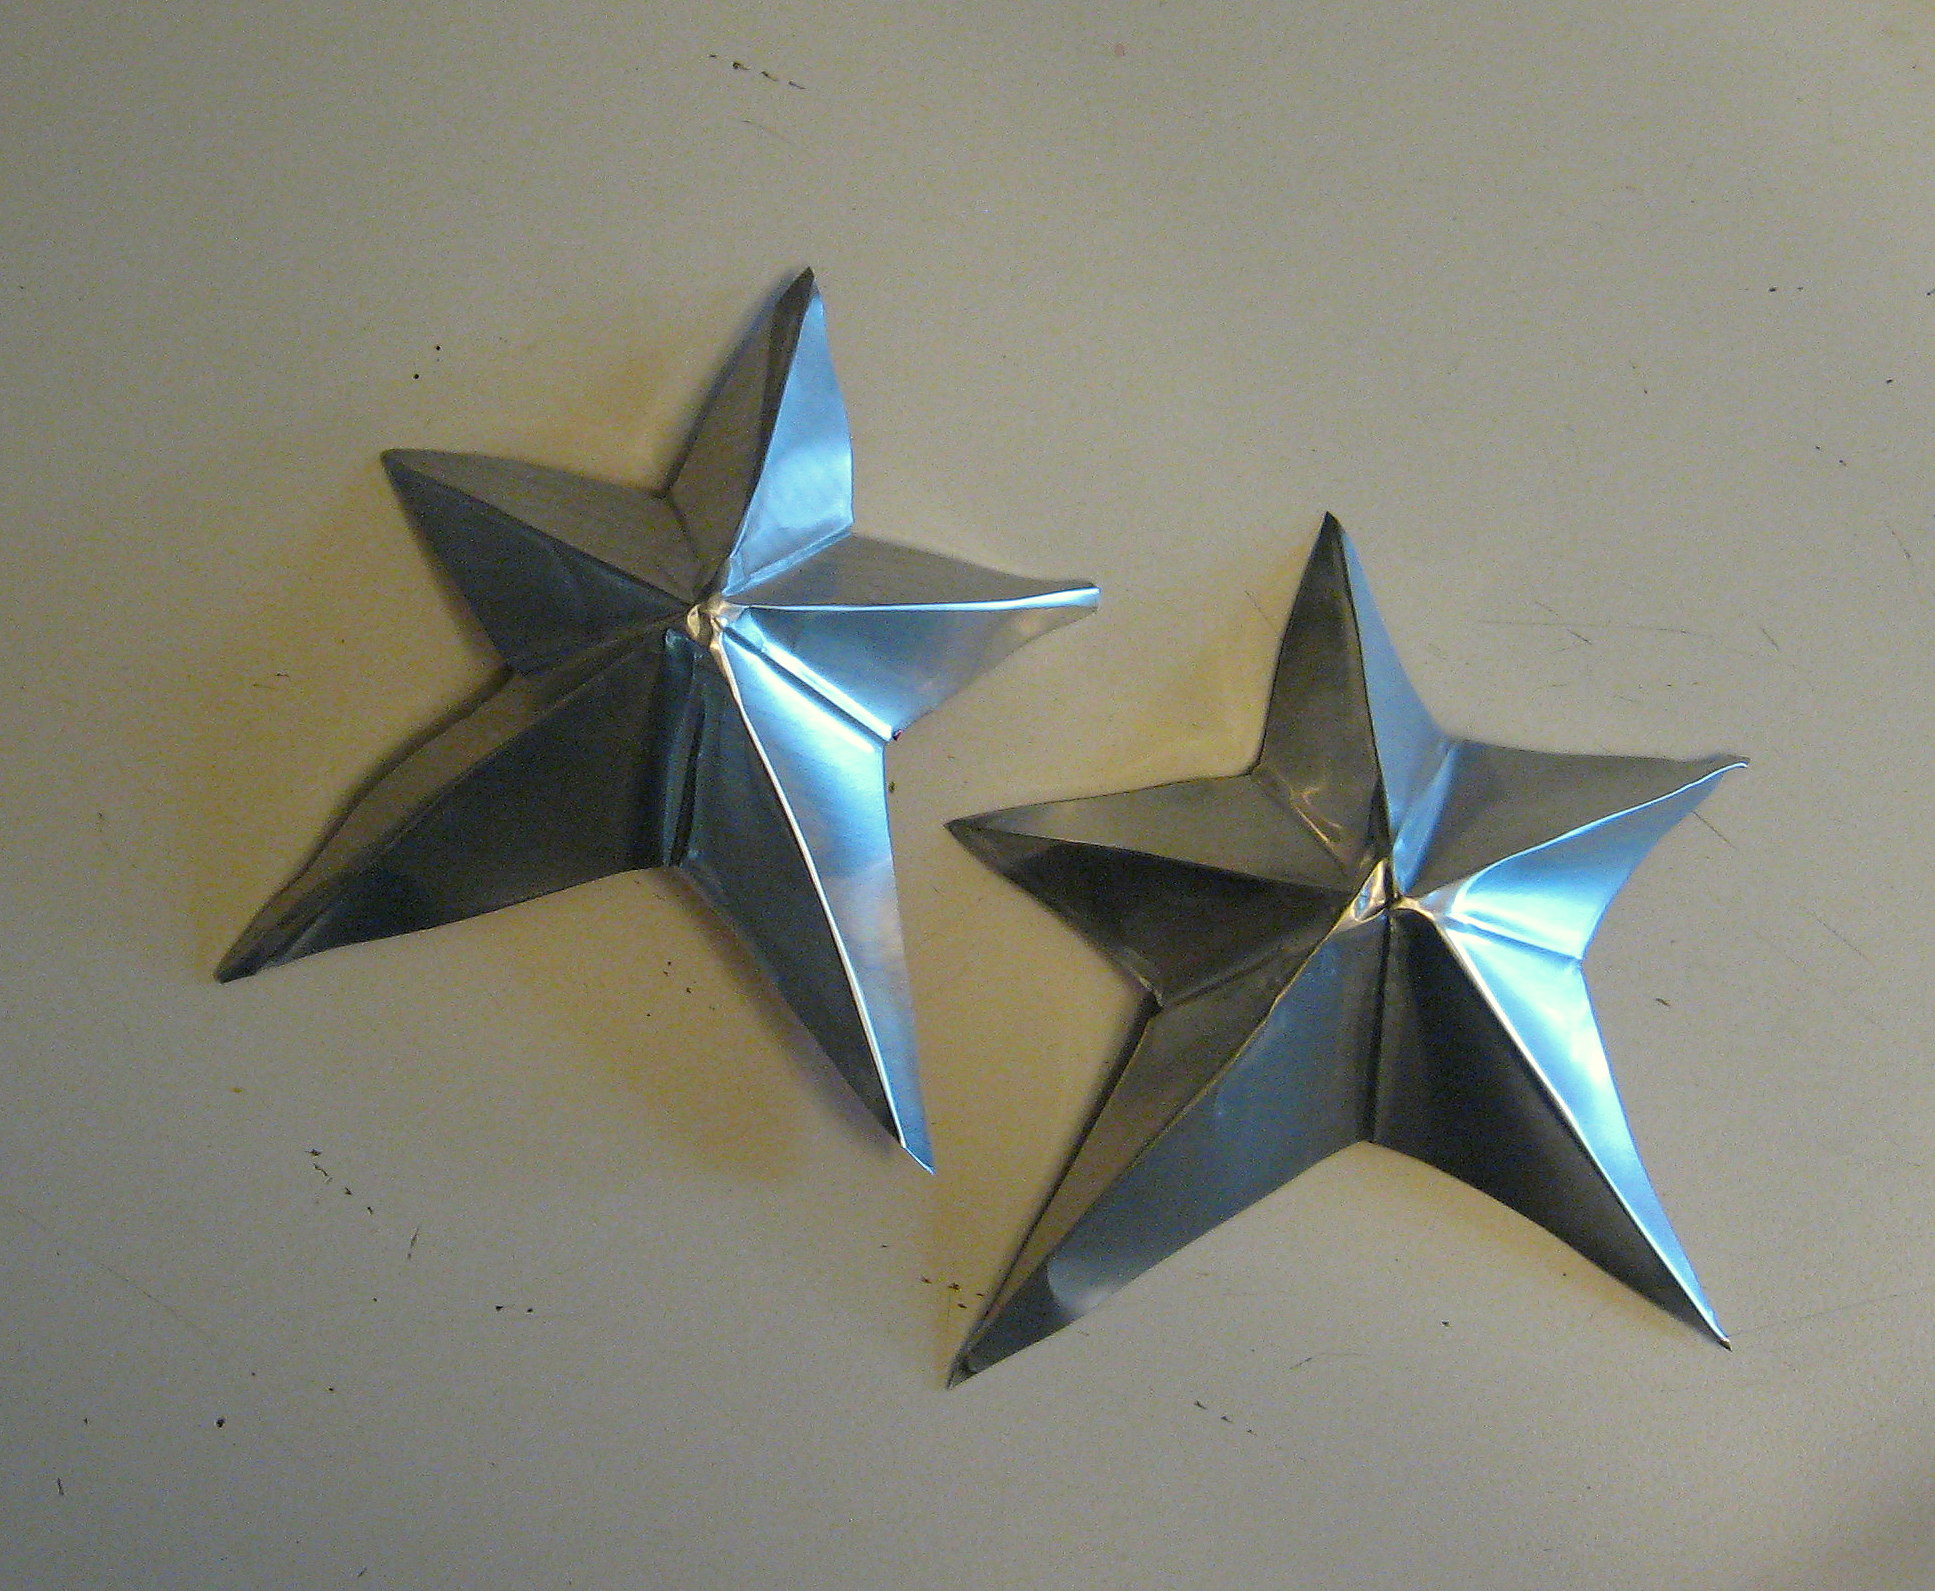
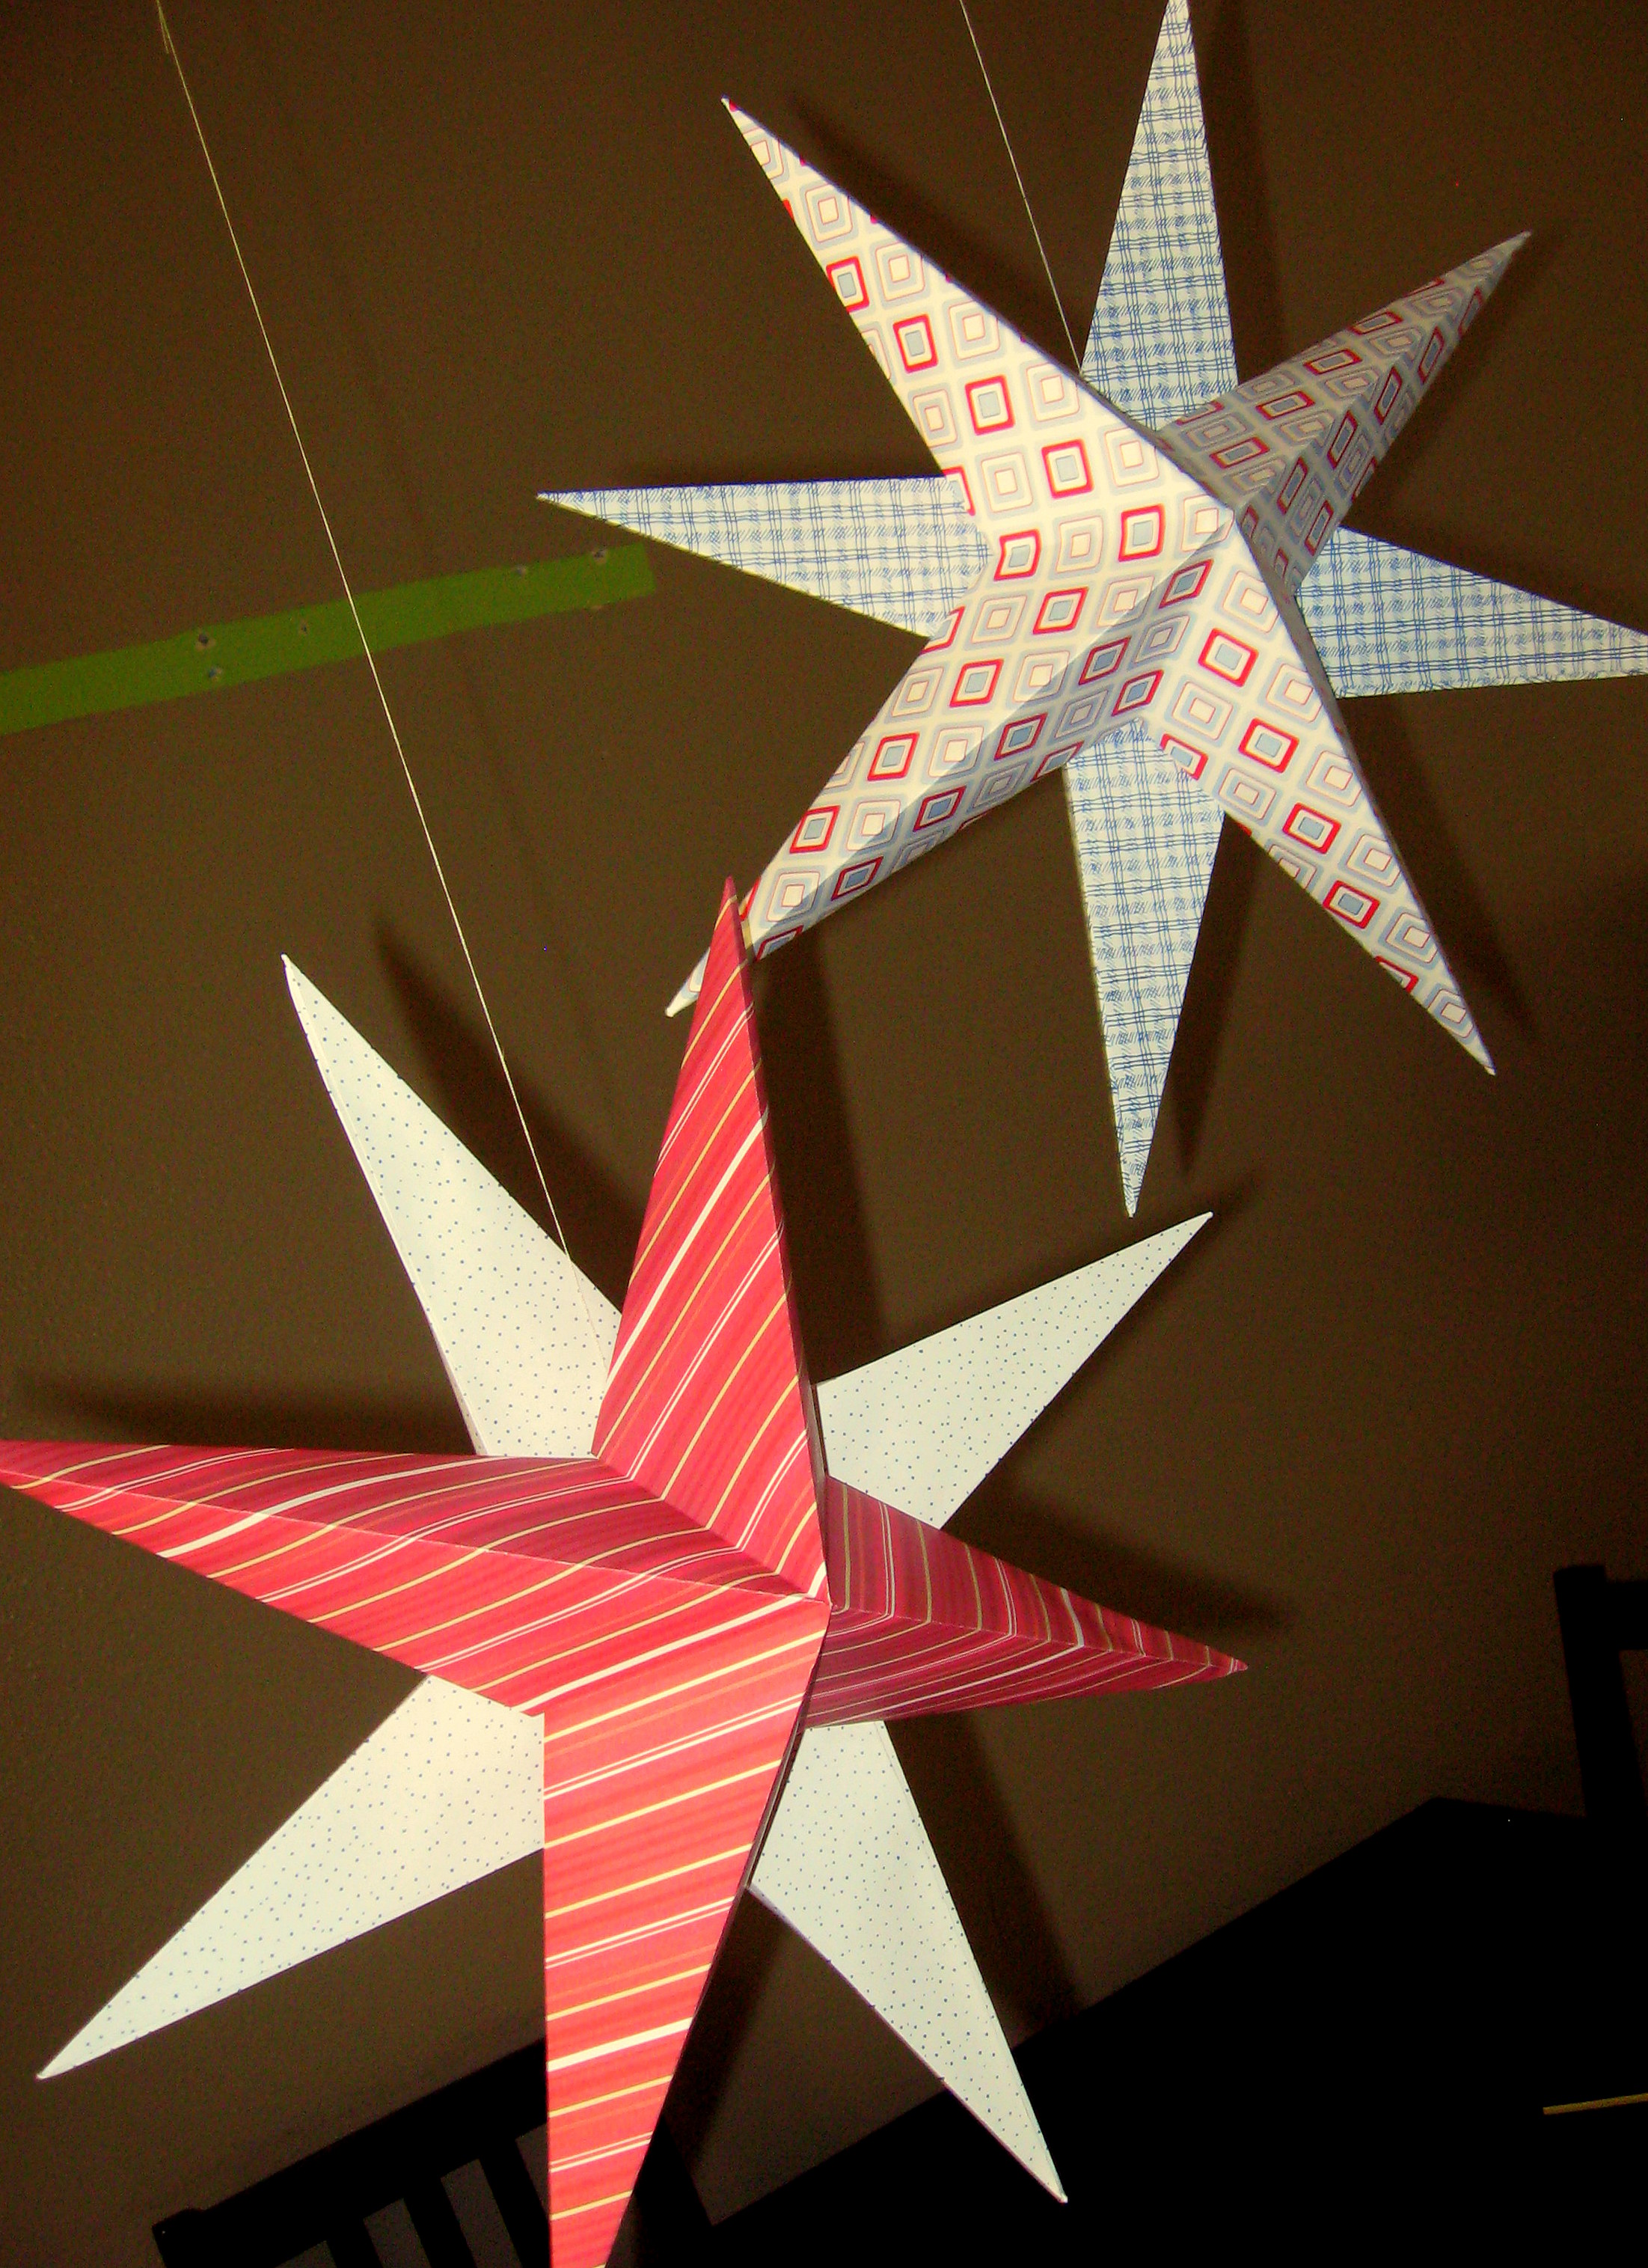
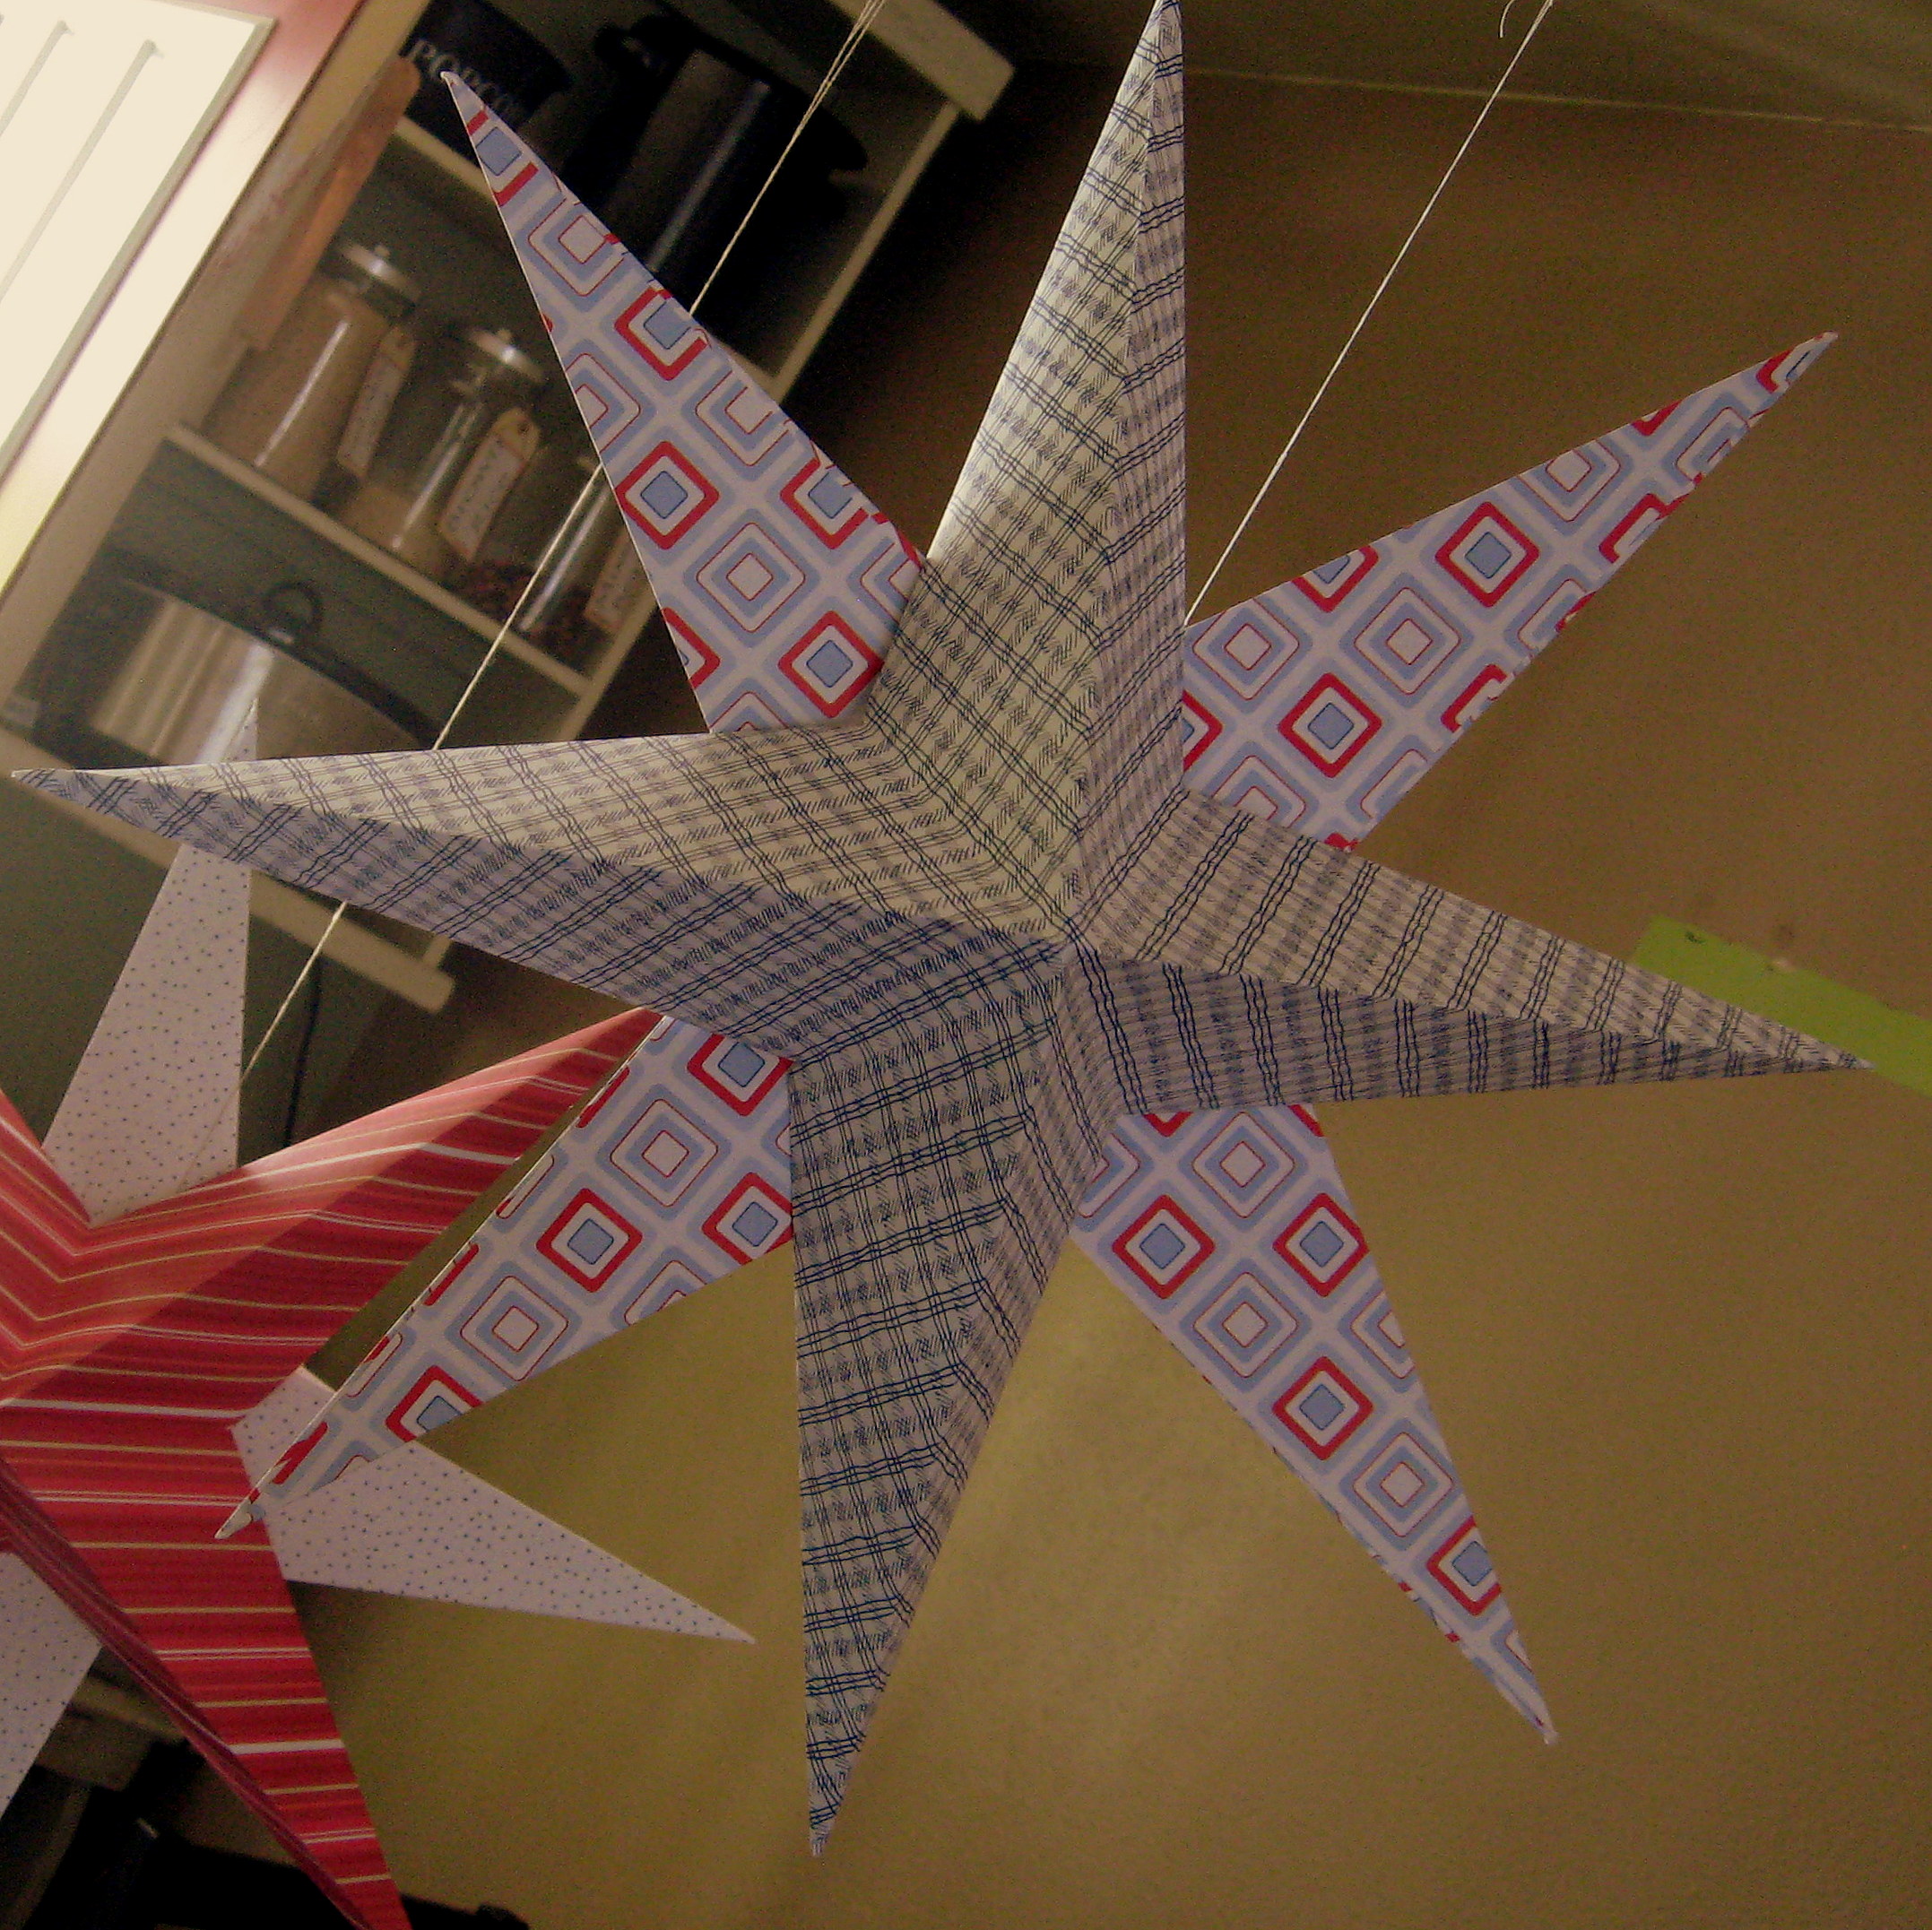
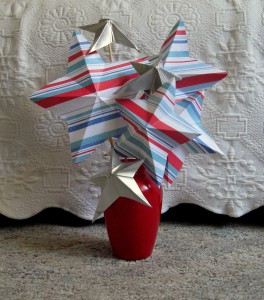
You can put a string through one point and hang them from the ceiling, or string them together to make a garland. We opted to hot glue them to small dowels and display them in a vase.
Star #2
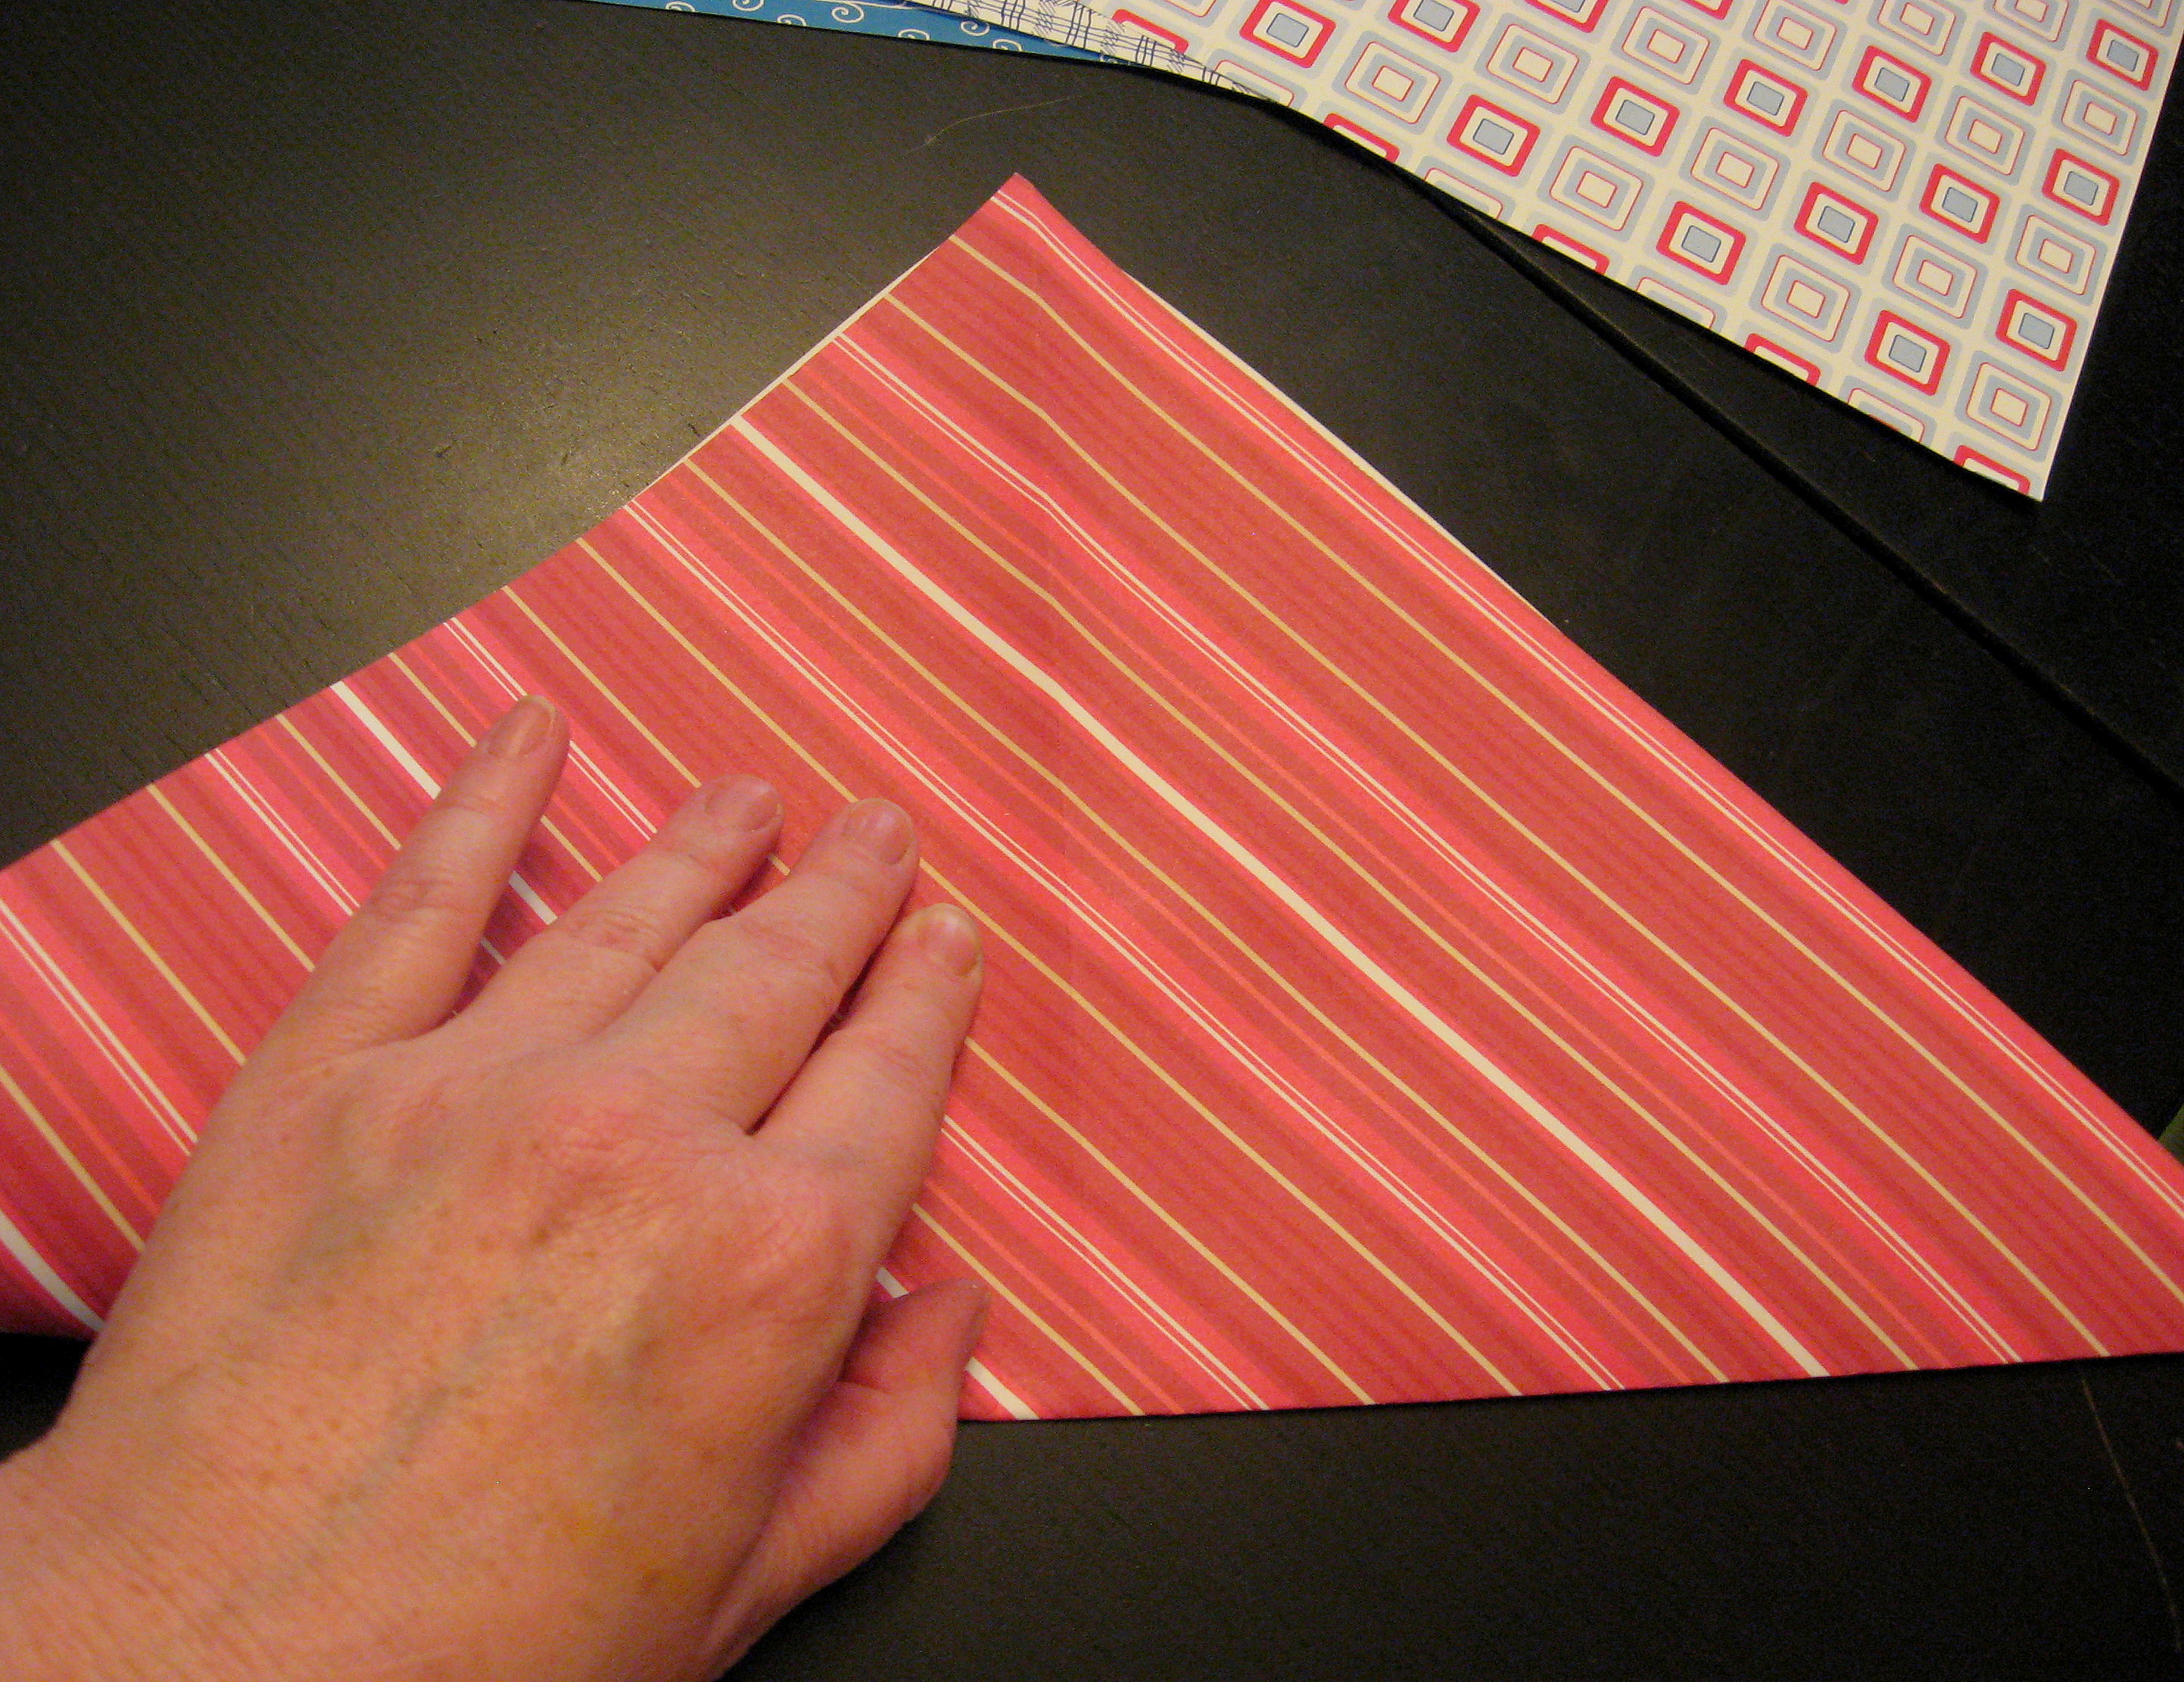
You can use any size of paper for this star, but it needs to start out as a square and you will need two squares for each star. I used 12 X 12 scrapbook paper. I made my stars 2 different colors, but they look great all the same color too.
Start by folding the paper corner to corner on the diagonal; then open back up and fold on the other diagonal.
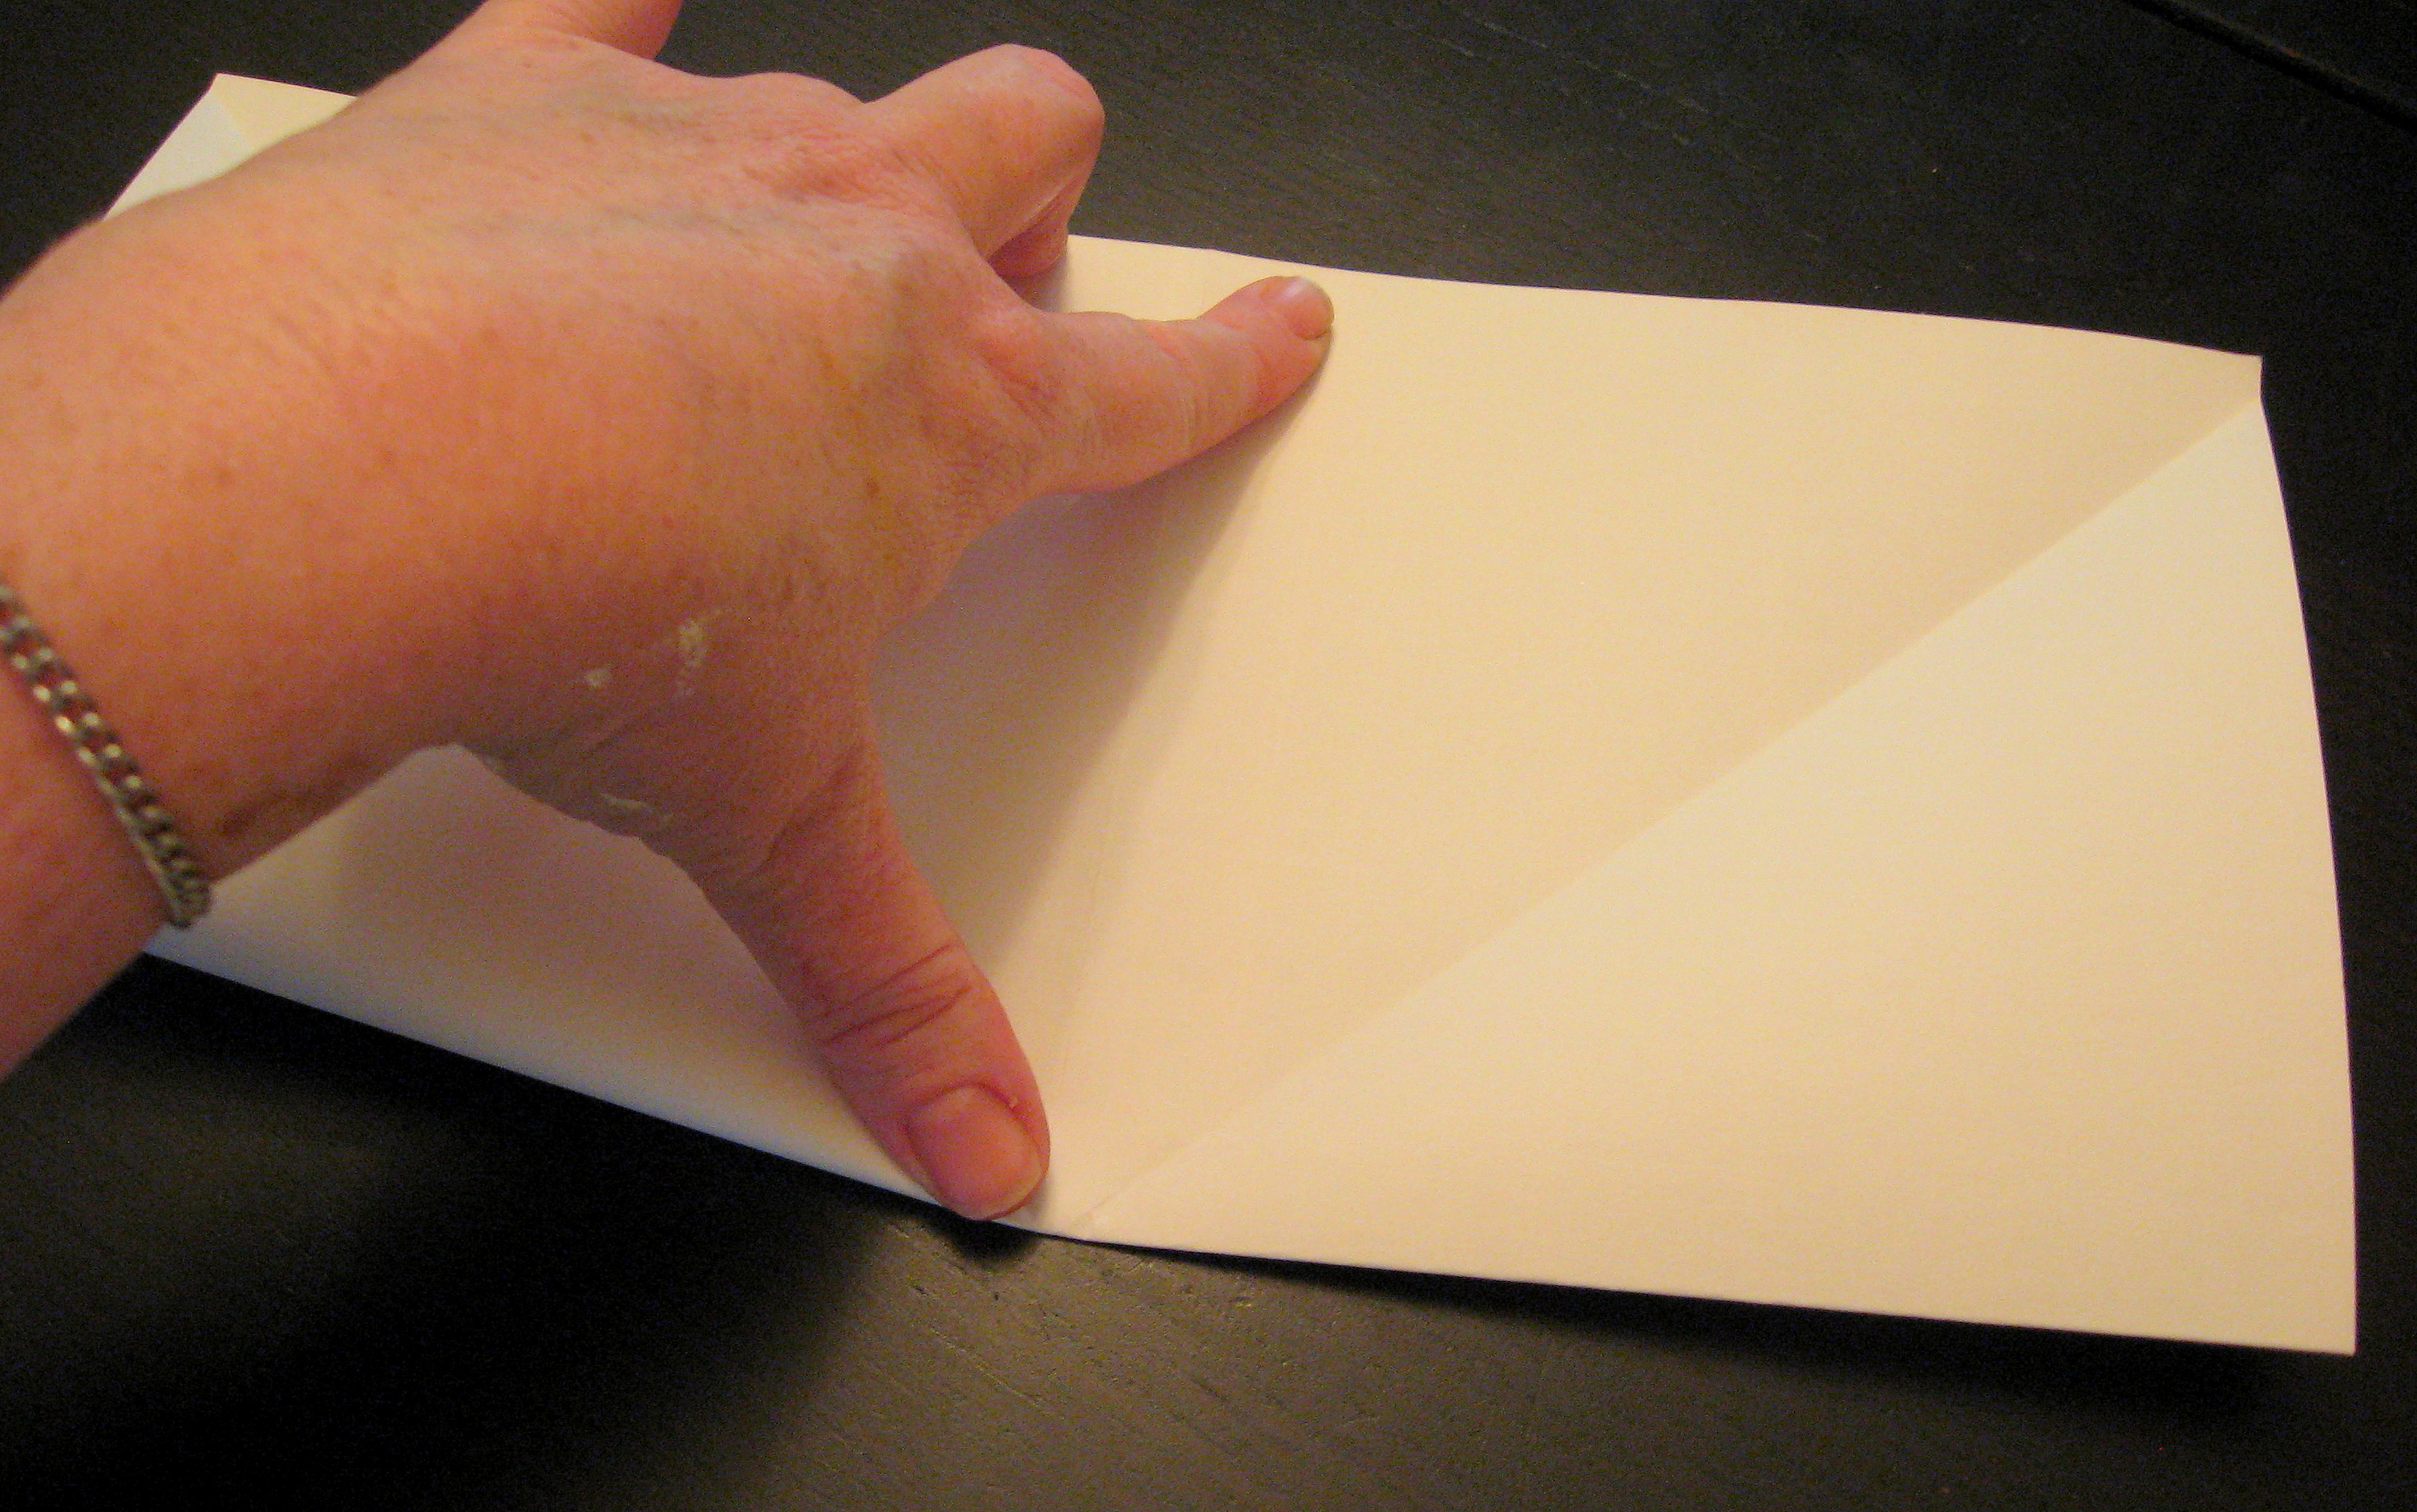
Now fold in half one way, then open back up and fold in half the other way.
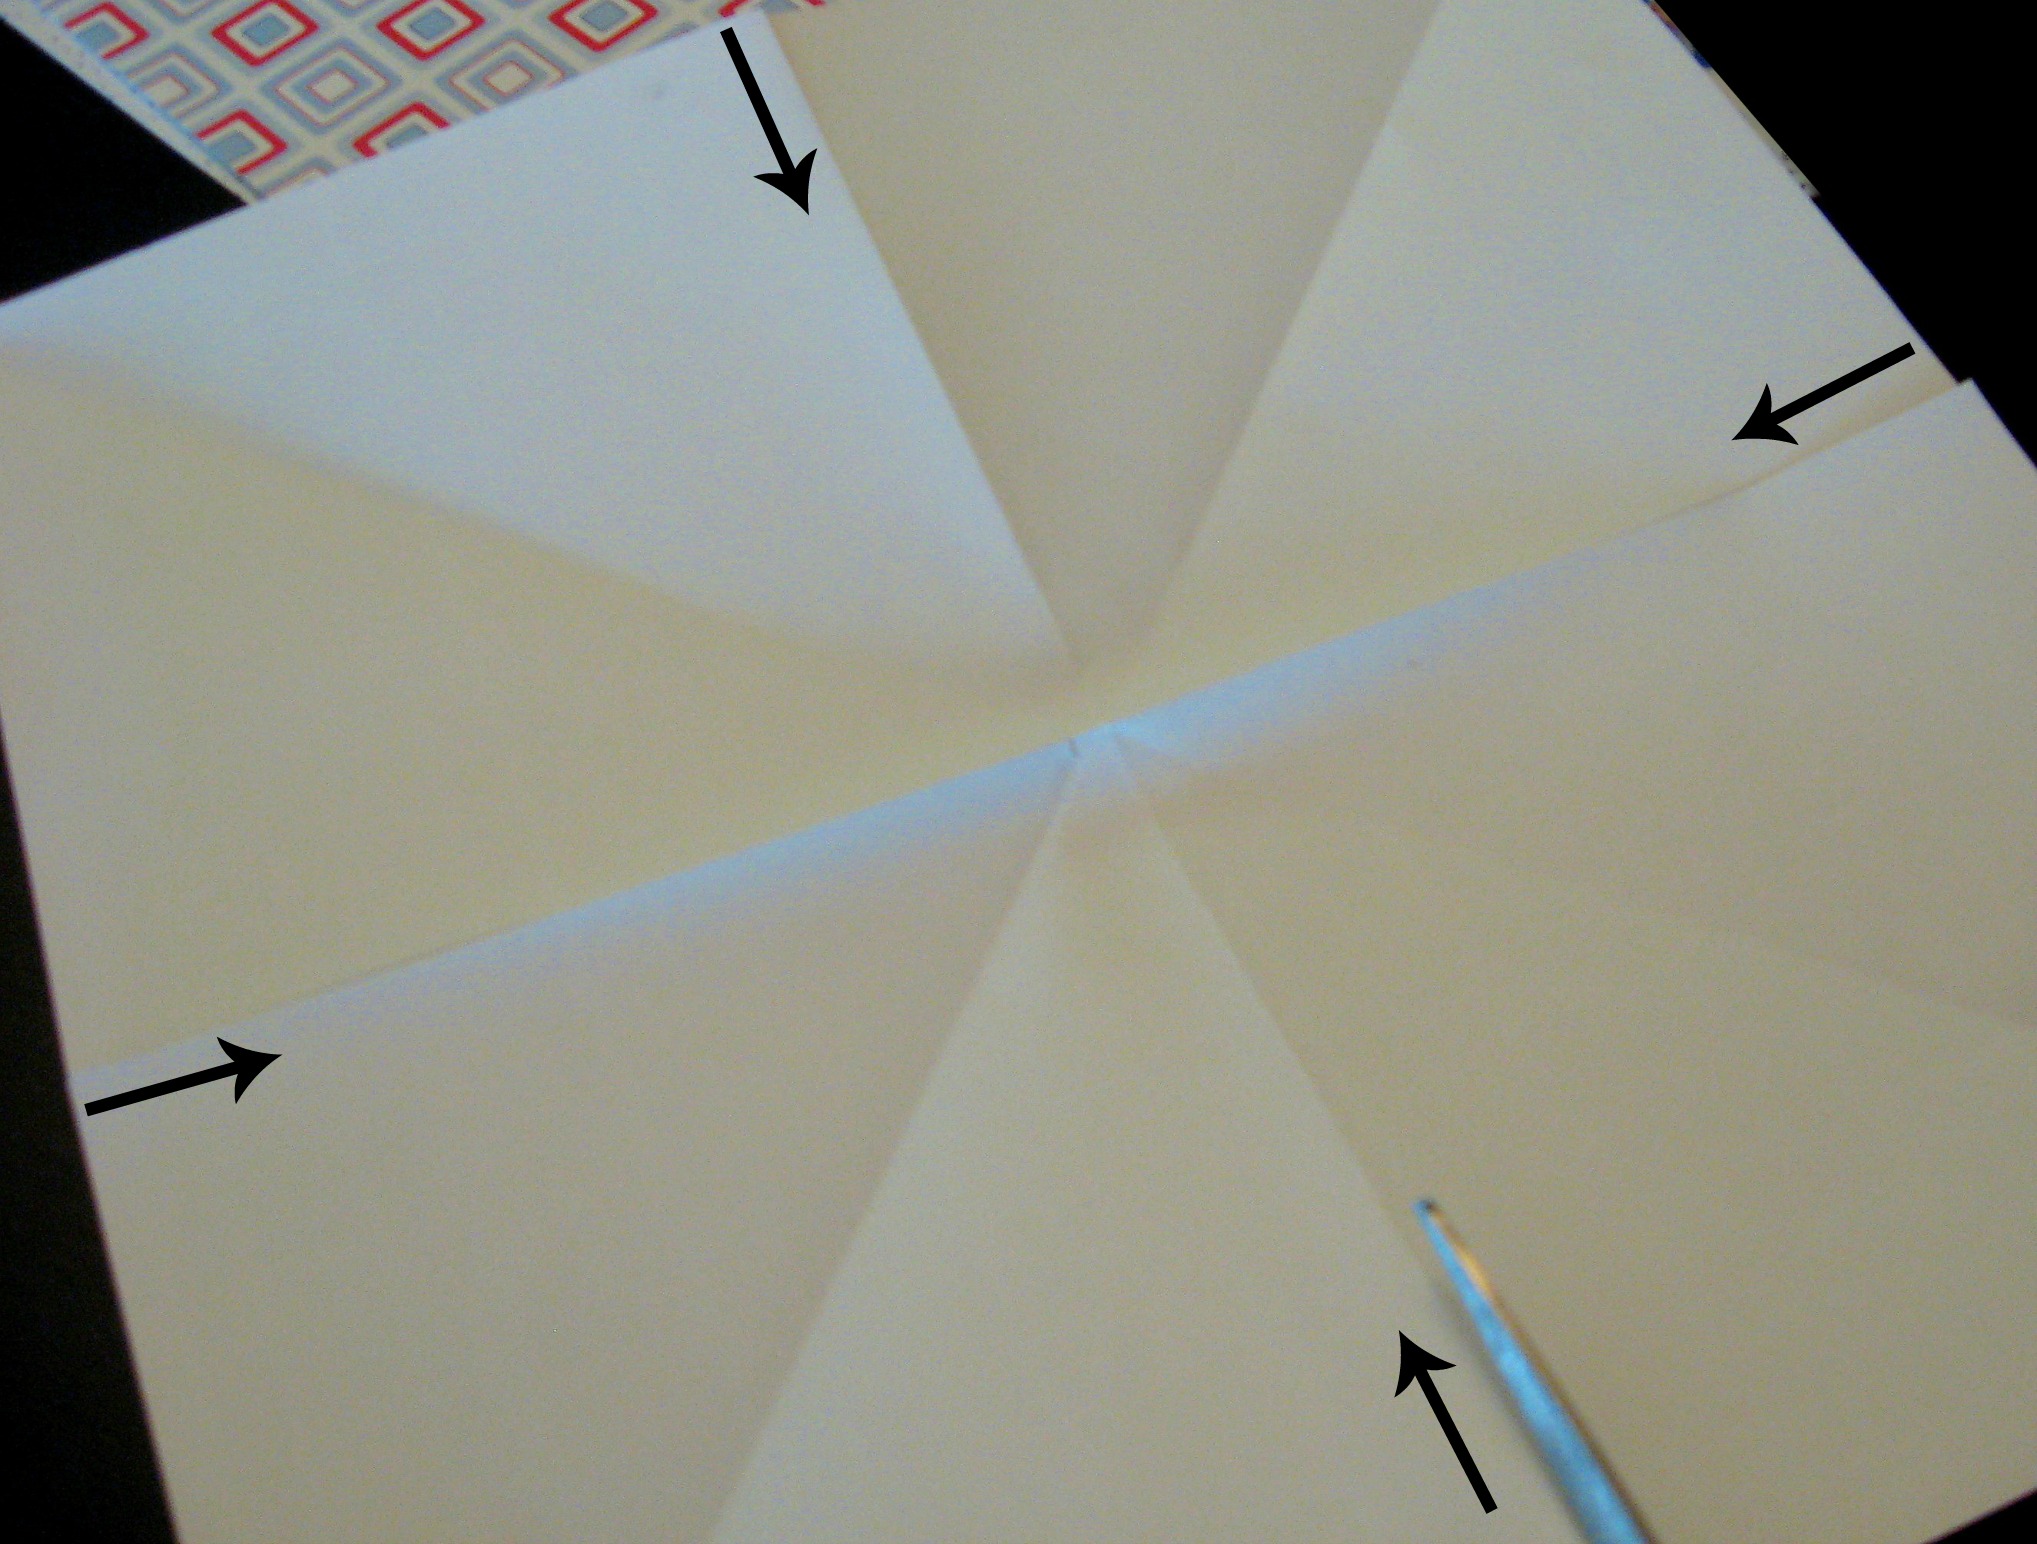
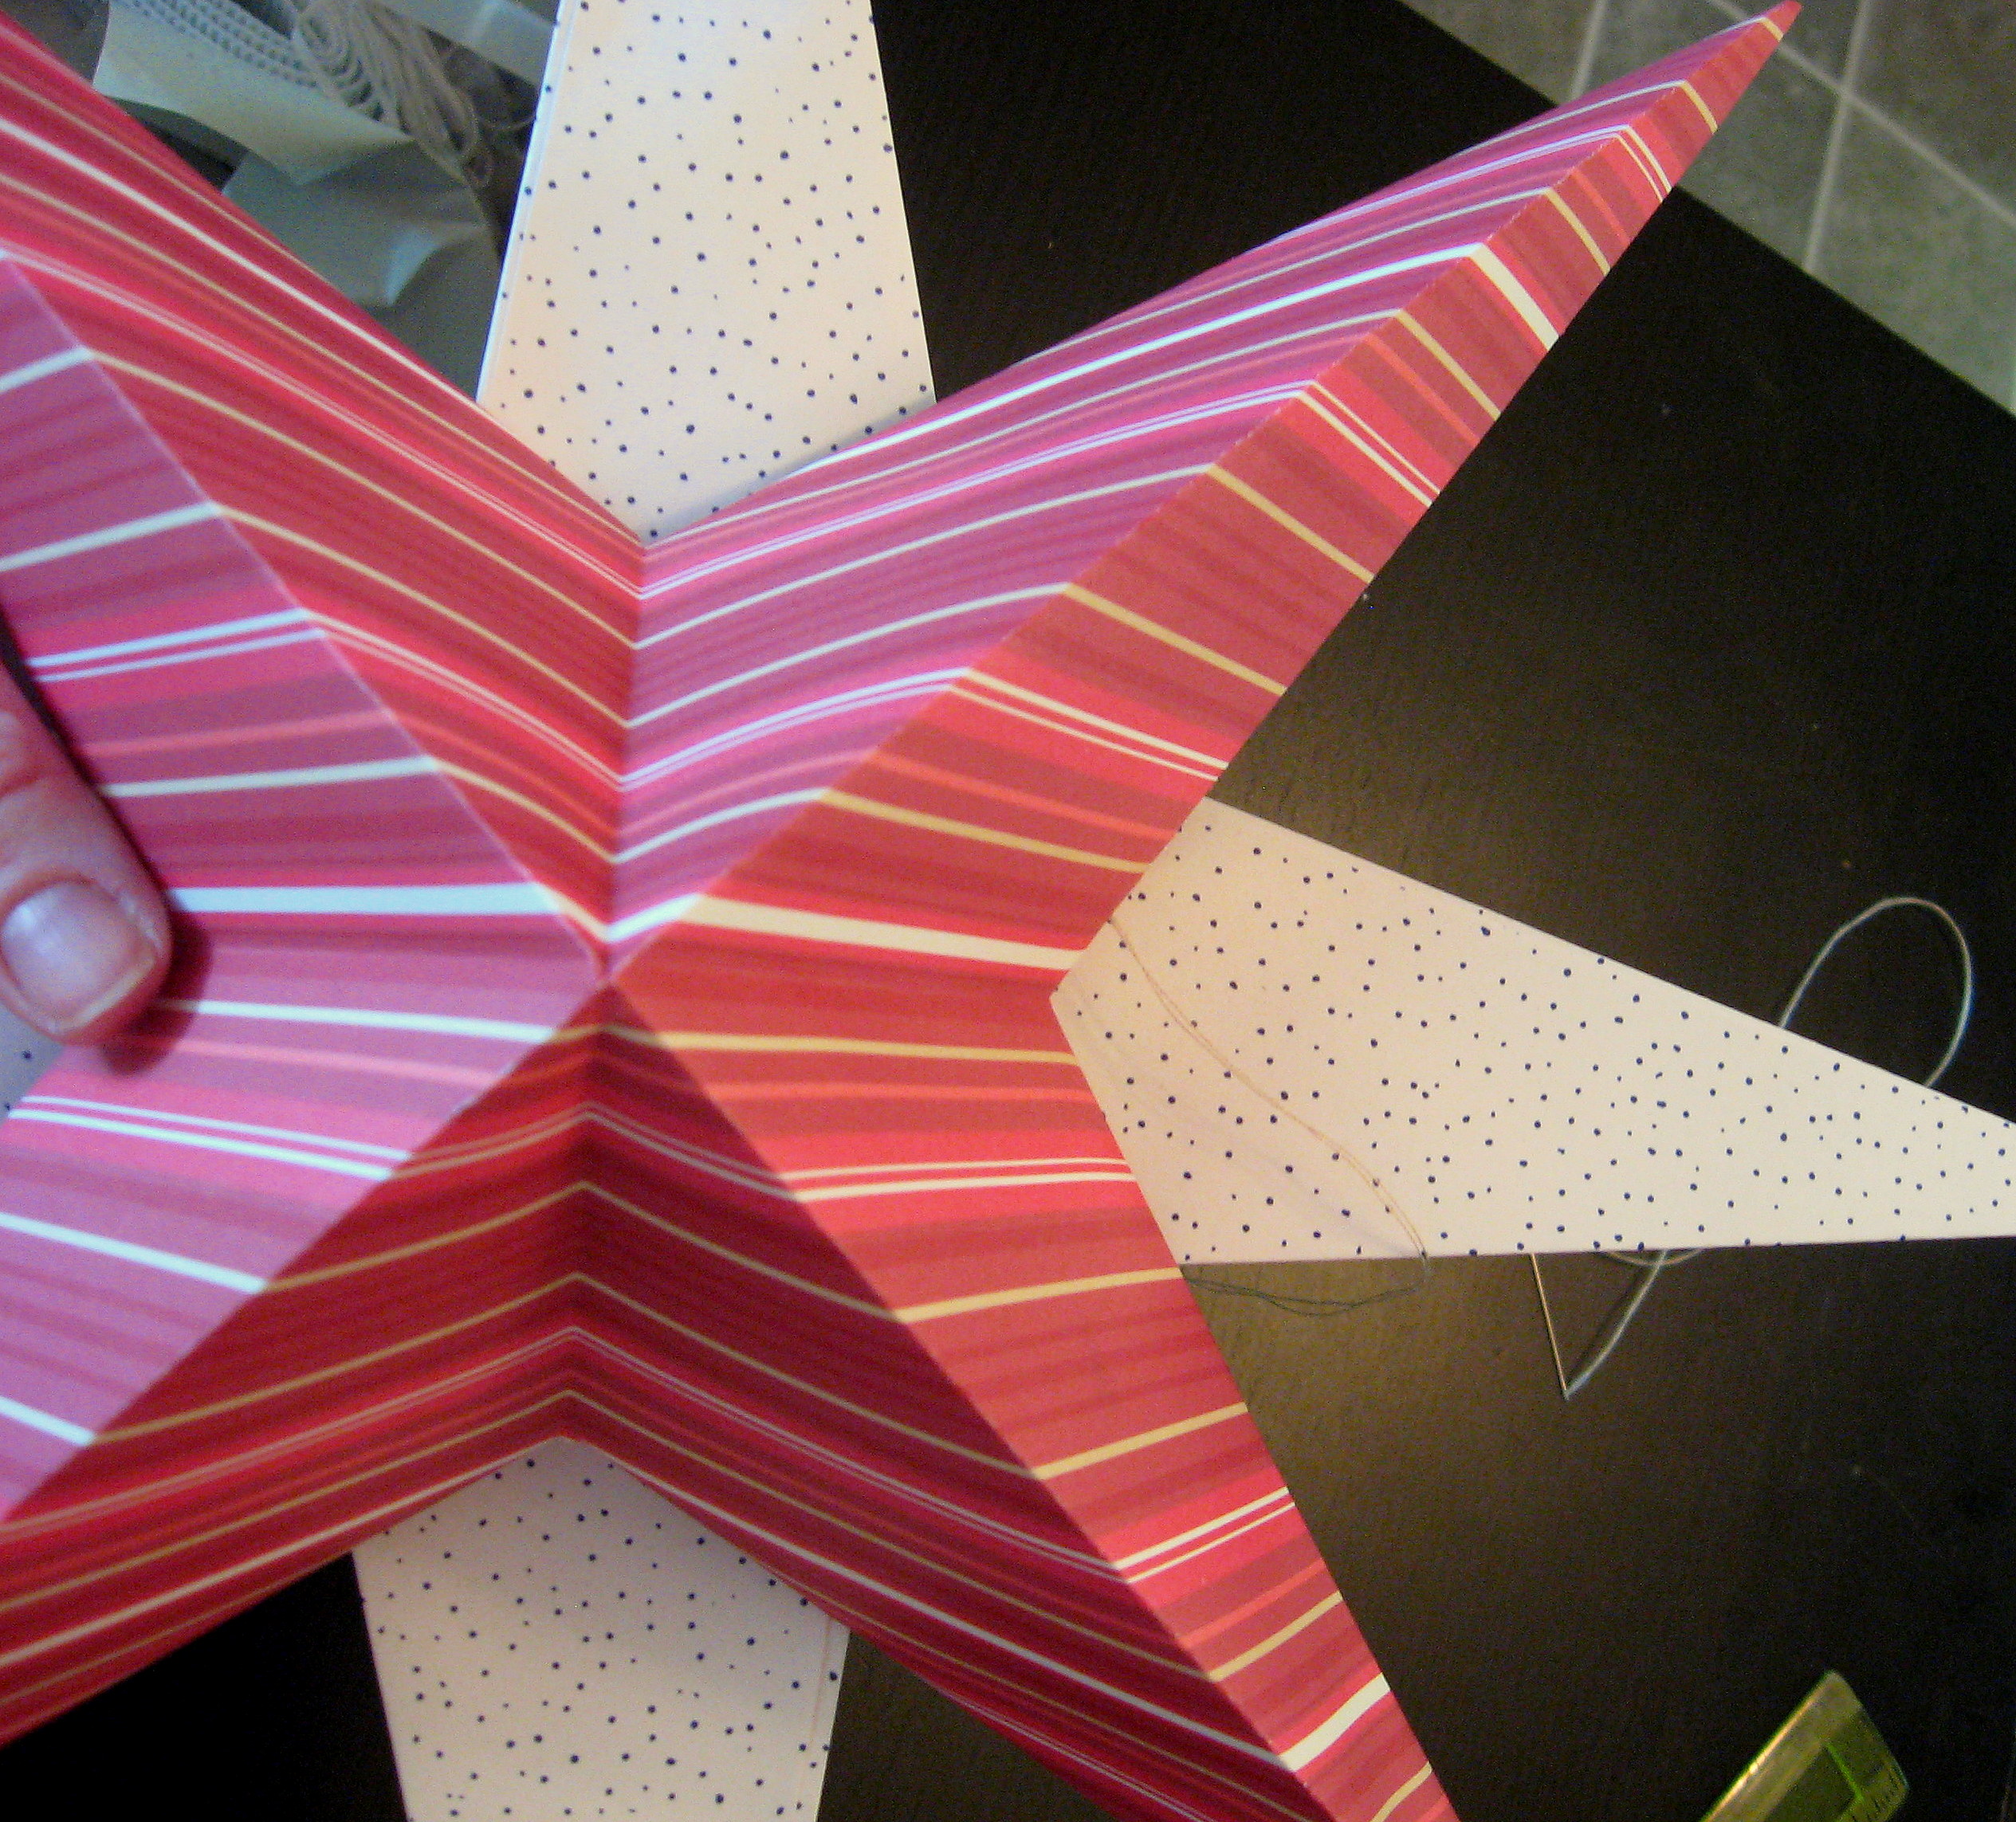
Open the paper back up and cut along the folds that you just made – the horizontal/vertical ones, not the diagonal ones (see arrows in the picture below). Cut about 2 1/2 inches in on each fold.
Now fold each cut edge in to meet at the diagonal fold and form a sharp point at the end.
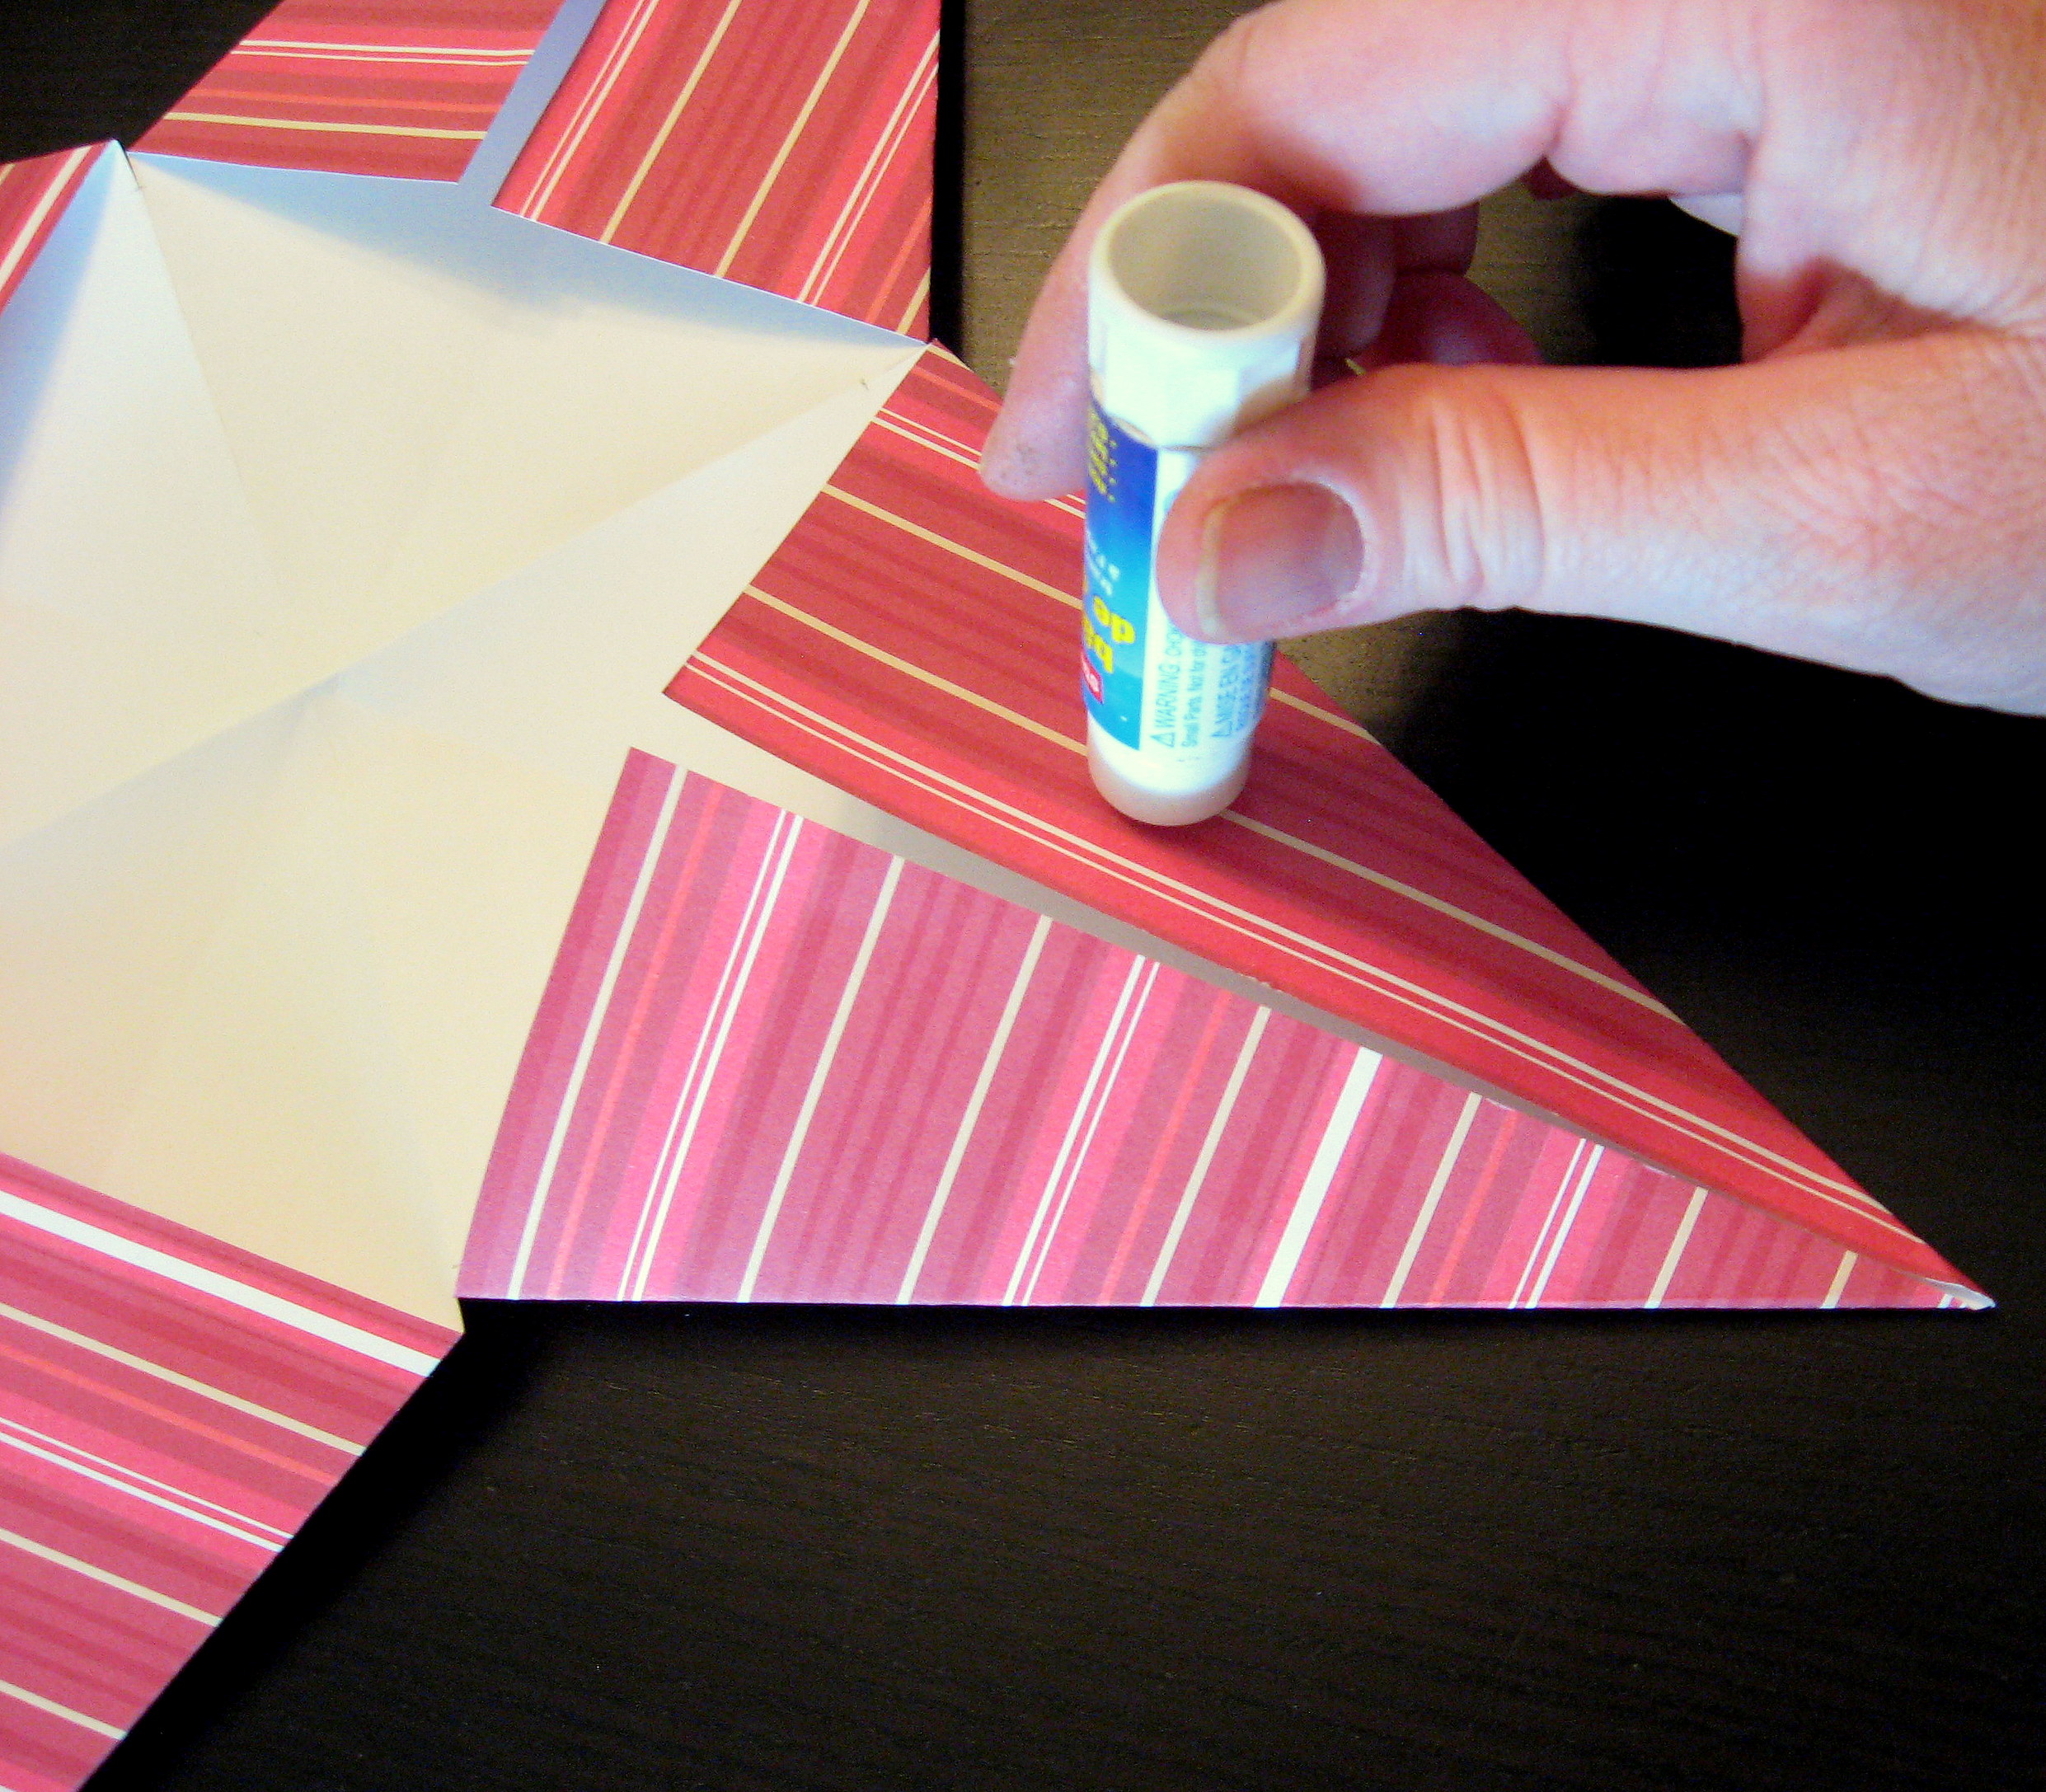
For each point, put glue (I used a glue stick) on one of the flaps:
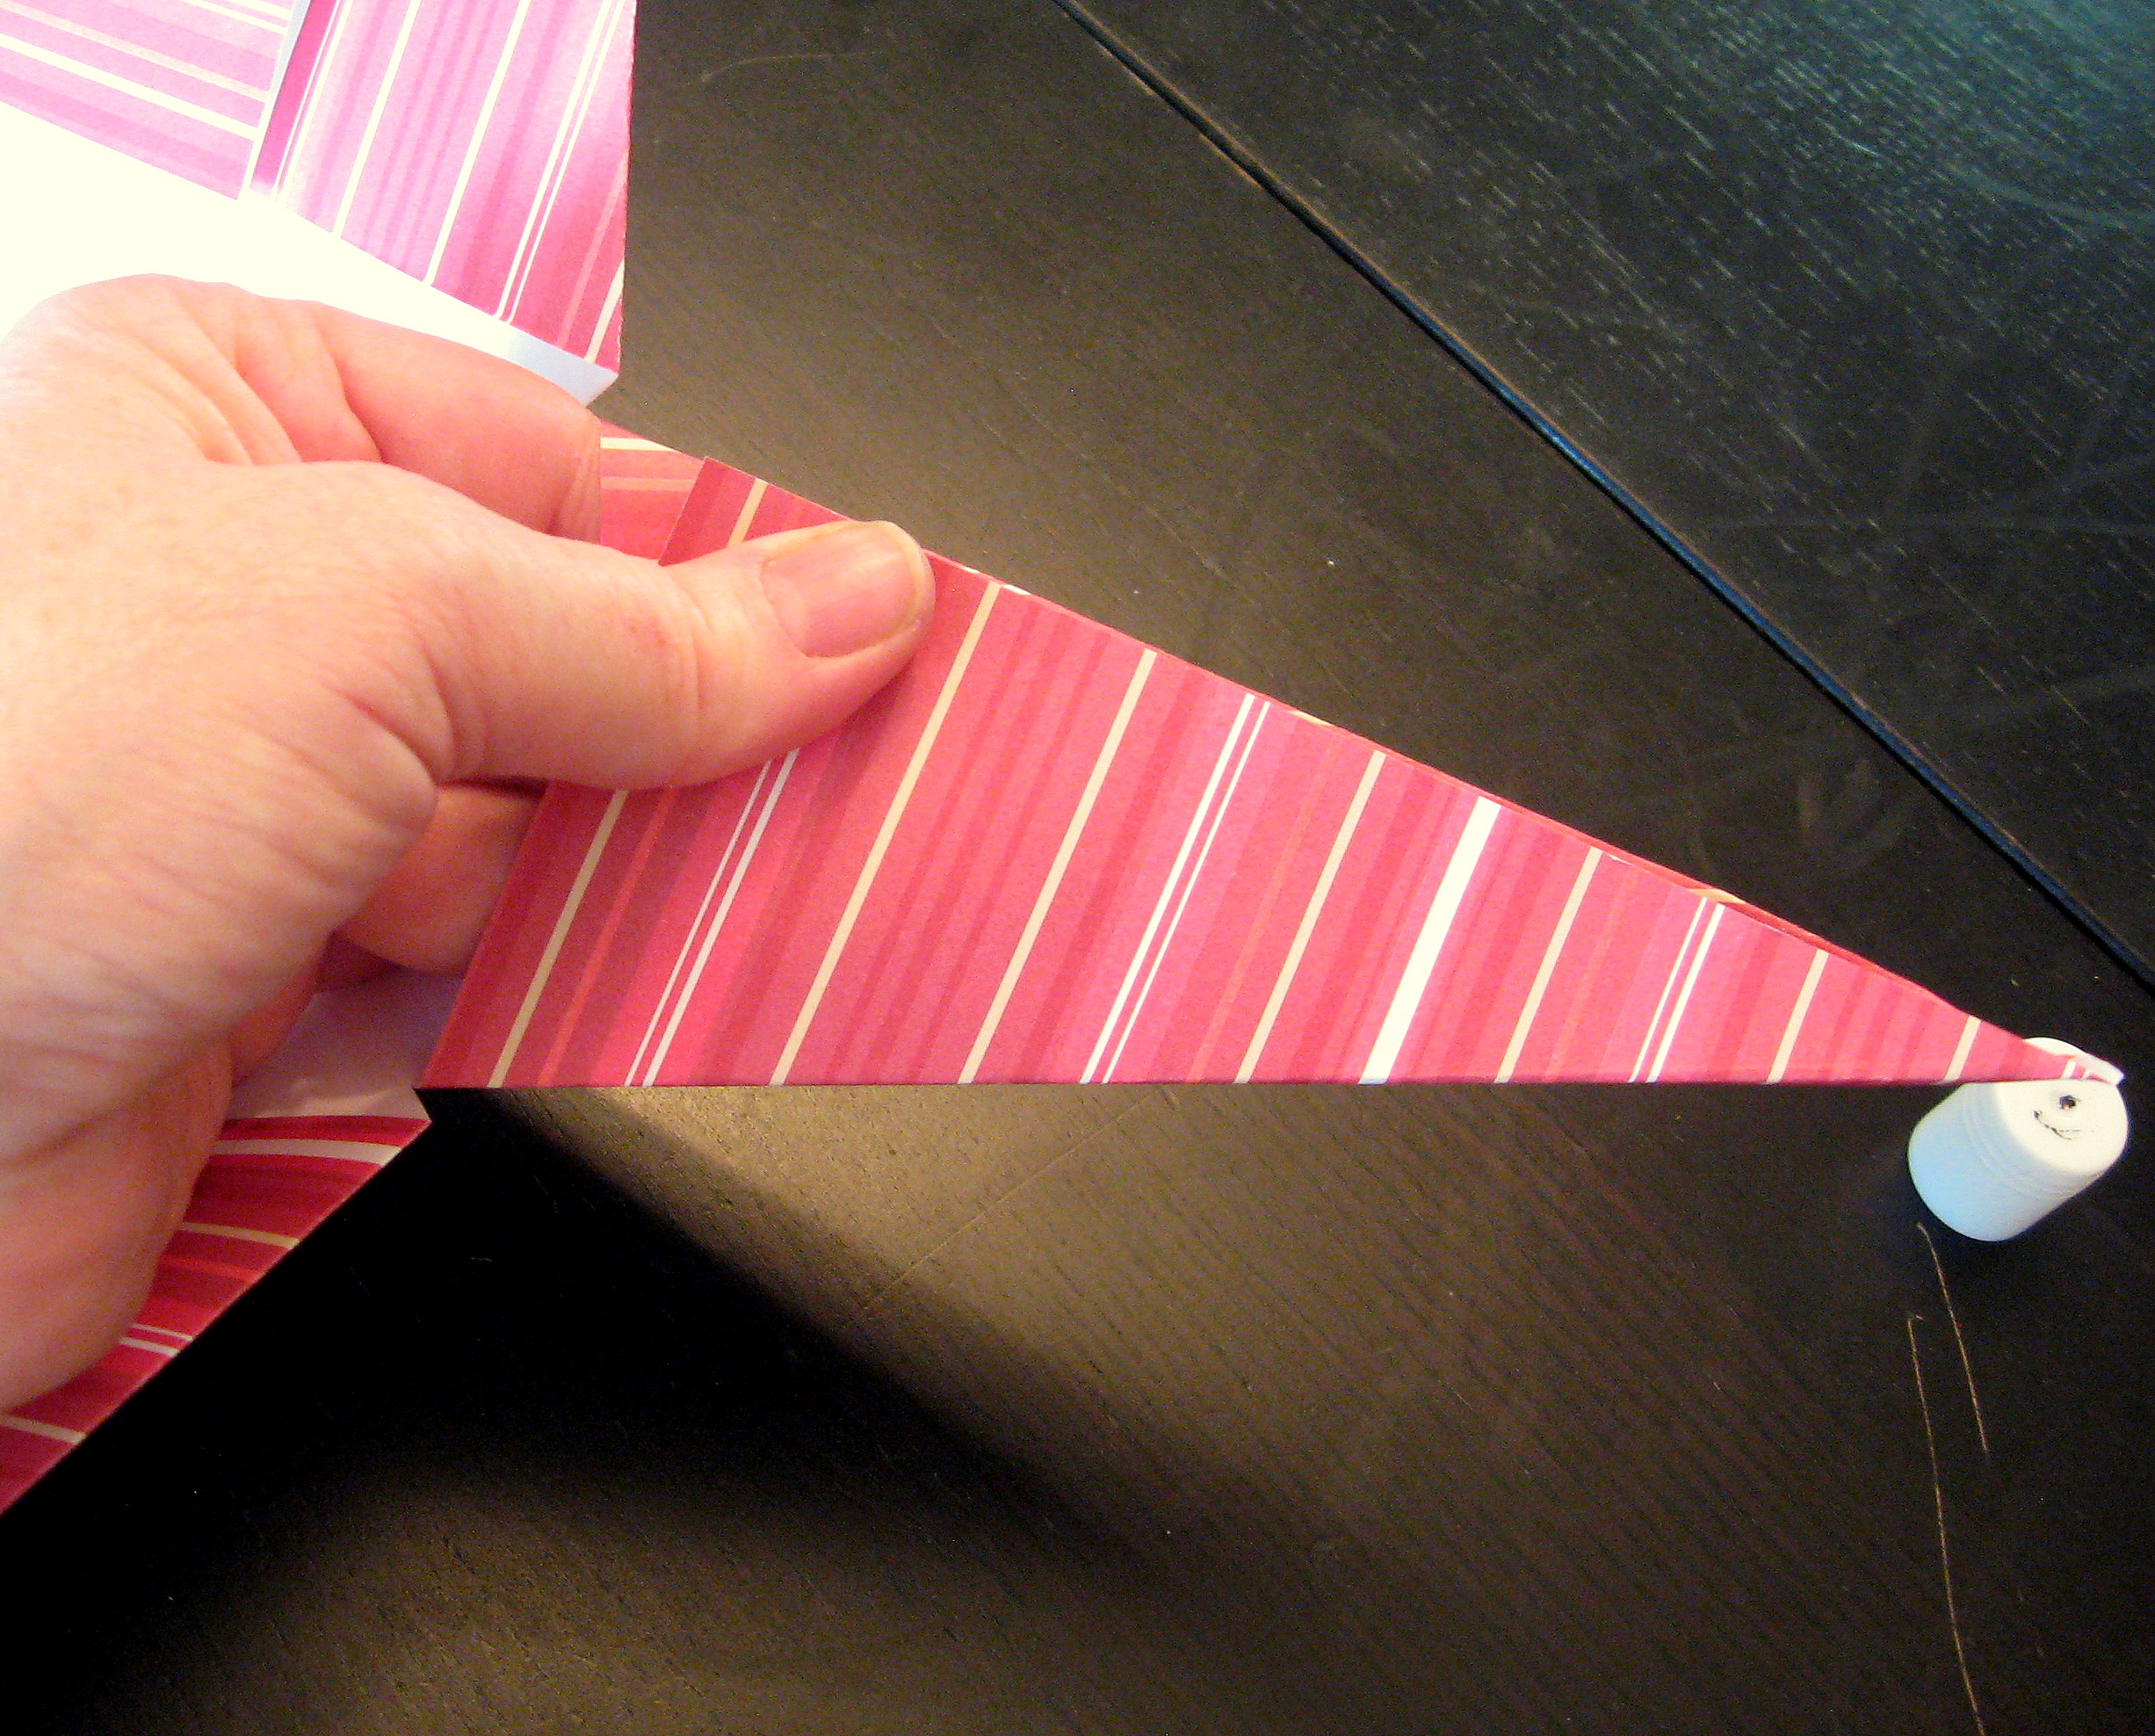
then position the other flap on top of it and hold for a minute until it dries.
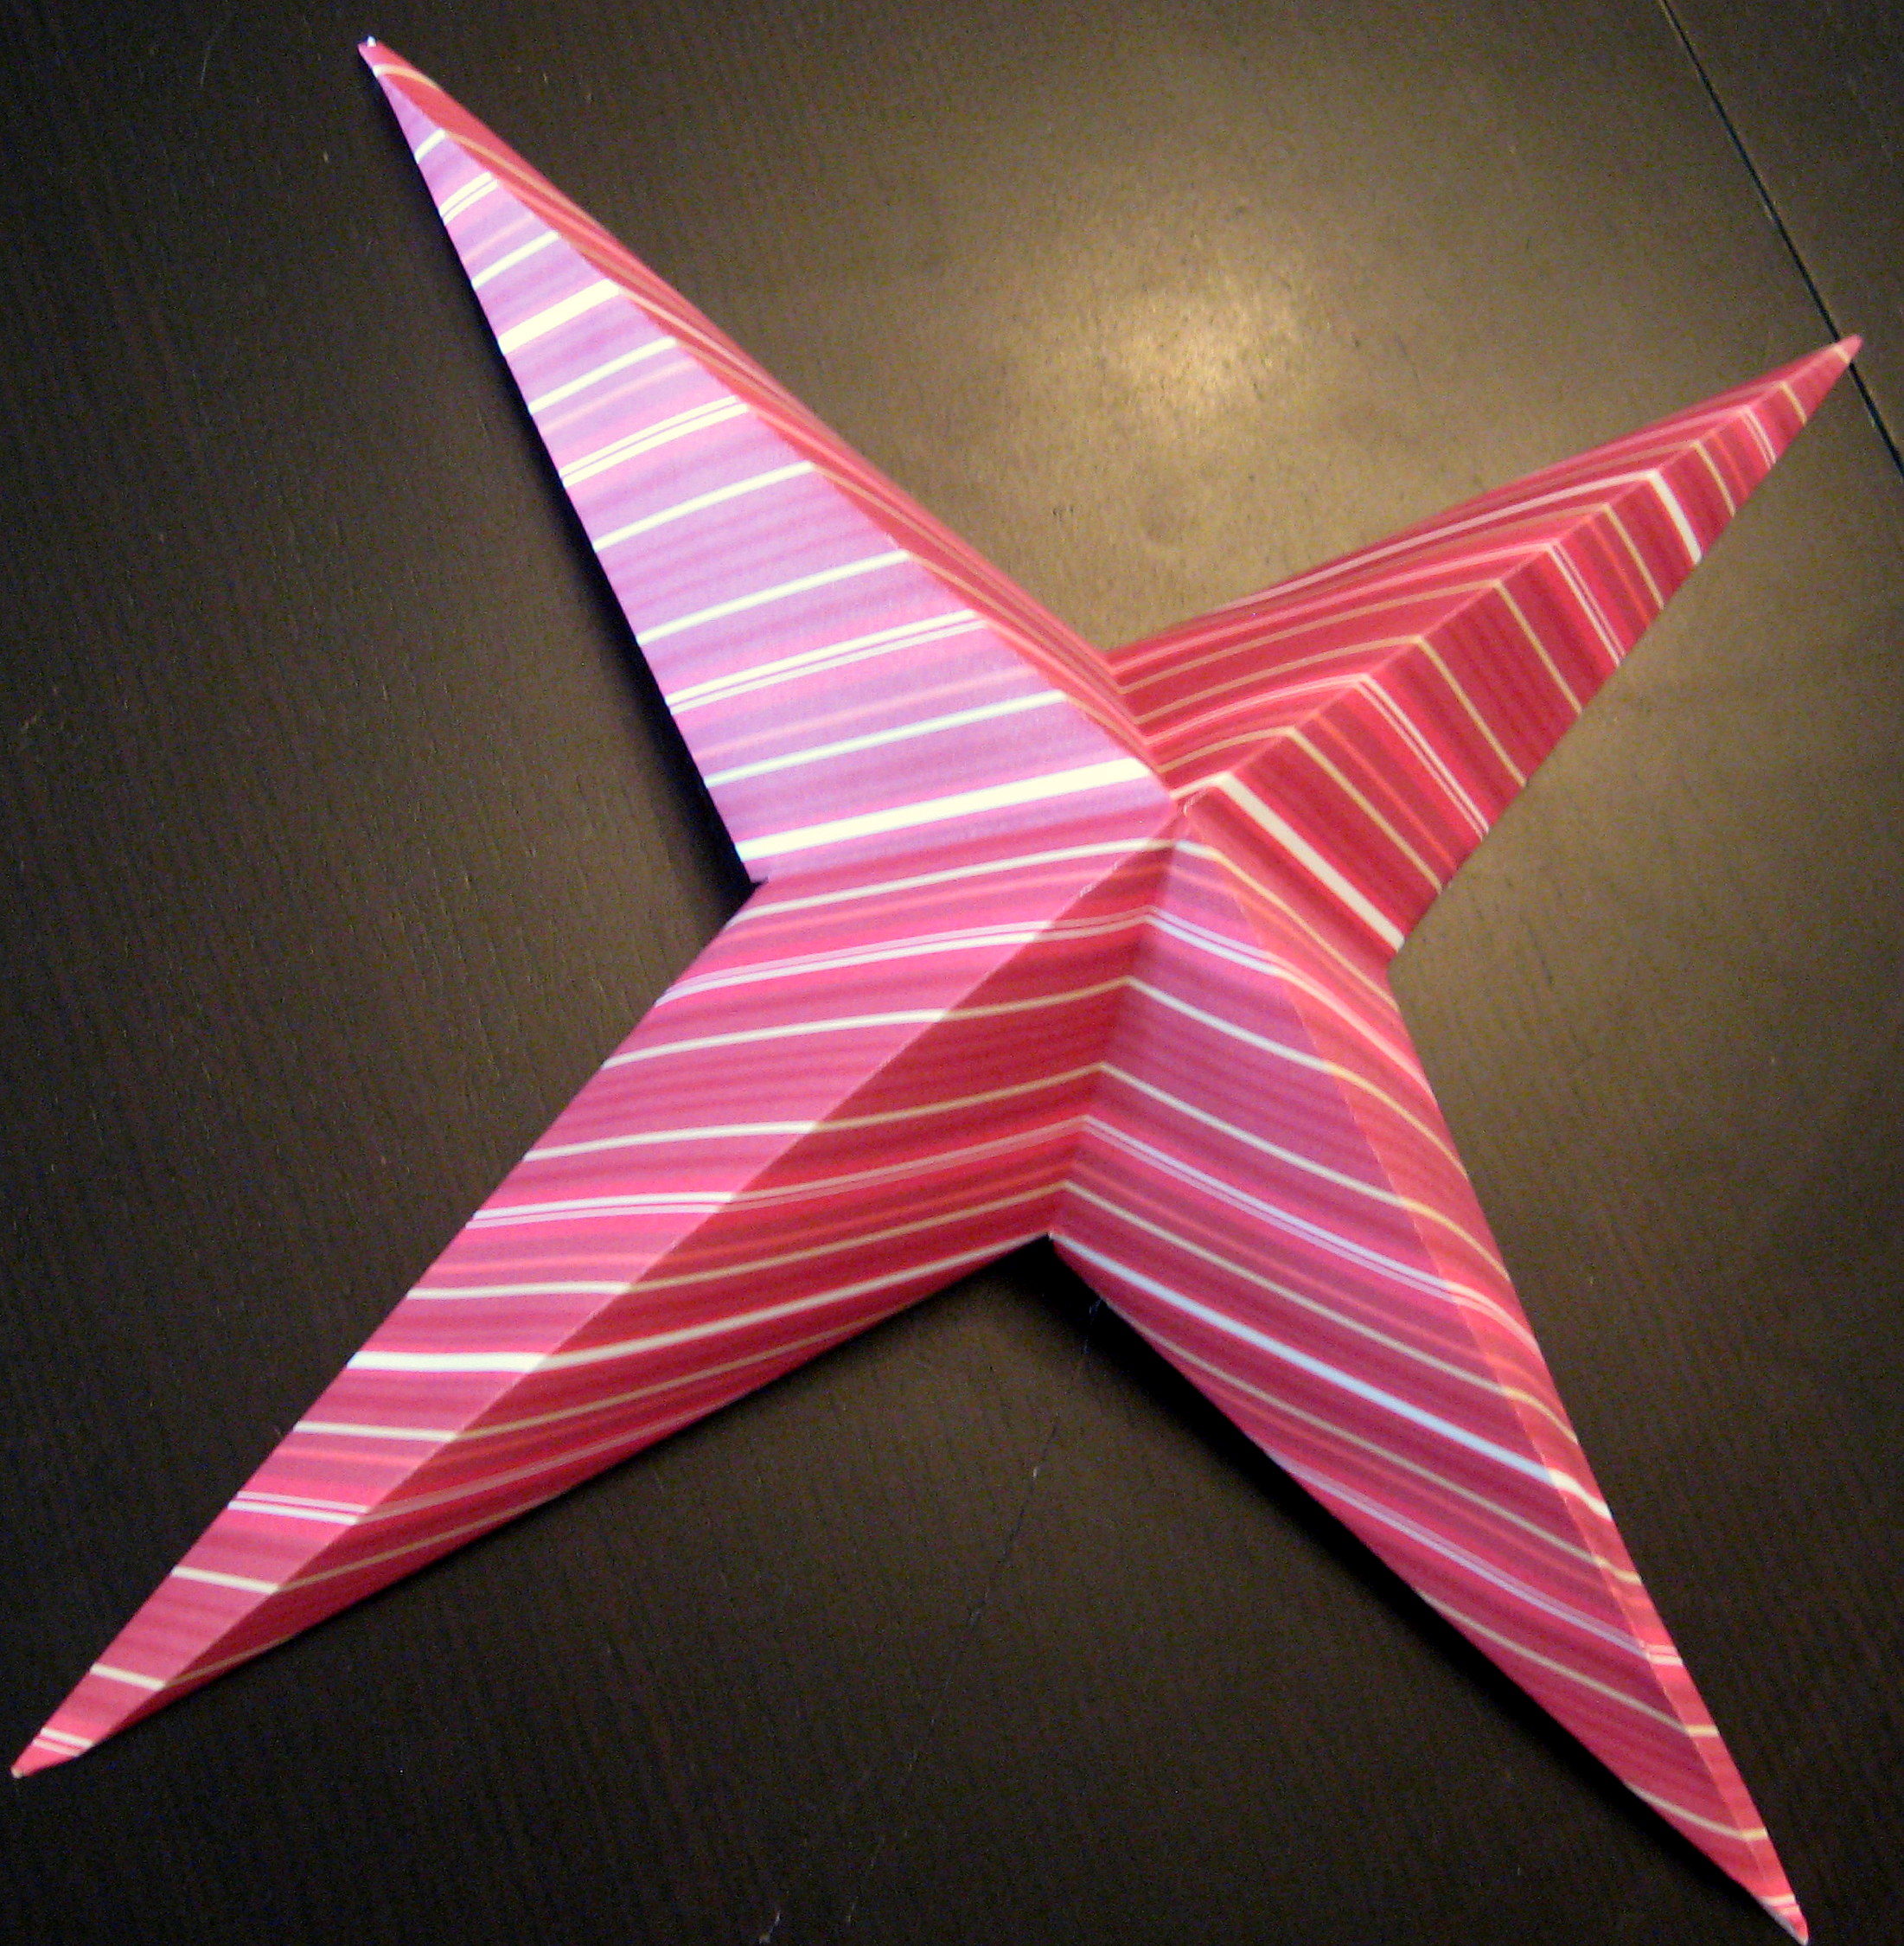
Once all 4 points are glued, it will look like this:
Now make a second one, exactly the same way, and attach them together back to back – double stick tape or sticky dots work great for this. Use a needle to thread a piece of string through for hanging.
We hung them from the light above our dining table; don’t judge them too harshly based on this bad picture quality – I either had to open the door to get natural light, which made them swing and spin from the wind, or try the pictures with the door closed and glaring overhead light! In person they are super cute!