I have some big, sturdy reusable bags that I use for grocery shopping, and I am pretty good at remembering to take them into the store with me. Where I have a problem is with stores like Walmart or the craft store where I am just running in for one thing, so I don’t take in a big bag, but end up really buying 3 or 4 things- just a little too awkward to carry out in my hands. I needed a smaller bag for these trips, and I needed it to fold up small enough to fit in my purse so I always have it with me.
Enter cast off Old Navy T-shirts! My sister had put these shirts in her “donate” pile even though they were brand new, so I brought them home and tried to wear them. 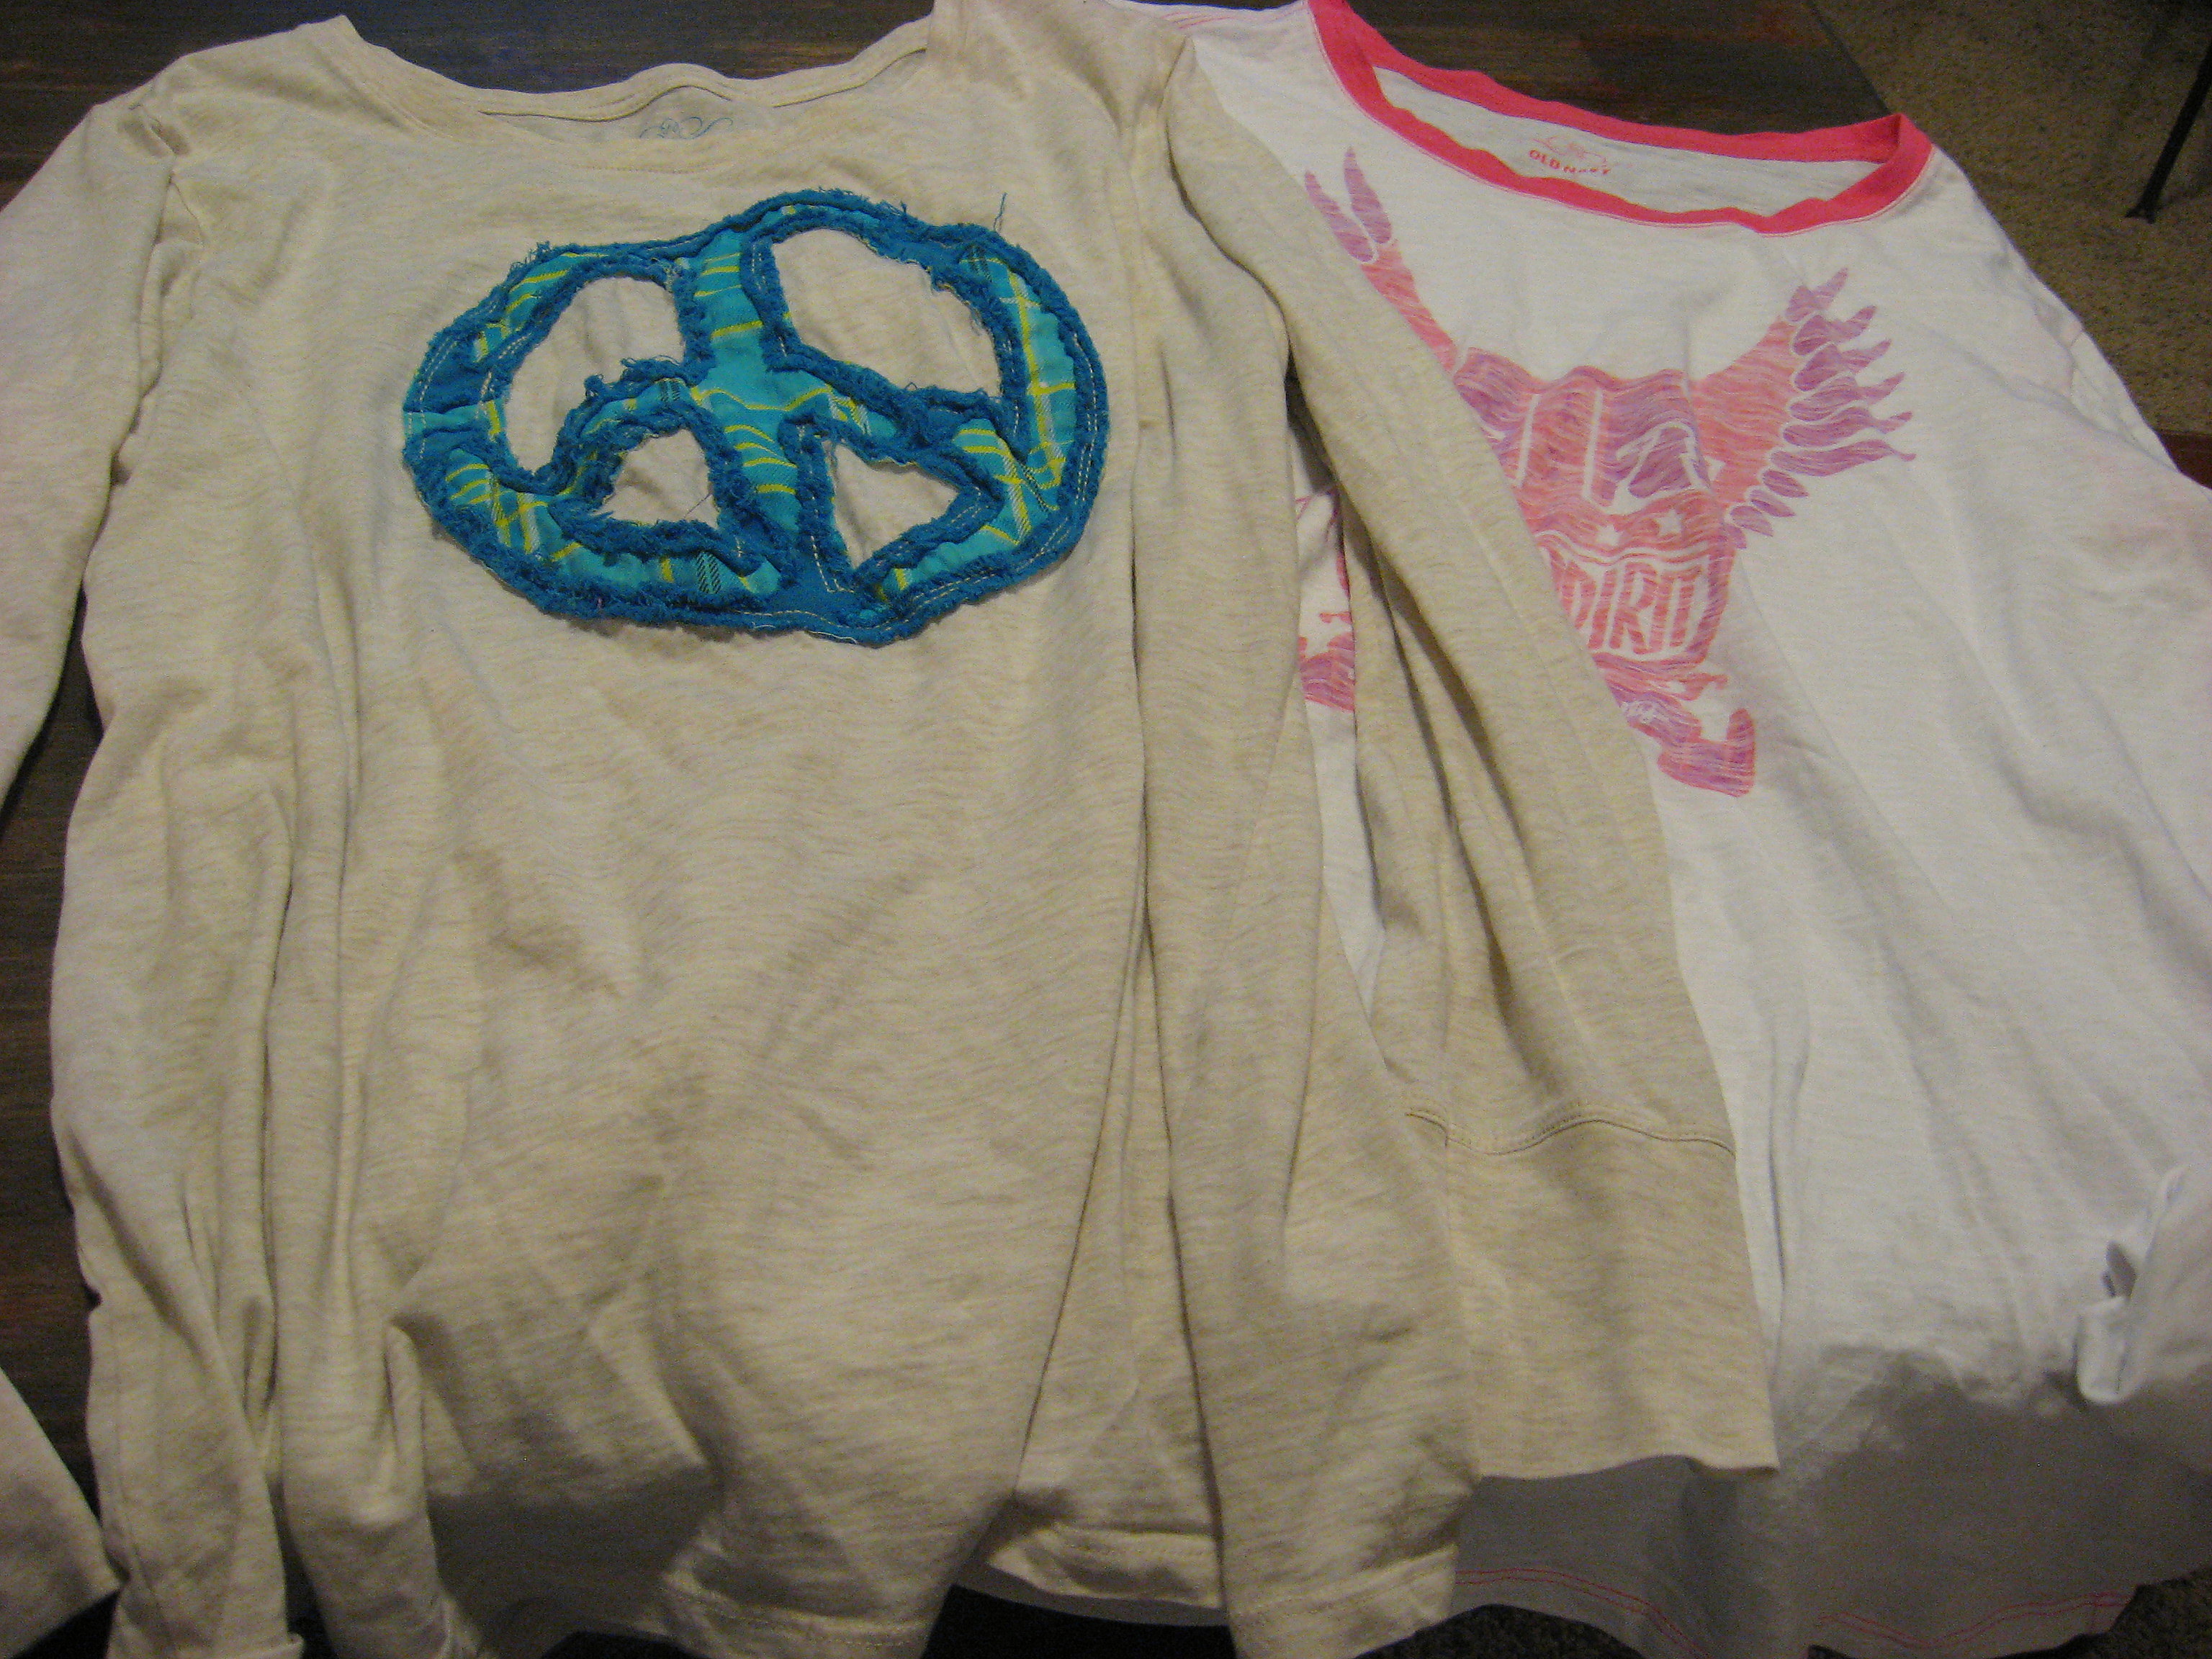
Aaaand, quickly discovered why she had discarded them. They just fit weird and were very uncomfortable. I put them in my own “donate” pile, then realized that they were the perfect solution to my reusable bag dilemma.
Inexperienced seamstresses are often afraid to sew with knit; don’t be! It is easy and fast and the cut edges don’t even need hemming. DON’T get too hung up on making it perfect. Knit is stretchy and the shirts I started with were a little wonky anyway. Close enough will be good enough for a project like this. I made both bags in a little less than an hour.
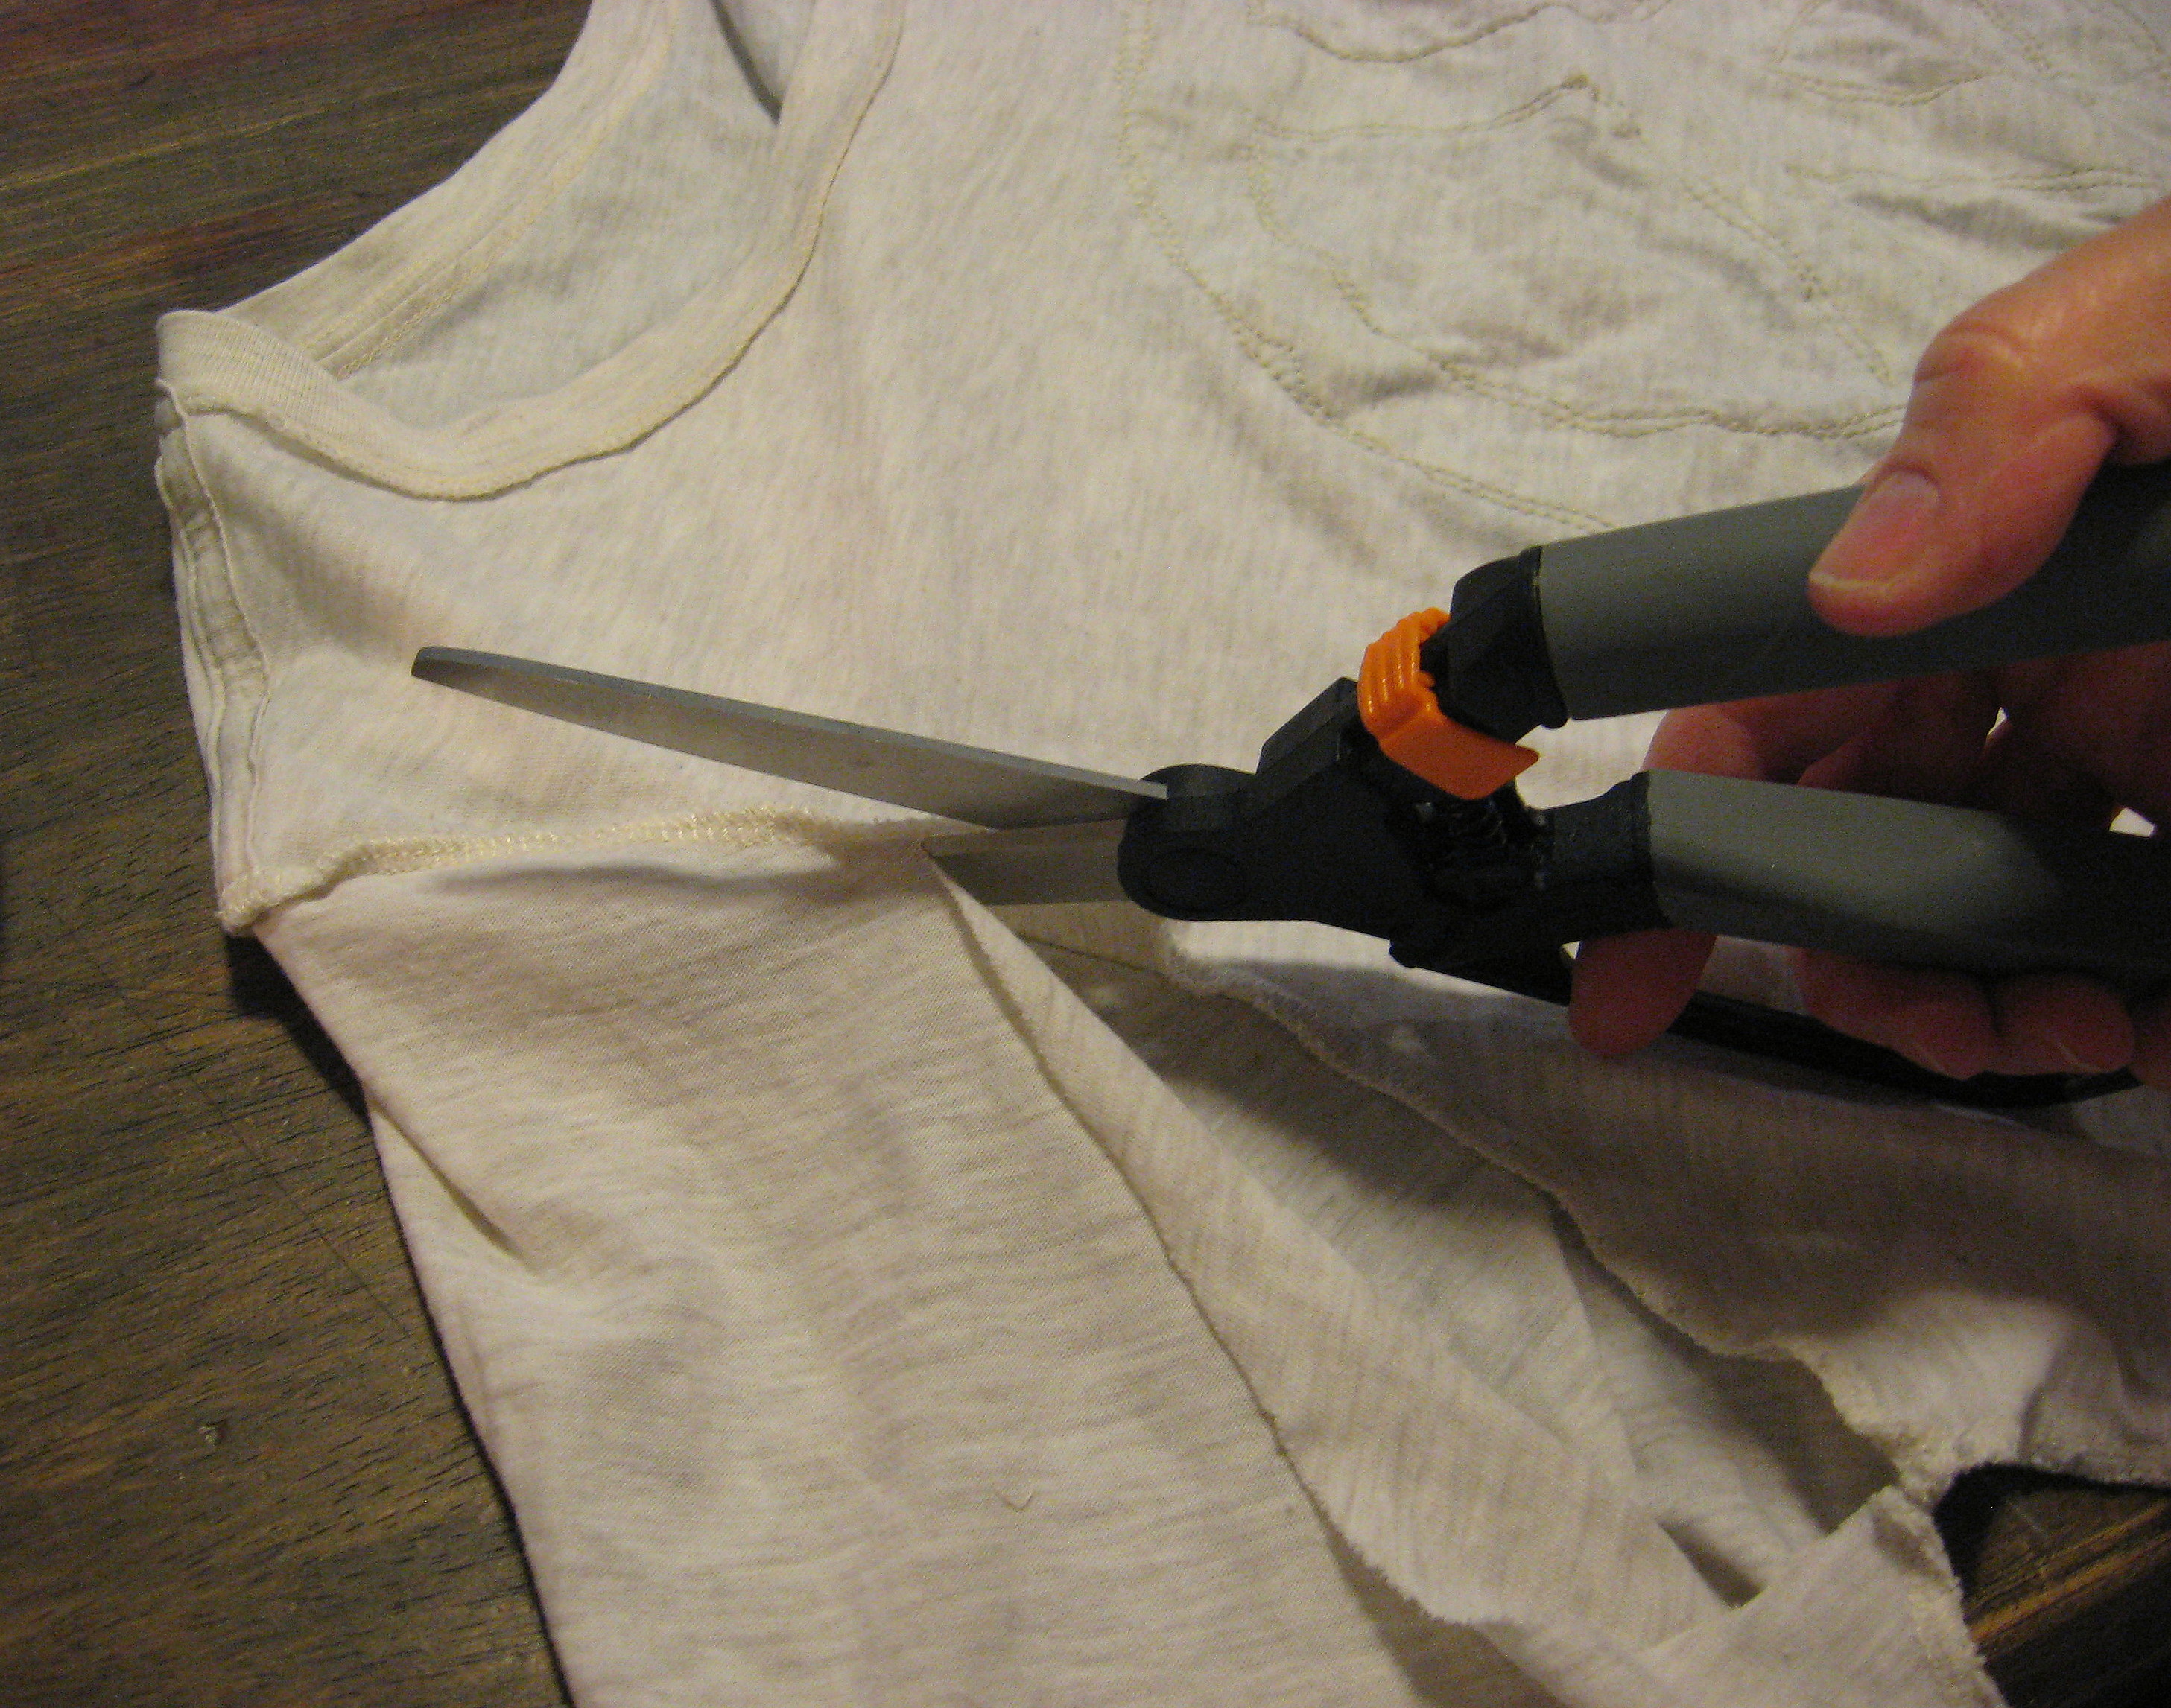
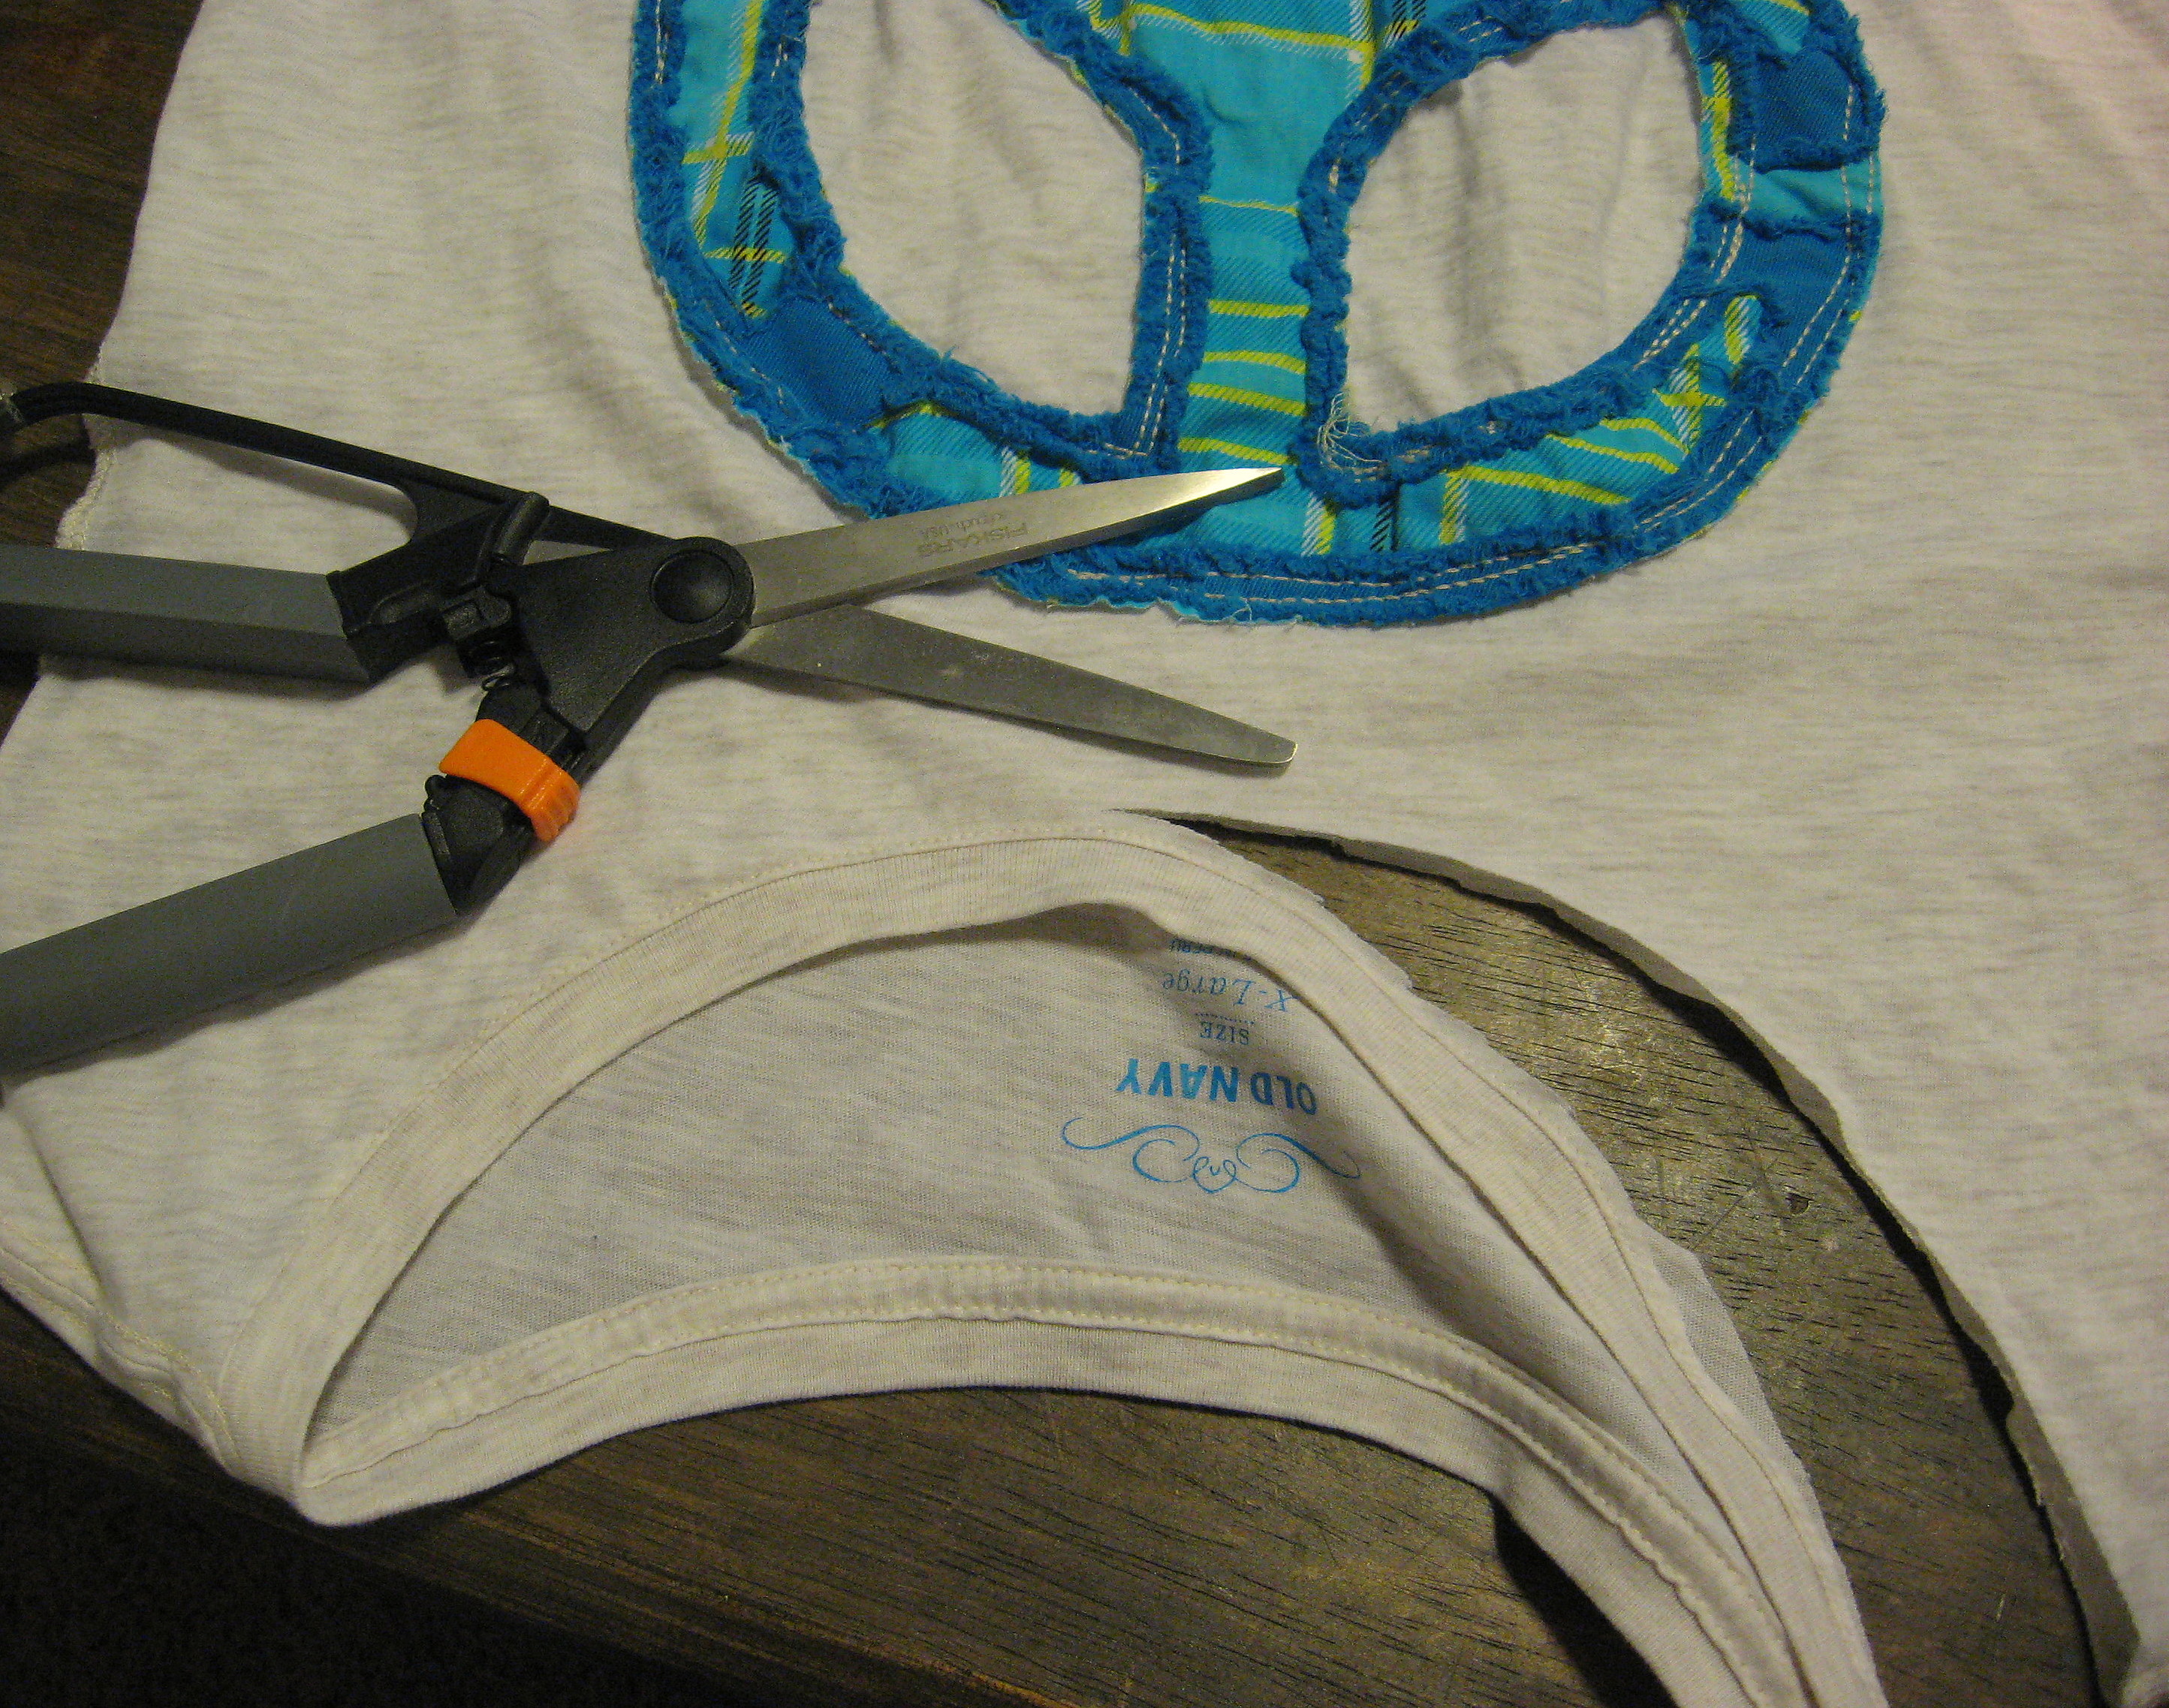
To start, turn the shirt inside out and cut off the sleeves. Cut close to the seam, on the shirt side (not the sleeve side). SAVE the scraps from this project; I’ll be showing you another project later that you can make with the scraps.
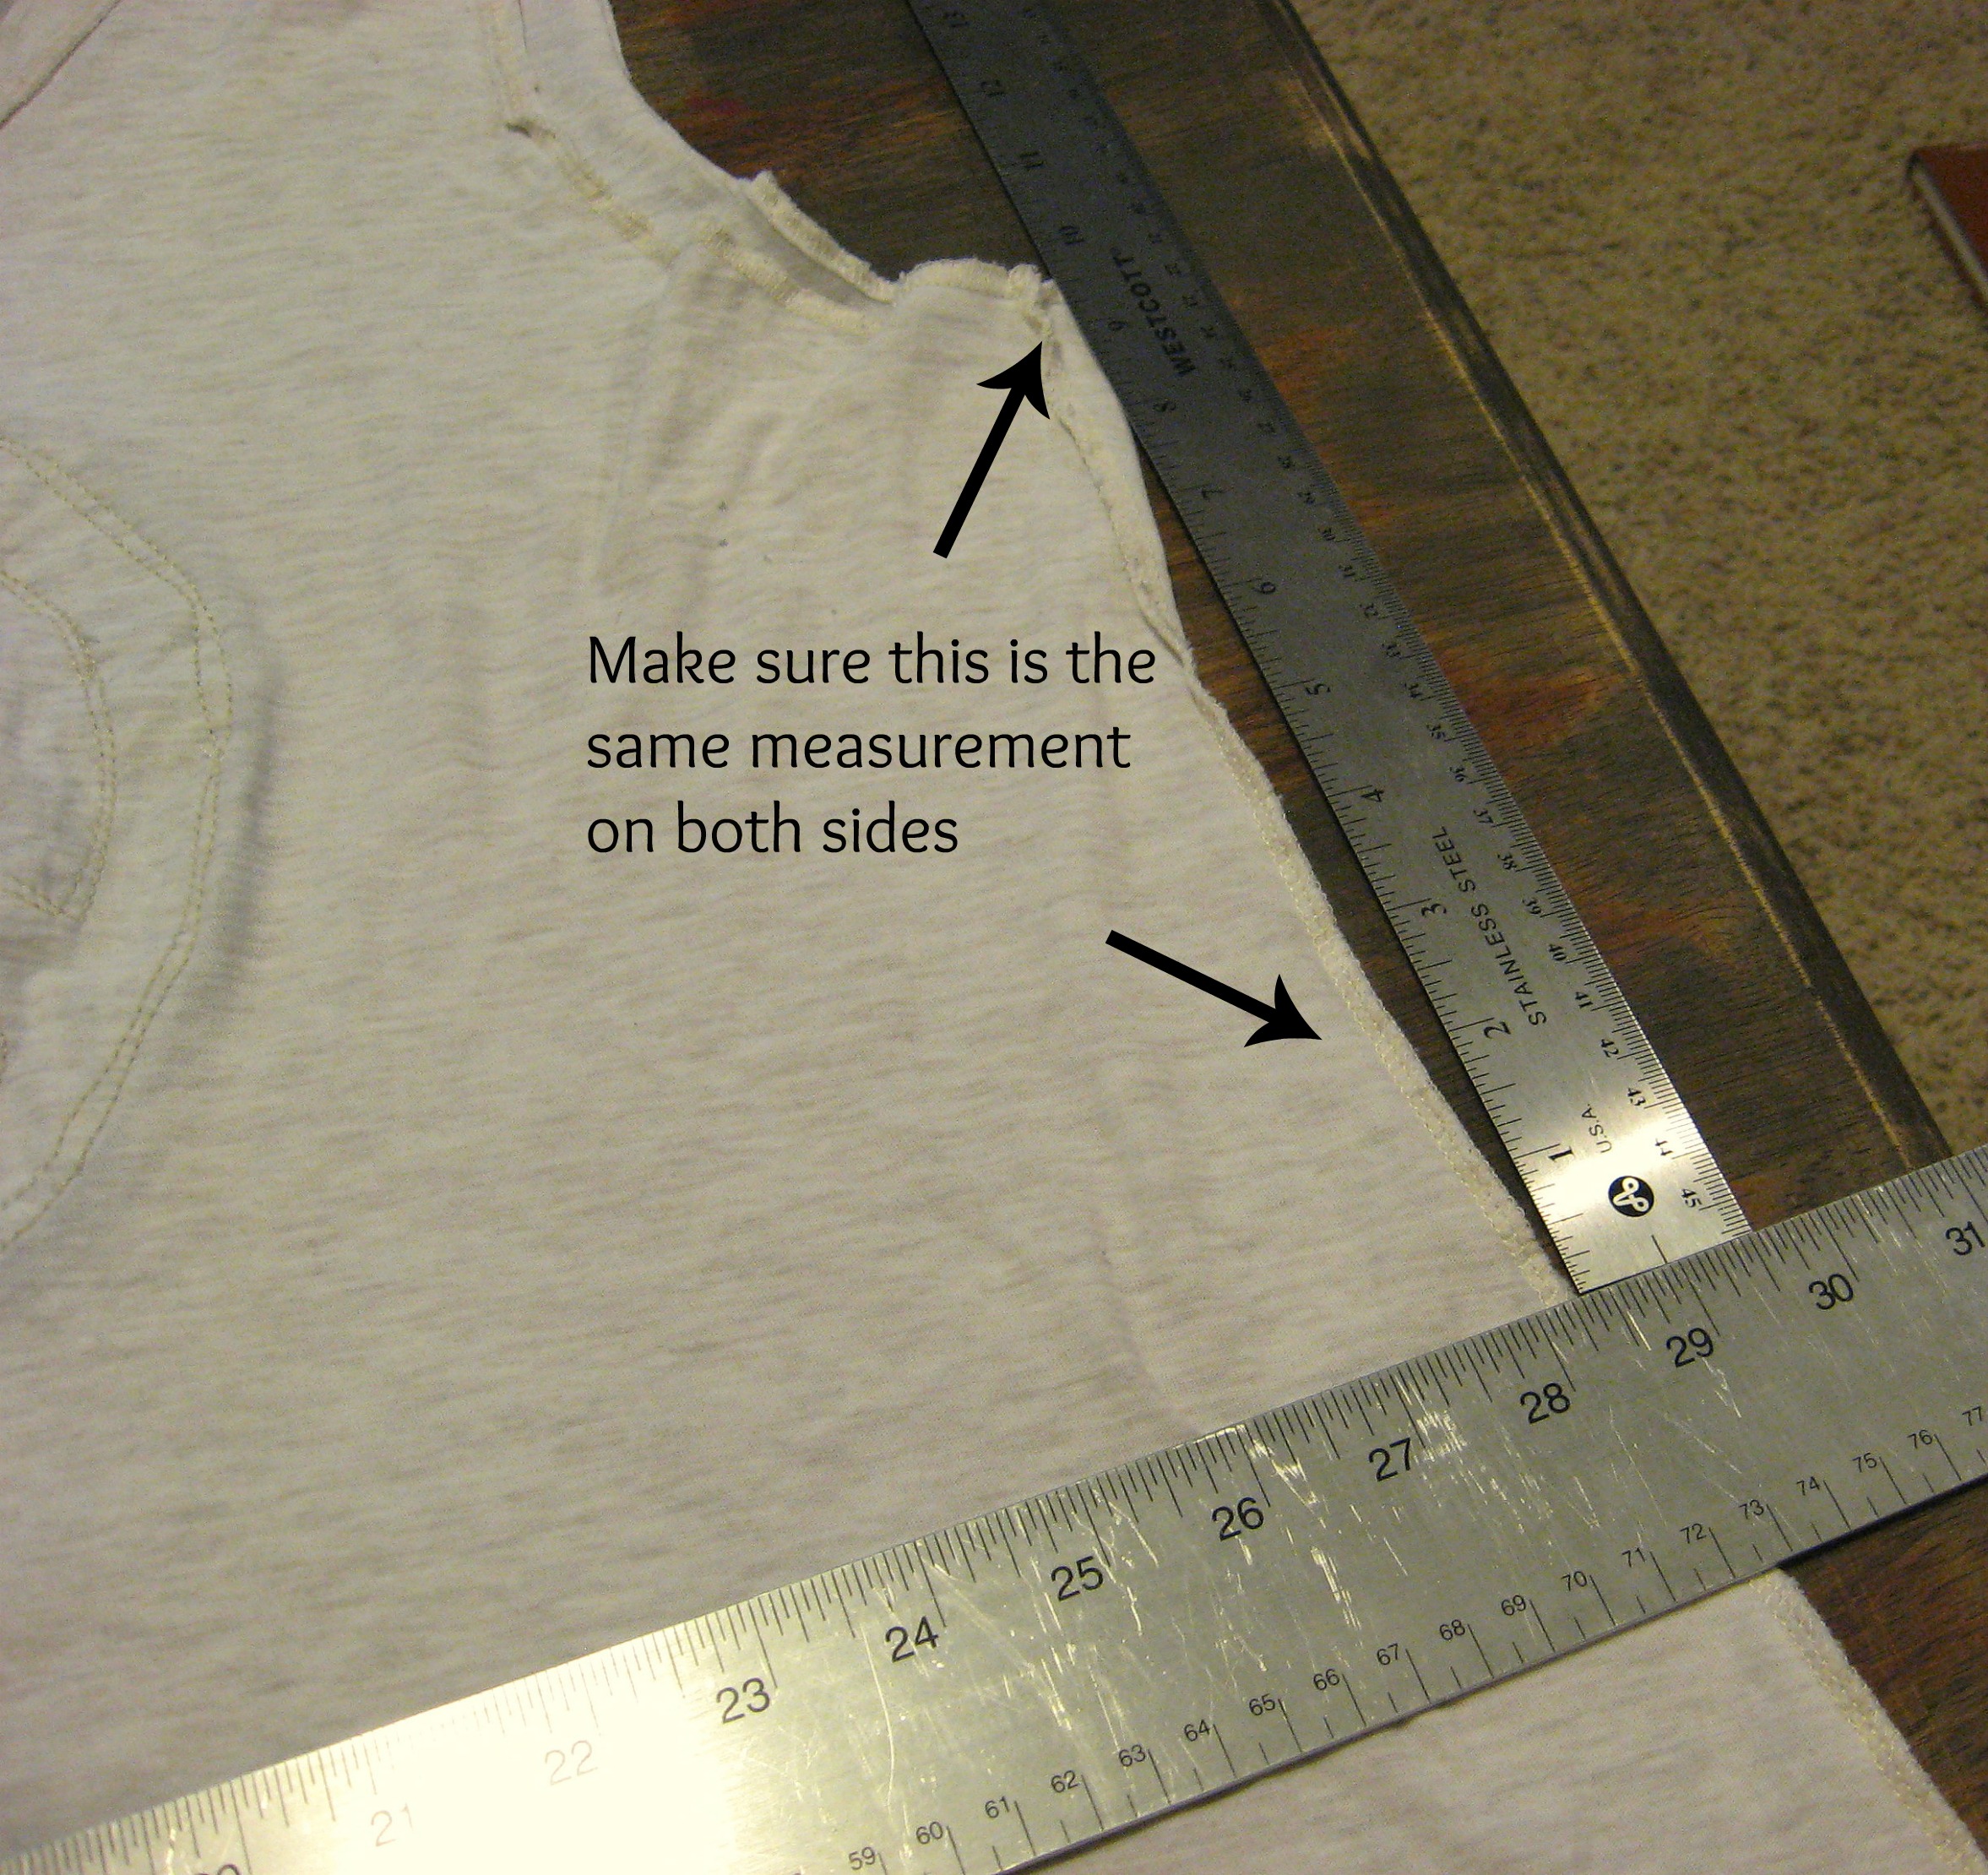
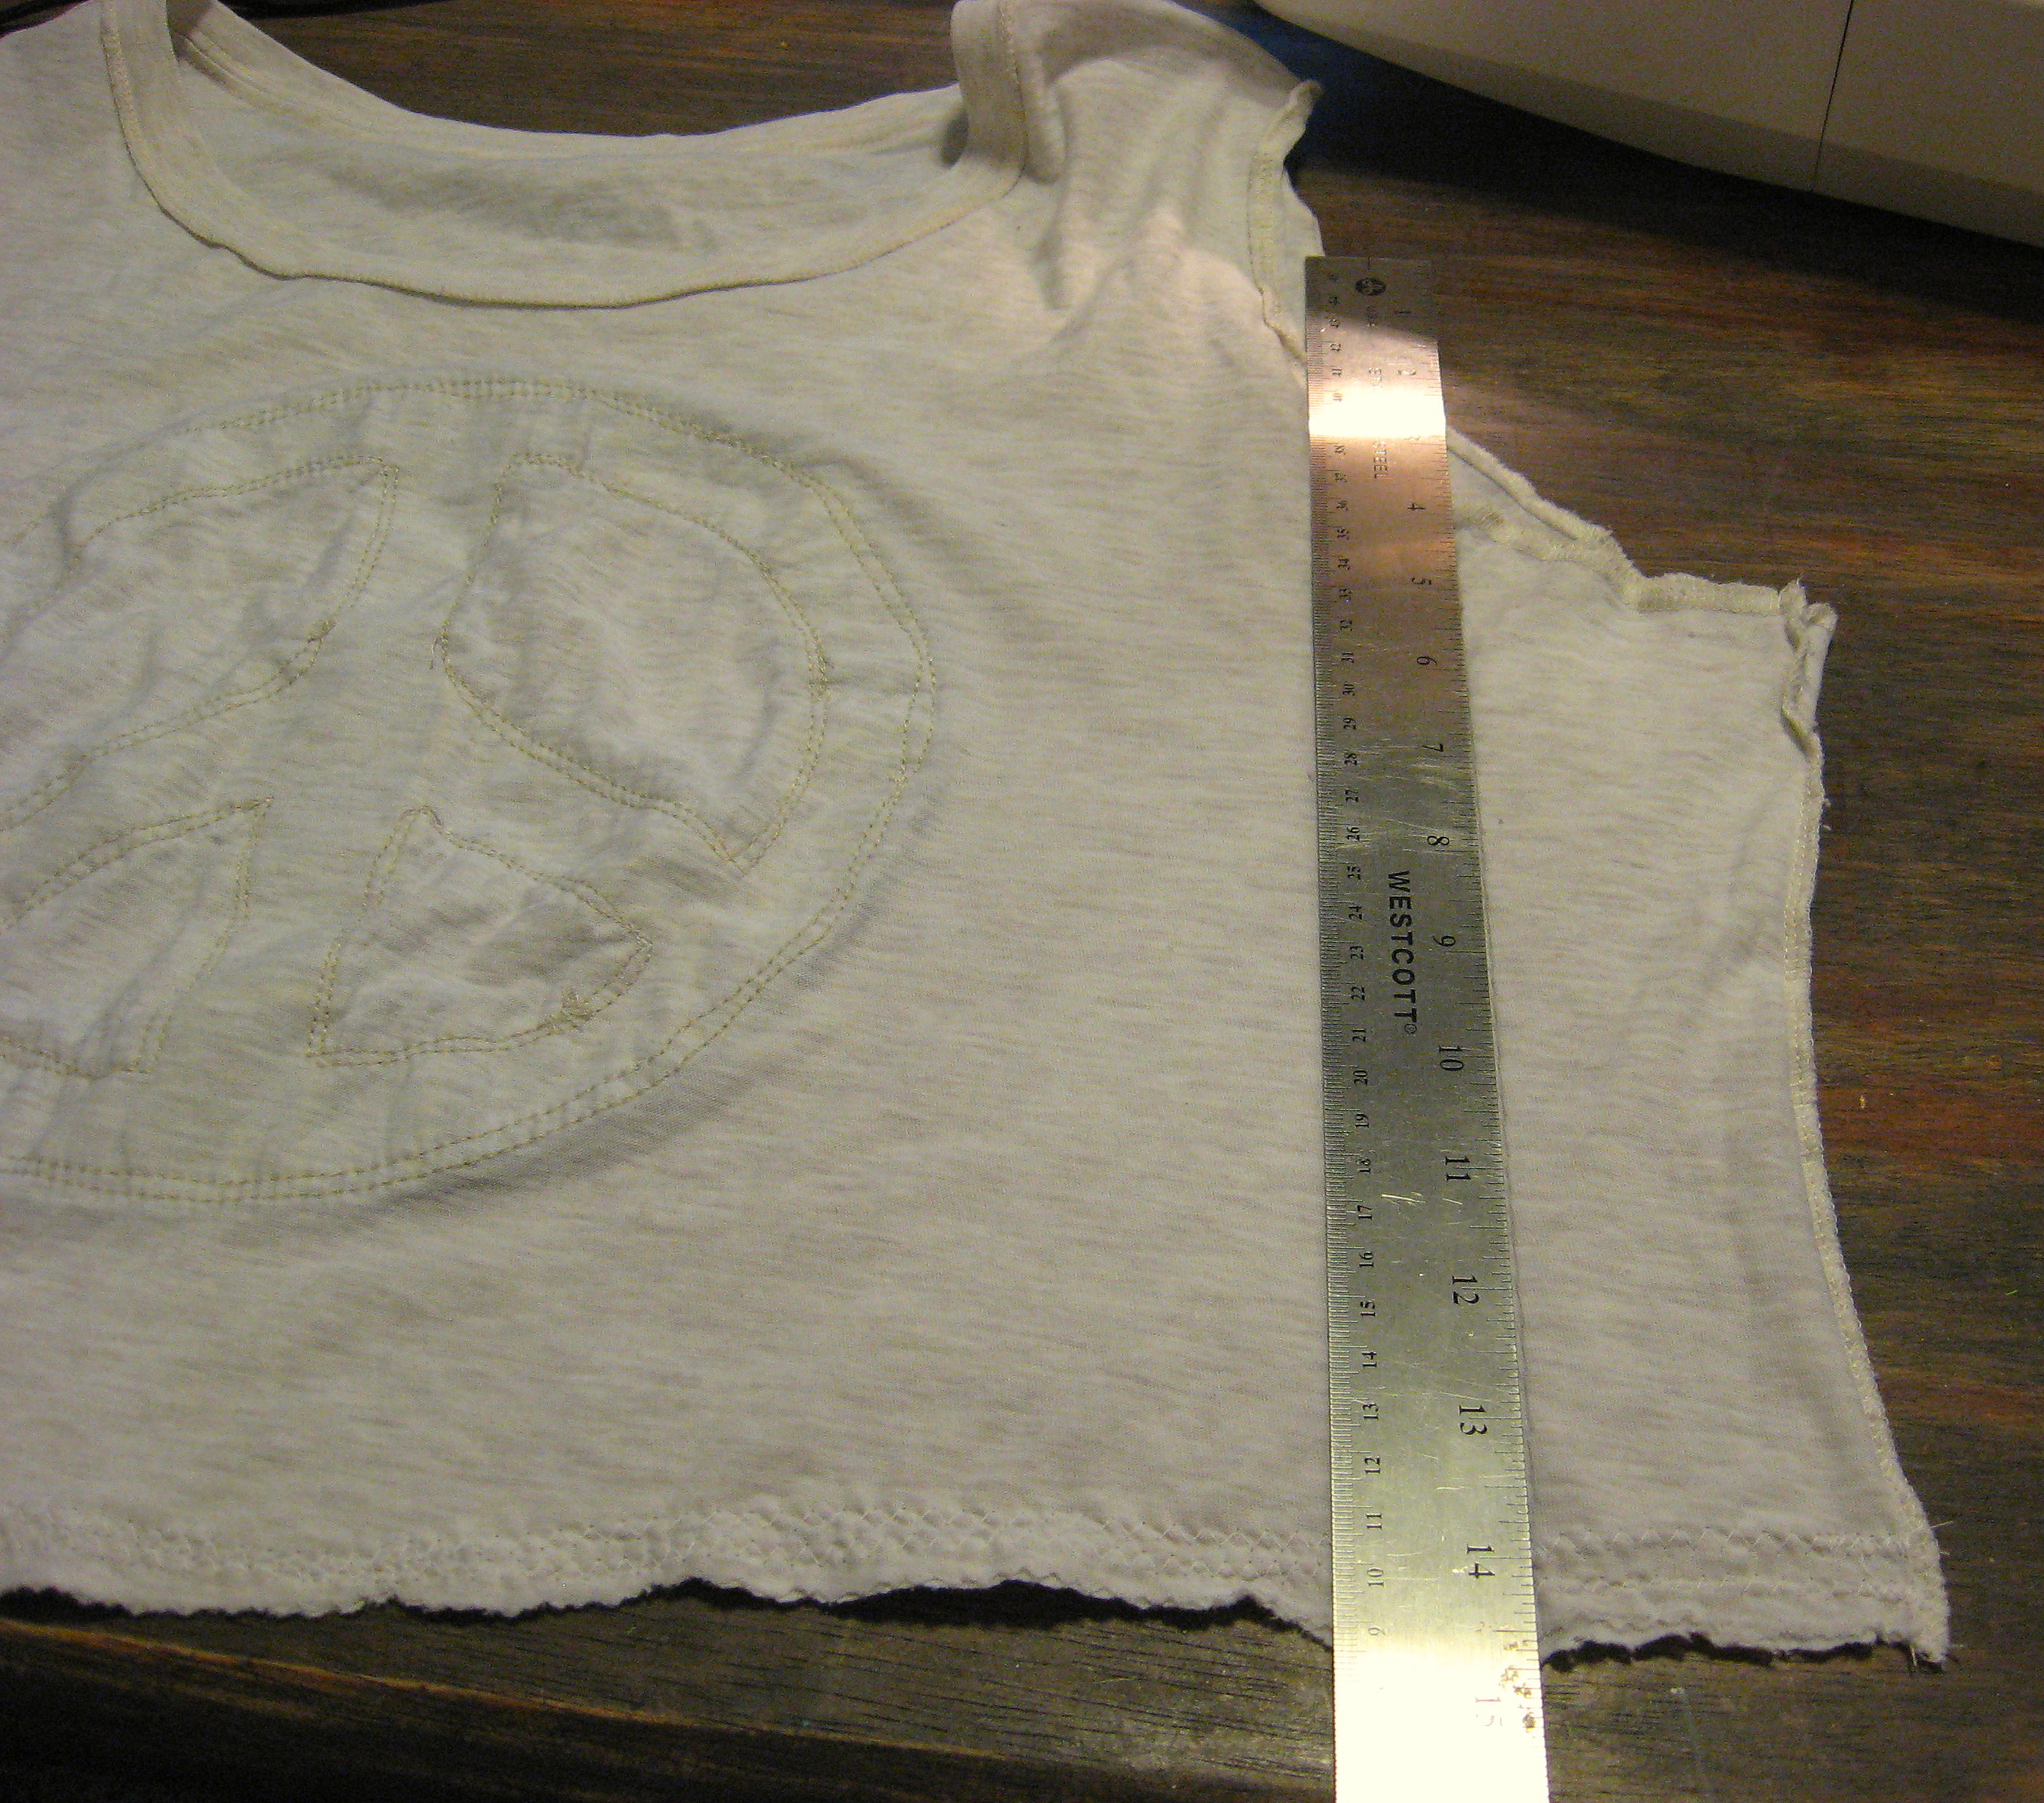
Now hold the shirt by the seams just under the arms, matching them up nice and straight, and lay the shirt out on the table, smoothing and straightening it as well as you can. Use a straight edge to mark where you want the bottom of the bag to be. Determine how big you want the finished bag, then drop down about an inch to account for the seam allowance.
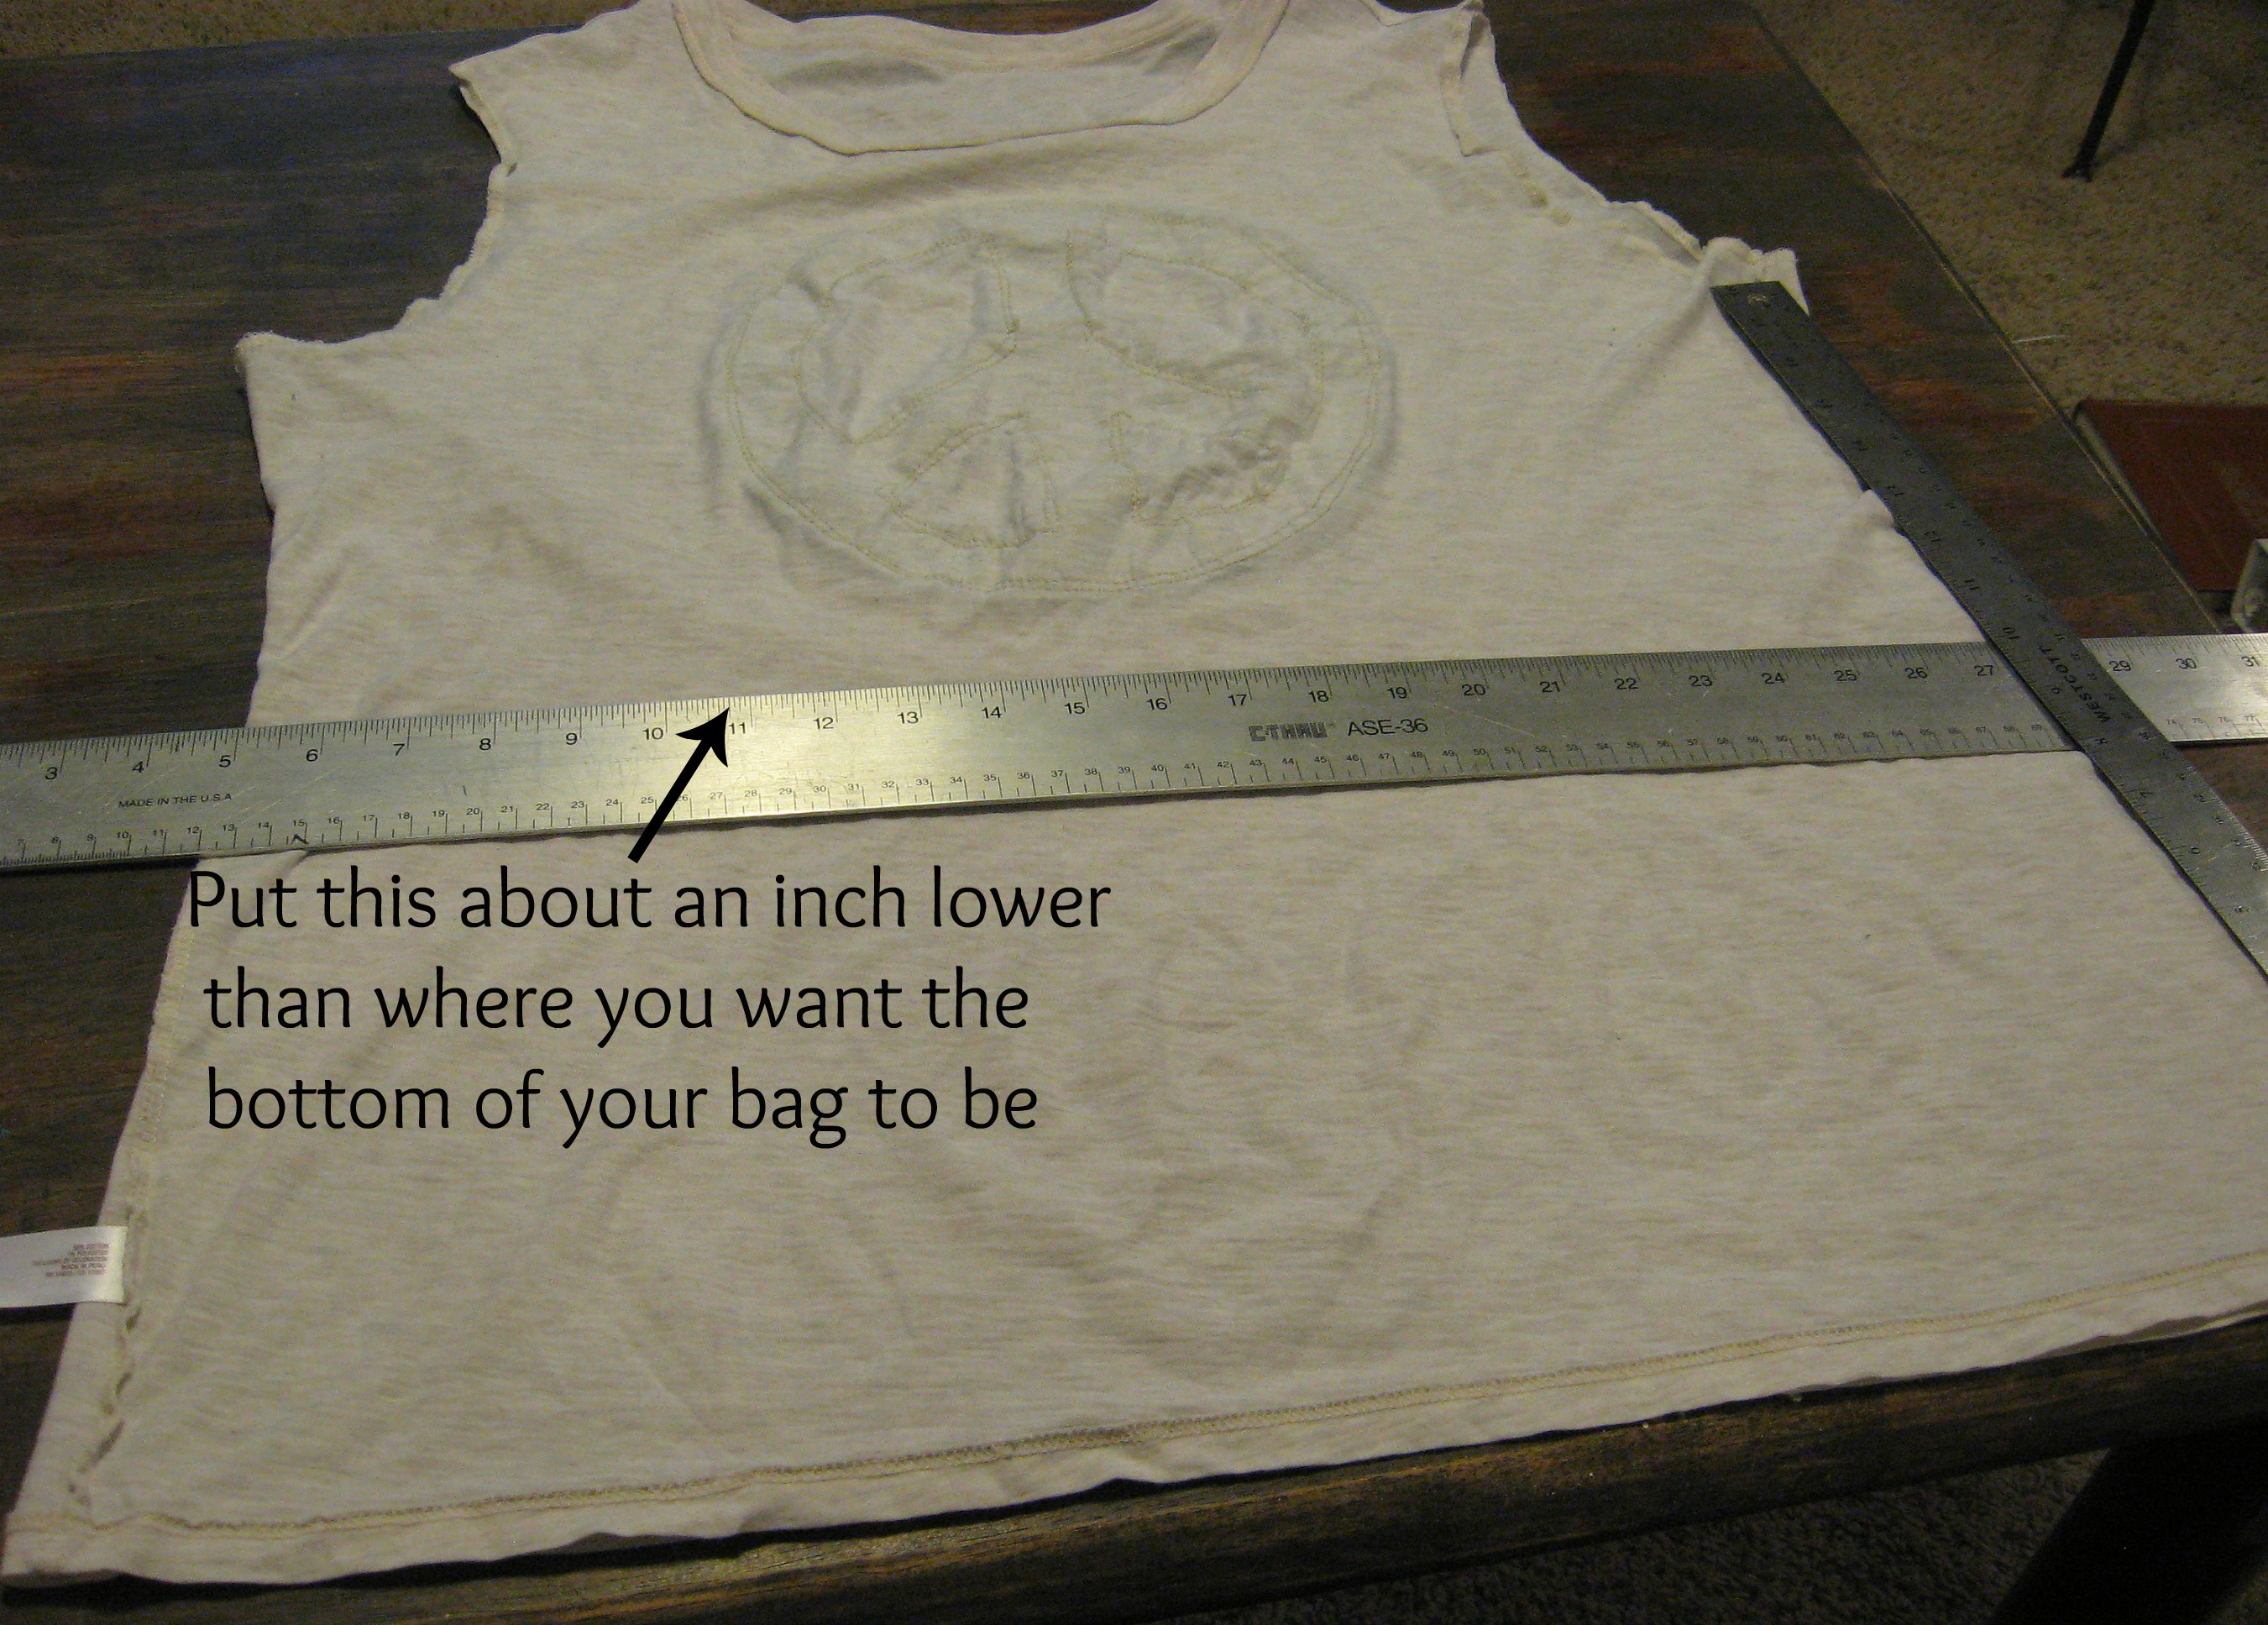
Use a ruler to measure from the arm pit down to the straight edge, making sure it is the same on each side. When I first tried to just eyeball it, I was way off, so take the time to do this step. Don’t worry about it being absolutely perfect (this isn’t that kind of project, remember?) but you will want it to be close.
Now draw a line with a pencil along the straight edge.
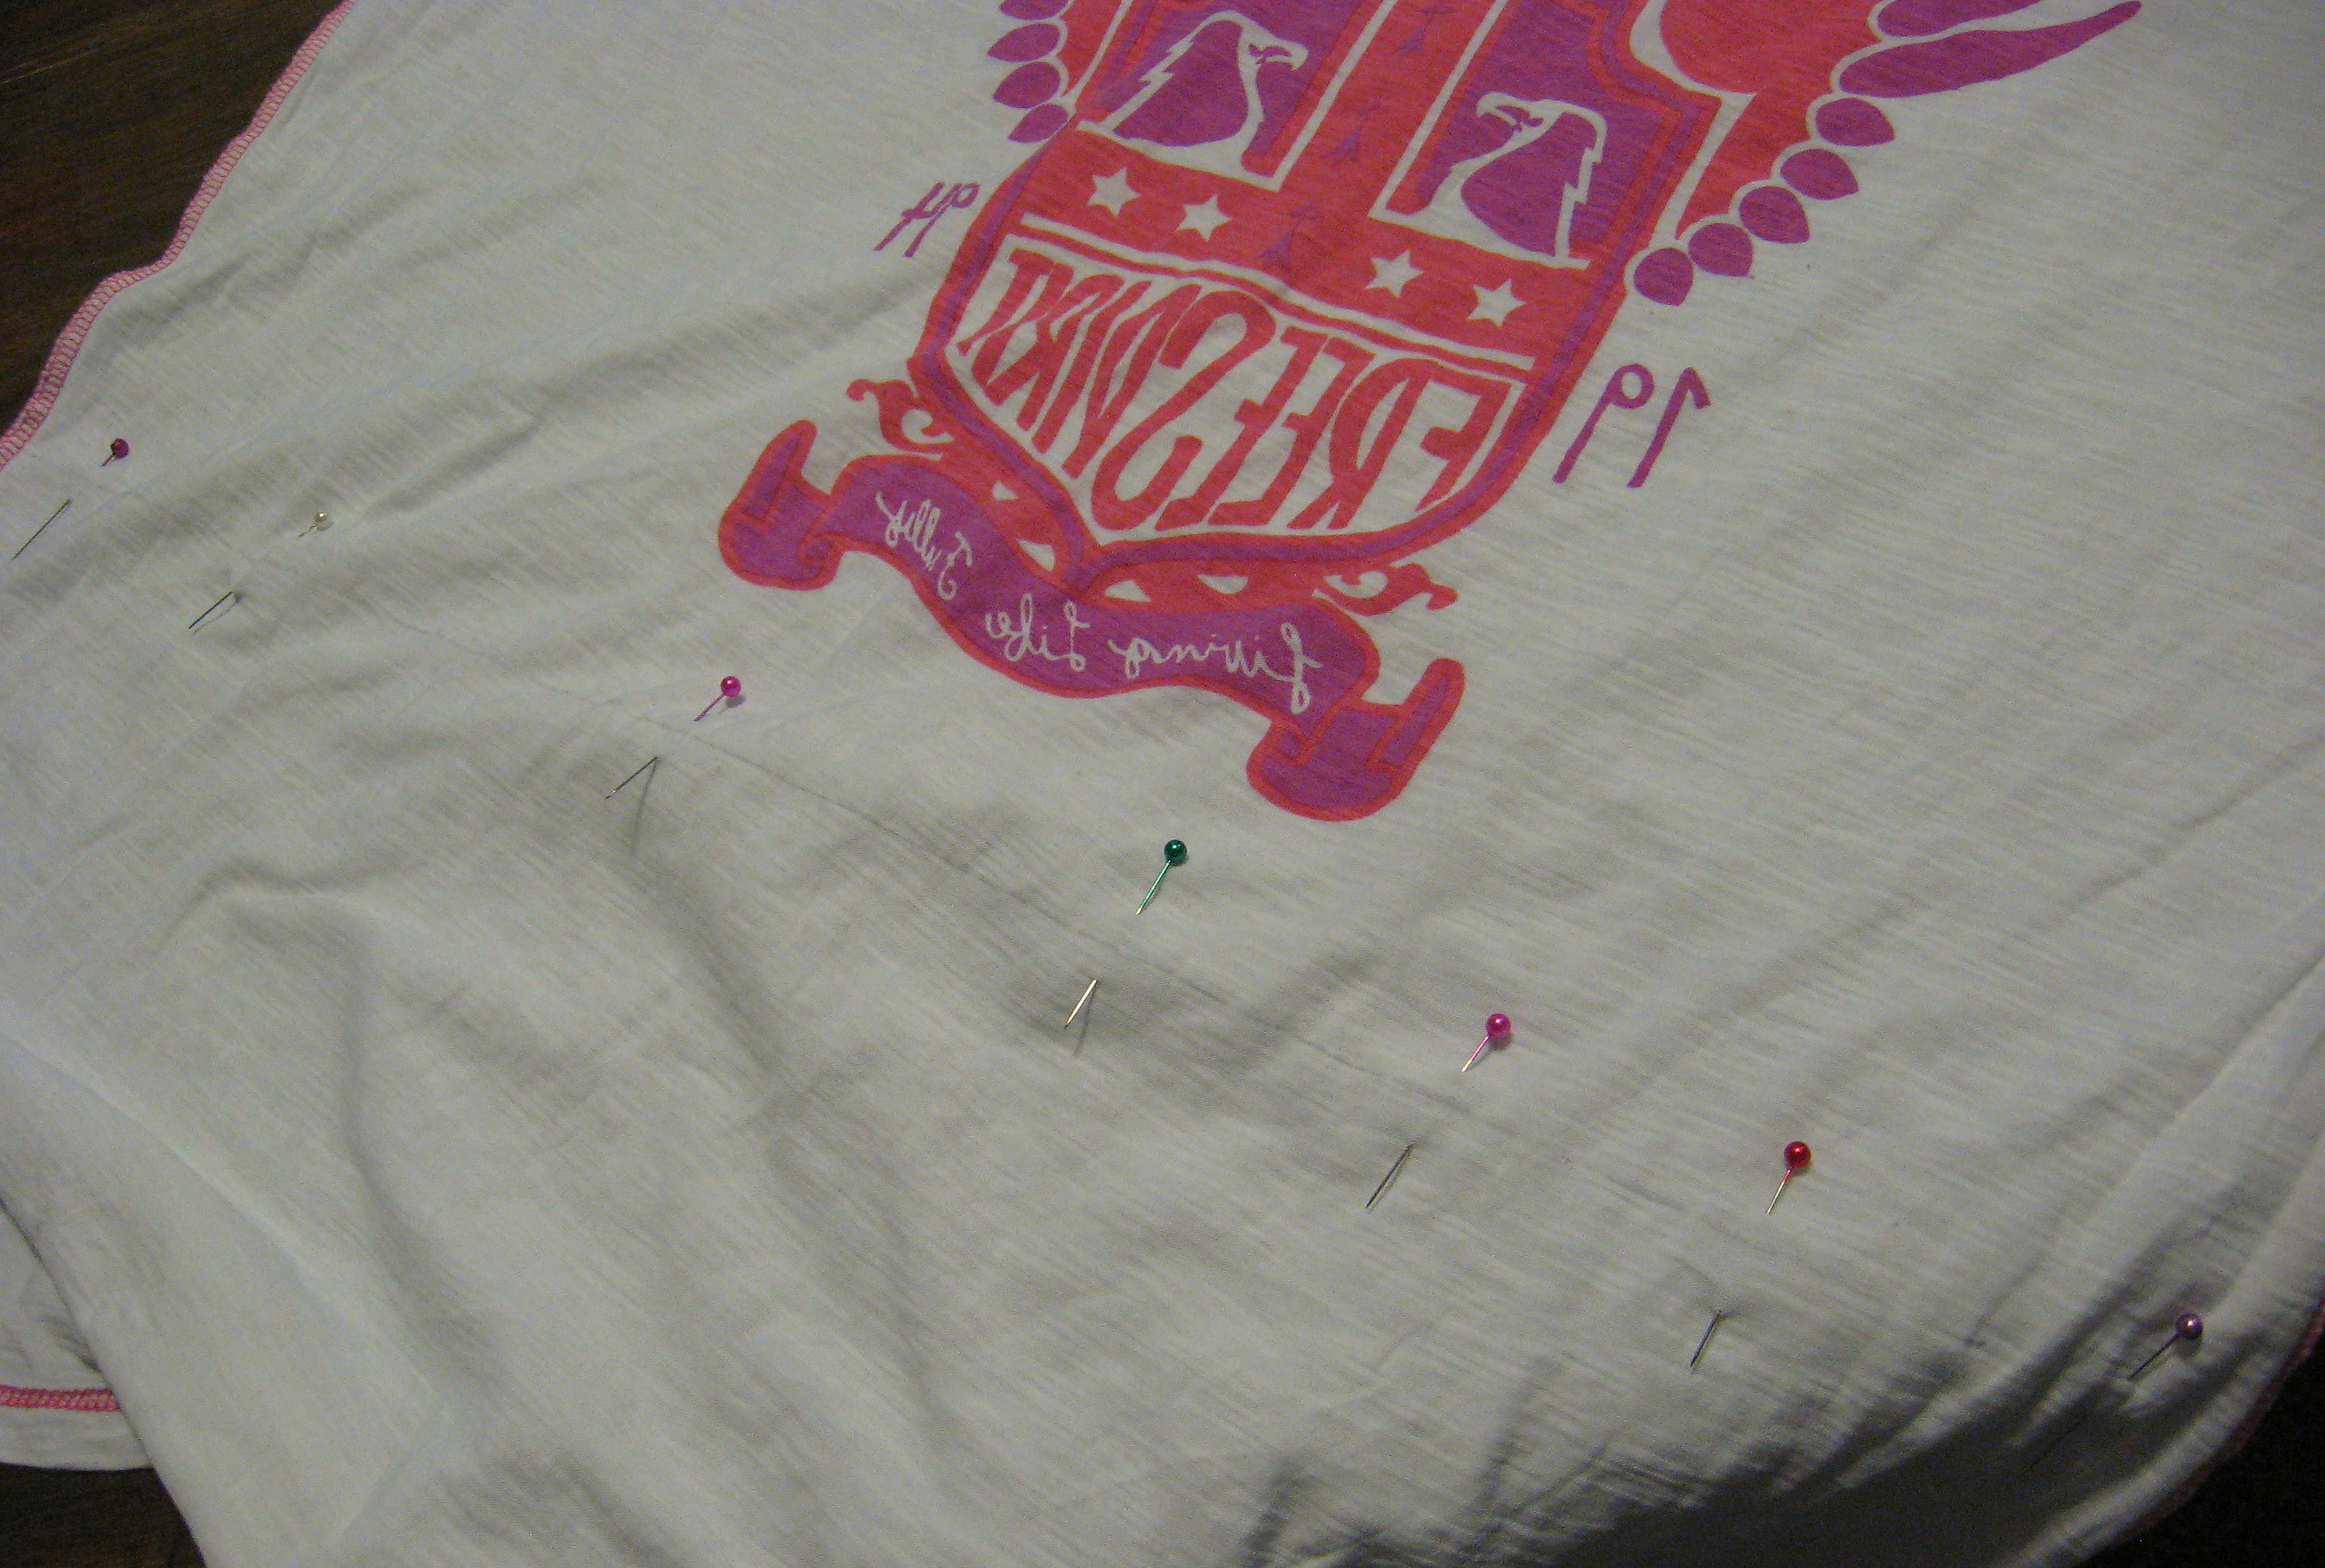
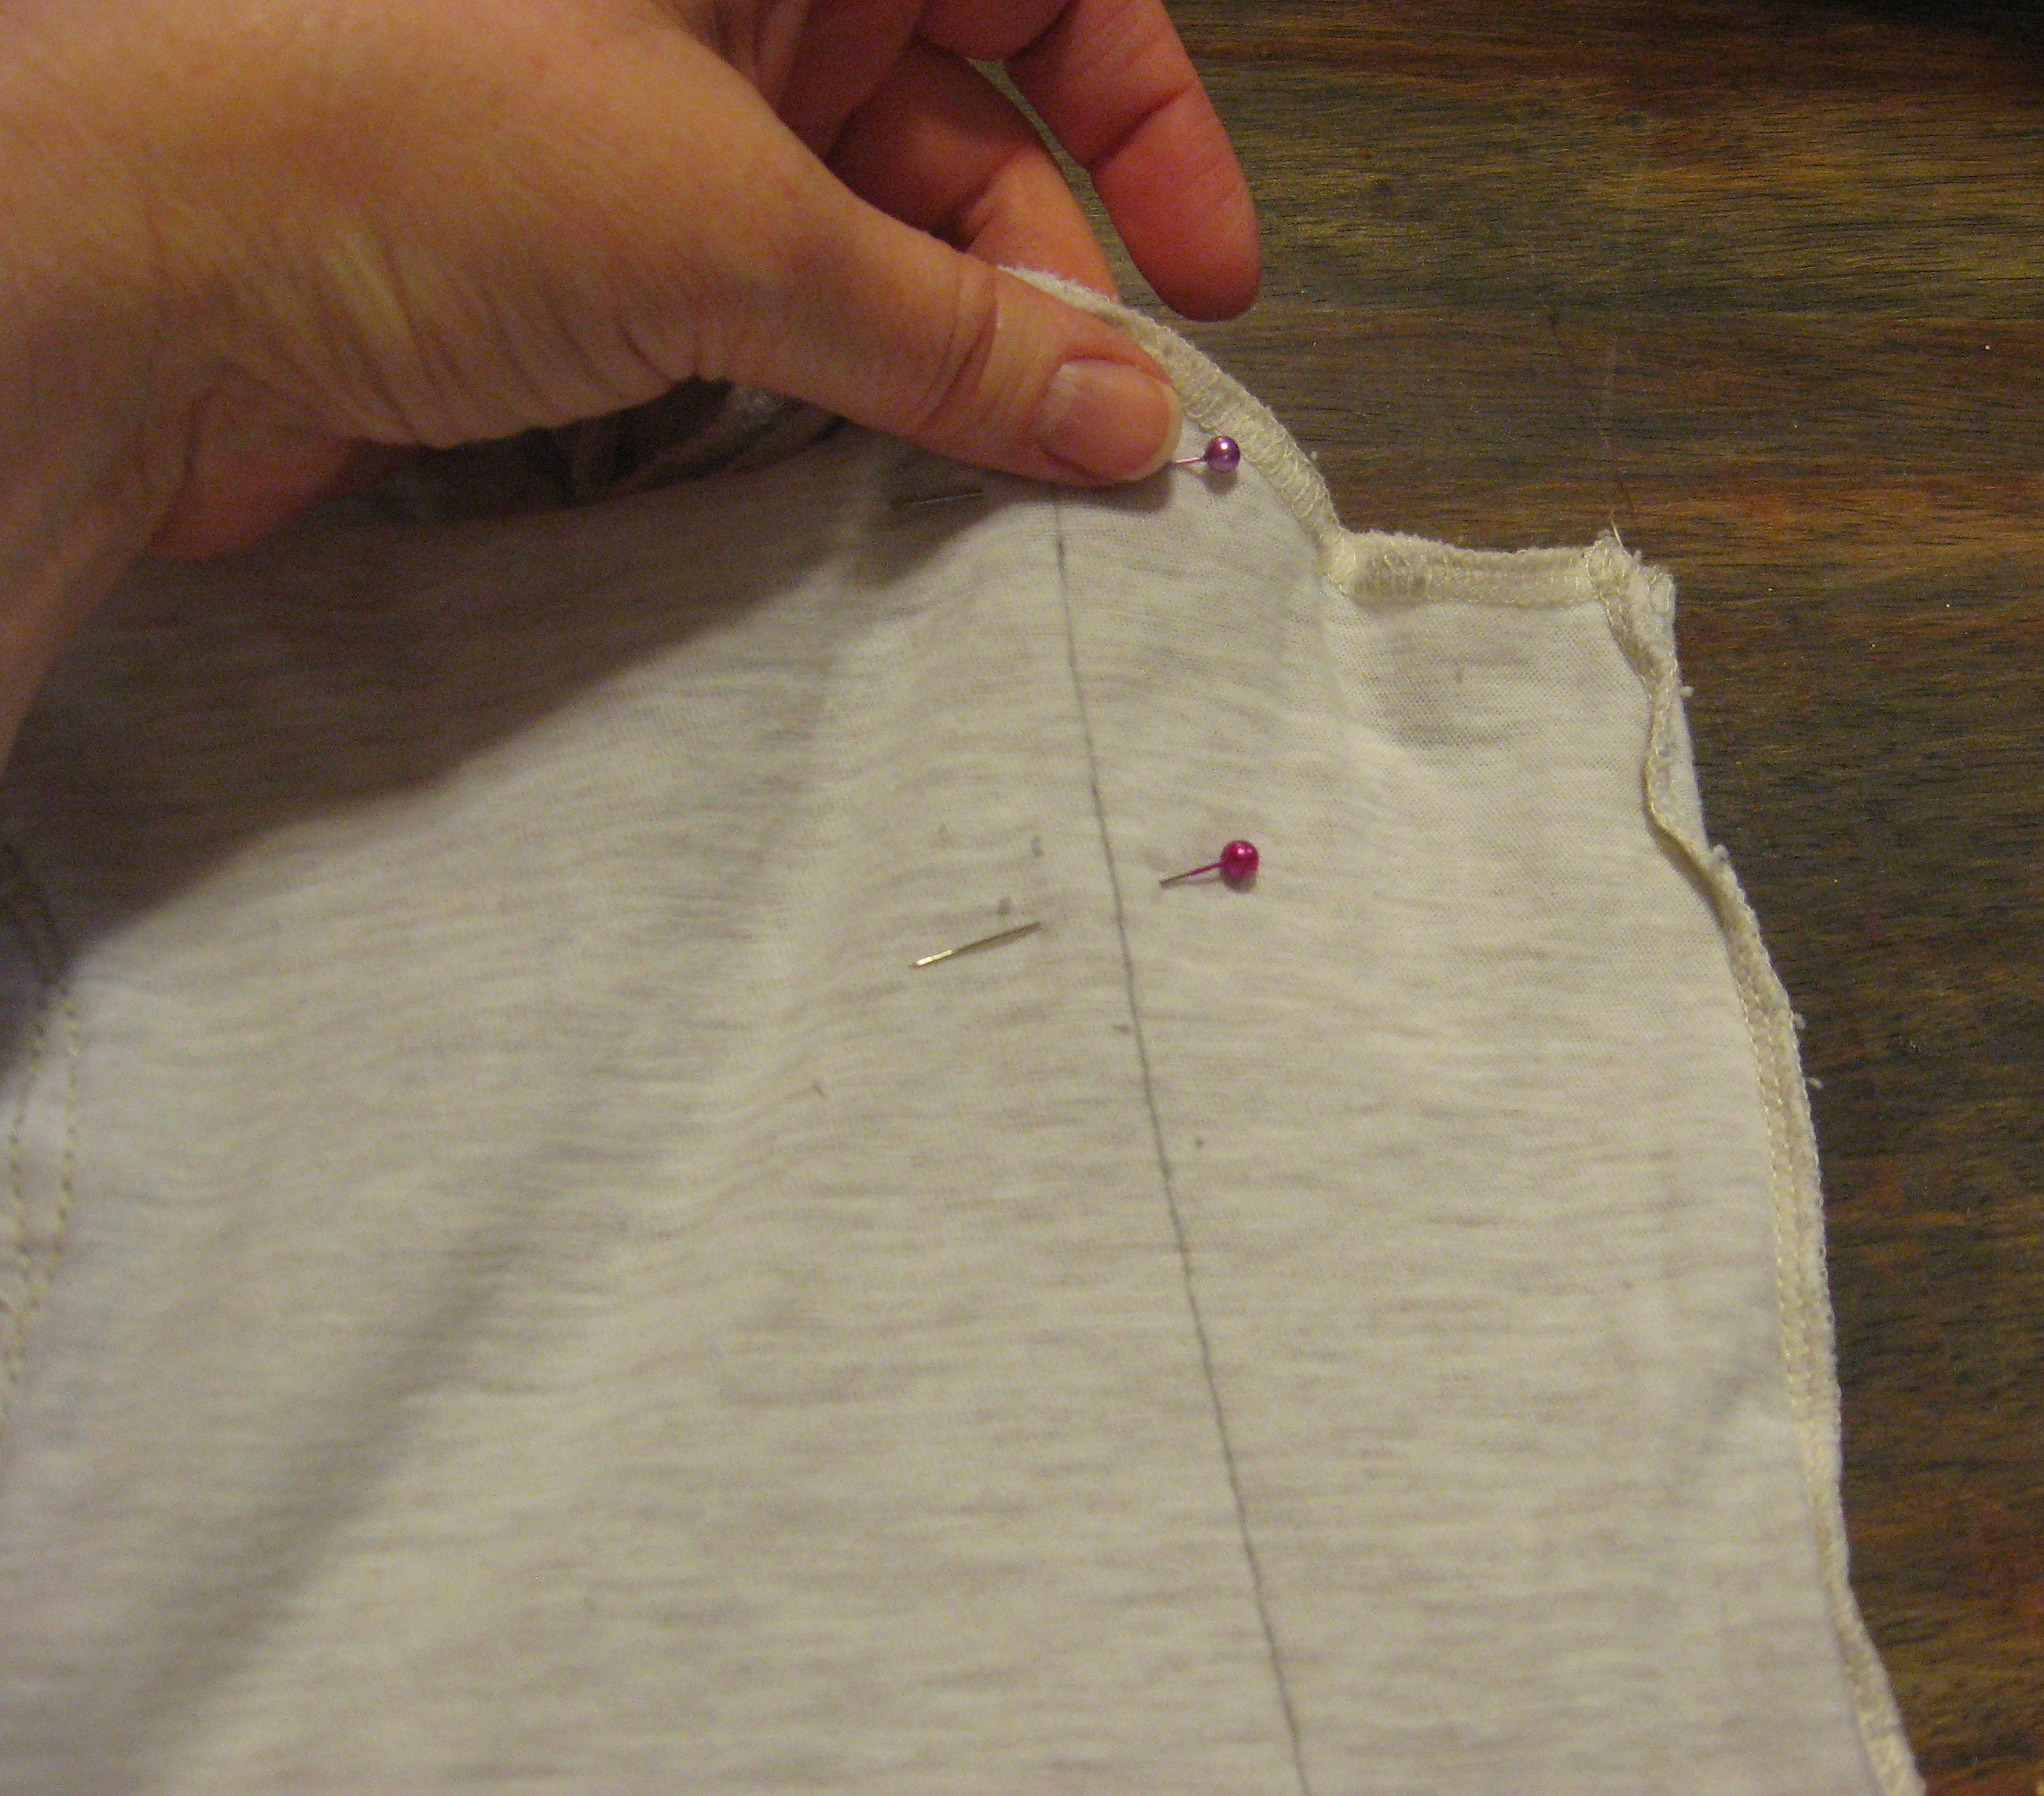
Next step, pin along this line. If you want to cut first, then pin and sew, go ahead and do it that way. I just think it is easier to sew first, then cut.
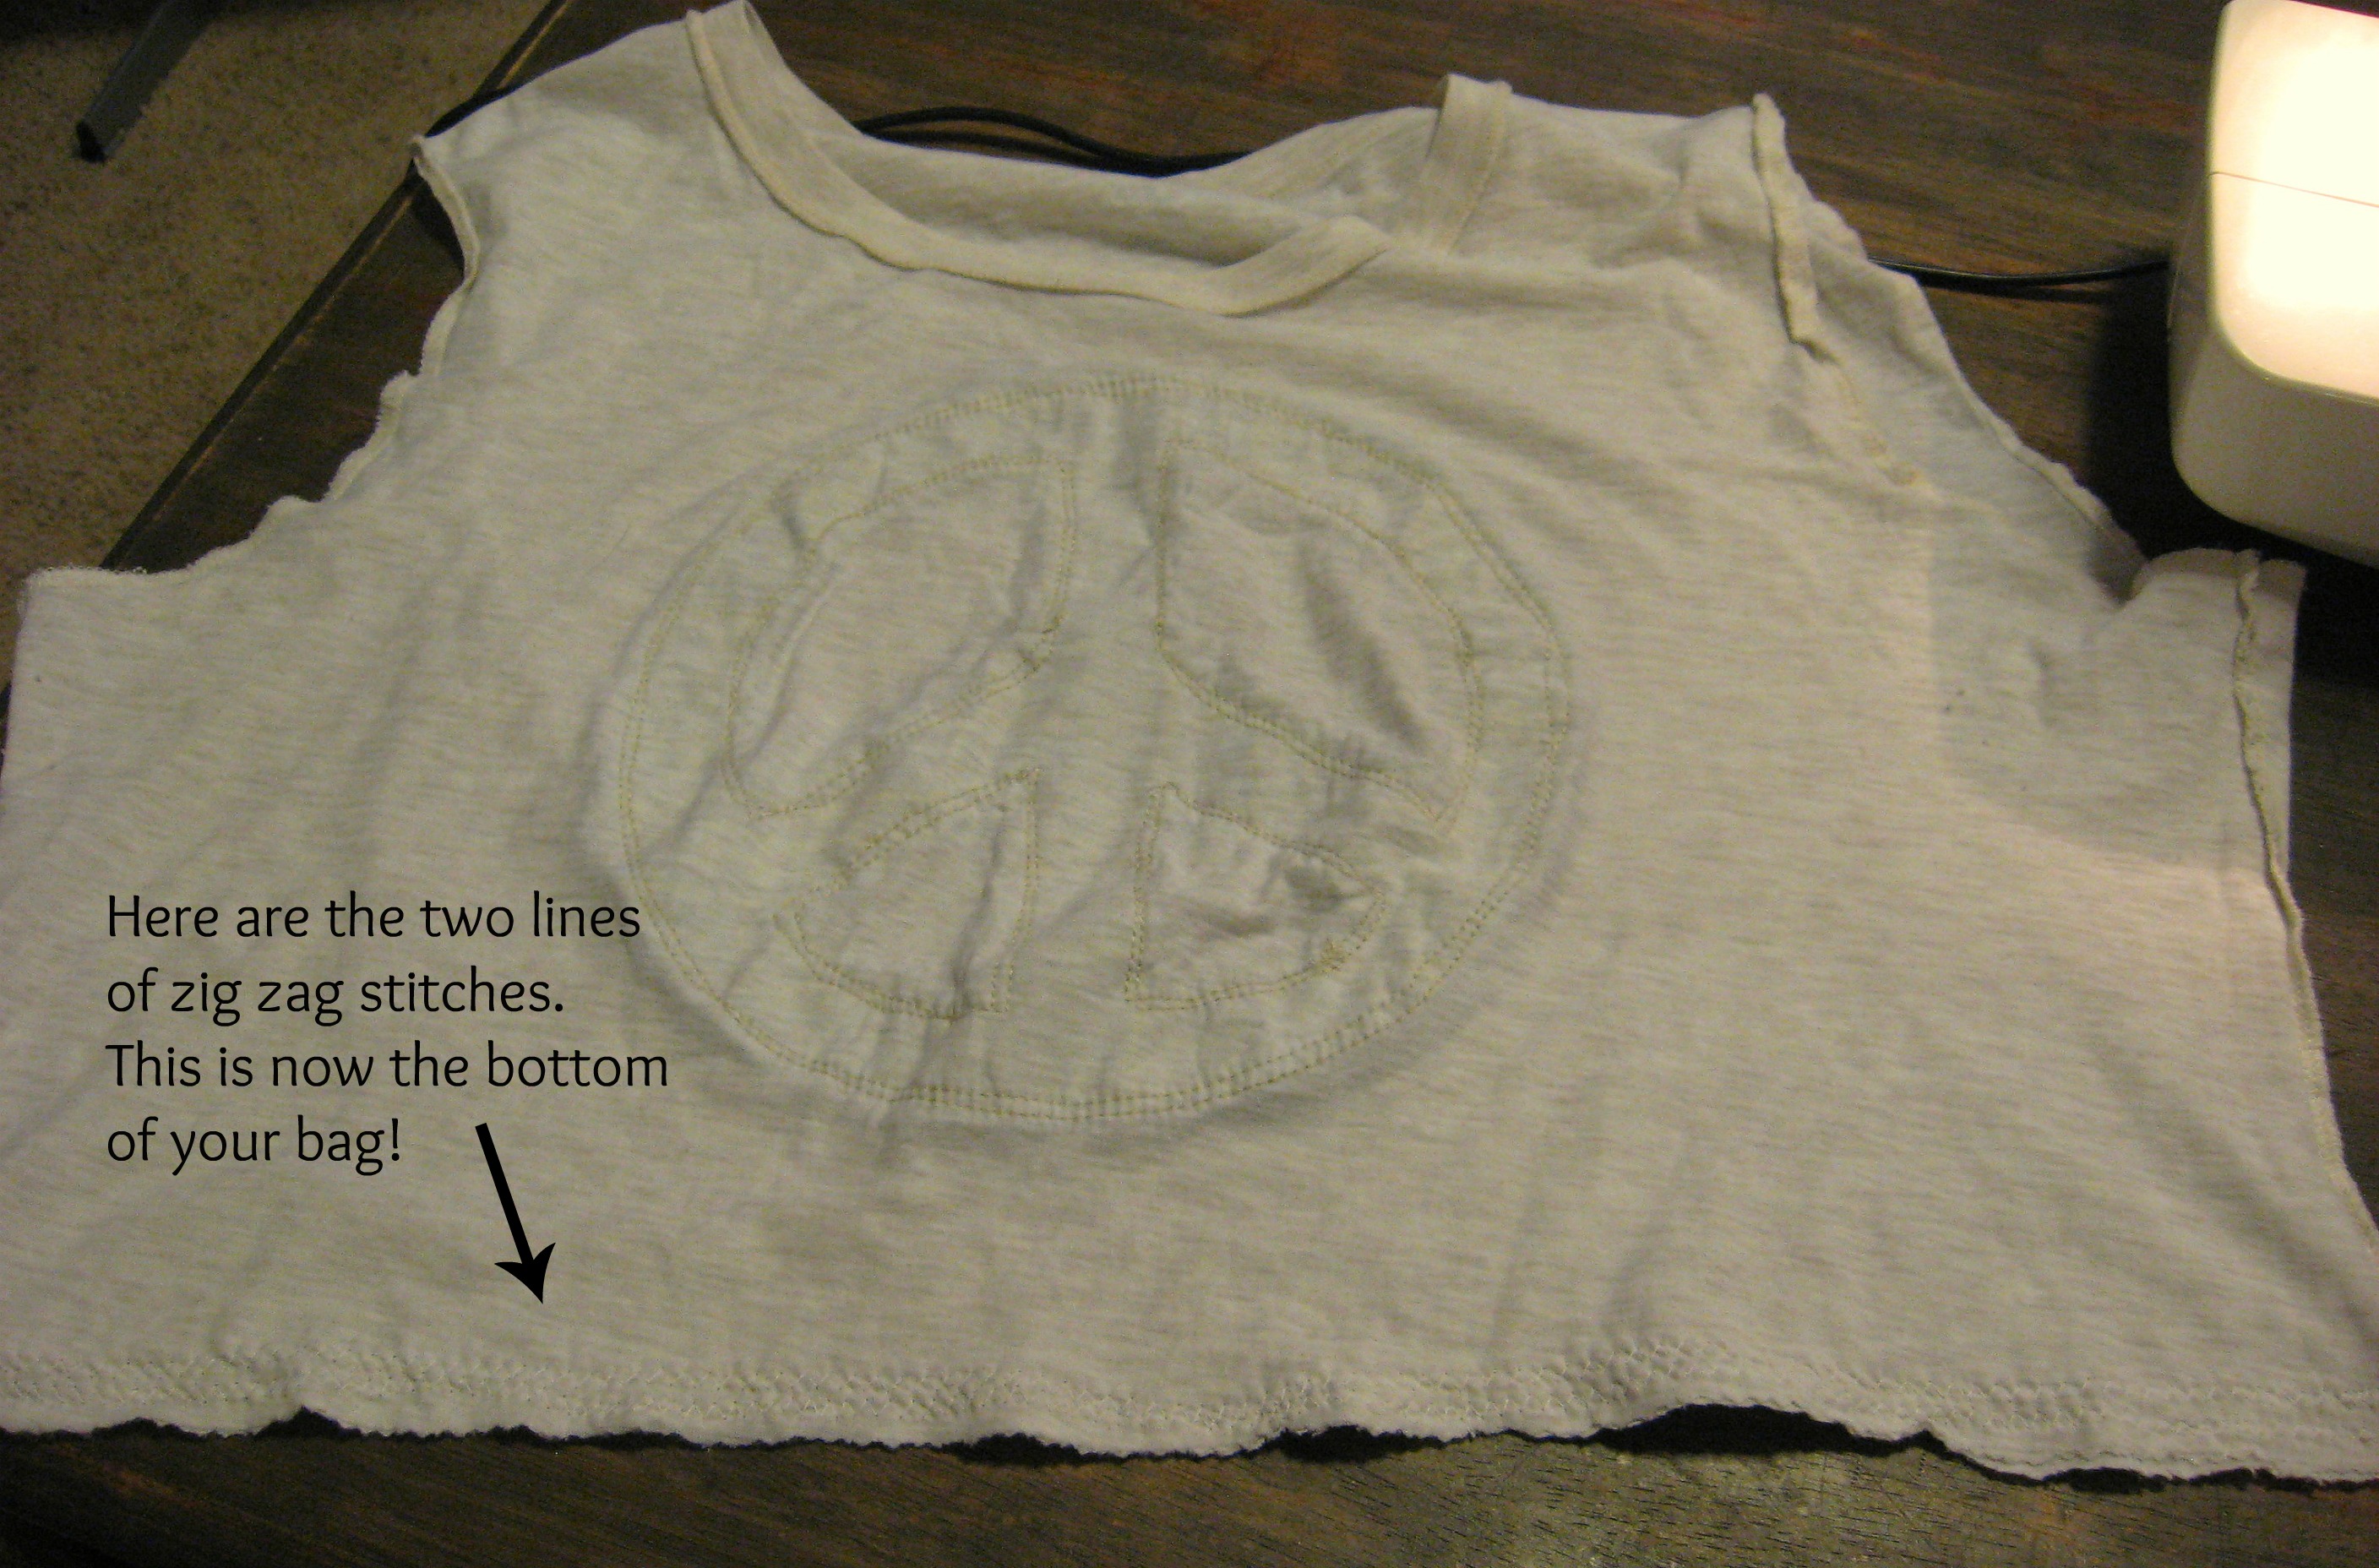
Now sew along this line. A couple of notes about working with knit fabric on a regular sewing machine: 1) USE A ZIG ZAG STITCH! This is really important; the fabric has some stretch, so your finished seam needs to have a little stretch. 2) Let the fabric feed through evenly, being careful not to pull or push it through. Just go slow and steady and let the machine take it through and you’ll get a nice flat seam.
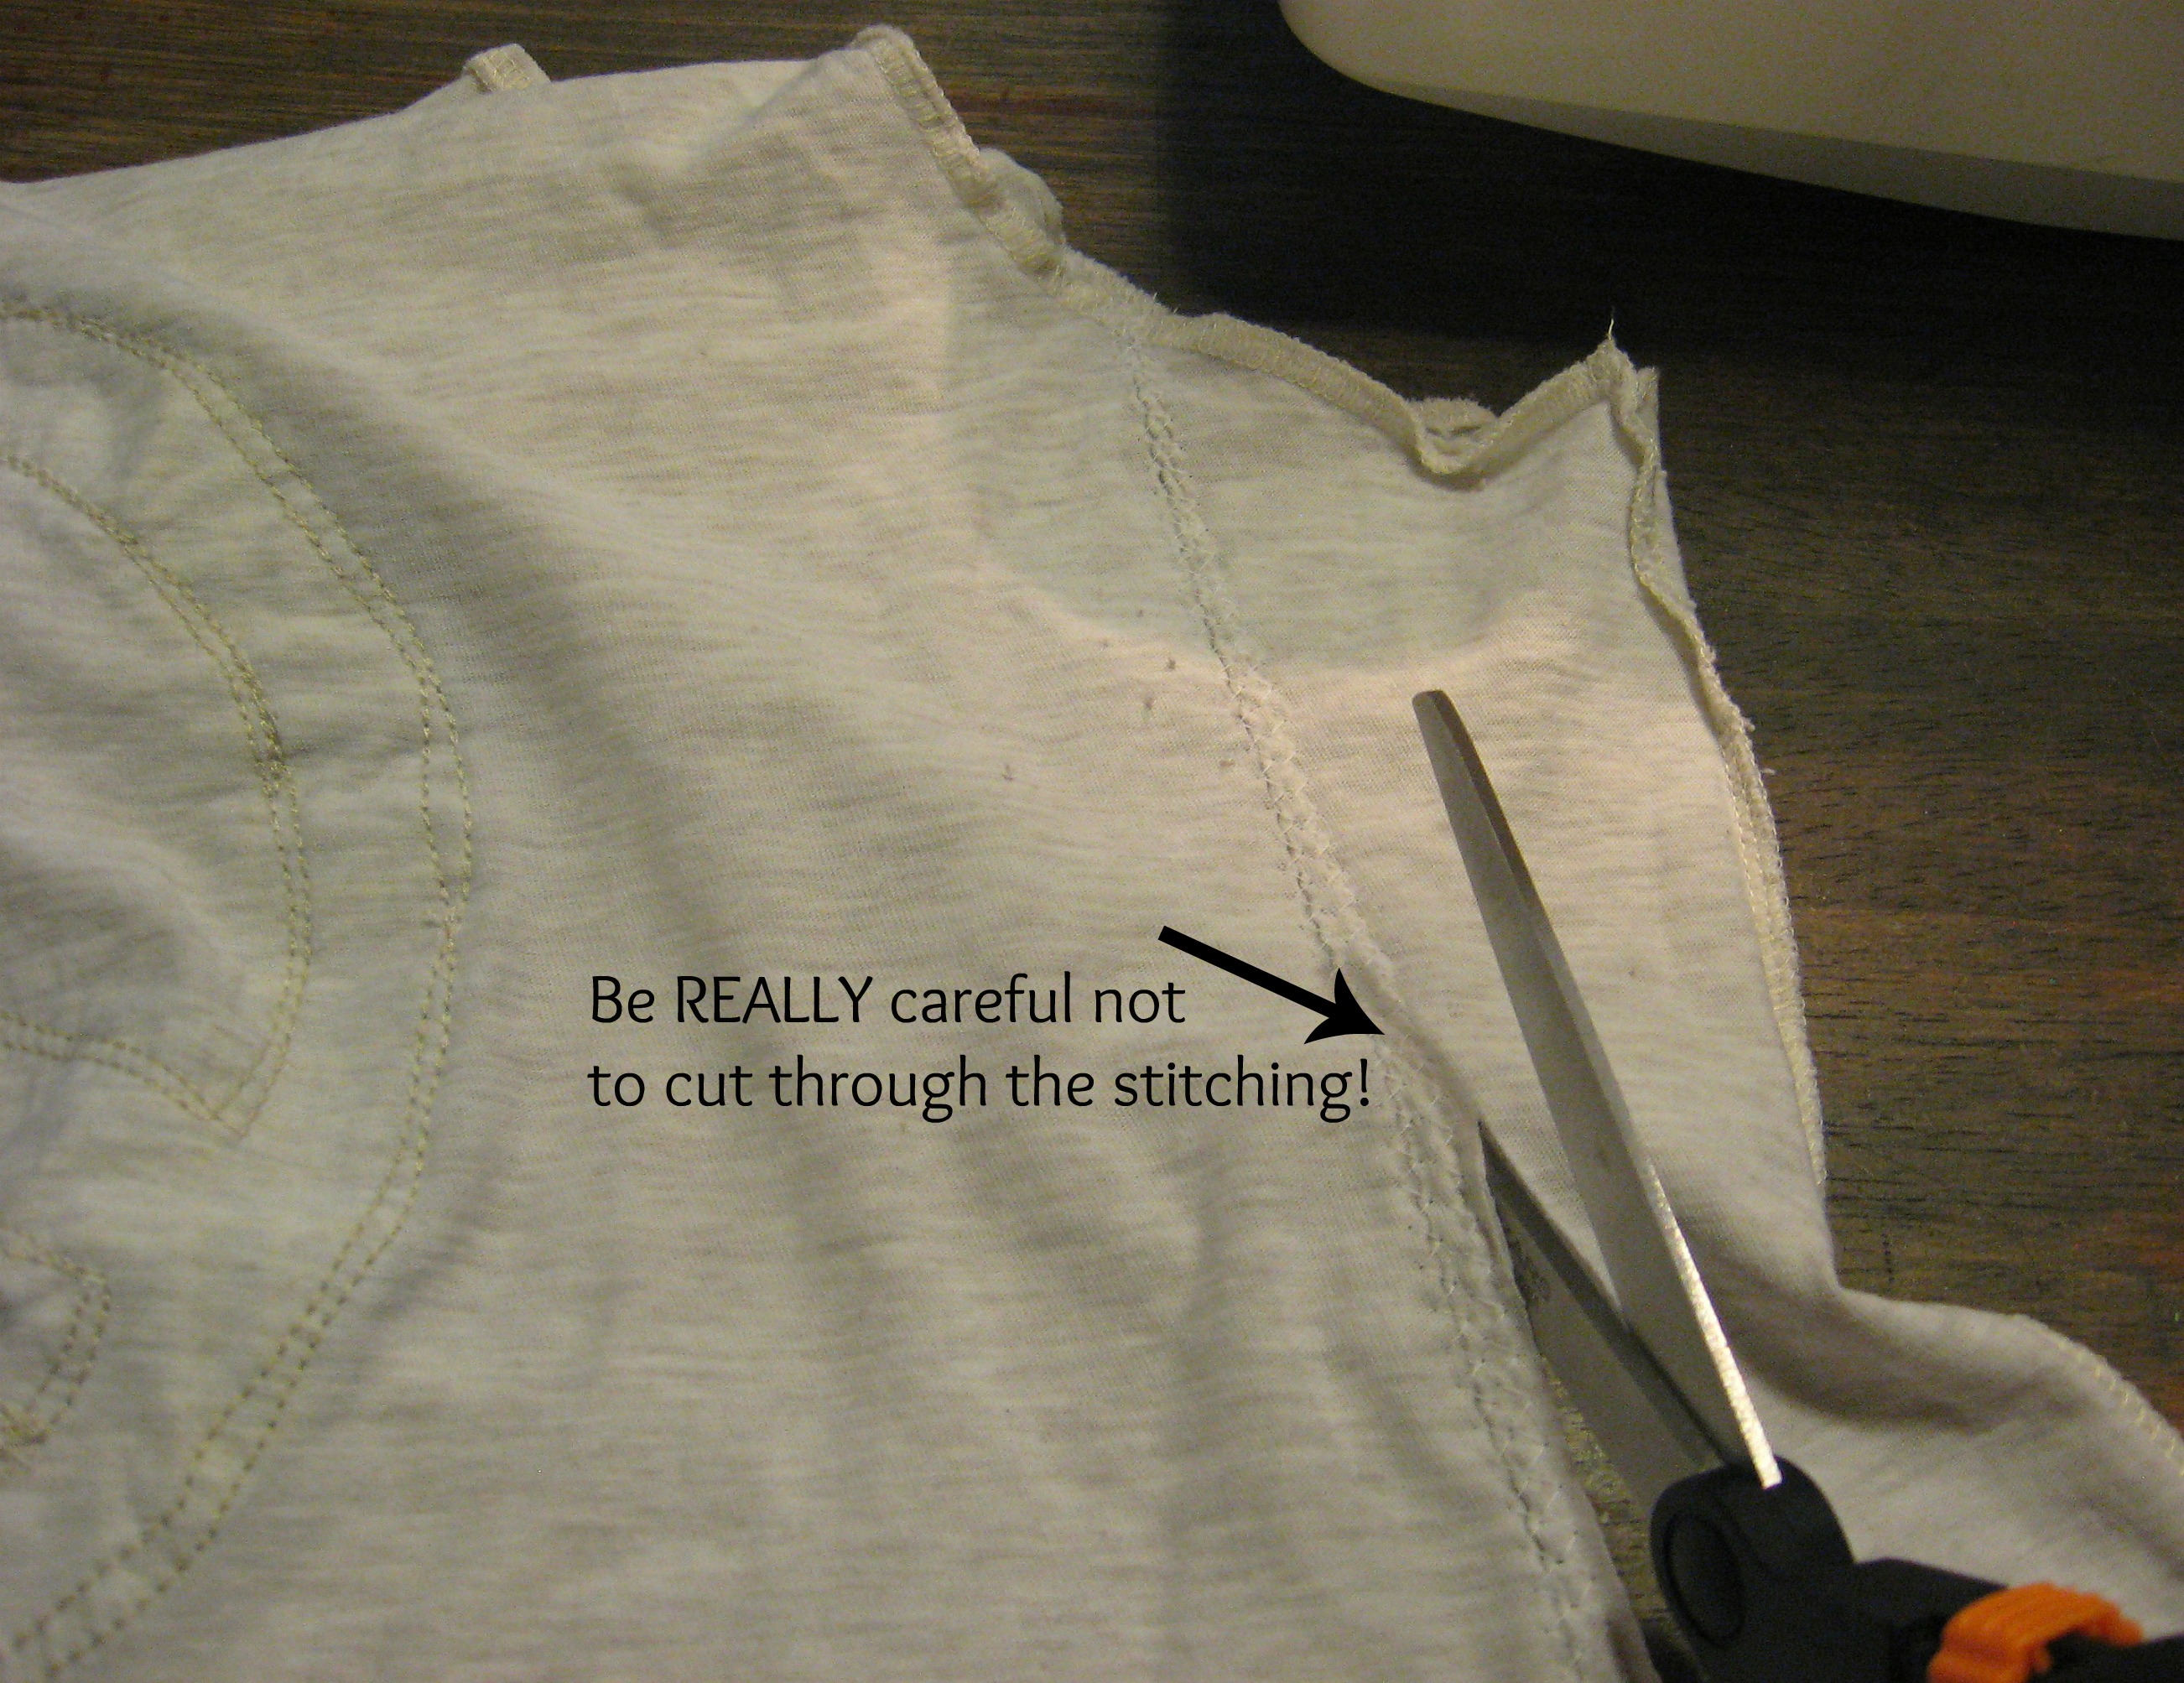
I sewed this twice, one line of stitching right above the other. I wanted the seam to be really strong since it will have stress on it from carrying things in the bag. Then, cut carefully just under the stitching, being VERY CAREFUL not to cut the stitching at any point.
Now, since these are size XL shirts, I think they are a little too wide for the finished bag. If your shirt is smaller, and you are happy with the finished width, you can skip this next step, but I wanted to trim down the sides.
Use the ruler to determine how far in you want to trim the sides. I just did this by sight. Draw a line and pin it, just like you did when you sewed the bottom. At the top, the cut edges might not quite match up, but just stretch it a little so that they match up at the top.
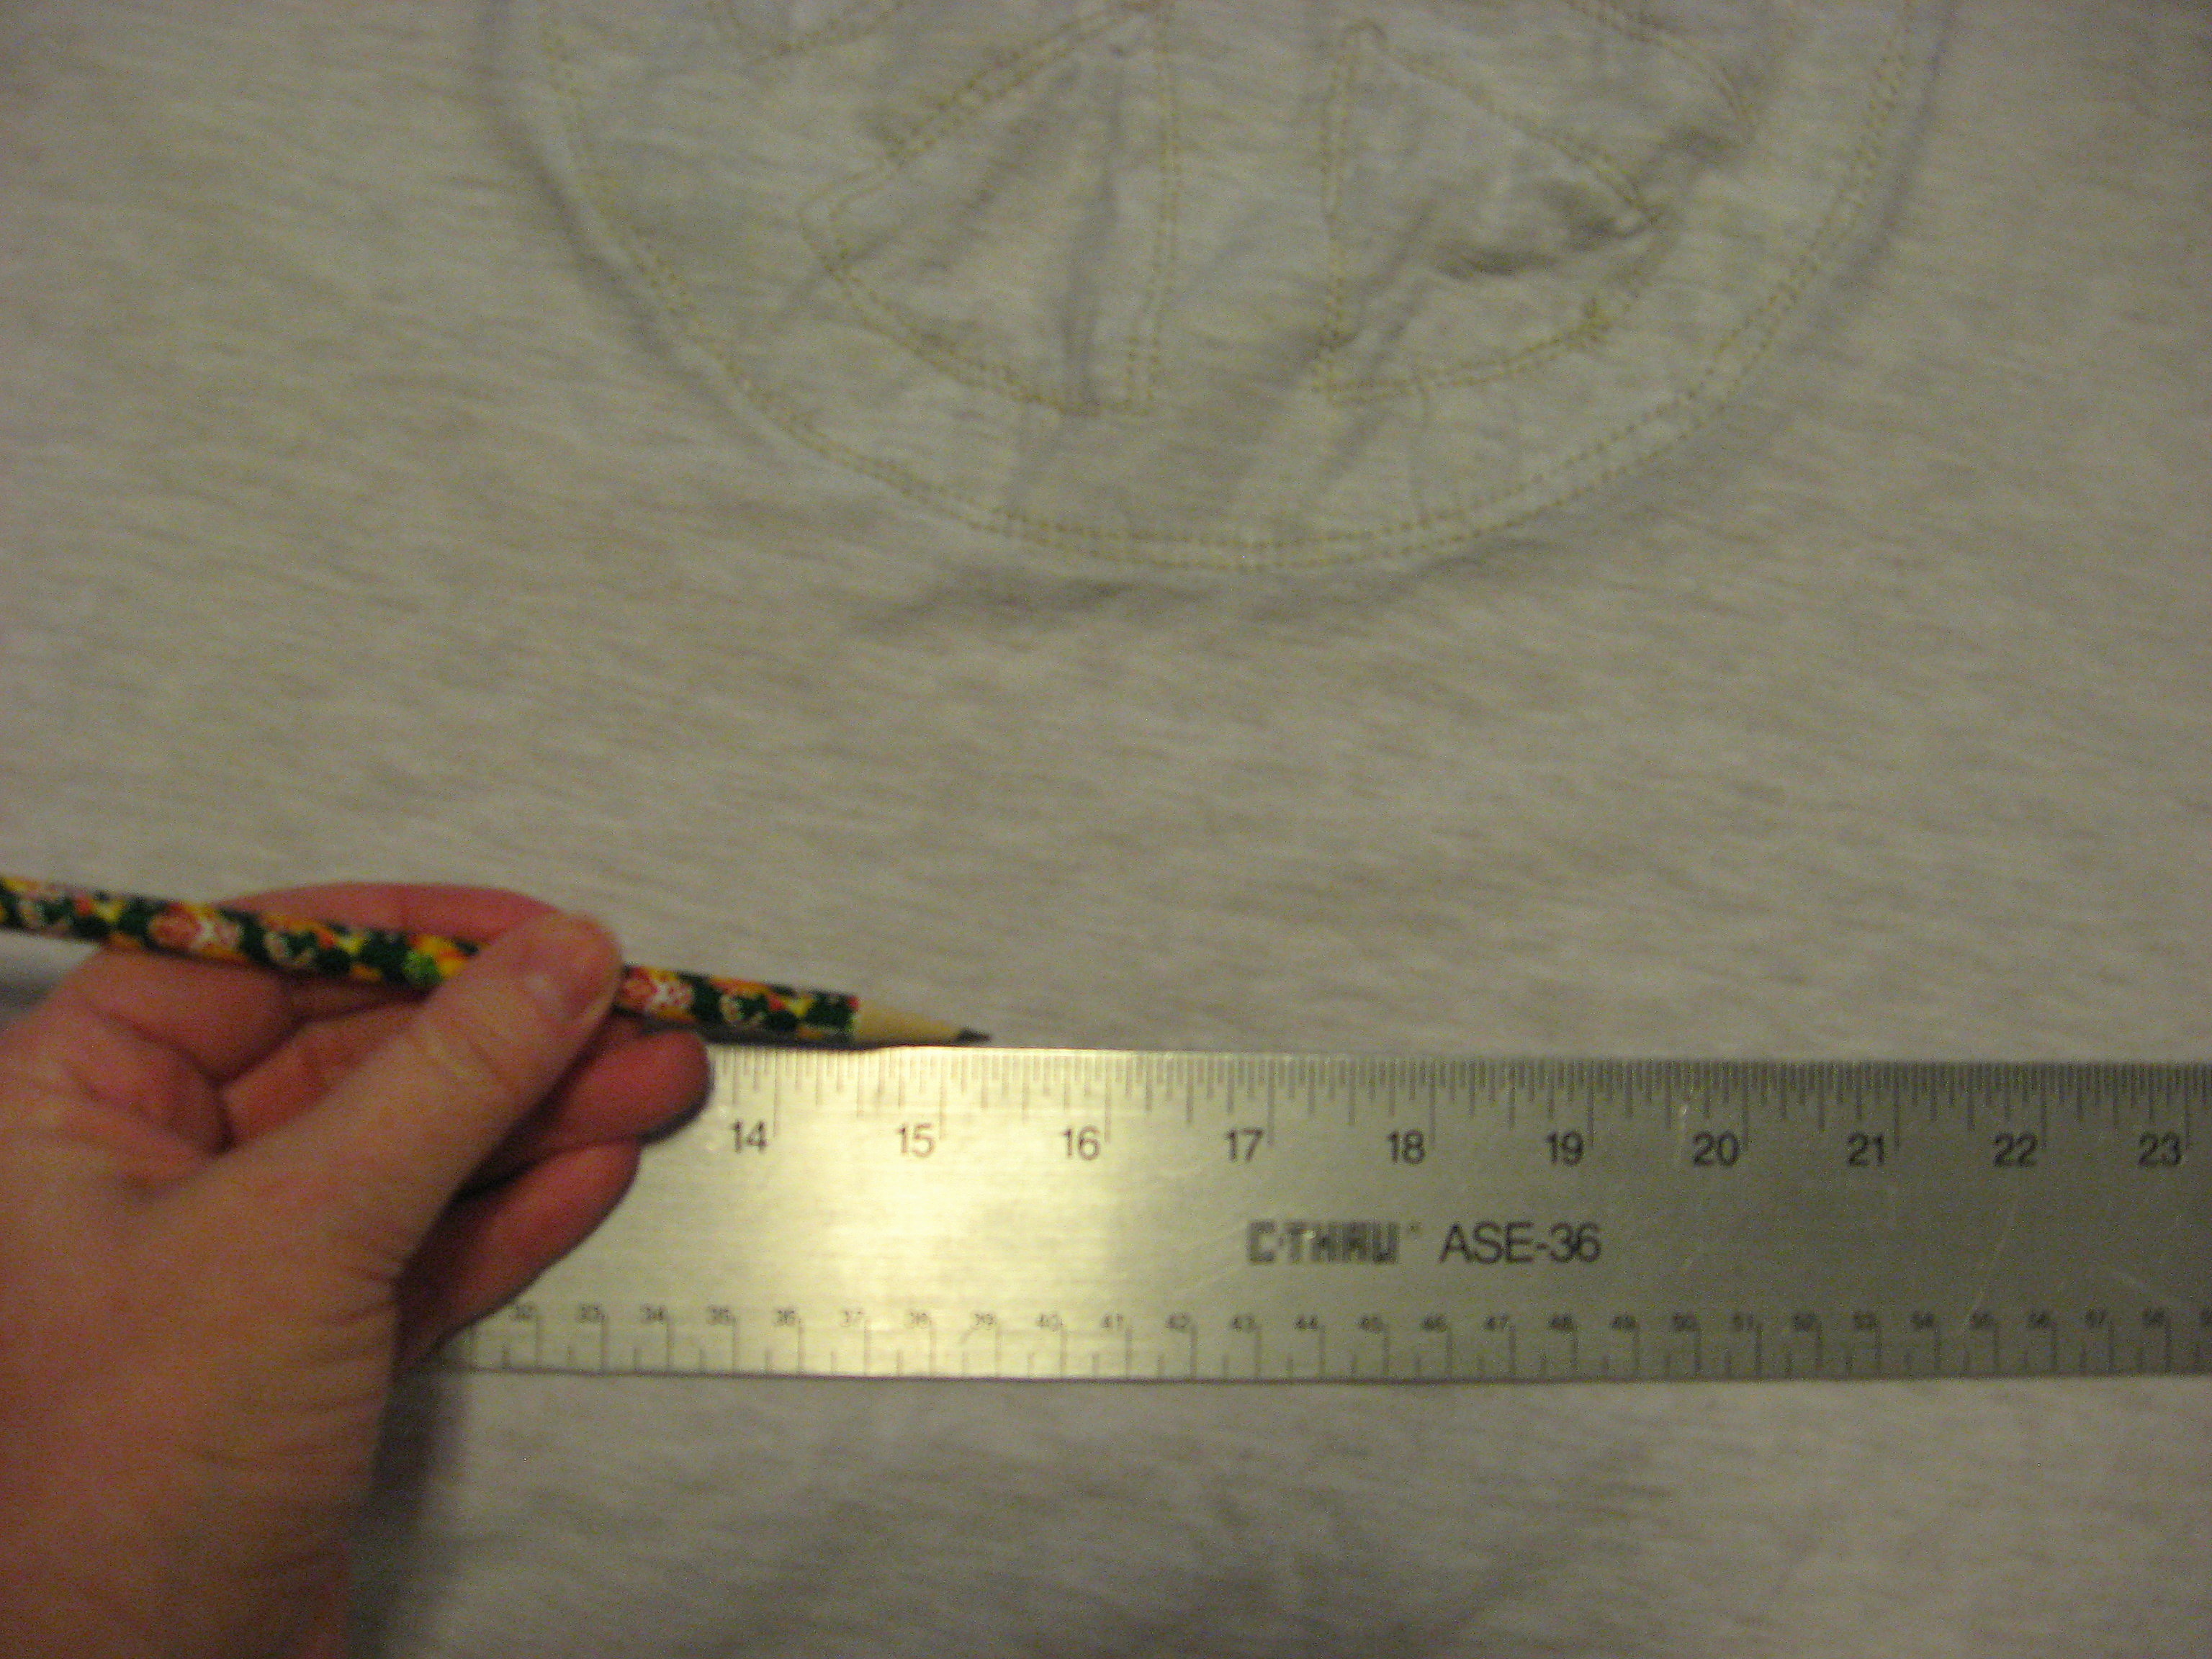
Measure how far you went in at the top and bottom on the first side, and mark those measurements on the other side of the bag, then draw a line and pin it, so that both sides of the bag match.
Now sew a double line of zig zag stitching, and cut outside of that stitching. Repeat on the other side of the bag. Make sure at the bottom of the bag – where you are sewing over the bottom stitching that you did earlier – that you backstitch a couple of times to make sure your original stitching won’t unravel.
Turn the bag right side out and make sure you like the size and shape of it.
Now cut out around the neck. Cut the front and back at the same time, following the curve of the front neckline.
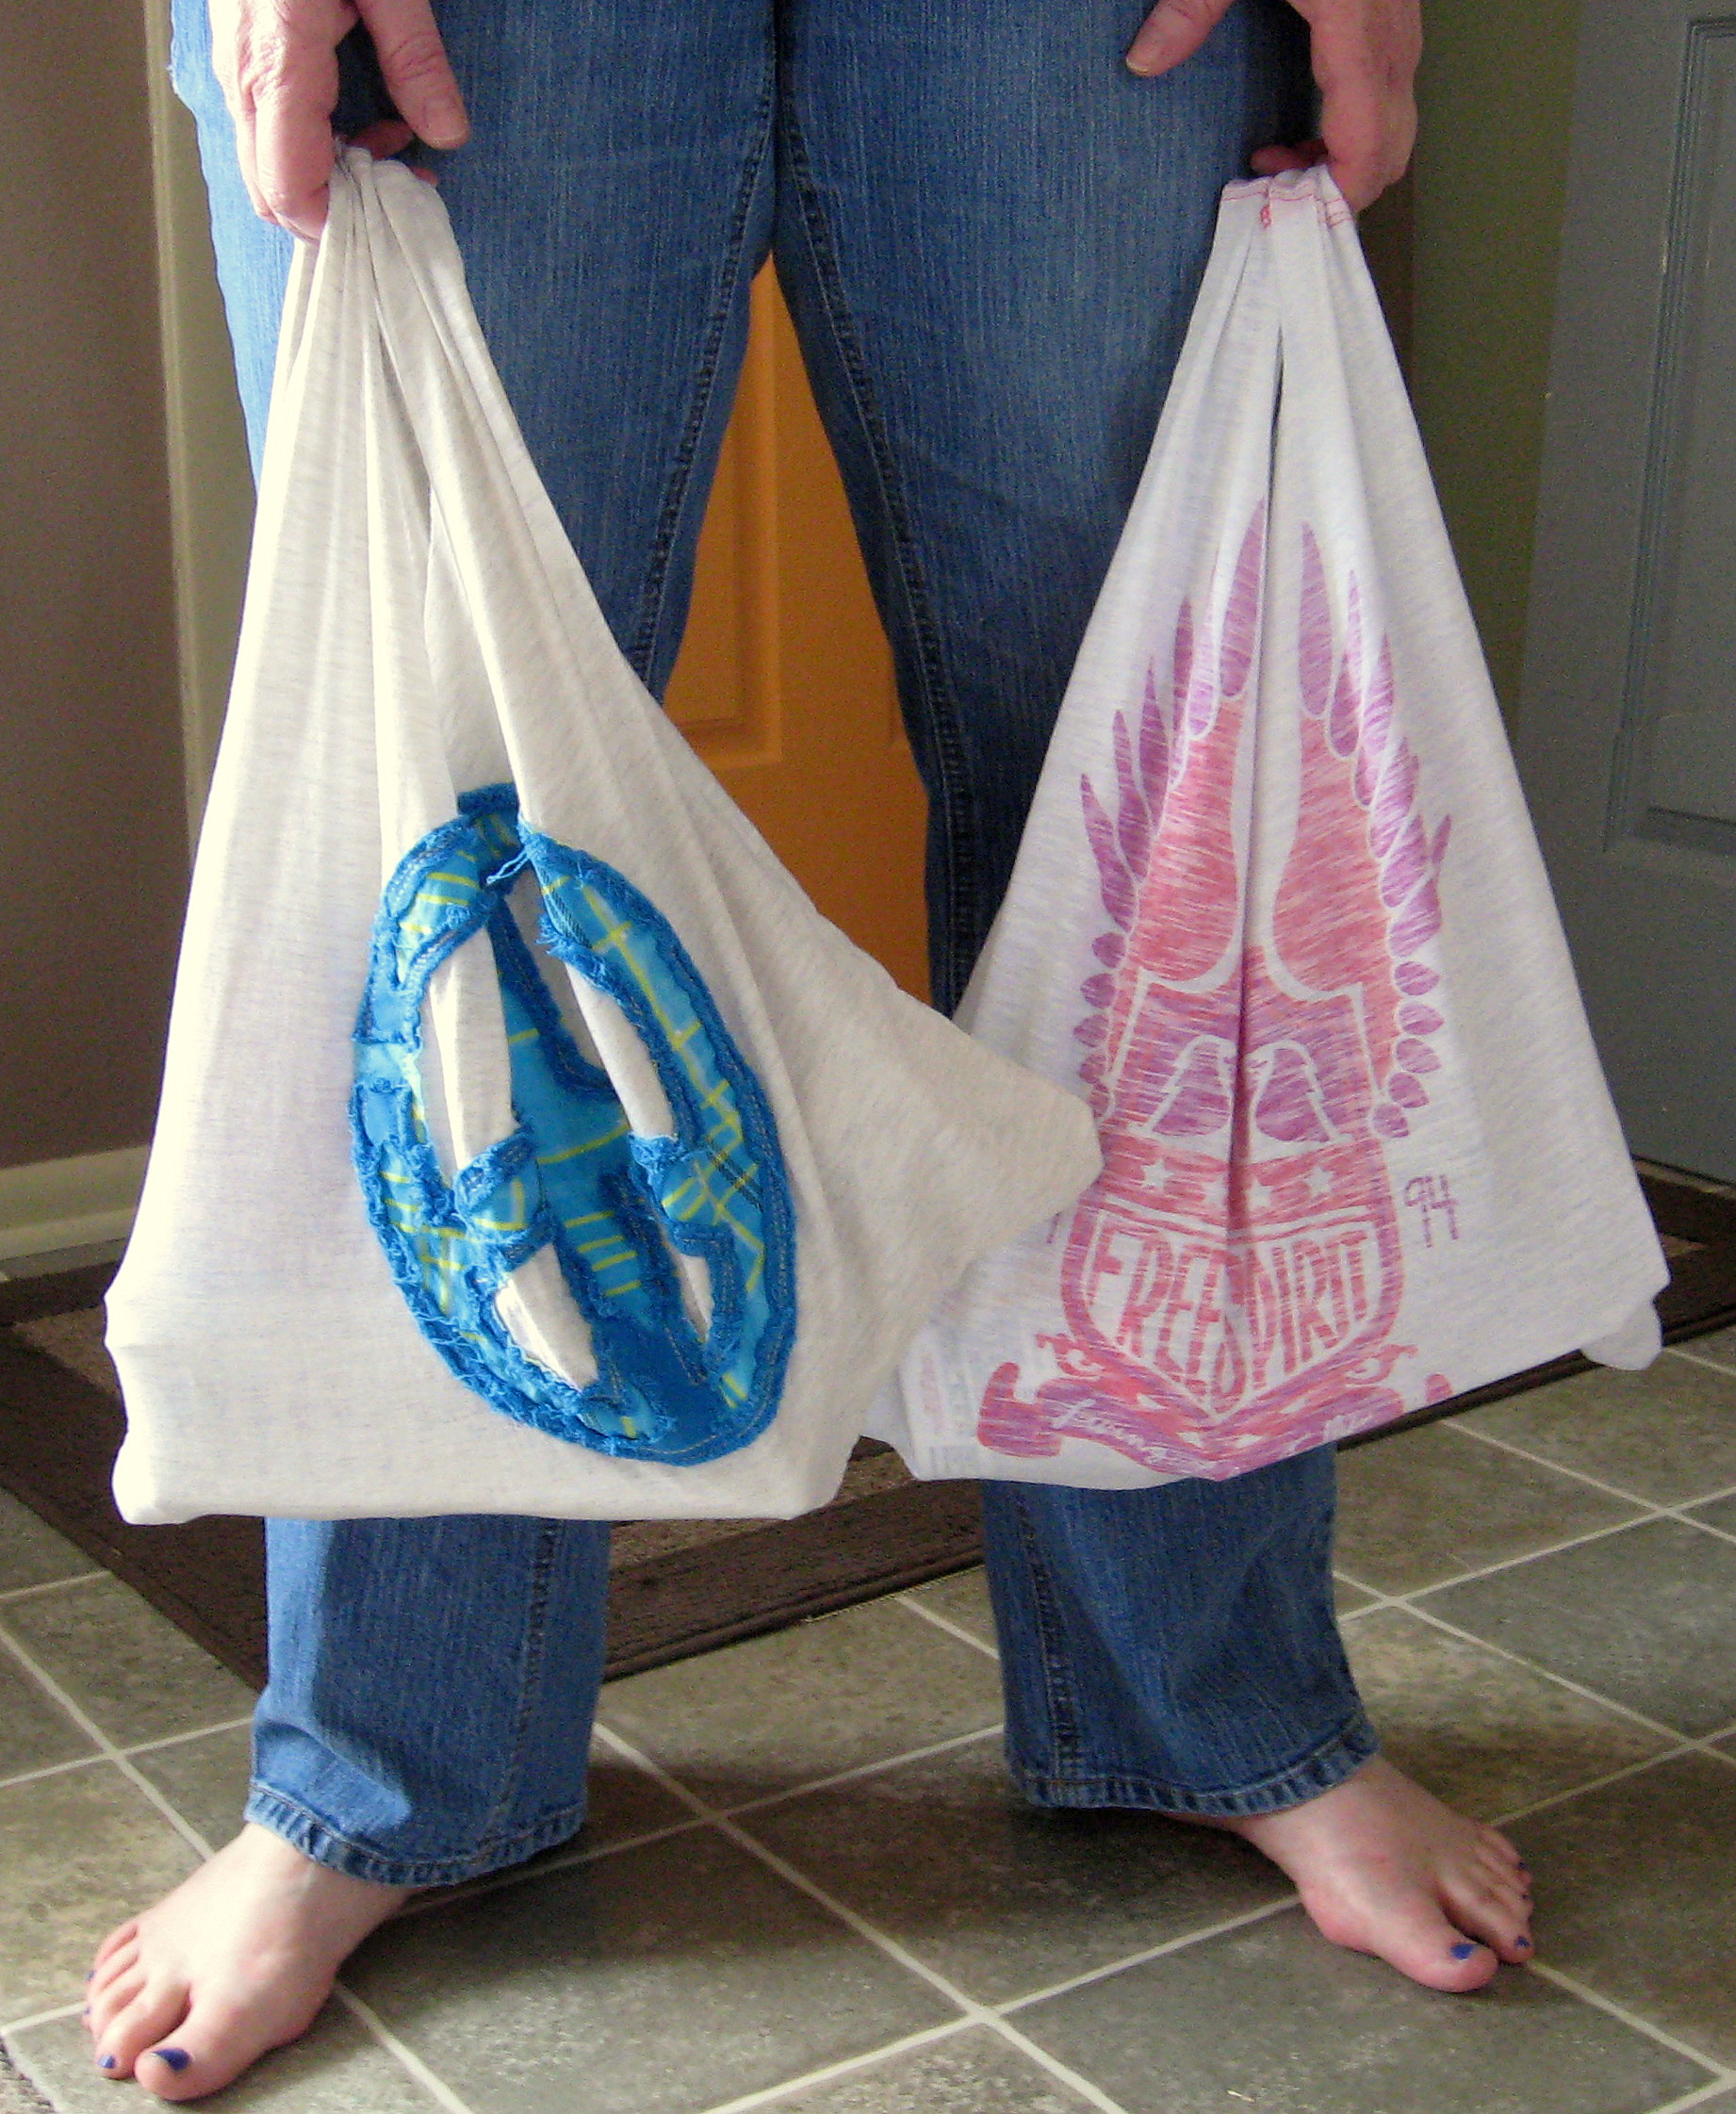
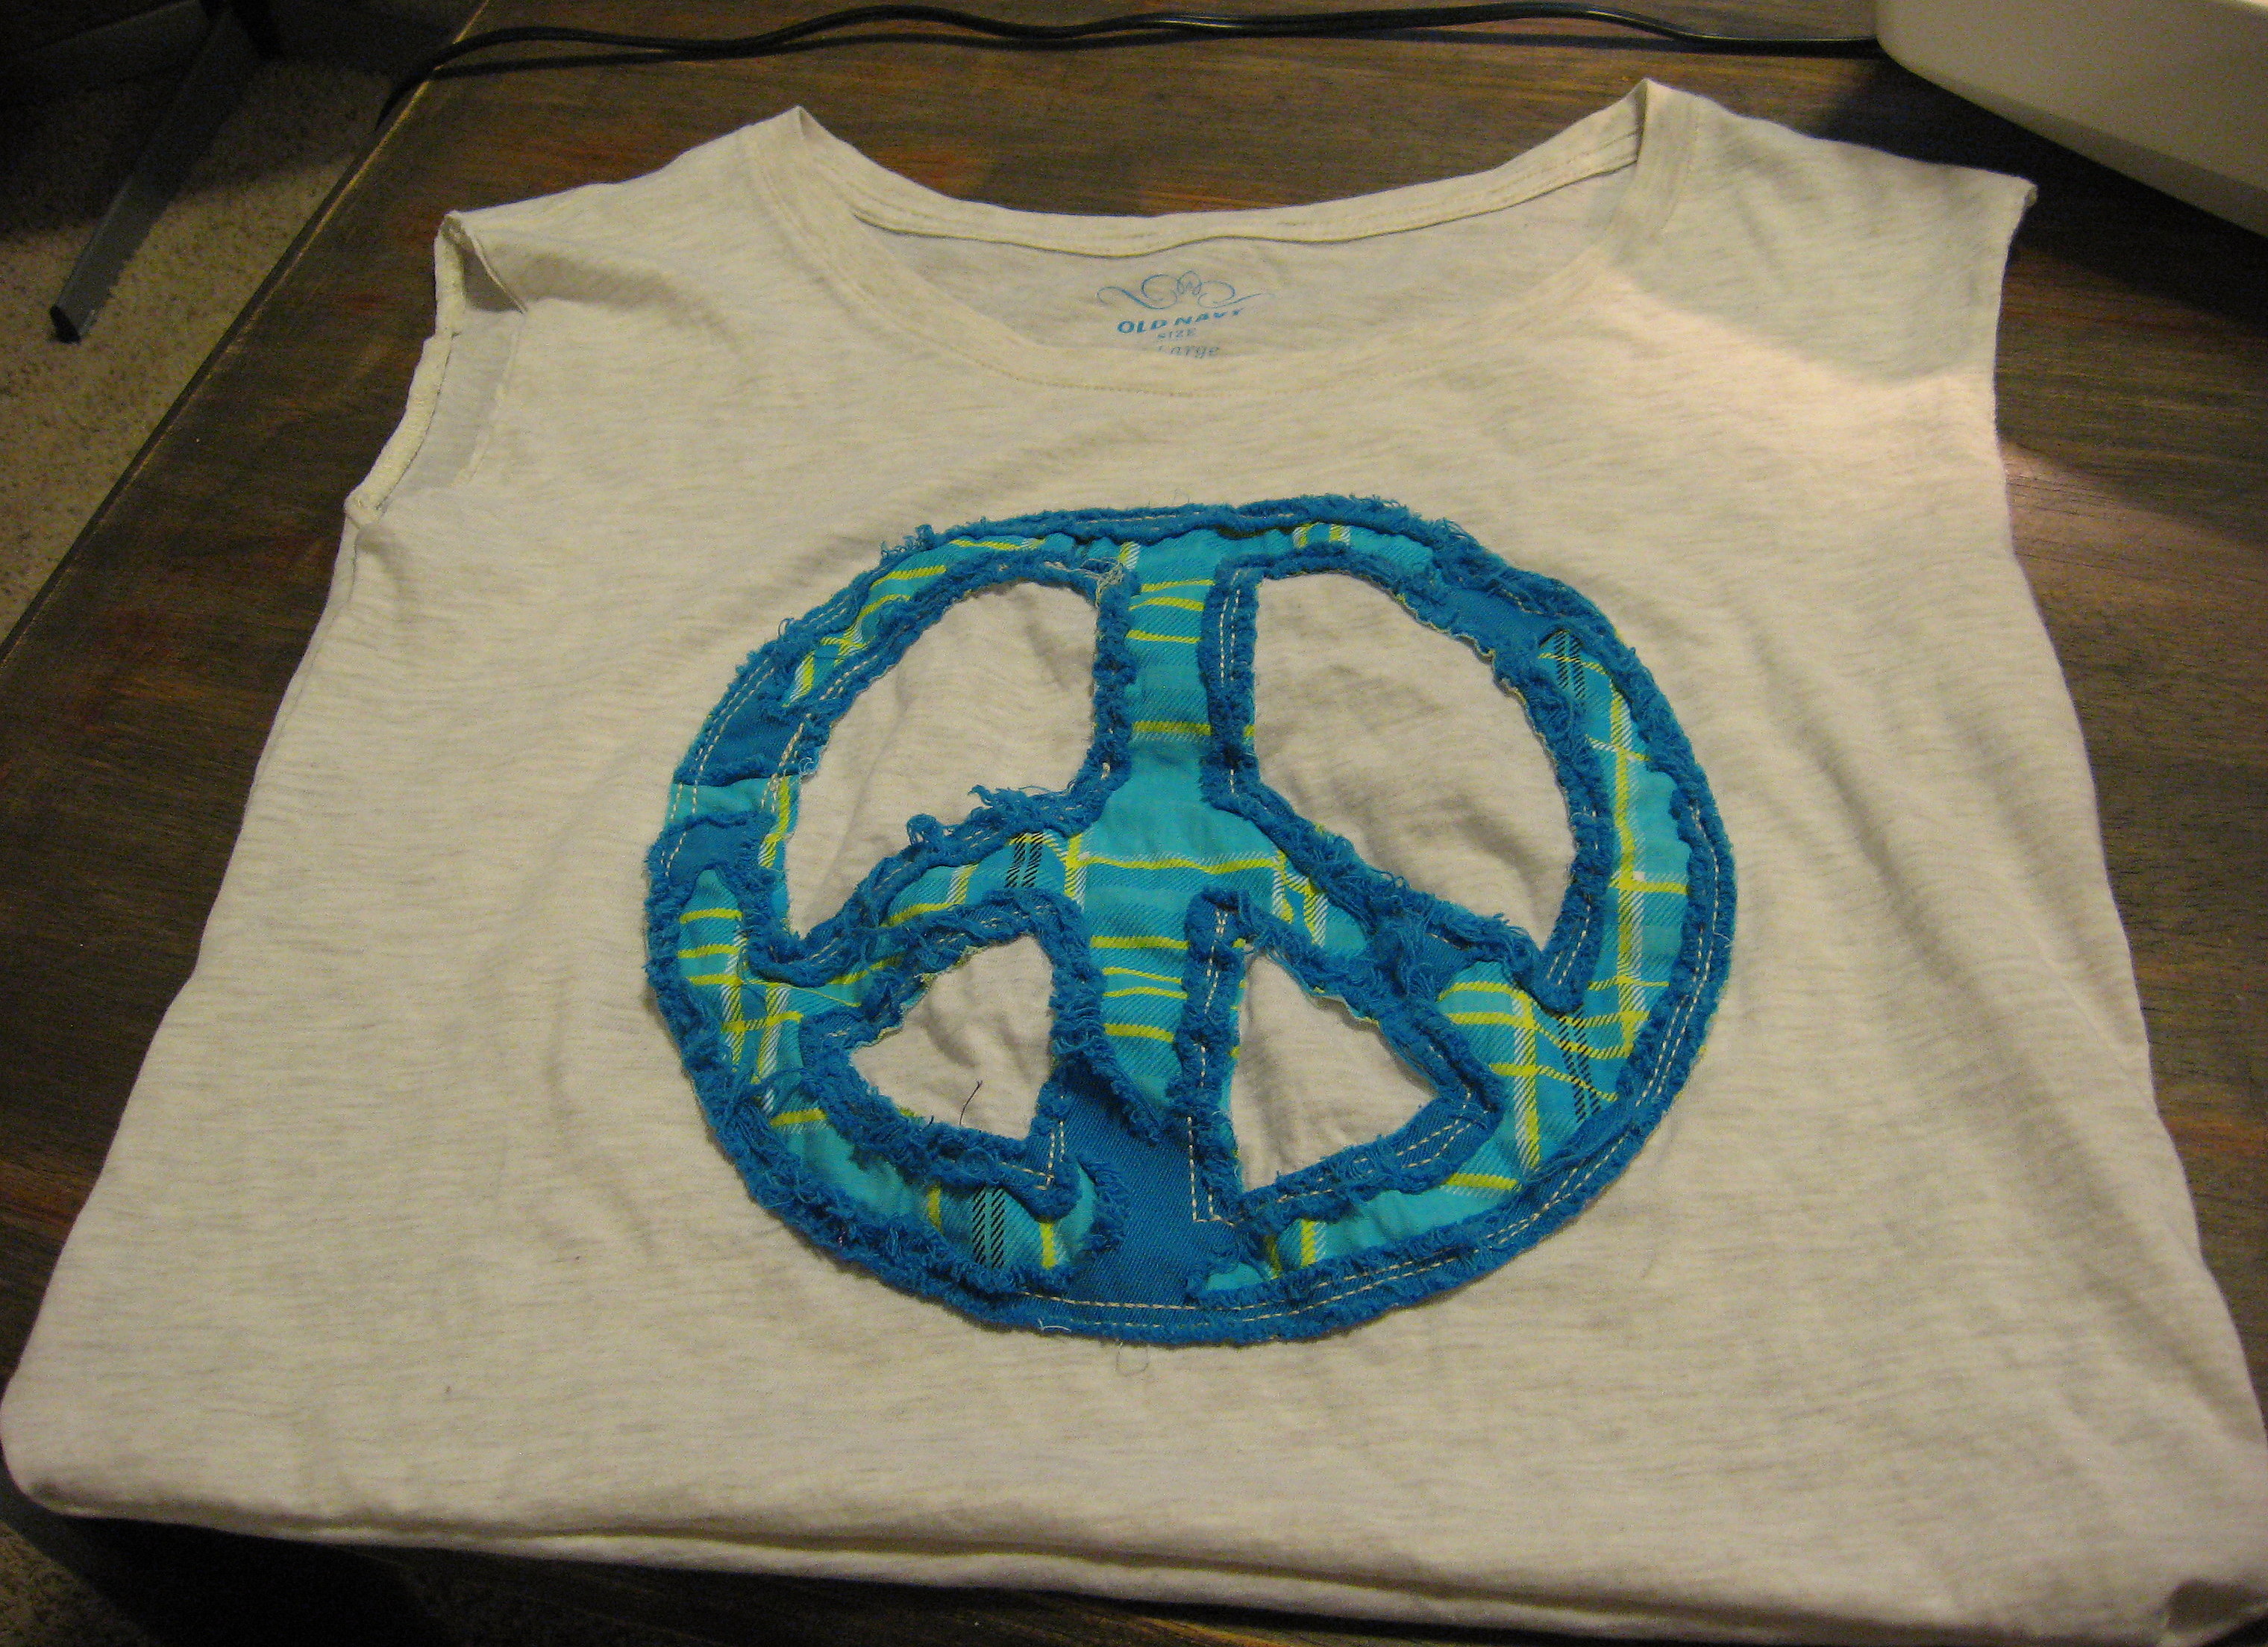
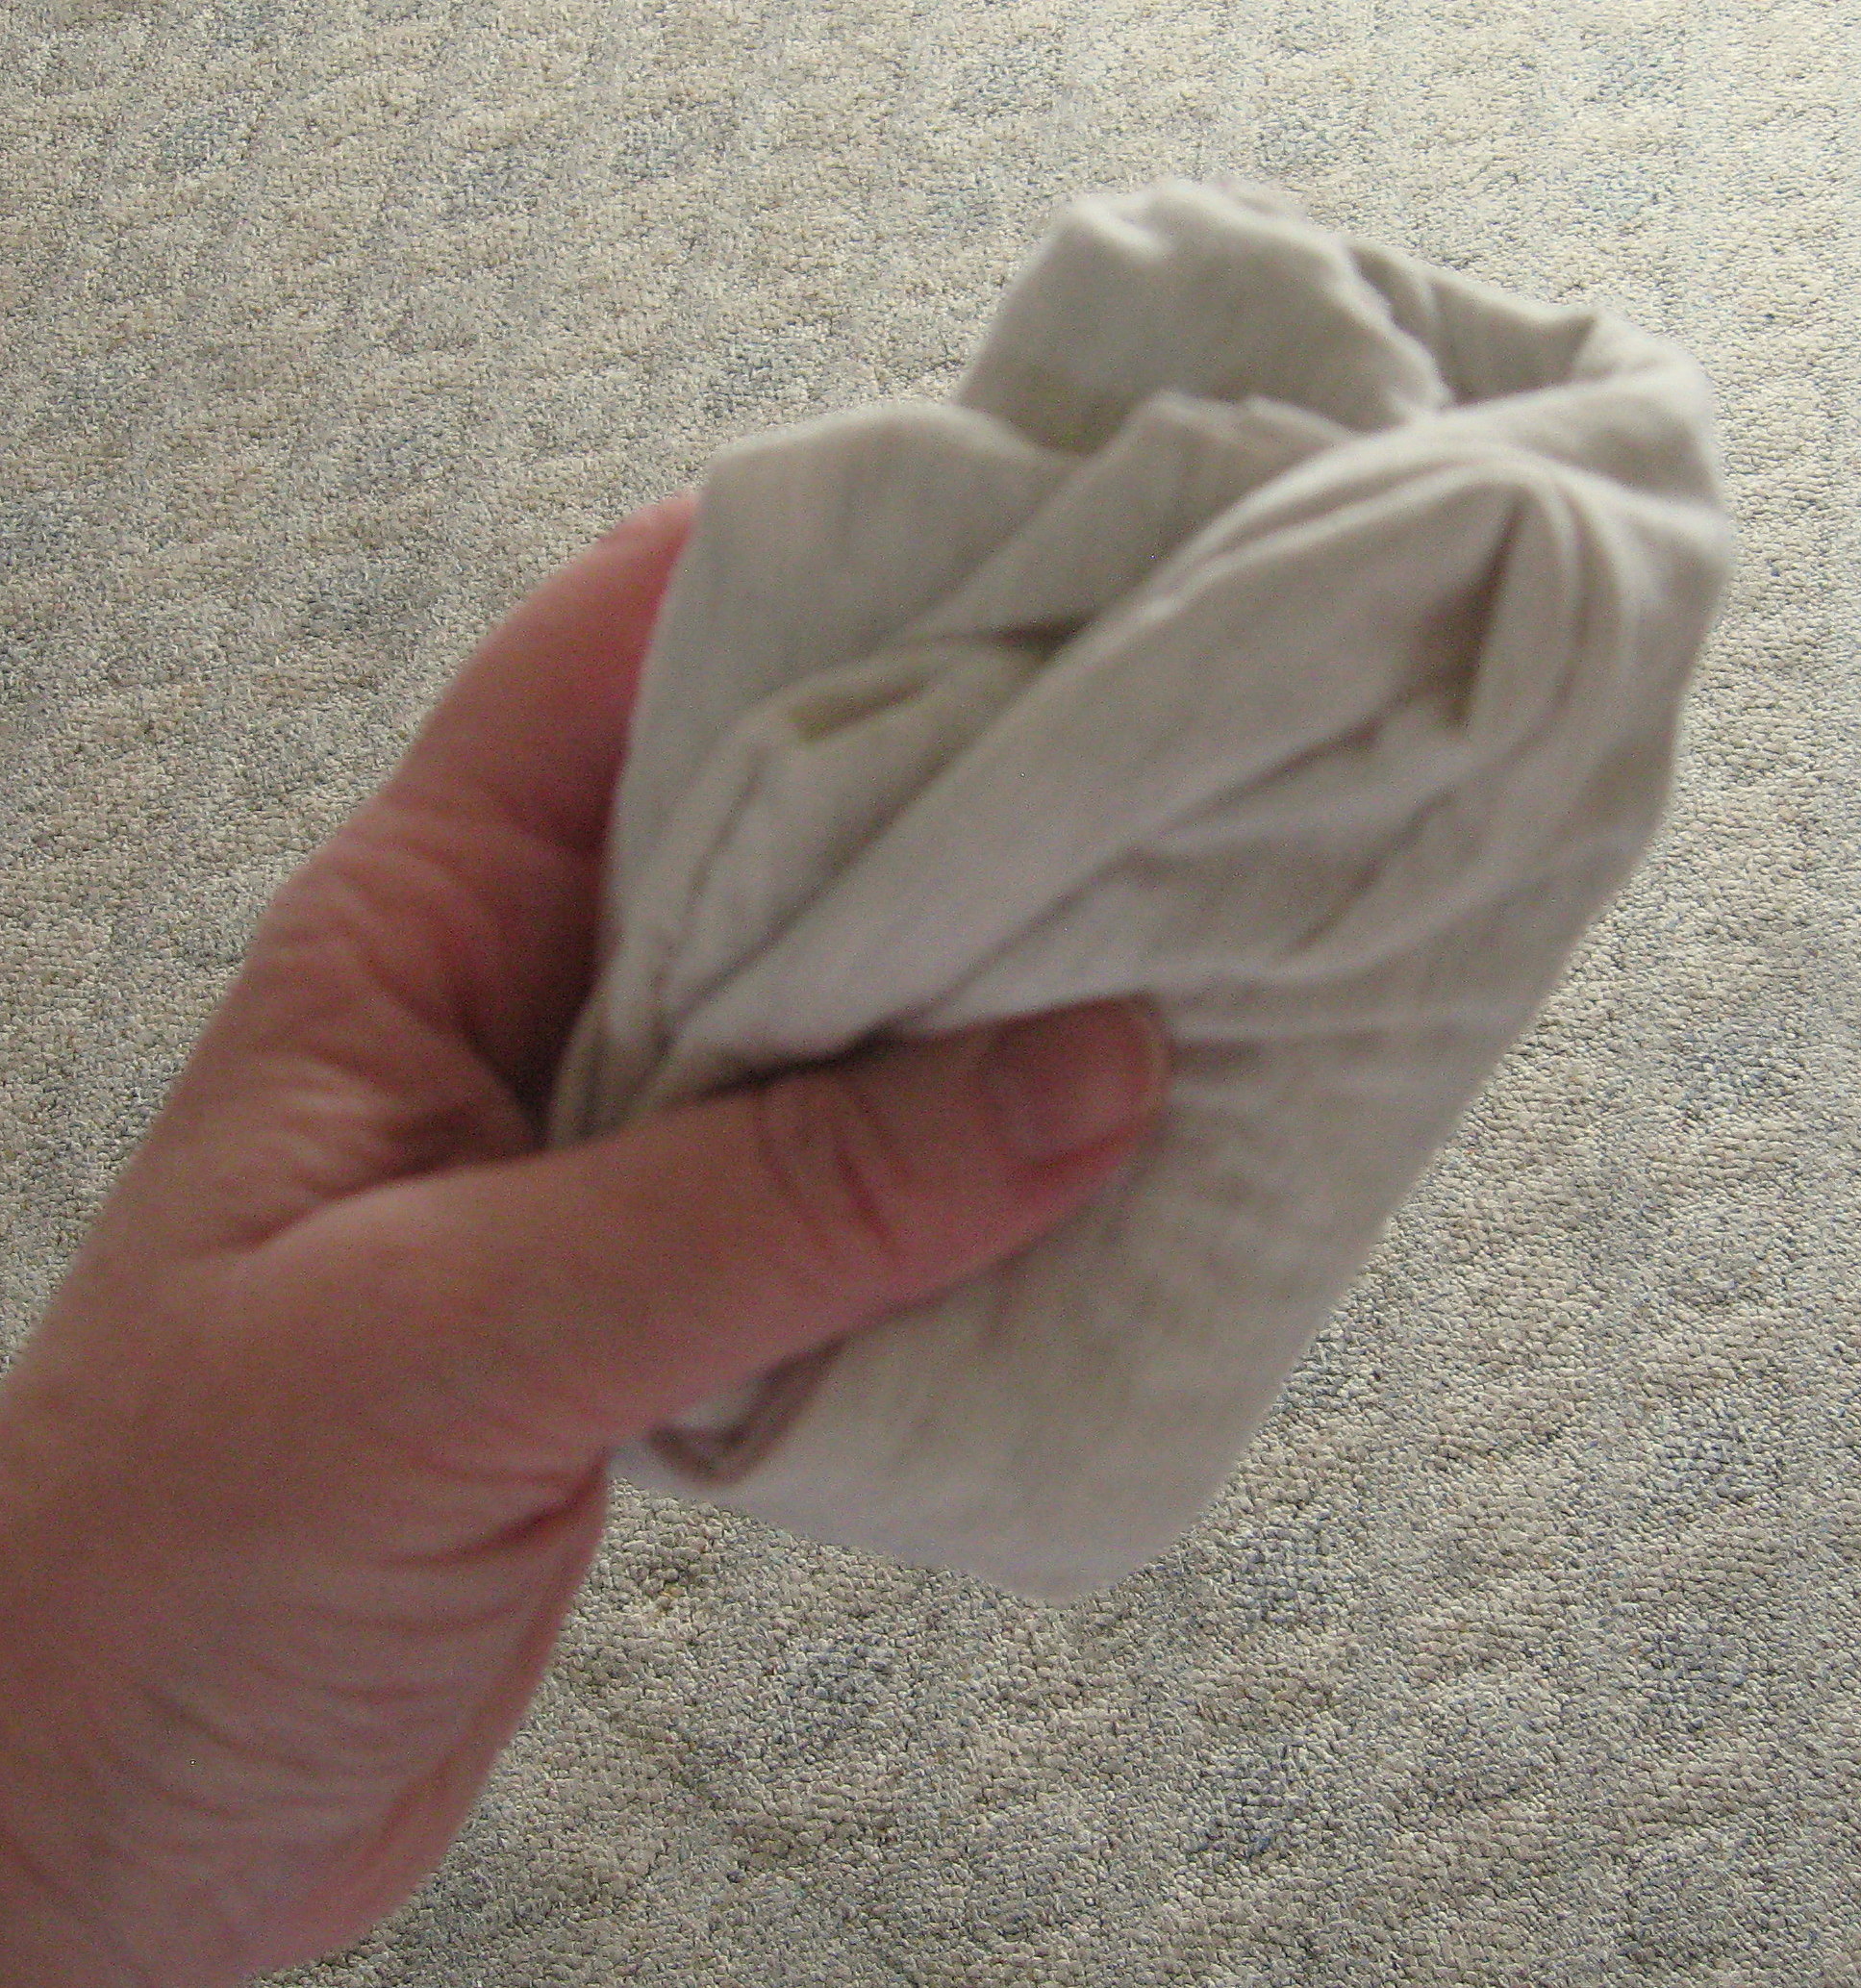
And you’re done! They roll up this small:
But they’re big enough to hold quite a bit of stuff.