
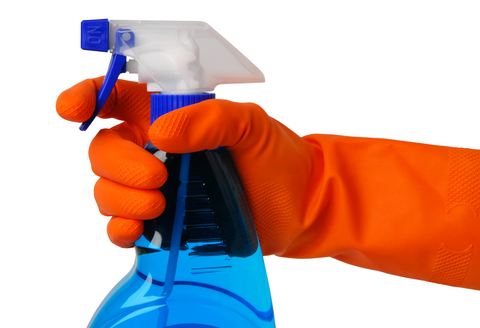
A PYP Best Blog! Give your Washer a Good Cleaning!
Just in case you missed this article on giving your washer a good cleaning the first time we shared it a couple of years ago, we are republishing it. After Marne wrote this blog originally, we got an awesome response. This is one of the PYP Best Blogs!
I am not one of those people that has the new, nice, front loading HE washing machines and dryers. I would love a set, but I still have a normal, ordinary, top loading washer and front loading dryer. I’ve had this set for over 10 years, and I bought it used then. Works great still. But it helps if I keep it in top-notch running order.
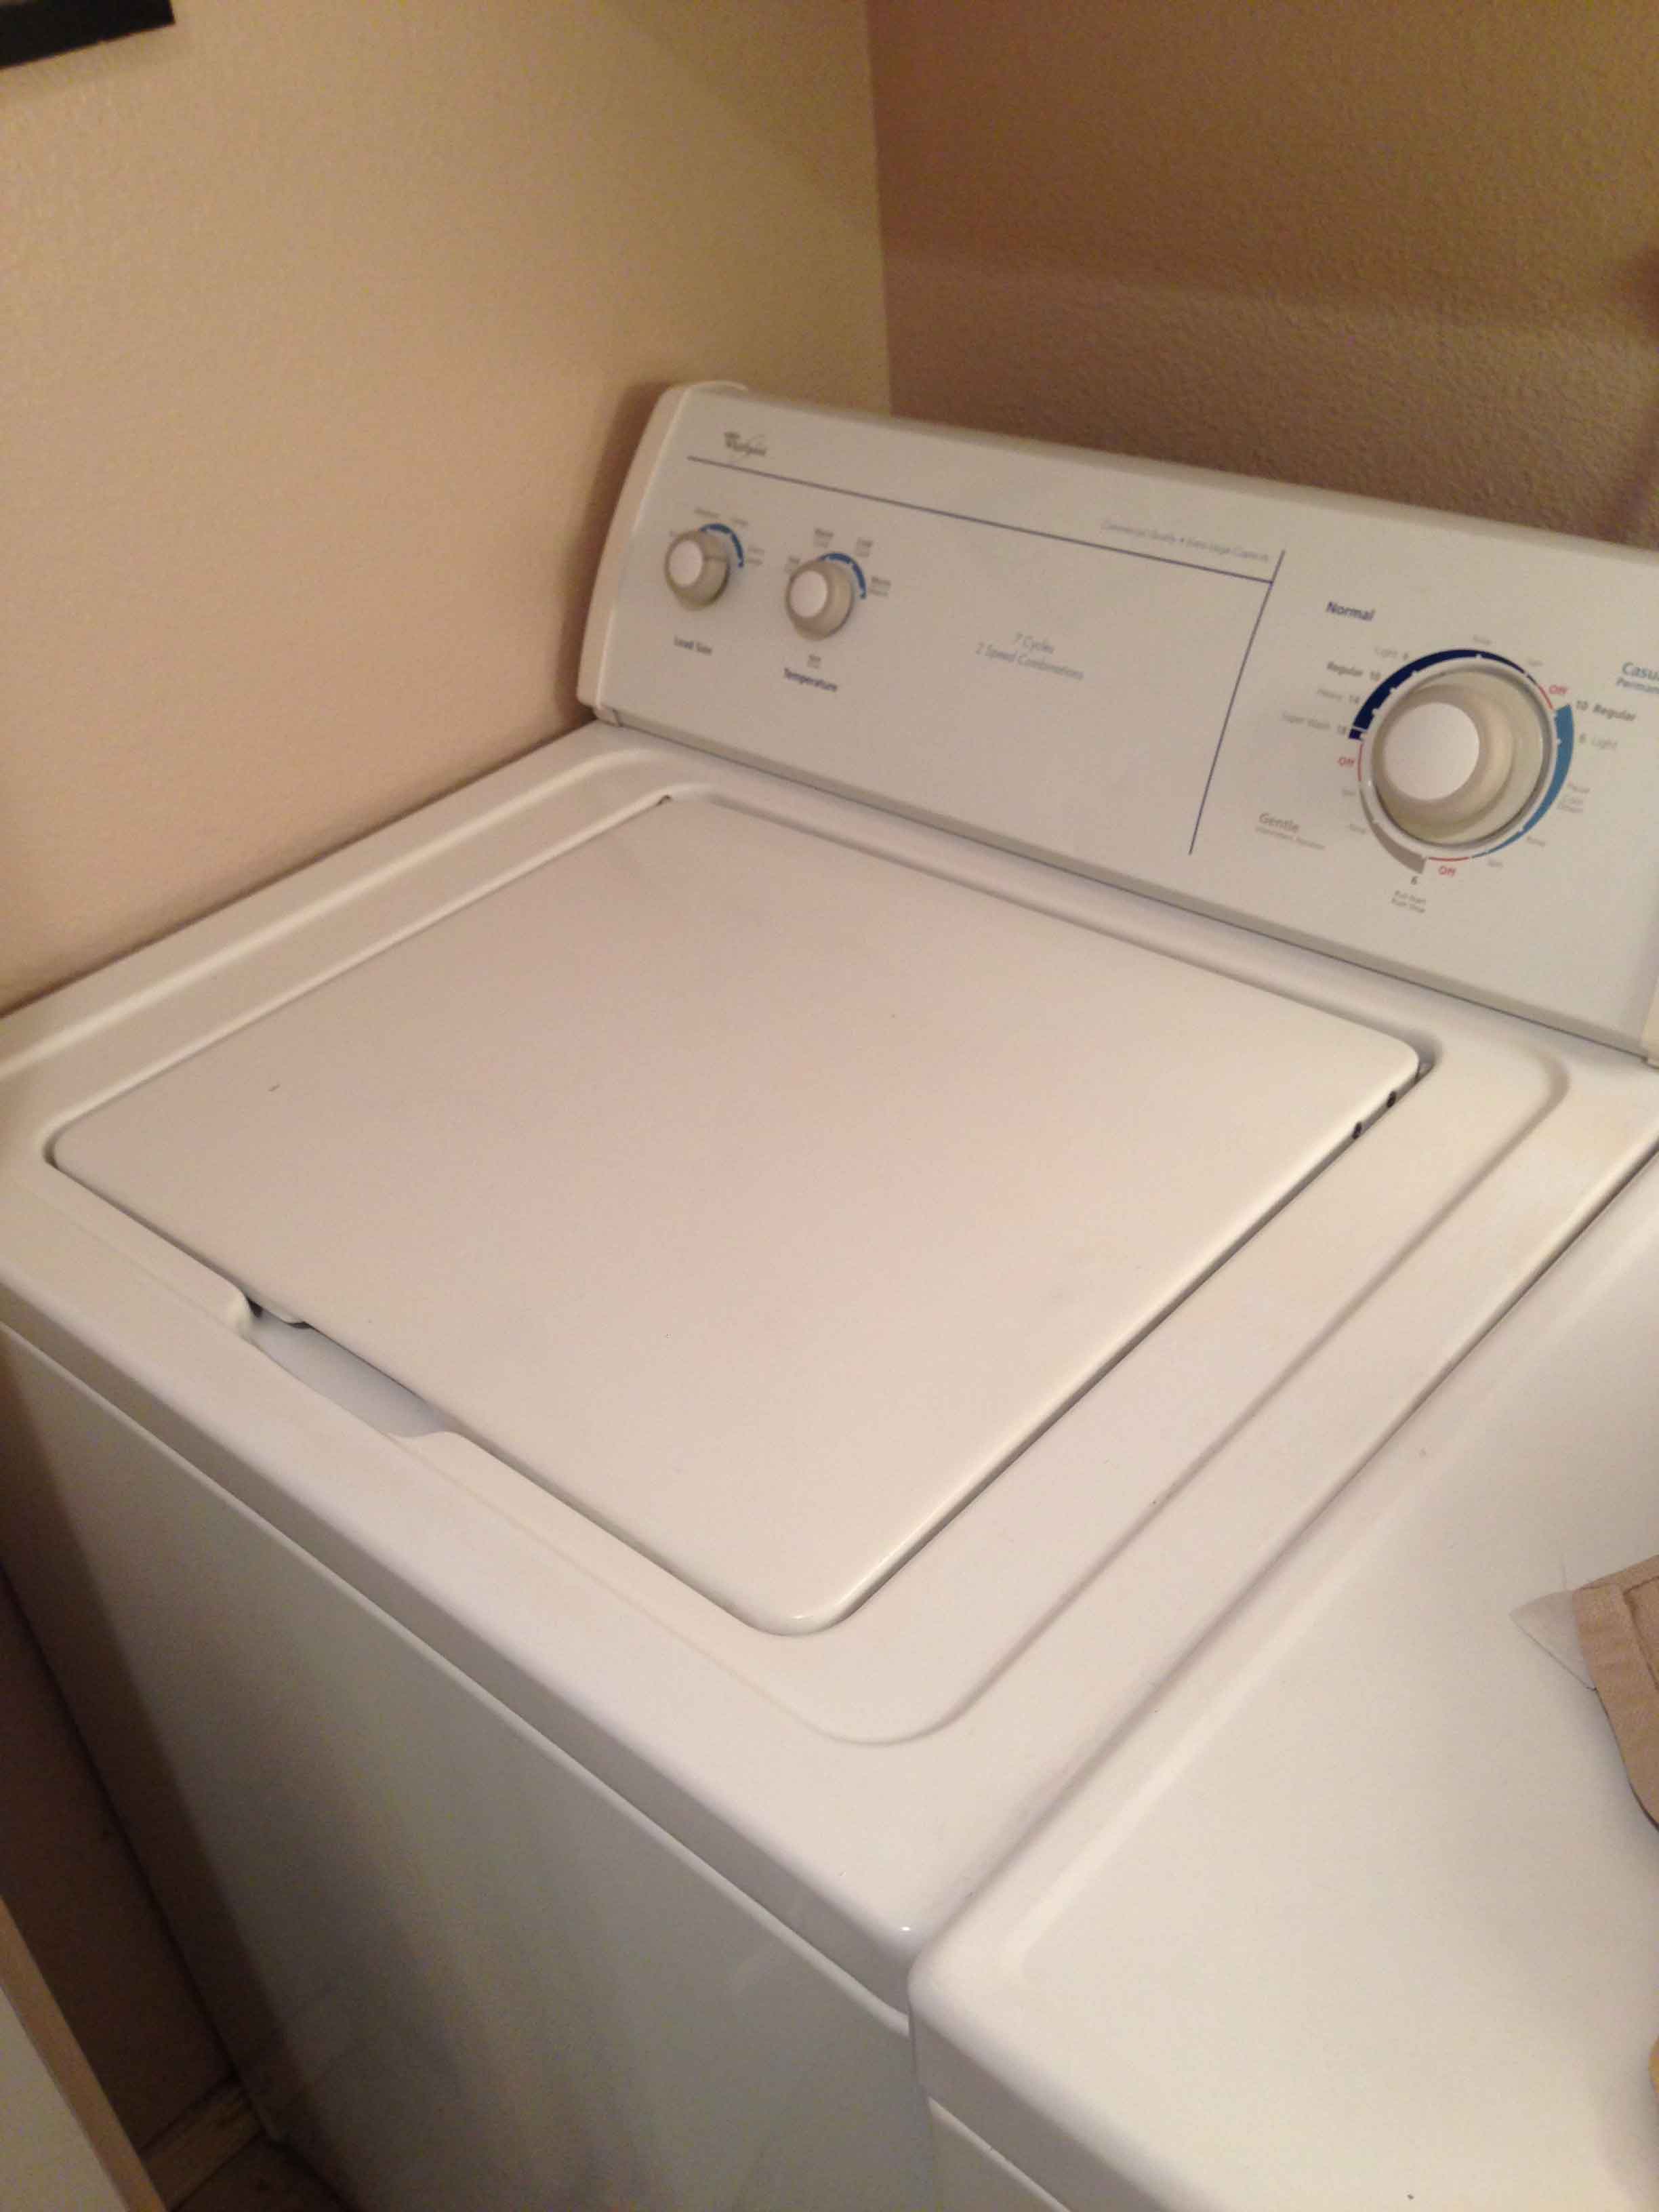
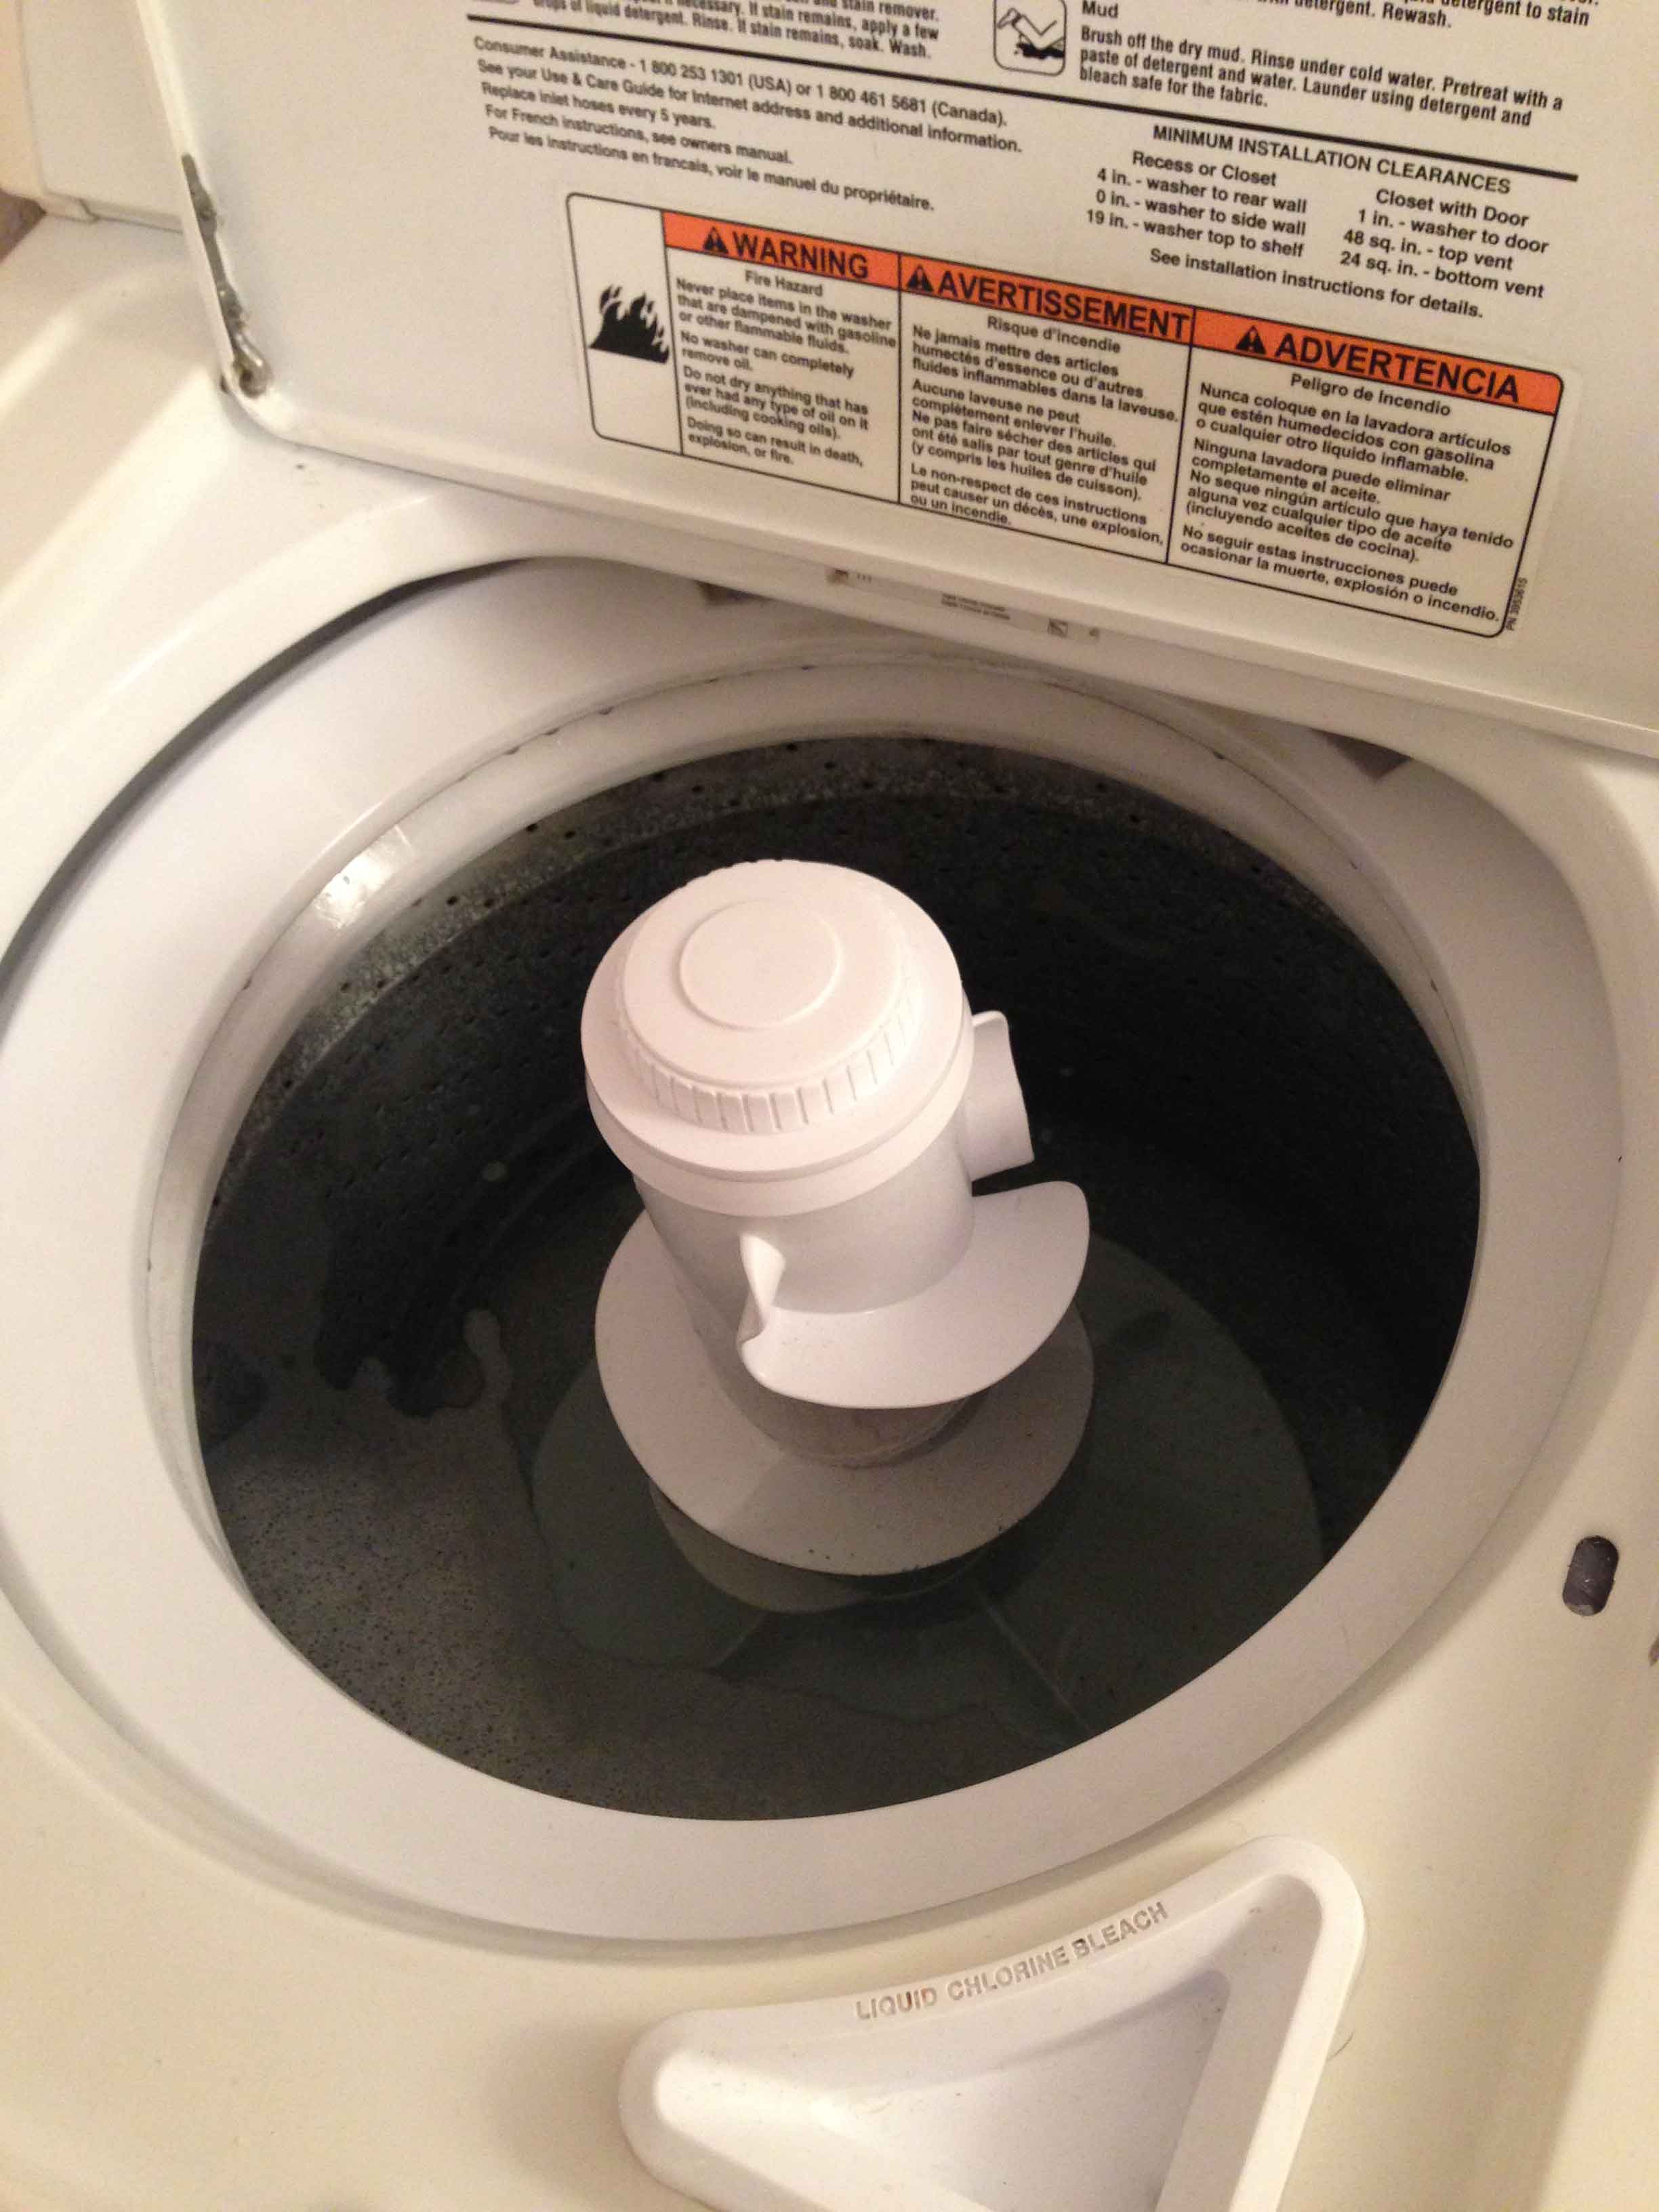
If you have ever noticed your washer smelling a bit musty or with a slight odor, or a film building up in it, then you need to clean it. This is a great way to clean your top loading washer. Really easy and costs pennies. There are several ways to do this, but this method is my favorite. Mt friend taught me how to do this and I am so grateful.
1. Fill your washer with HOT water and one quart of cholrine bleach.
2. Let it agitate for a couple of minutes, then let it sit for ONE HOUR.
3. After the hour is up, let the washer go through it’s longest wash, rinse and spin cycle.
4. Fill the washer with HOT water again, and this time put in 1 quart white vinegar.
5. Let it agitate again for a few minutes, then let it sit for ONE HOUR.
6. Let it go through the regular cycle again, like in the step above.
You now have a clean washer! The bleach and the vinegar clean away bacteria and sanitize your machine. It can also help with mineral deposits and soap scum. You will also want to take a wet rag (it works great to dip it into the vinegar water while the machine is soaking) and wipe down the outside of your machine and under the rims too.
How do you clean your washer?
A PYP Best Blog! DIY Cleaner for Kitchen Cupboards!
Just in case you missed this article on DIY cleaner for kitchen cupboards the first time we shared it a couple of years ago, we are republishing it. After Marne wrote this blog originally, we got an awesome response. This is one of the PYP Best Blogs!
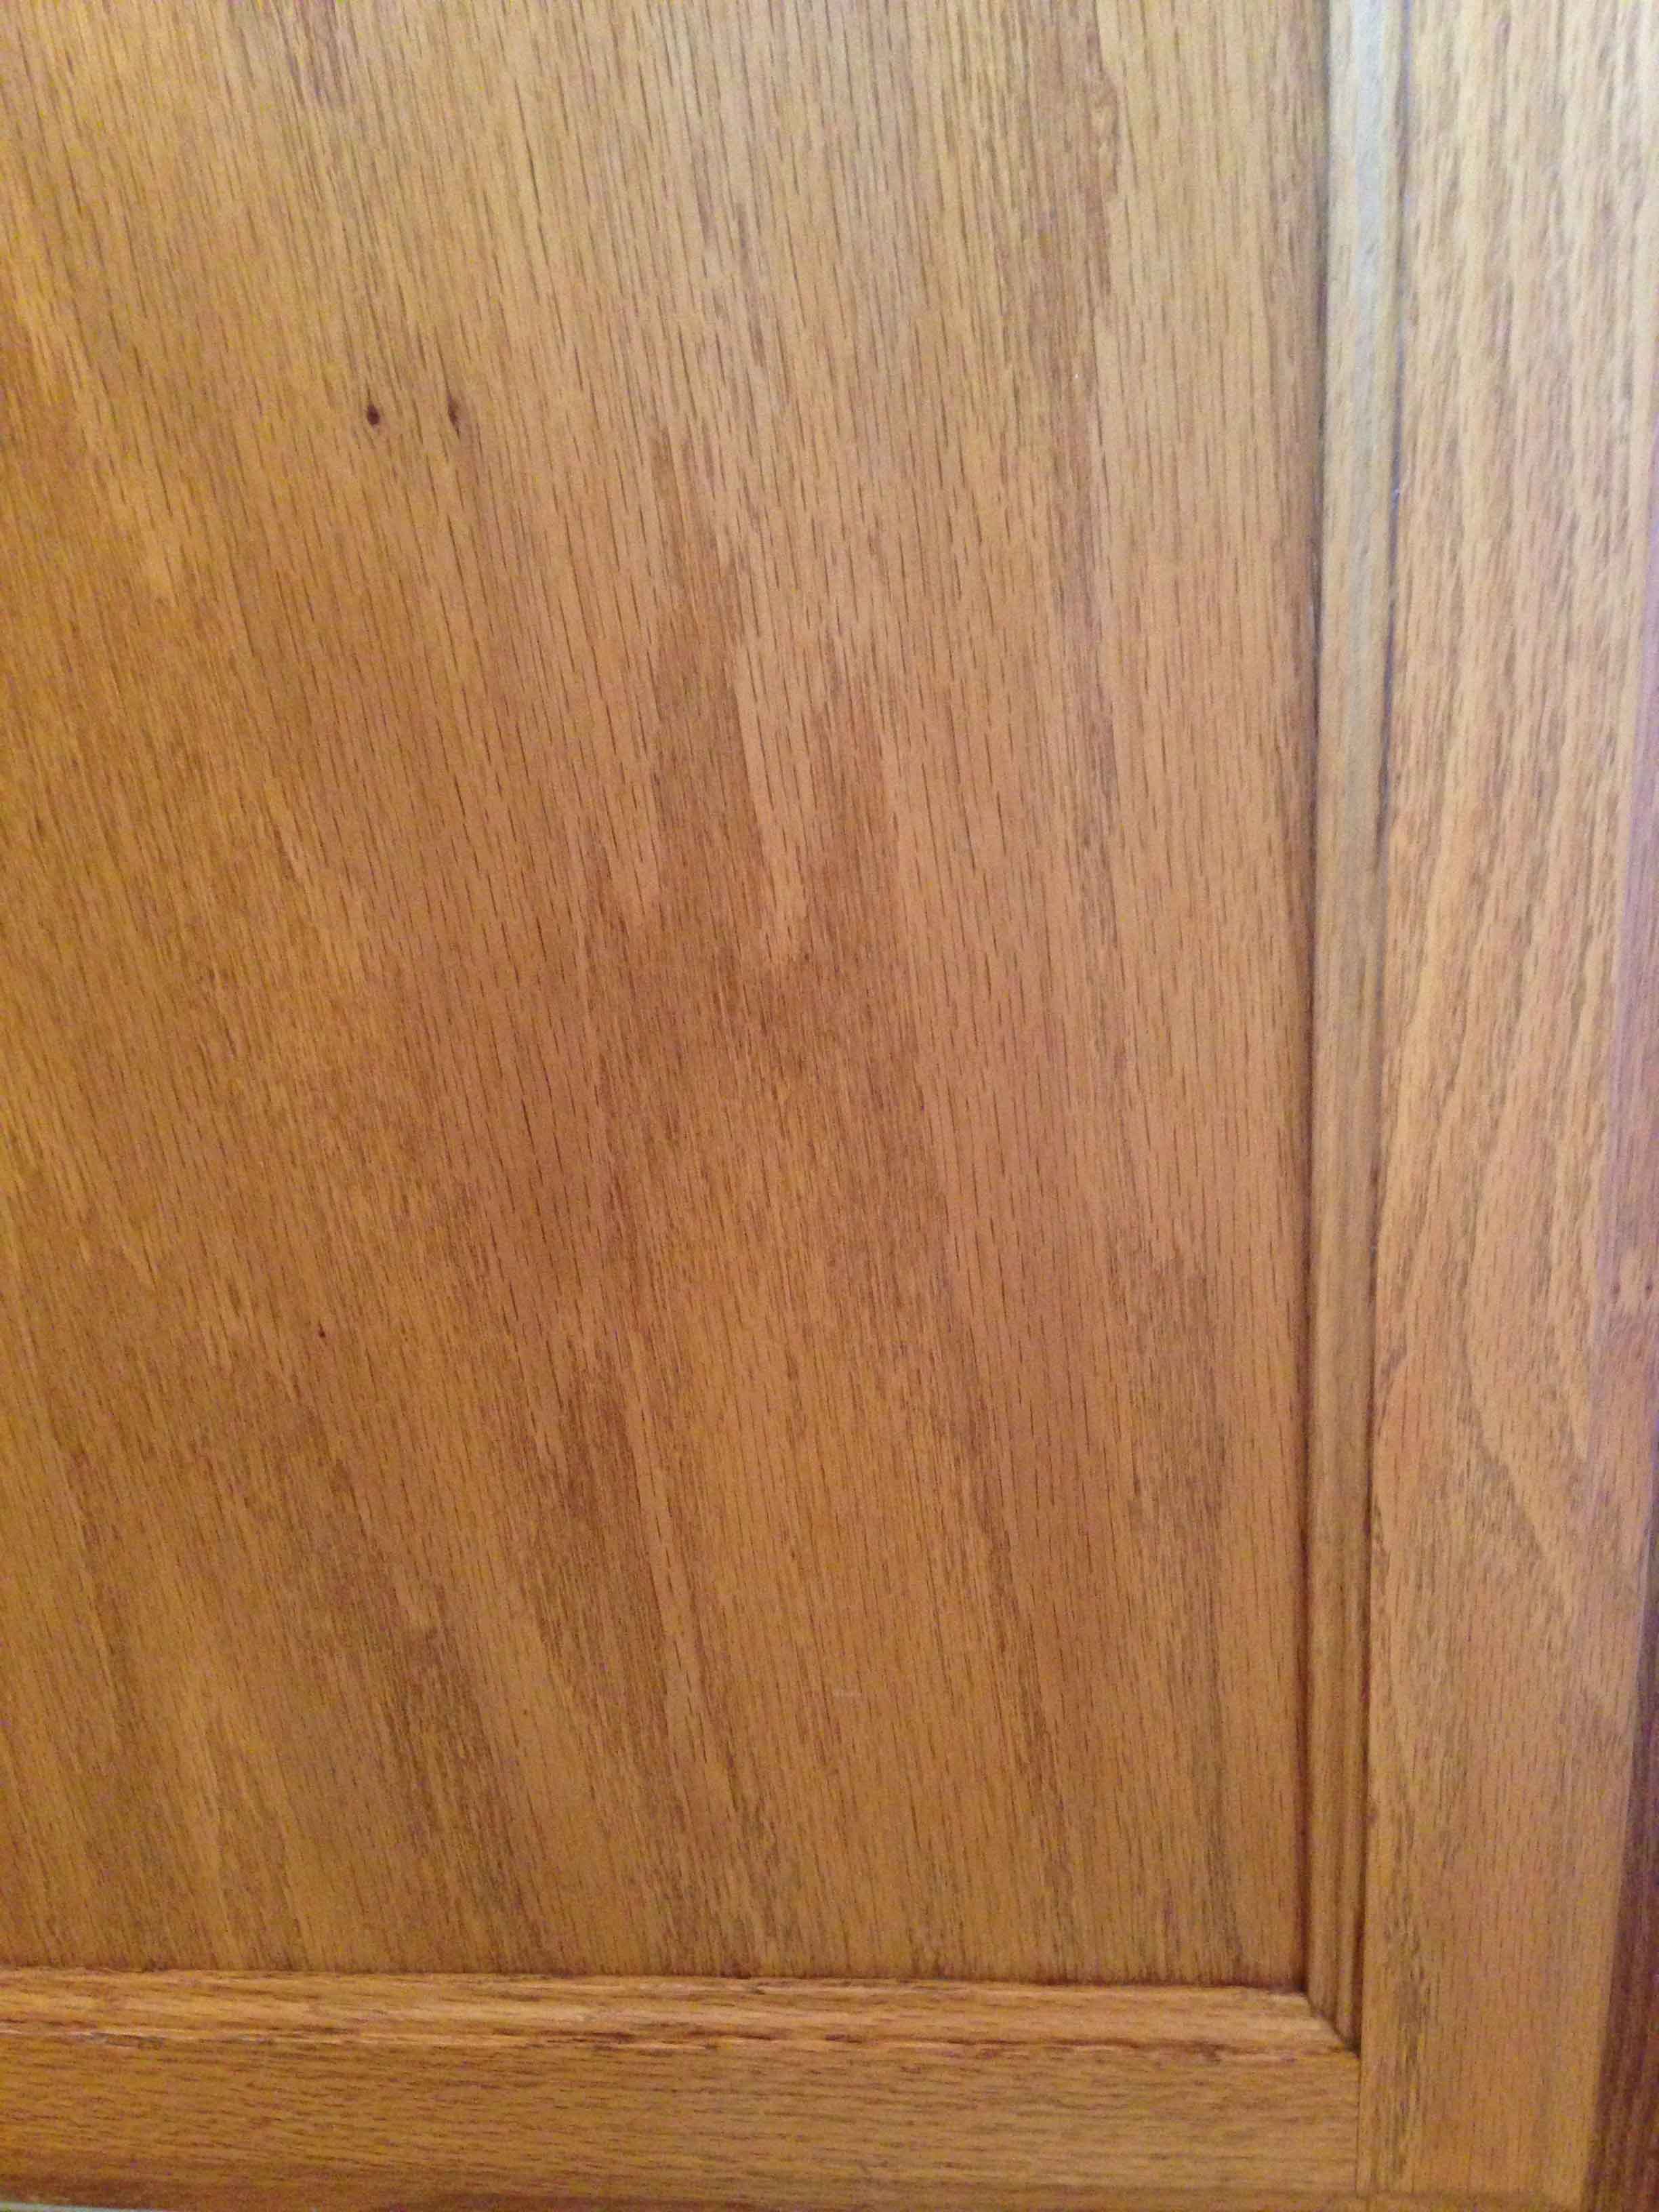
I am embarrassed to admit how dirty my kitchen cupboards are. So dirty! I decided to try a recipe that I found on Pinterest yesterday, and it worked great! I wanted to share it with you today.
I actually tried two different cleaners. The first one was a mixture of:
one part canola oil
two parts baking soda
Mix up until a thick paste, then use a cleaning toothbrush to scrub the crevices and outside of your cupboards. It is really thick, and kind of balls up while you are using it. The paste will turn dark with the grime. Here is a side by side comparison.
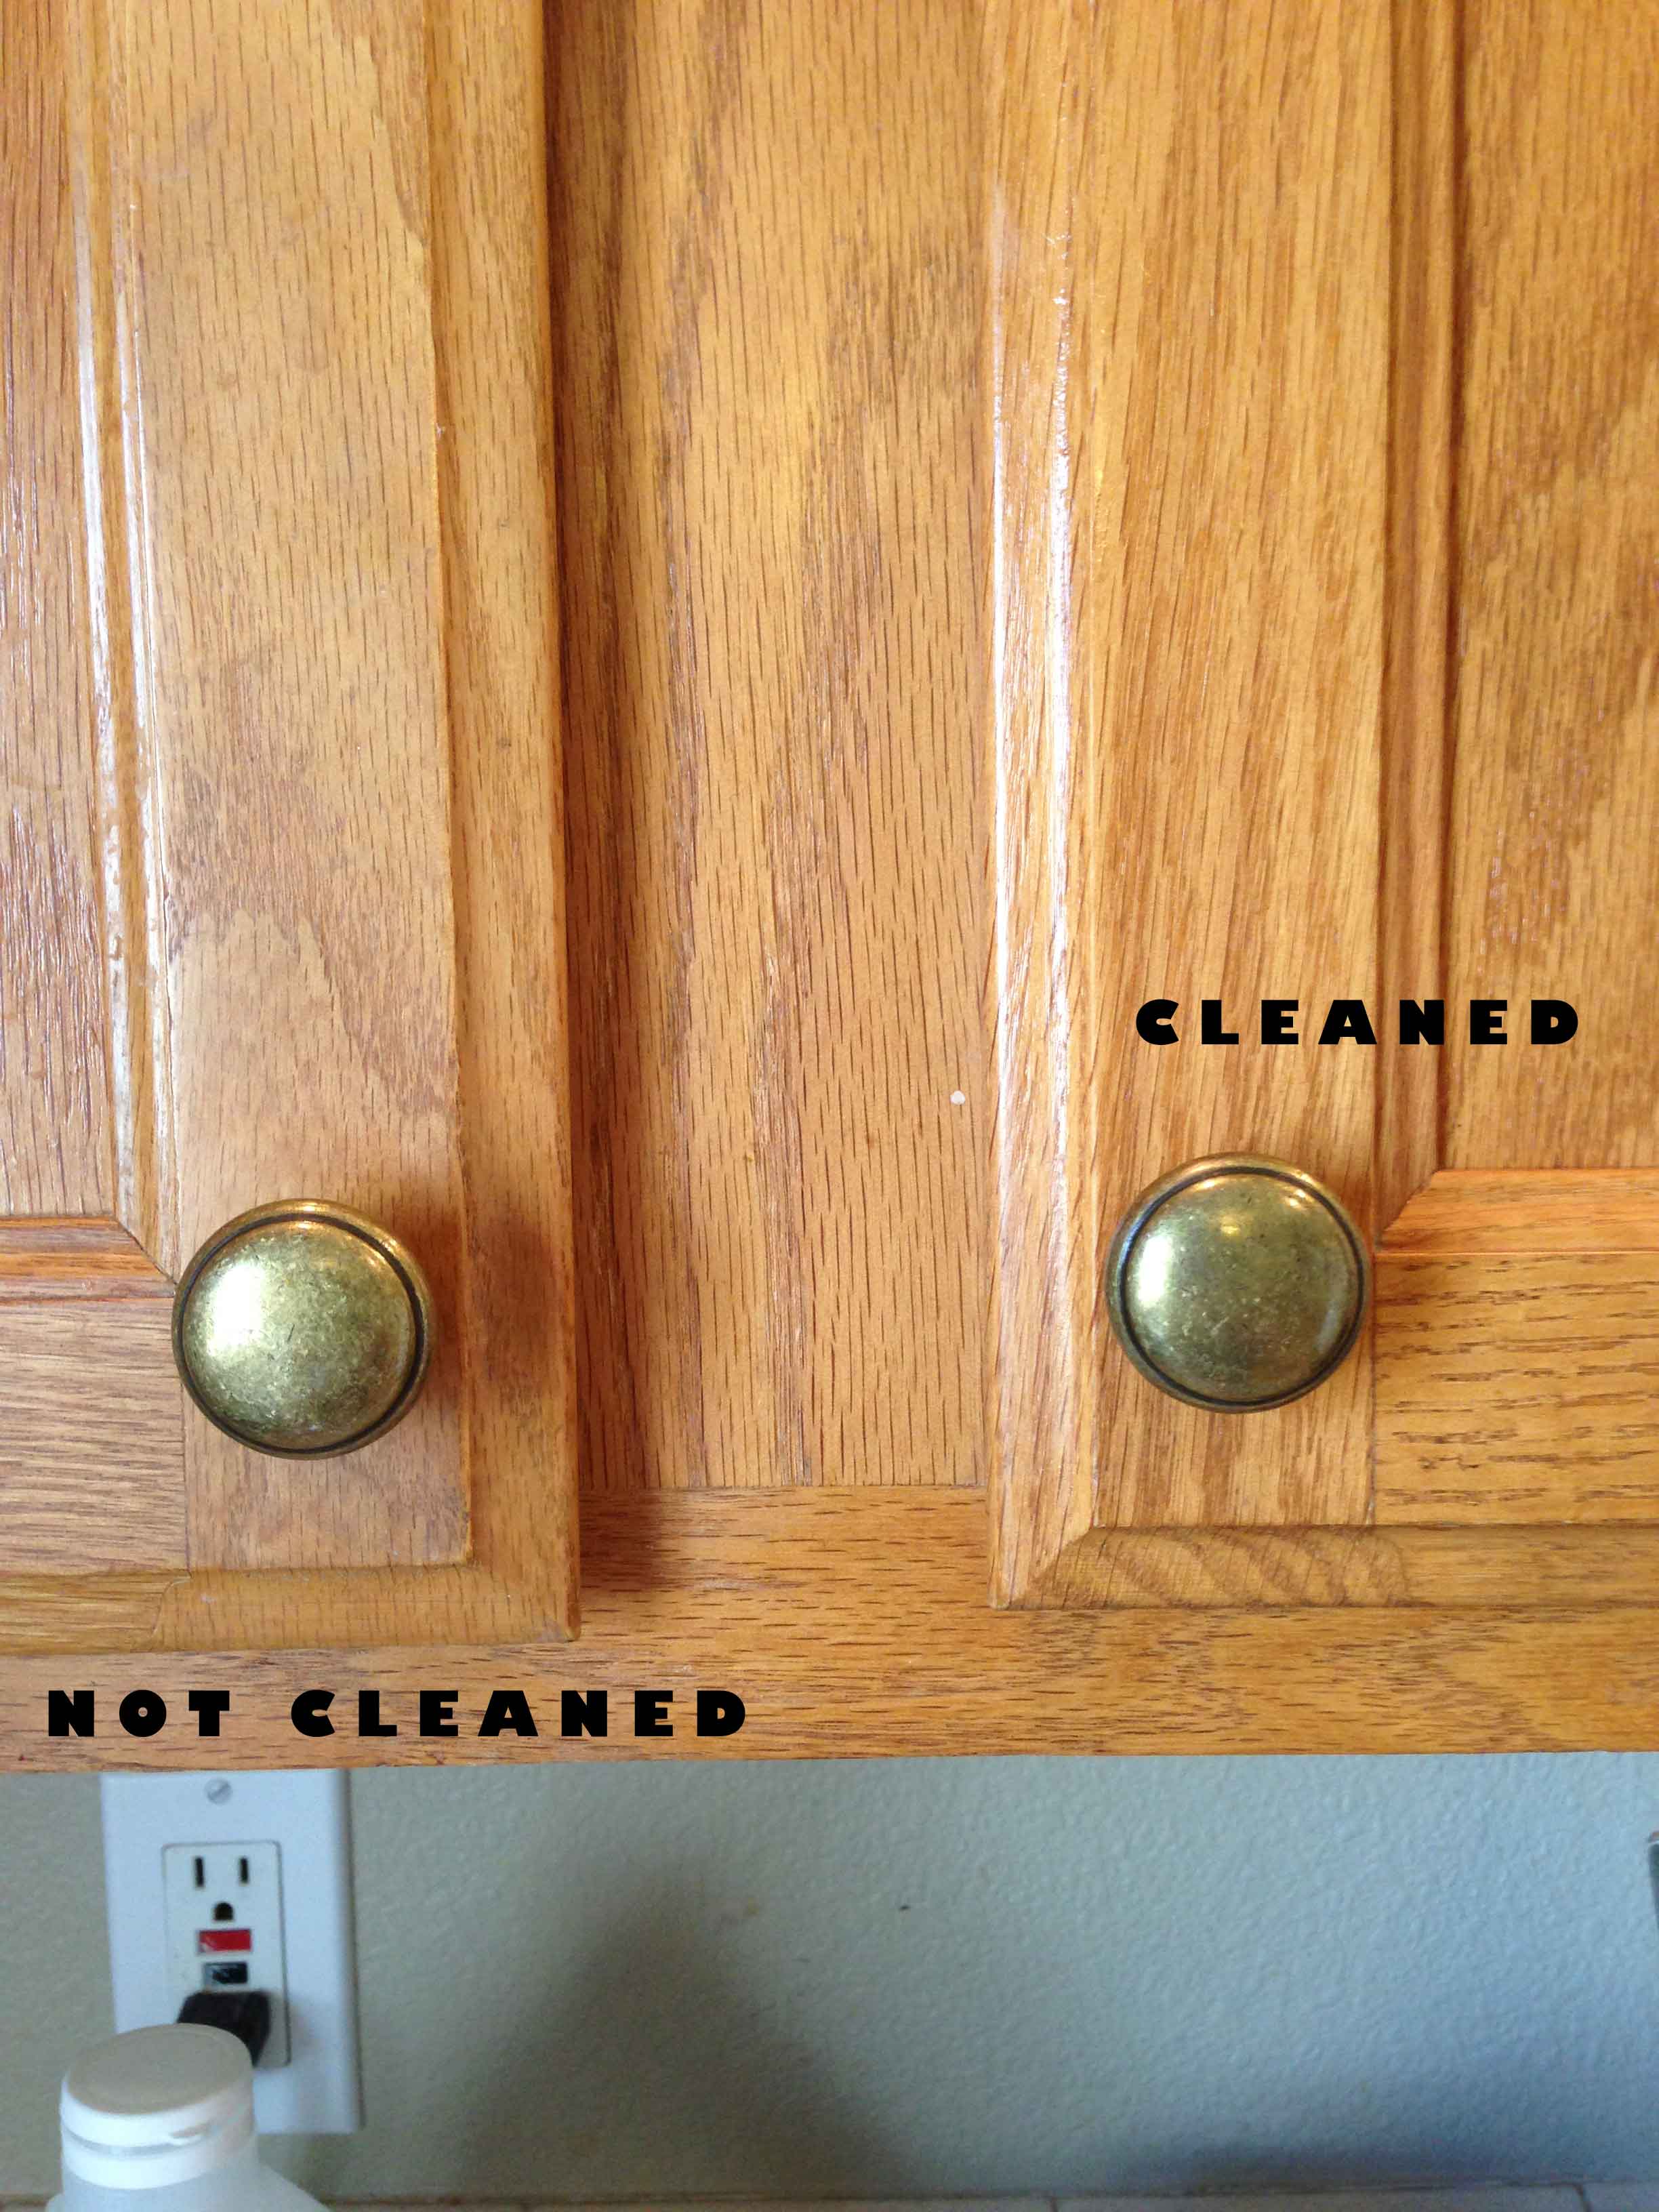
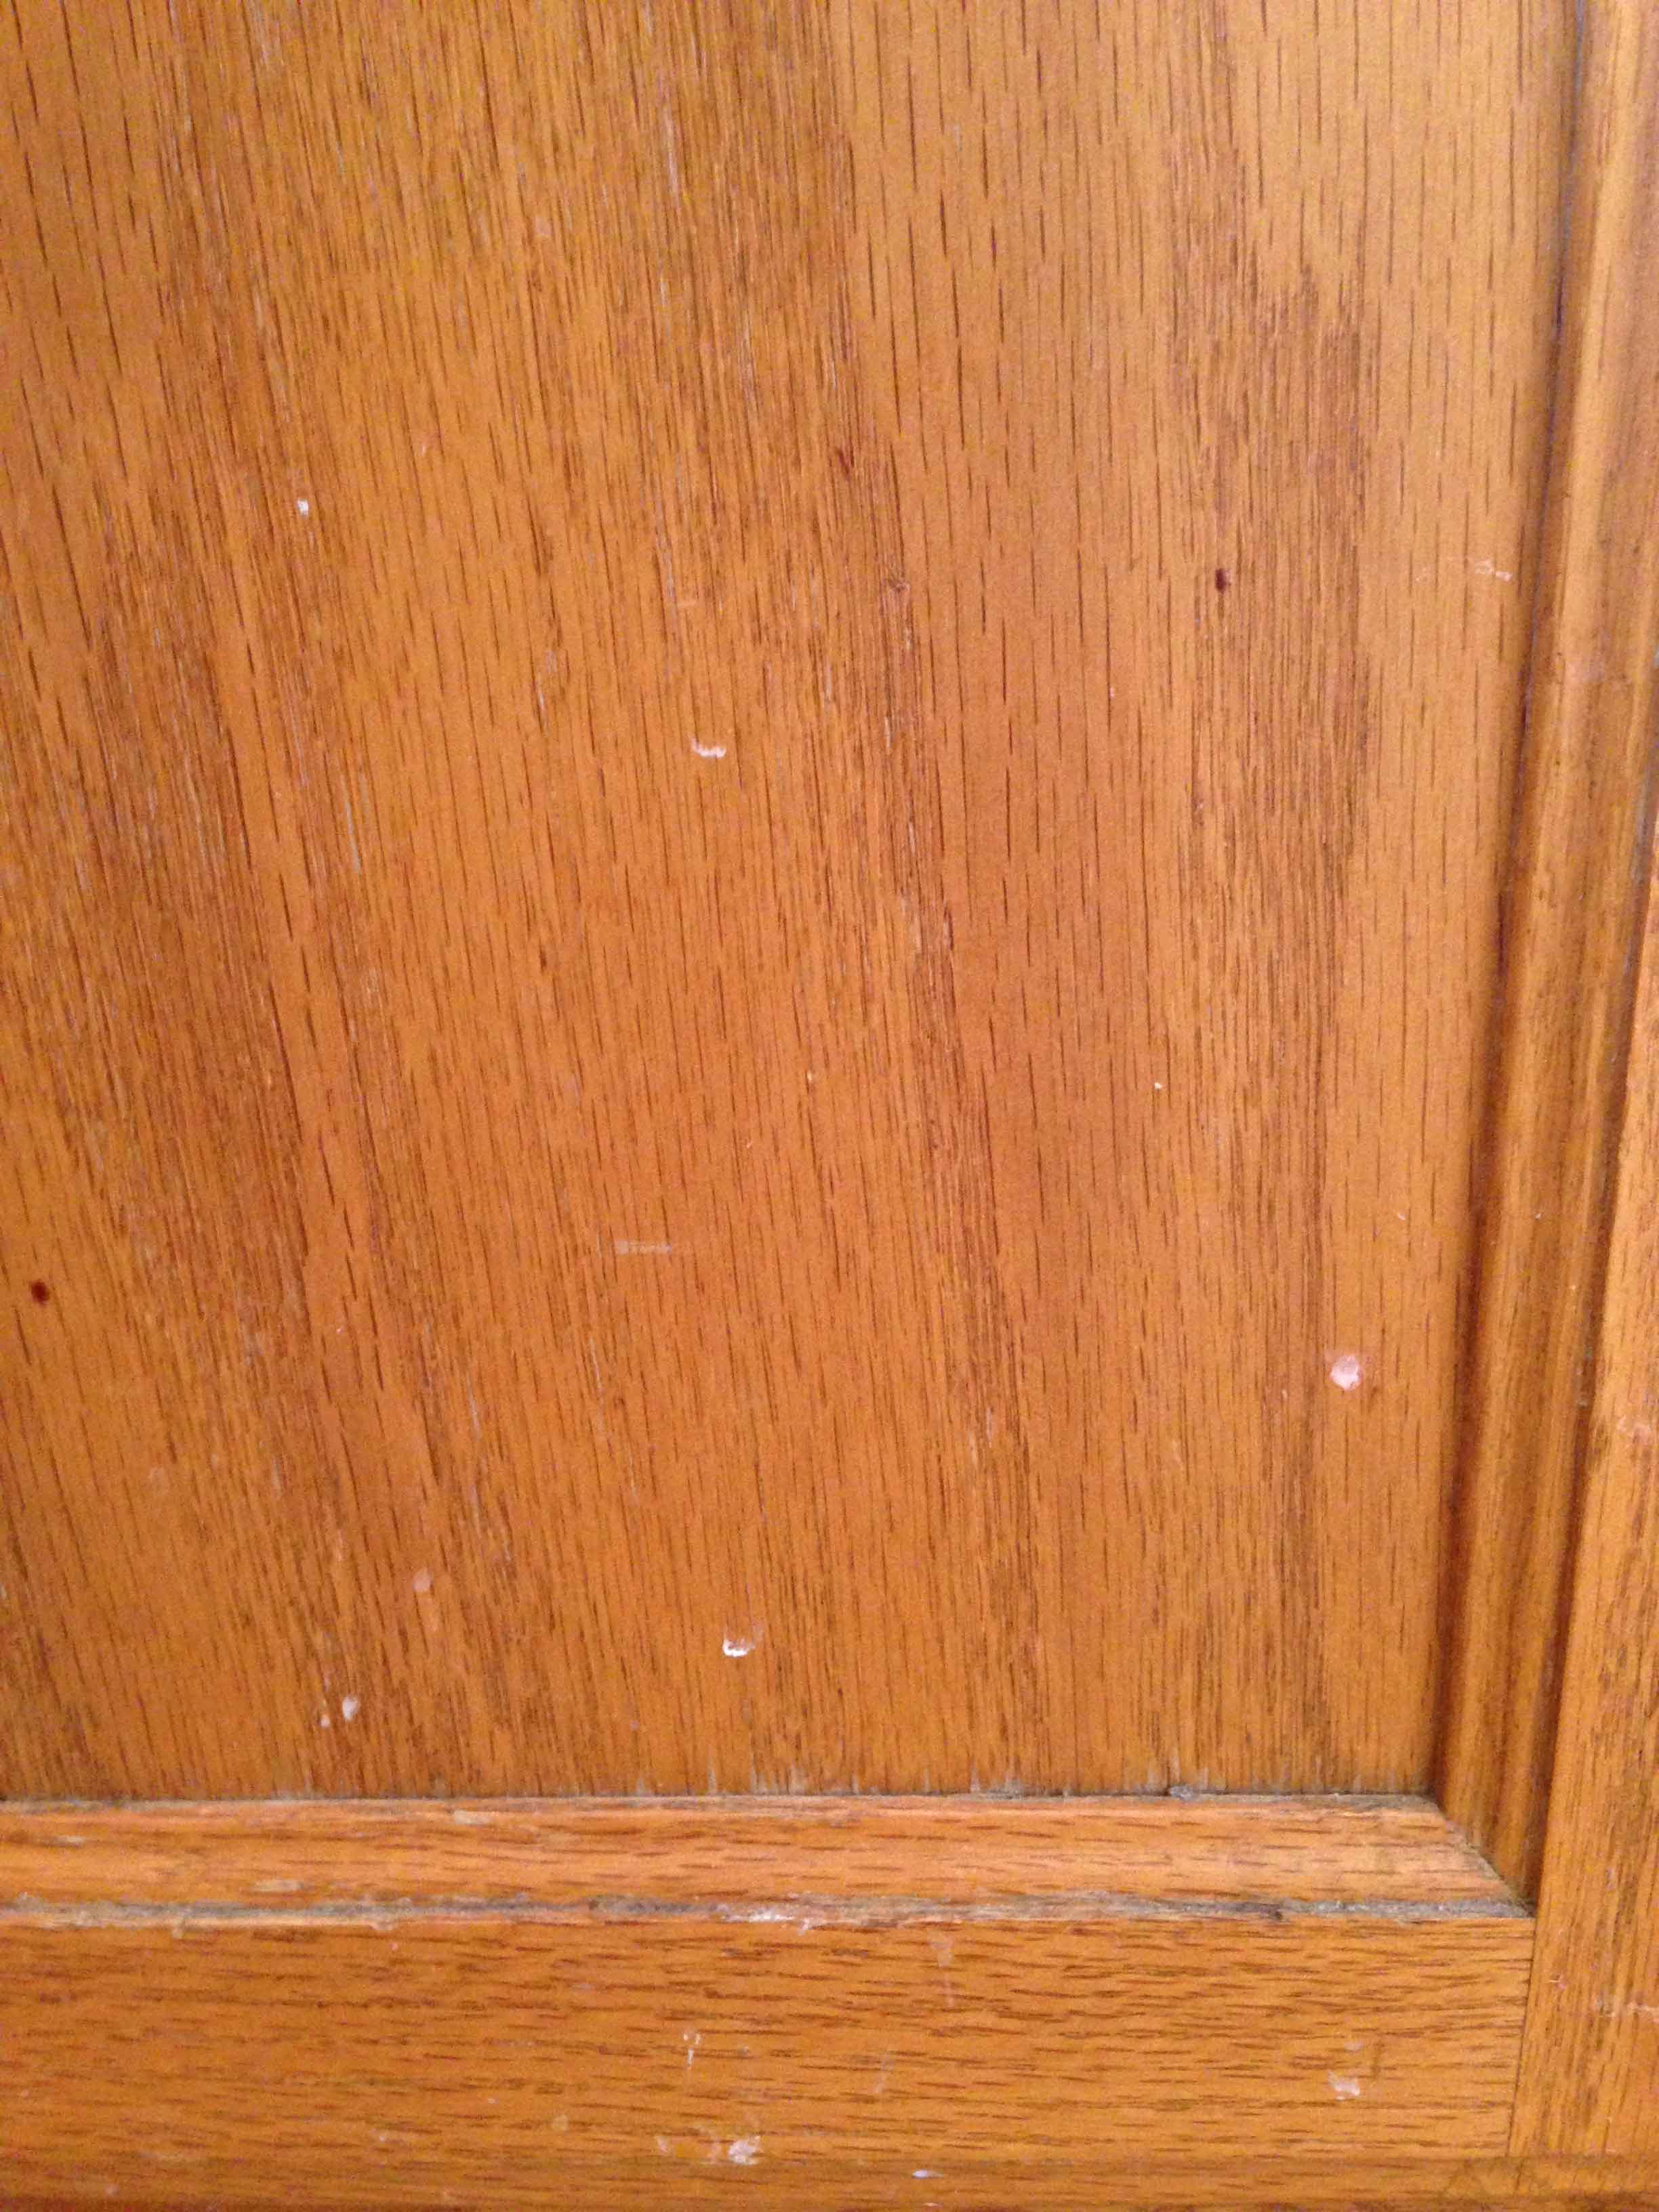
There is obviously a difference, but these cupboards were not as dirty as the ones below. It is just me or do the cupboards on the lower level get filthy? Since these cupboards were much dirtier, I tried an additional solution besides the baking soda and oil. For this one, I mixed:
about 1/2 c. white vinegar
2 cups warm water
4 TBL. baking soda
a few drops of dish-washing liquid
I scrubbed that on with the toothbrush as well. This solution worked great on the caked-on grime. Here is a before and after using that:
Now you have to admit that those pictures definitely speak for themselves! I can’t believe how clean they got. I am sold on cleaning my cupboards using these two solutions. I was able to clean several yesterday and I will finish more today. This is a very cost effective way to clean your cupboards and most likely you already have everything in your pantry to do the job!
DIY Make Up Brush Cleaner
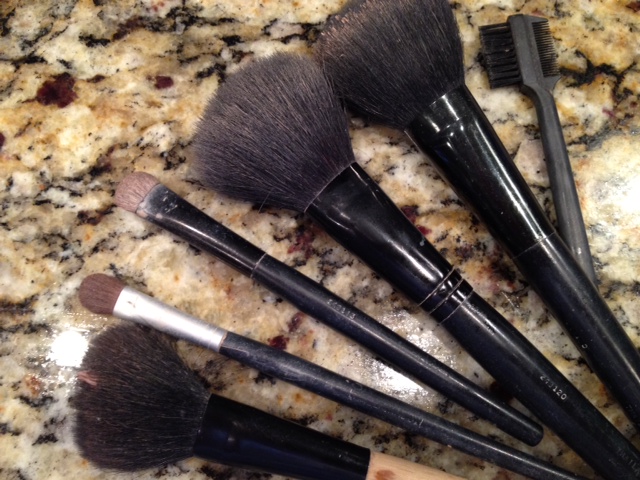 Before
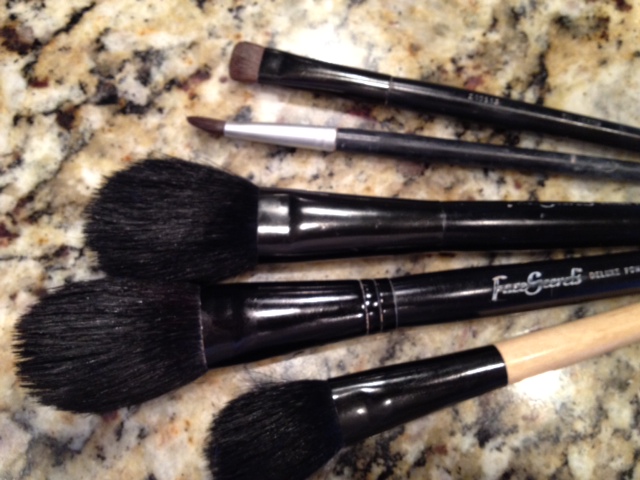 After
After
I hate when my make up brushes are dirty and after a while make up is bound to build up in application brushes. This can effect how well makeup is applied not the mention the extra bonus of the build up of bacteria in the brush it’s self. (Yuck!) I can’t stand dirty makeup brushes and have purchased many different cleaners for my brushes in the past. You can find a variety of makeup brush cleaners online at Amazon if your interested in a professional cleaning product. These usually range from about $4.00 up to $20.00. I don’t really had any complaints about the products I’ve used other than they all leave a chemical smell lingering in the bristles or hairs of the brush. But if your on a budget or are out of the professional cleaner, try this inexpensive alternative.
If you need to clean your make up brushes and don’t have a professional cleaner on hand I’ve found this DIY recipe to work just as well. All you need is some liquid dish soap, olive oil, a small bowl and some water.
Place a tablespoon of the liquid dish soap in the bottom of a bowl. Add a teaspoon of olive oil to the bowl. Simply swirl the brush in the mixture and rinse with water. Set brushes where they can air dry.
The result, clean brushes that have the additional benefit of being conditioned by the olive oil. This is safe to use on synthetic and real hair brushes as well.
FYI: Be sure to give your brushes enough time to dry before using them to apply your make up. Wet brushes will lead to clumpy makeup.
DIY: Jewelry Cleaner Recipe
 Spring cleaning starts to become addictive. As I start to deep clean my house it is refreshed for spring and I see things in the new light of spring’s sunshine as the winter clouds fade away. Freshly organized kitchen drawers, recently cleaned out closets and sparkling bathrooms are a satisfying site. But now I will admit that some kind of spring cleaning bug has bitten me. What else needs to be cleaned? This question is constantly running through my mind. (unfortunately there is no shortage of answers to this question) As look over what else I can clean I am drawn to my jewelry box.
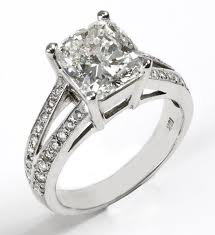
Rings, necklaces and earrings that have sat tuck away have also begun to lose their luster. Over time metal will oxidize and gather a dingy and dirty appearance. Even my well wore wedding ring bears signs of dirt that has magnetized it’s self to the band and I am carrying it with me every where I go. (yuck!) So I set out to find a way to bring back their sparkle and luckily this is an easy fix!
DIY jewelry cleaner is a simple solution that you can mix up right in your kitchen. Most of these household ingredients you will have on hand. It’s safe and friendly toward the environment. Follow these simple step to bring the sparkle back to your accessories.
DIY Jewelry Cleaner
1 TBS Salt
1 TBS Baking Soda
1 TBS Liquid Dish Soap
1 Cup Water
1 Piece Aluminum Foil
Small bowl
Step 1 – Heat the water in the microwave for about 2 minutes.
Step 2 – Cover the bottom of a small bowl with the aluminum foil.
Step 3 – Pour the hot water into the bowl. Add the salt, baking soda, and liquid dish soap to the water. Stir together gently.
Step 4 – Place jewelry on the top of the foil and let sit for 5 to 10 minutes. Rinse with cool water and dry with a soft cloth. Discard solution after each use.
DIY : Tub and Shower Cleaner
Cleaning the tub and shower is no where on my list of things I enjoy doing. It is however on my list of things that need to be done. Often my hubby jumps in and volunteers to do the scrubbing to which I respond by gladly handing over my cleaning supplies . He always does a great job and the bathroom looks brand new. Although I question the amount of cleaner he applies to the bathroom. We have even consulted the bottle for recommendations of the proper use of the product. The makers of the cleaning supplies love him because it’s the people like him that keep them in business. There is no doubt our bathroom is clean and germ free but the scent of chemicals lingering in the air of our home is not exactly what I would call a comforting smell.
In an earlier post I commented that I would like to find more natural ways to clean. I really do love a squeaky clean bathrooms. Professional premixed shower cleaners that I have used in the past have always done a great job leaving the shower and tub looking brand new. That’s why I love them. They do however have chemicals that make my arms itch and leave a suffocating smell in the air. So I am looking for ways to cut out the chemicals we use in our home.
I’m not sure that Dawn dish soap really counts as natural but vinegar does and it is no where near as harsh as some of the other cleaners we have used. With only 2 ingredients I easily made a simple homemade version of a tub and shower cleaner. To my surprise it worked just as well as the professional cleaning supplies I have been buying. For all of you penny pinchers out there, it only cost a fraction of the price that one would normally spend on cleaning supplies and who doesn’t love saving hard earned money. So if your in a pinch, looking to save a few pennies, are out of cleaner or just want to try something new, try mixing up a batch of your own tub and shower cleaner.
Simple Tub and Shower Cleaner Recipe
1 cup Dawn dish soap
1 cup White Distilled Vinegar
Pour into a spray bottle and shake until mixed well. Spray on surface to be cleaned, let sit for a minute and wipe away with a wet rag.