
Ruffle Shirt, Maxis, Purse Organizers, Nail Wraps, DIY Wheat Grass, Chalkboard & More
Ruffle Shirt, Maxis, Purse Organizers, Nail Wraps, DIY Wheat Grass, Chalkboard & More
 $10.99 | Ruffle Shirts in Chevron, Solids & Stripes!
|
 $5.99 | Gold & Silver Nail Wraps. Last 2 MONTHS on toes!
|


Plus so many more super cute deals all with inexpensive shipping!
Freezing Zucchini
If you have an abundance of zucchini like I do and your friends aren’t so willing to take it you may want to try ding dong ditching it and leaving the green skinned squash on random front porches of unsuspecting neighbors. Or you can use it to your benefit and make it last a little longer by freezing it.
We are in the middle of what I call squash season and this forever giving vegetable (or weed as my husband likes to call it) seems to be waiting in the garden each and every morning. Although it is fun to watch something grow so prolific, it can be overwhelming when you look at the pile of squash on the counter and wonder just what you are going to do with it.
If you enjoy zucchini, freezing it is a great way to extend the life of your garden produce. Freezing the squash gives you the ability to use it later in year. These frozen veggie packs make it easy to add to soups, casseroles, side dishes, pasta sauces, breads, cakes and muffins.
Freezing zucchini is super simple just follow these quick and easy steps to regain your counter top and hide this summer squash away in your freezer.
Directions
Start by washing the zucchini well. Making sure to clean all the dirt off of the squash.
Next cut the ends and any undesirable sections off of the zucchini.
Then section the vegetable into smaller pieces that are easy to grate. Scoop any extra large seed out and discard them.
Grate the squash by hand or with a food processor.
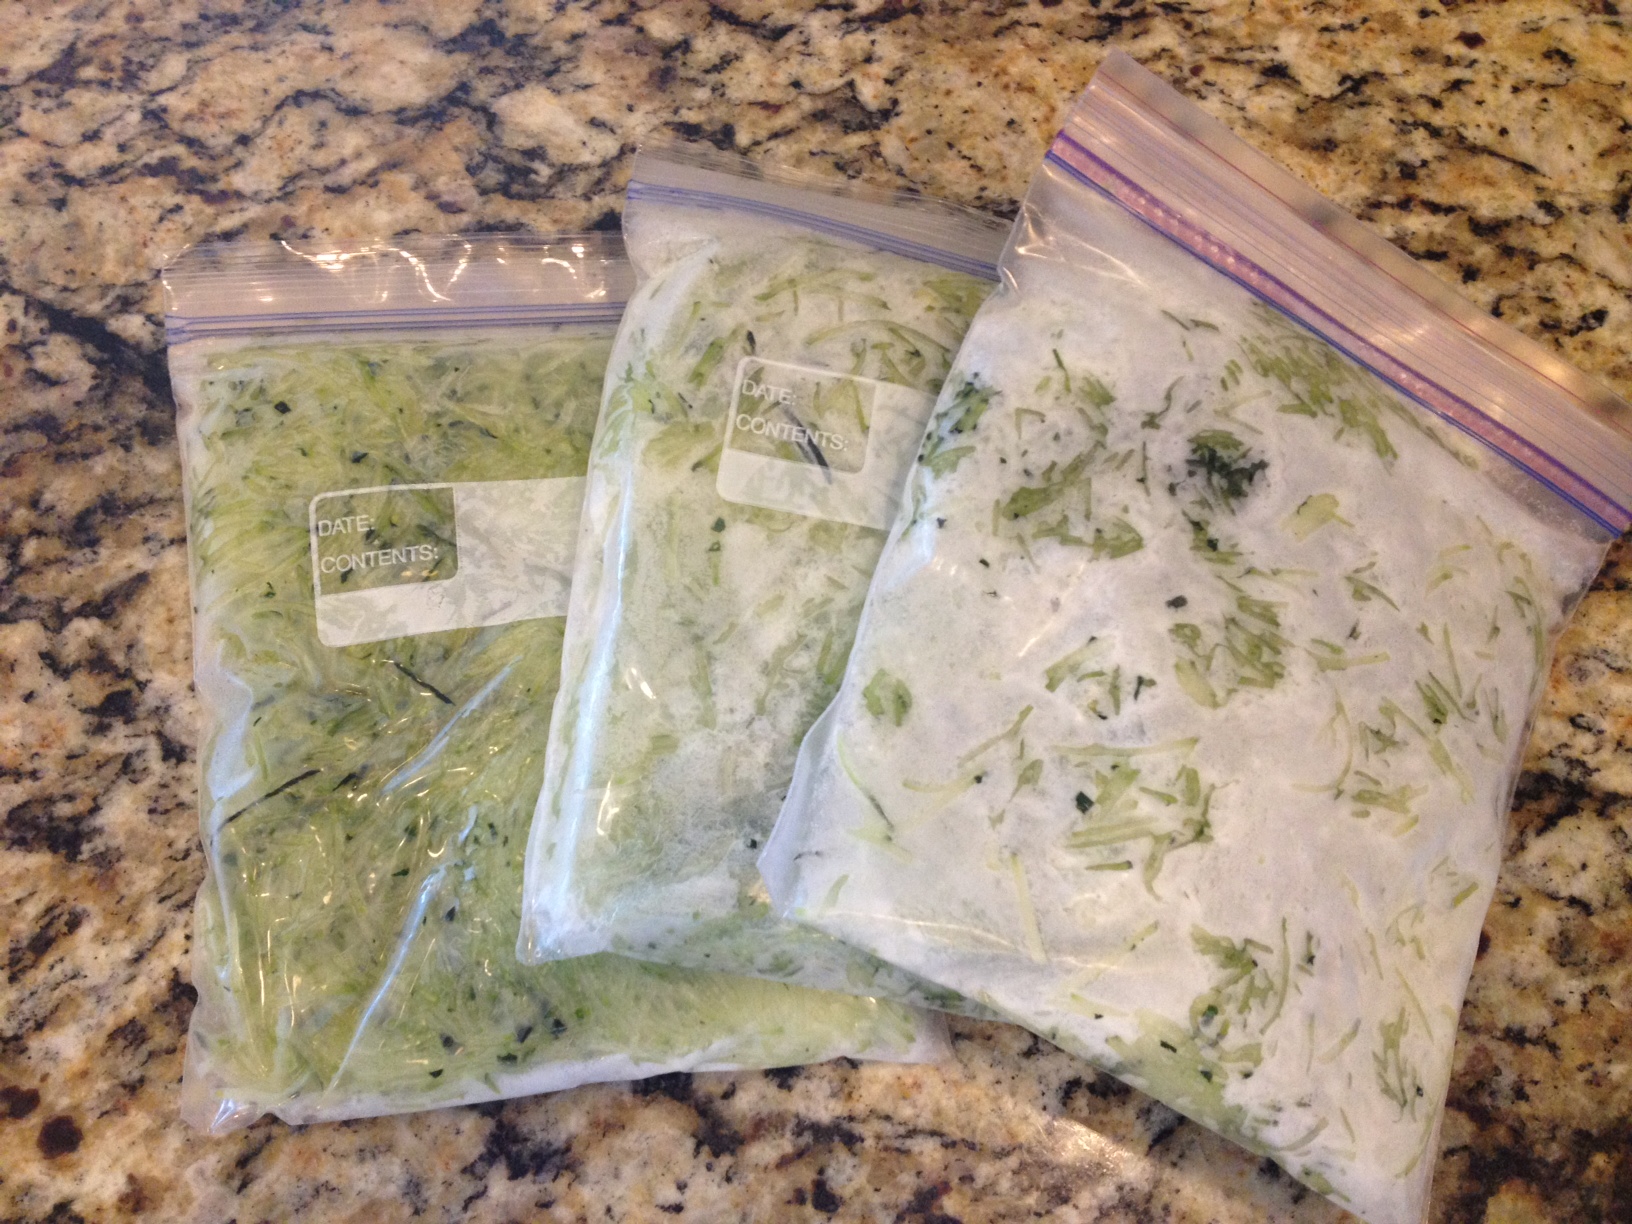
Measure zucchini into amounts that can easily be used in your recipes. I measured out 2 cups and placed into freezer bags.
Store in small containers like freezer bags or plastic containers. If you decided to use freezer bags, pat the zucchini flat and stack the bags in the freezer to save space.
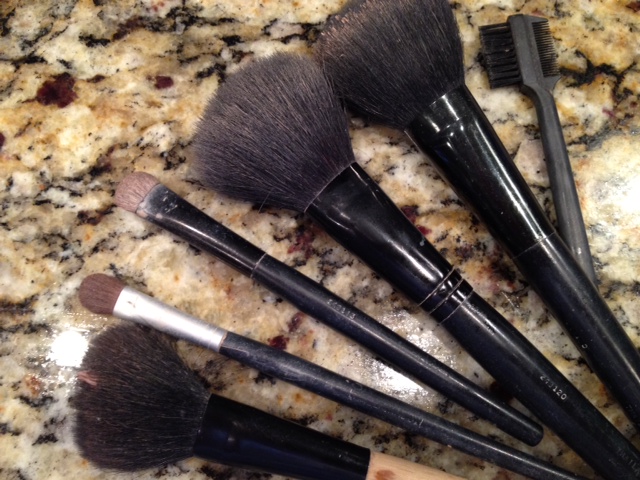
DIY Make Up Brush Cleaner
 Before
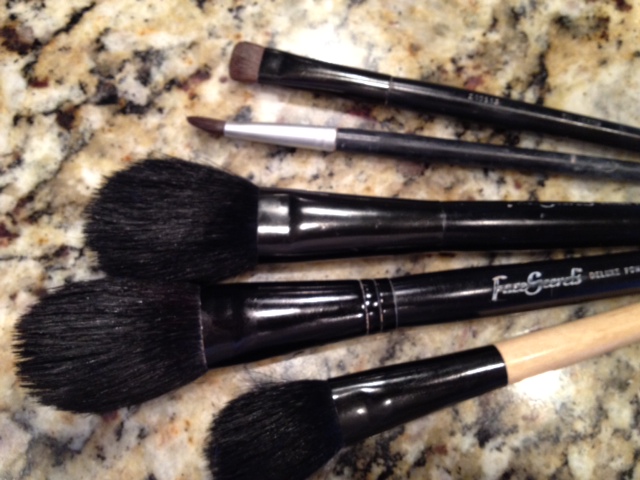 After
After
I hate when my make up brushes are dirty and after a while make up is bound to build up in application brushes. This can effect how well makeup is applied not the mention the extra bonus of the build up of bacteria in the brush it’s self. (Yuck!) I can’t stand dirty makeup brushes and have purchased many different cleaners for my brushes in the past. You can find a variety of makeup brush cleaners online at Amazon if your interested in a professional cleaning product. These usually range from about $4.00 up to $20.00. I don’t really had any complaints about the products I’ve used other than they all leave a chemical smell lingering in the bristles or hairs of the brush. But if your on a budget or are out of the professional cleaner, try this inexpensive alternative.
If you need to clean your make up brushes and don’t have a professional cleaner on hand I’ve found this DIY recipe to work just as well. All you need is some liquid dish soap, olive oil, a small bowl and some water.
Place a tablespoon of the liquid dish soap in the bottom of a bowl. Add a teaspoon of olive oil to the bowl. Simply swirl the brush in the mixture and rinse with water. Set brushes where they can air dry.
The result, clean brushes that have the additional benefit of being conditioned by the olive oil. This is safe to use on synthetic and real hair brushes as well.
FYI: Be sure to give your brushes enough time to dry before using them to apply your make up. Wet brushes will lead to clumpy makeup.
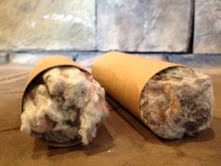
DIY Fire Starters
The campfire is one of my families favorite parts of the camping trip. They love smores and setting fire to sugary marshmallows until they resemble hot glowing lumps of coal. Roasting starburst is also among one of their most recent passions. Getting a campfire going can be frustrating if your not an Eagle Scout or expert in fire building. So why not have a little help?
Making your own fire starter is as simple as changing a load of laundry. To make your own fire starter you only need two things.
Dryer lint & Empty toilet paper rolls
Simply gather the lint and stuff it inside the card board tubes. Place these under your wood with you kindling to give your fire a little starter fuel. Light both end with a match for best results.
DIY: Jewelry Cleaner Recipe
 Spring cleaning starts to become addictive. As I start to deep clean my house it is refreshed for spring and I see things in the new light of spring’s sunshine as the winter clouds fade away. Freshly organized kitchen drawers, recently cleaned out closets and sparkling bathrooms are a satisfying site. But now I will admit that some kind of spring cleaning bug has bitten me. What else needs to be cleaned? This question is constantly running through my mind. (unfortunately there is no shortage of answers to this question) As look over what else I can clean I am drawn to my jewelry box.
Rings, necklaces and earrings that have sat tuck away have also begun to lose their luster. Over time metal will oxidize and gather a dingy and dirty appearance. Even my well wore wedding ring bears signs of dirt that has magnetized it’s self to the band and I am carrying it with me every where I go. (yuck!) So I set out to find a way to bring back their sparkle and luckily this is an easy fix!
DIY jewelry cleaner is a simple solution that you can mix up right in your kitchen. Most of these household ingredients you will have on hand. It’s safe and friendly toward the environment. Follow these simple step to bring the sparkle back to your accessories.
DIY Jewelry Cleaner
1 TBS Salt
1 TBS Baking Soda
1 TBS Liquid Dish Soap
1 Cup Water
1 Piece Aluminum Foil
Small bowl
Step 1 – Heat the water in the microwave for about 2 minutes.
Step 2 – Cover the bottom of a small bowl with the aluminum foil.
Step 3 – Pour the hot water into the bowl. Add the salt, baking soda, and liquid dish soap to the water. Stir together gently.
Step 4 – Place jewelry on the top of the foil and let sit for 5 to 10 minutes. Rinse with cool water and dry with a soft cloth. Discard solution after each use.
DIY : Tub and Shower Cleaner
Cleaning the tub and shower is no where on my list of things I enjoy doing. It is however on my list of things that need to be done. Often my hubby jumps in and volunteers to do the scrubbing to which I respond by gladly handing over my cleaning supplies . He always does a great job and the bathroom looks brand new. Although I question the amount of cleaner he applies to the bathroom. We have even consulted the bottle for recommendations of the proper use of the product. The makers of the cleaning supplies love him because it’s the people like him that keep them in business. There is no doubt our bathroom is clean and germ free but the scent of chemicals lingering in the air of our home is not exactly what I would call a comforting smell.
In an earlier post I commented that I would like to find more natural ways to clean. I really do love a squeaky clean bathrooms. Professional premixed shower cleaners that I have used in the past have always done a great job leaving the shower and tub looking brand new. That’s why I love them. They do however have chemicals that make my arms itch and leave a suffocating smell in the air. So I am looking for ways to cut out the chemicals we use in our home.
I’m not sure that Dawn dish soap really counts as natural but vinegar does and it is no where near as harsh as some of the other cleaners we have used. With only 2 ingredients I easily made a simple homemade version of a tub and shower cleaner. To my surprise it worked just as well as the professional cleaning supplies I have been buying. For all of you penny pinchers out there, it only cost a fraction of the price that one would normally spend on cleaning supplies and who doesn’t love saving hard earned money. So if your in a pinch, looking to save a few pennies, are out of cleaner or just want to try something new, try mixing up a batch of your own tub and shower cleaner.
Simple Tub and Shower Cleaner Recipe
1 cup Dawn dish soap
1 cup White Distilled Vinegar
Pour into a spray bottle and shake until mixed well. Spray on surface to be cleaned, let sit for a minute and wipe away with a wet rag.
DIY: Frozen Smoothie Packets
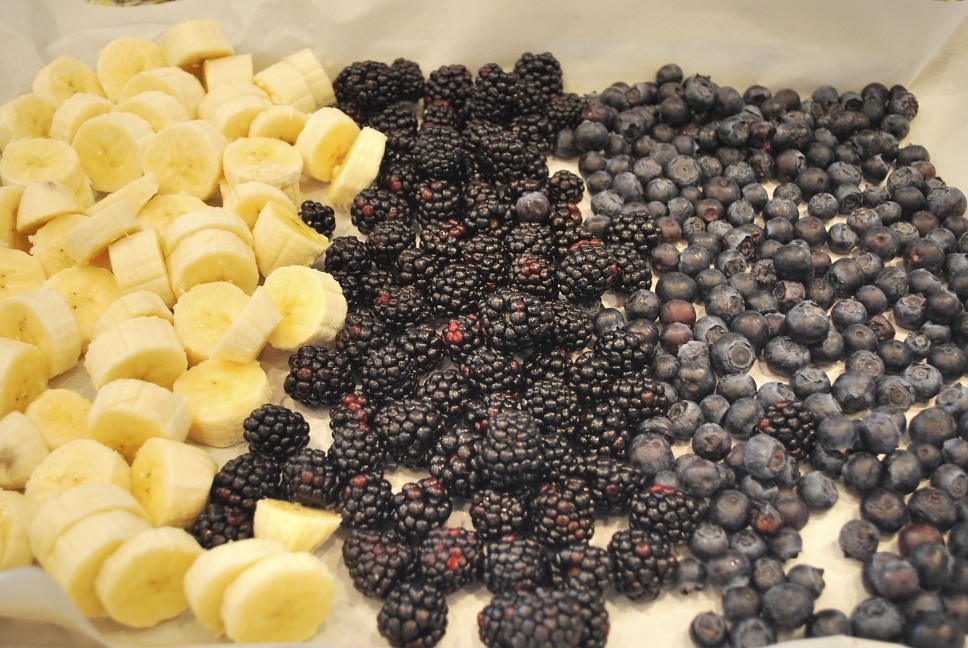

We have a love for smoothies at our house. If you say, “Jamba Juice,” it doesn’t take long for us to load into the car on a Saturday morning. However it can be expensive and like I’ve said before, I am a self proclaimed penny pincher.
Recently my son asked me to purchase a frozen Dole Smoothie packet while we were shopping at the grocery store. When we opened it up at home the next morning and I read the directions, I thought, “ I could make this myself.” Although I will admit it was yummy, it just didn’t go that far with four smoothie loving boys sitting around the kitchen table. So I set out to make my homemade version and found out that a lot of other people have had the same idea.
Making smoothies at home is a great way to use up fruit sitting in the fridge. Bananas that a slightly past the stage a eating fresh are great frozen and tossed into the blender to add an icy sweetness to breakfast. Something about blending your own tasty concoctions out of fruit, yogurt, milk, juices and ice is interestingly satisfying and fun.
Here is what we came up with as a rule of thumb for smoothie making.
1/3 Yogurt
2/3 Fruit
1 Cup Liquid ( like Milk or Juice)
Ice (optional if your fruit isn’t frozen)
Drizzle of honey or tsp of sugar if you prefer it to be sweeter.
To make it easy for my kiddos to make their own breakfast, I made some my own frozen smoothie packets. I purchased blueberries and blackberries on sale and froze them on my own, along with some slightly ripened bananas that were sitting on my counter. I also purchased a bag of frozen strawberries so we could make it a mixed berry smoothie and to add some color.
Just a couple of notes about pre freezing your fruit and yogurt. Slice fruit and place it on a wax paper lined baking sheet and cover with plastic wrap before placing it in the freezer. Place in the freezer for a couple of hours prior to assembling smoothie packets. It is easy to add frozen yogurt to your packets if you freeze small amounts ahead of time in ice cube trays or mini muffin tins. Let the yogurt sit on the counter for a couple mins after it has been frozen and it will easily come out of it’s container.
Assembly Instructions:
In each small freezer bag place
1/4 cup sliced bananas
1/2 cup mixed frozen berries
1/4 cup frozen yogurt
Date and place in freezer. To prepare smoothie empty contents into blender with 1 cup milk or juice and blend until mixed well and enjoy.