
January is a hard month to decorate. In my own home, I tend to keep things clean and minimal in January; a nice contrast to the decorating-overload that tends to be Christmas! Still about this time I do want a little something that speaks to the season.
The elementary school where my friend is the principal has a little alcove in the entry way. I go in once a month or so and change the seasonal decor in that alcove. This can be a challenge; I need to find things that are warm and friendly, widely appealing, quick and very inexpensive!
As I was putting up the Winter decor there this week, it occurred to me that there were lots of items there that could serve as a jumping off point for your own decor. Since none of these things are new, I don’t have tutorials for them, but I’ll walk you through them, and you can add your own creativity!
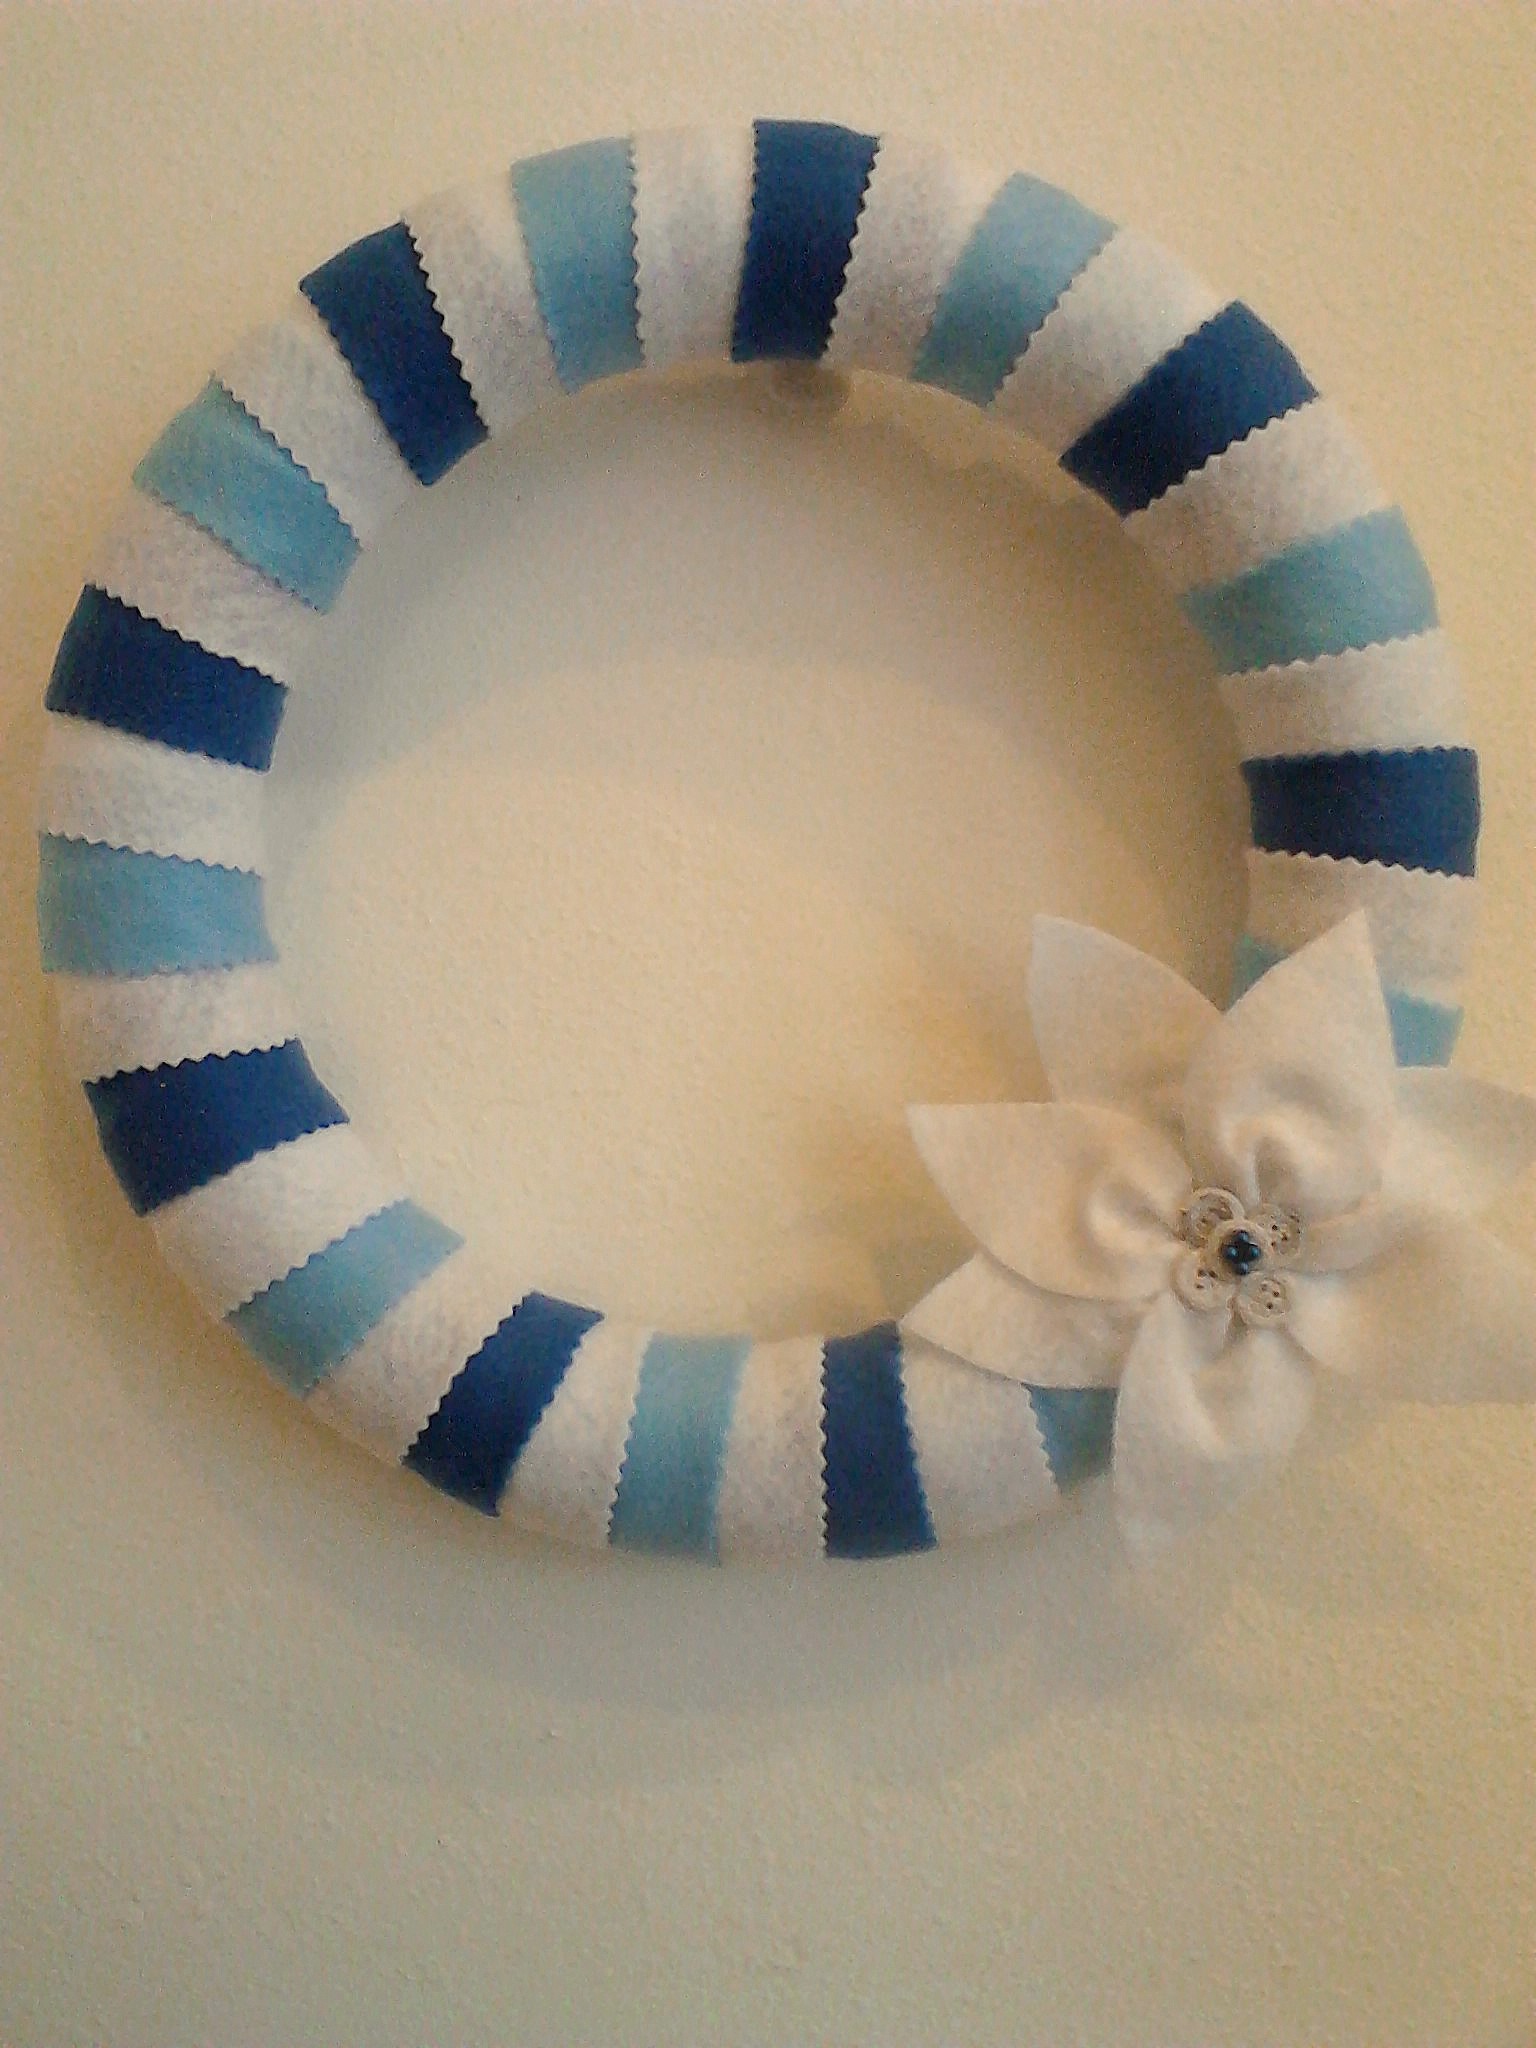
First up, a simple wreath. See this post here if you missed the Christmas version. For this one, I changed the colors and used small buttons – that I painted with white glitter paint – for the center of the flower.
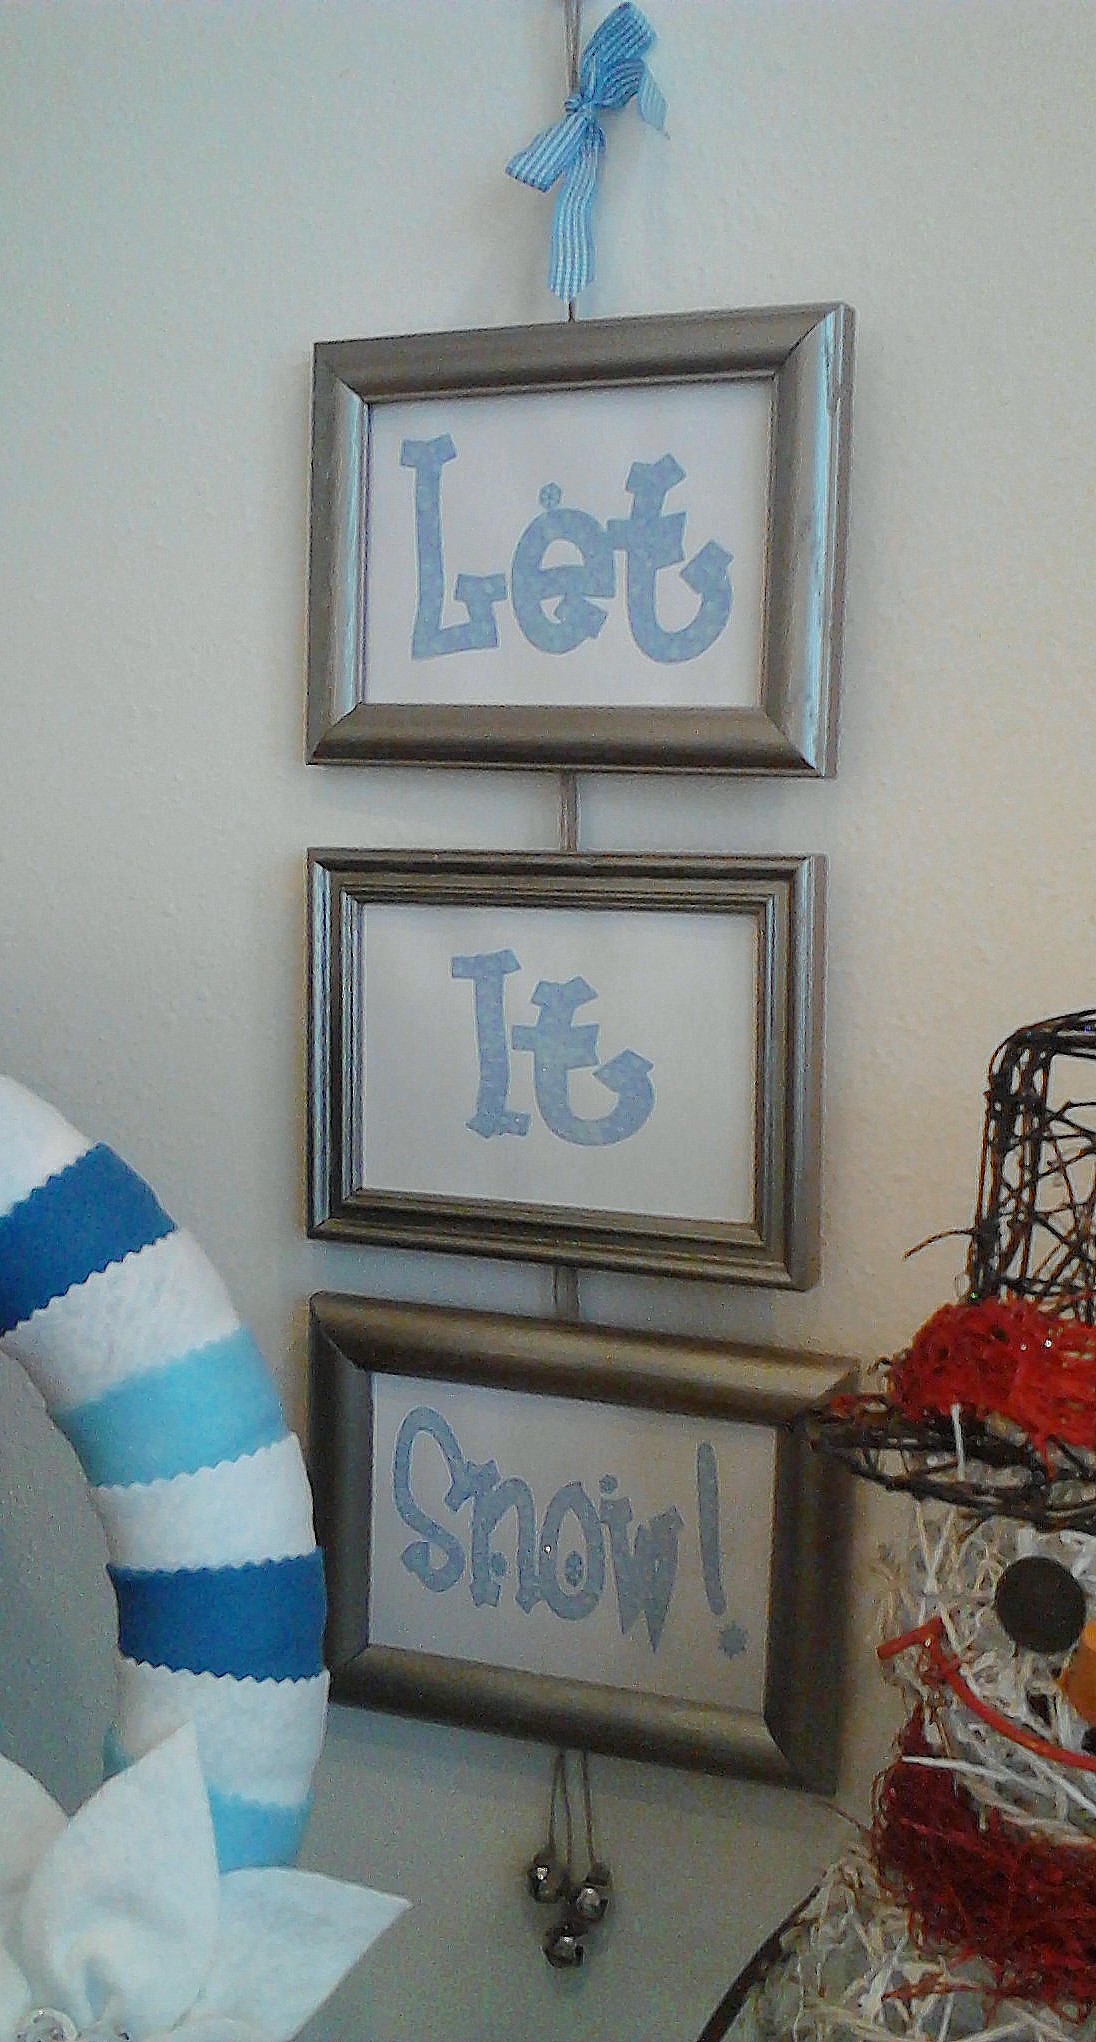
This is one of my favorites – so simple and cost me almost nothing – but I just love the way it turned out. I bought 3 small frames in the same size at a thrift store and painted them silver. Then, using WordArt in a Word document, I printed out the words “Let It Snow” using blue ink on white cardstock. Using a small paint brush, I painted over the text with Mod Podge and sprinkled them with fine white glitter. Cut the cardstock to size and mount them in the frames. Position them right side down on a table and lay out a piece of twine or ribbon on the back. Using a staple gun, staple the twine in place to the backs of the frames. I tied a blue ribbon to the top and some silver jingle bells to the bottom for that finishing touch.
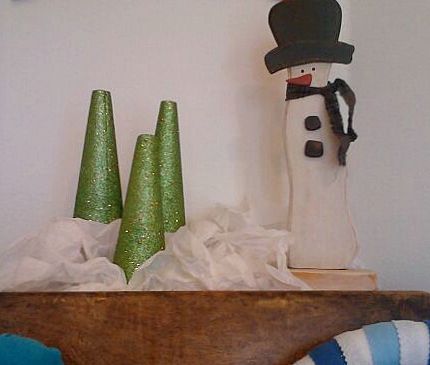
I’m not generally a fan of glitter, but in January, it just seems perfect! I especially like the Martha Stewart line of glitter that they sell at Michaels. It’s super fine and just so pretty. I wanted some wintery, snowy trees and finally decided to go with a glittery green, but this would also look great with white. Just paint Mod Podge or glue onto a styrofoam cone, and sprinkle the glitter on. Once it dries, it is pretty sturdy; these trees are 3 years old and they have lost almost none of the glitter. I love the way the green gives a pop of color against the blues and whites.
Also notice the crumpled white tissue paper. I would go easy on using this in my house – it could easily look chintzy – but this shelf is up higher and I love that the paper ties the items together and gives the display a little bulk.
Here’s our big snowman friend –
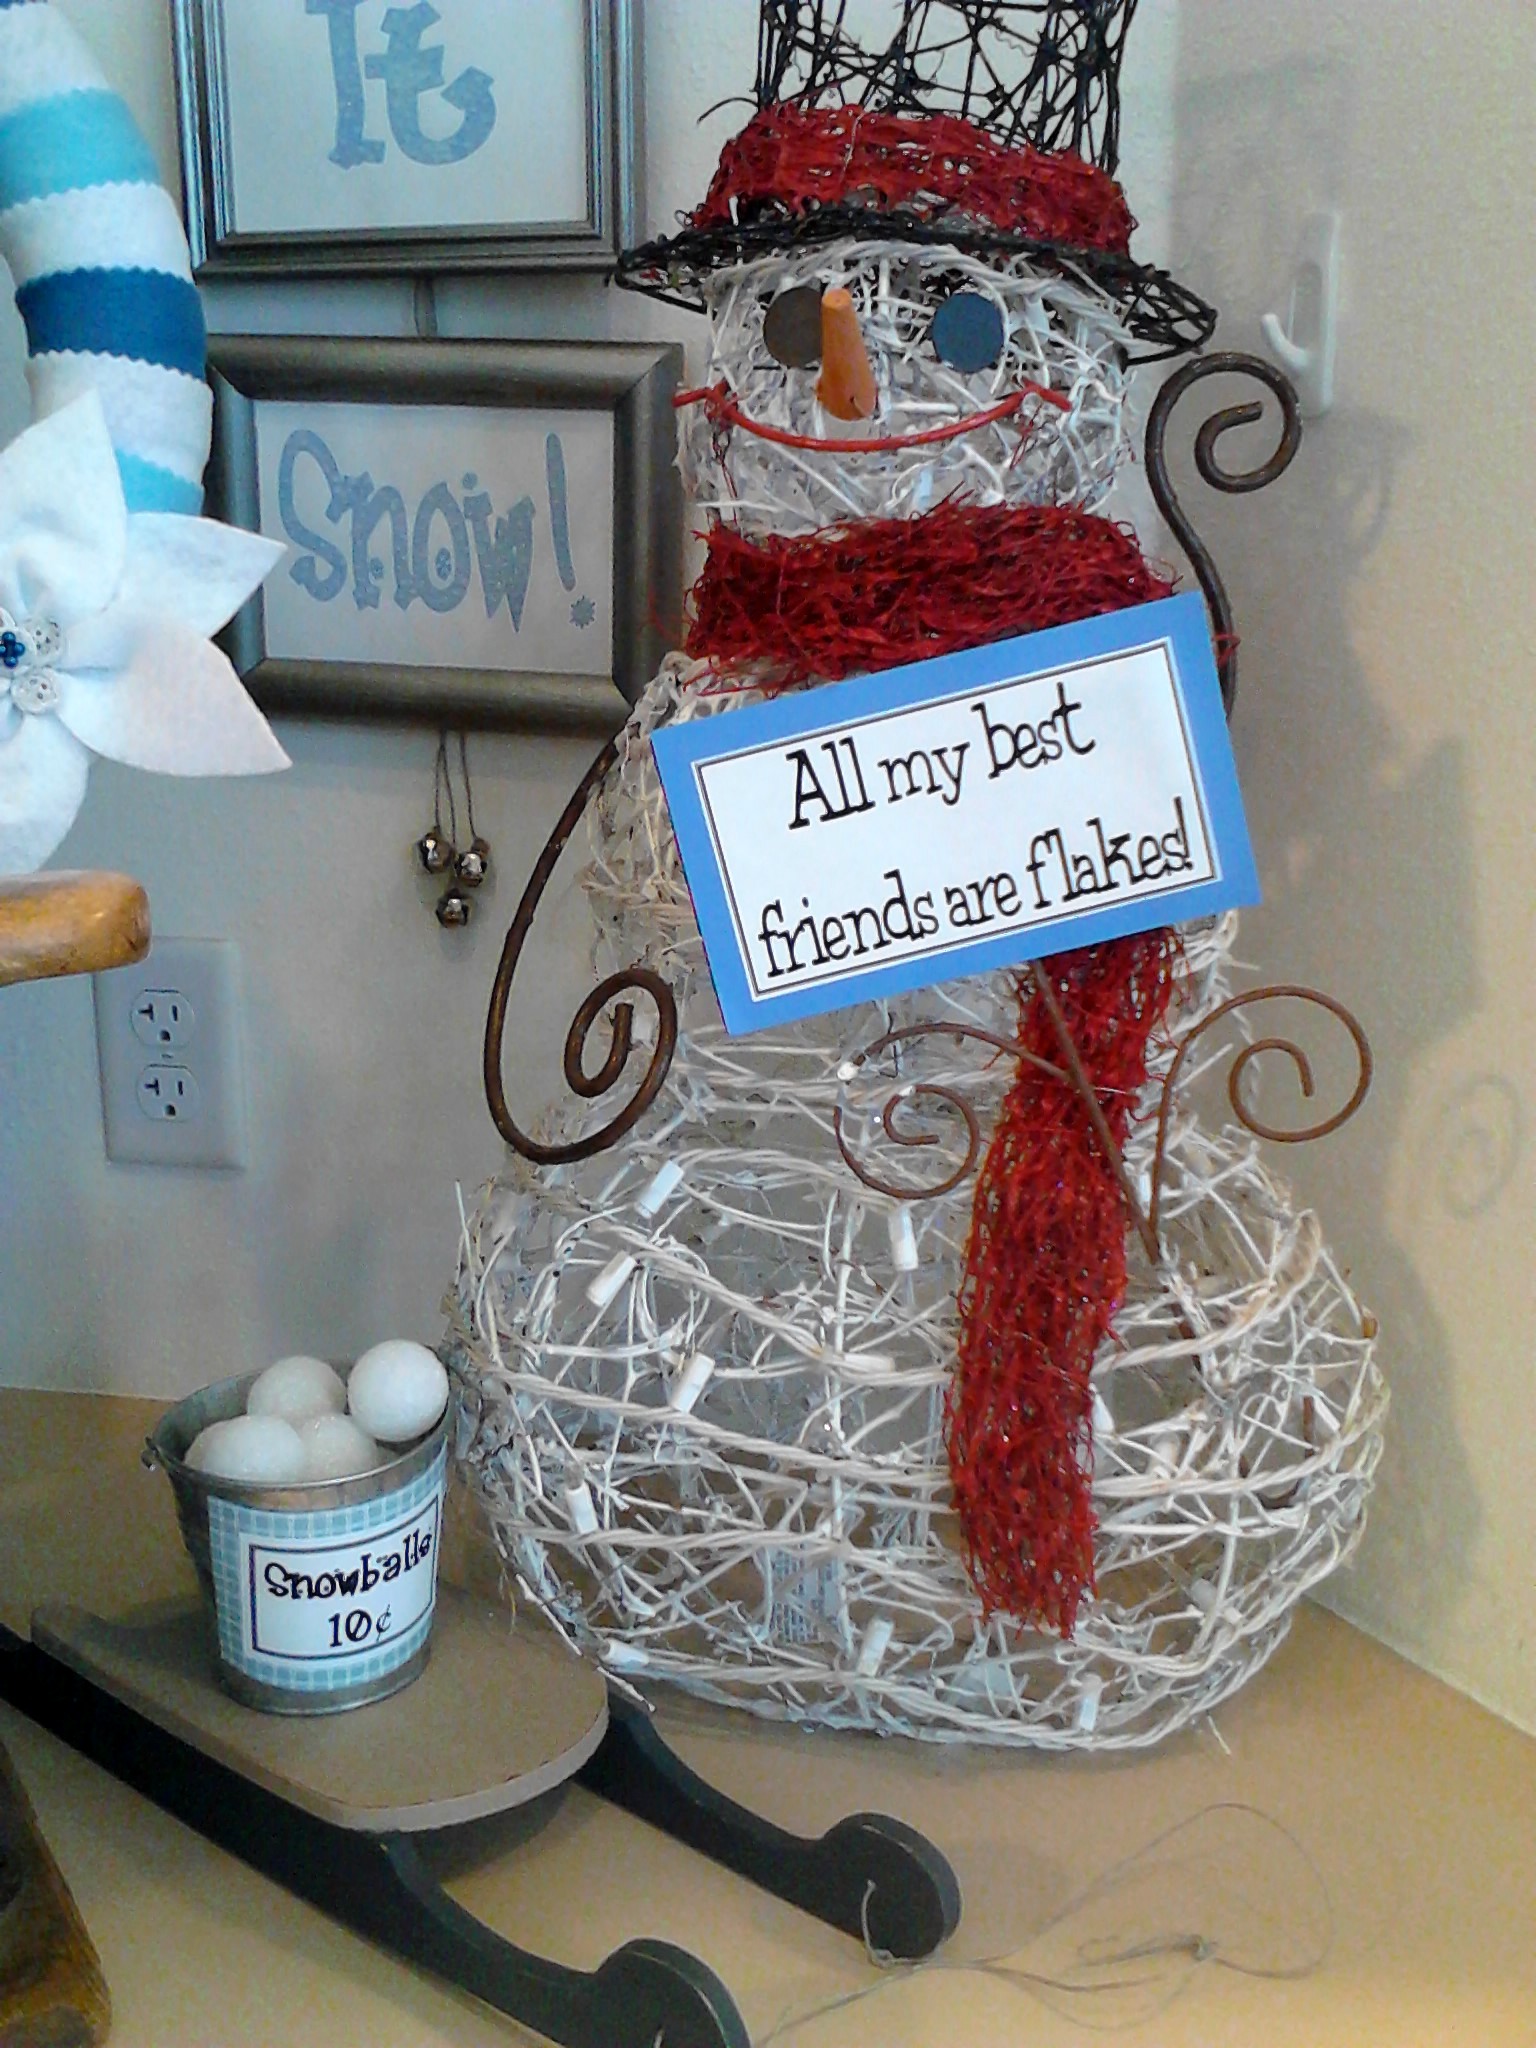
We didn’t like the way his sign looked before, so I redid it in Word, mounted it on cardstock and attached it to the original sign using double sided tape. His sled was another thrift store find. It cost me a dollar and was garish red and green. I repainted it and now it hold Mr. Snowman’s bucket of snowballs. The bucket was 50 cents at the thrift store; just add a printed tag to the front and fill it with small styrofoam balls.
