
Time to spruce up your front door for spring! I priced wreath forms in the craft store this week and the styrofoam rings start at about $9 for a small one and go up from there. The large sizes were so expensive! Even with a coupon; no, thank you! Let’s make our own.
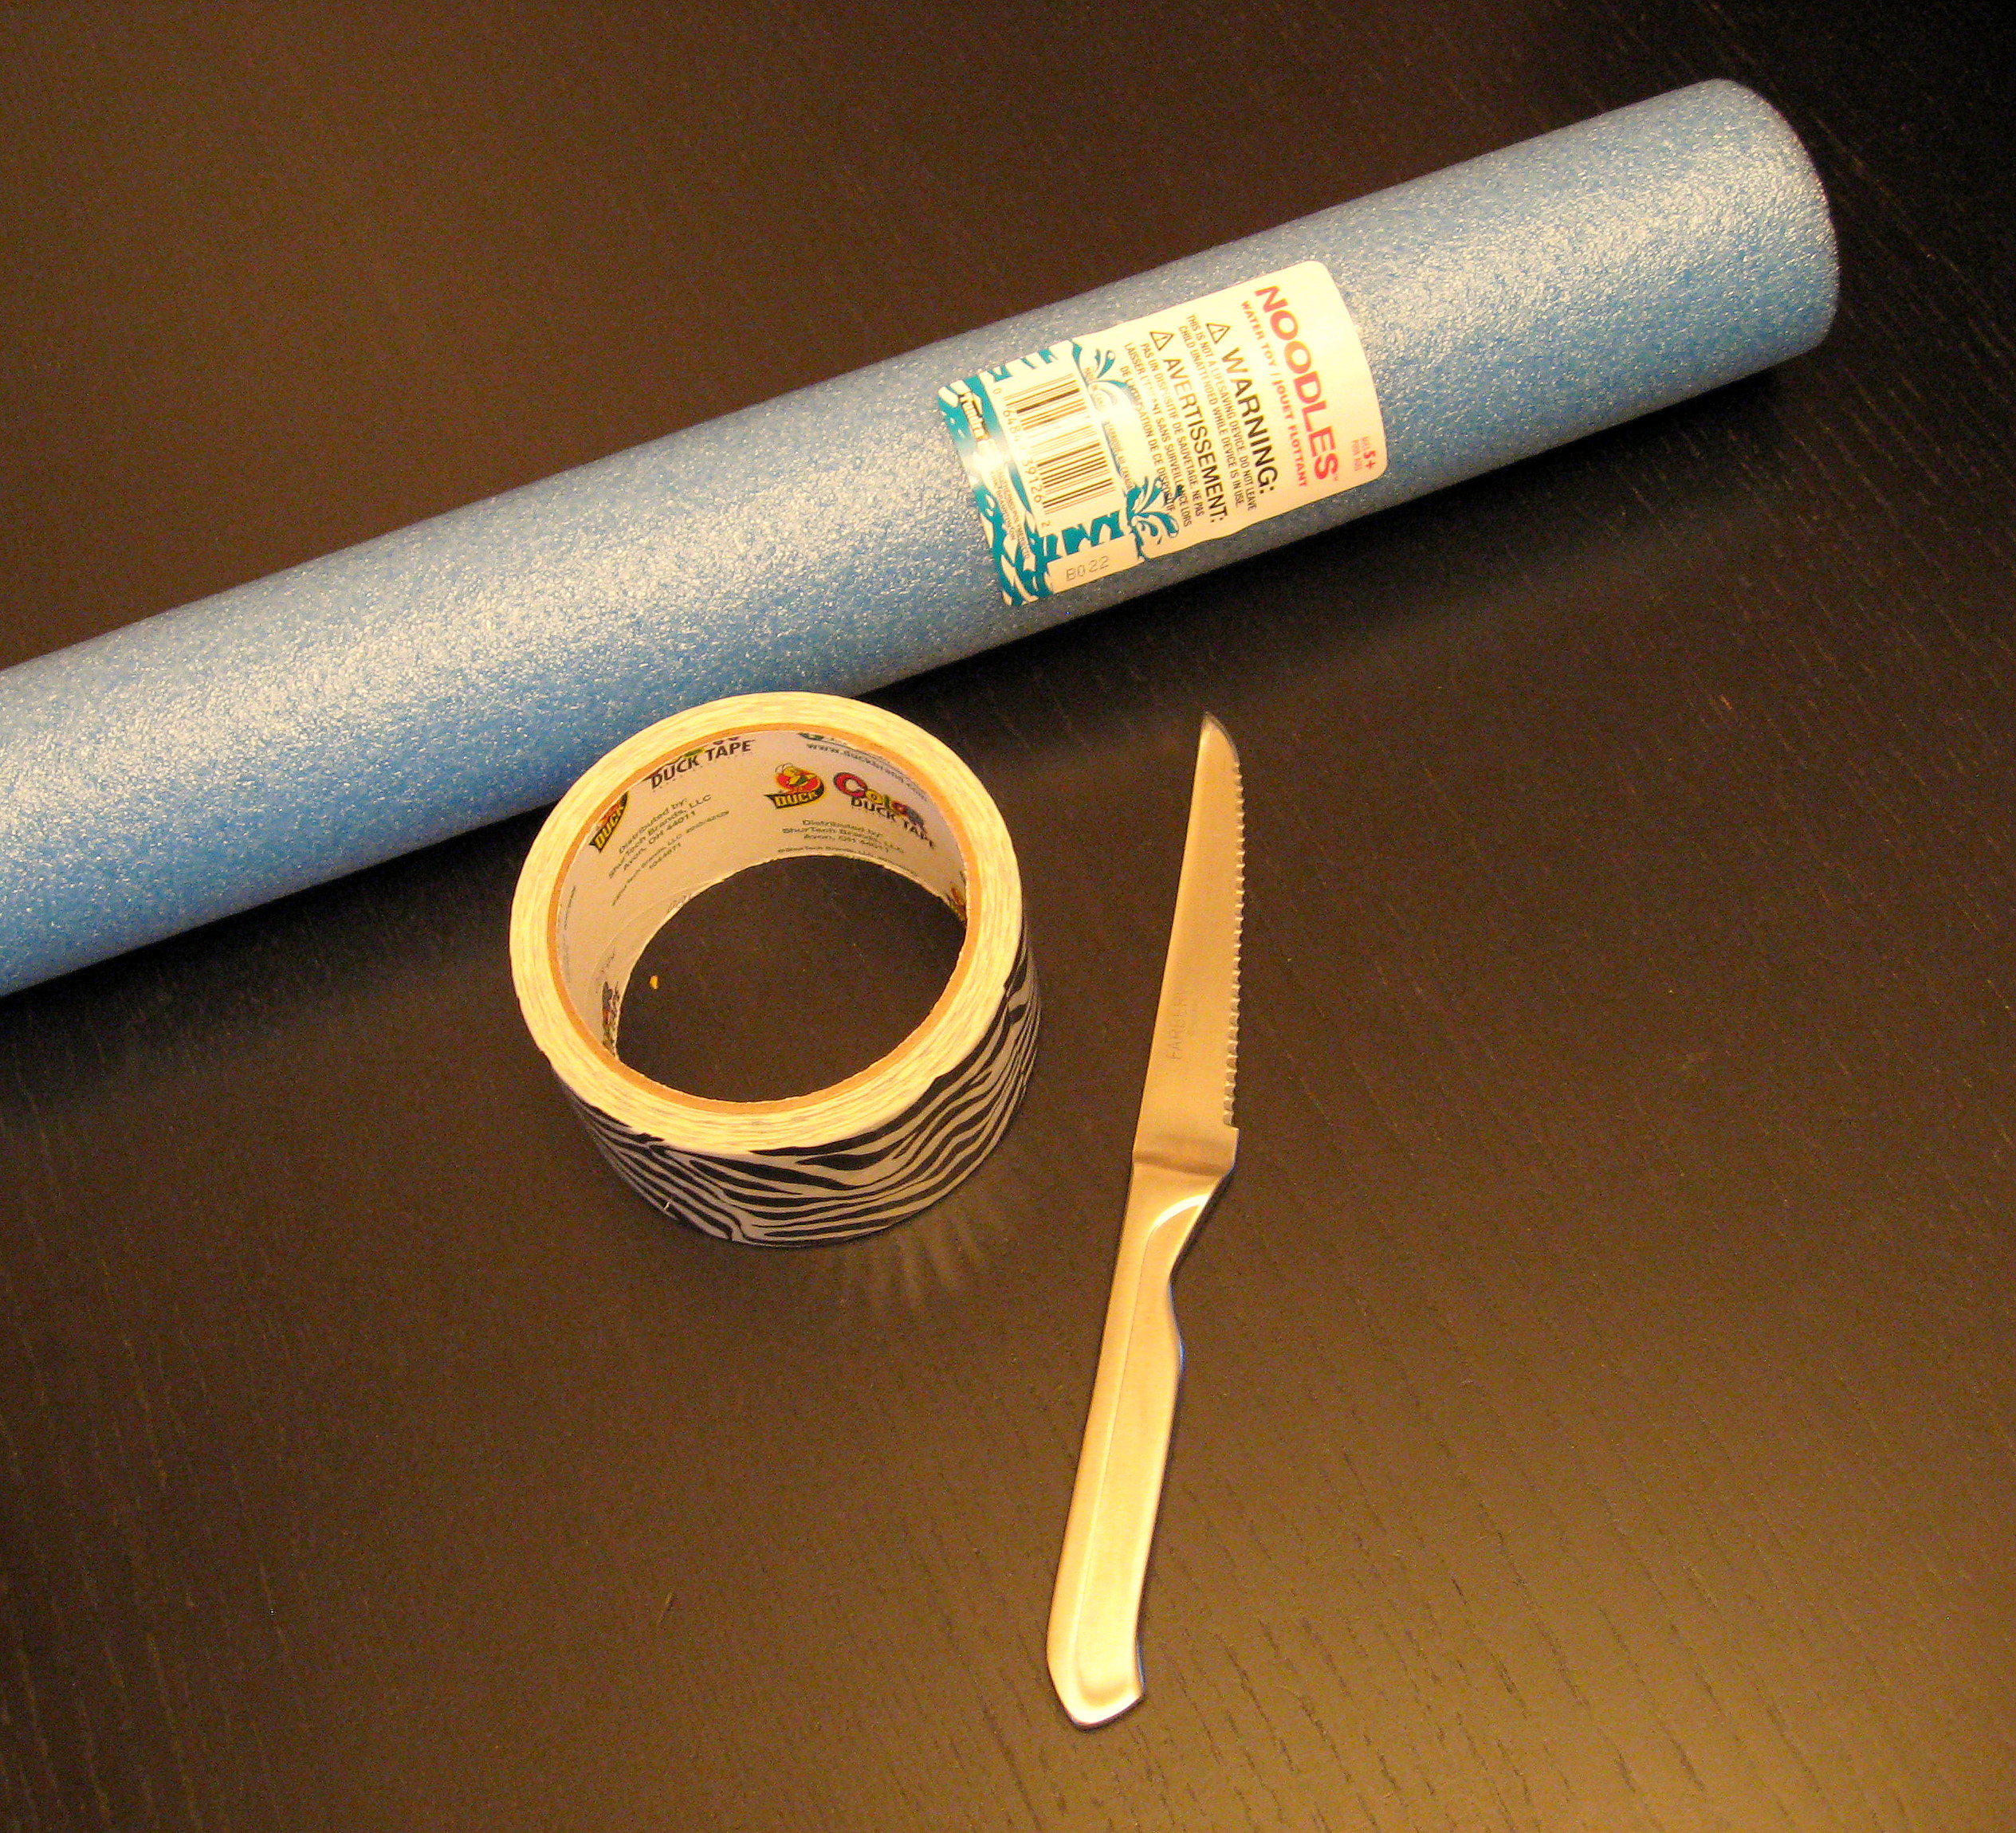
Start with a pool noodle and some duct tape. The noodle was $1 at my dollar store. You should be able to get duct tape there, too. I’m using the zebra striped stuff because it’s what I had; whatever it looks like, it won’t show in the end.
*You could also use foam insulation tubes from the home improvement store.
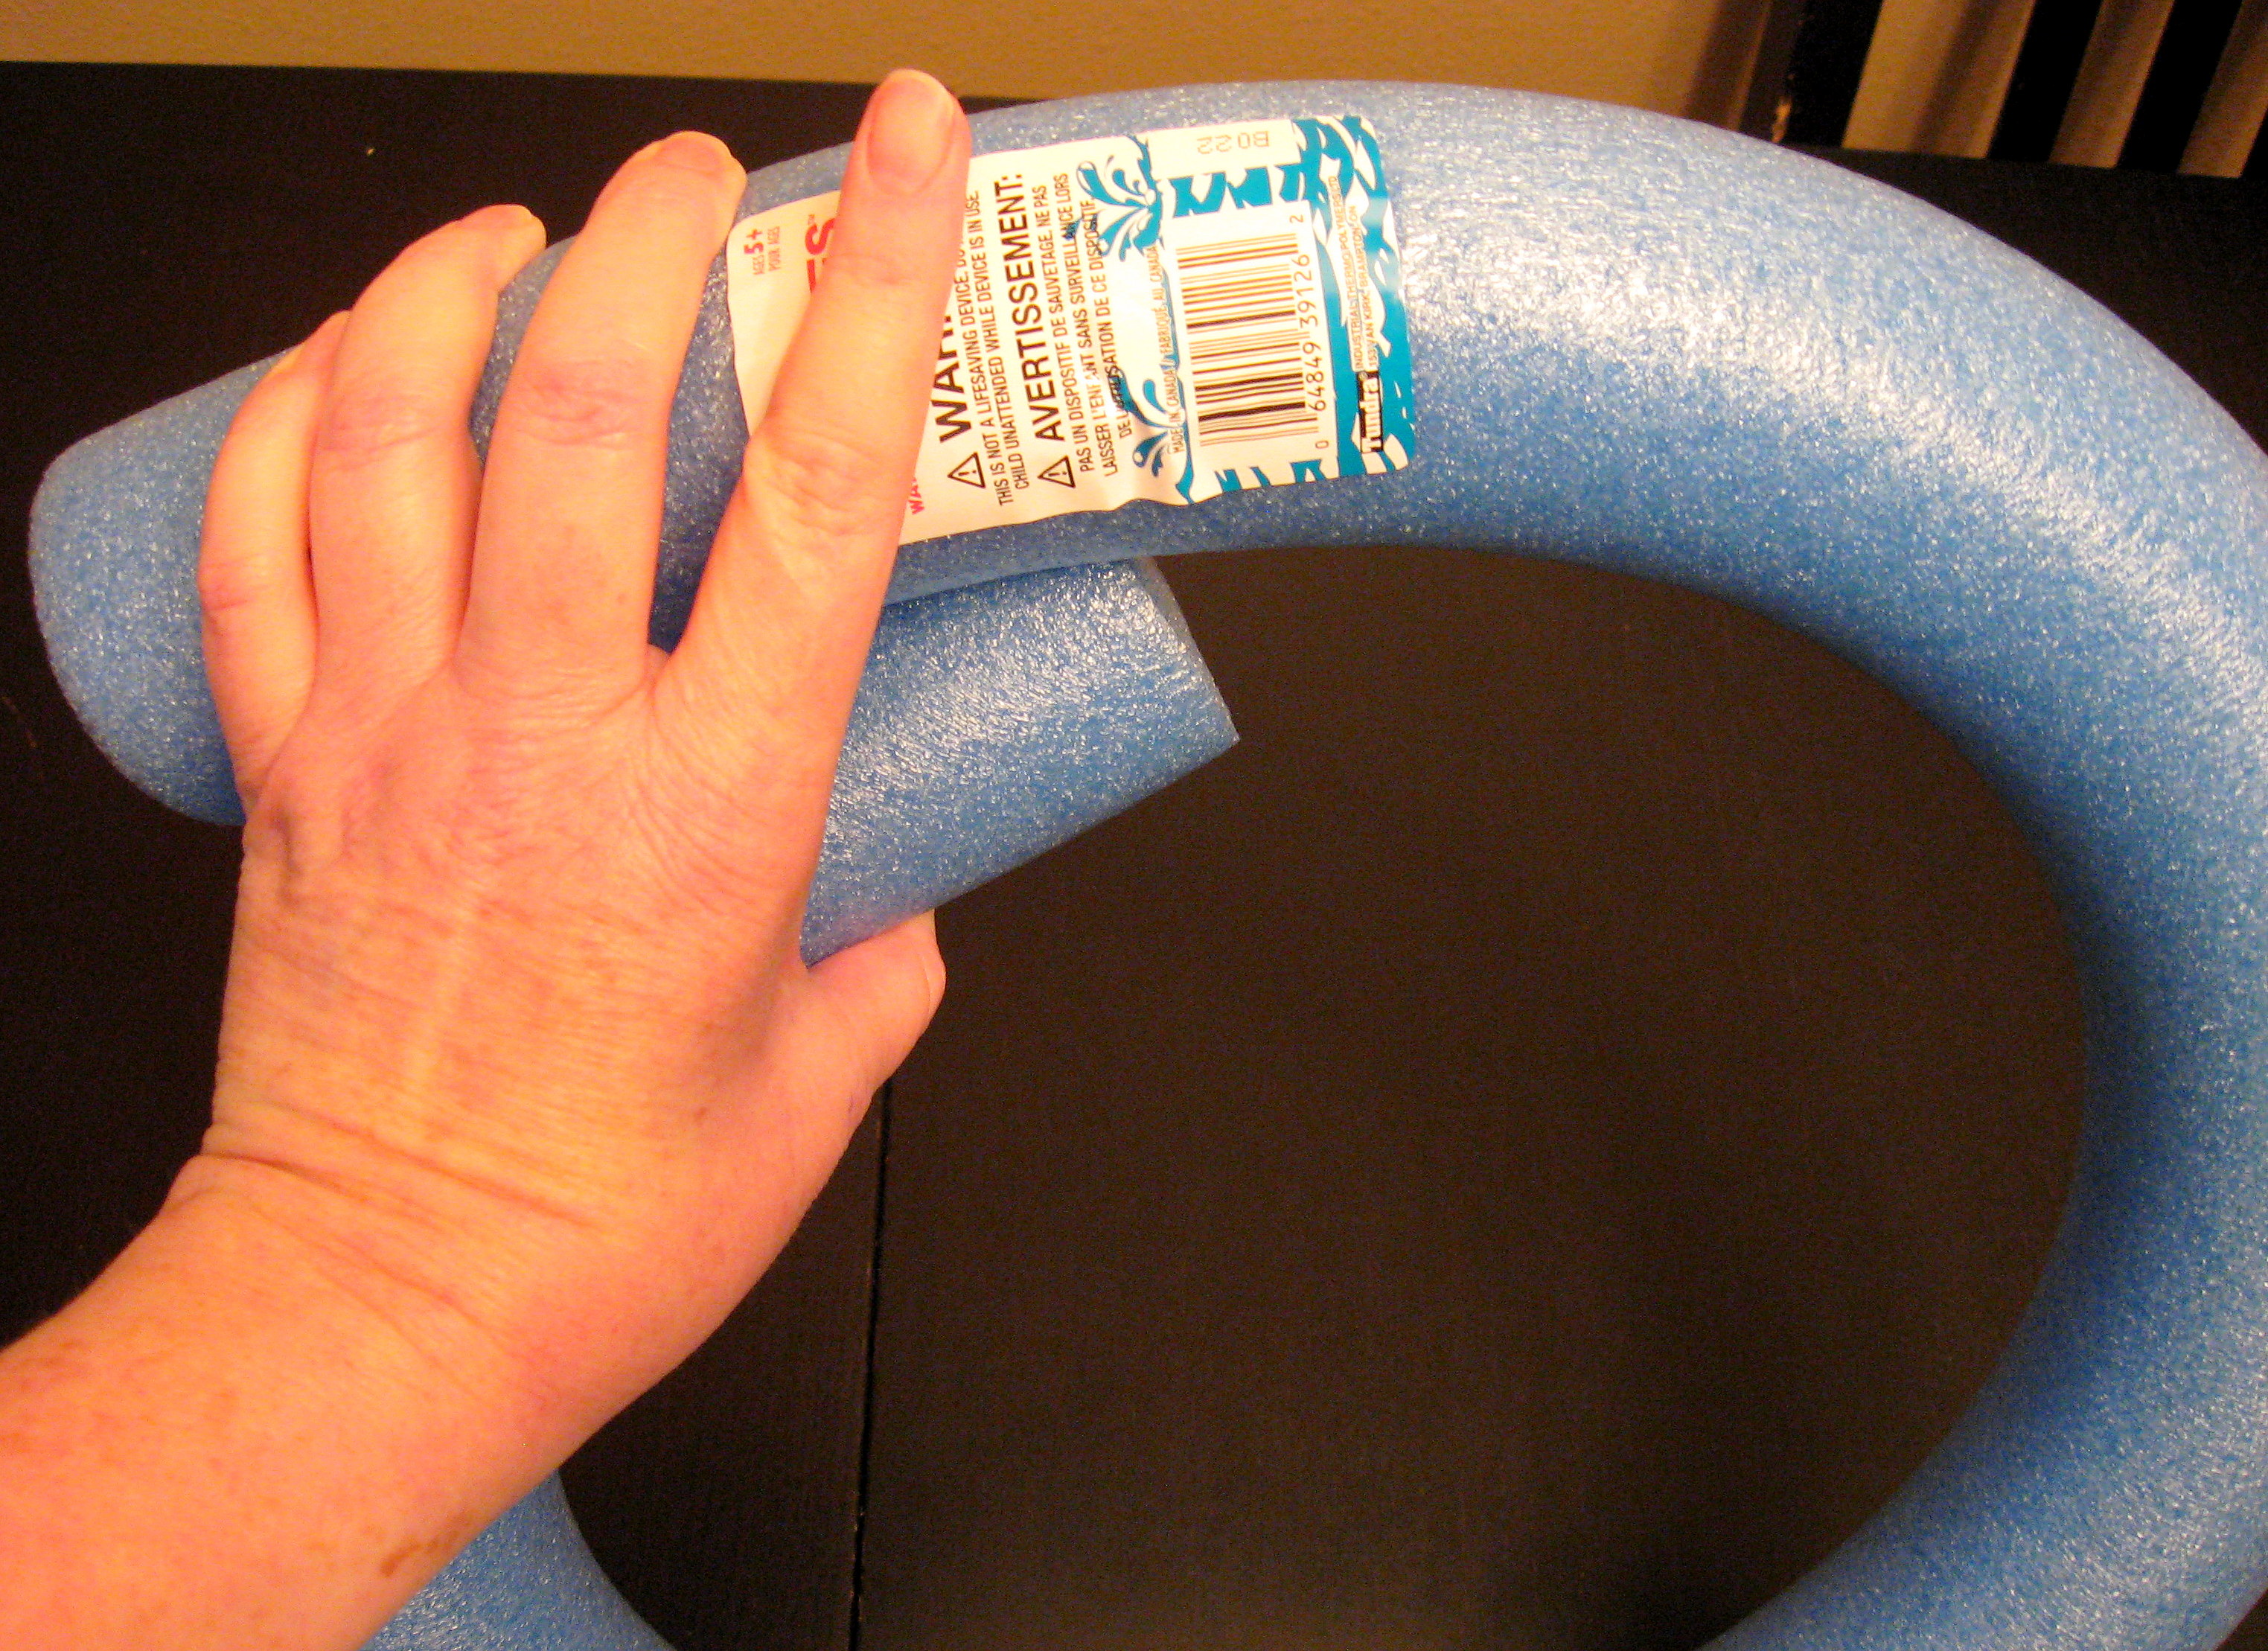
Bend the noodle into a circle and determine how big you want it. You could use the entire length of it if you like that size circle.
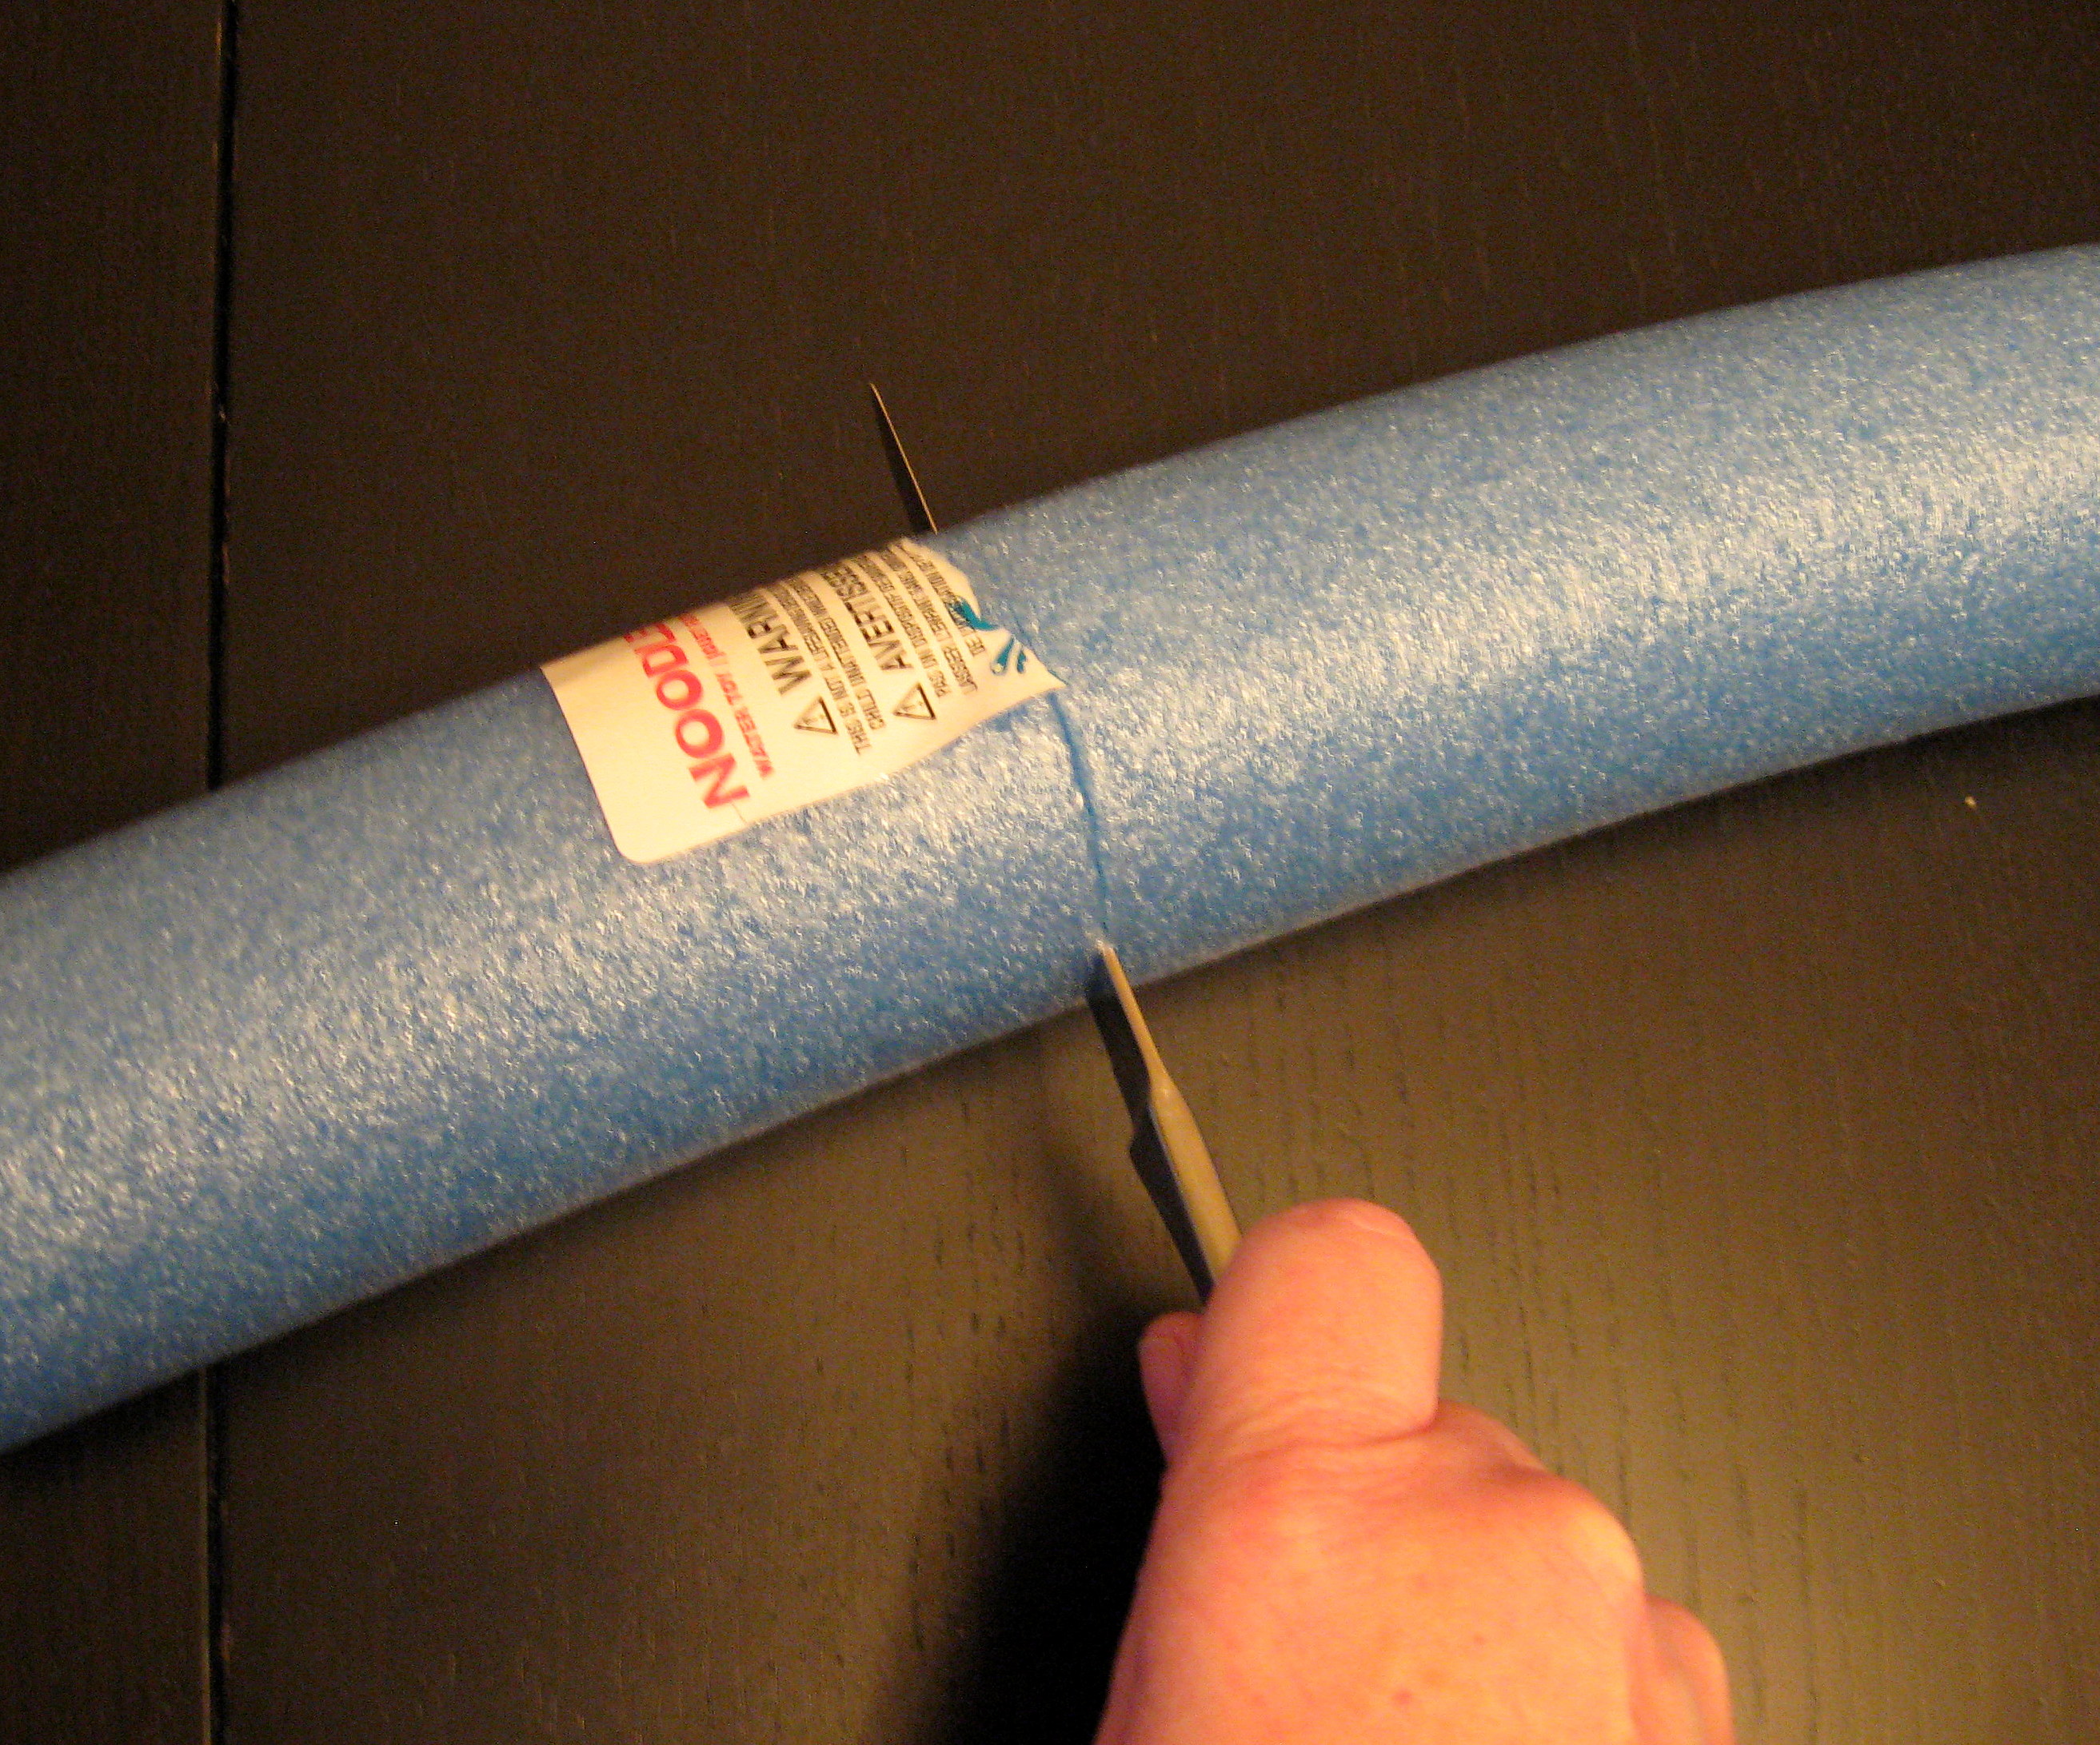
I chose to cut off about 6 inches using a serrated steak knife.
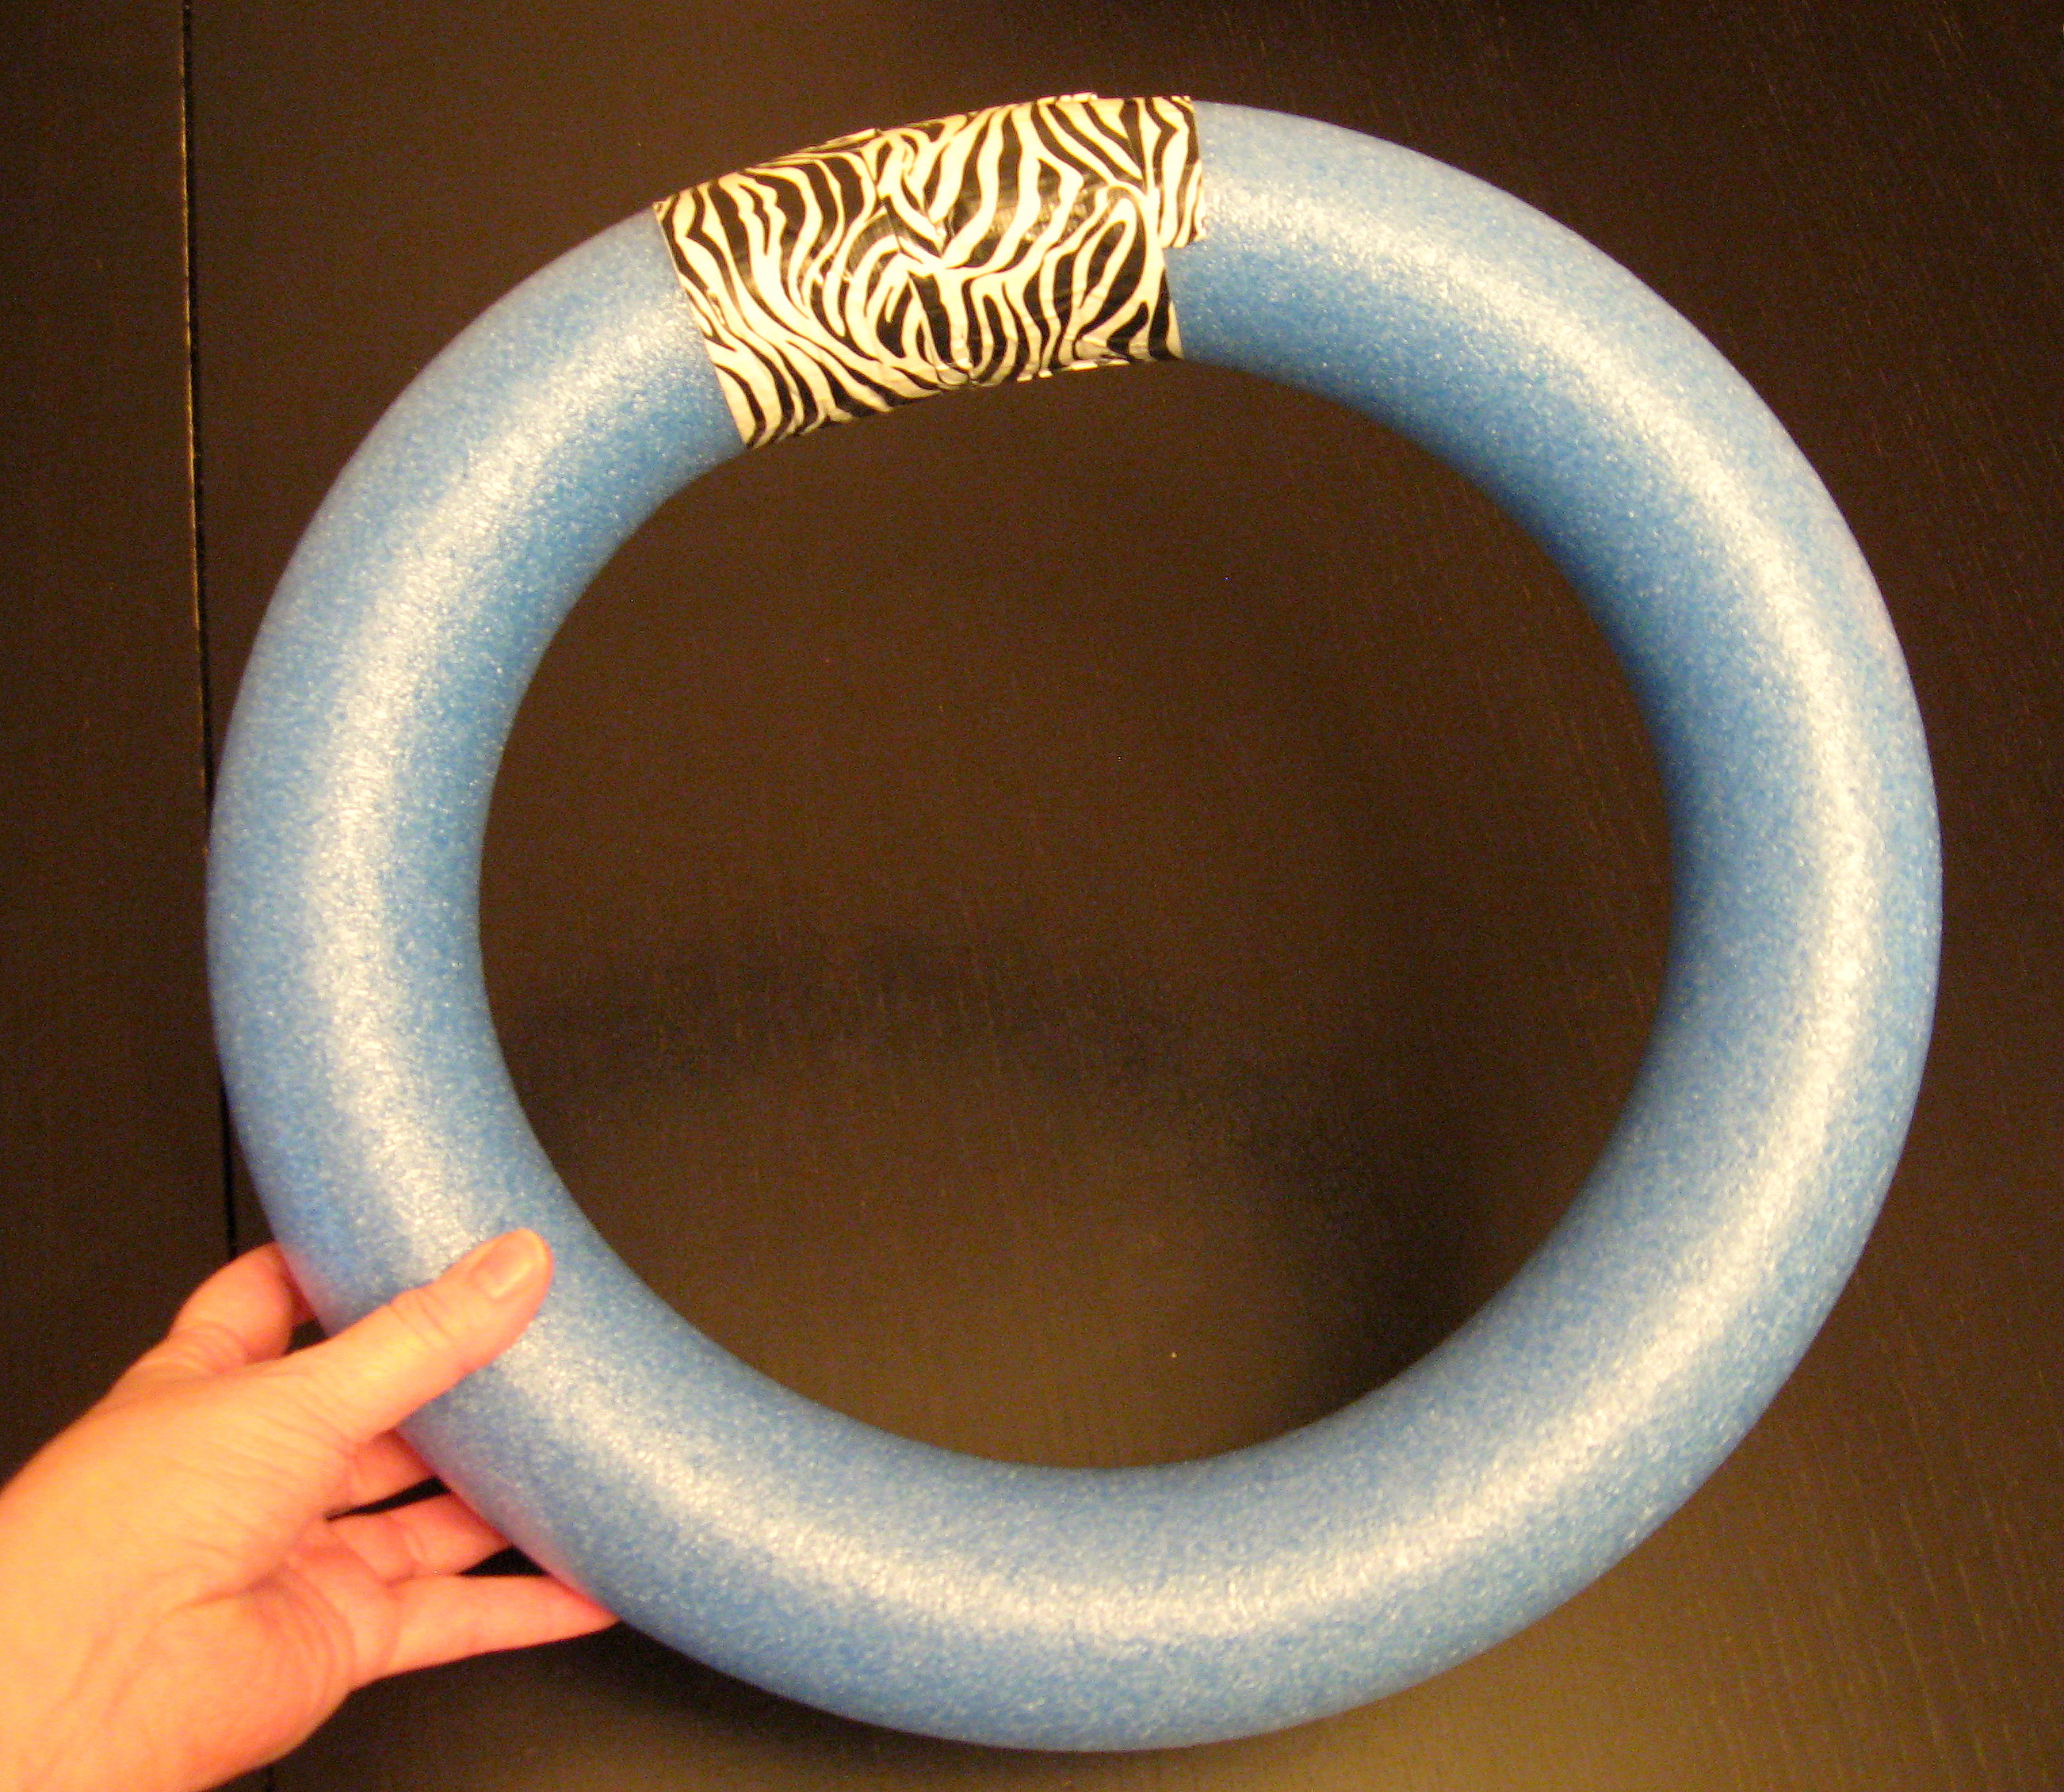
When it is cut to the size you want, tape the ends together securely with the tape. You’ll probably want a second set of hands for this.
See how it’s kind of flat where you put the tape? GENTLY squoosh it into a more round shape until you’re happy with it.
Now we will wrap the entire wreath. You could use yarn, twine, rope, whatever looks good to you, but I found this at the dollar store:
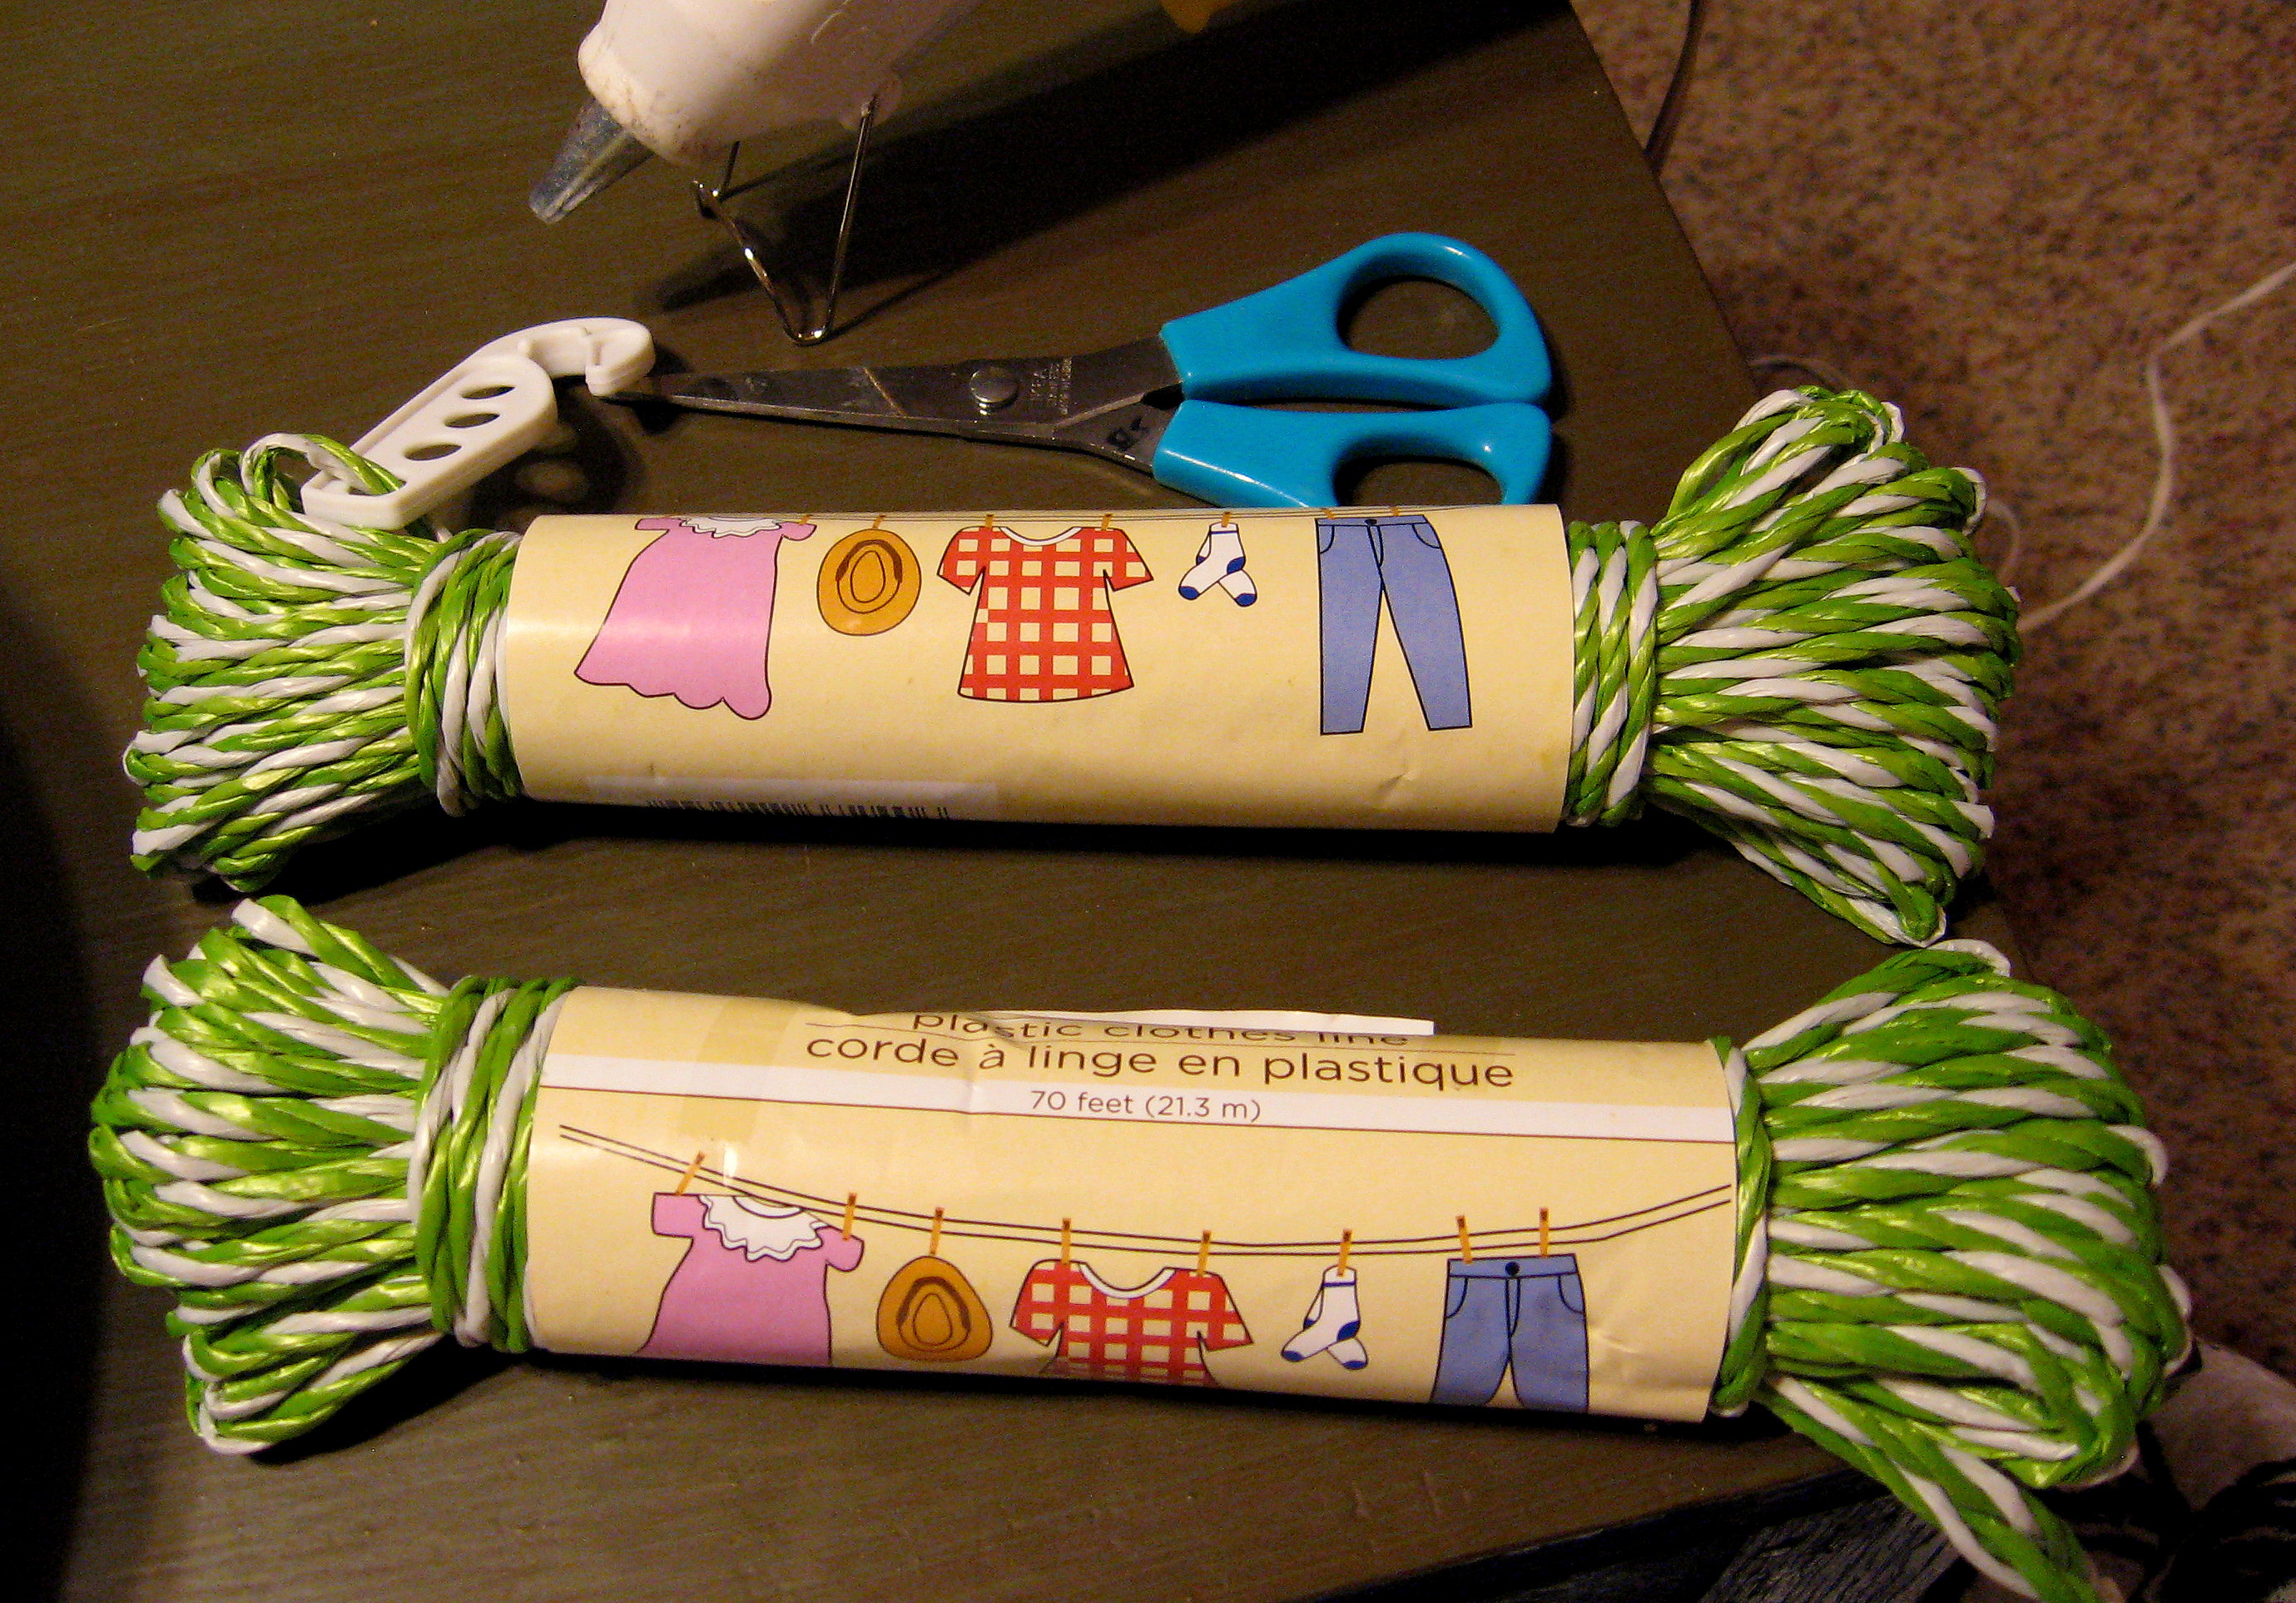
It’s clothesline; isn’t it gorgeous? It is plastic, but it looks just like baker’s twine, and it came in about 5 different colors. For my wreath, I used 3 bundles.
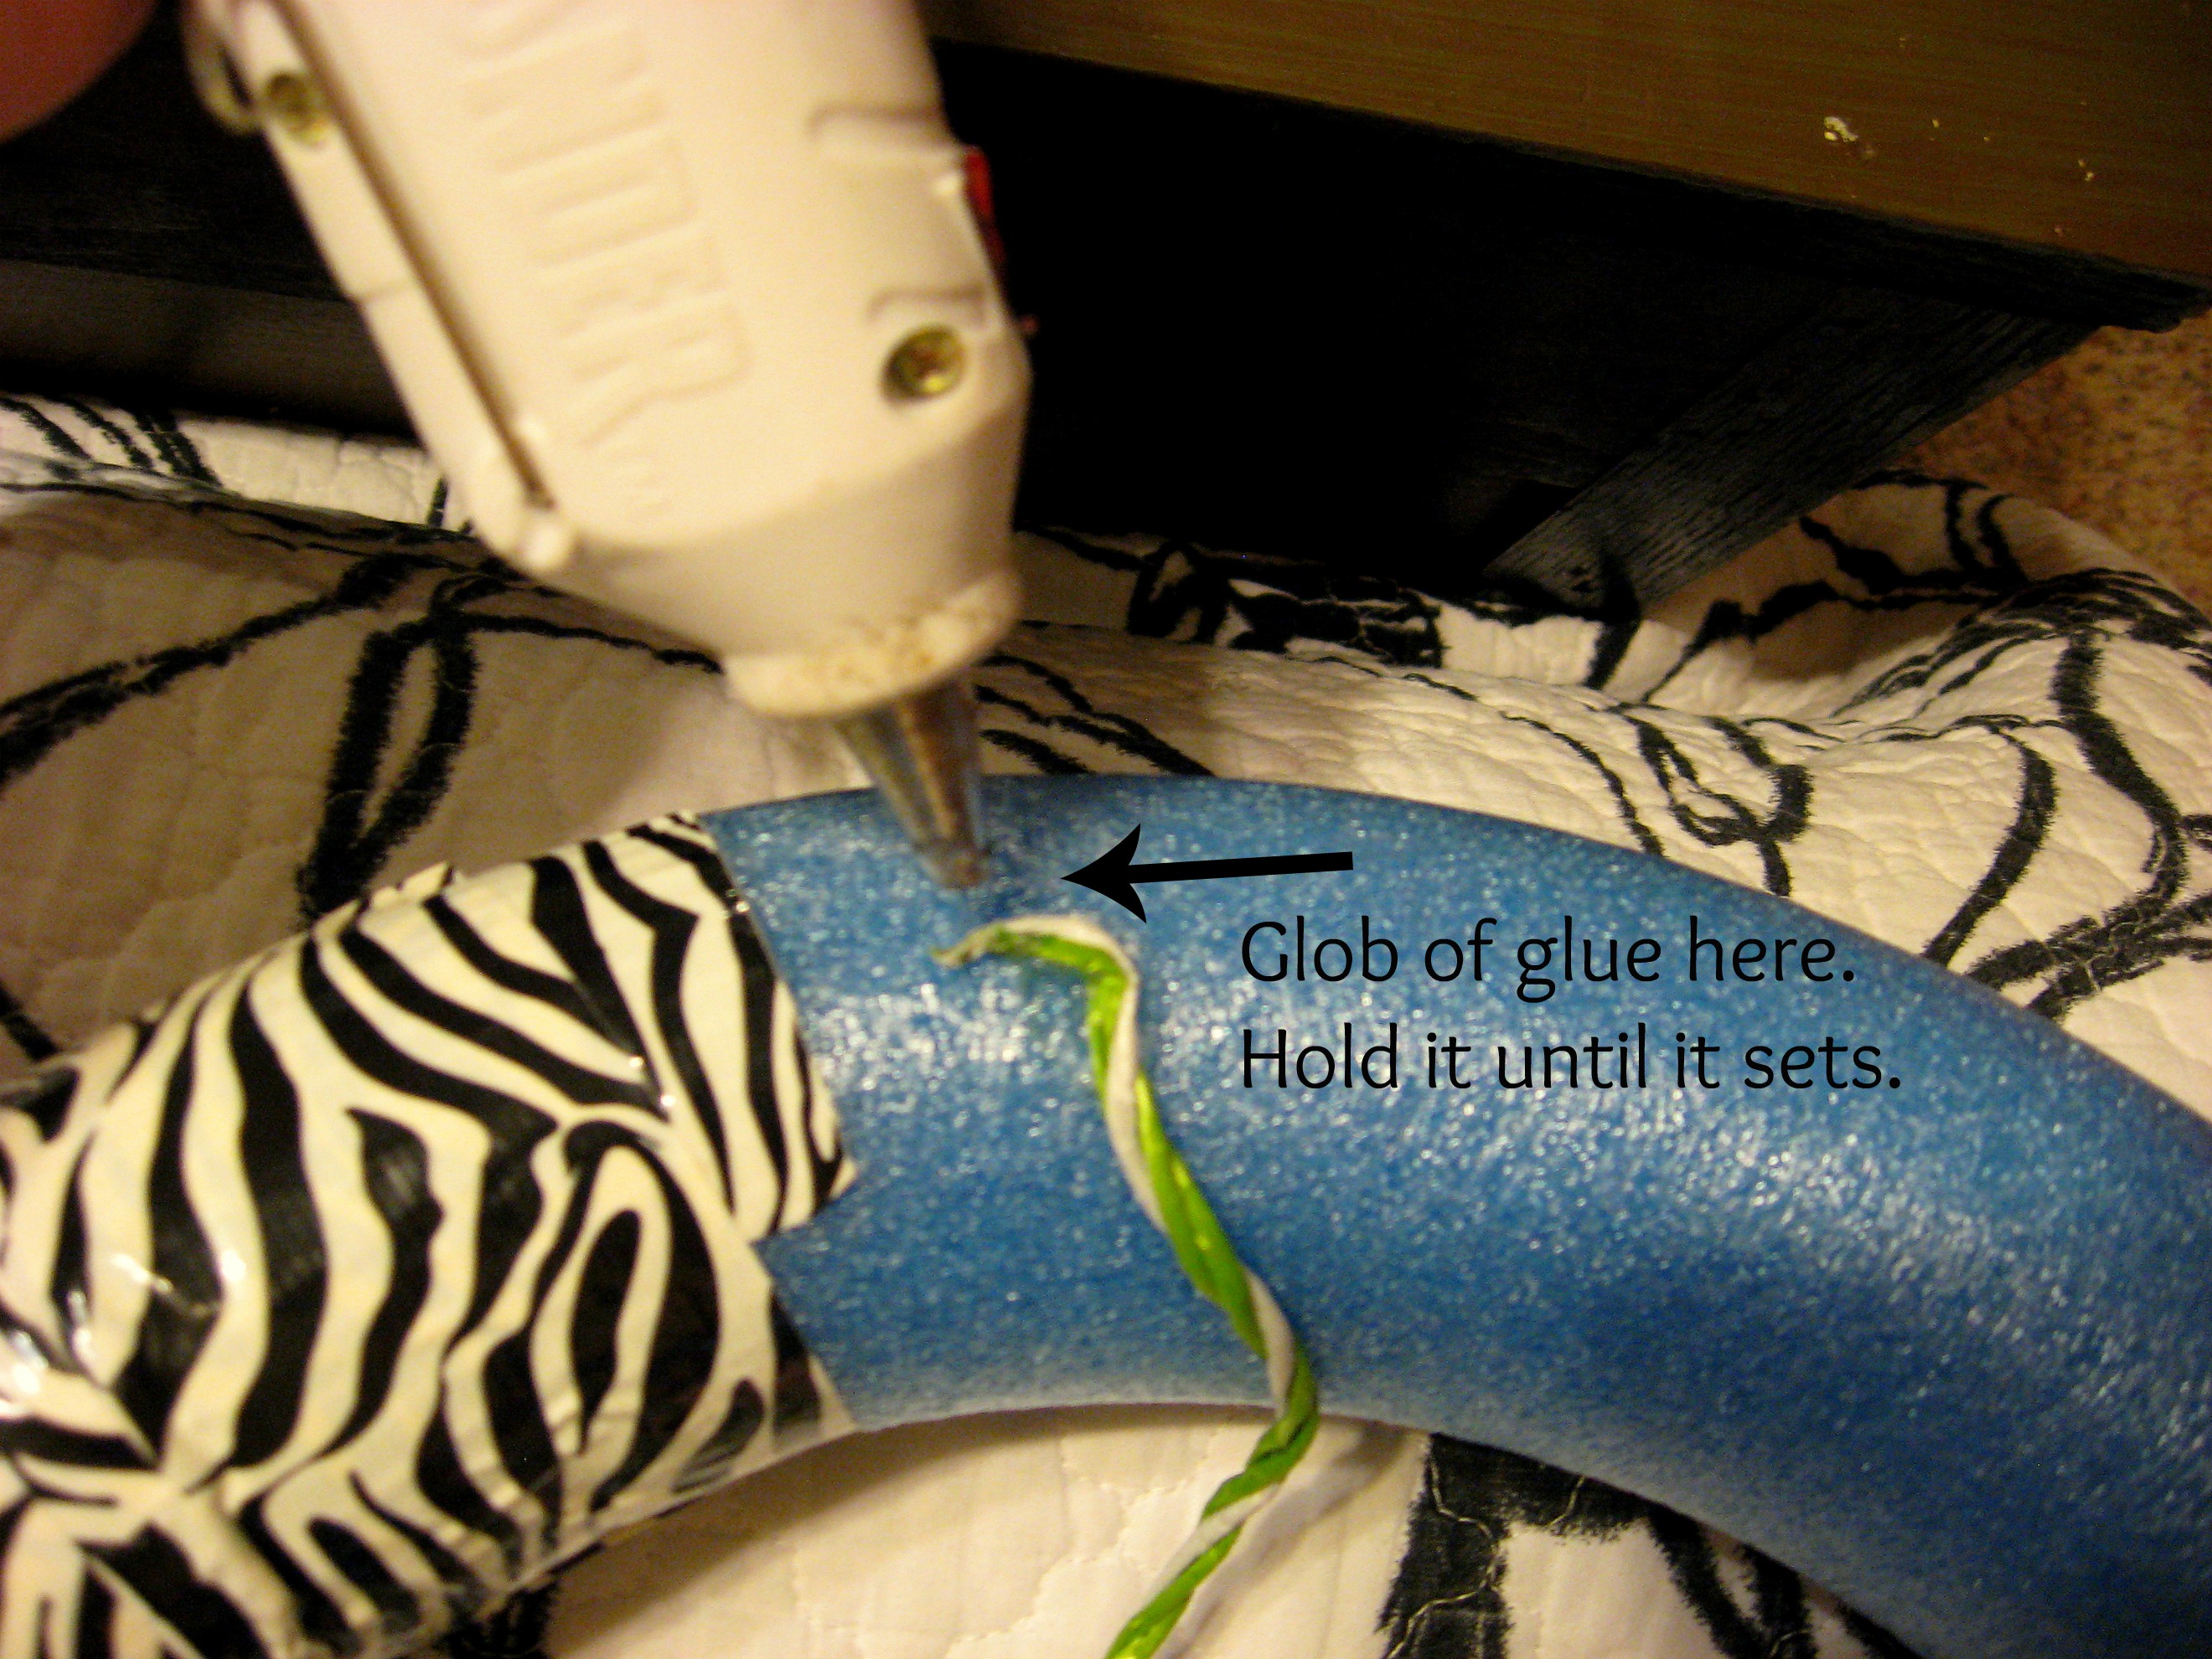
Put a small glob of hot glue on your wreath and press the end of the clothesline into it. Hold it there until it sets. Now this will be the back of the wreath; you’ll want to keep track of that as you wrap because you’ll want to keep the front as smooth as you can.
Now put on your favorite movie, get comfy and start wrapping.
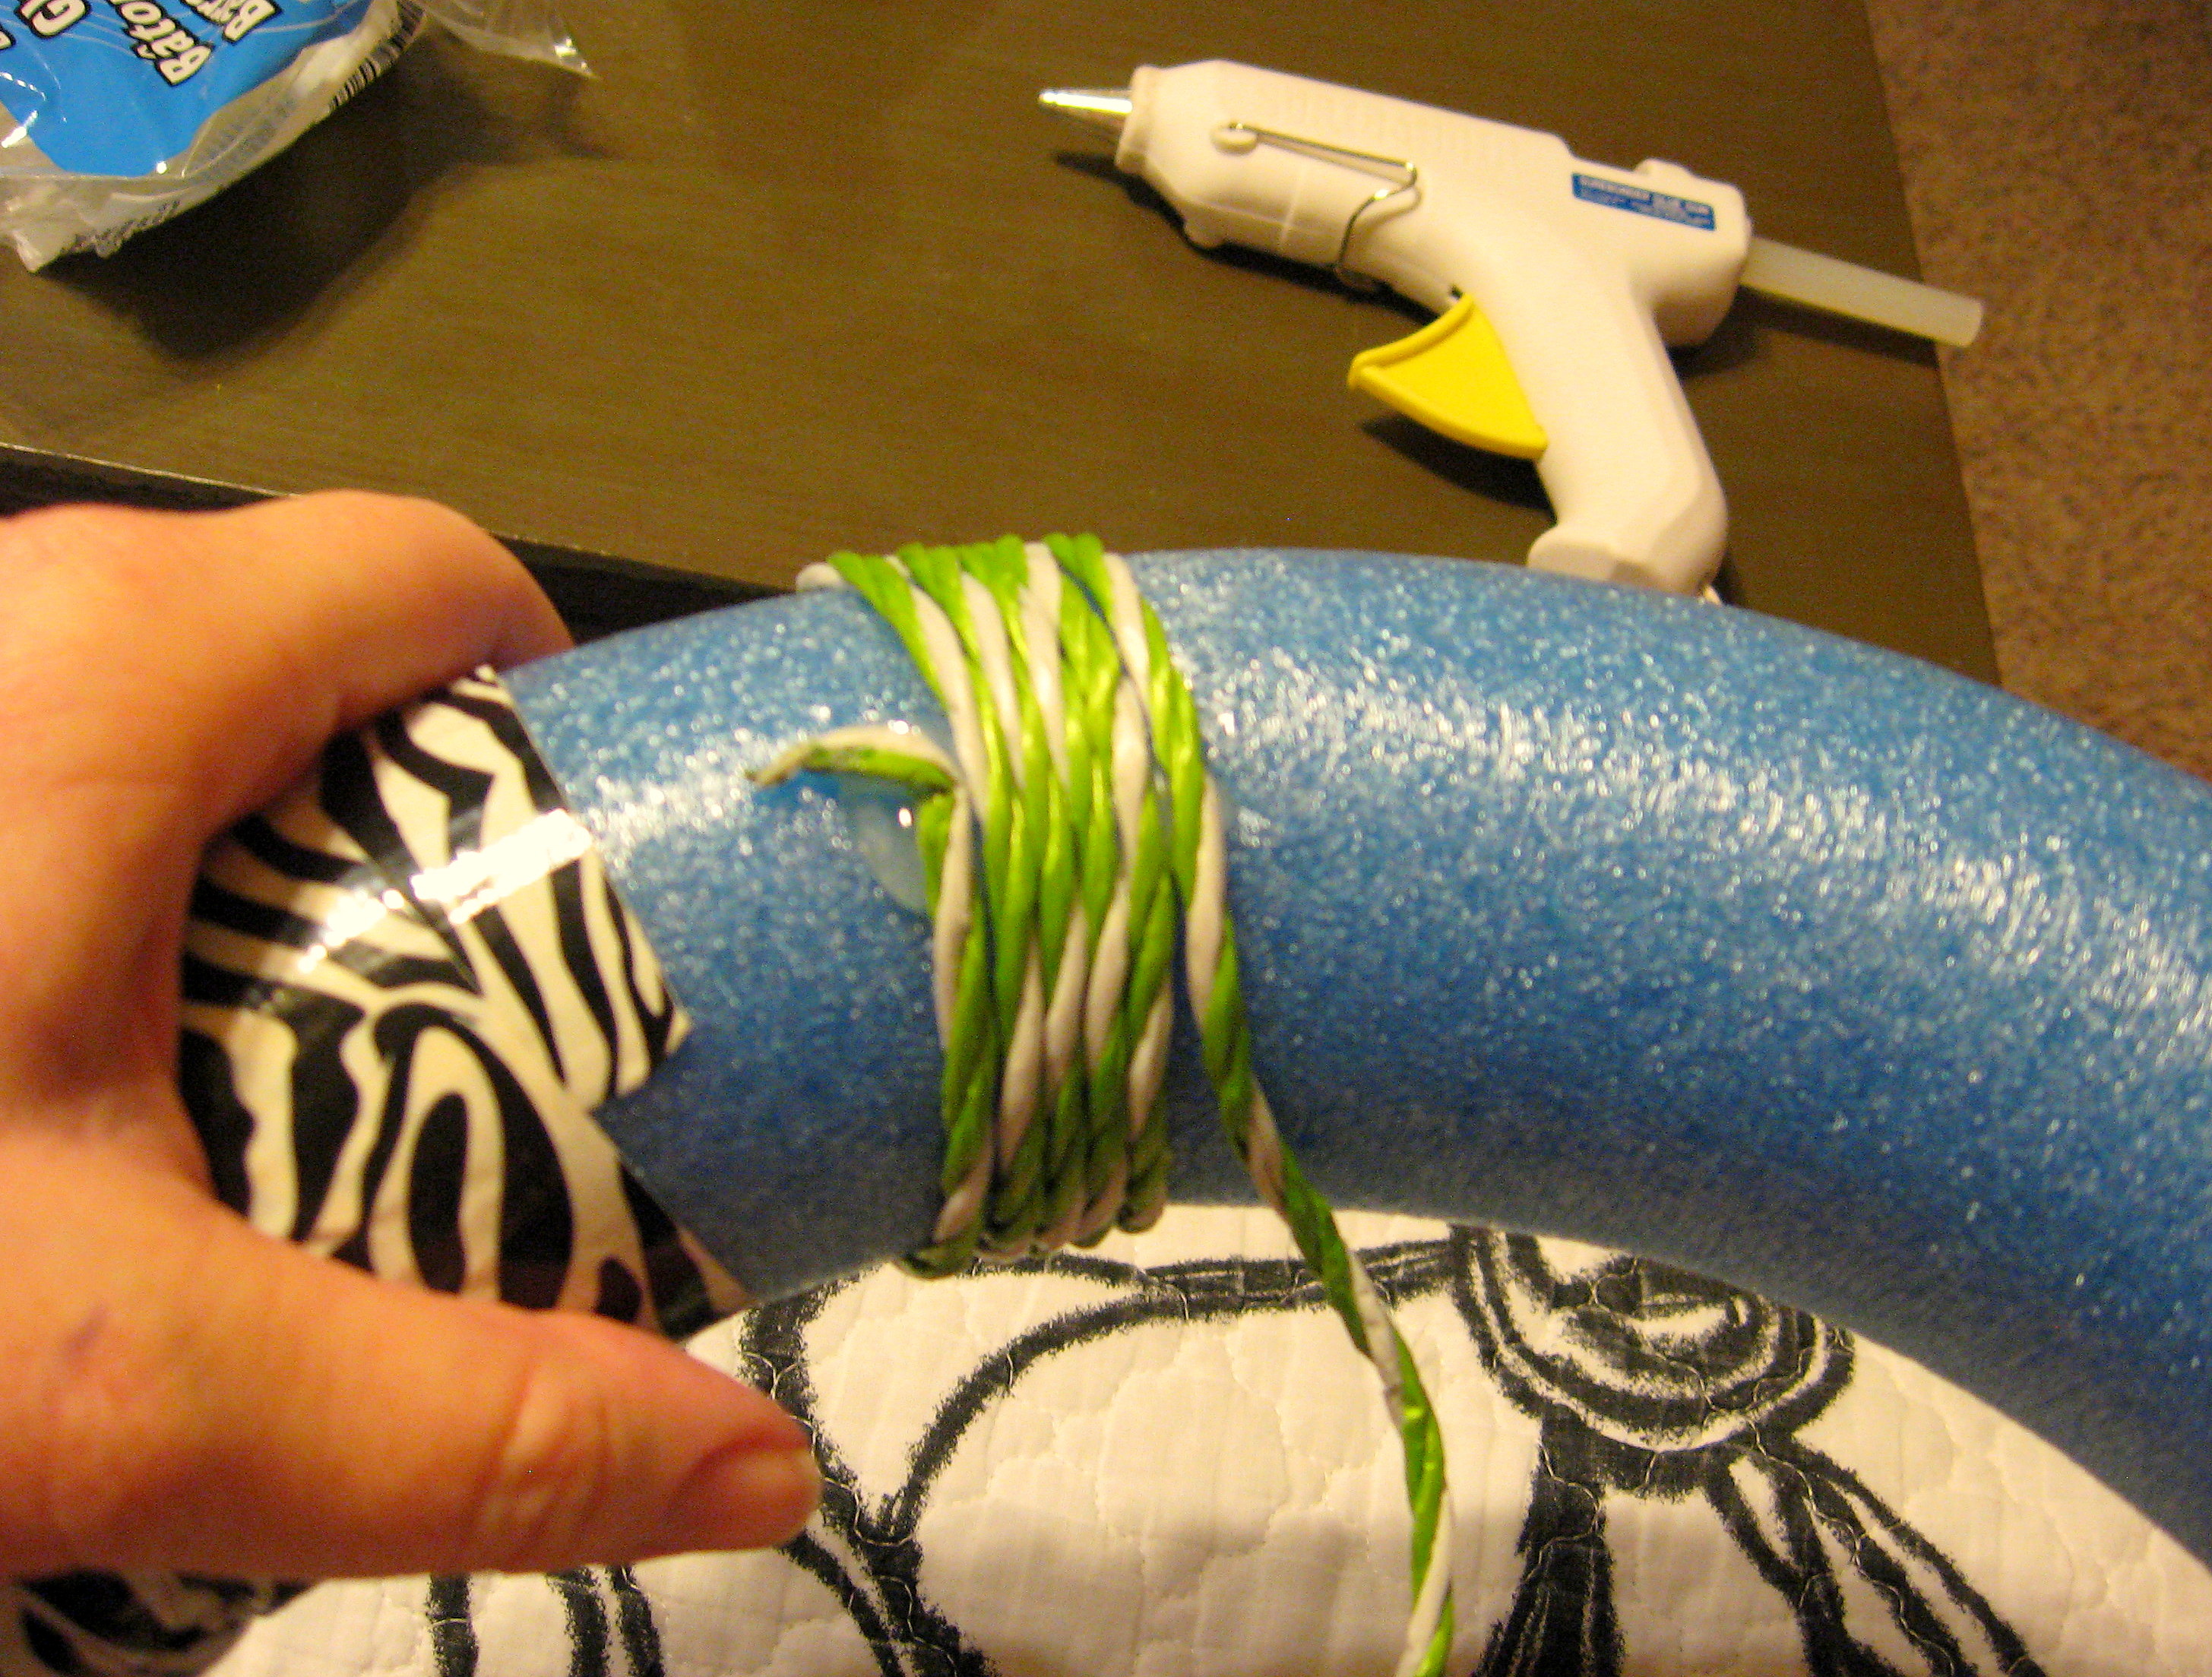
It does take some time and patience to do this, but it’s not difficult. Keep each wrap as close to the last one as you can. I put about an inch of hot glue on the back, wrap until I was at the end of the glue, hold it a few seconds until it was well set, then check the front to make sure everything looked good. As you go around the circle, you may get some bunching or overlapping on the back to make it fit; just be sure it stays pretty smooth on the front.
Also, the styrofoam will melt if you touch it with the tip of the glue gun, so be careful of that.
Keep going until you get back to where you started. Overlap until you’ve covered all of the noodle, then glue the end down.
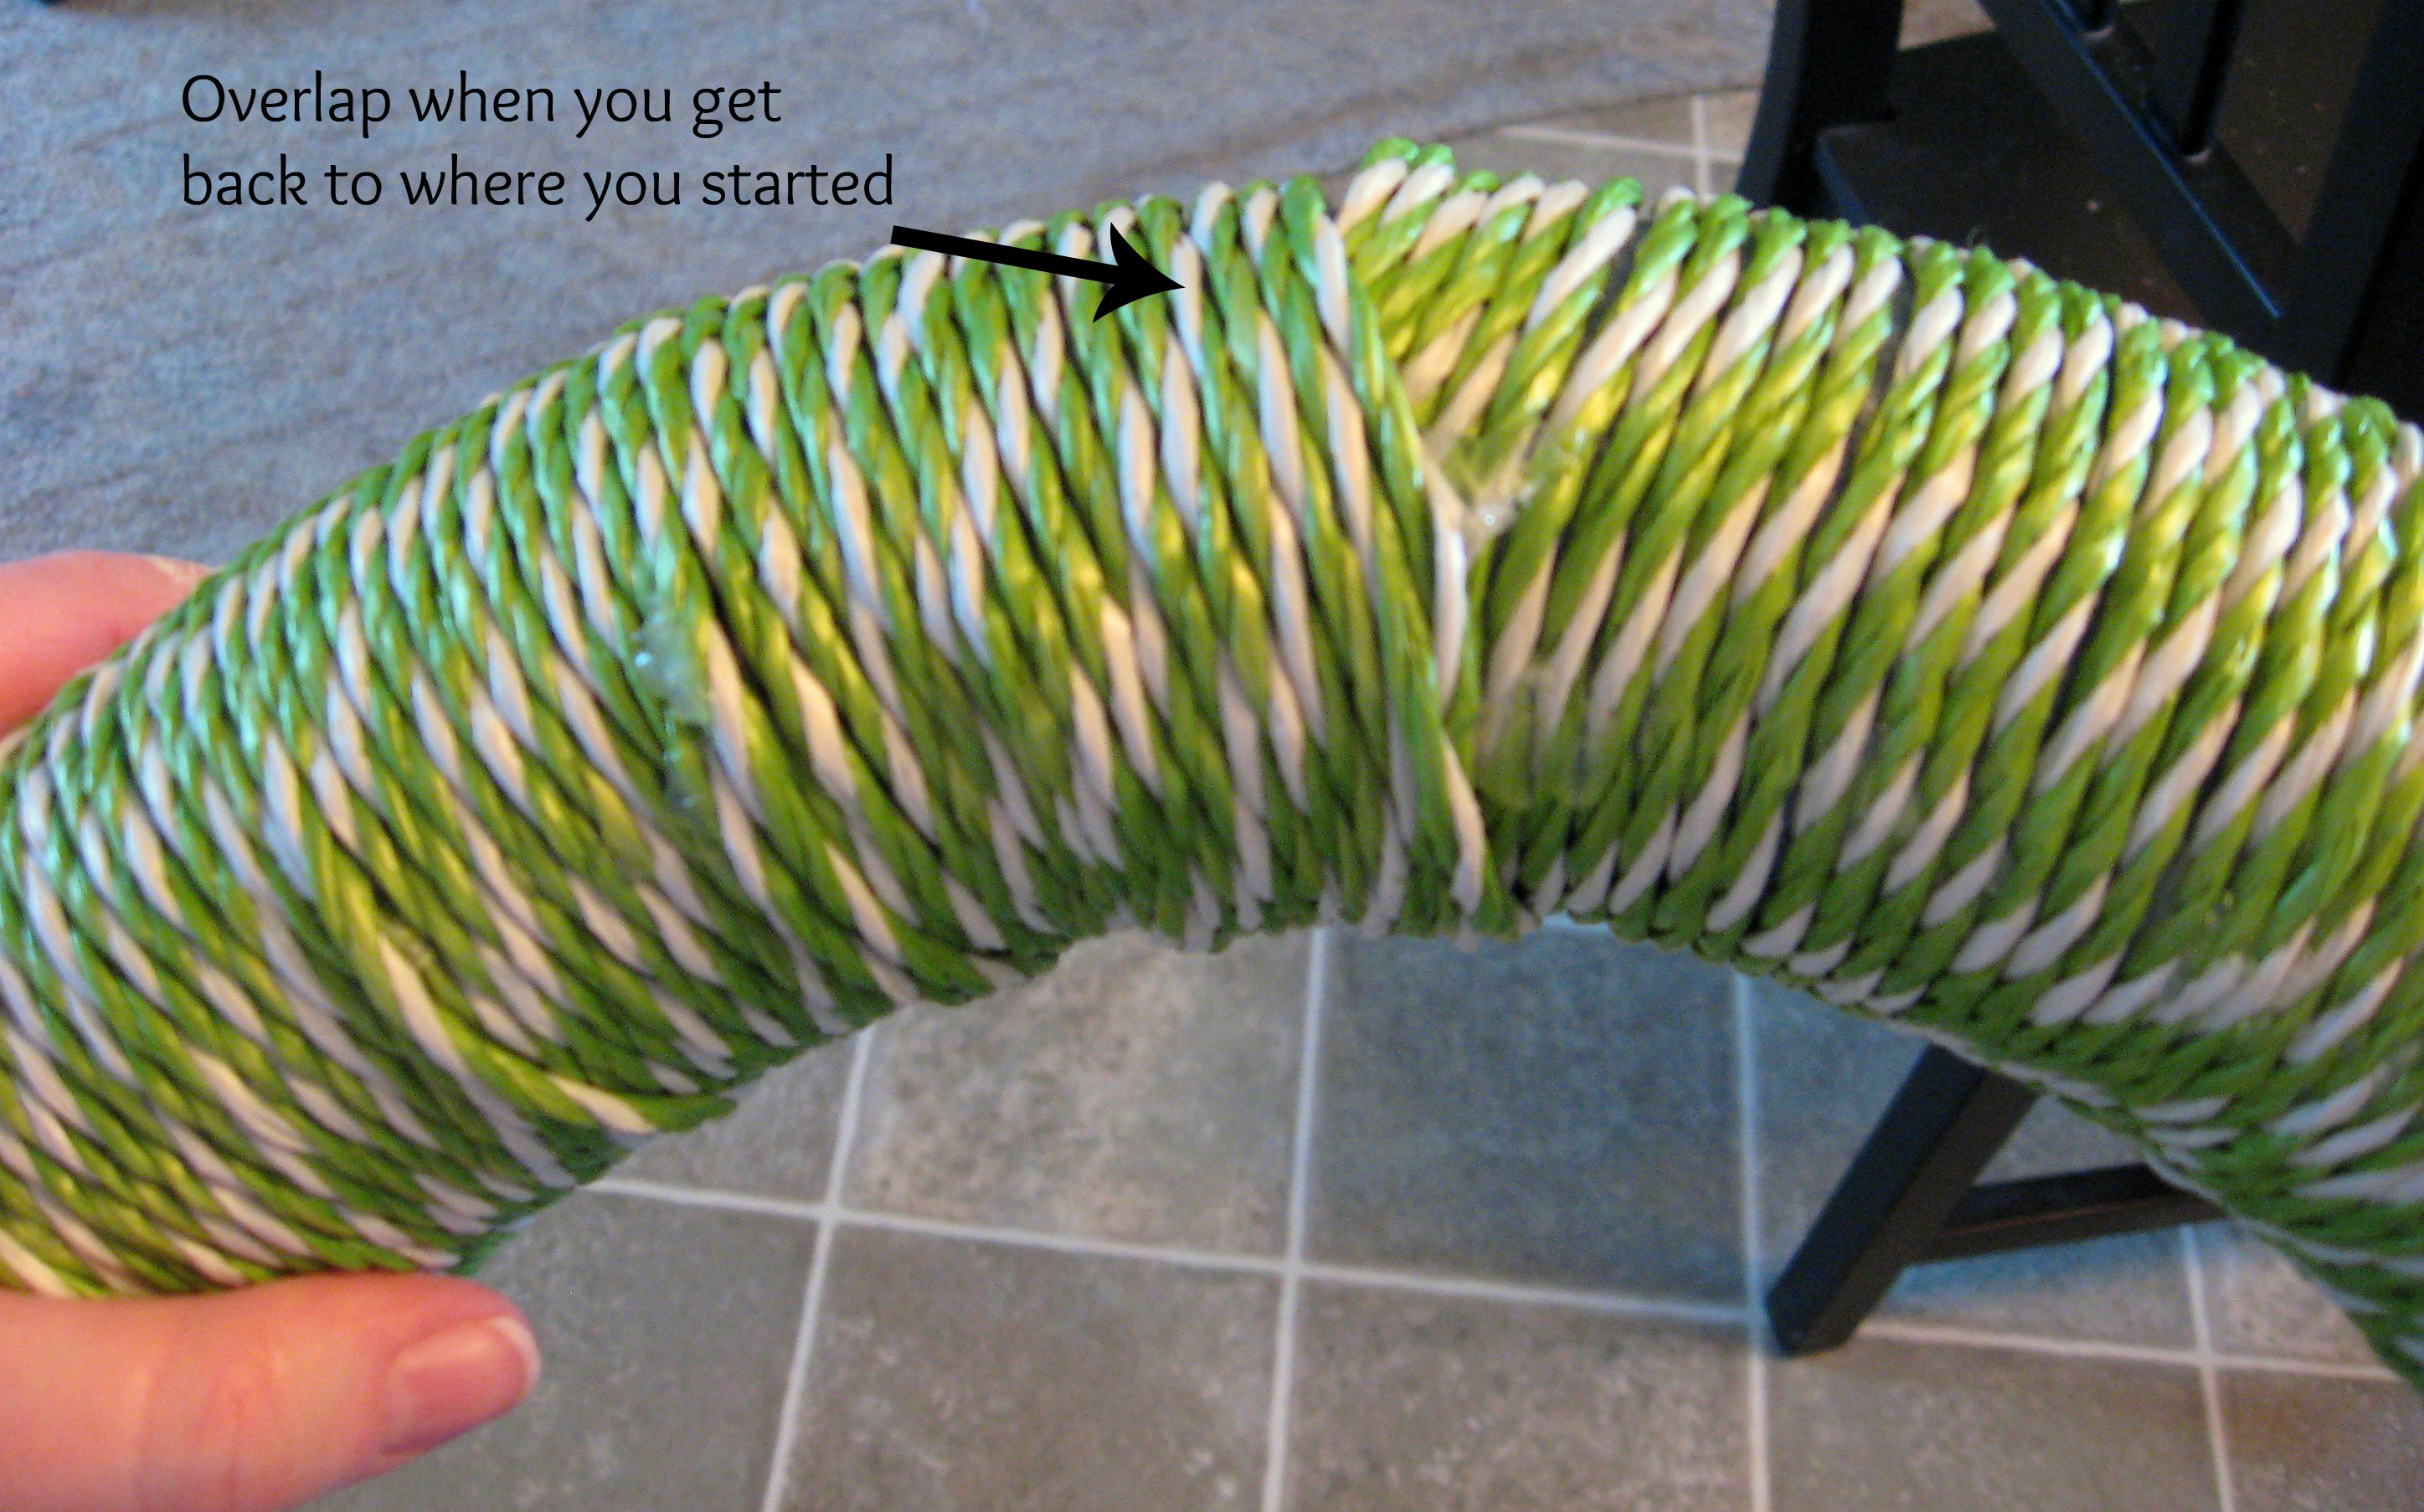
Take a minute to adjust the front to make any lumpy pieces lie flat and to cover any “bald spots.”
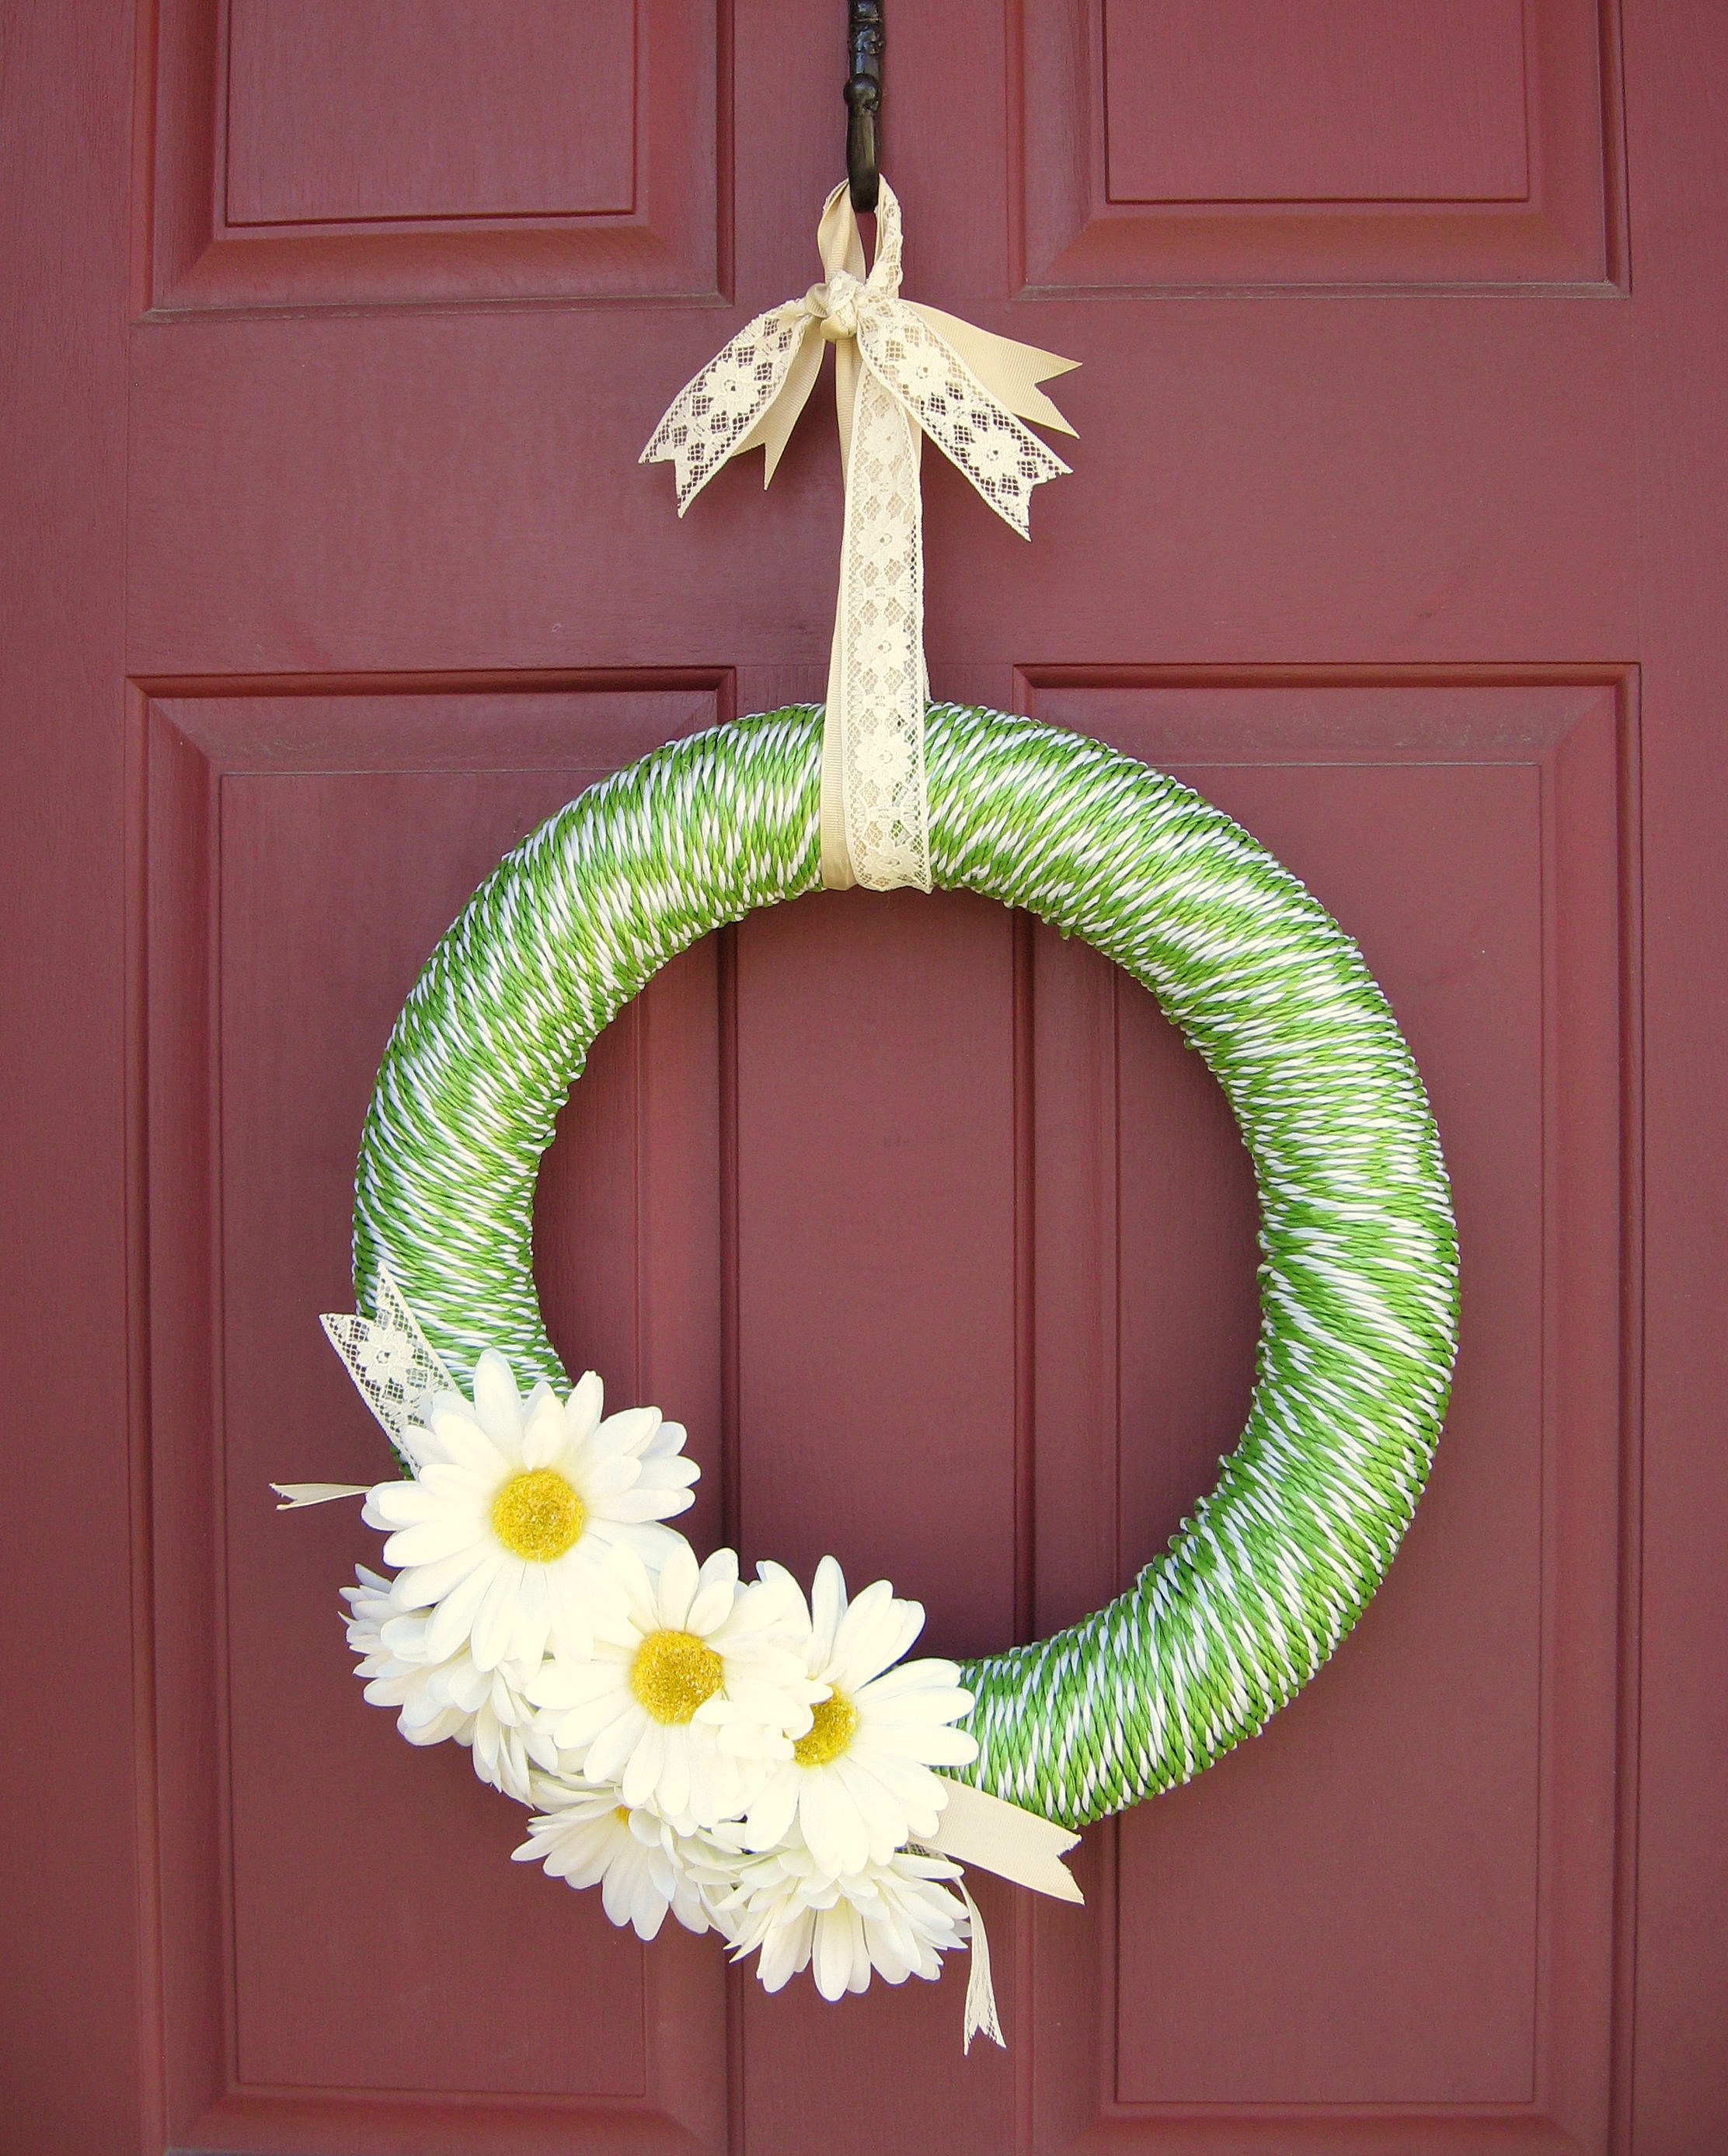
I embellished mine by hot gluing on some ribbon, lace and flowers that I had in my stash, but these are all things that are readily available at any craft store or usually even the dollar store.
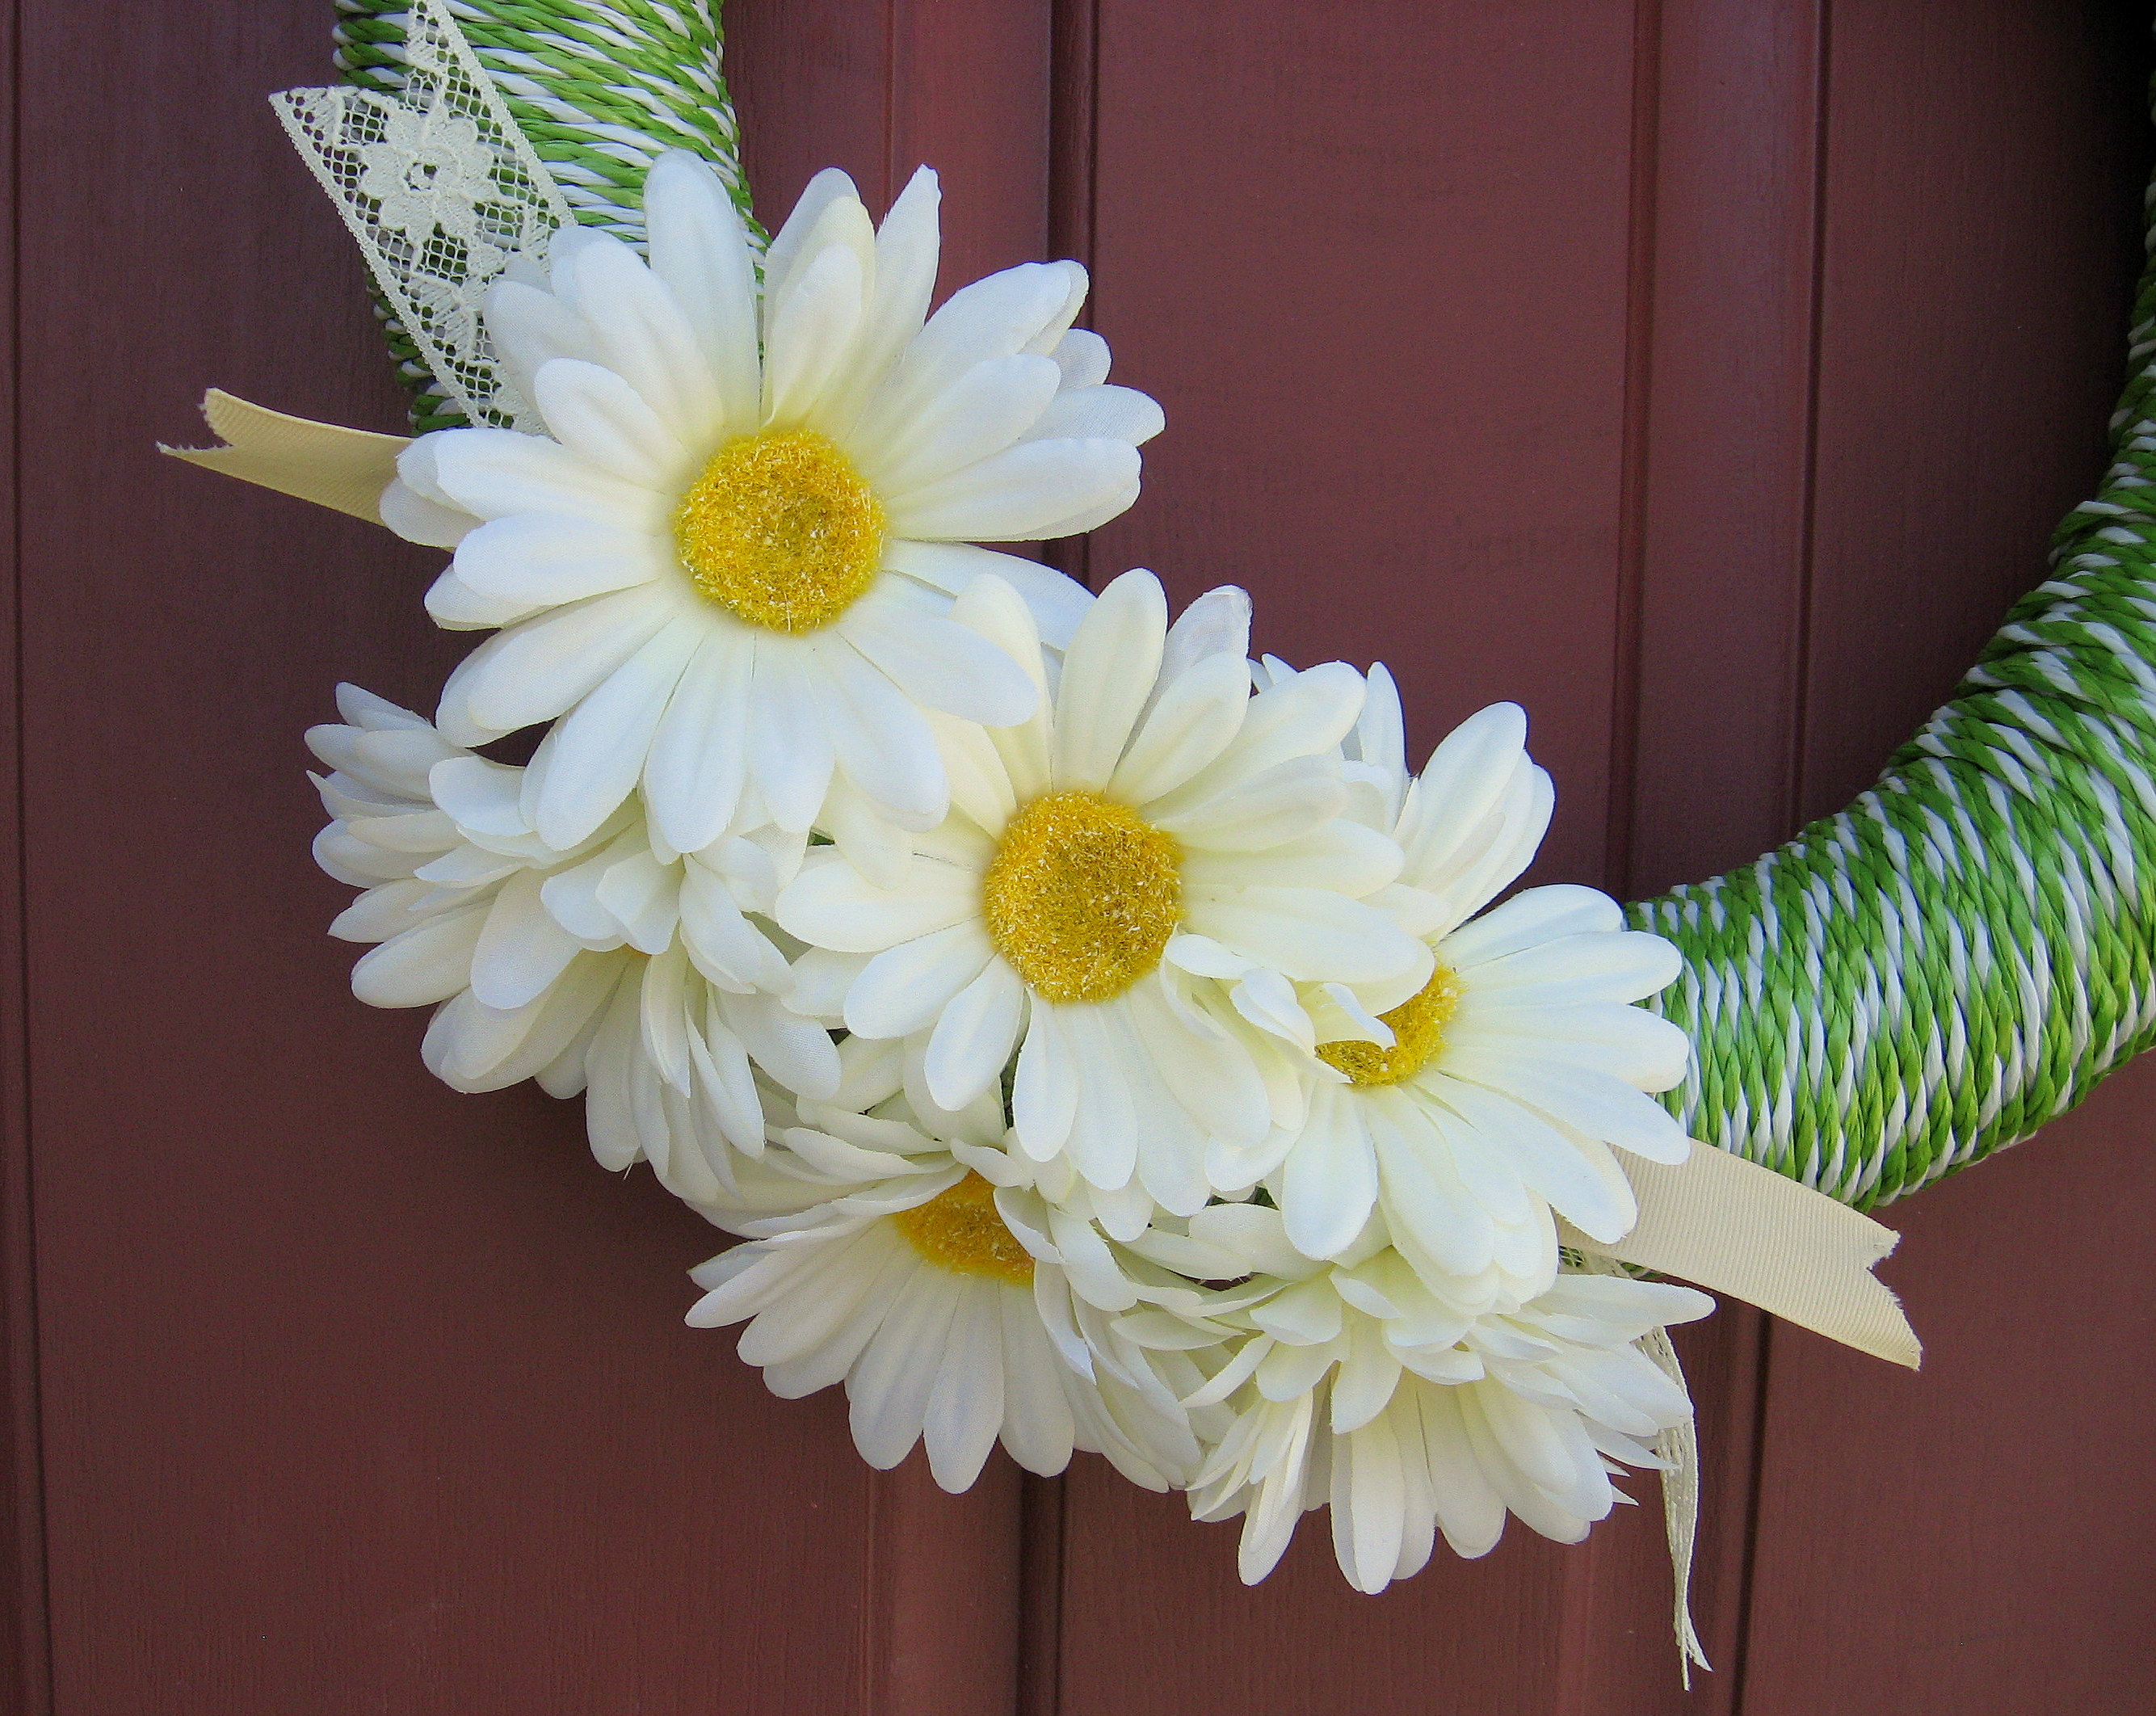
Loop a ribbon through the top, tie, and hang.
emw36
Super cute and creative with the pool noodle! I’m going to try this…