
With a family of 5 constantly going in 5 different directions, I need an easy way to keep everyone’s schedules organized. We used a large paper calendar for a long time, but I decided I needed something bigger that provided a large visual for me to see the week at a glance.
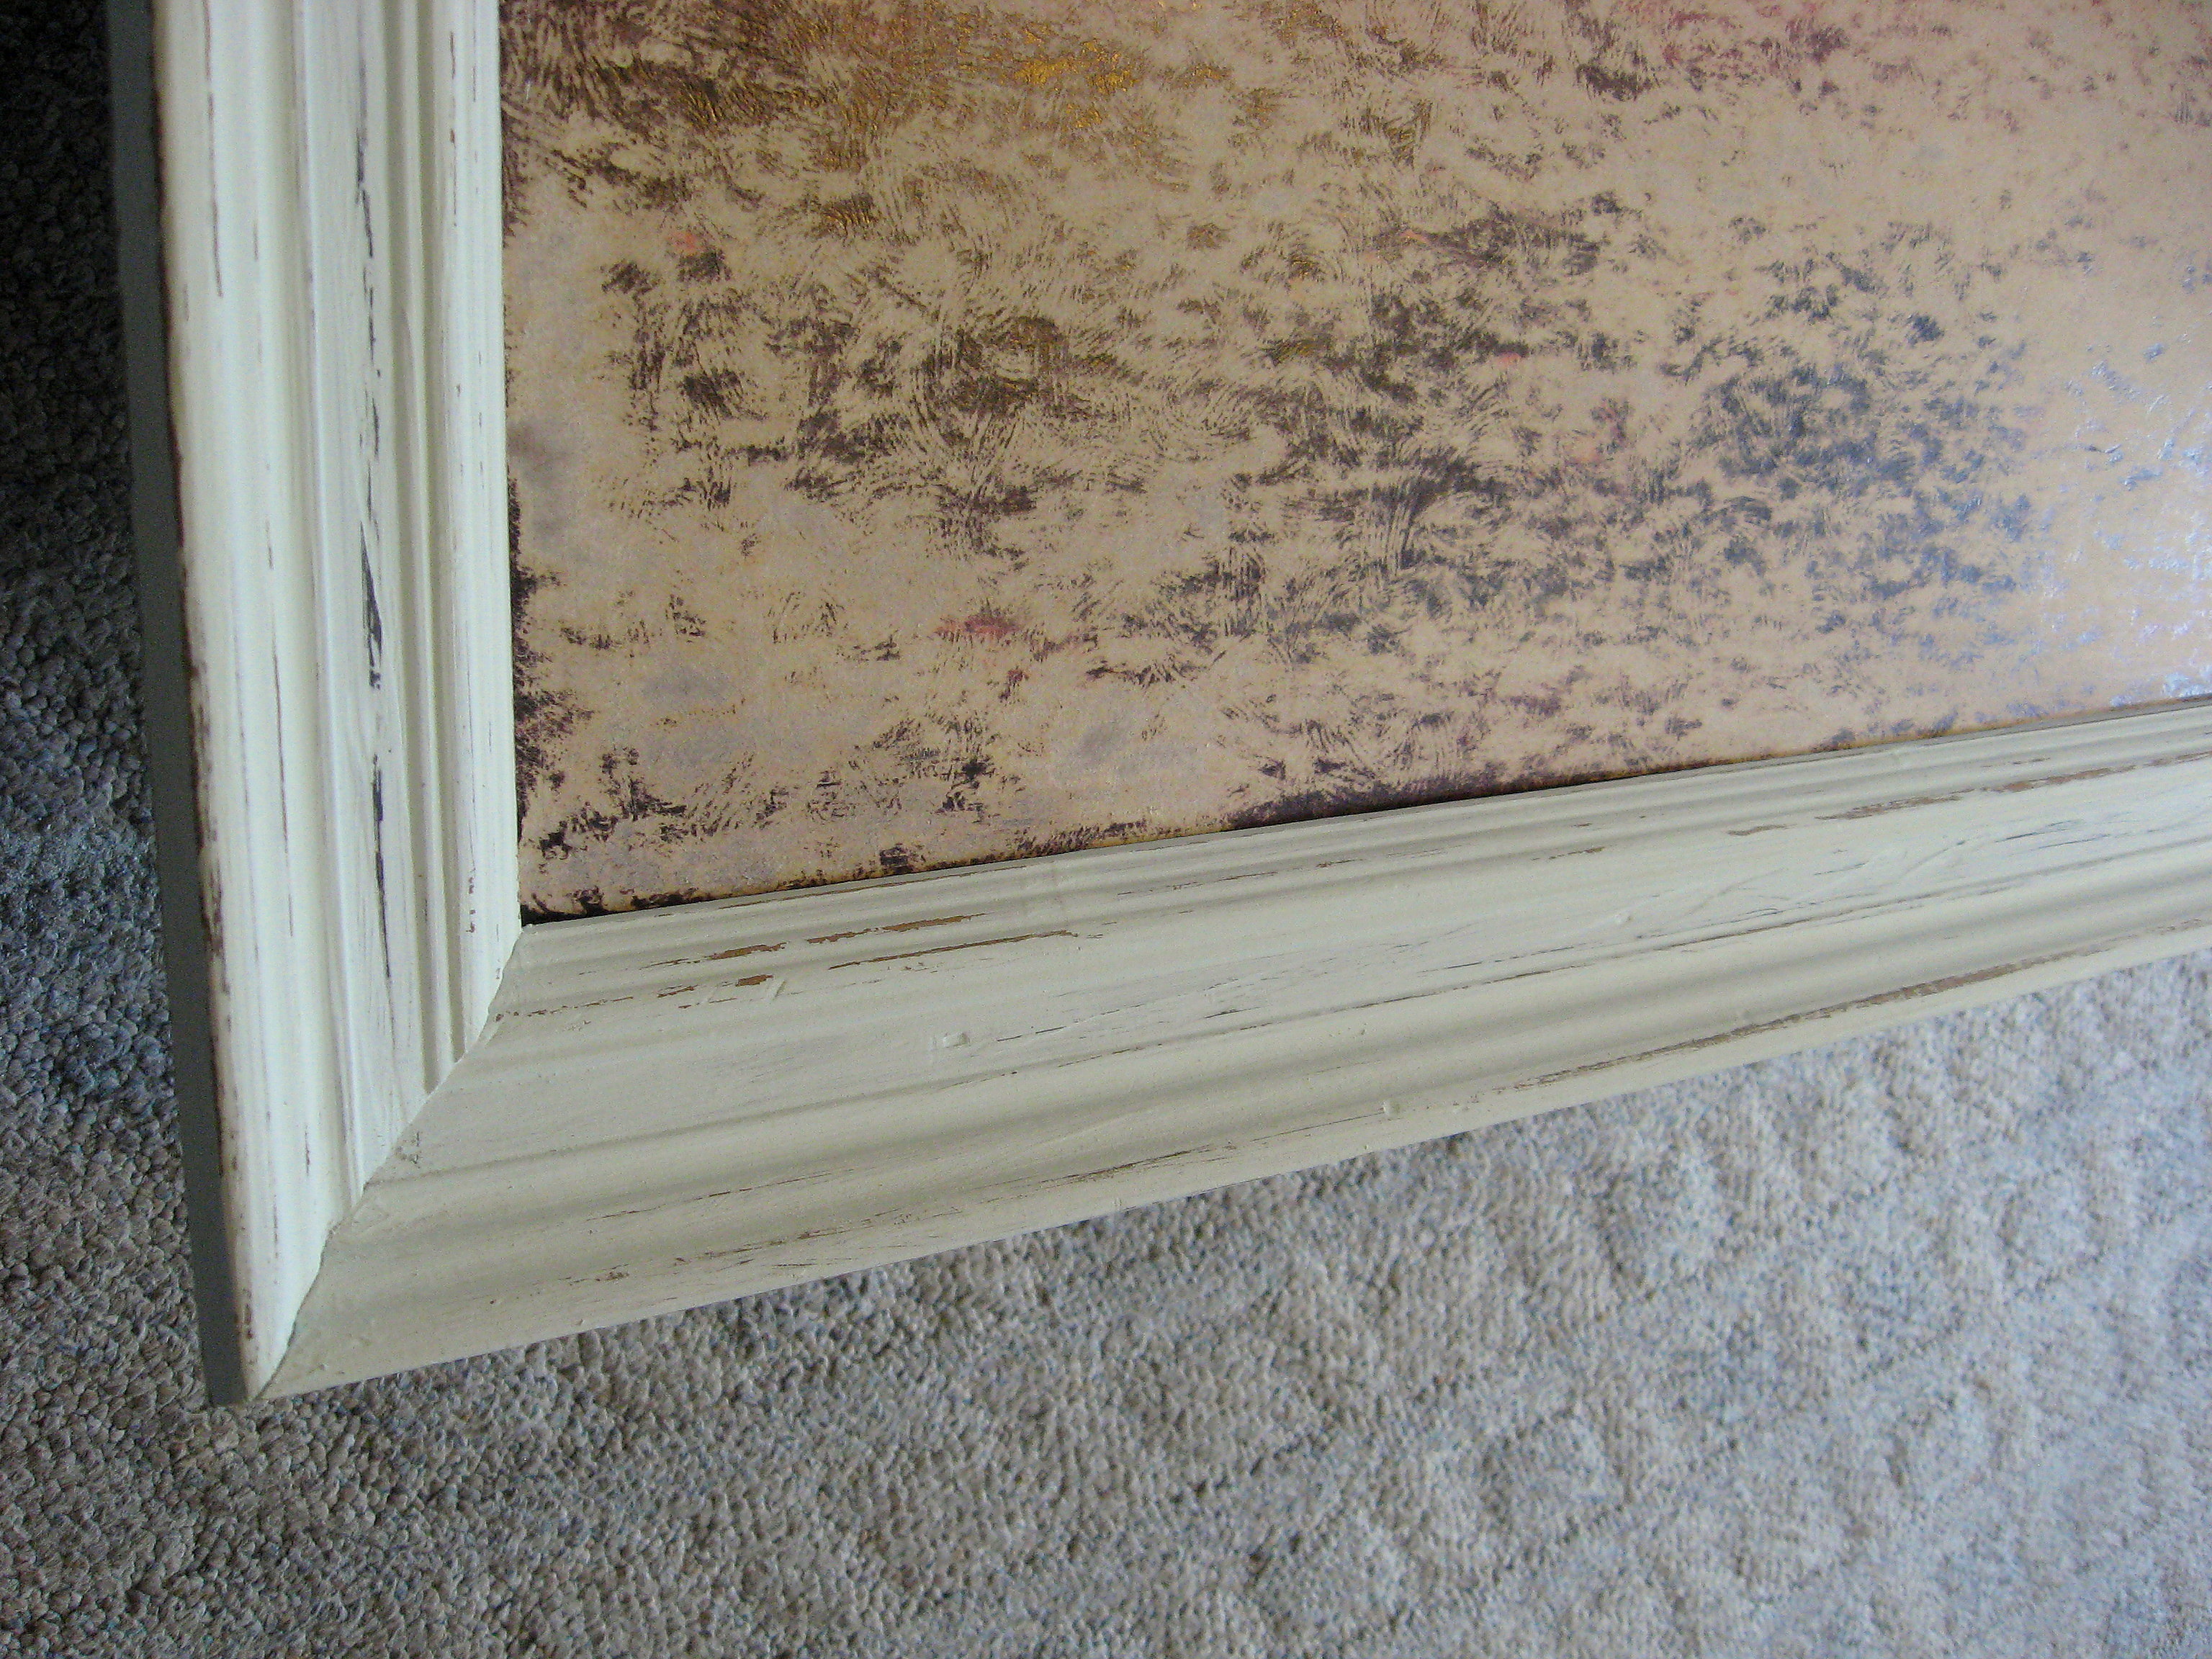
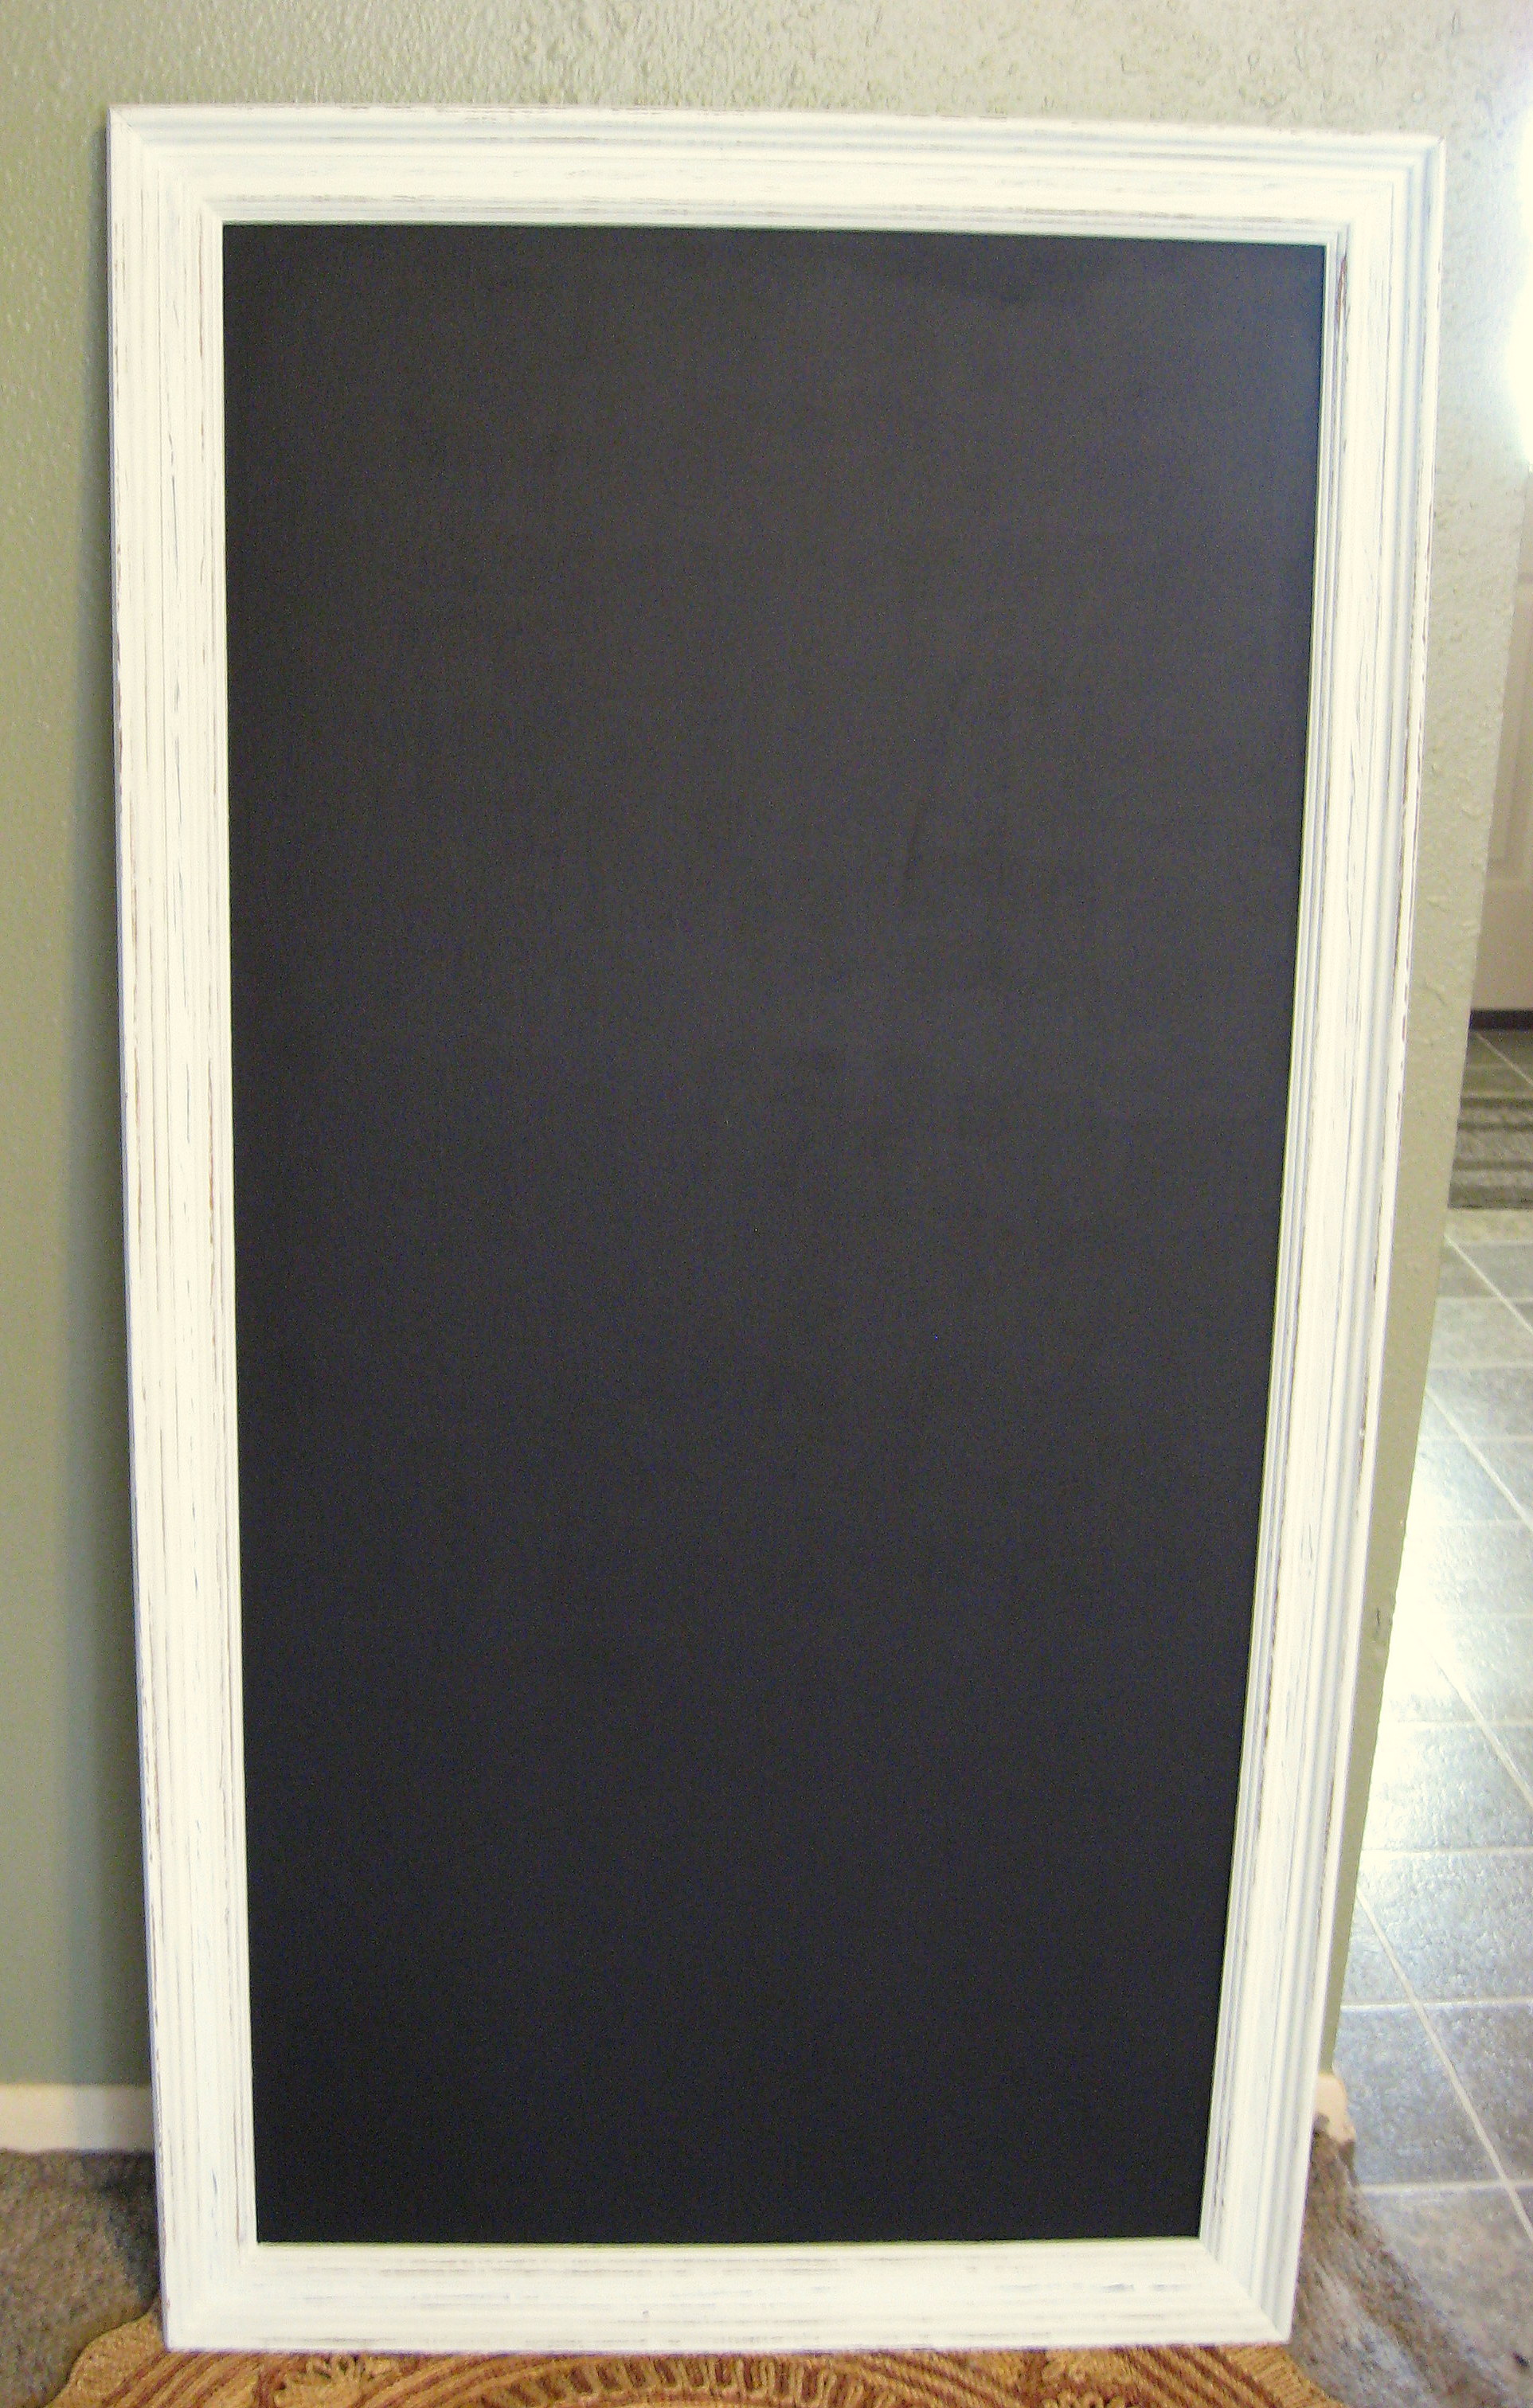
I found this frame for $5 at my local thrift store. $5 is a great price in my area for a frame this size, so I snapped it up.
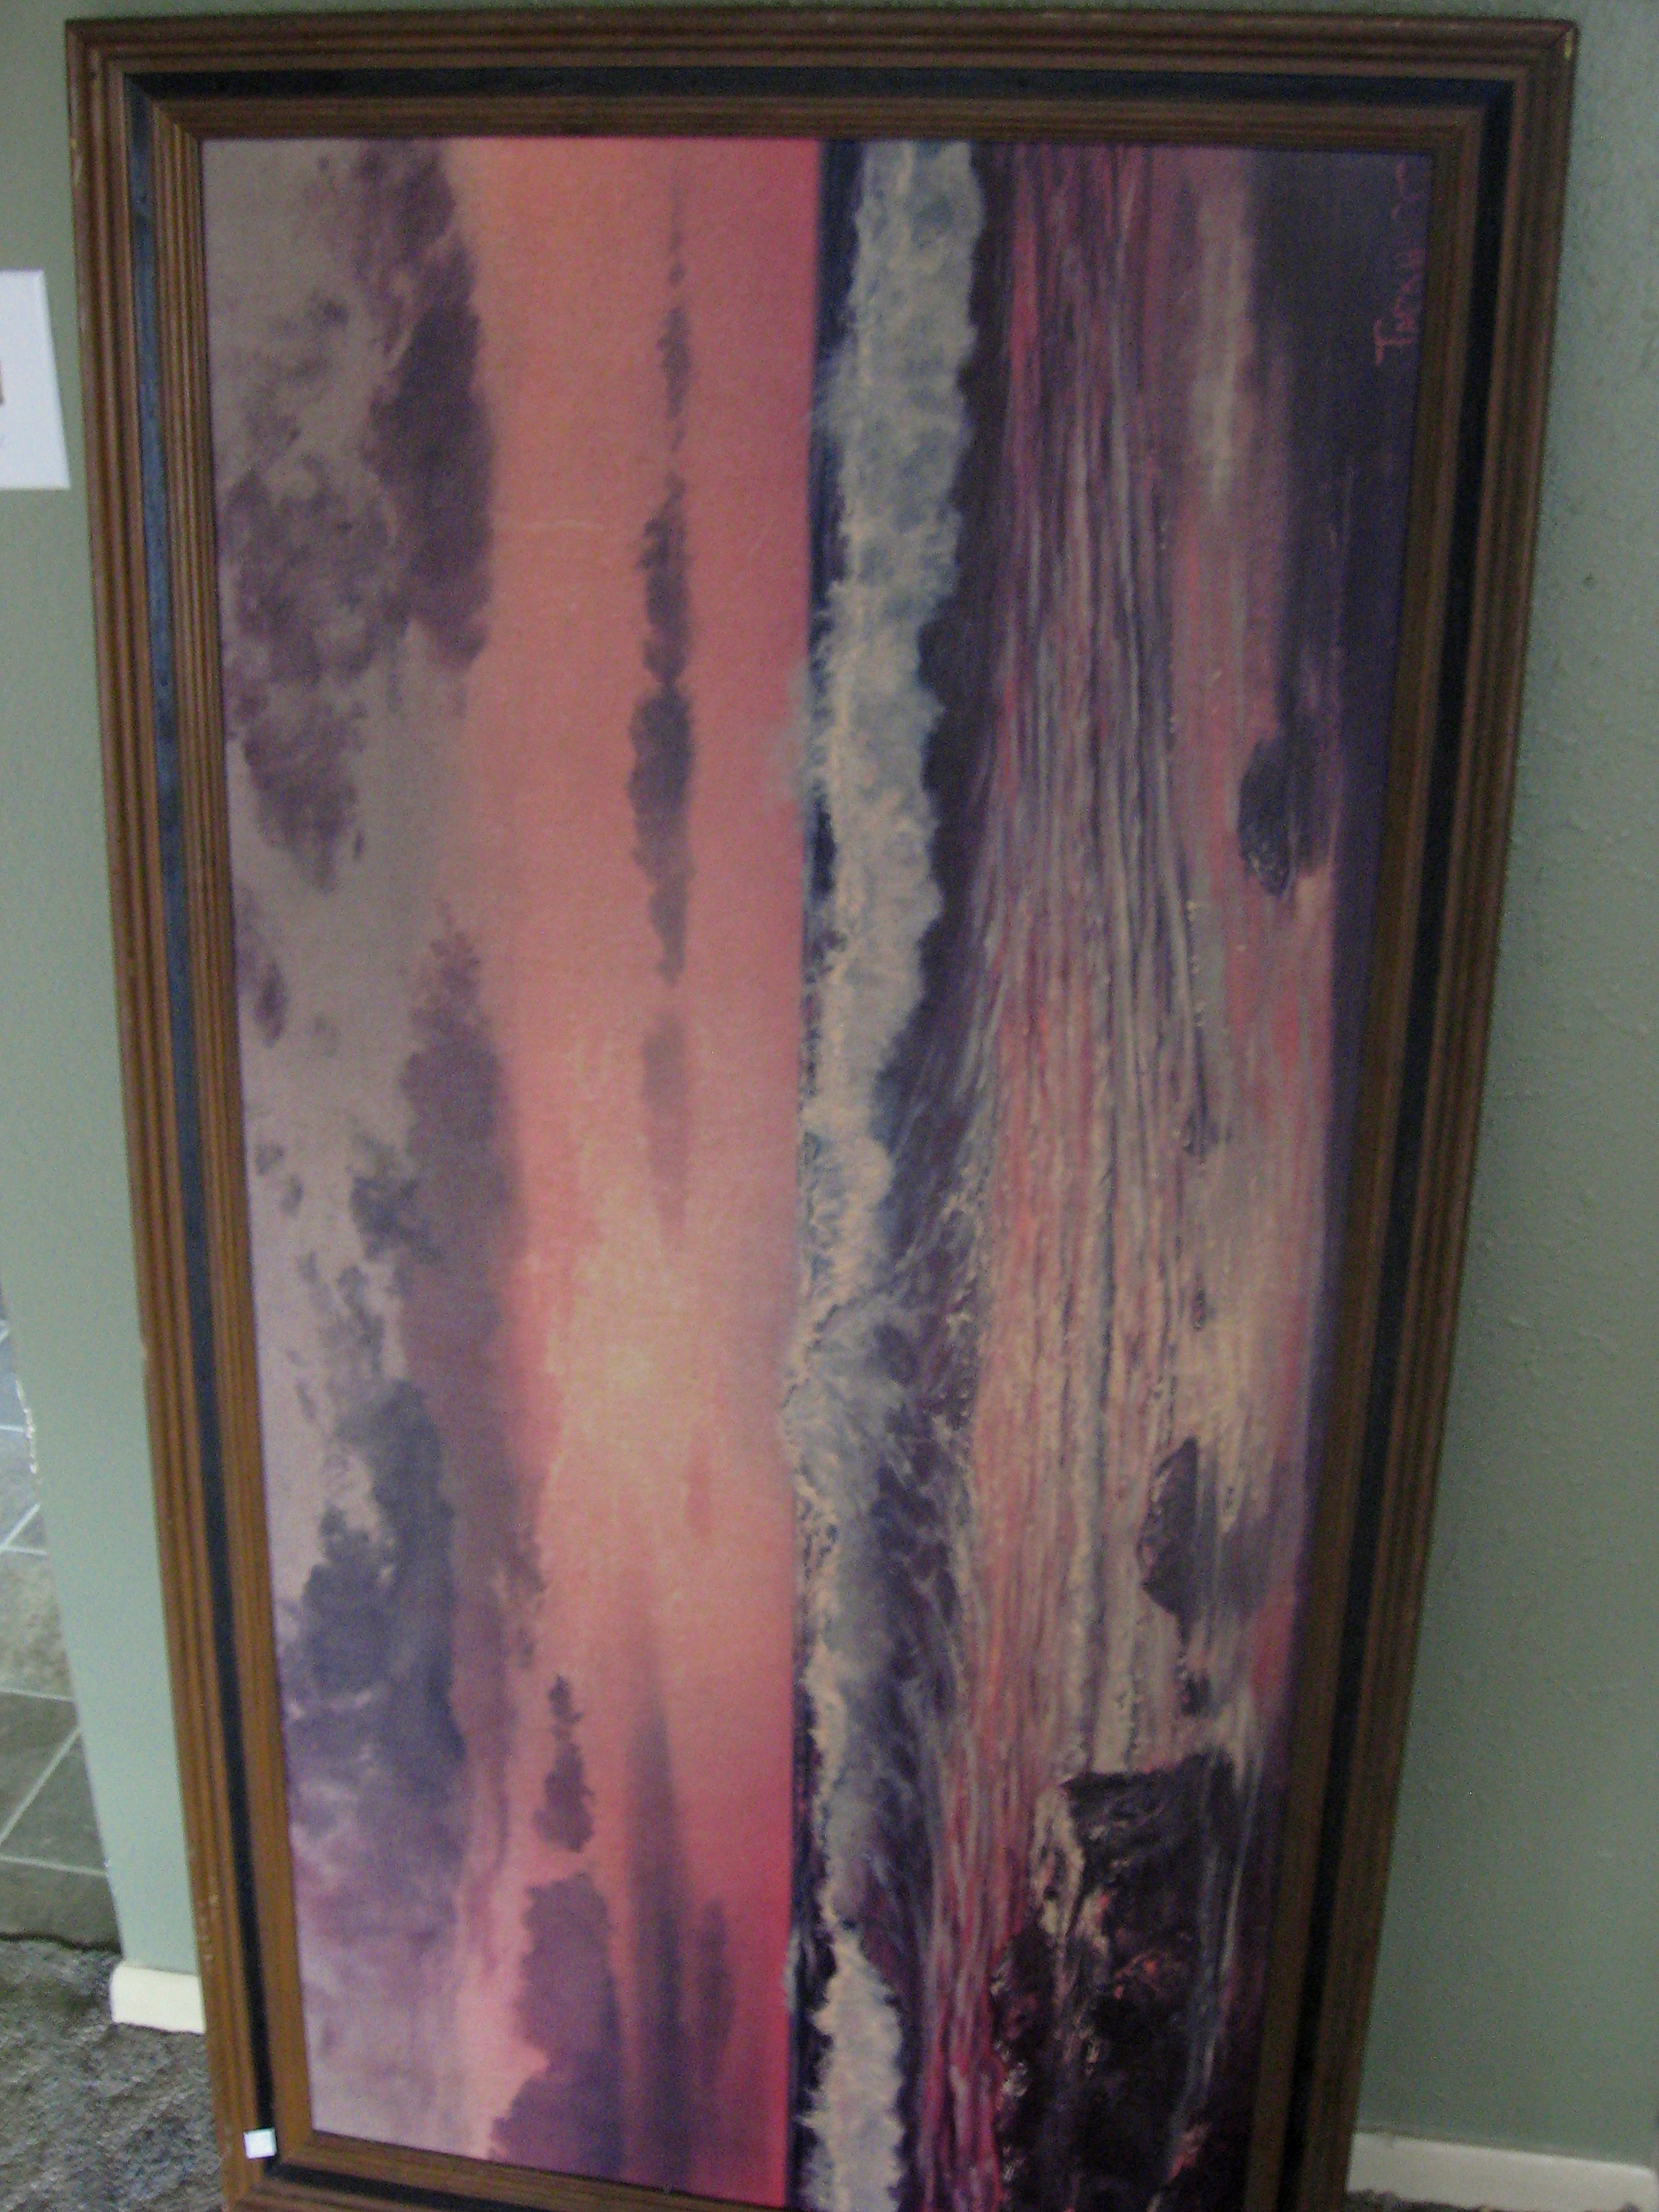
My original plan was to buy a sheet of dry erase board at a home improvement store and have it cut to fit in the frame. When I went to take this print out of the frame, I saw that it was stapled in VERY well and I started to think that maybe I could just use what was there. I knew I had some chalkboard paint in my garage – I wasn’t sure if painting this surface would cause it to warp, but I decided for free, I might as well try it.
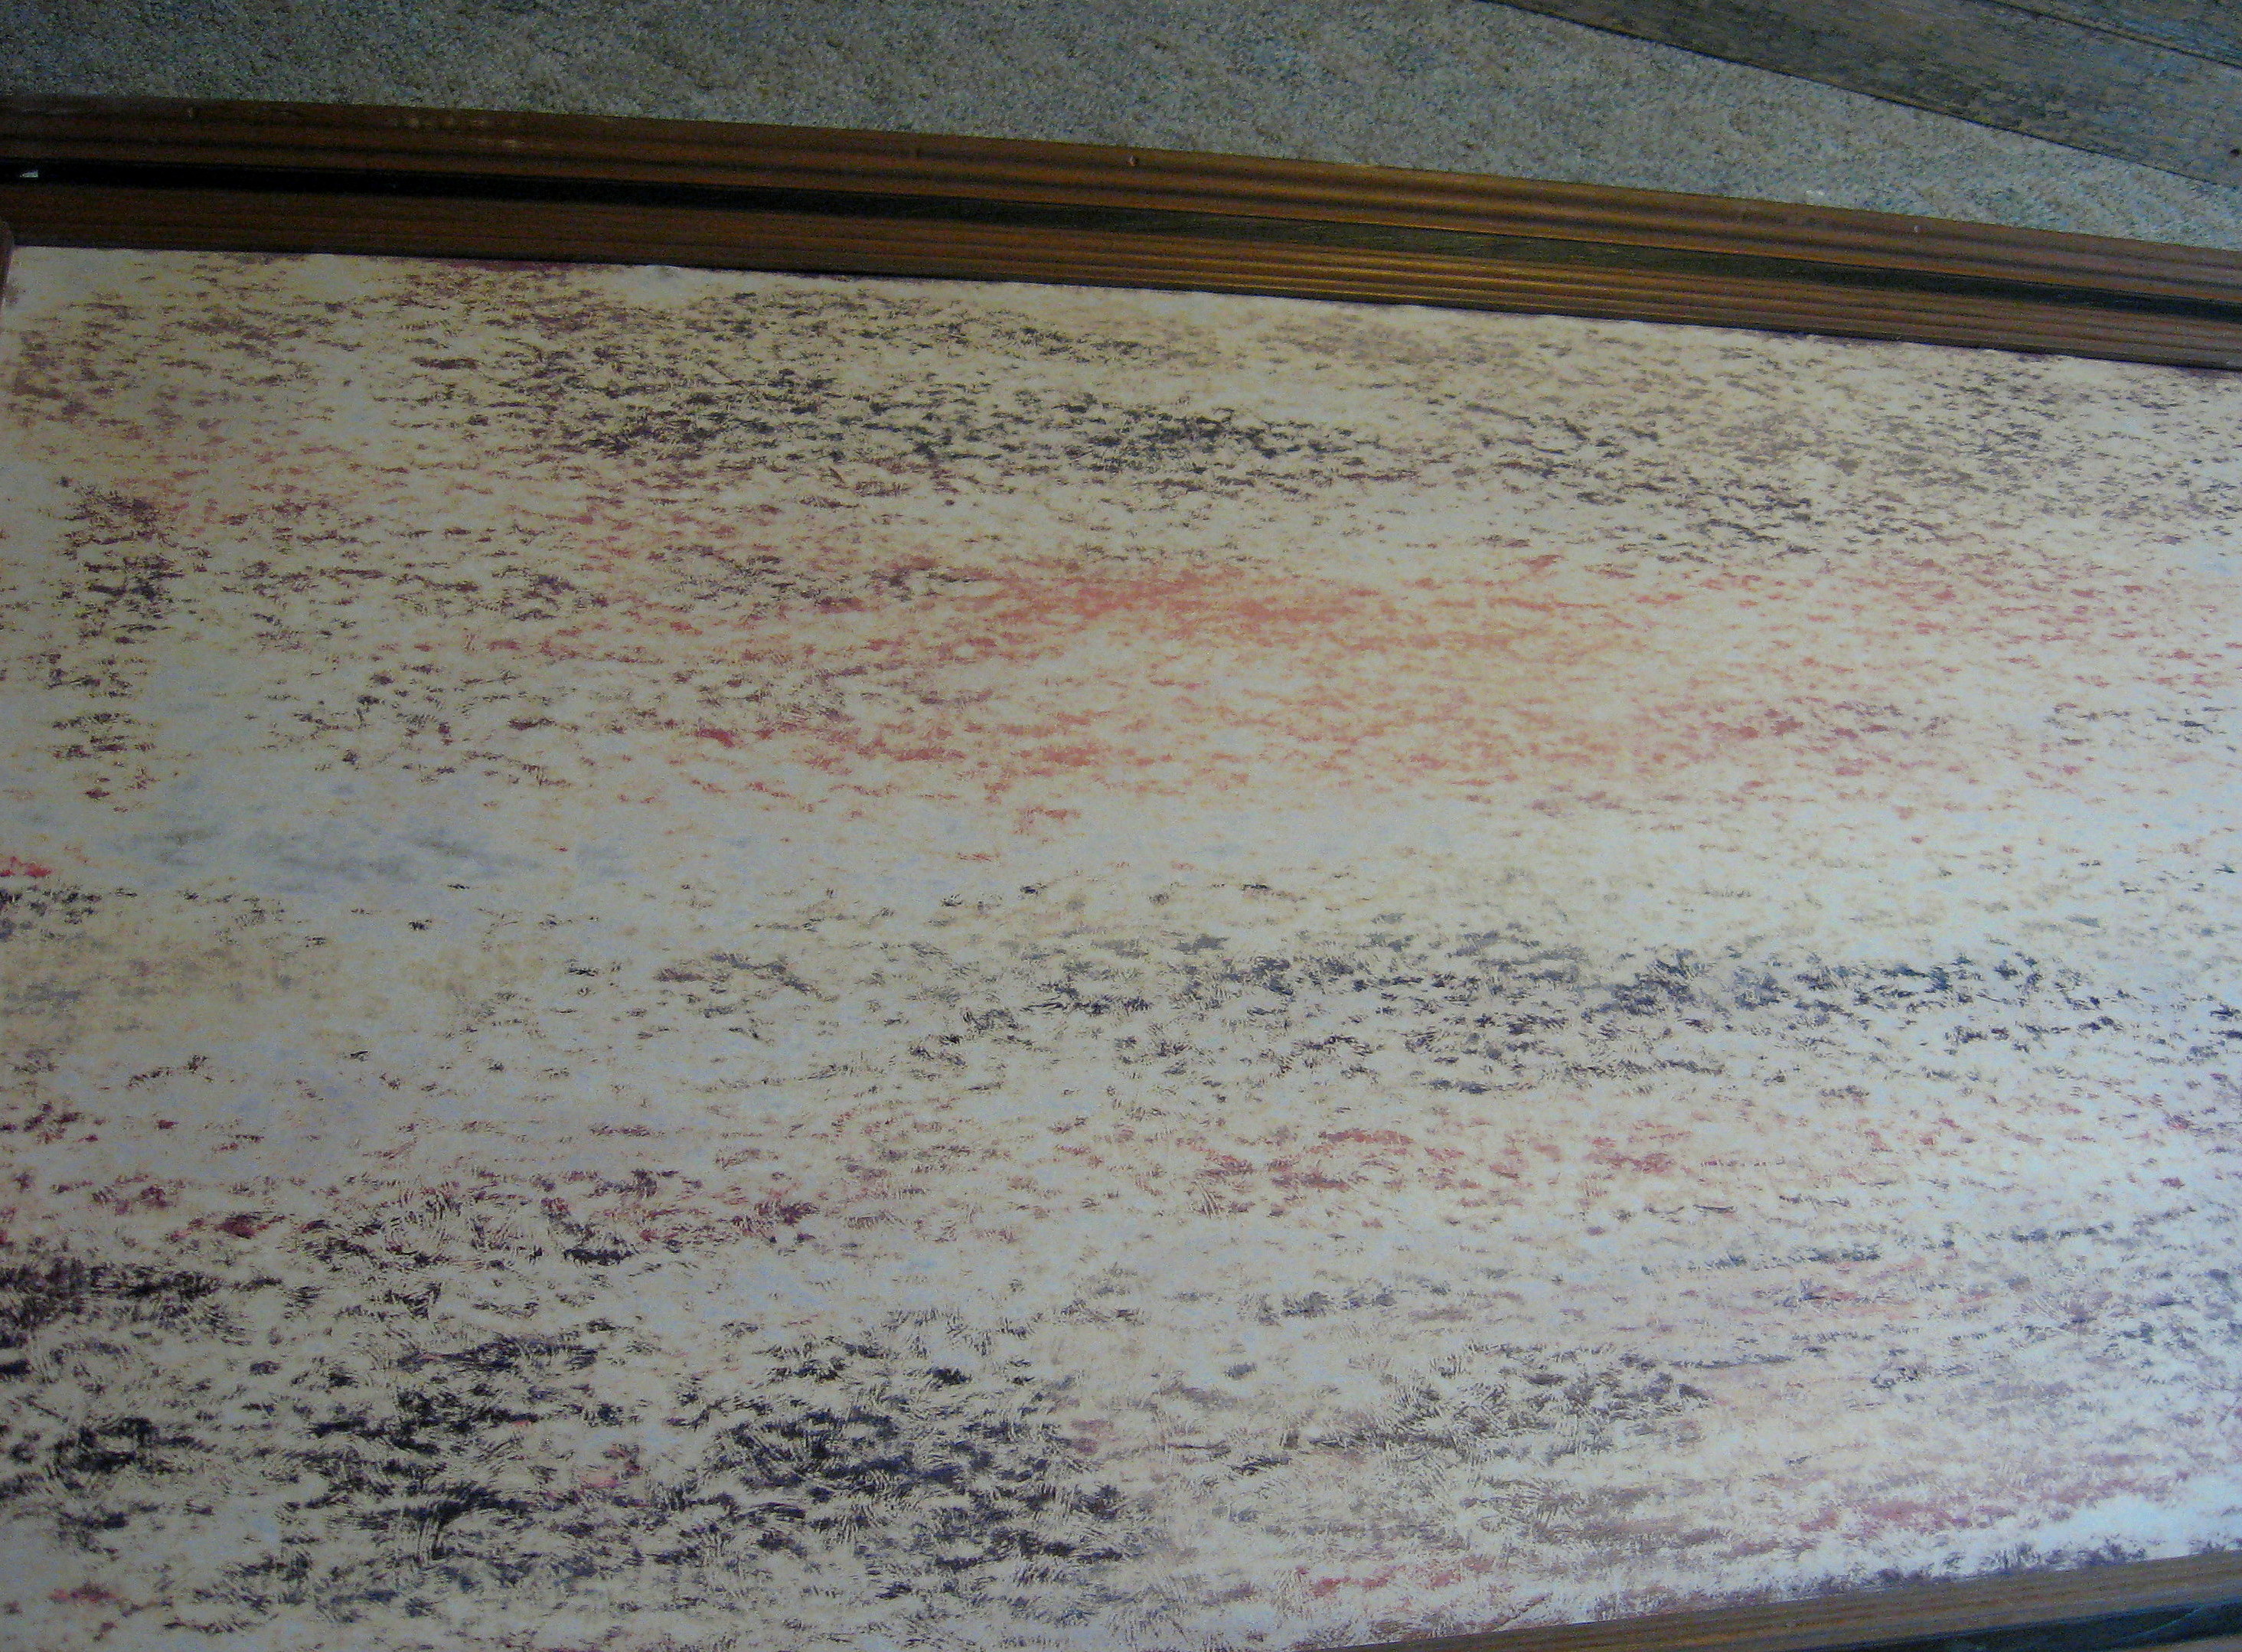
This surface had a very slight texture to it, so I started by sanding it down. It is basically just a dense cardboard kind of material, so I sanded carefully with a fine grit sandpaper, then vacuumed the dust and wiped it down with a barely damp cloth.
Now paint the frame. I like to add just a little Plaster of Paris to my craft paint; not necessary, just my preference. It makes the paint act like expensive chalk paint; it covers well (sometimes in just one coat)
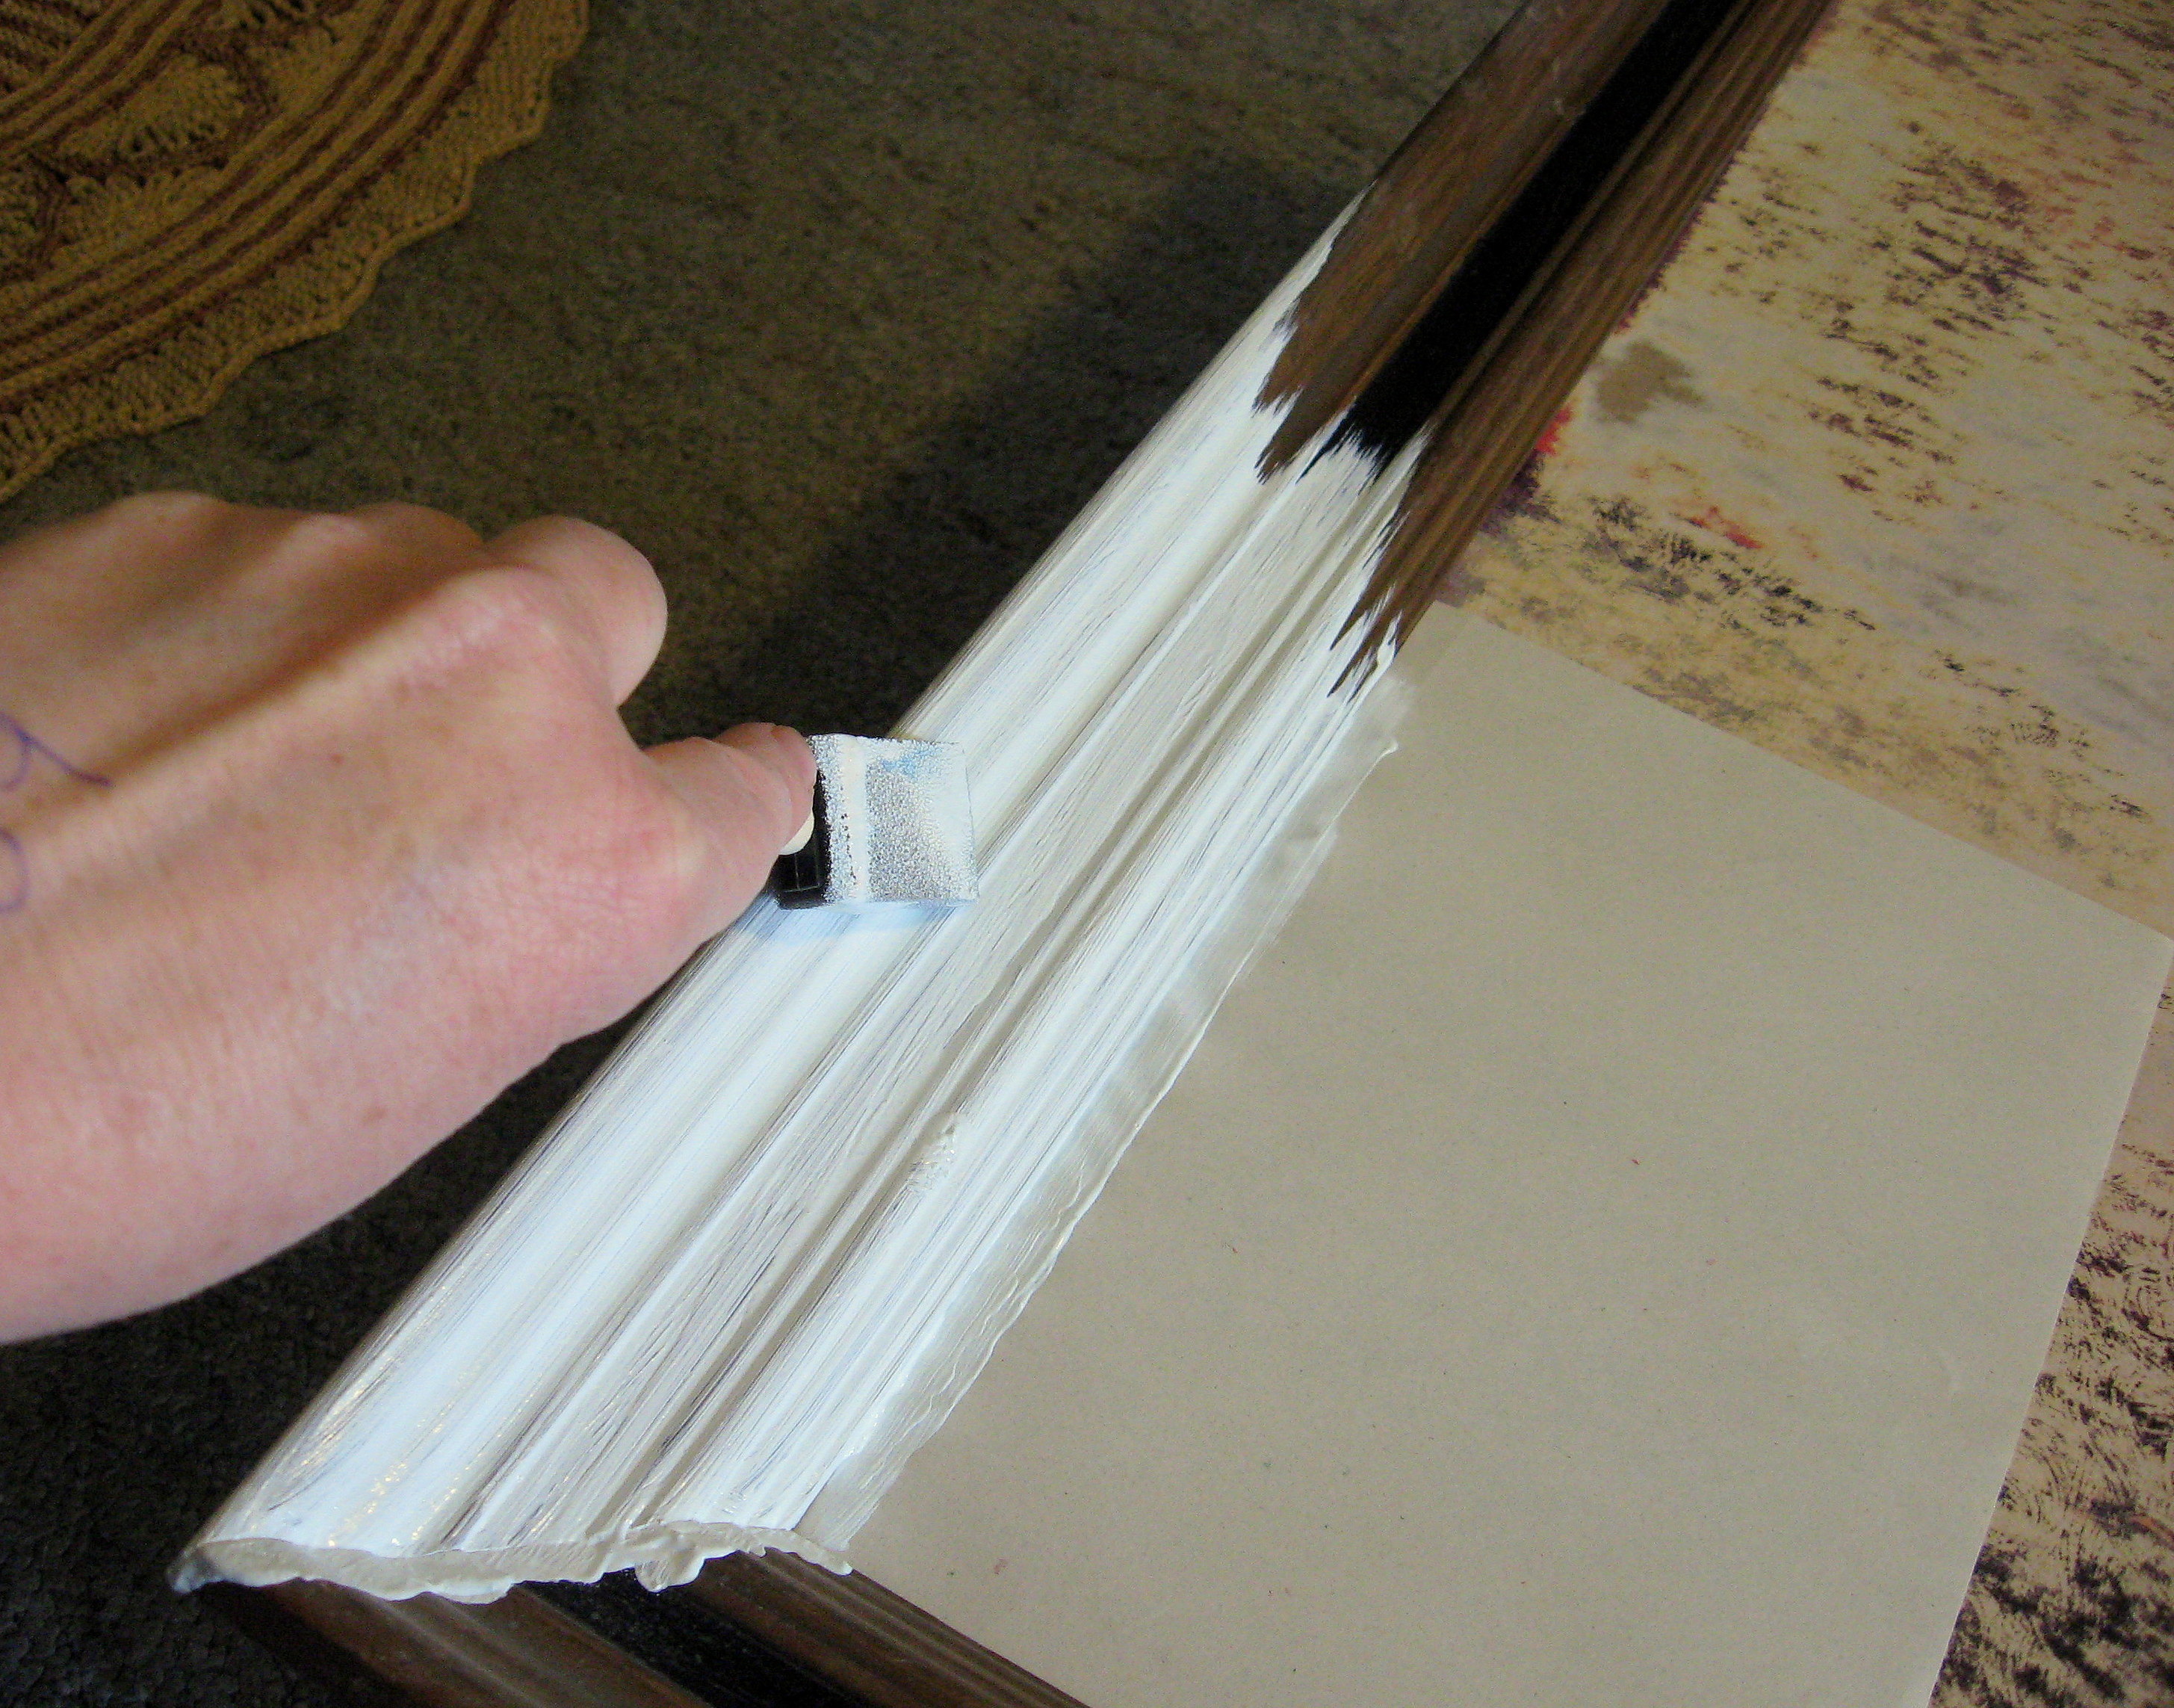
and it distresses very easily with sandpaper. Here is the frame all painted:
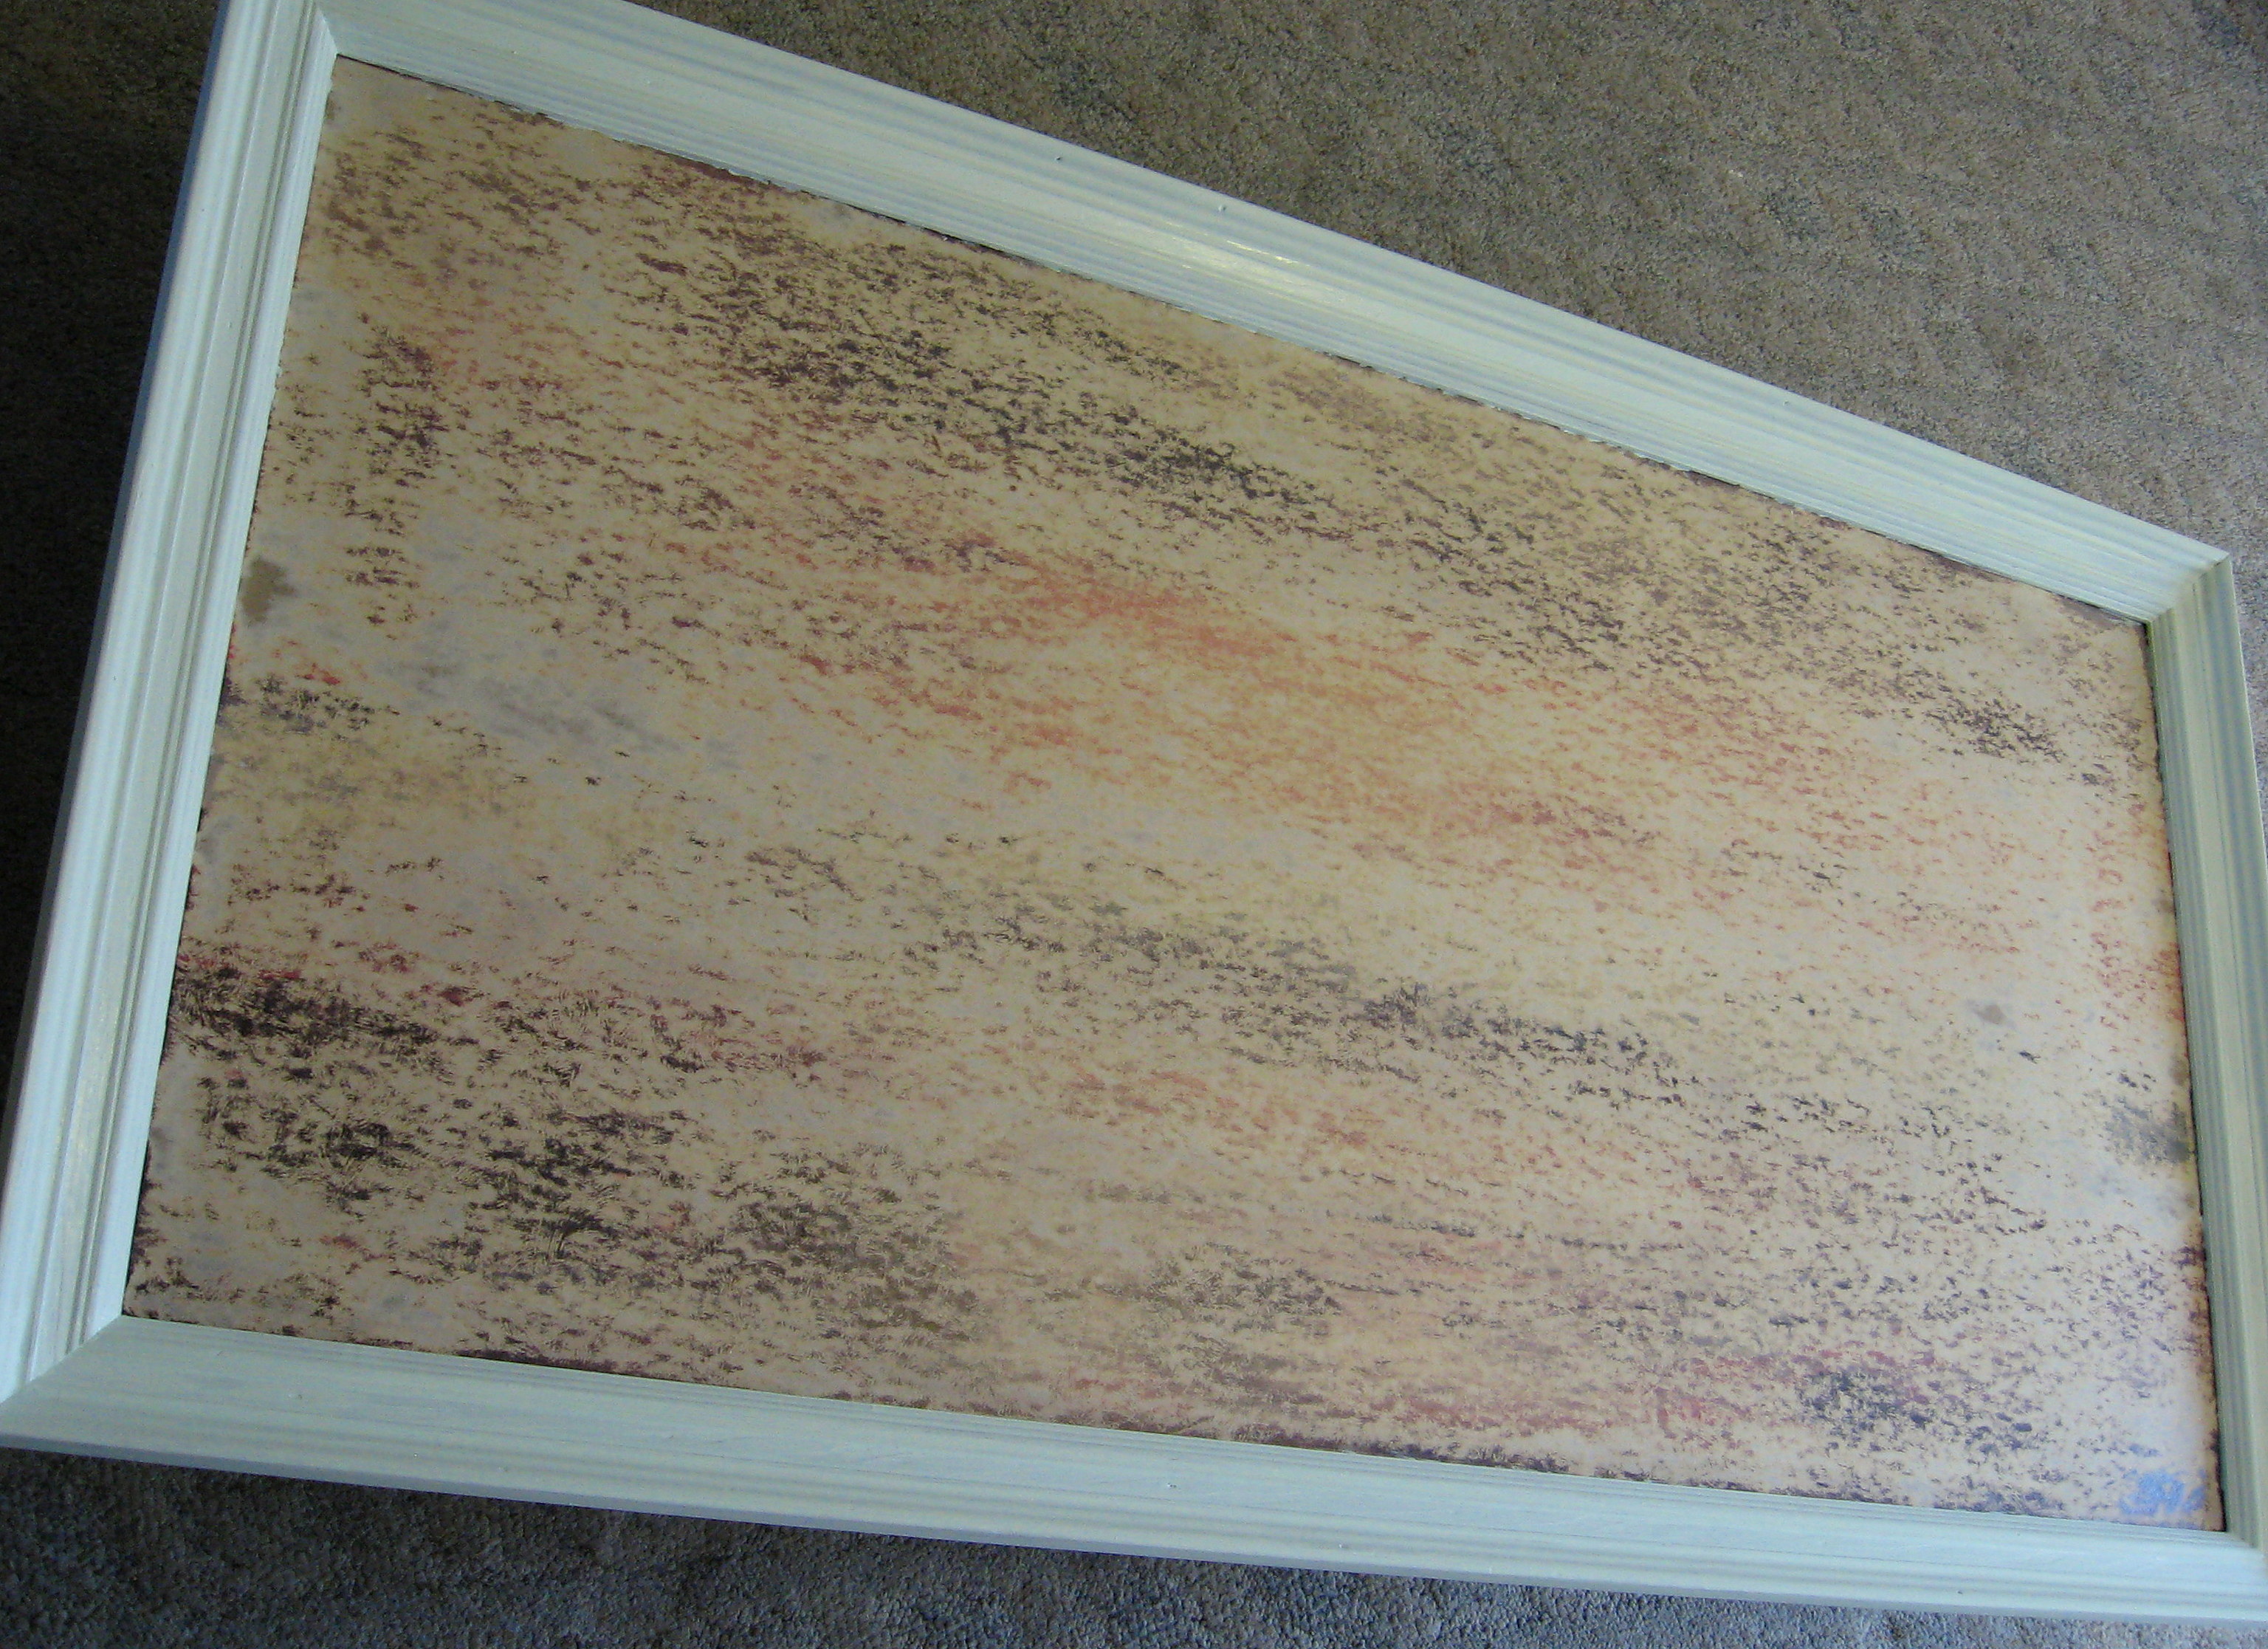
and then lightly sanded:
Now let’s paint the inside surface.
*Note – I lucked out and found a frame with a print in it that I could just paint over. If your frame doesn’t have this, I would recommend buying a piece of masonite from a home improvement store. They will even cut it to size for you. Masonite is inexpensive and easy to work with and provides a perfectly flat and smooth surface. Just paint it first, then staple or nail it into the frame when it’s dry.
I decided to start with magnetic paint so I could stick things to the calendar – bills to be paid, coupons needed, permission slips to turn in, etc.
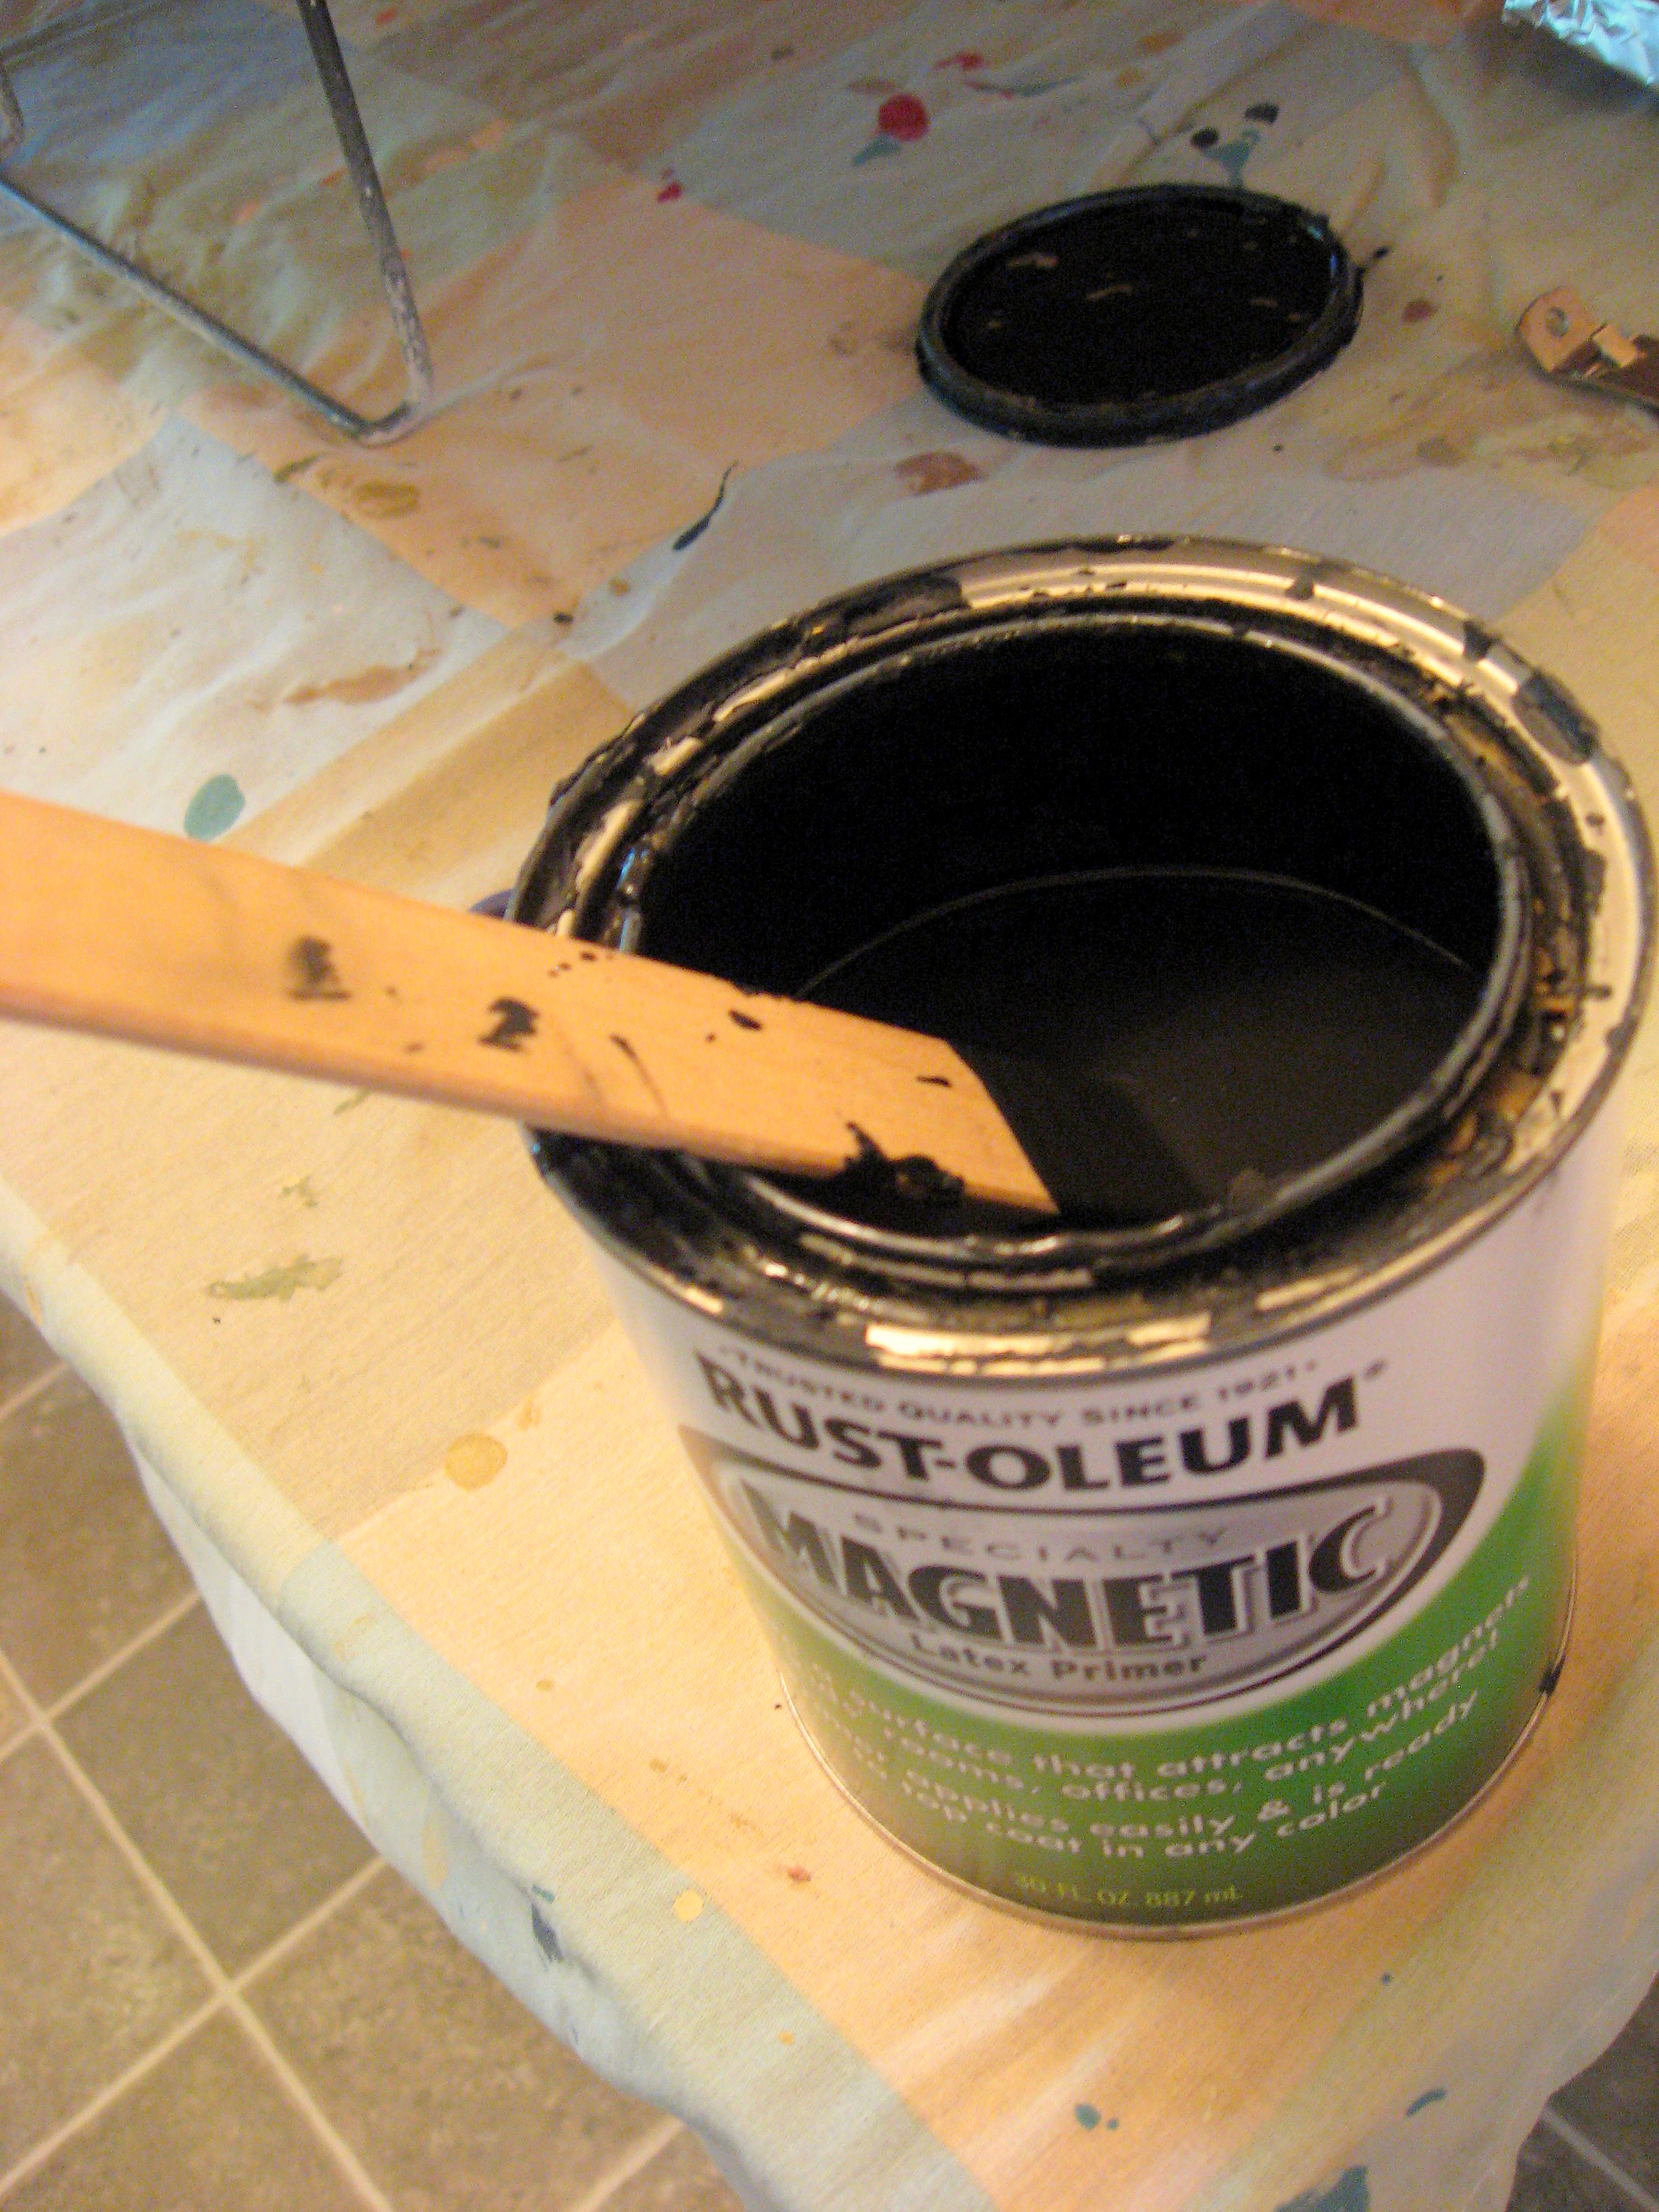
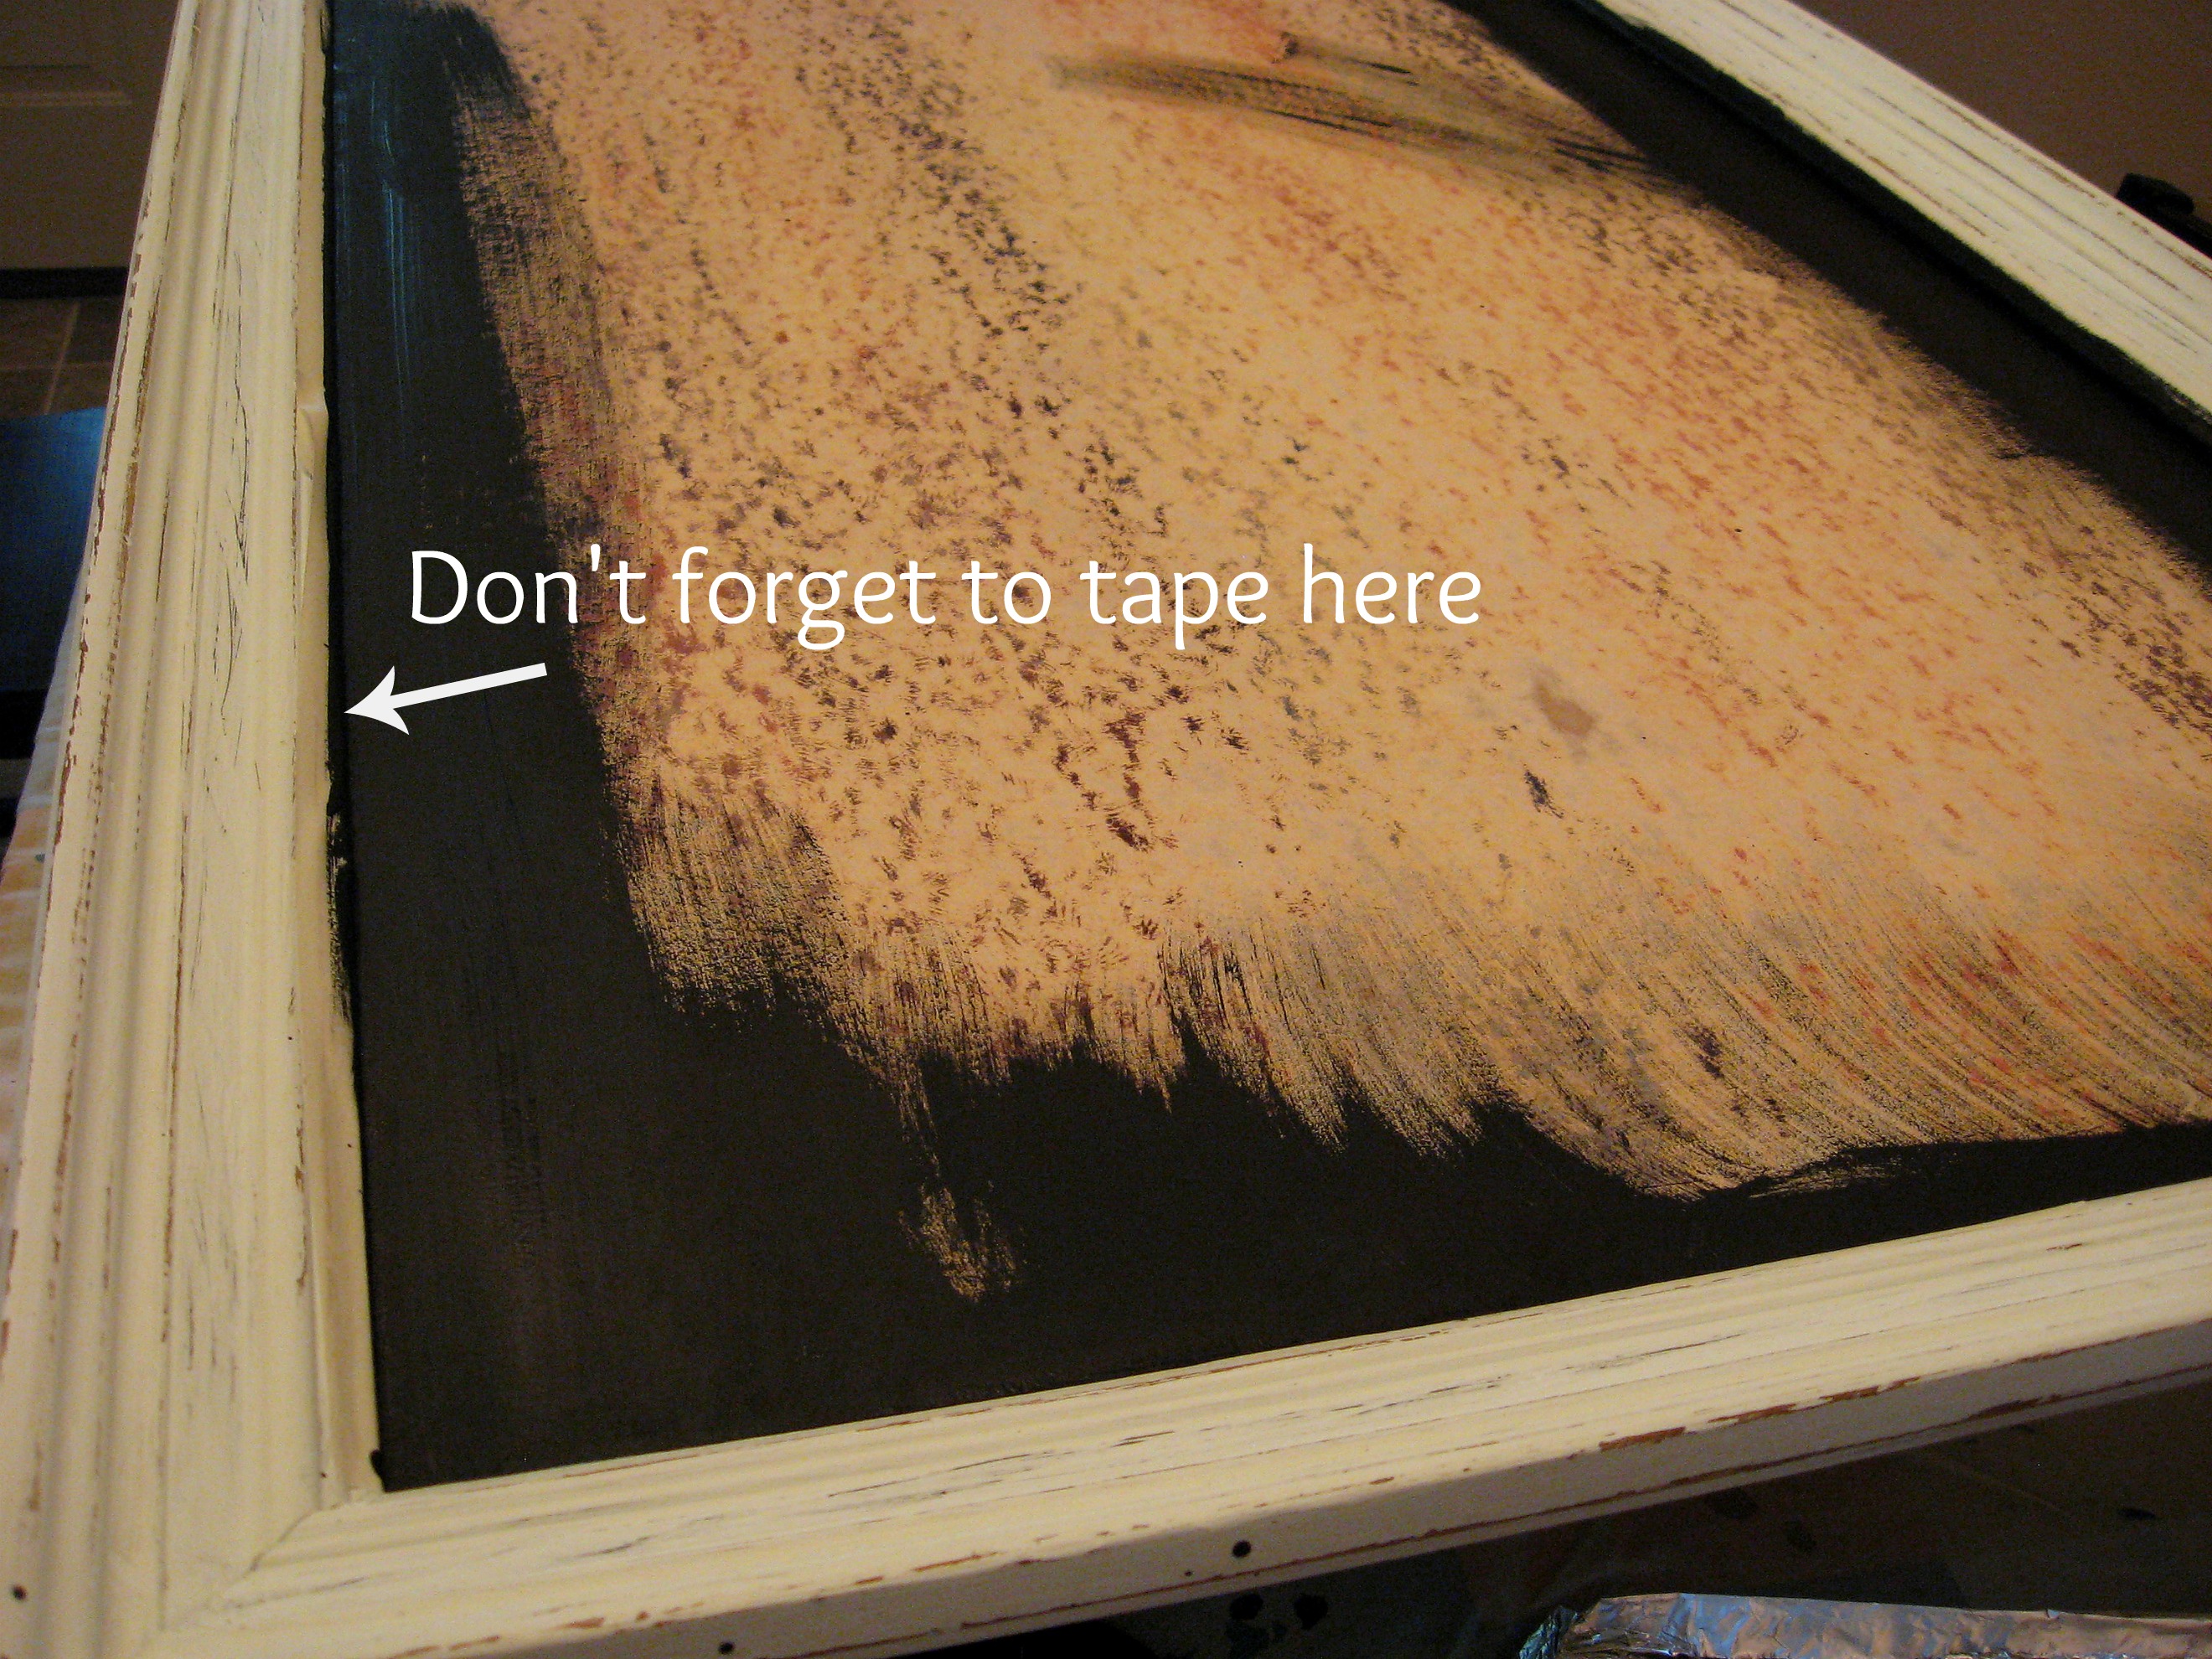
Tape around the inside edge of the frame and start stirring your magnetic paint. Magnetic paint is really just black primer with tiny flecks of metal in it. It is very thick and hard to stir, so if you are buying it from the store be sure to ask them to shake it in their paint mixer. If, like me, you have some sitting around the house, you’ll need to stir it for at least 10 minutes.
Start painting by cutting in around the edges,
then rolling it on in the center.
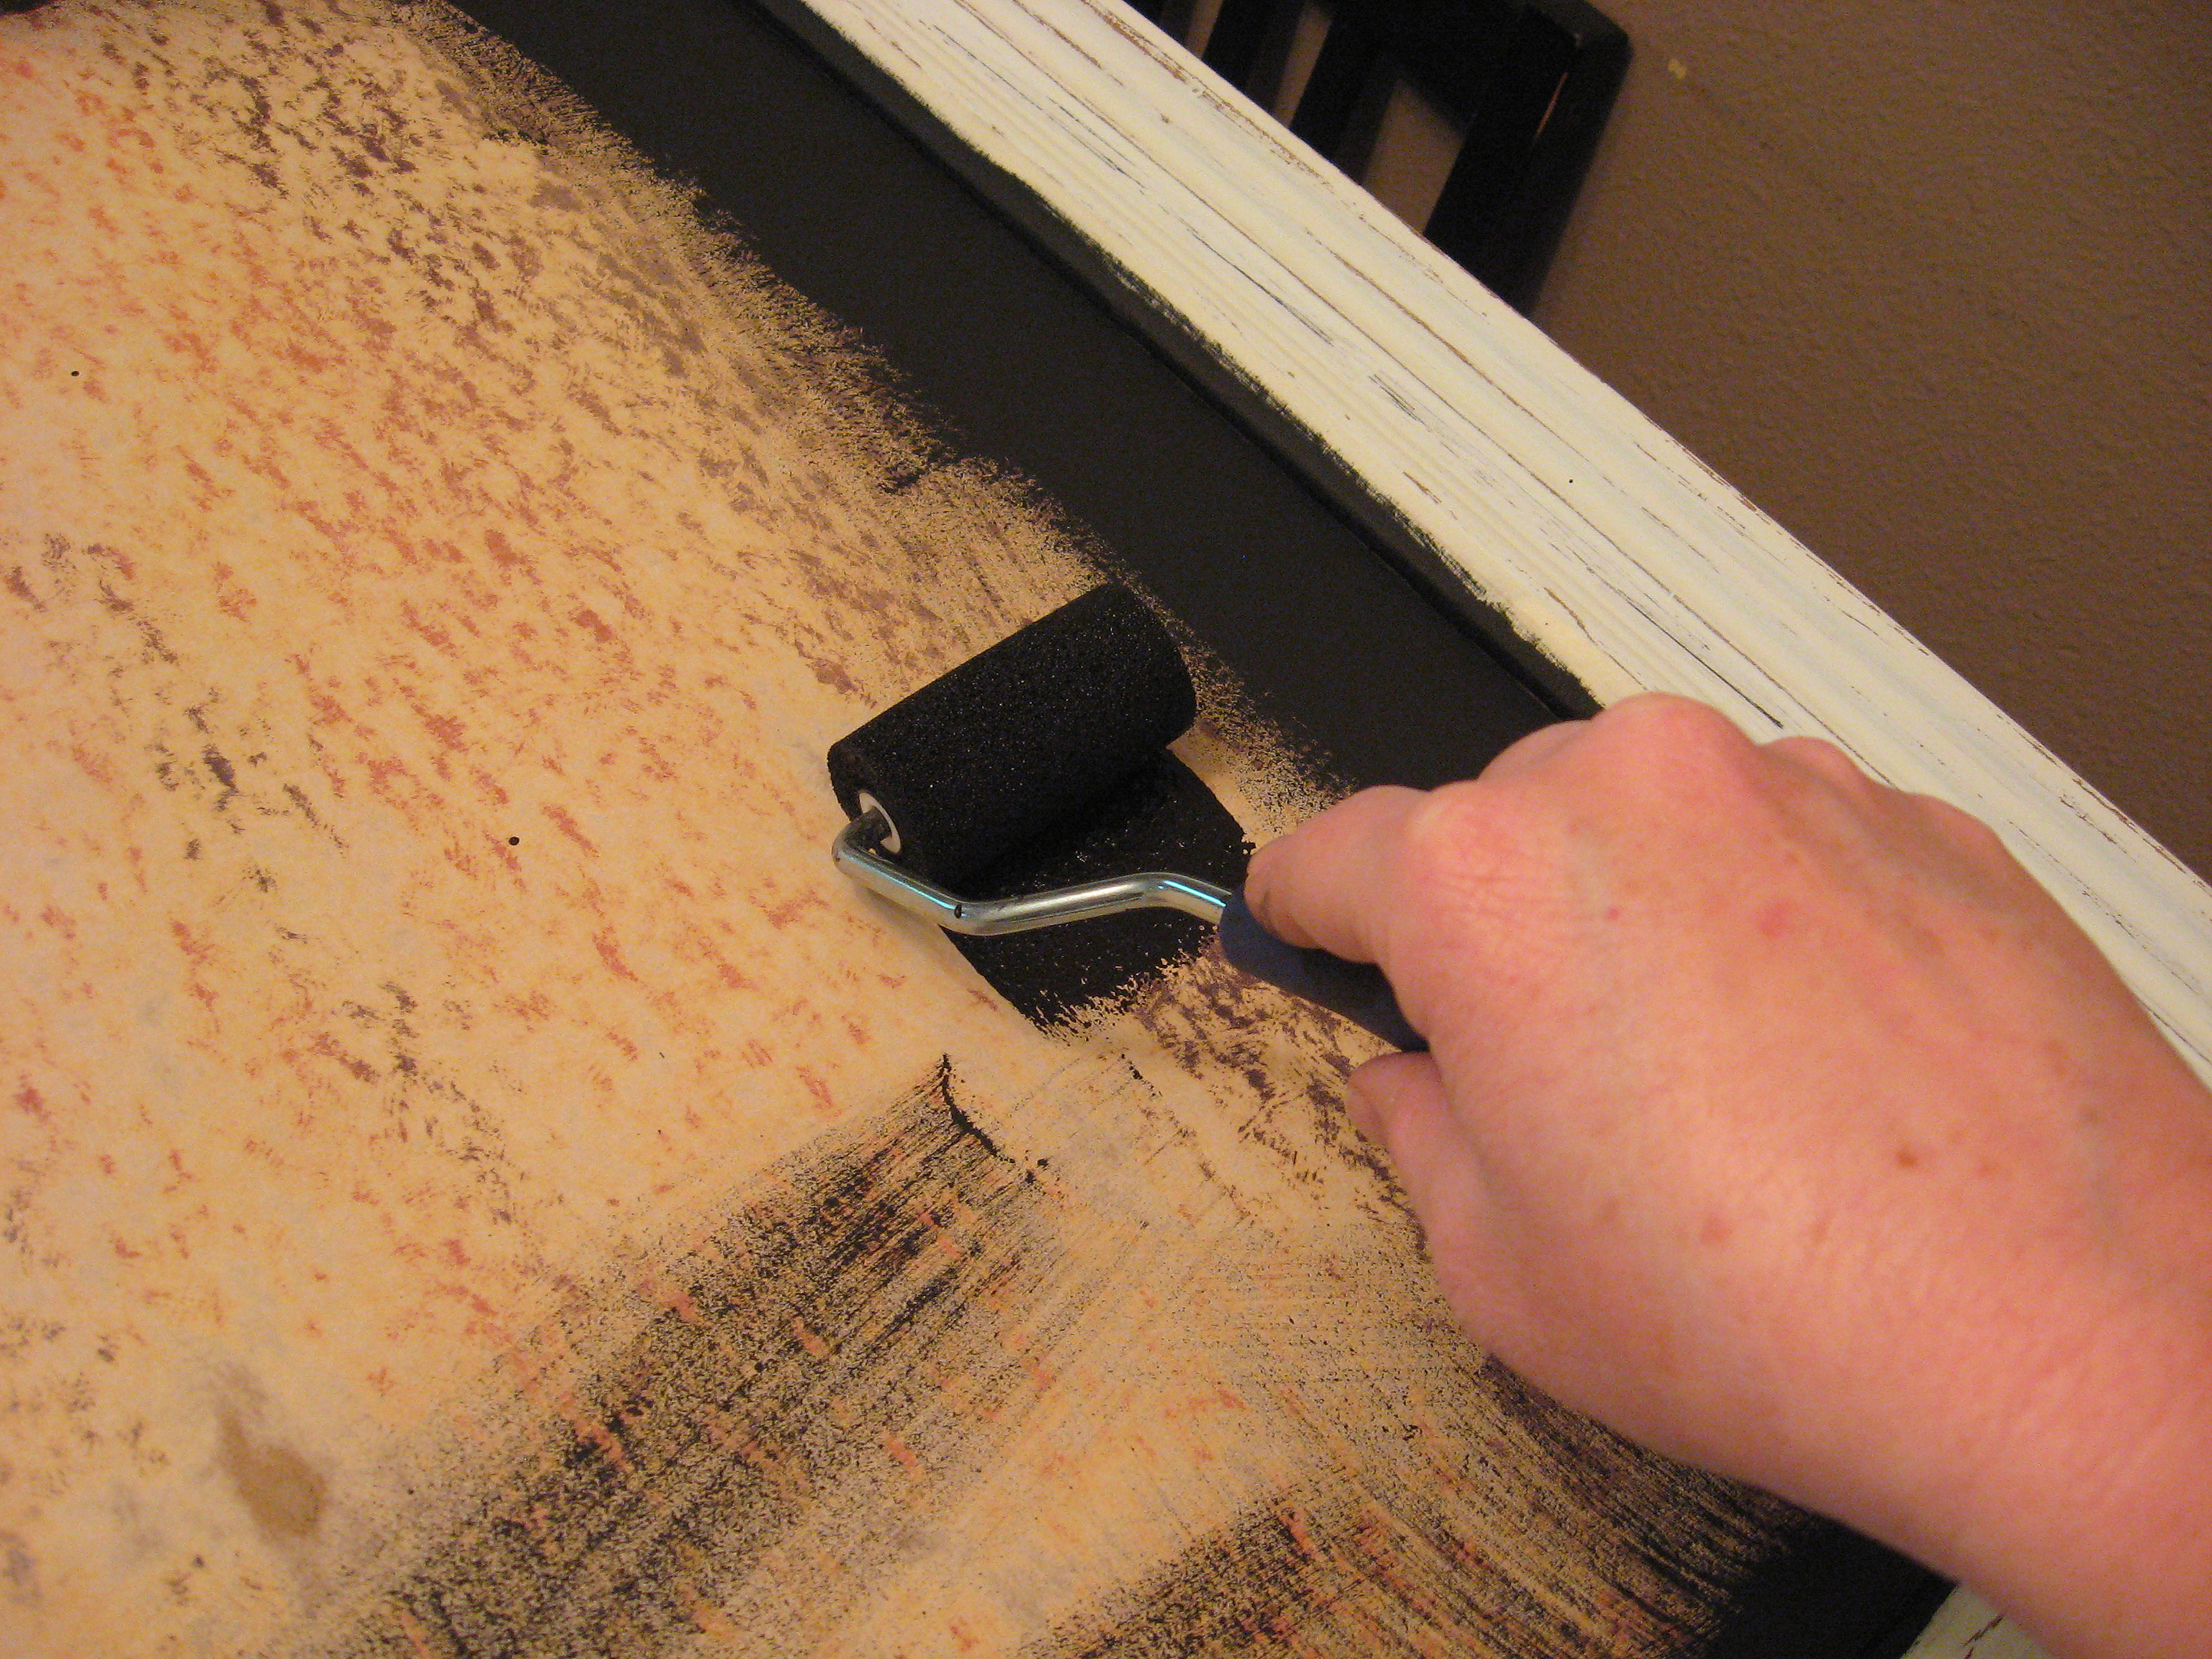
It is pretty important to use a foam roller. You want as smooth of a surface as possible. The can says that three thin coats are better than a heavy coat, so that is what I did, allowing each coat to dry for 30 minutes in between and then for 4 hours after the last coat. Wrap the roller in foil in between coats so it doesn’t dry out, then wash it out well after the last one so you can use it for the chalkboard paint too. You’ll probably want to just throw it away after the chalkboard paint, so I would use a disposable foam brush, too, instead of a nice paintbrush.
After the magnetic paint is dry, you will want to do the same thing with the chalkboard paint. Do at least 2 thin coats, rolling vertically on one coat and horizontally on the other. I didn’t take pictures of this step because I used black chalkboard paint and you wouldn’t be able to see a difference, but chalkboard paint is available in all kinds of fun colors!
Remove the tape CAREFULLY. Here it is all painted:
Now let’s turn it in to a calendar. Decide how you want yours to look, and then measure and figure out how big each section will be. For me, I wanted just a week long calendar and instead of 7 sections, I only did 6, with Saturday and Sunday sharing the last section since those days tend to be less scheduled for my family. I decided to make the lines between each section 1/4 inch wide, so I grabbed a measuring tape, a ruler, a piece of scrap paper, a calculator – and then finally my high school son 😉 – and figured out how big each section should be.
I wanted something to separate the sections that would be permanent – no chalk lines that would just be erased. I considered using tape or vinyl. That would work, but I thought the edges would get dirty as the board got erased, so I came up with using slick fabric paint.
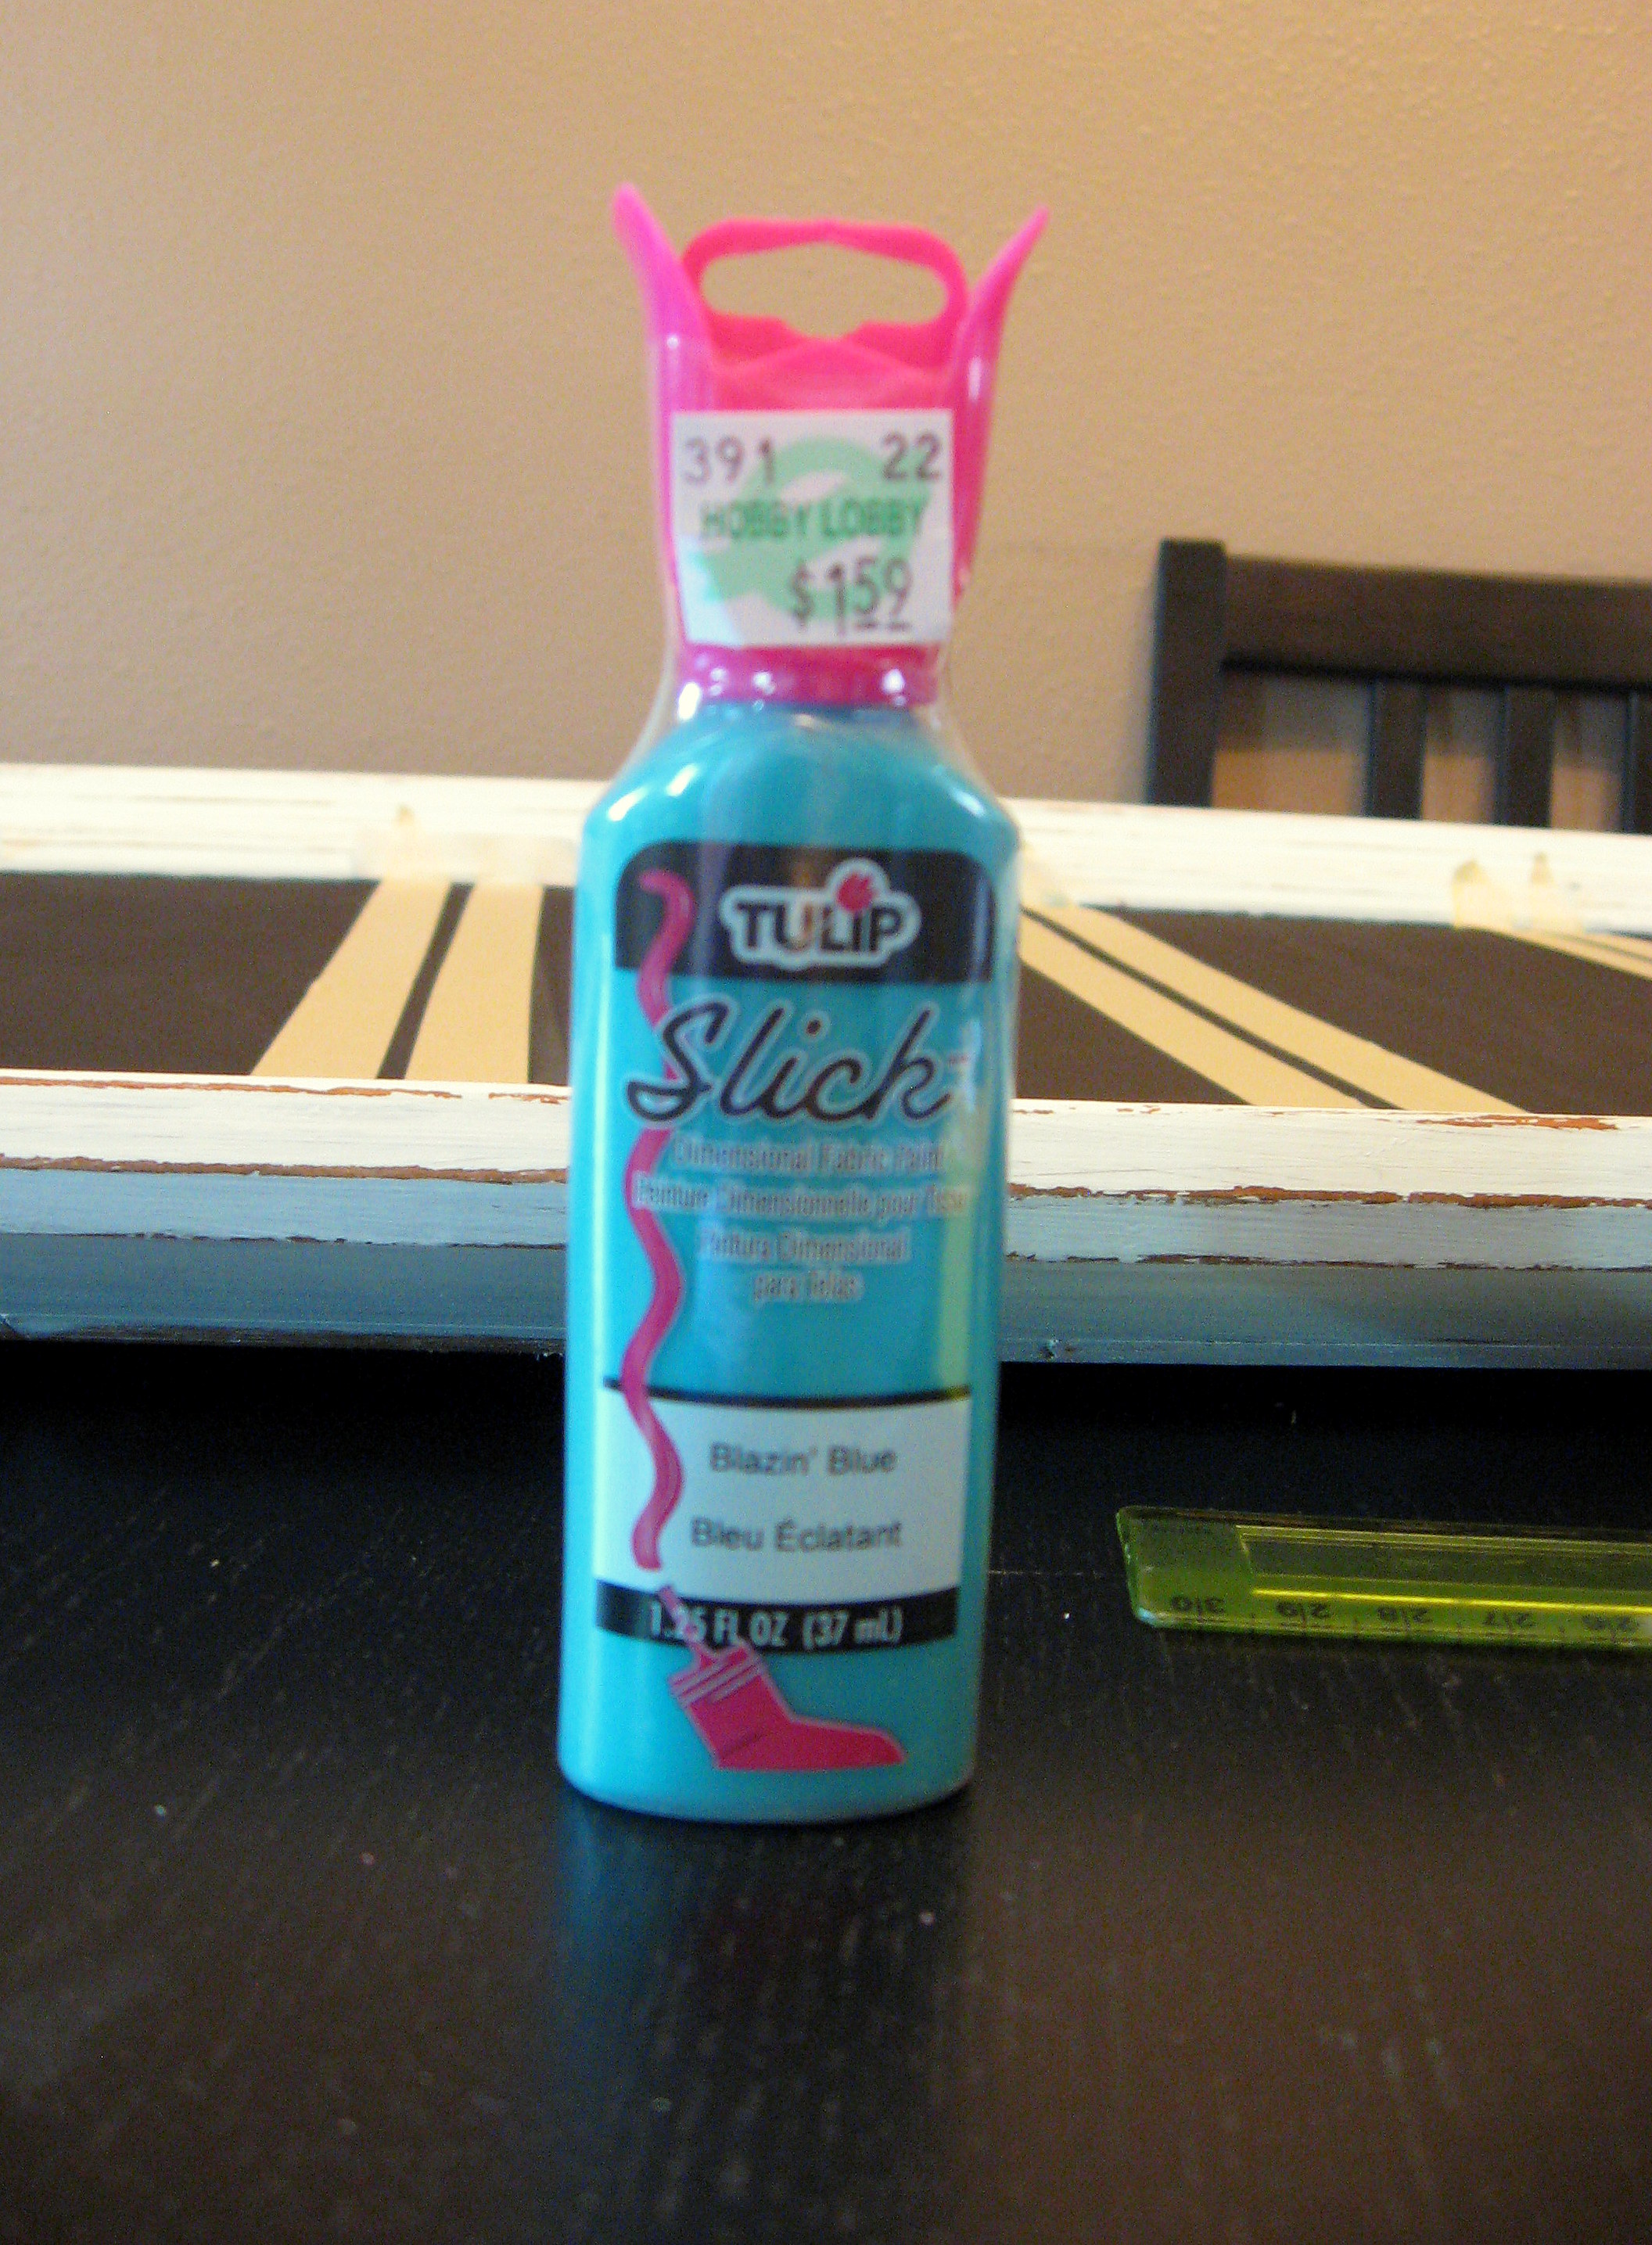
If you get the slick kind, it dries to a glossy, almost hard finish and it is available in dozens of colors, it is inexpensive, readily available and easy to work with.
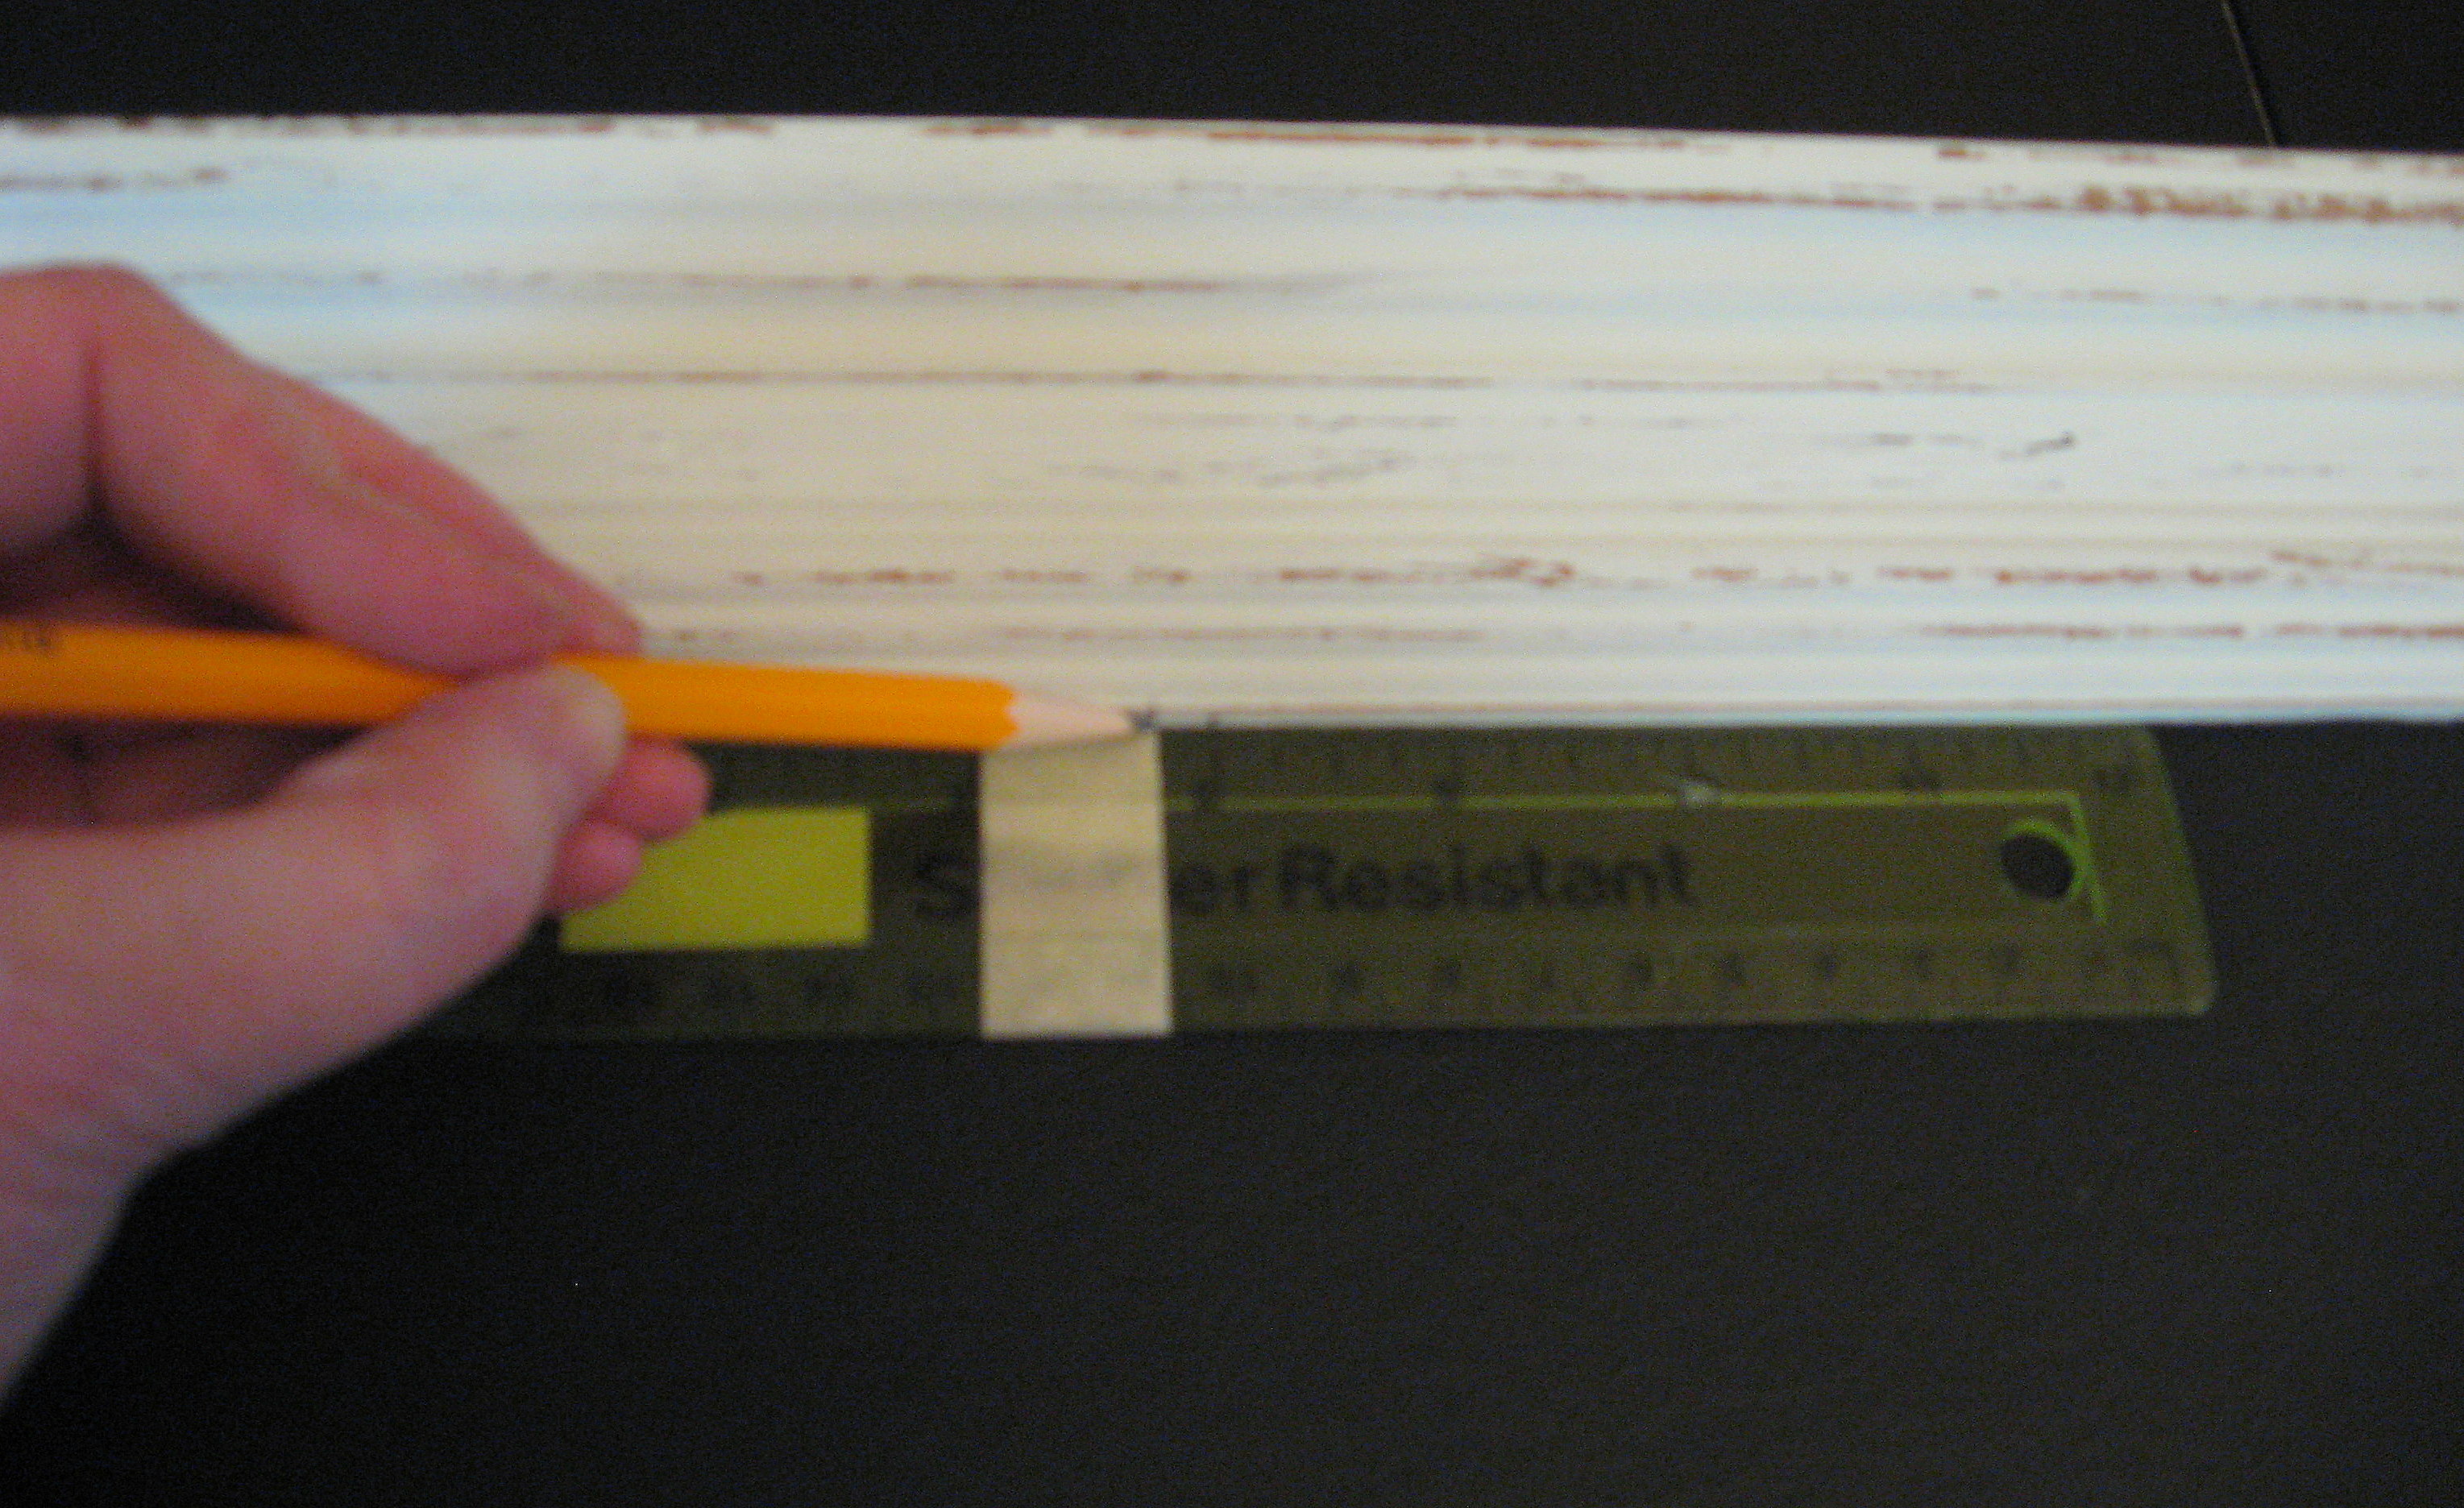
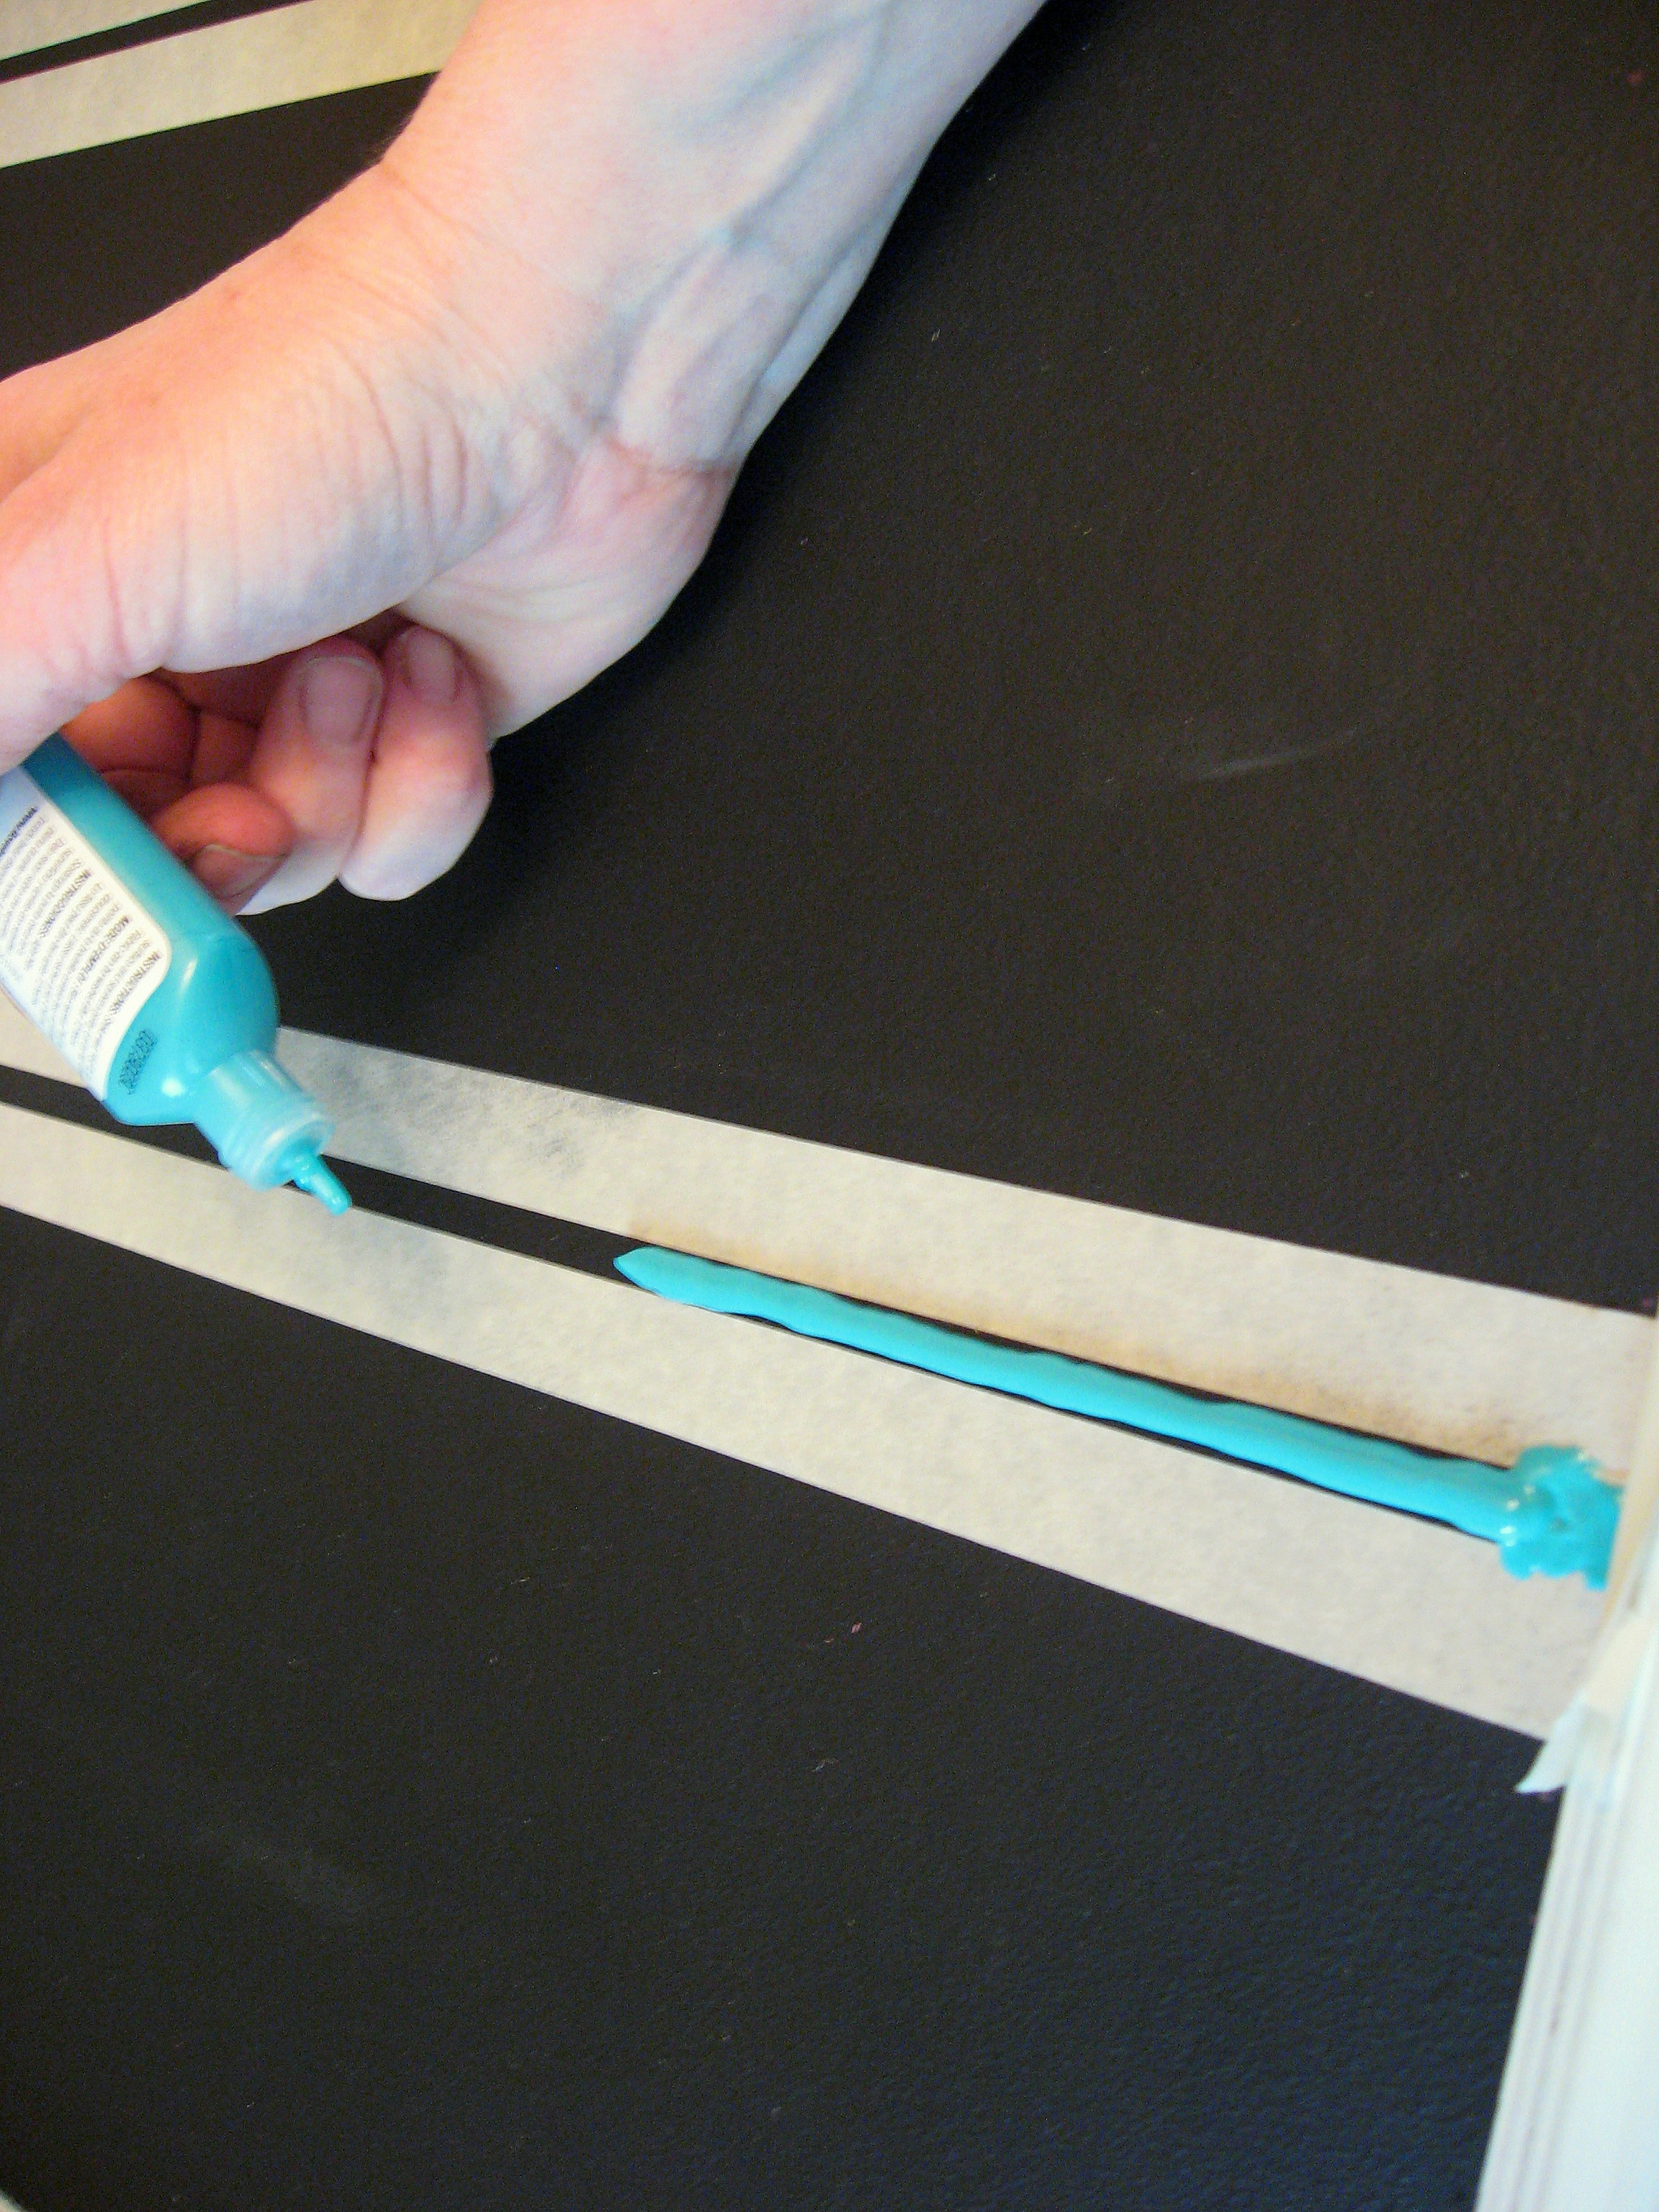
In order to make the lines of paint straight, you will tape off a line to paint in. Make small marks on the inside edge of the frame with a pencil. I made two marks to indicate where the 1/4-inch thick line will be. Measure and mark on both sides of the frame, all the way across.
Then connect the dots with tape; press the edges of the tape down well so you don’t get bleeding under the tape.
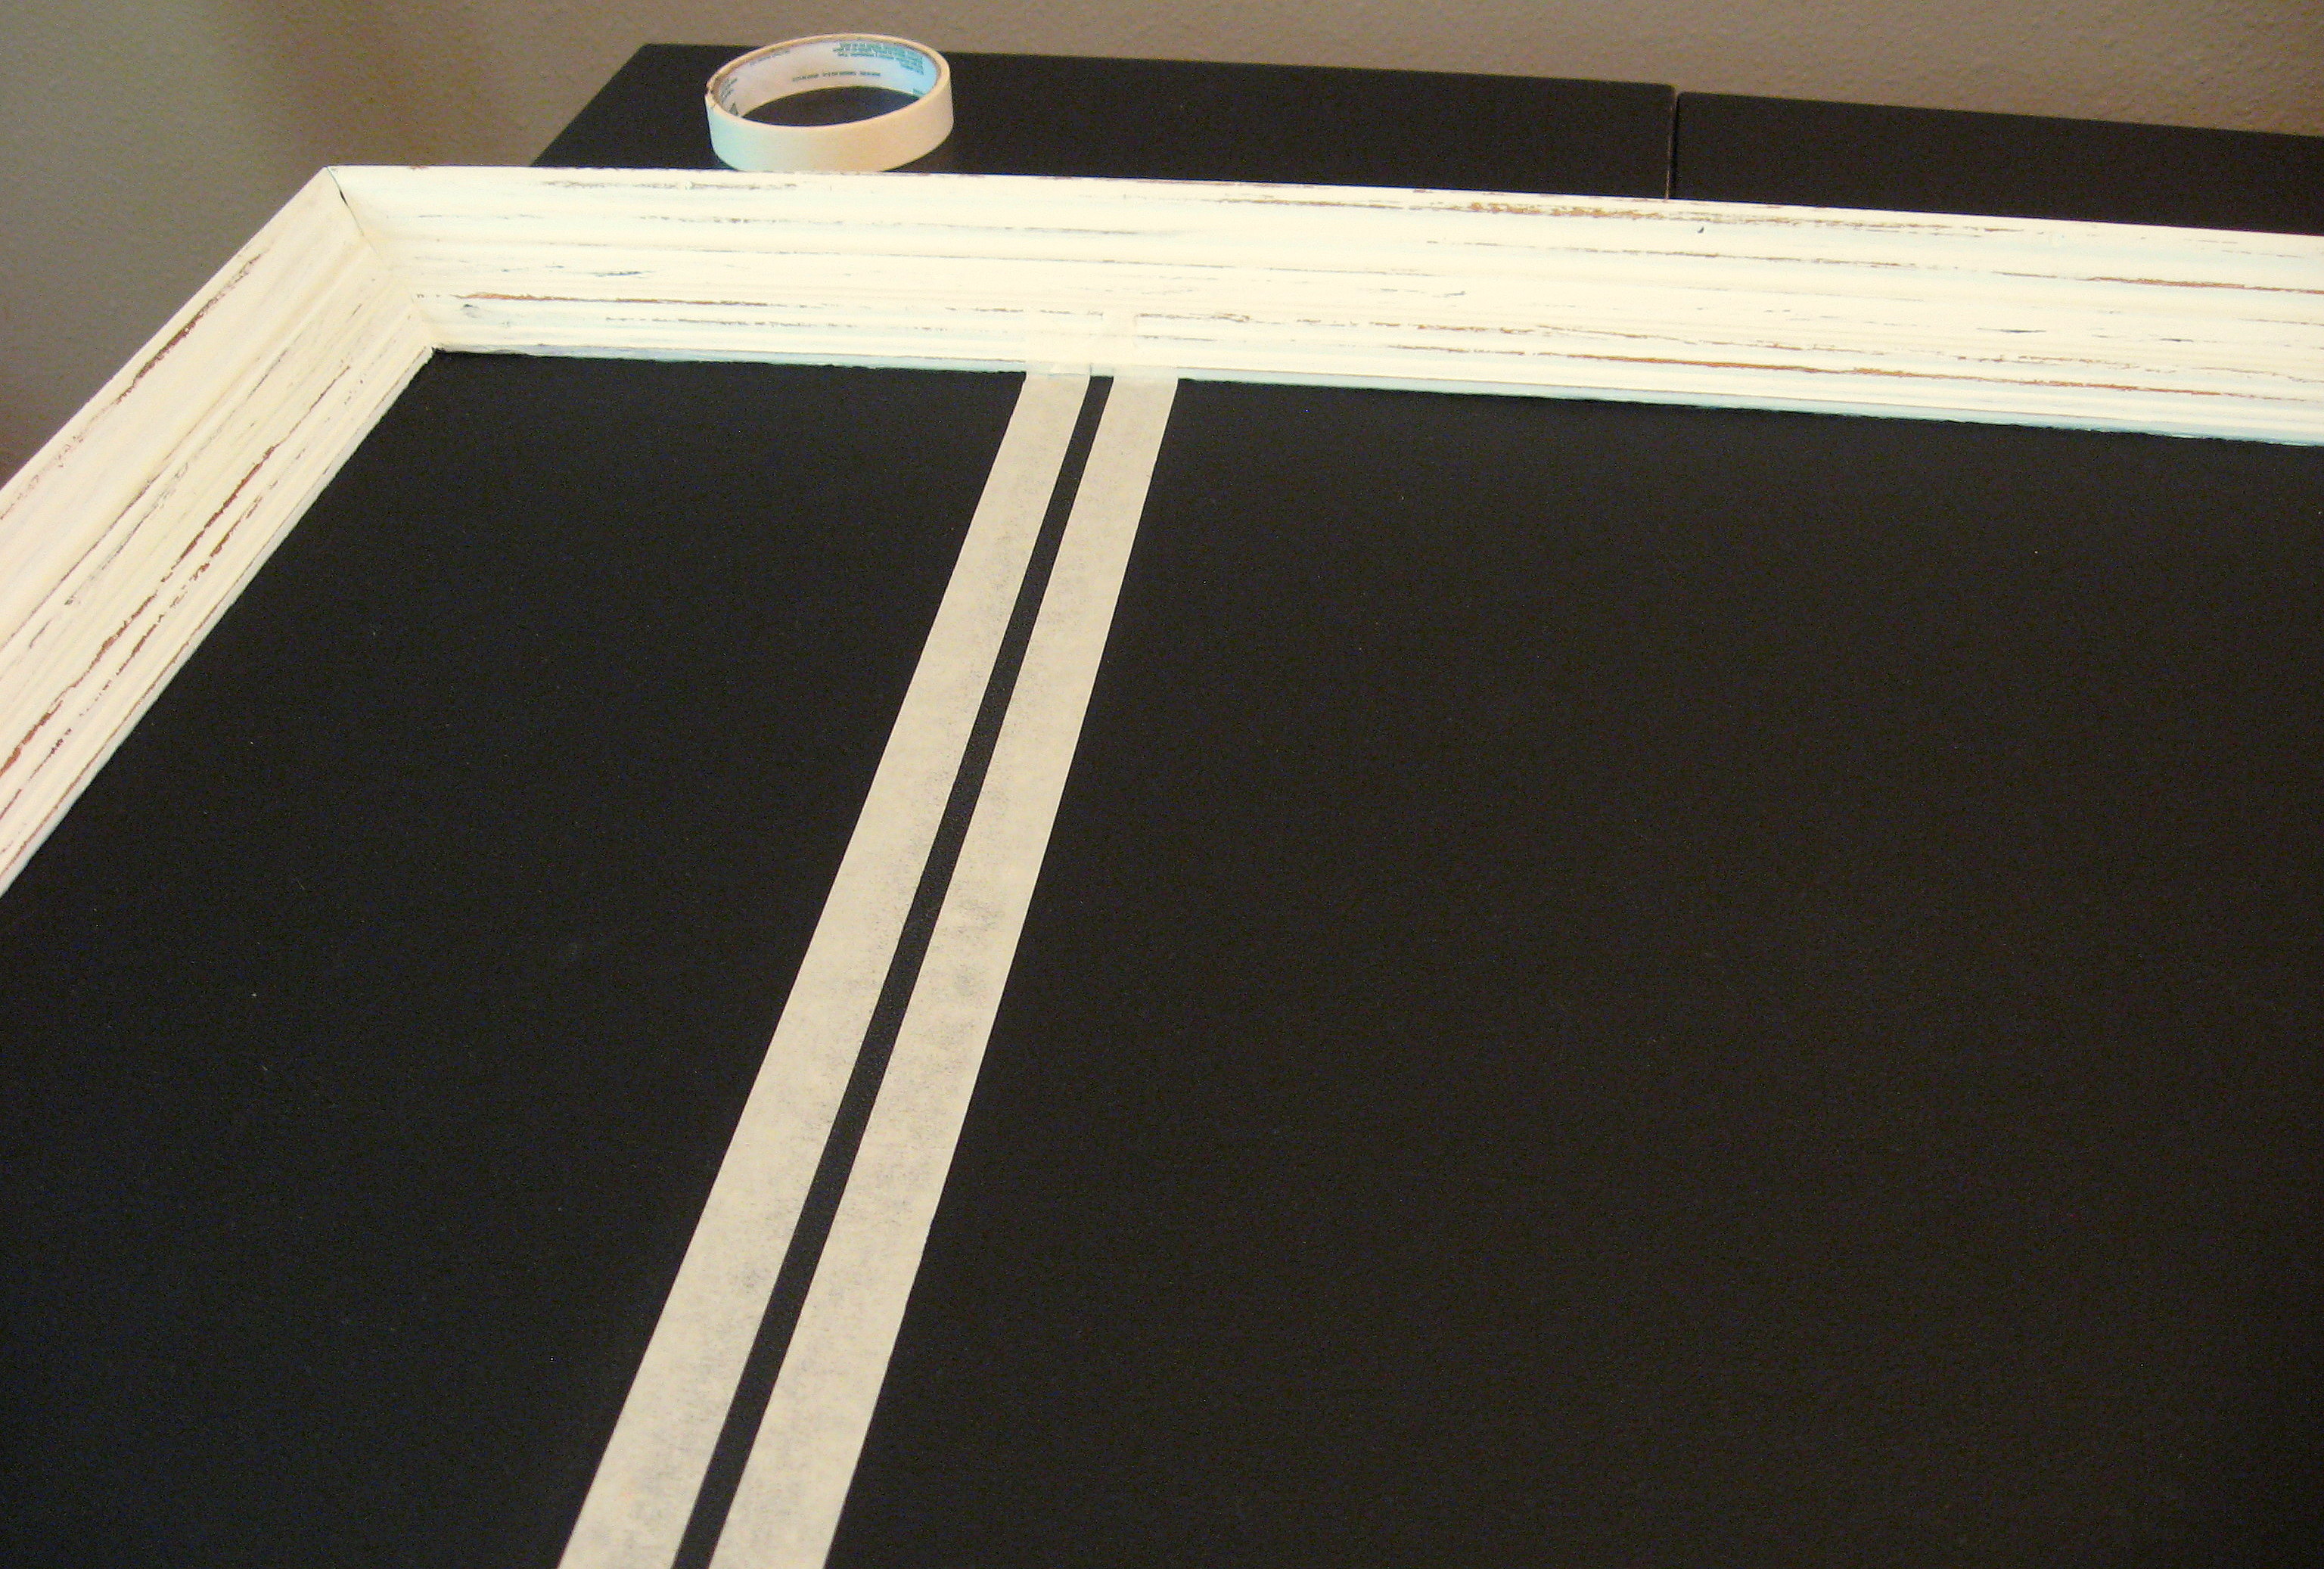
Here it is with all the sections taped off:

Squeeze the paint out in a line inside the tape
Then just kind of smoosh it flat with a paintbrush.
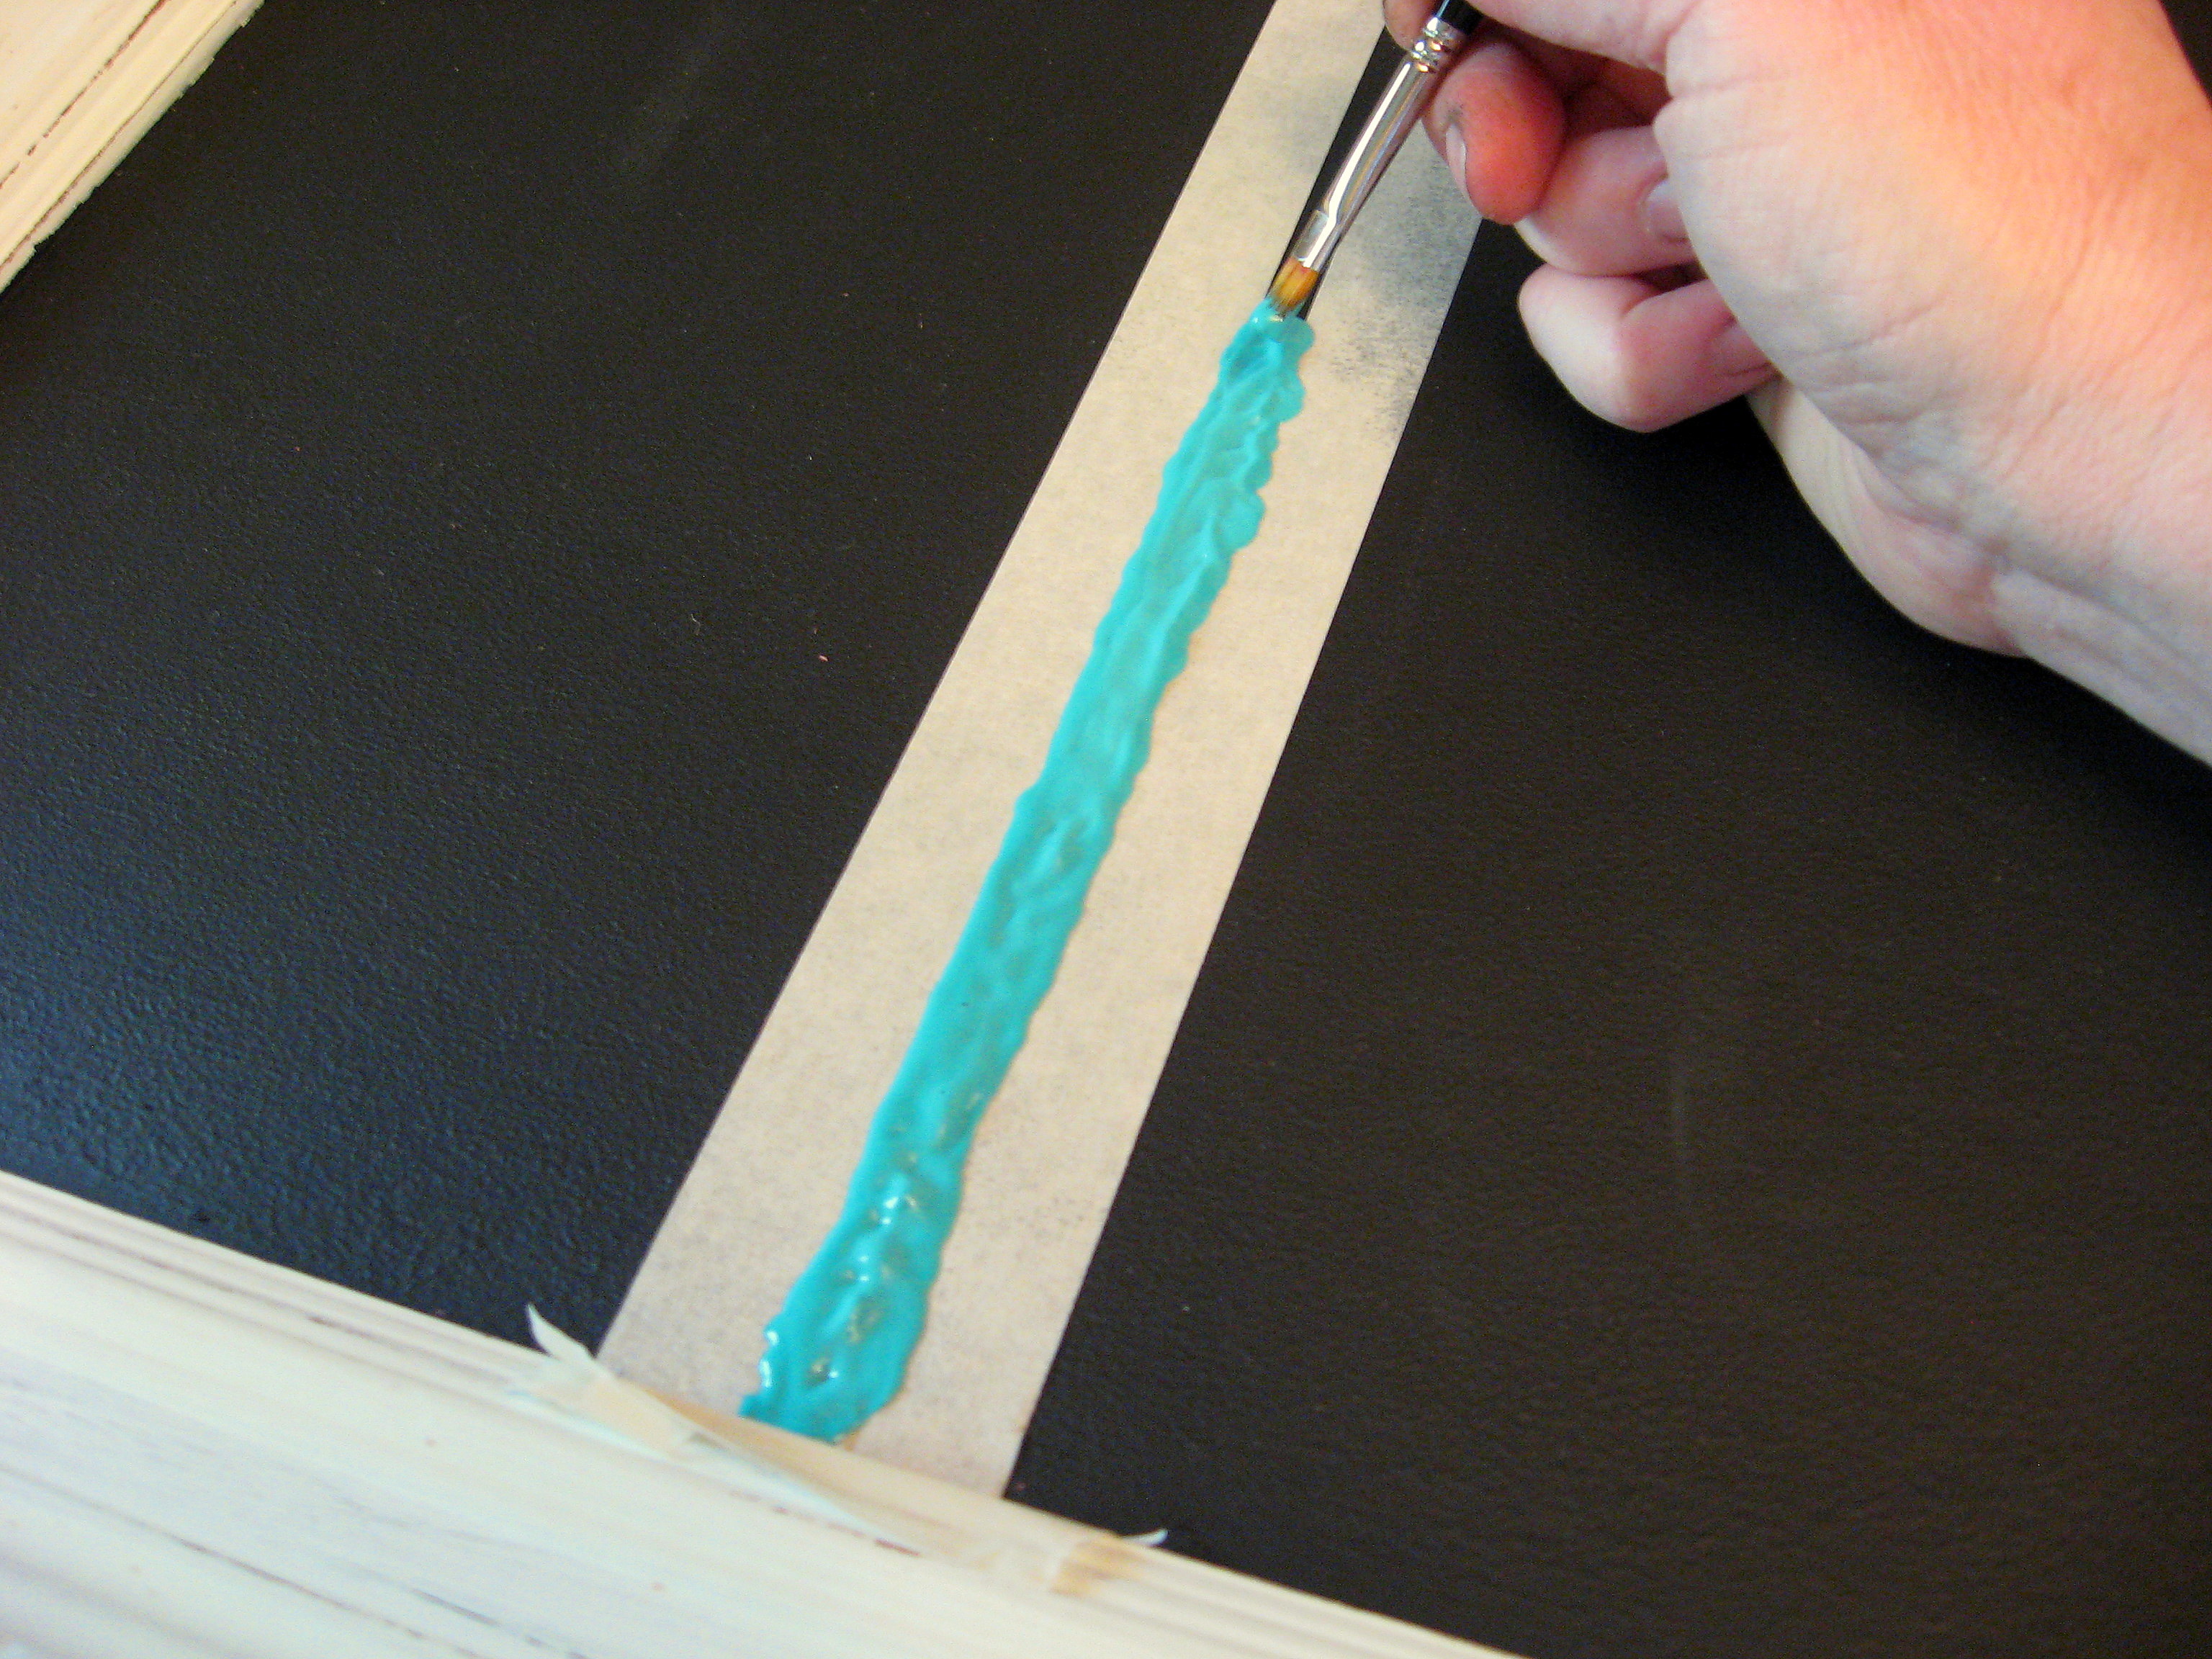
I liked the way it looked textury and bumpy, but if you wanted it to be smooth, you could do it that way too; it will probably take a second coat, though.
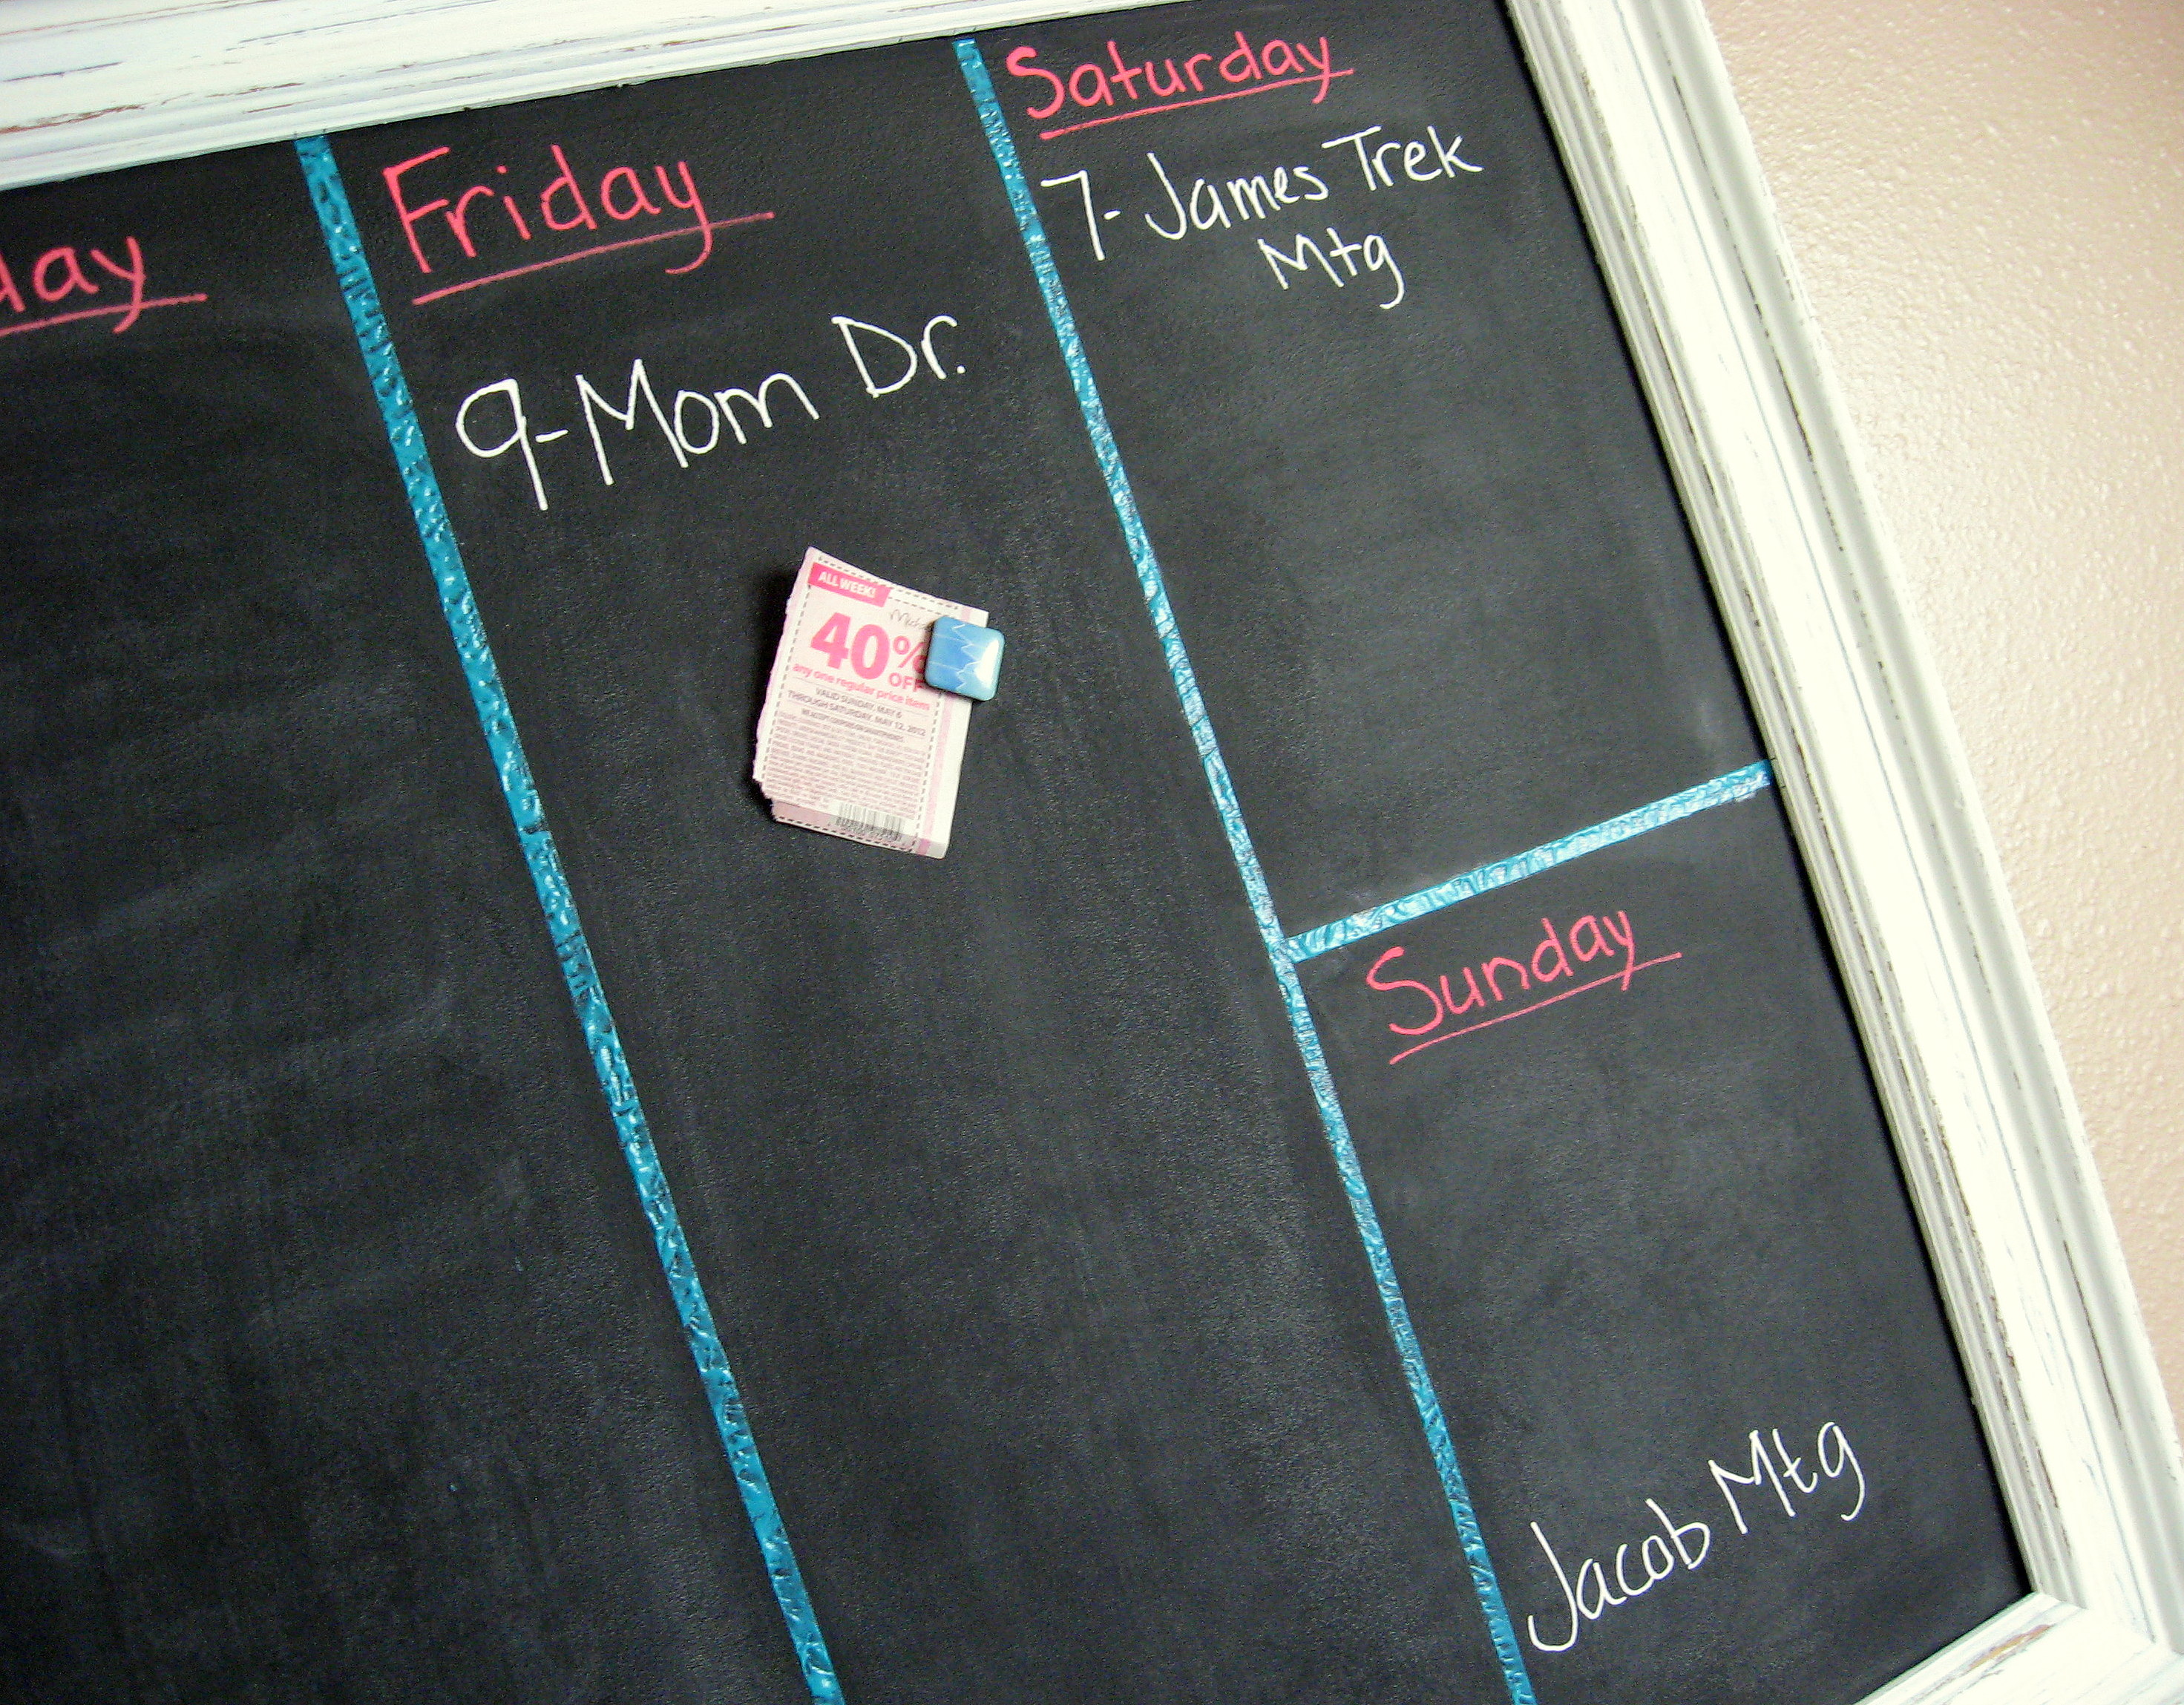
Here is is all finished:
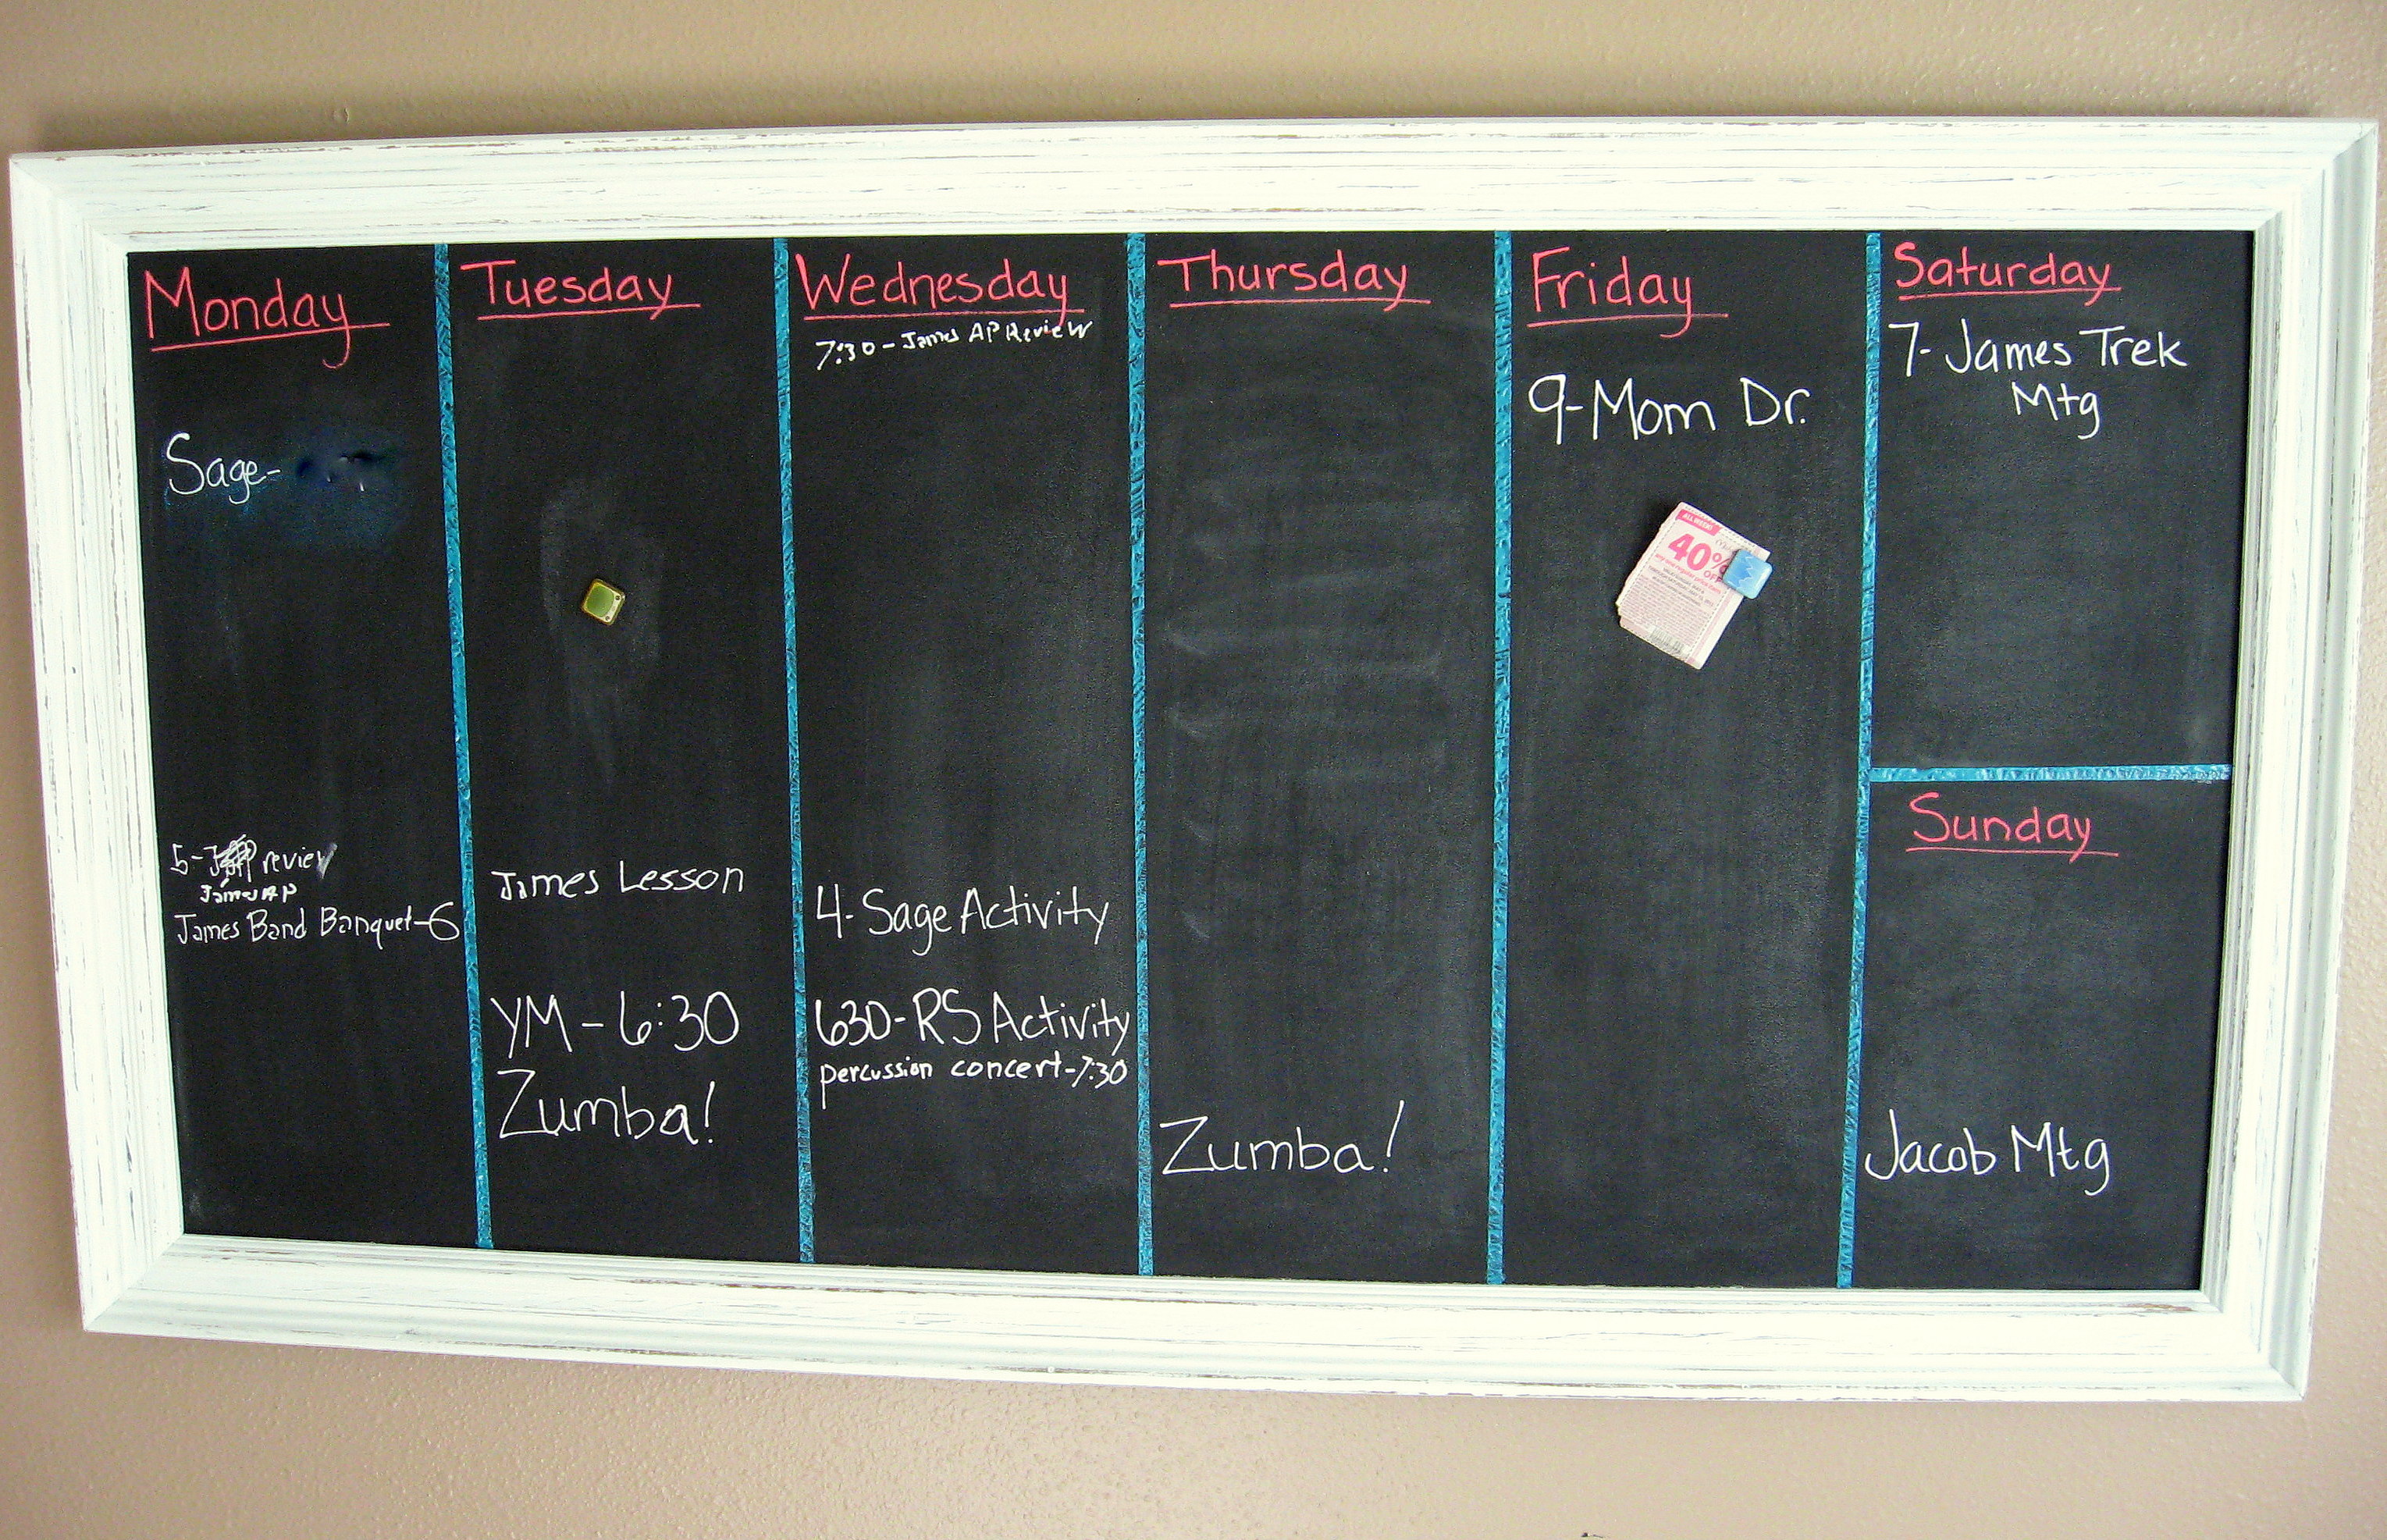
And a close up:

It works just fine with regular chalk, but I like the chalk markers (also called Bistro markers). They write brighter and tighter more like a marker, and they aren’t dusty, like regular chalk. They don’t erase with a regular eraser – you have to clean it off with a damp cloth – and they are a little more expensive, but for me it was worth it. I found them at Hobby Lobby, so be sure to use a 40% coupon!
Here is a final close up showing a magnet:
Karana
Awesome! I am inspired.
I was checking out those bistro markers ( love! ), and I noticed you could use them on glass as well. I am going to start hunting for a frame – either one like you have, or if I could find one with glass in it, I am thinking I could just spray the back side of the glass with black spray paint and then use those markers on the front!
shazbraz
Yes!! They work on both glass and dry erase boards. Great idea to spray paint the back of the glass. I think you just changed the course of the project I am in the middle of now; thanks!
Karana
Rethinking… of course, that wouldn’t allow for the cool magnets that you have. Unless magnet paint could work through glass? Not likely…
I’ll probably do it your way! LOL
shazbraz
No, no magnets through the glass…