
“Next time you’re going to Wal Mart, could you pick me up a notebook?”
“Next time I’m at the store, I have to remember we need baking soda.”
“When are you going to Lowe’s? I need some sandpaper.”
“I need new socks!”
There’s no way I can remember all the shopping requests that get hurled my way every week, and having them written down usually results in the bottom of my purse being littered with enough Post It notes and scraps of paper to ensure that something was always being missed. What I needed was a master shopping list all in one place. For my family, the refrigerator door is the best place, and it is so effective that it only took a week or two to have everyone trained to write their needs on the list.
“Did you get my socks?”
“Did you write it on the list?”
Problem solved.
I started with a frame from the thrift store that was the right size to fit my freezer door. It needs to have glass or plastic in it to act as a dry erase board. I waited to find one that had plastic in it so it wouldn’t be so heavy. Just make sure it isn’t scratched up.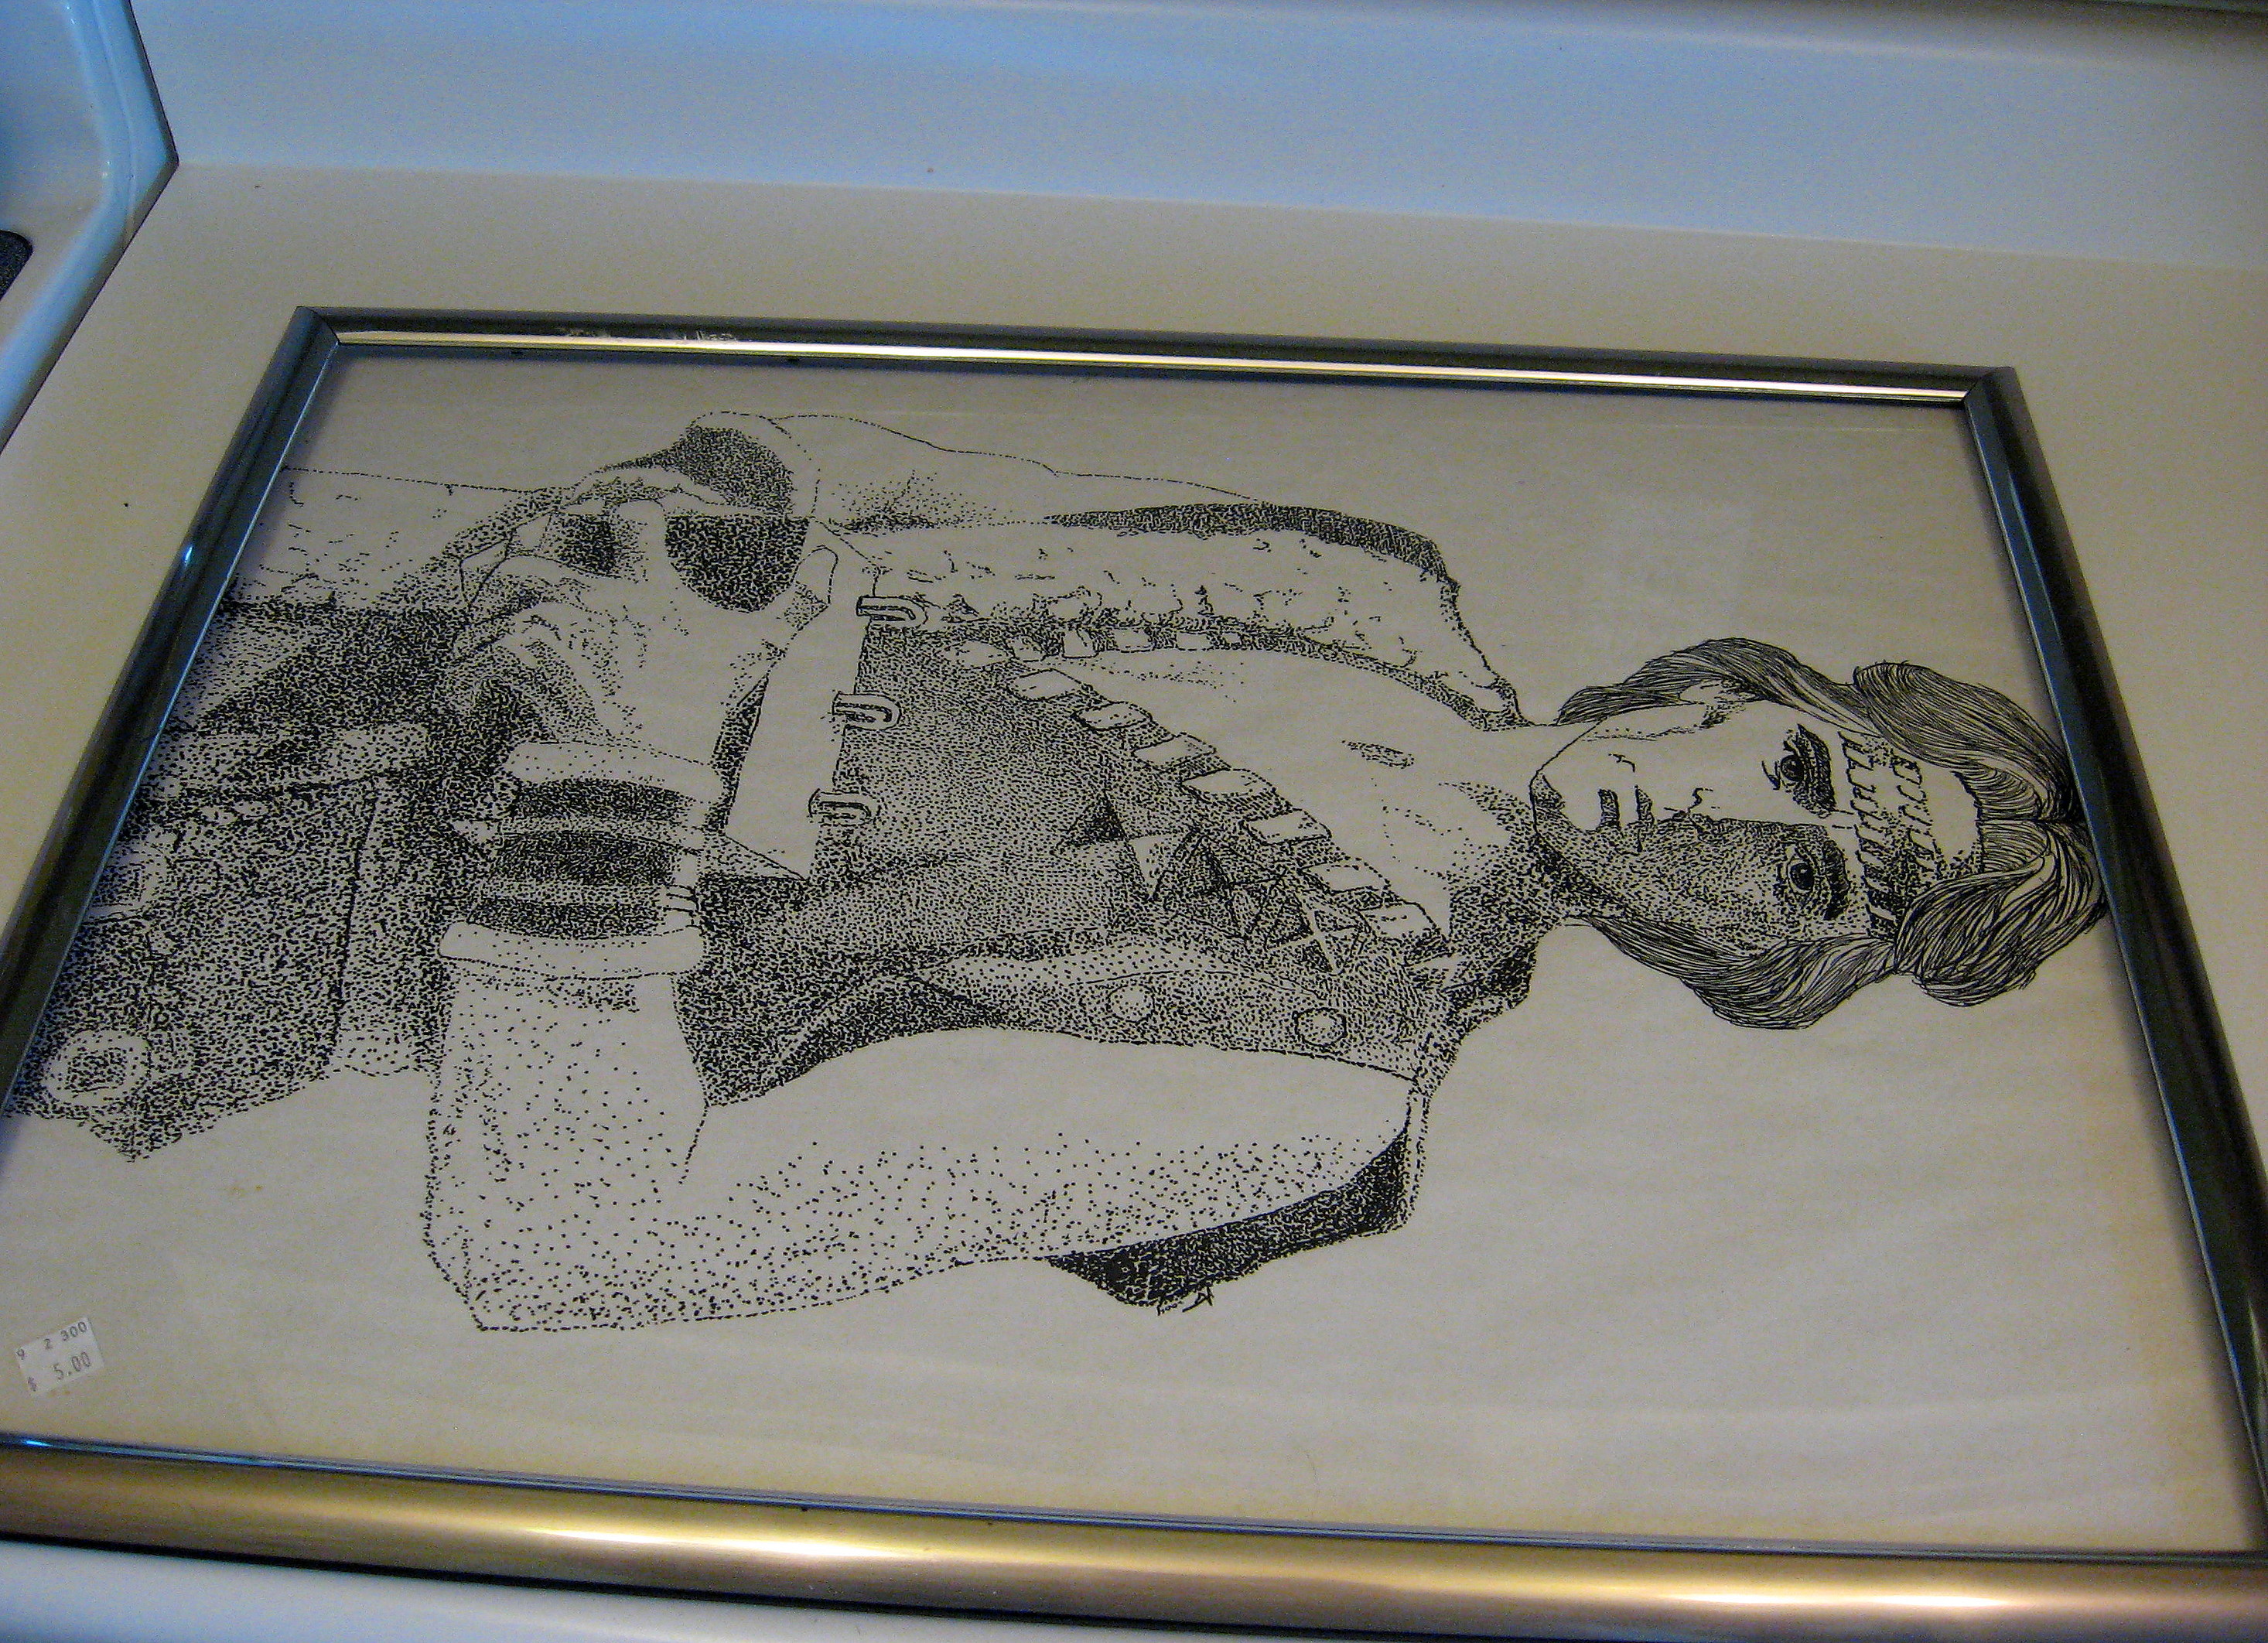
Take the back and the glass out (I will continue to say “glass” here even though mine is plastic. You know what I mean!) If the artwork in it is in good shape, be sure to donate it back to the store; someone obviously worked hard on this one! Paint the frame if you like; I spray painted mine orange. If yours is a plastic frame like mine was, I recommend a high quality spray paint made for plastic, like Krylon Fusion.
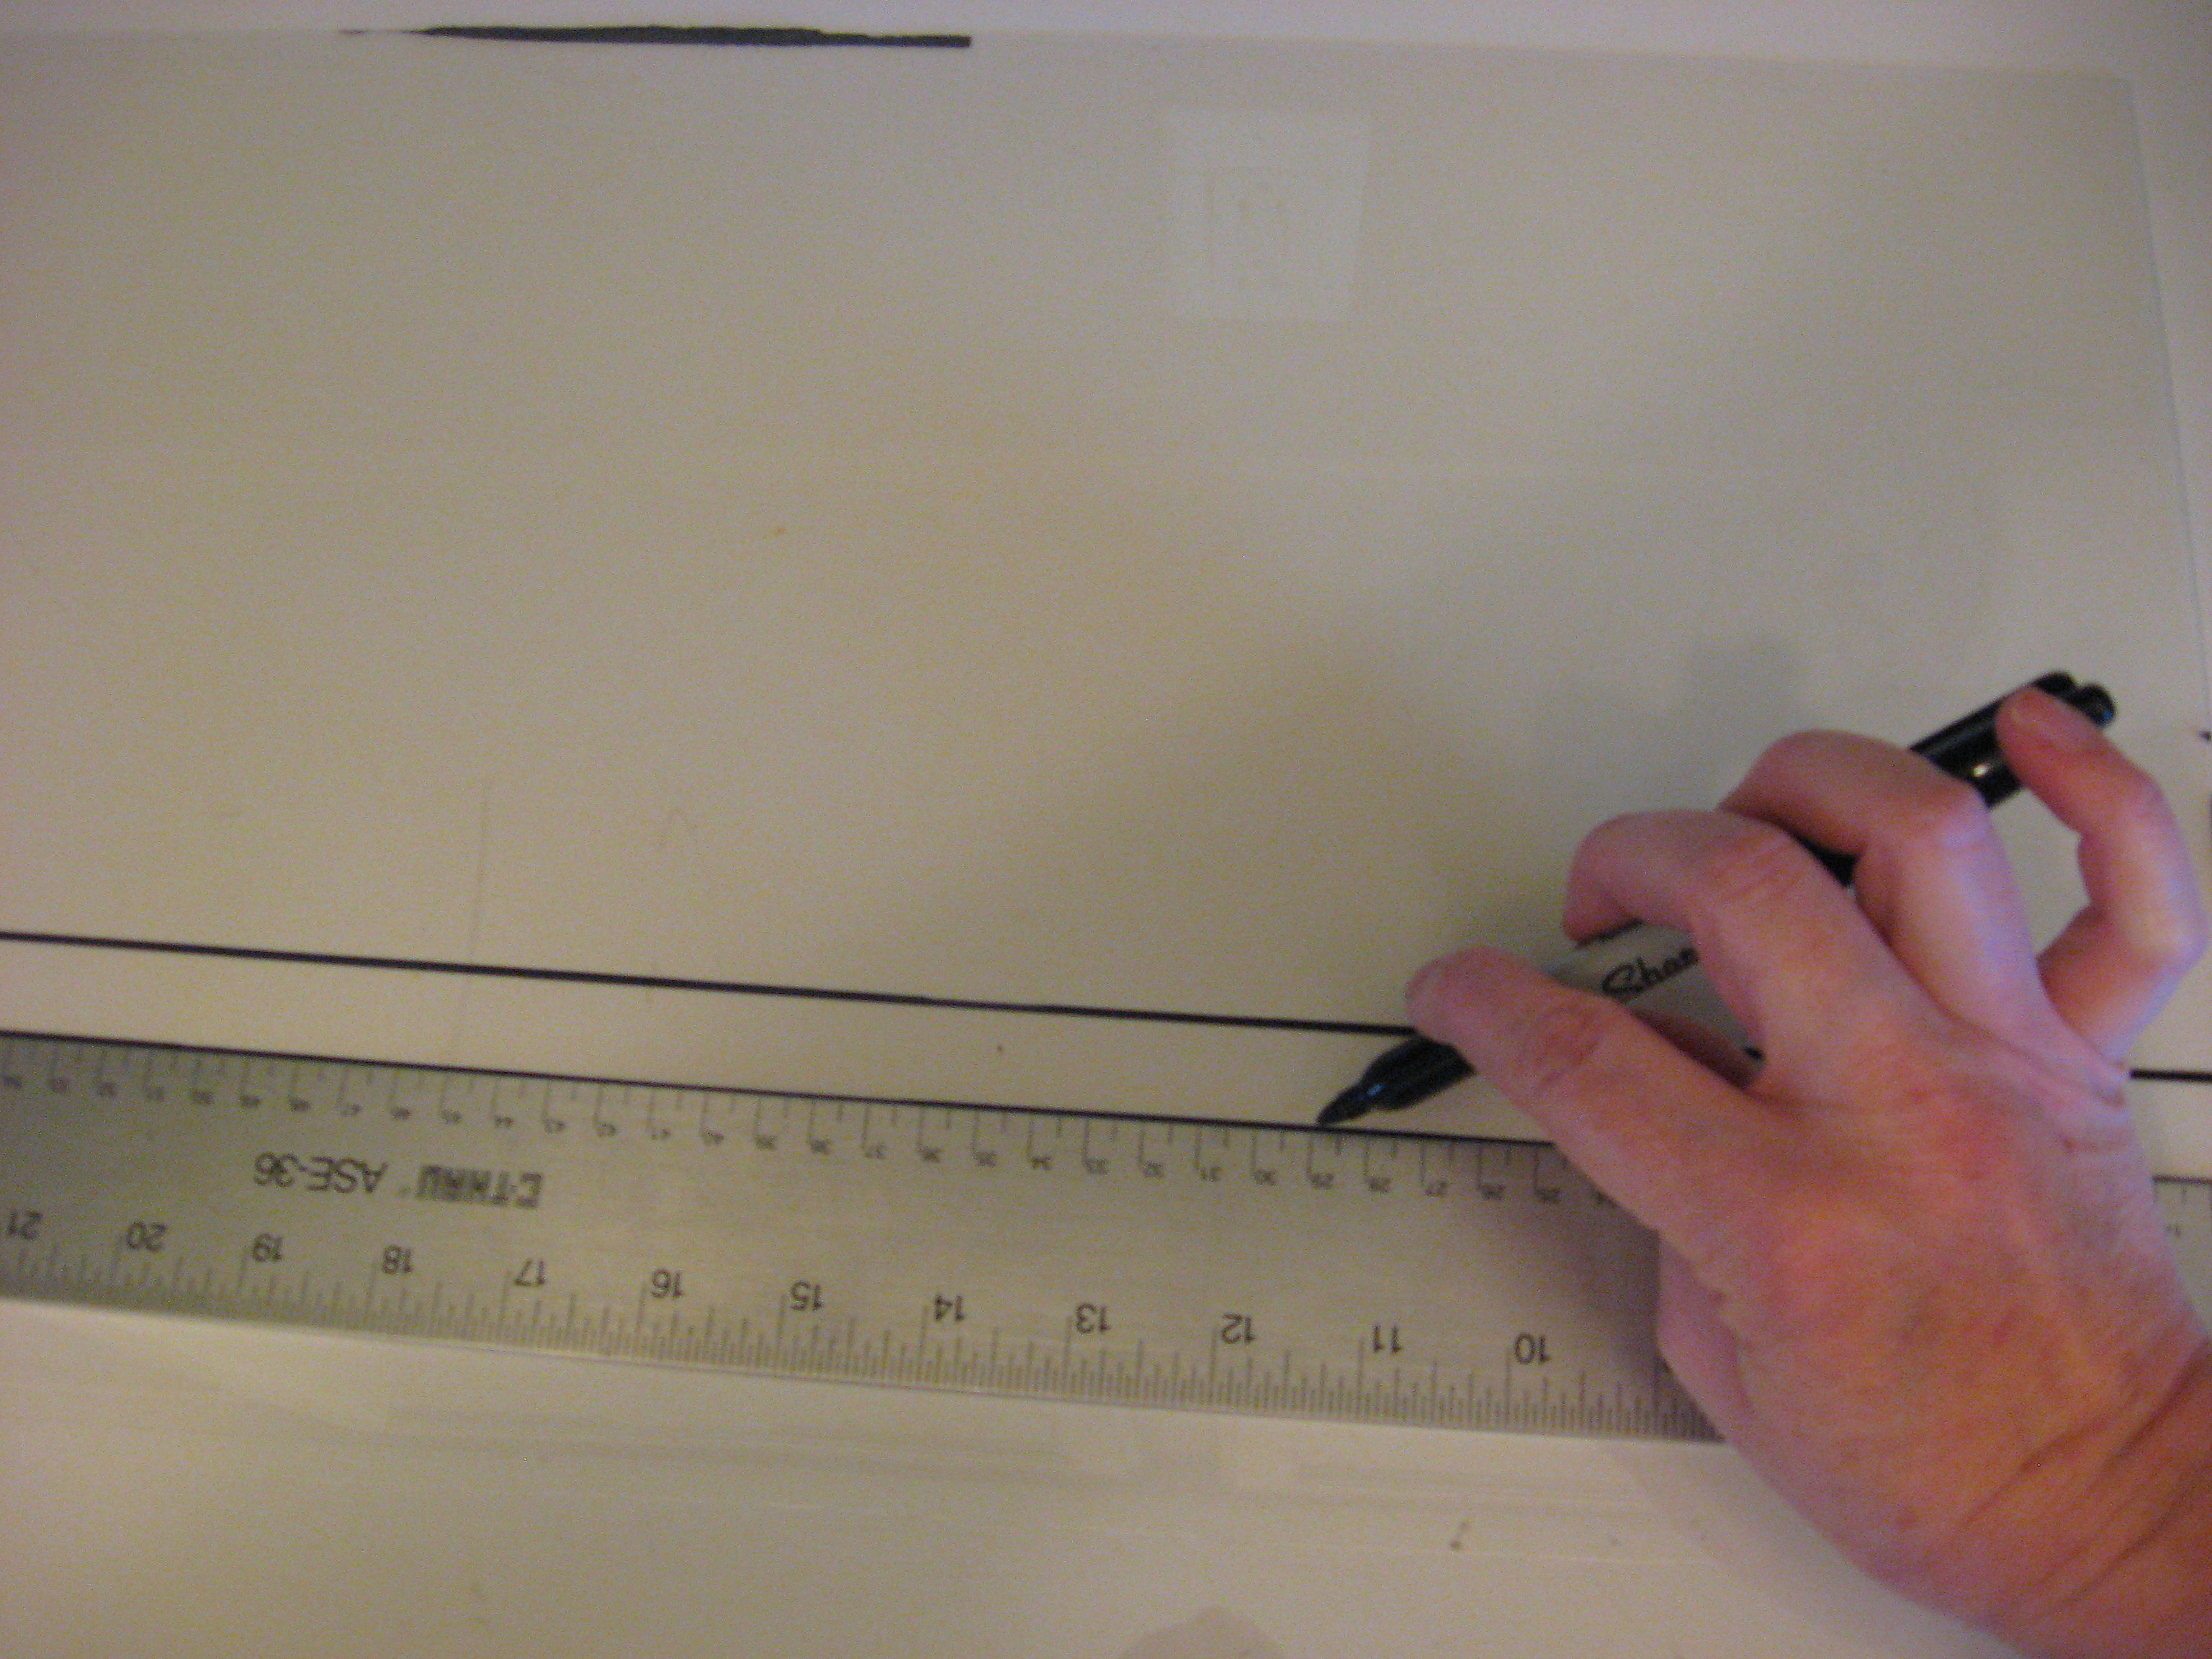
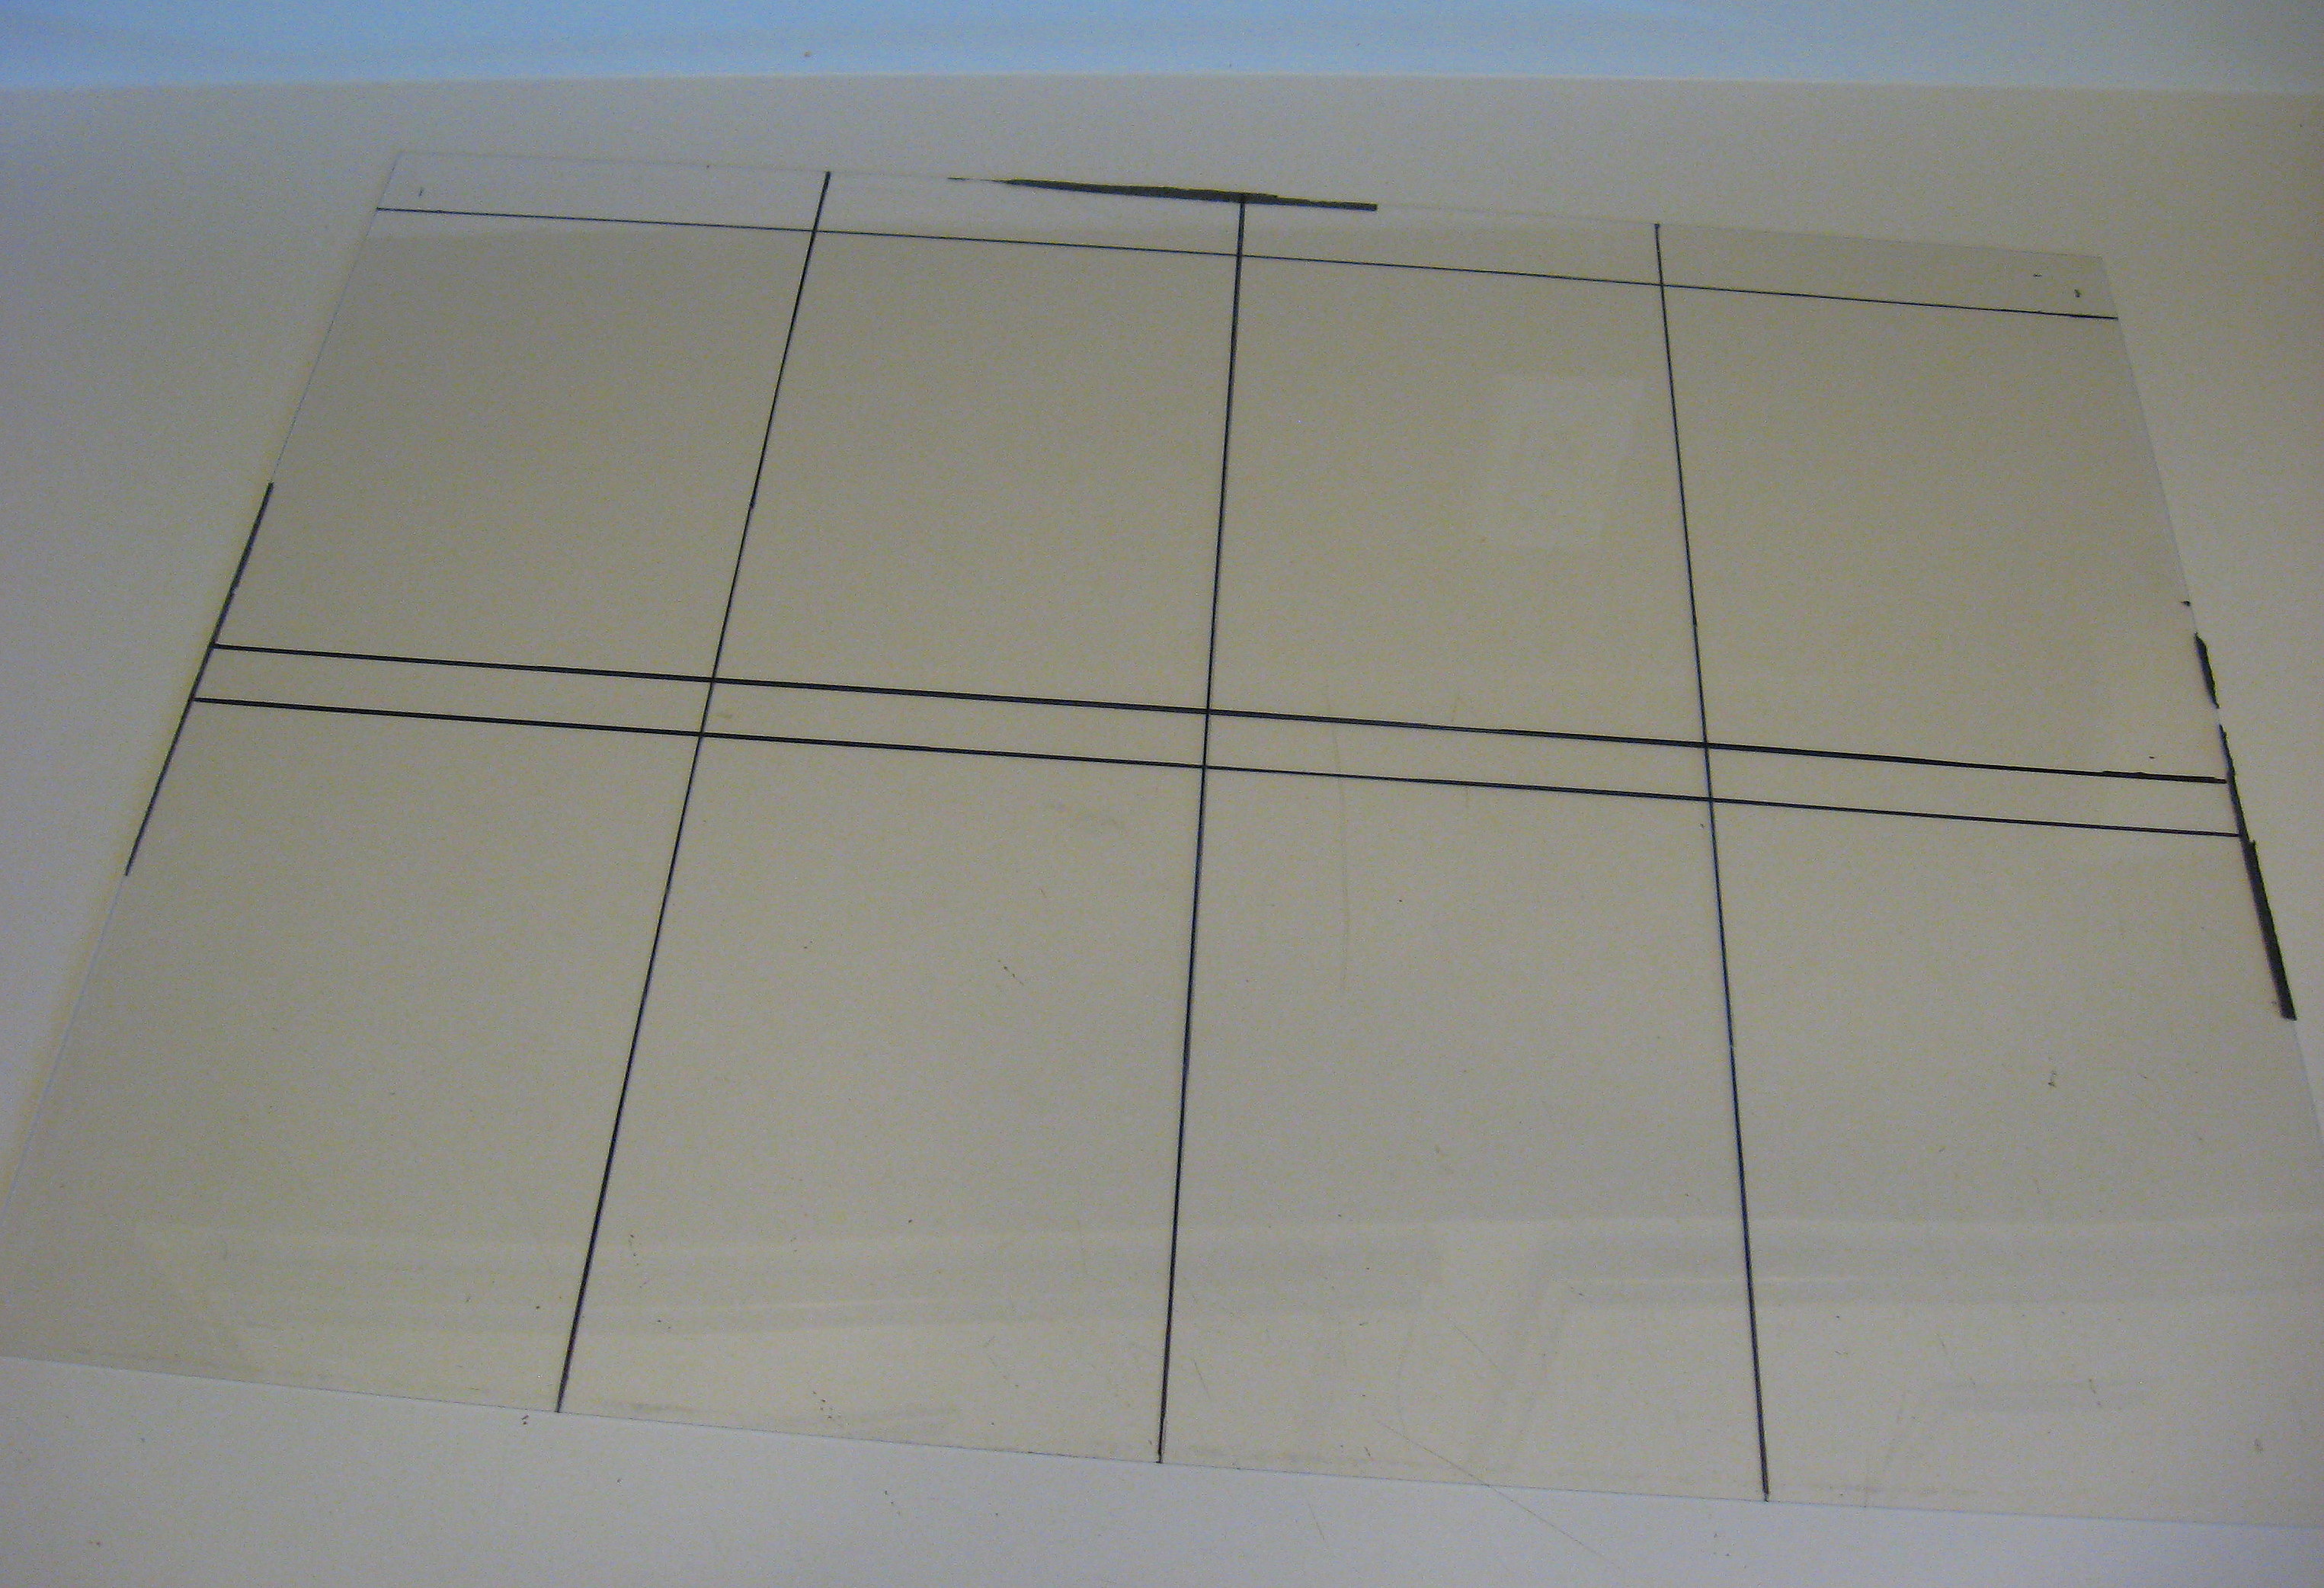
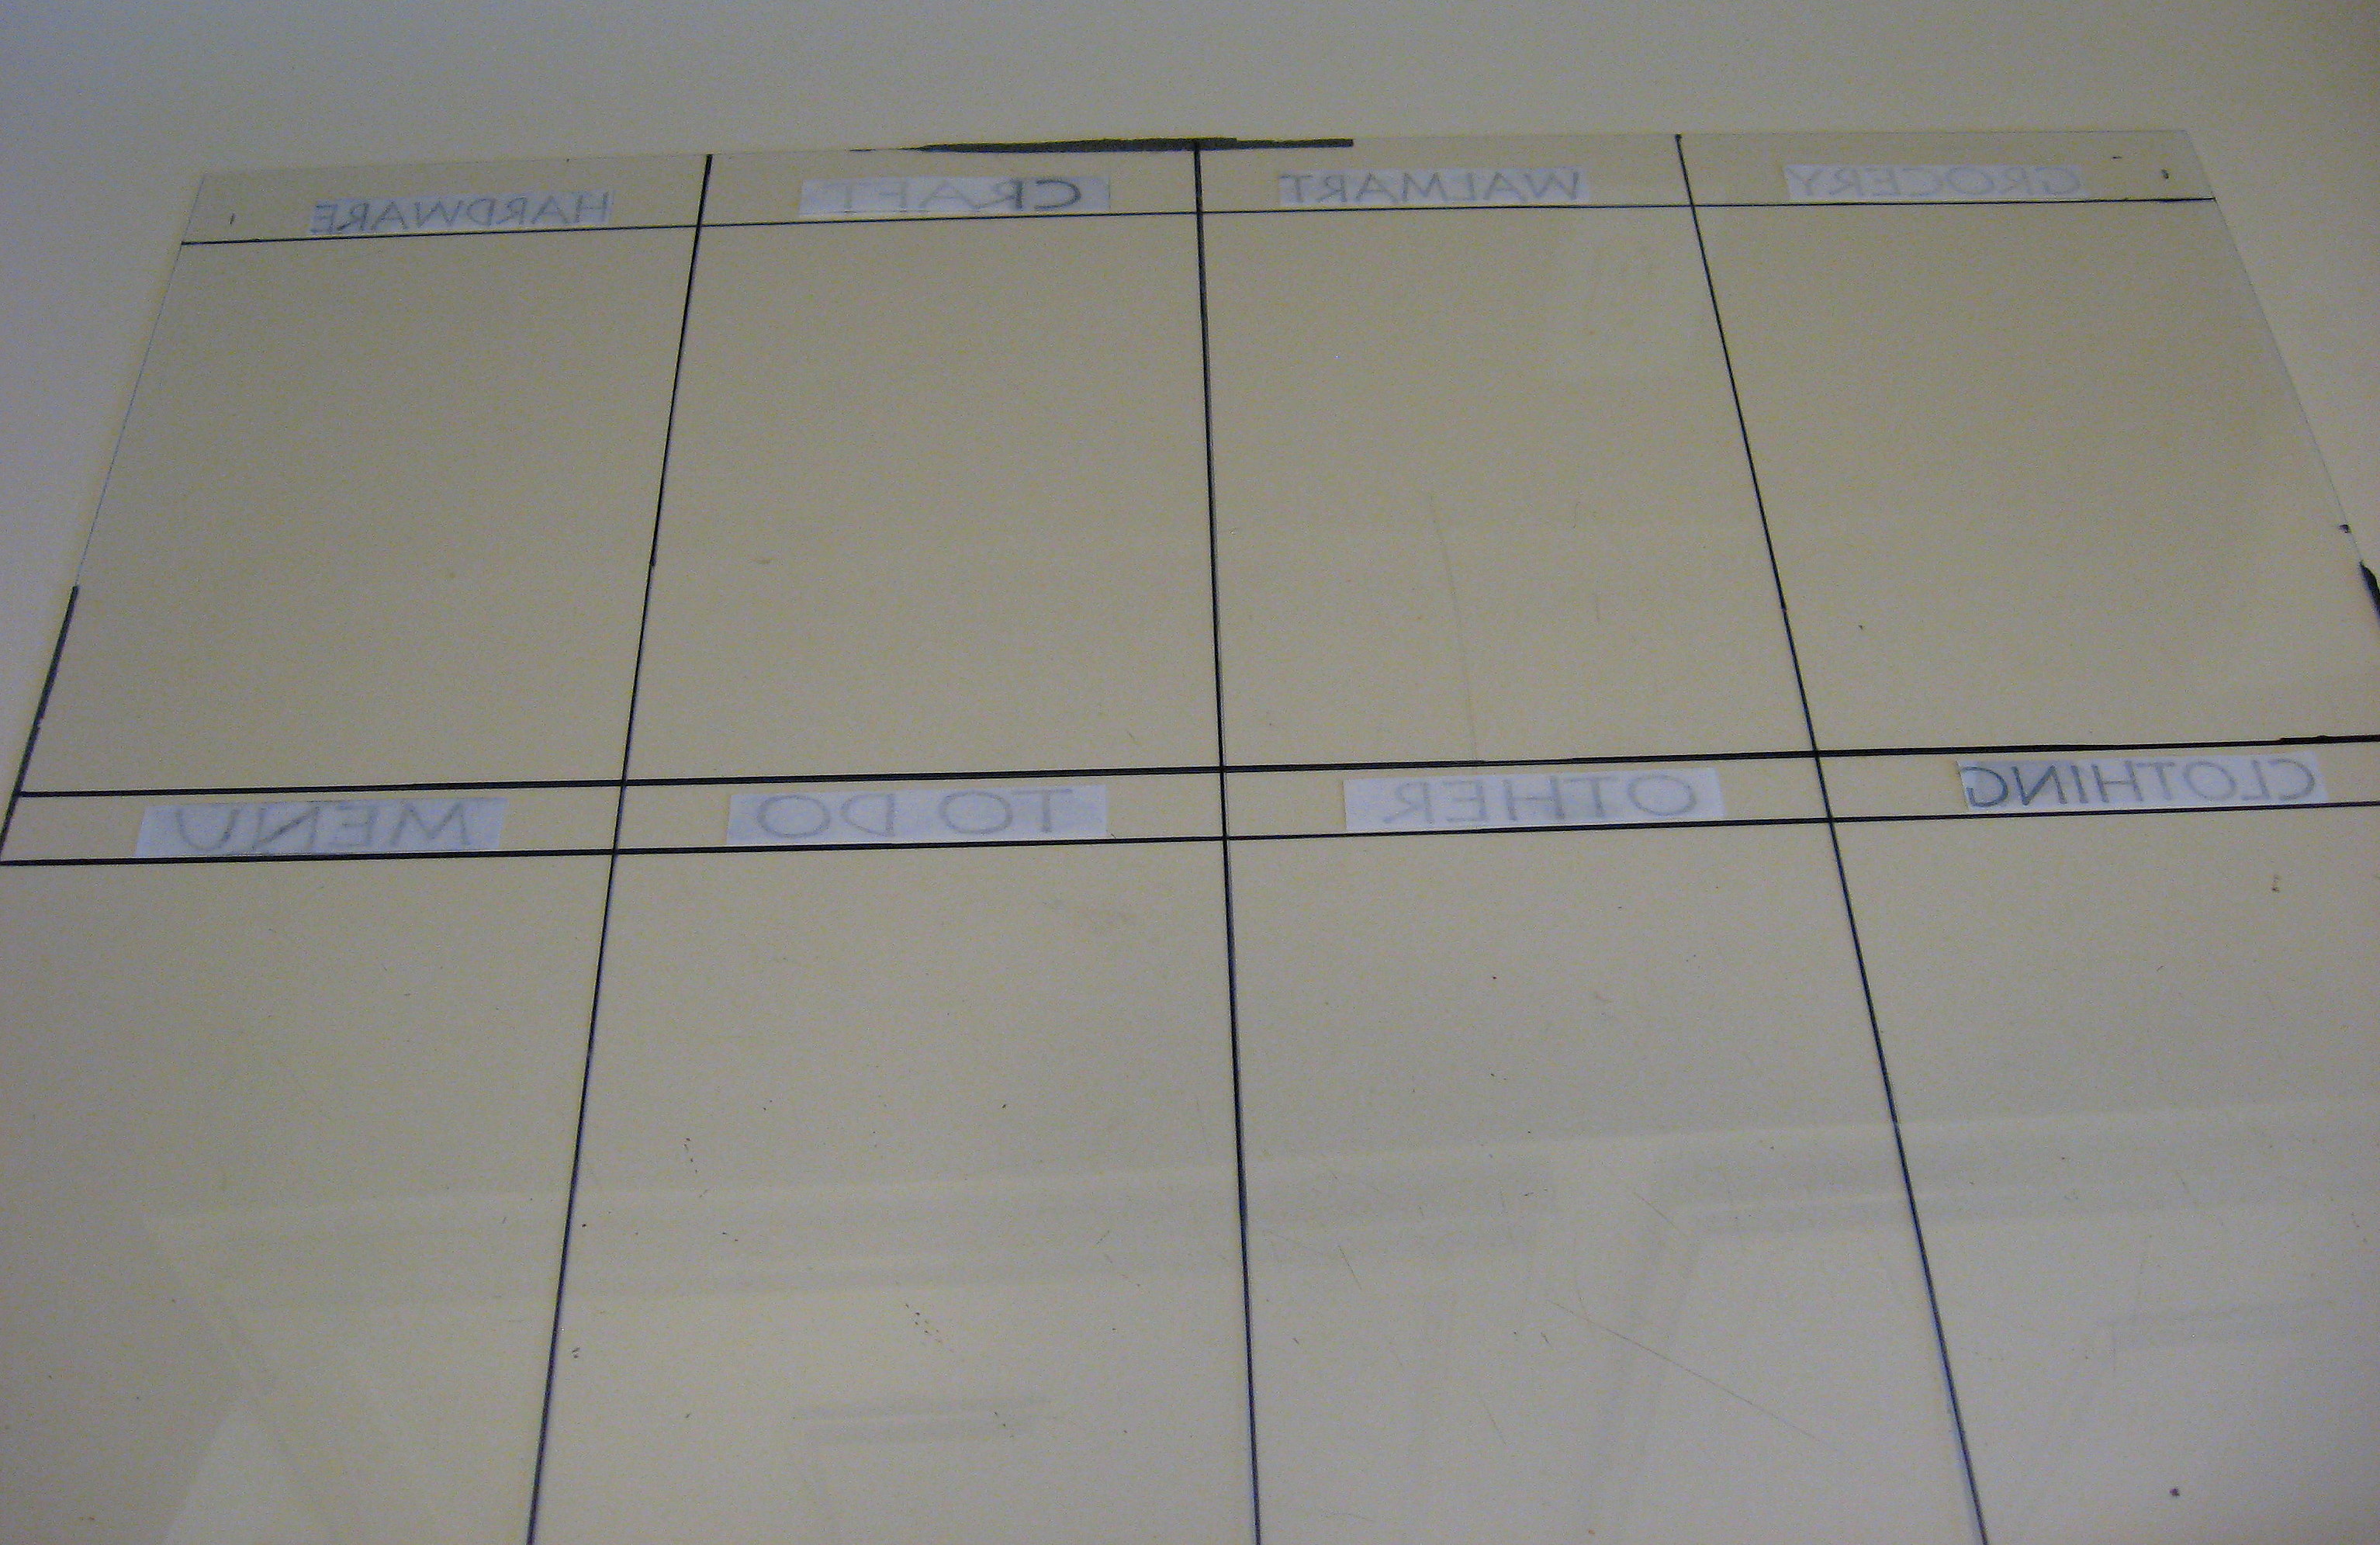
Decide how many different sections you want, measure them out and use a straight edge and a Sharpie to draw the lines on the back side of the glass. I made 8 sections, with an inch wide section at the top of each for the category title.
Like this:
I printed out the categories I wanted onto pieces of paper, but you could also use vinyl, or even write them on the back of the glass with the marker (you’d have to write backwards, but you could print out the words, lay them under the glass and use them to trace.)
I cut out each title, and sprayed them with some craft fixative. I didn’t use an actual adhesive; I think it’s too messy. I just needed something that would dry clear and that would hold the paper in place well enough for the next step without interfering with the spray paint.
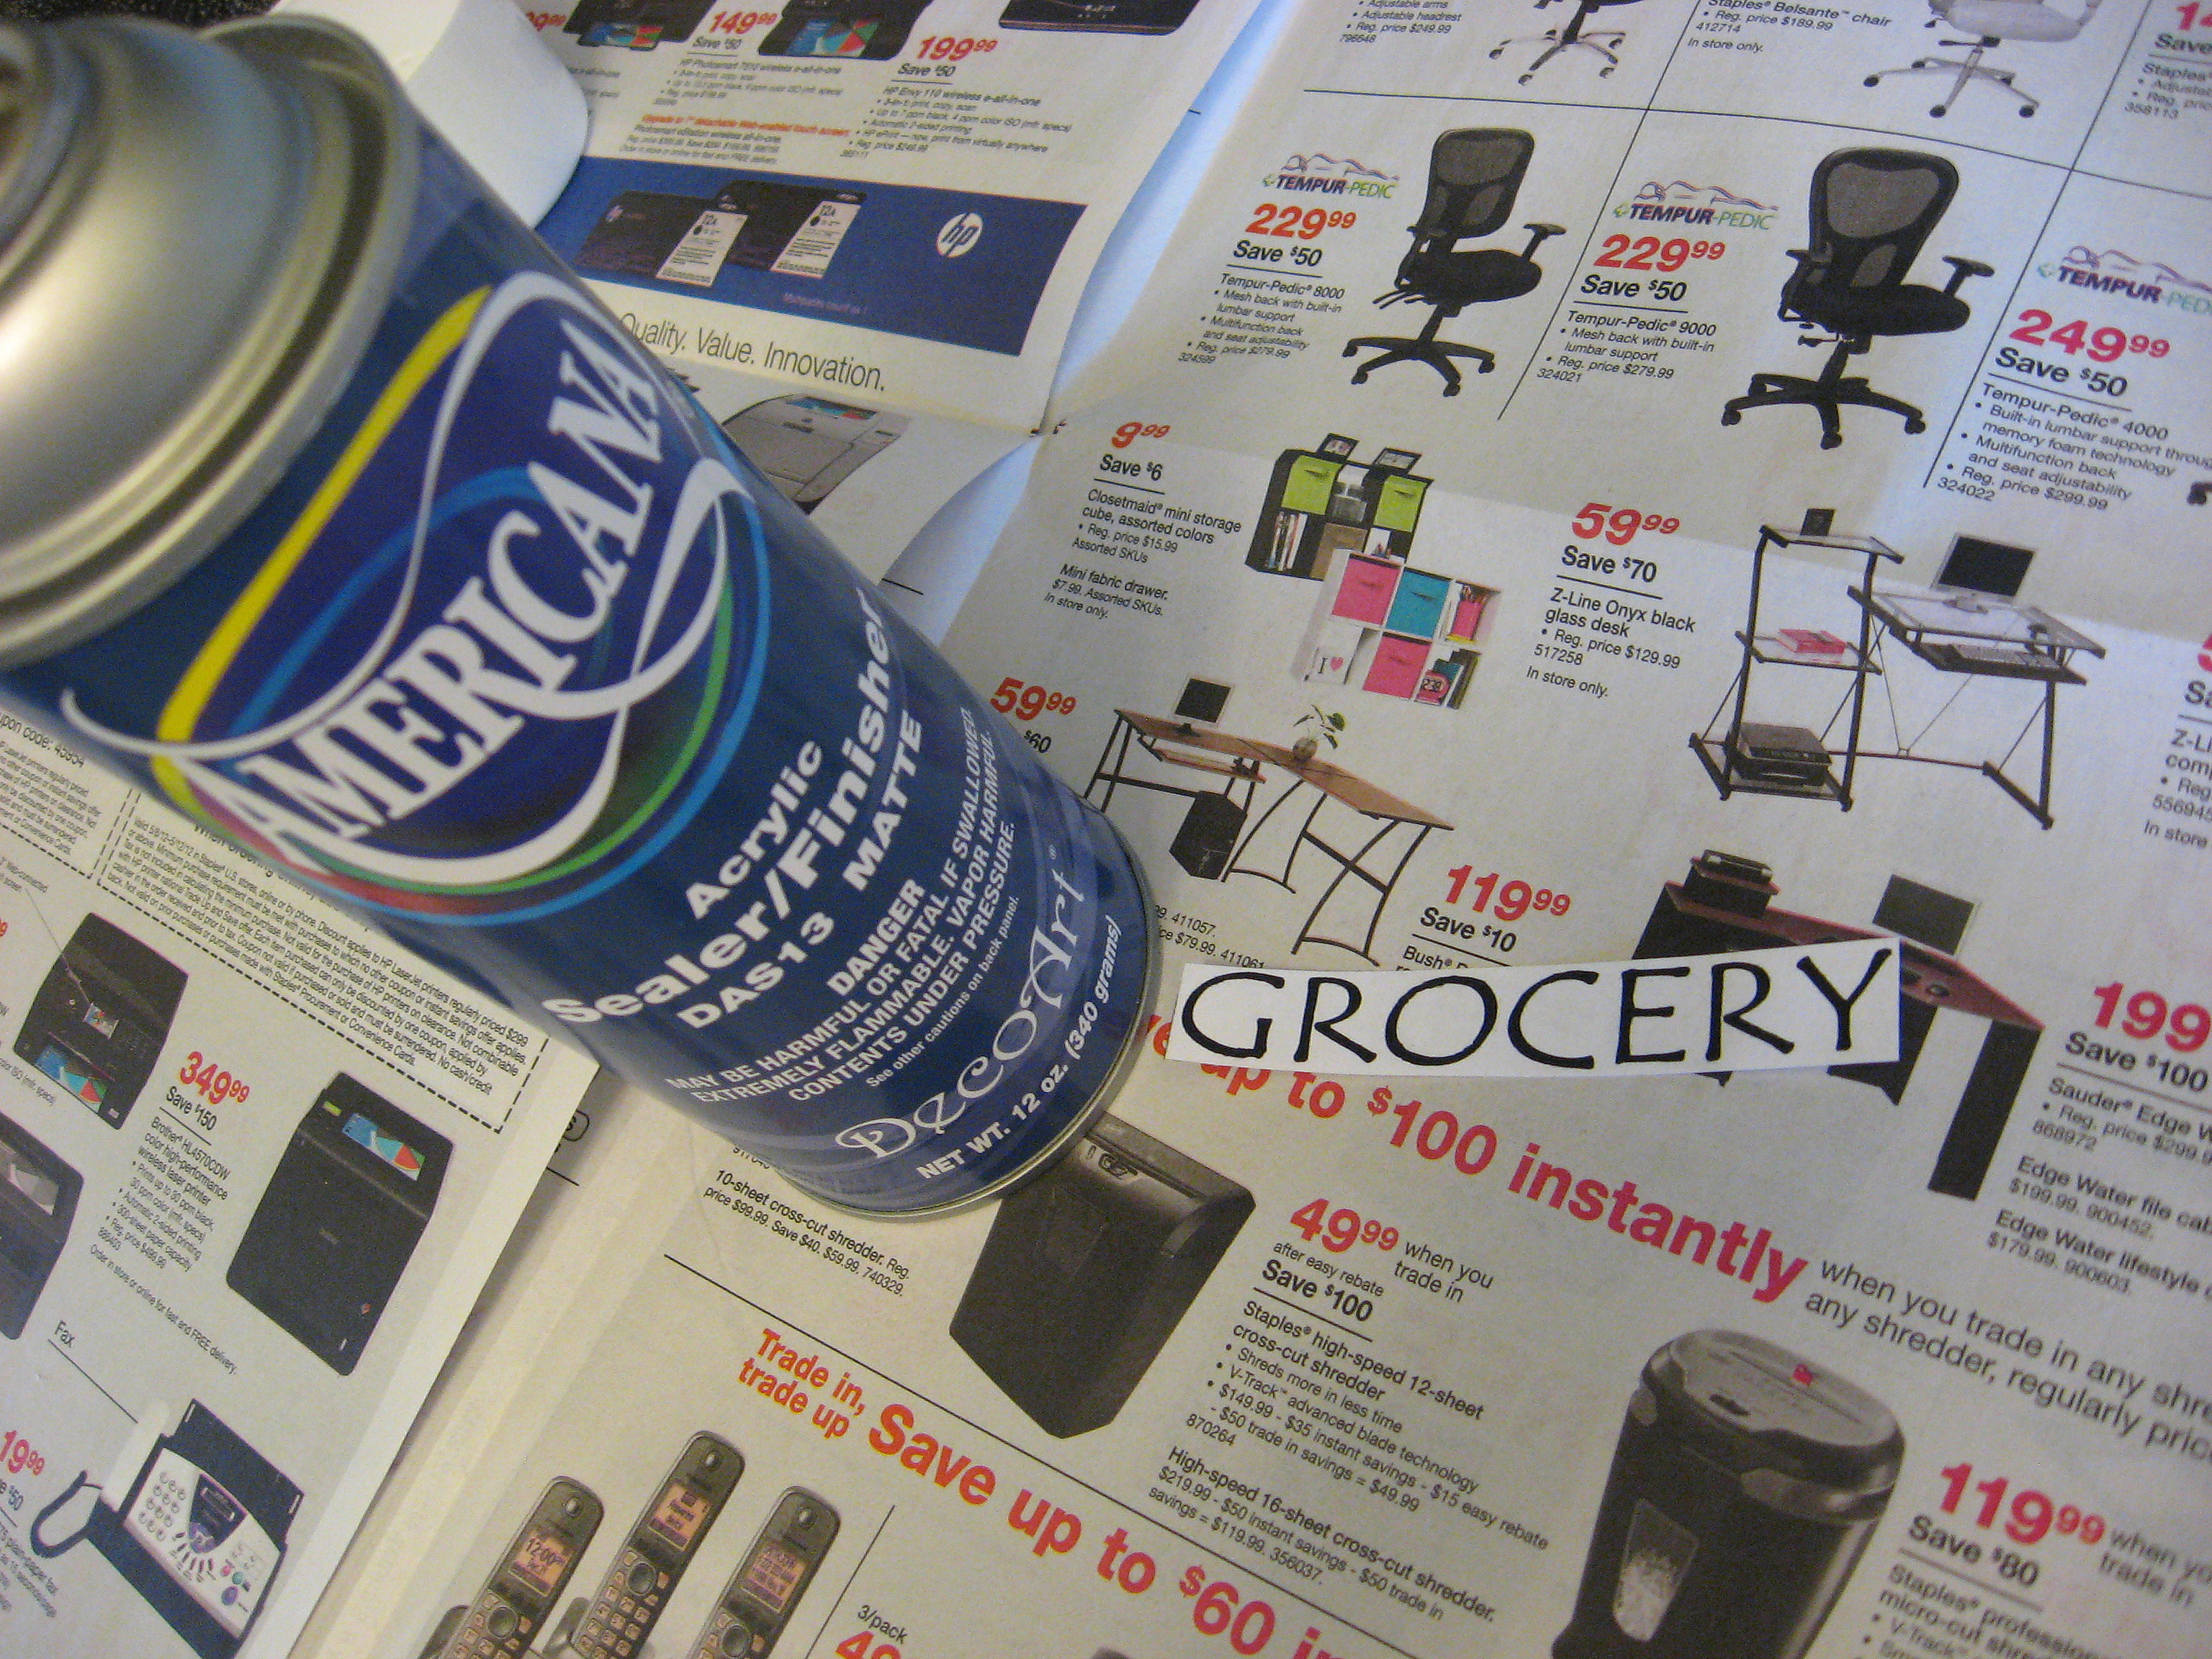
Here they are, attached face down to the back of the glass.
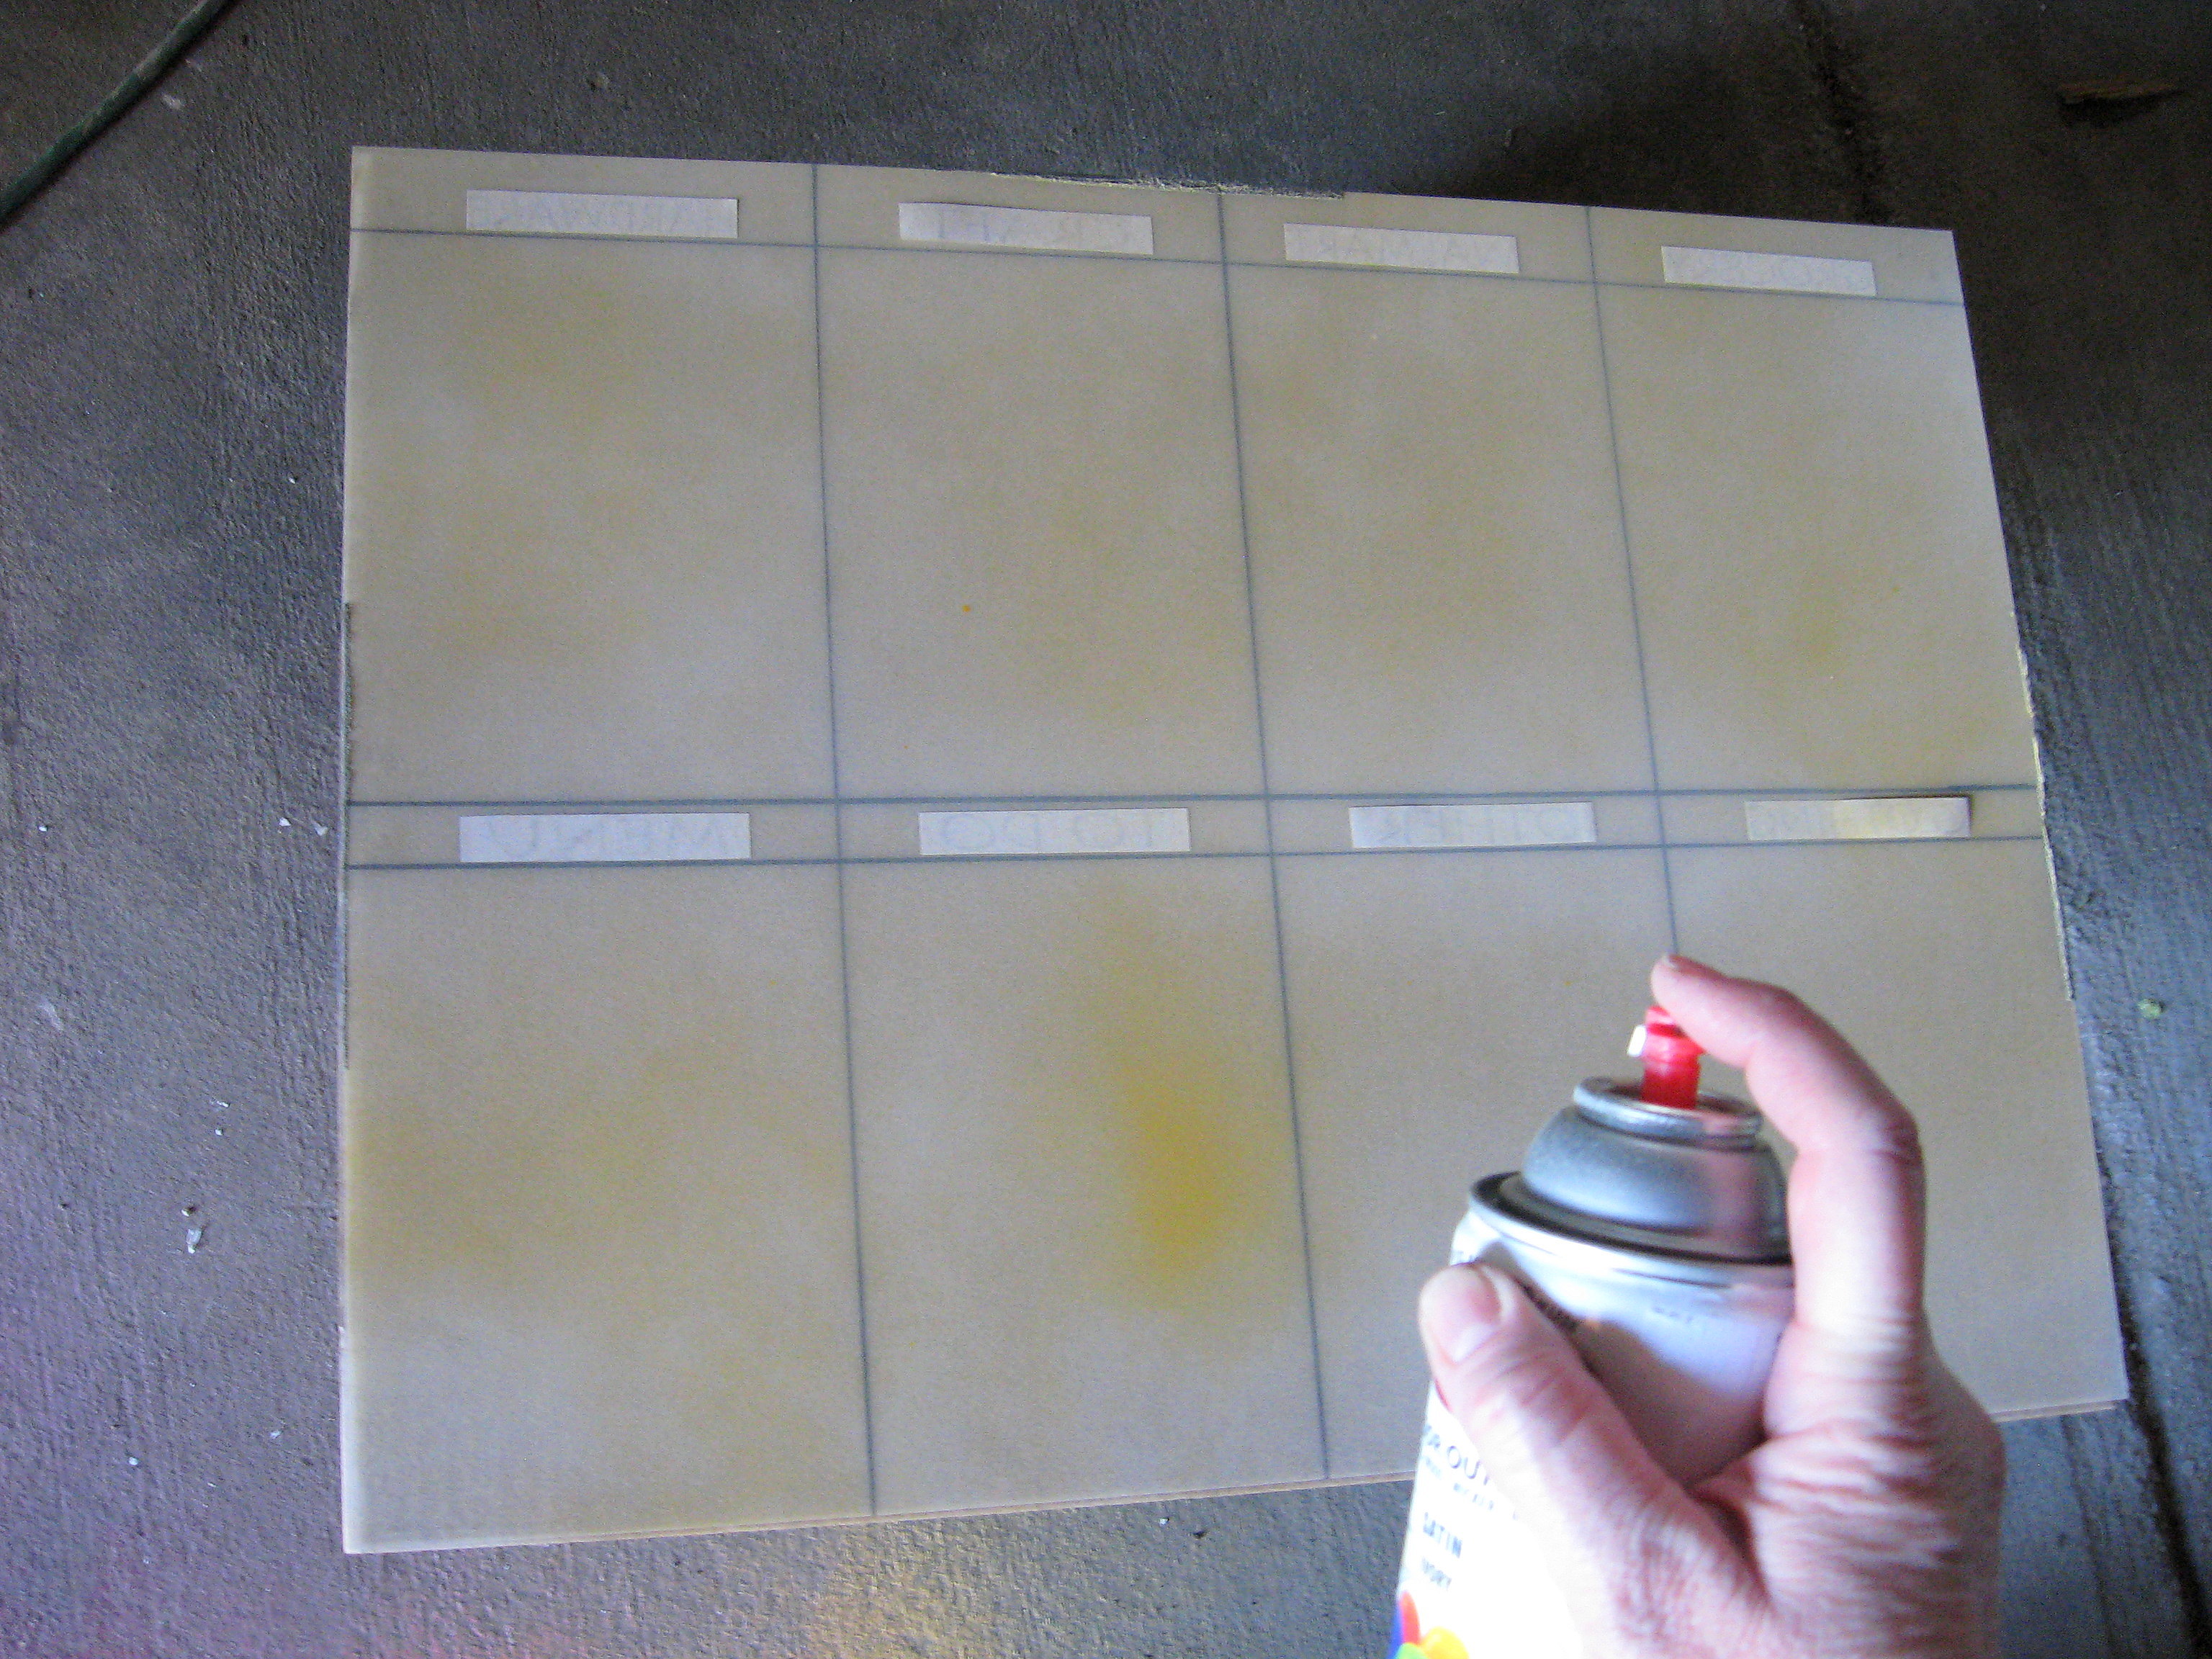
Now I spray painted over the whole back of the glass. I still wanted mine orange, but not as dark as the frame, so I sprayed on thin layers of white and orange until it was well covered. You could also just cover the cardboard that came with the frame with paper (think wrapping paper to get a big enough piece) or fabric.
Once that’s dry, put it all back in the frame, and use a good adhesive (I used E 6000) to glue very strong magnets onto the back of the frame.
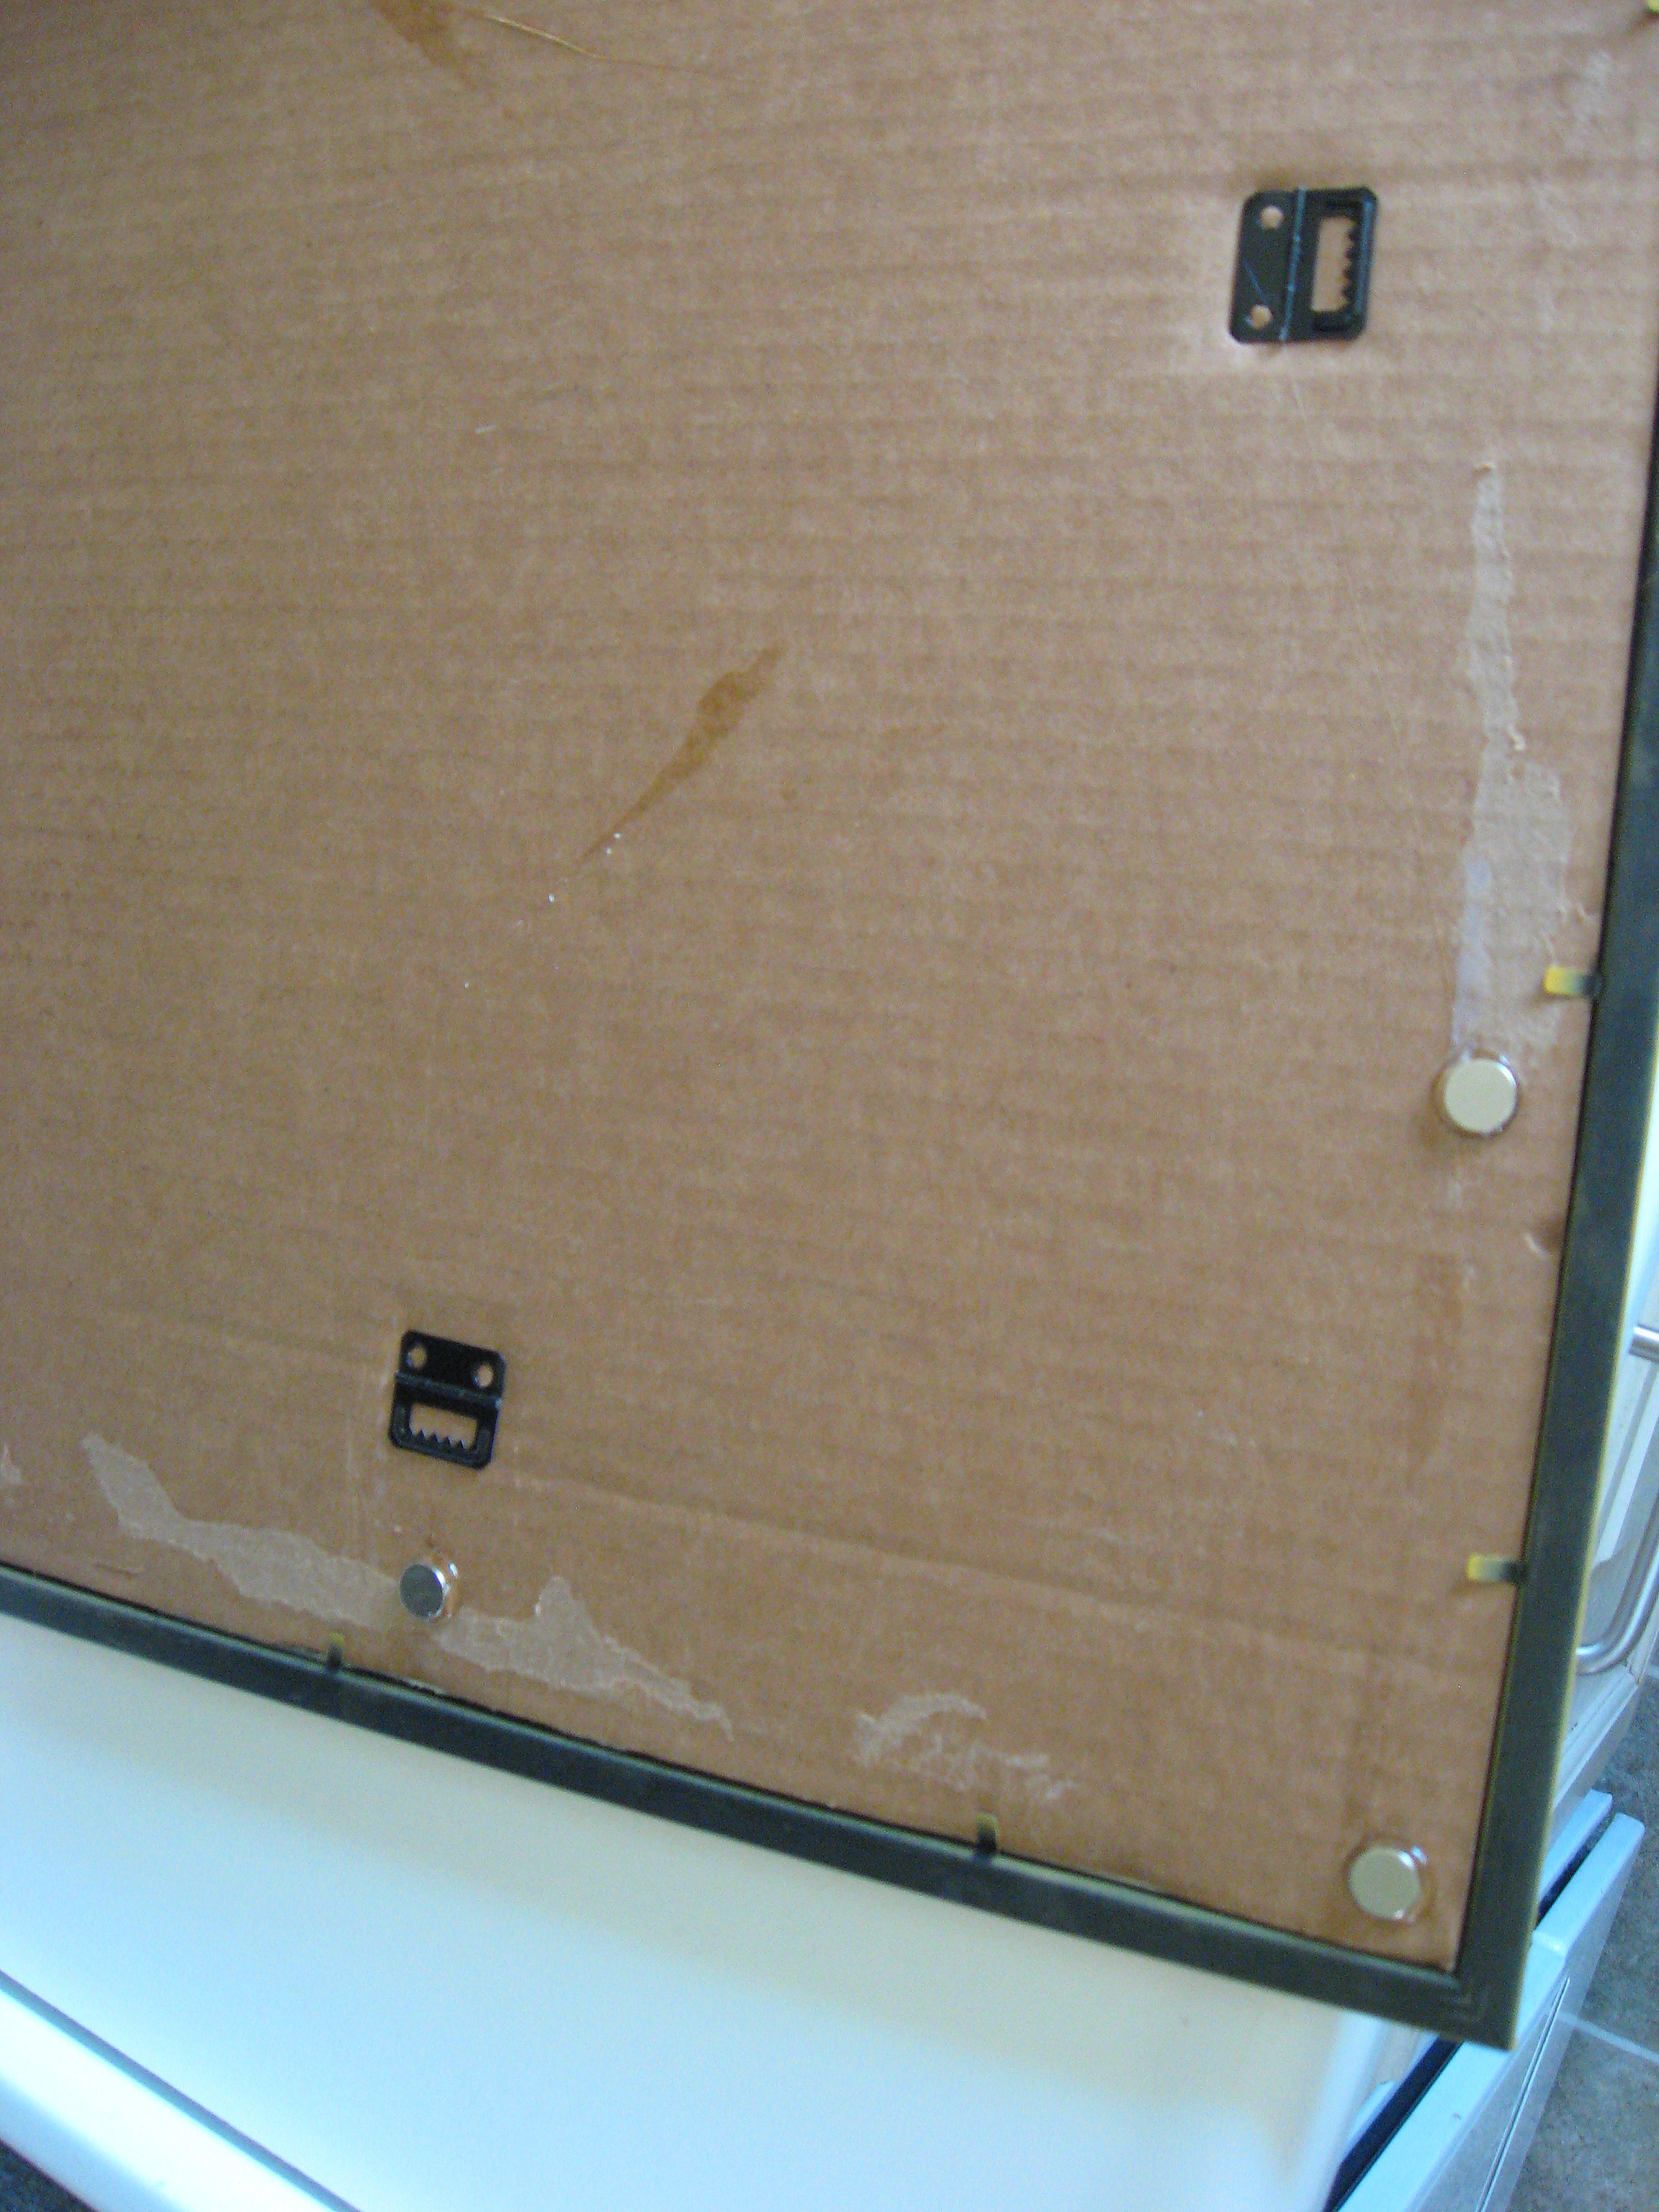
Once the glue is completely dry, it’s ready to hang.
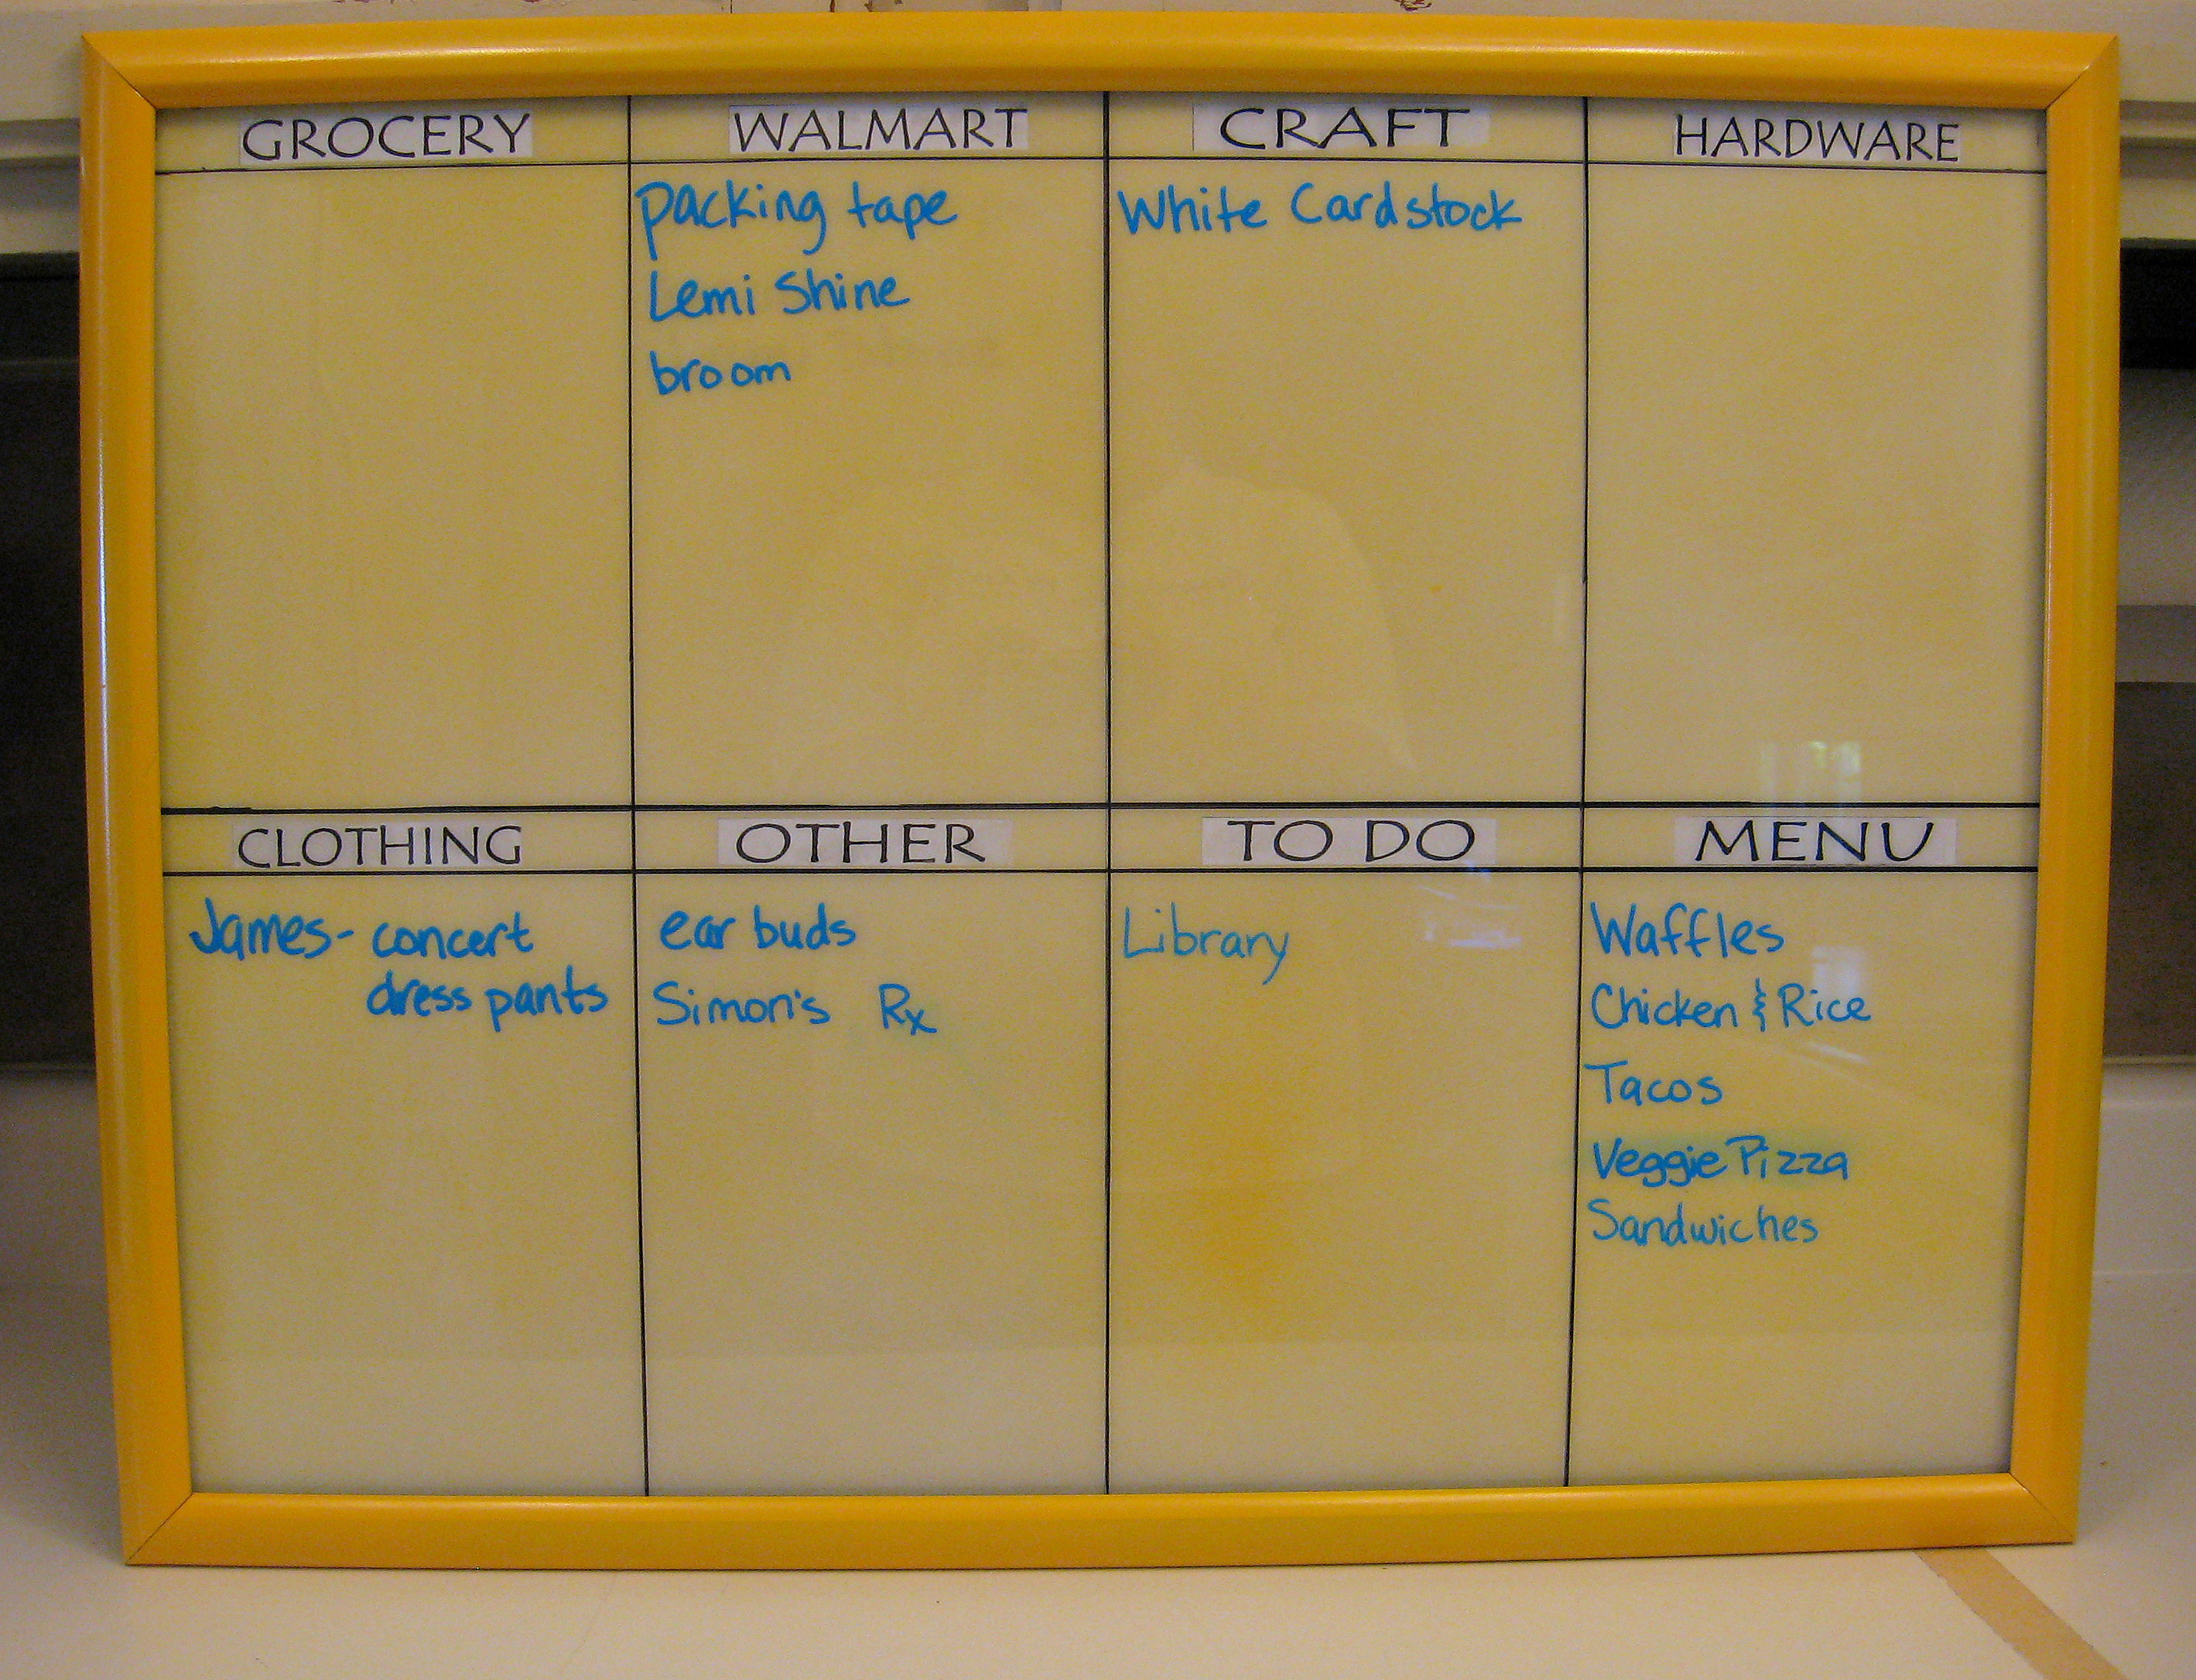
Since everything is on the back of the glass, you don’t have to worry about the lines and category titles getting erased or messy. Remember the Bistro markers from the last project? They work great for this too, and erase easily with a standard chalkboard eraser.
budgetmom
AWE.SOME.