
Wagner 6 in. Mini Reservoir Roller $10.97 + Up to 50% off Select Paint Supplies
 UP TO 50% OFF SELECT PAINT SPRAYERS & ROLLERS
Wagner 6 in. Mini Reservoir Roller
Was $21.98
-$11.01 SPECIAL BUY SAVINGS
$10.97 YOUR NEW PRICE
May be available for FREE Store Pickup!
Amazon 12 Days of Deals – Day 7 is DIY! Lots of great deals!

12 Days of Deals and sales on holiday toys, electronics, video games, jewelry, and more. Check out the top holiday 2014 deals and savings this holiday season.
Eligible for free shipping on $35+ orders or on ANY order with Amazon Prime.
Don’t have a Prime membership? Get a one month free trial! Click here for details!
Kids Printed Leggings & Maxis + DIY Felt Ball Garland Kits & More!


- Kids Printed Leggings $7.99- NEW styles added!!
- Little Lady Maxi collection $8.99 5 colors available!
- Winter DIY Felt Ball Garland Kits $12.89
More cute stuff available today! Low shipping prices!

DIY Felt Ball Garland Kit, Monogram Door Hanger, COUNTDOWN to Christmas Print & More!


- $12.99 | Fall + Winter DIY Felt Ball Garland Kit
- $28.99 | Monogram Door Hanger
- $1.99 | Printable COUNTDOWN to Christmas – SANTA Face
More cute stuff available today! Low shipping prices!
DIY Large Jute Stocking $2.69

DIY Large Jute Stocking $2.69 after code!
10% off everything with code X5ZN2H -expires November 30.
$12.99 | Unpainted Wooden Monogram Holiday Ornament

$12.99 | Unpainted Wooden Monogram Holiday Ornament
More cute stuff available today! Low shipping prices!
54 Piece Peel & Stick Bath/Kitchen Wall Tiles $23.99
 54 Piece Peel & Stick Bath/Kitchen Wall Tiles
REG PRICE: $89.99
DEAL PRICE: $23.99
SHIPPING: $4.99
Plus lots more!
Child Growth Chart DIY Kits $9.99

$9.99 | Restocked – 28 Colors! – Child Growth Chart DIY Kits
More cute stuff available today! Low shipping prices!
Personalized Elf on the Shelf Set, DIY Stencils, Wood Chalkboard Banner & More!


- $12.95 | Personalized Elf on the Shelf Inspired Mega Set – Printed
- $4.99 | DIY Painting Stencils
- $9.99 | Wooden Chalkboard Banner – 3 options available! – Perfect for holiday photos and parties!
More cute stuff available today! Low shipping prices!
Get your house ready for winter!

If you have been reading our blog for the last few days you know that the arrival of fall and colder weather have me thinking about getting things ready for winter. I thought a lot about the things that needed to be done in the yard. There were quite a few. Then I moved on to thinking about my house. There are also lots of things to do to get the house ready for winter. It’s another big project that leaves me feeling a little dread.
Just like I said about the yard, getting my house ready for winter always seems like a HUGE task before I start. I dread it because it just doesn’t sound fun. Like so many other things, getting your house ready for winter seems much less complicated if you break it into smaller pieces. Looking at the parts individually make the big task seem doable and less daunting. I’ve made myself a list and it really helps. Here are the items on my get your house ready for winter list.
Windows
There are a couple of different things that can be done to get windows ready for winter. Check the windows and make sure they shut tightly and properly. If they don’t, make some adjustments so they do. This is one of those get your house ready for winter items that a quick internet search will help.
You can also add weather stripping and plastic sheeting to your windows for added insulation. We’ve done both with different windows over the years and have been happy with the results. The supplies for this are inexpensive and available at most big box and hardware stores.
Doors
The doors are a lot like the windows. Check the doors to make sure they shut and seal properly. If you do this during the say, look for gaps that let light in. Those same gaps will also let cold drafty air in. If you need to check at night use a flashlight. One person can shine the light on the cracks while another looks for light coming through on the other side. Again slight adjustments can be made to close the gaps. You can also change the weather stripping around the door or add more to what is there. Part of getting your house ready for winter is keeping all of the cold air out.
Furnace
Make sure your furnace is working and in good repair. Check the filters and change them if they are dirty. Dirty filters tax a furnace system and keep it from running at its best. Don’t be stuck in the cold later with a malfunctioning furnace.
Ice Melt/Shovels
Make sure you have these if you use them. Is there enough ice melt? Are the snow shovels in good repair? If you have a snow blower, is it working and ready to use? The first big storm of the season is not the time to run to the store for snow clearing supplies.
Fireplace
Does your fireplace work correctly? Does your chimney need to be cleaned out? Again, taking care of this get your house ready for winter task now will save you time and money later.
Pipes
If you have pipes that are prone to freezing, cover them now. Frozen pipes are a hazard and can wreck homes. Wrap pipes with insulation and avoid a mess later. Another important get your house ready for winter item with supplies available cheaply at most big box and hardware stores.
Have more tips? Let us know! We love to hear from you. Stay tuned for more blogs about getting ready for winter.
Do you have a DIY project? Get Extreme How-To Magazine $5.99/year or Old House Journal $4.50/year!

Extreme How-To Magazine REG PRICE: $18.97 DEAL PRICE: $5.99 per year SHIPPING: FREE |

Old House Journal REG PRICE: $15.97 DEAL PRICE: $4.50 per year SHIPPING: FREE |
A PYP Best Blog! Grocery Budget Crack-Down Plan: Menu Planning!
Just in case you missed this article on menu planning the first time we shared it a couple of years ago, we are republishing it. After Marne wrote this blog originally, we got an awesome response. This is one of the PYP Best Blogs!
Menu planning has always been daunting to me. I go through phases when I do it, and don’t do it. I am always glad when I have it done, though. Over the years I have learned a few things about menu planning that work for me and my family.

1. Simple is best. Sure…trying new recipes is fun but simple, basic recipes is when my family is happiest. That means mom is happy too.
2. Involve children in menu planning. They are more apt to not complain when they have a say in what is being eaten. There can be a kids choice night, they can help you decide the month in advance, or you can schedule fun food nights. No matter how you do it they will know you are thinking of them.
3. Prep more than one meal at once. If you are cooking hamburger for tacos one night, cook double and freeze the rest for your soup later in the week. Saves so much time.
4. Plan meals around leftover ingredients in your fridge and what you have in your food storage. If you are planning simple. basic meals that don’t have a lot of fluff you will most likely have everything you need on hand, except perishables. Making a quick weekly trip to the store for perishables is much easier than huge stock-up trips.
I have tried many different ways to menu plan over the years. I have spent hours and hours online looking at menu planning websites, cooking blogs, and recipe sites to get ideas. Sure, I was reading lots of great ideas but it was only overwhelming me not helping me. Binders, boxes, files….ACK!!! I decided that I was making things too complicated….and I just need to keep my menu planning simple, easy, and clean.
I started by going through my recipes and writing down lists of everything we like to eat…soups, meats, chicken, sides etc, so I had an idea of where to start with my meals.
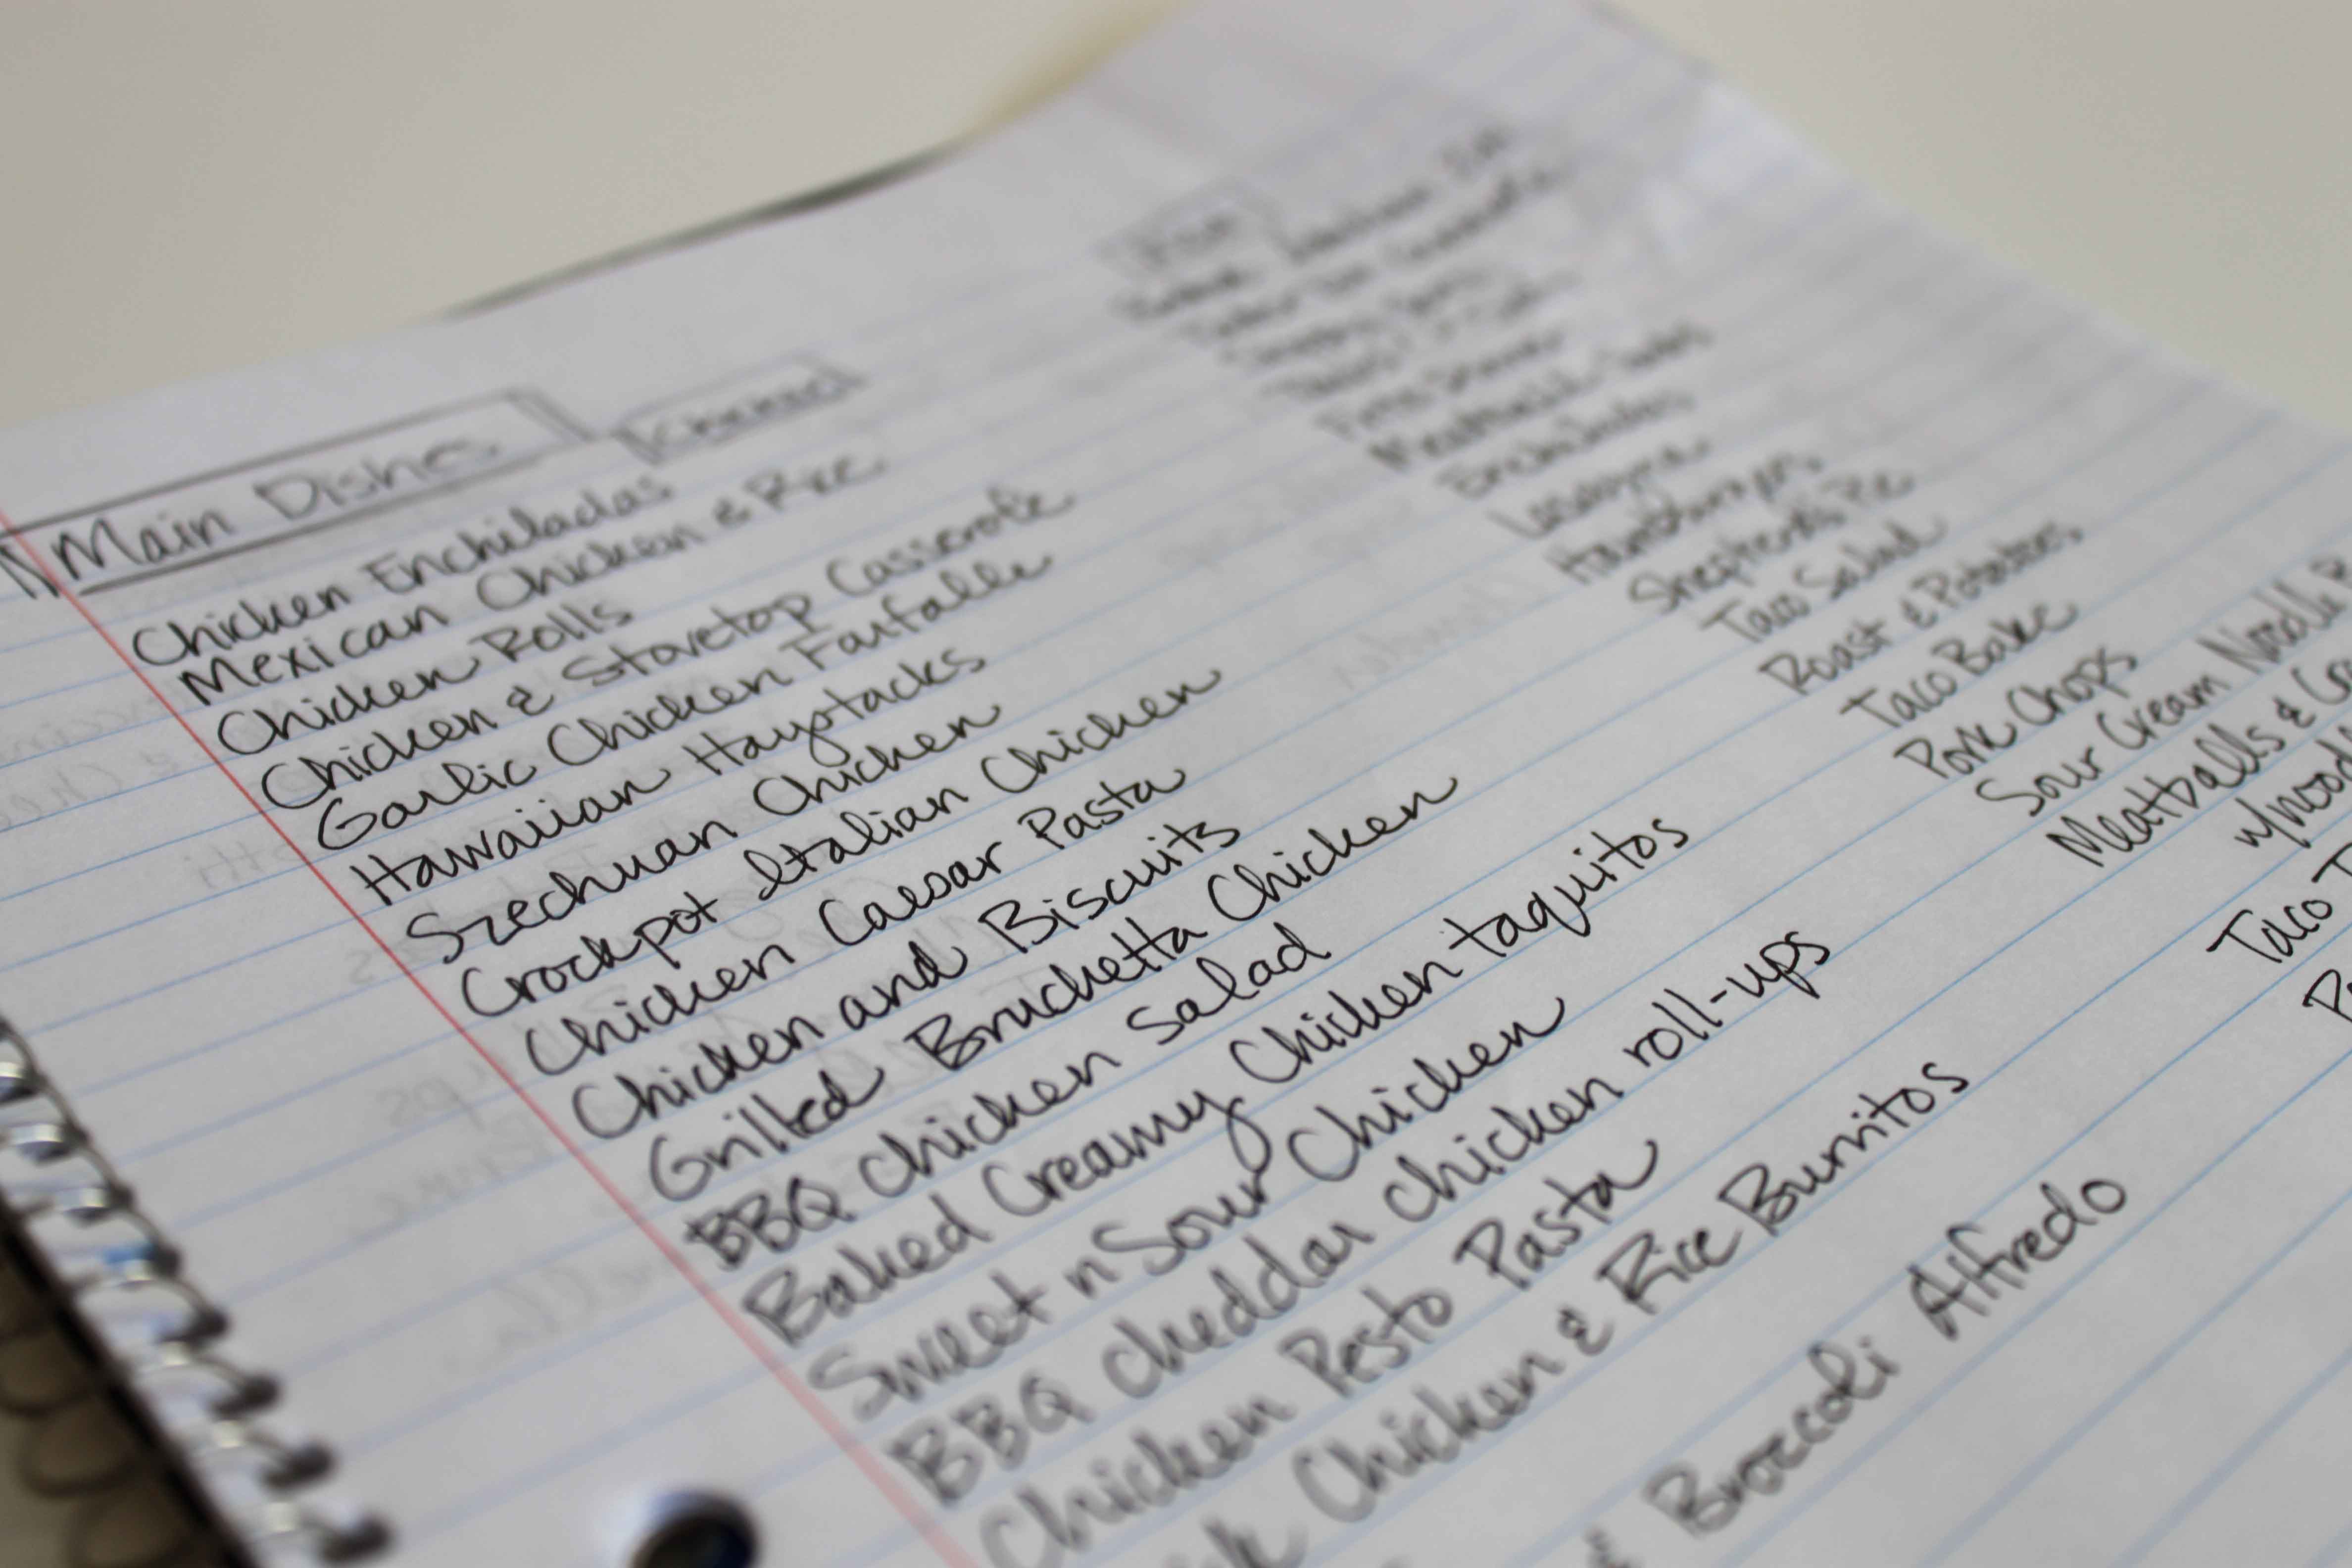
For now, I will be planning on a monthly basis. I am first beginning with dinners, as that seems to be the most difficult. I left a spot at the bottom to write in treats I want to make during the month and breakfasts I want to make. I will fill those in later and as I see fit.
A PYP Best Blog! Make a Menu Planning Binder!
Just in case you missed this DIY article on making a menu planning binder the first time we shared it a couple of years ago, we are republishing it. After Marne wrote this blog originally, we got an awesome response. This is one of the PYP Best Blogs!
I have lots of cookbooks. I have a recipe box. I also have a large binder chuck full of recipes I have printed off the internet.
Even when I menu plan I have to look through ALL those recipes to find the ones I need, and sometimes that is a real pain! Every now and then I can’t find the recipe…which poses a slight problem..if you know what I mean. And since I am trying to cut my grocery budget, I want to be organized.
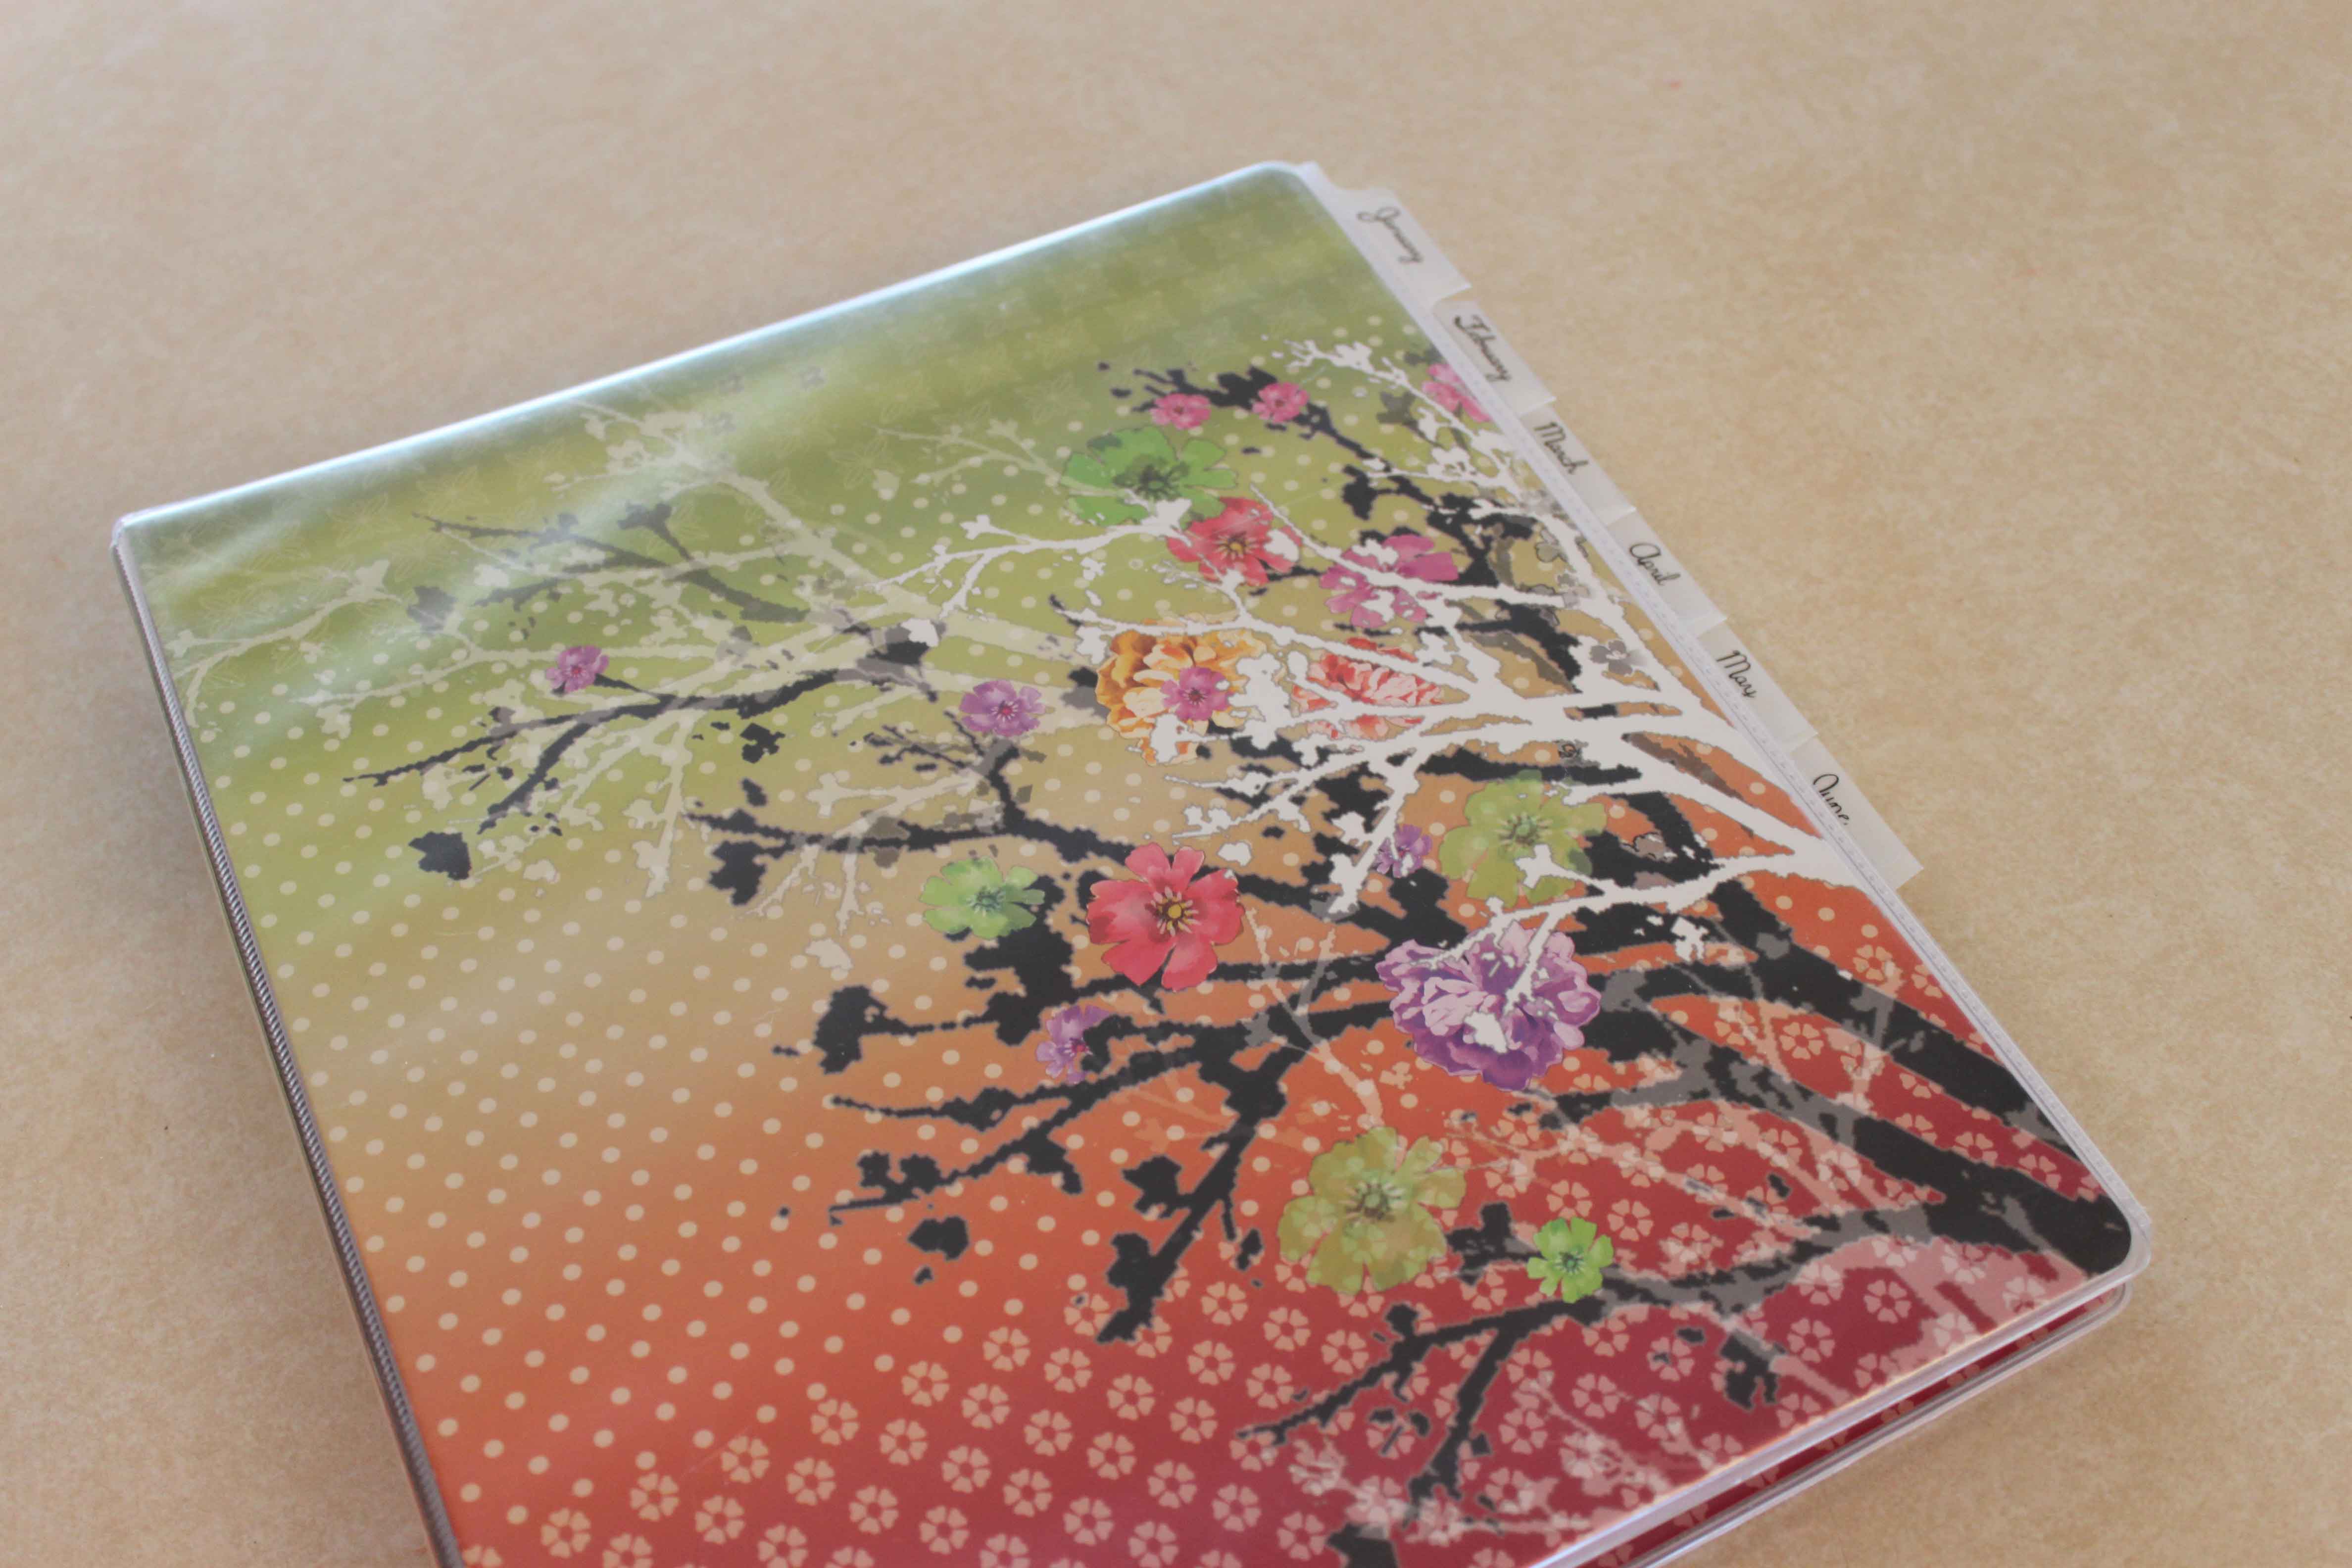
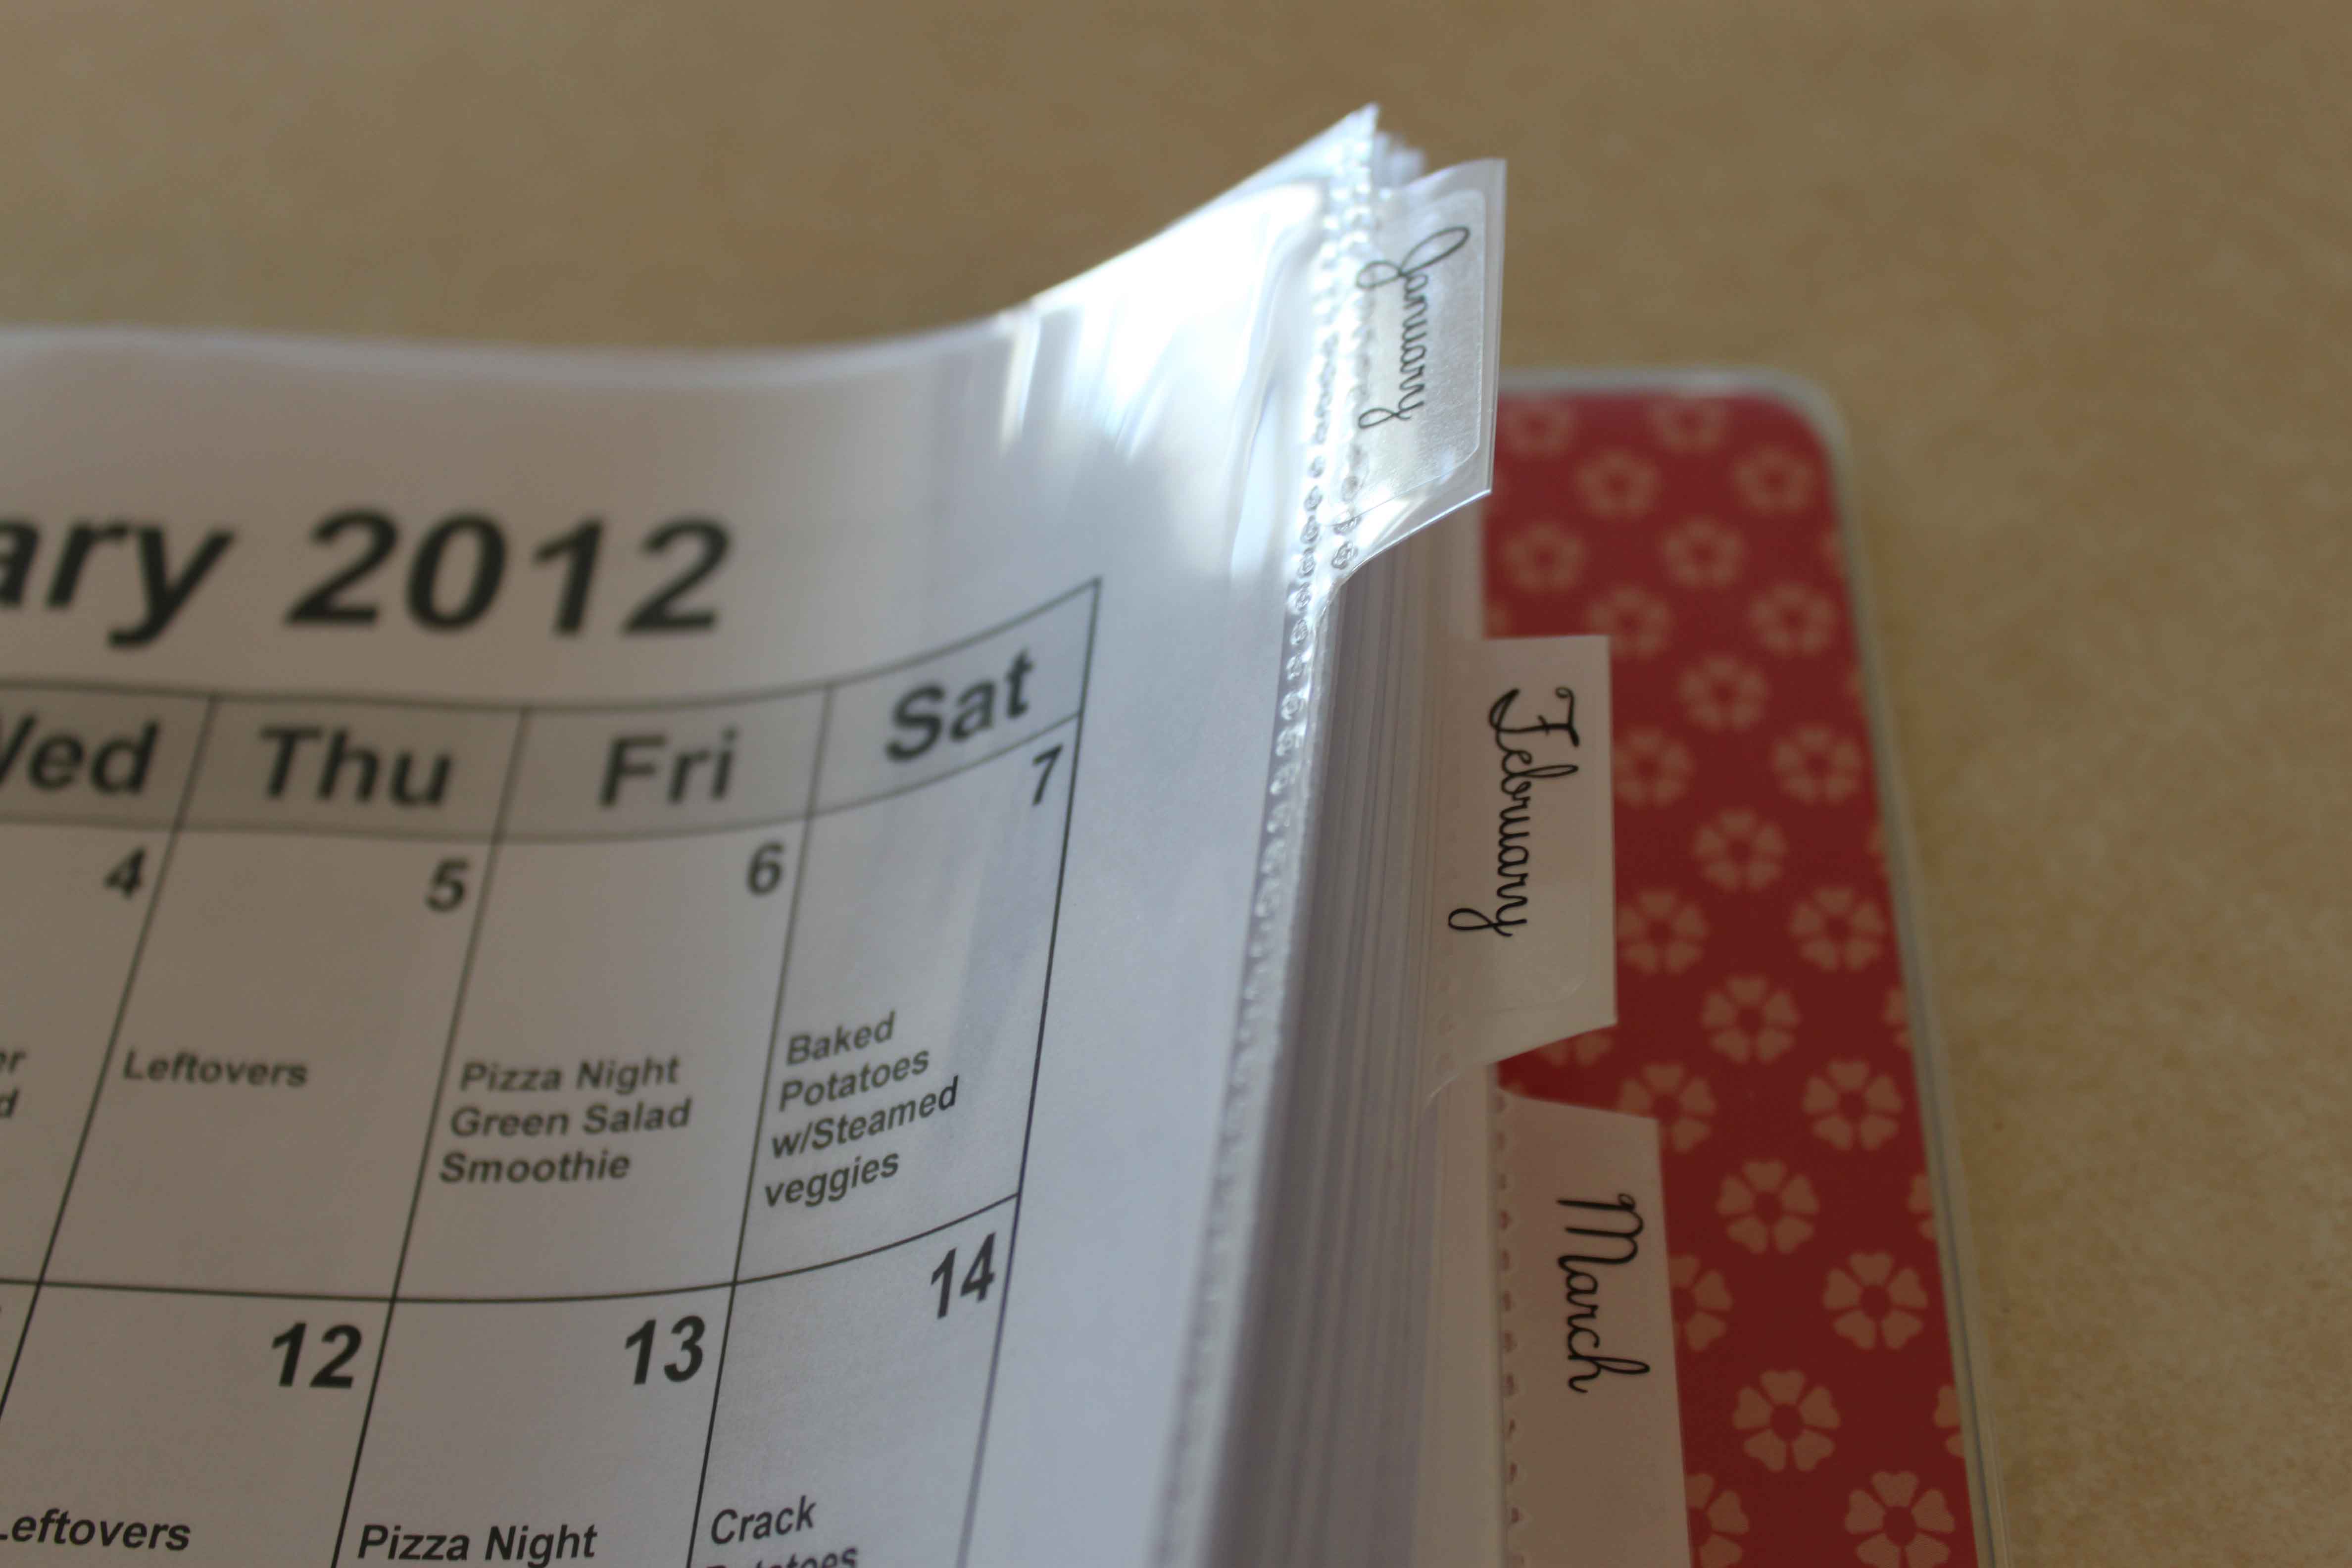
So this time I decided to do something different. I got an empty binder I wasn’t using and made tabs for the first 6 months of the year.
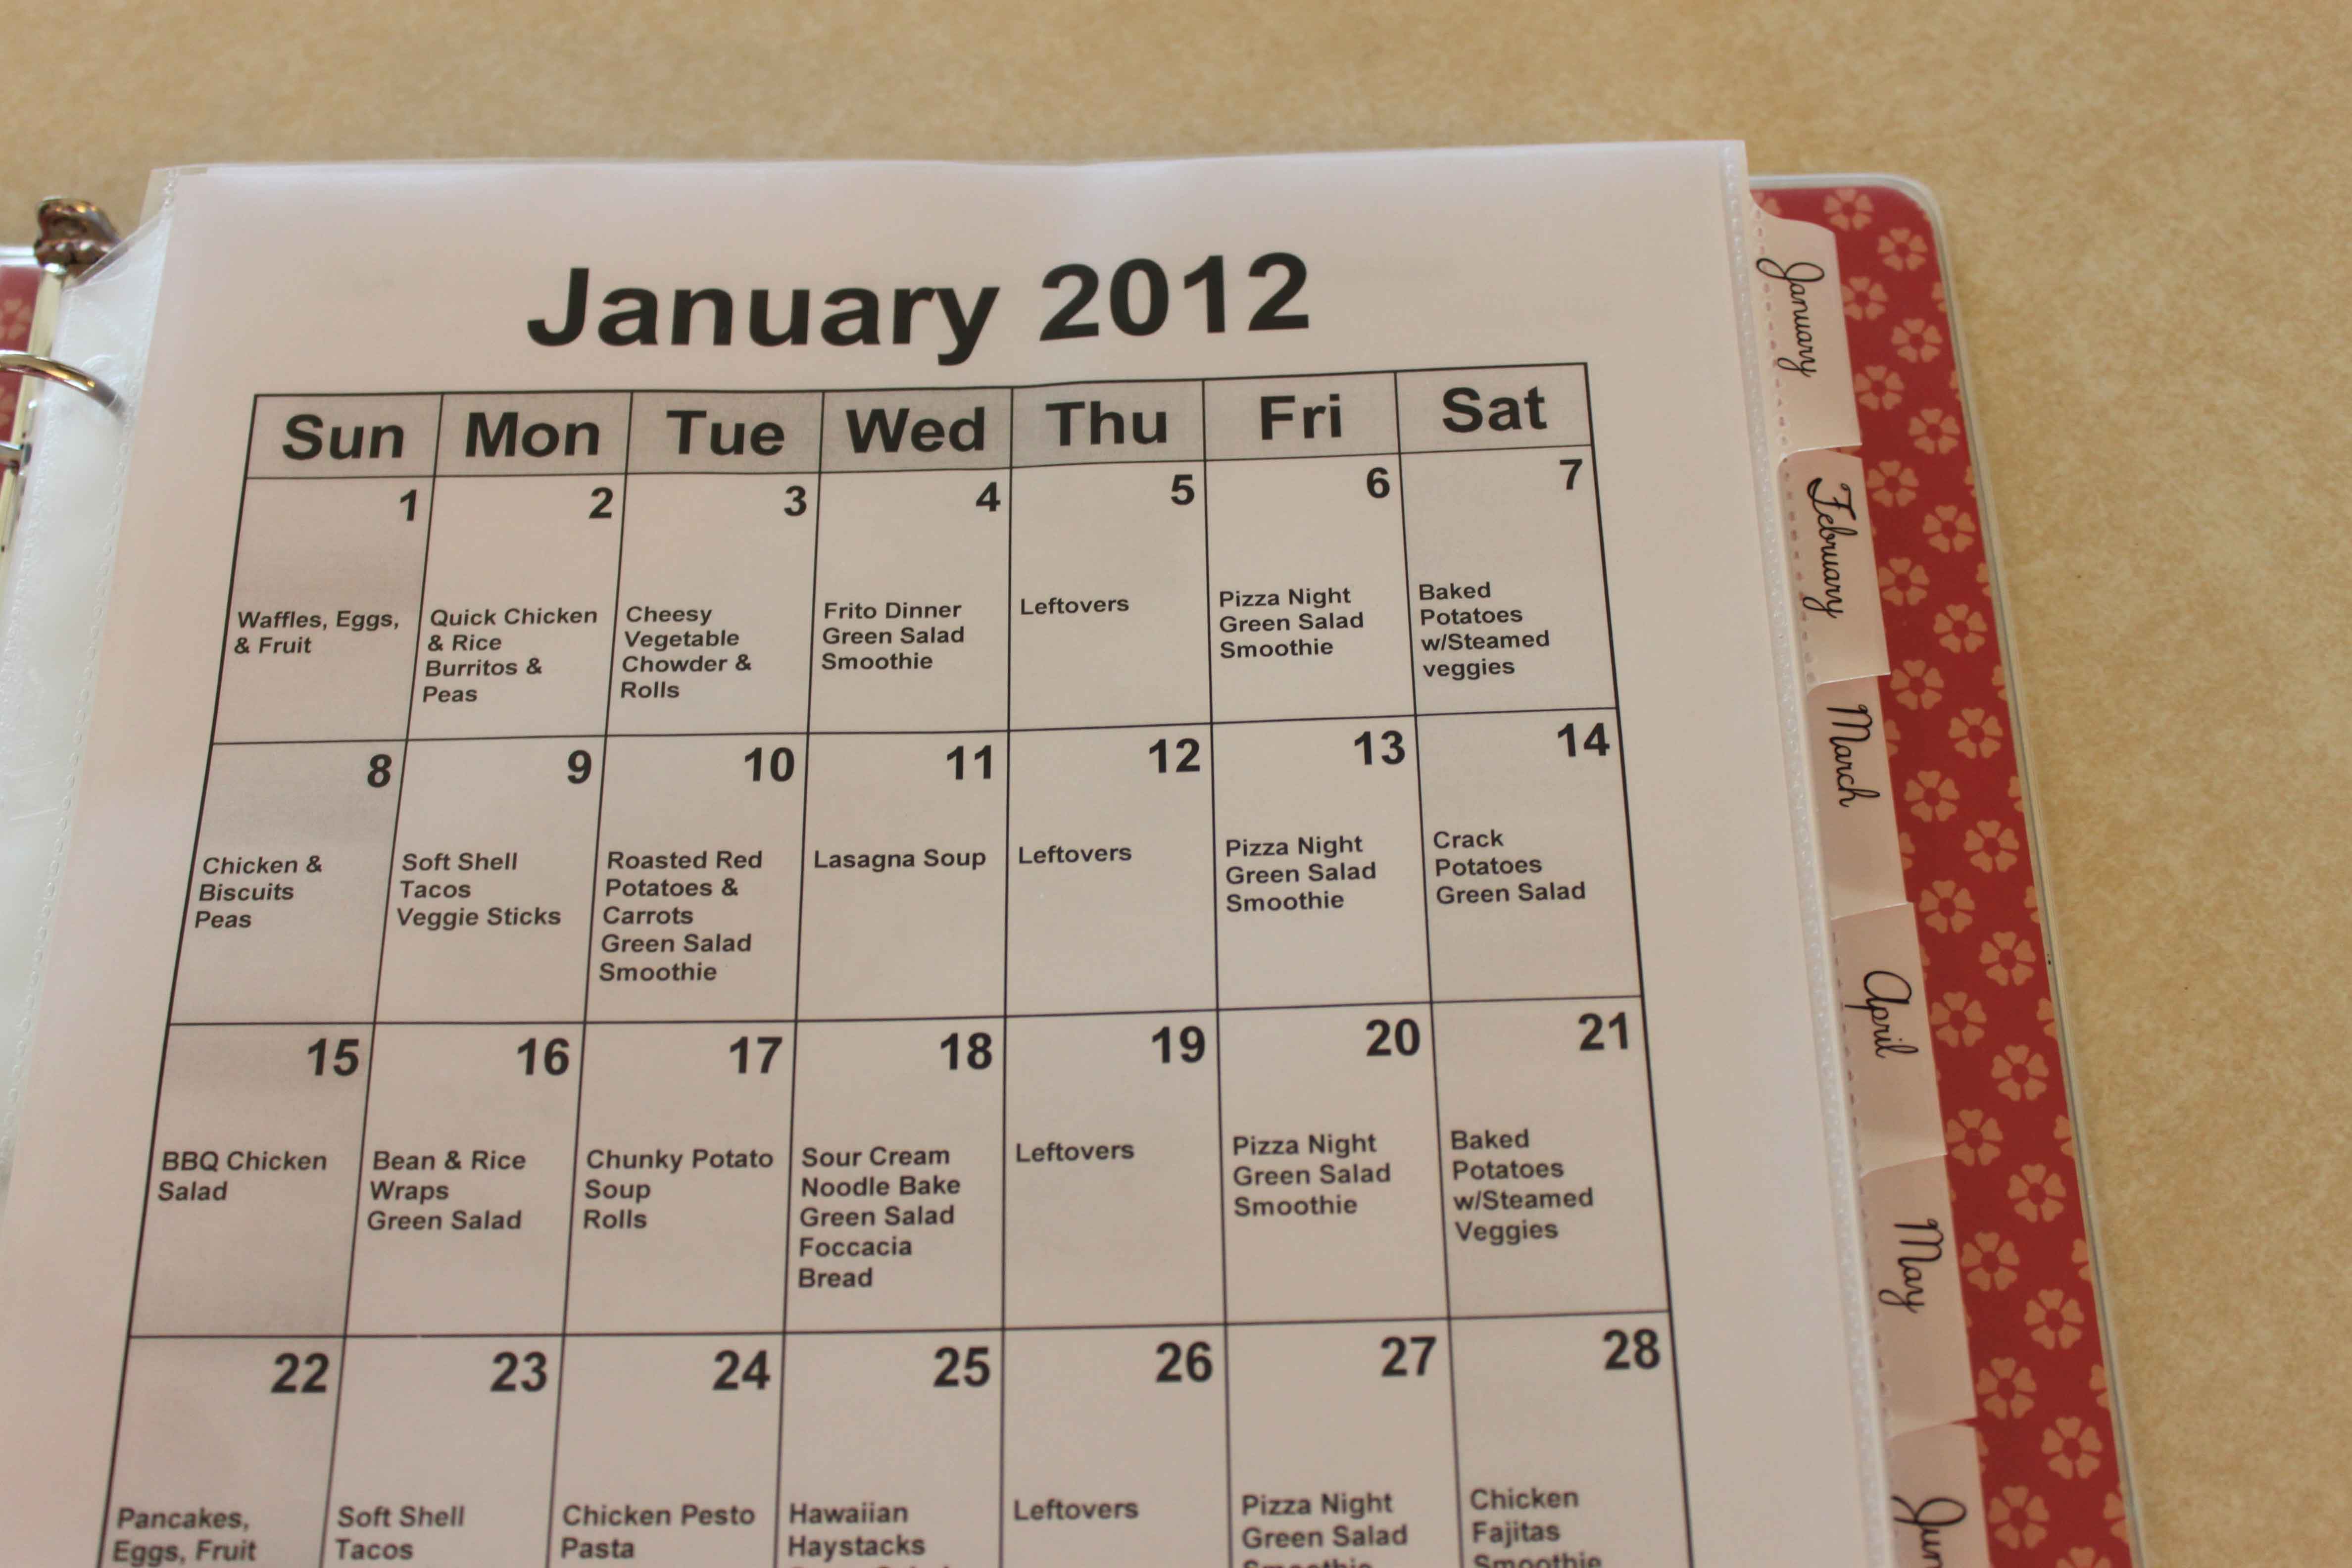
Behind each menu month, I am placing all my recipes that I need for that month. Now I have them all in the same place, so there is no frantic search at the last minute or printing it again from the internet.
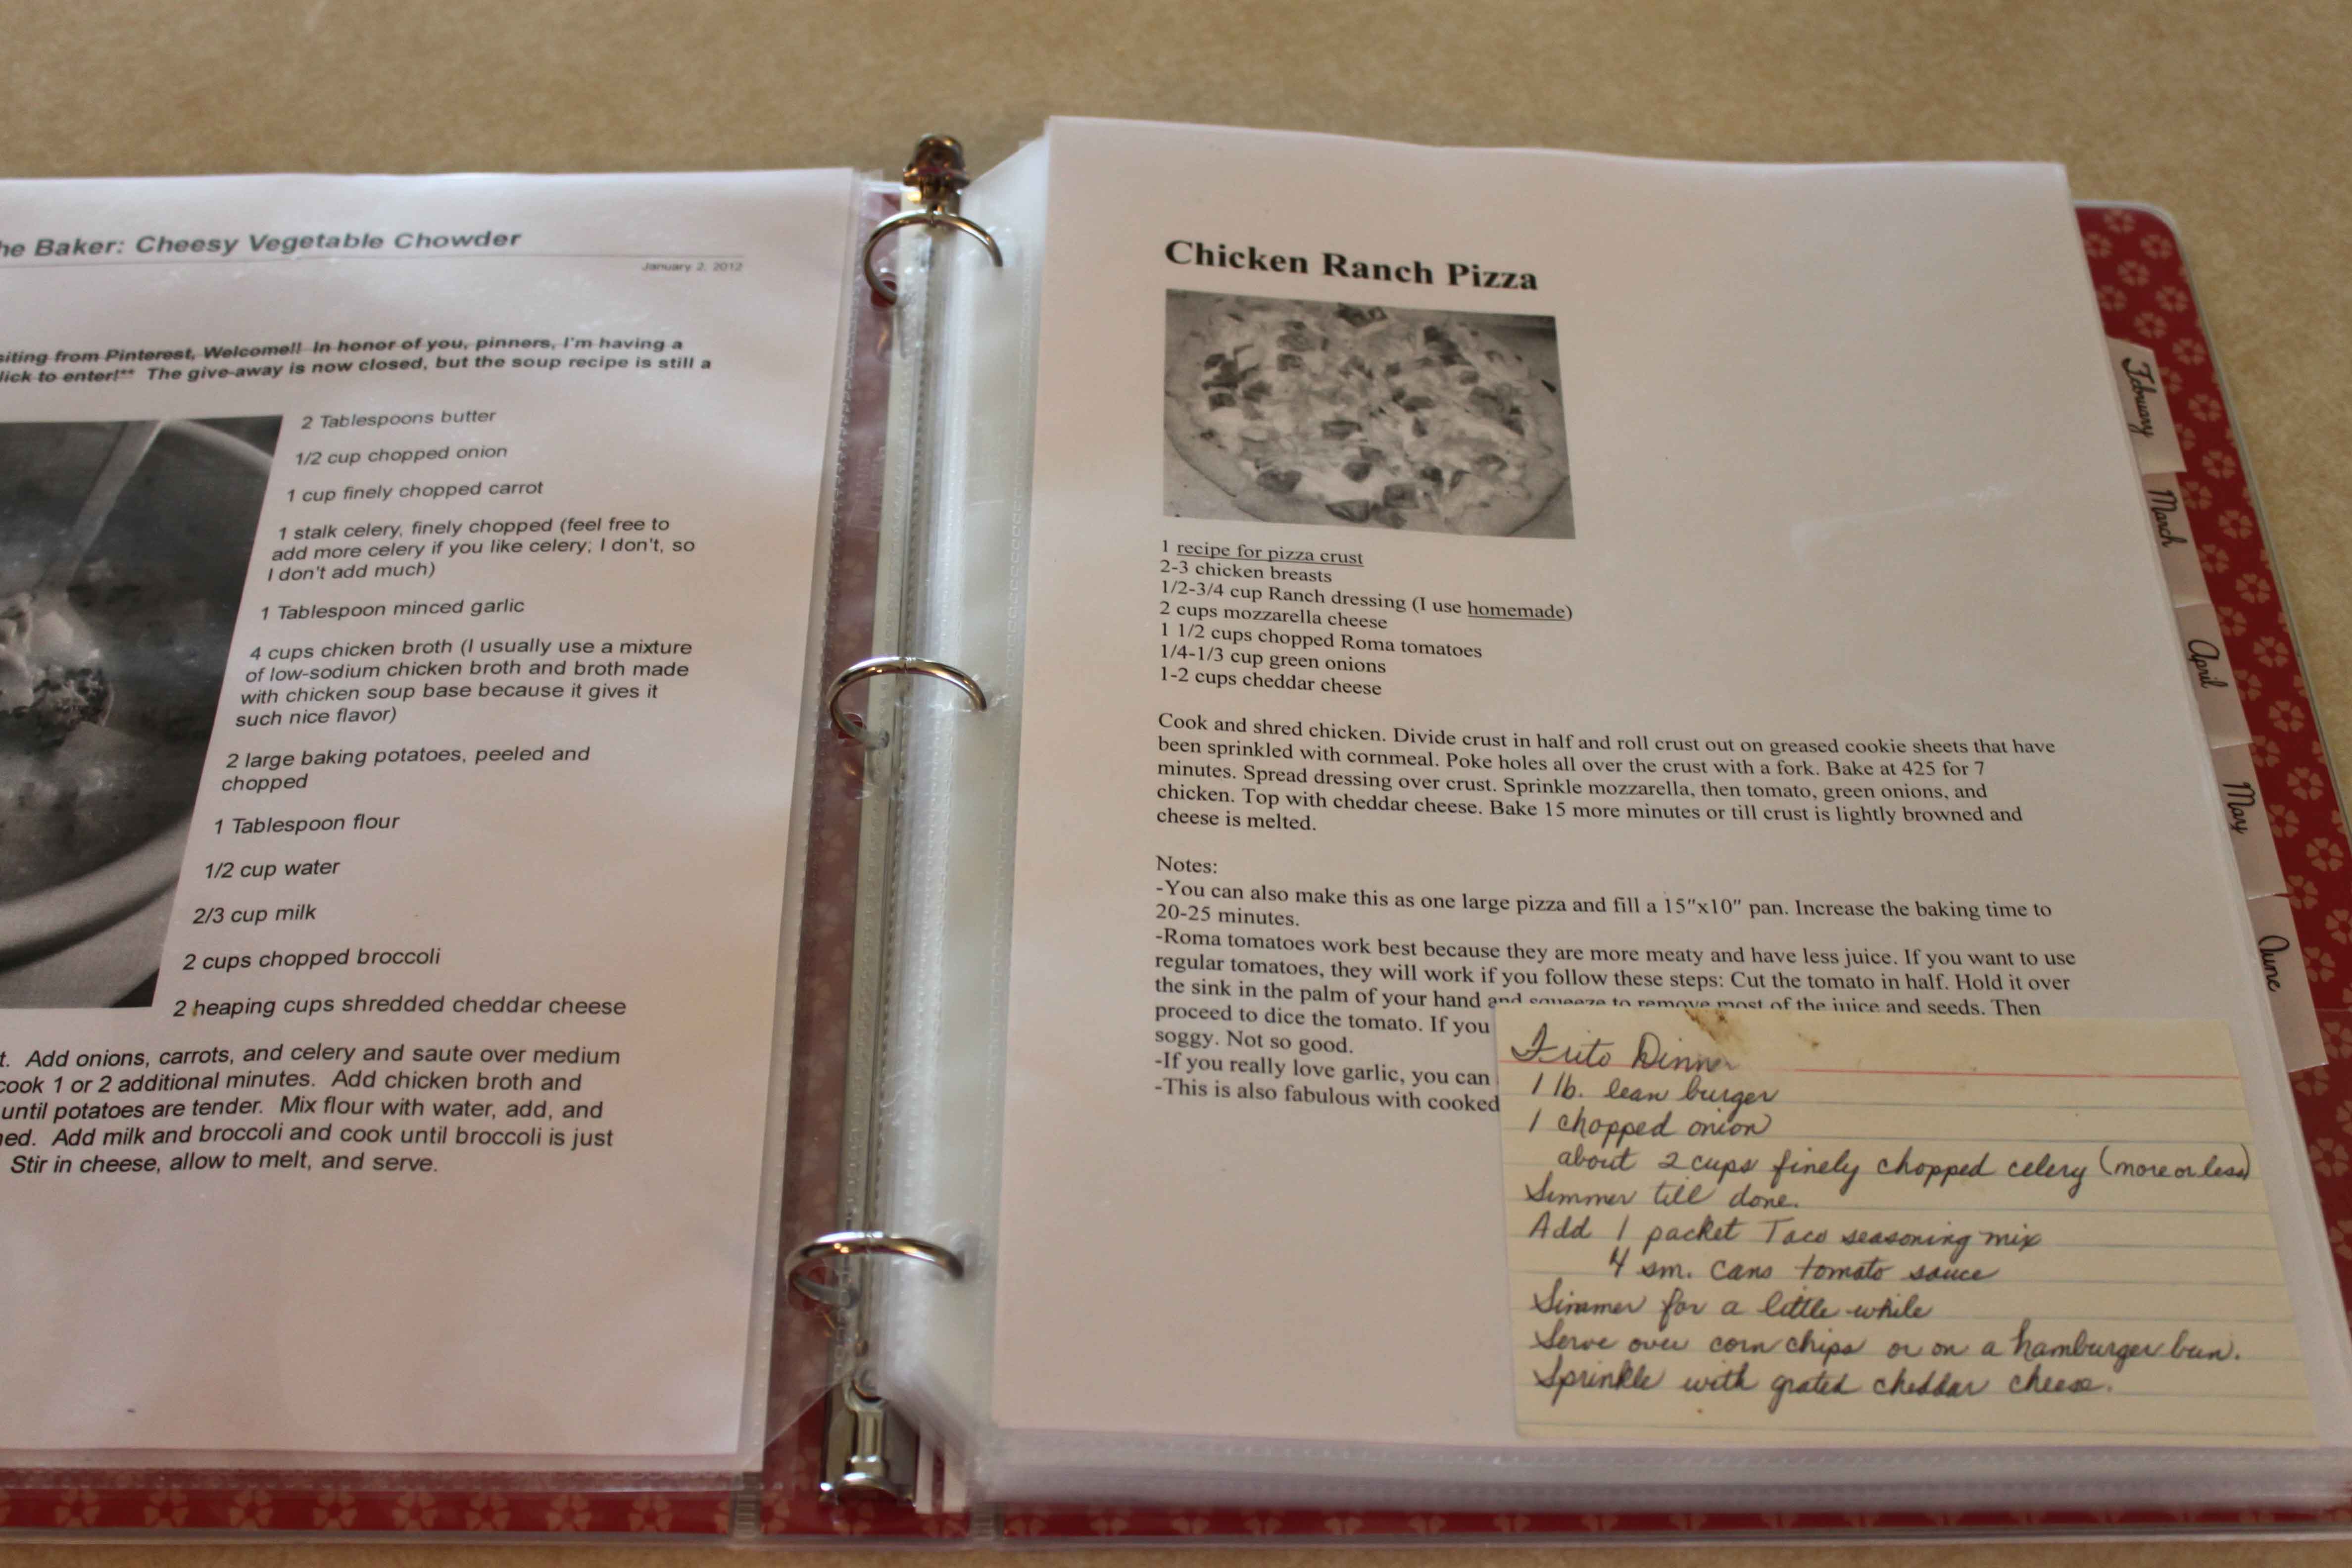
I also have some blank shopping lists behind each month so I can write down what I need to buy for those recipes. I usually only purchase any perishables and anything else I need to stock up on. It is really helpful to have the paper right there to write things down as I am going over things at the beginning of each week.
Now I have everything I need for the month in ONE PLACE in my menu planning binder. I don’t have to search all over. This will make it a whole lot easier!
Here is what you will need to make a menu planning binder for yourself:
binder (I used one I already had at home)
sheet protectors (to keep your recipes clean)
dividers for each month
blank shopping lists (or just plain lined paper works good too)
Check out these other posts if you haven’t already. Join me in cutting your grocery budget this year!
2012 Grocery Budget Crack-Down Plan
2012 Grocery Budget Crack-Down Plan: Menu Planning
A PYP Best Blog! Make your own Eggo waffles!
Just in case you missed this DIY recipe article on making your own frozen Eggo waffles the first time we shared it a couple of years ago, we are republishing it. After Marne wrote this blog originally, we got an awesome response. This is one of the PYP Best Blogs!
Last summer I posted about making your own “Eggo” waffles. I’m sure most of you already do this. I thought I would post it again because maybe there is someone out there who could use this idea.
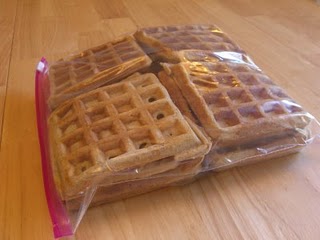
When you make homemade waffles or pancakes for breakfast, double or triple the batch on purpose. That way you can freeze some for later. Whalla! Homemade “Eggo” waffles.
We had homemade wheat waffles with cinnamon syrup for breakfast this morning. I made 20 extra waffles, fit them in this Ziploc bag, squeezed out the extra air, and now I have a few breakfasts done during the next few weeks. I love it!
Doing this does take a little extra time, but it’s worth it! Your family is getting homemade goodness instead of the stuff from the store that is full of high fructose corn syrup, hydrogenated oils, and artificial colors/flavors. You know what is in these…you made them! And, it really does save money. You may think that box of Eggo waffles at Costco is a good deal, but if you make waffles from scratch and freeze them yourself, it is still much, much cheaper.
A few tips shared before that will help with the freezing process:
Put some wax paper in between the waffles before freezing them. This will help when taking them apart.
Warm them up for a few moments in the microwave after taking them out of the freezer. This helps them come apart easier.
Put in the toaster for a crispy taste, or warm up in the microwave for a softer taste.